I was originally going to wait until I had completed everything on this build, but I had just enough time to feel ancy about it and well…here I go.
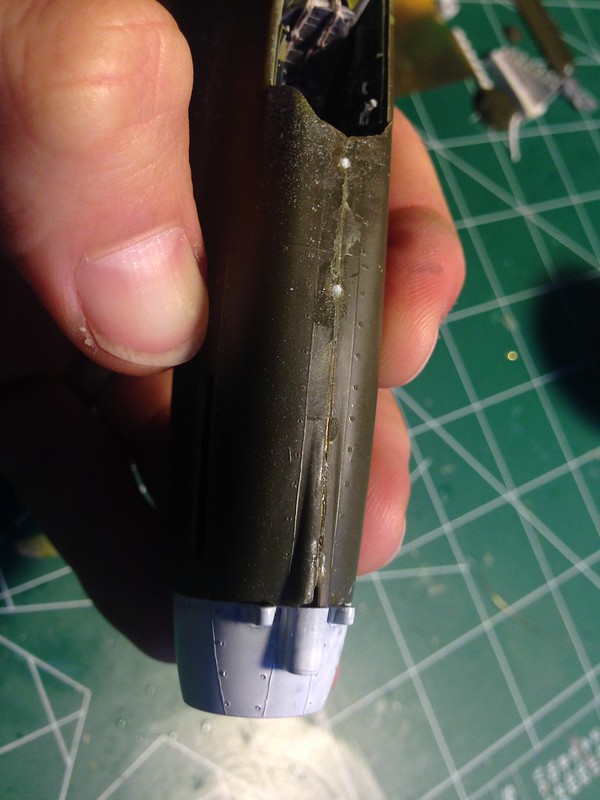
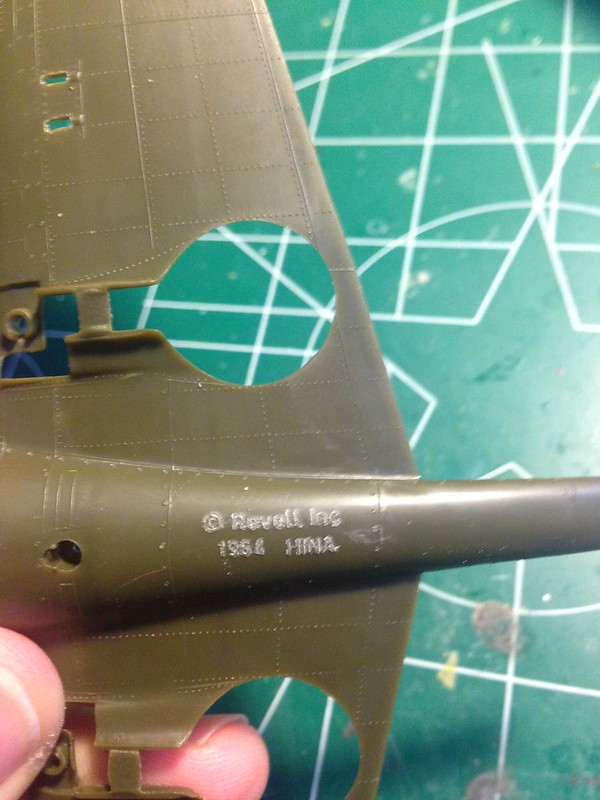
Having just completed that P-40B AVG Flying Tiger that felt like an eternity, I really wanted that build that came together more simply so as to decompress like you hear so many others talk about. I guess that’s not exactly this one though. After having finished Boyington’s Flying Tiger, I really wanted a Pearl Harbor P-40. So here I am again at it. I still believe that the Revell/Monogram kit is best suited still at putting together a Hawk. Lawdog just put together his Frankenstein Hawk from the Academy-Revell combo and admitted to the Revell having better shapes and more to work with in terms of “the bones” of the build. Hopefully, you can find a kit without too many issues with regards to flash, pin marks, and the like… Even without those issues there are a couple of challenging areas that will require some thought and a little patience, but rest assured you can get a very satisfying Warhawk out it. =] I didn’t want this post to be quite as in depth as the last one, but my aim is to address the major components of the build and a few extra easter eggs that you can do without too much fuss to help improve the building of this kit.
(edited…for ease I’ve included this LINK to jump to my previous P-40B post for all of you Flying Tiger enthusiasts out there.)
Here goes:
 Revell/Monogram P-40B 1:48 by brittvallot, on Flickr
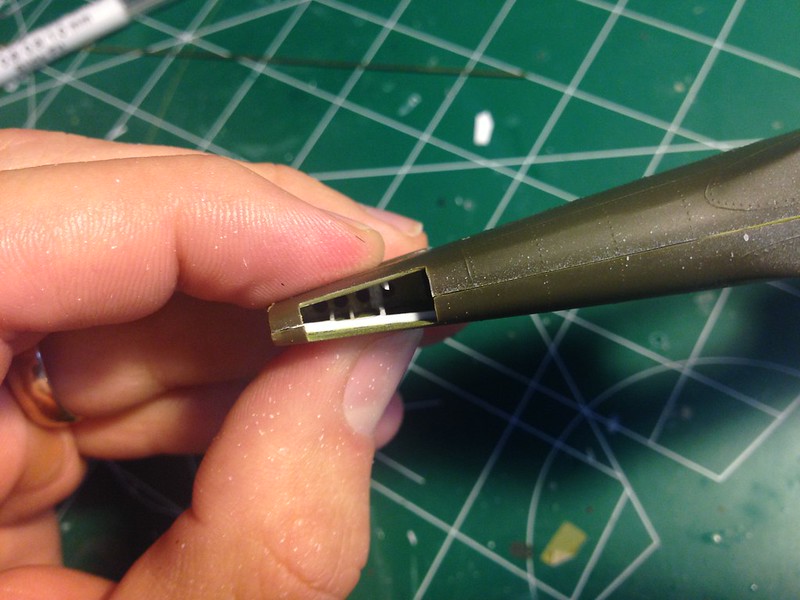
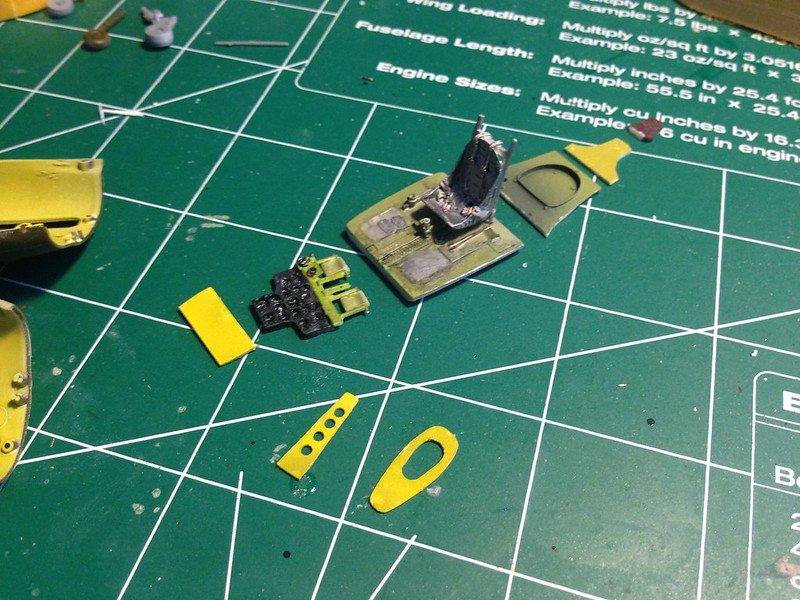
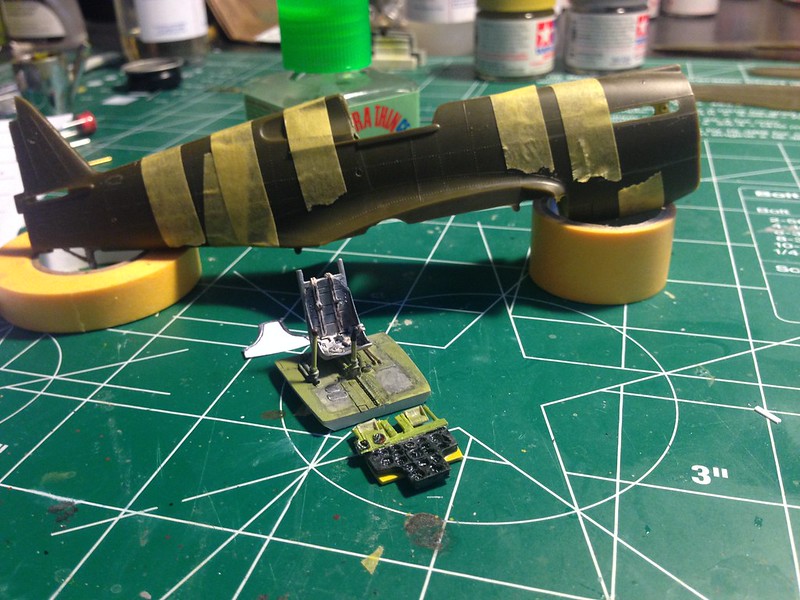
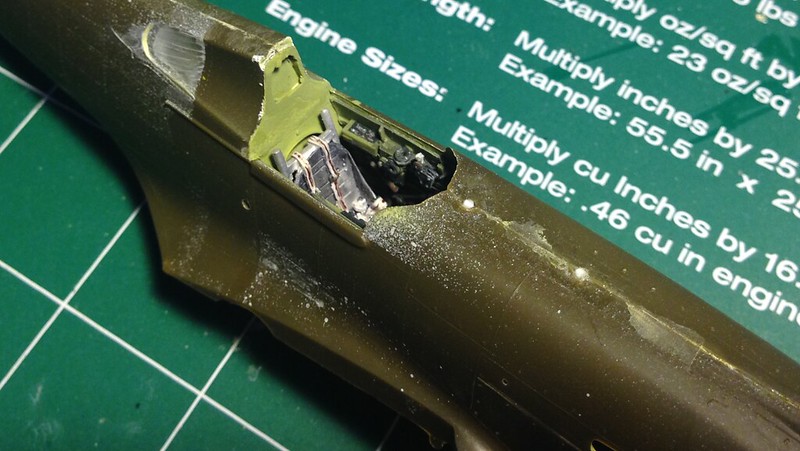
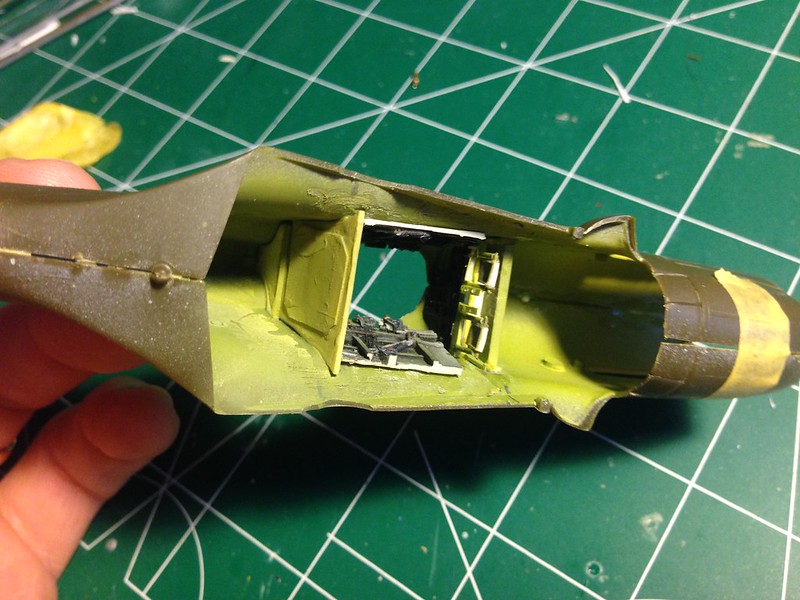
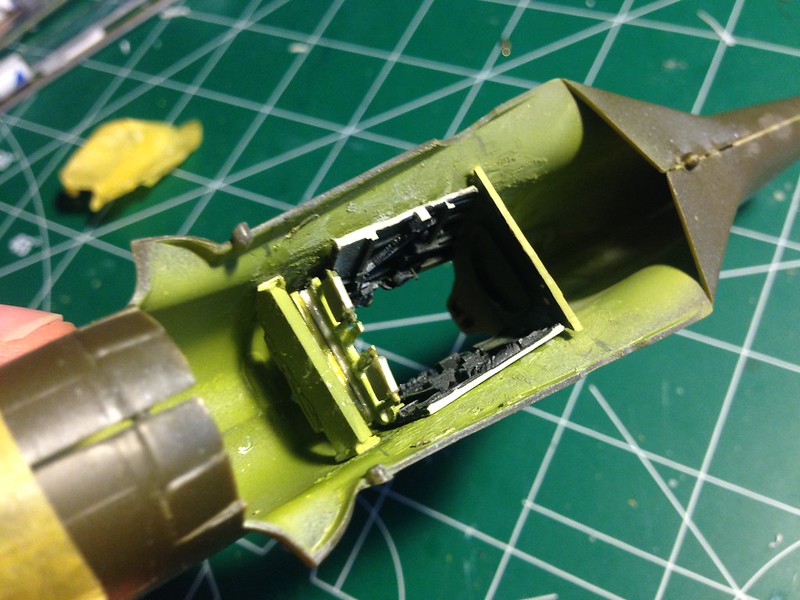
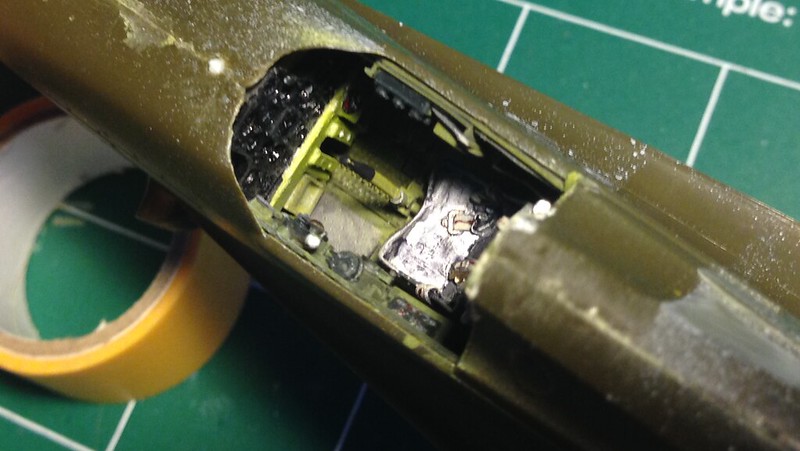
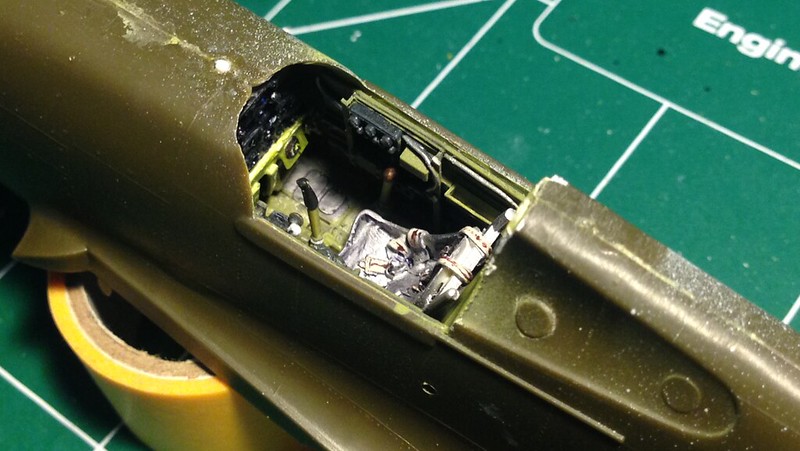
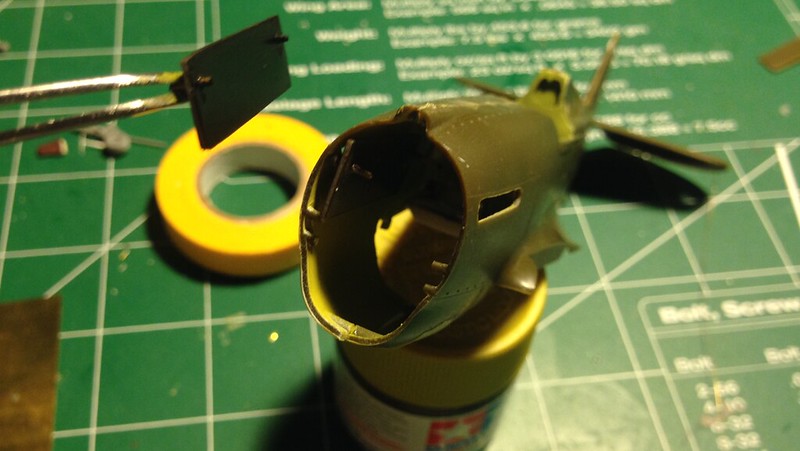
I went with the True Details cockpit again. The kit parts are laughable at best and just need to go. The TD resin parts are a nice pick me up, but they are for the Academy/Hobbycraft. Not a big deal…they still go in with little fuss. Just be patient…and don’t be afraid of a little extra work. =]
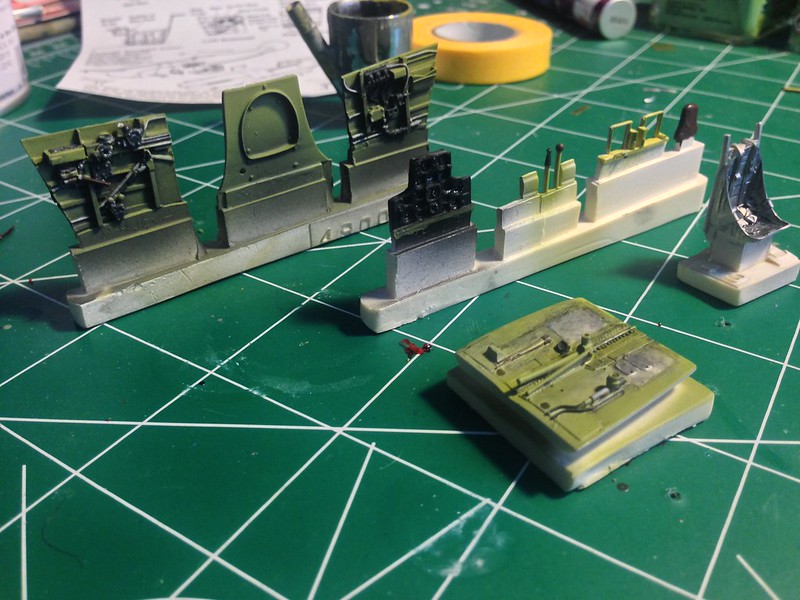 image by brittvallot, on Flickr
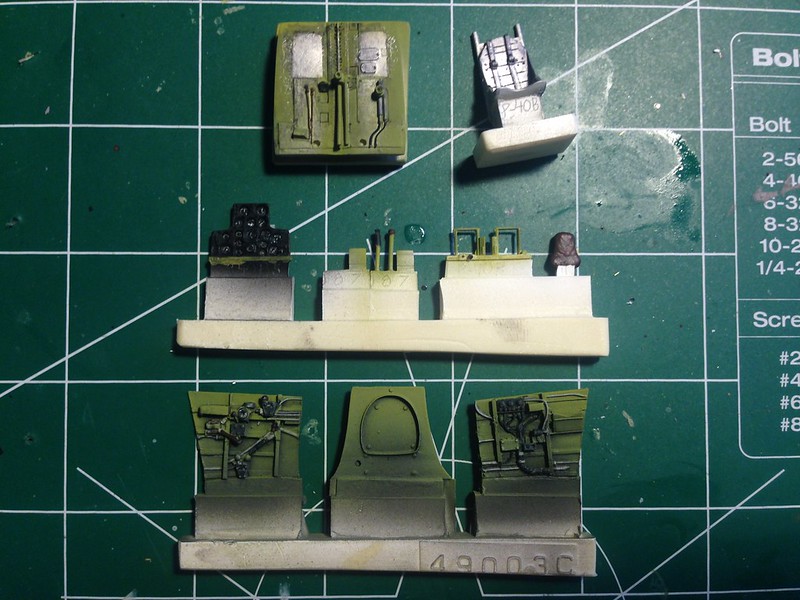 image by brittvallot, on Flickr
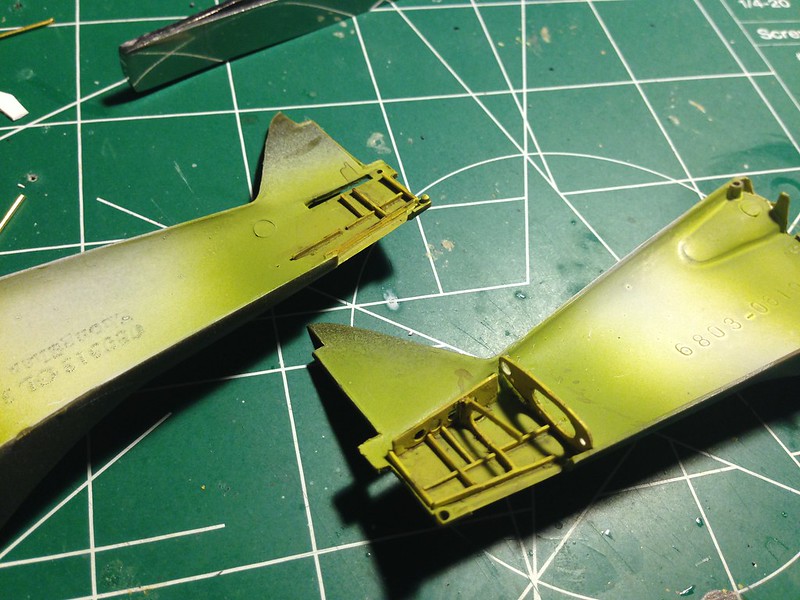
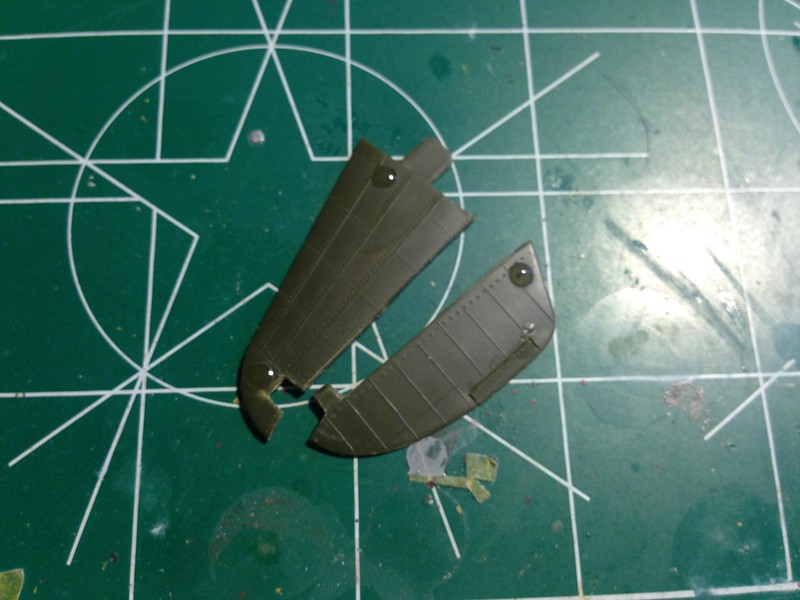
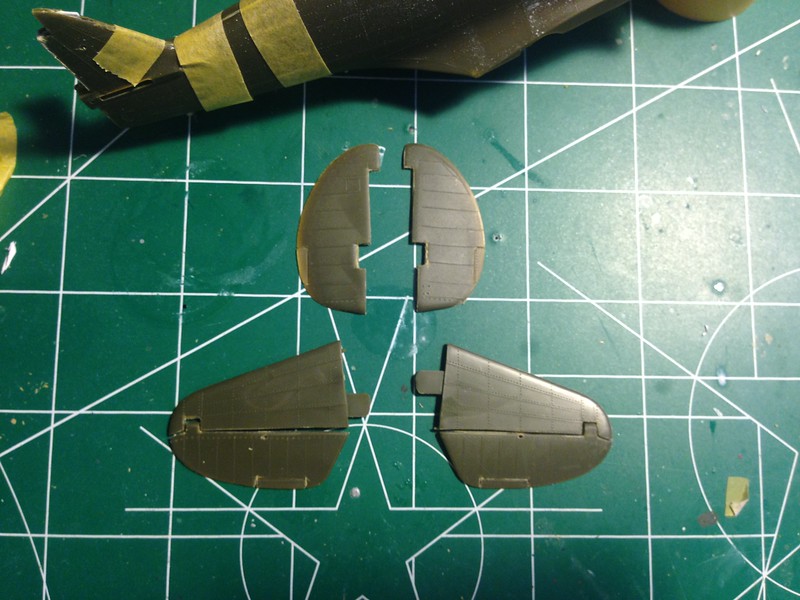
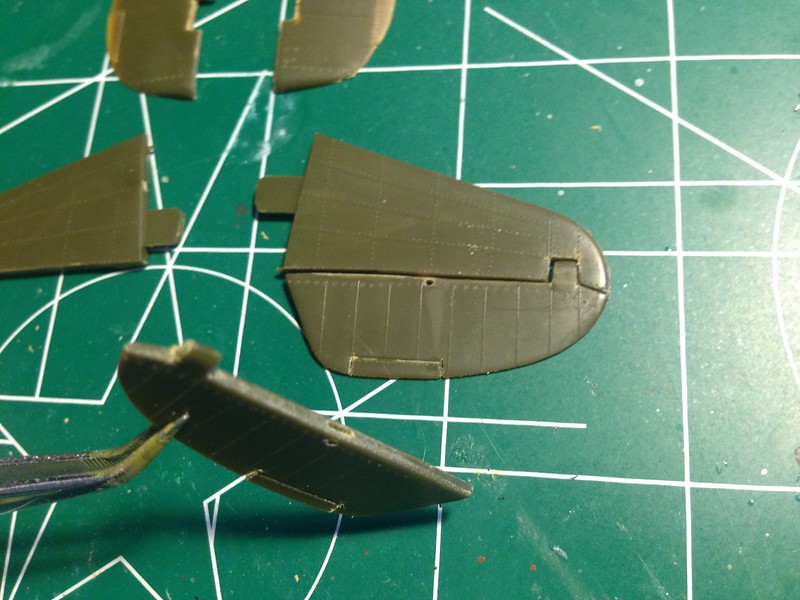
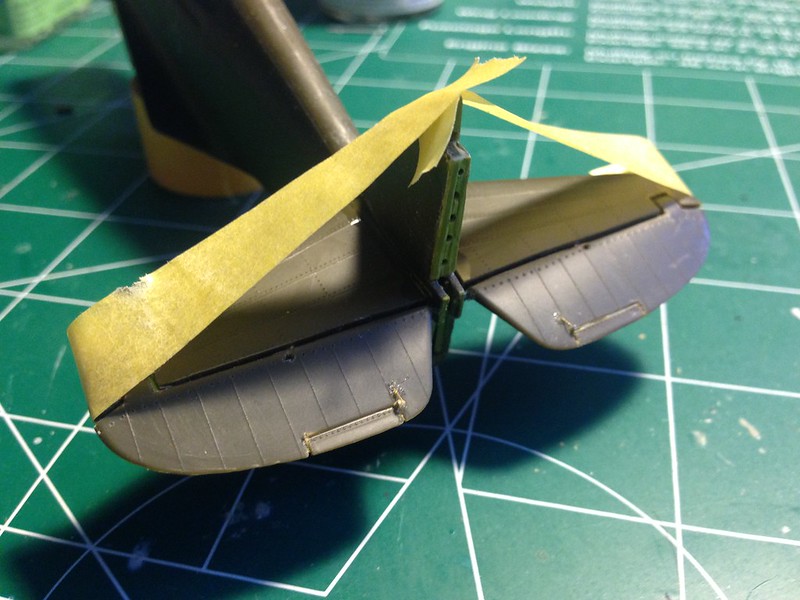
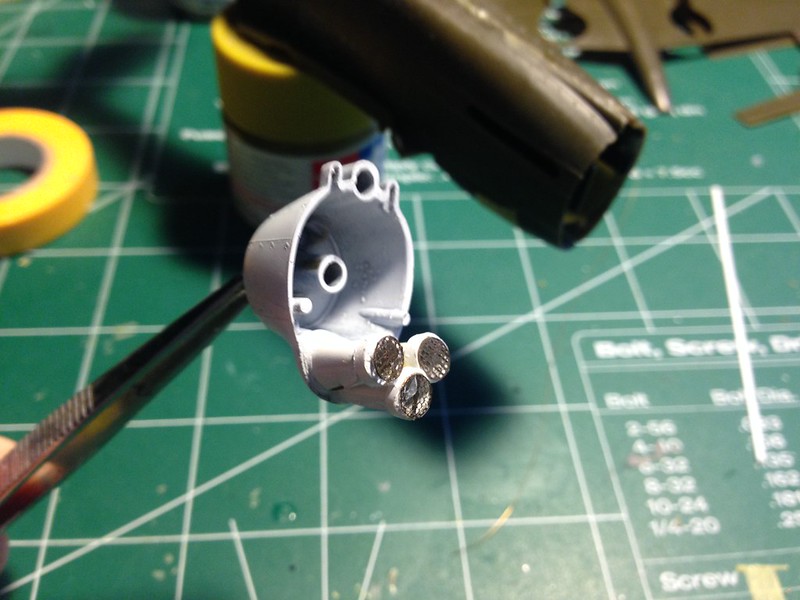
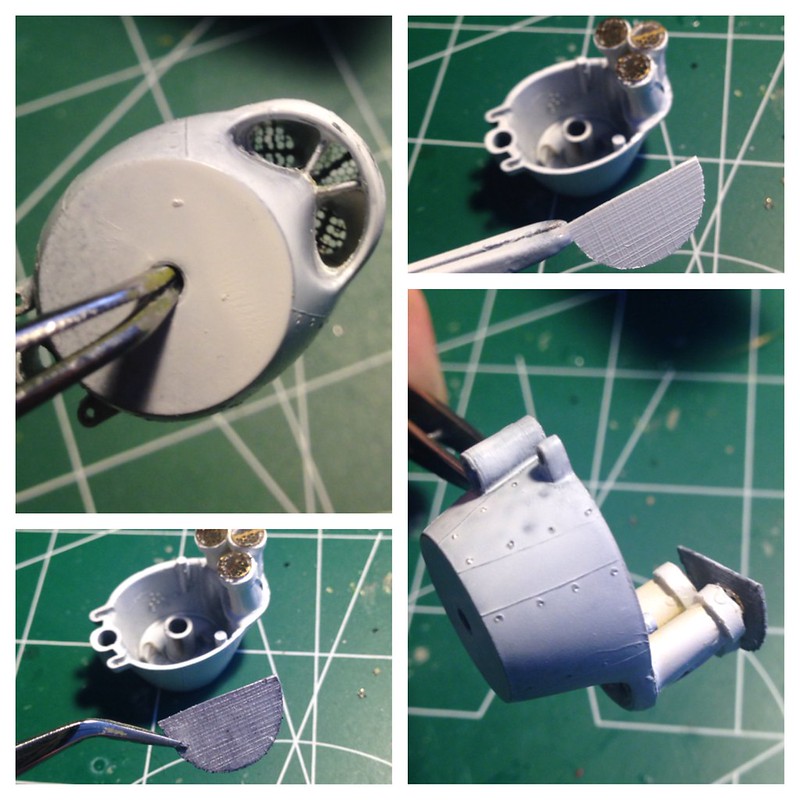
The interior was painted a Yellow-green zinc chromate color that I mixed based on original photos from reference materials…I won’t make this post so much about color…but more about construction. For the sake of chronology, I’ll stop here and move on to the tail gear before the fitting together of the fuselage.
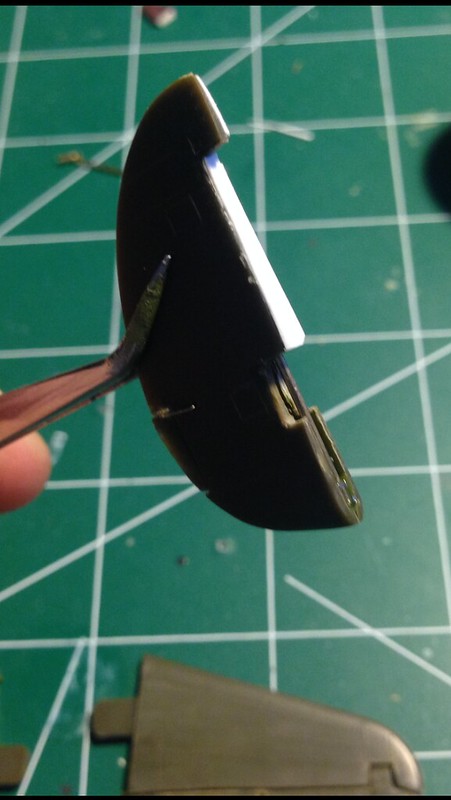
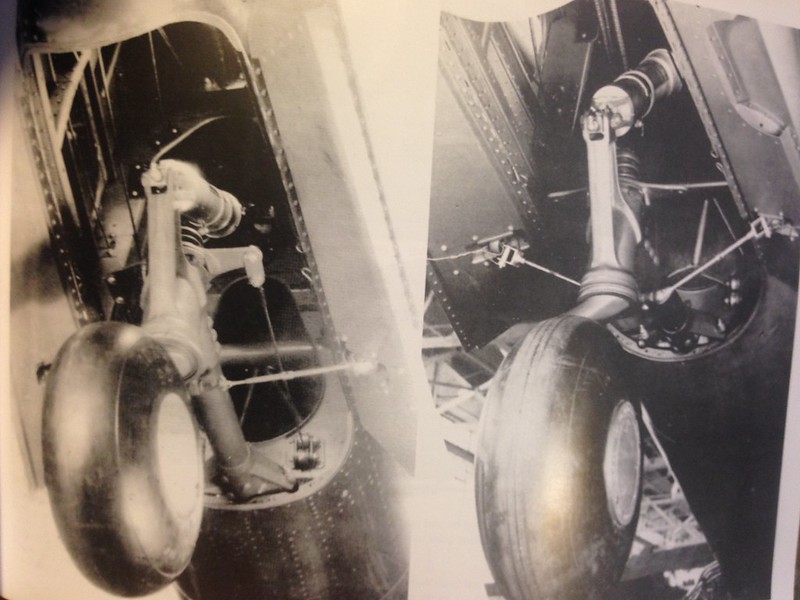
The Tail Gear:
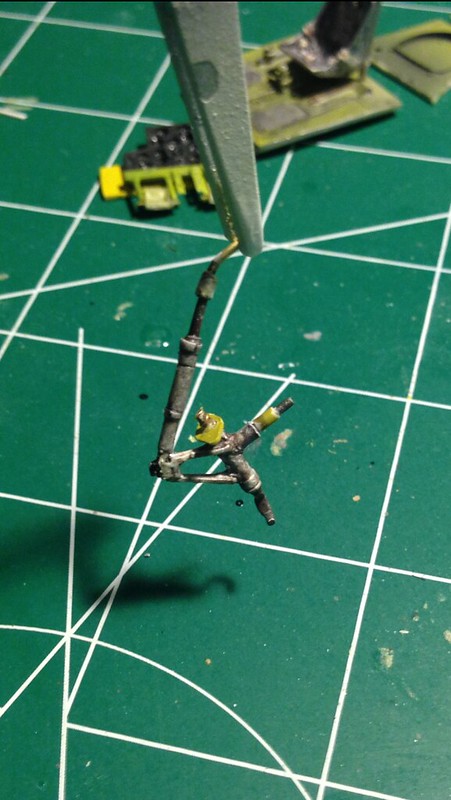
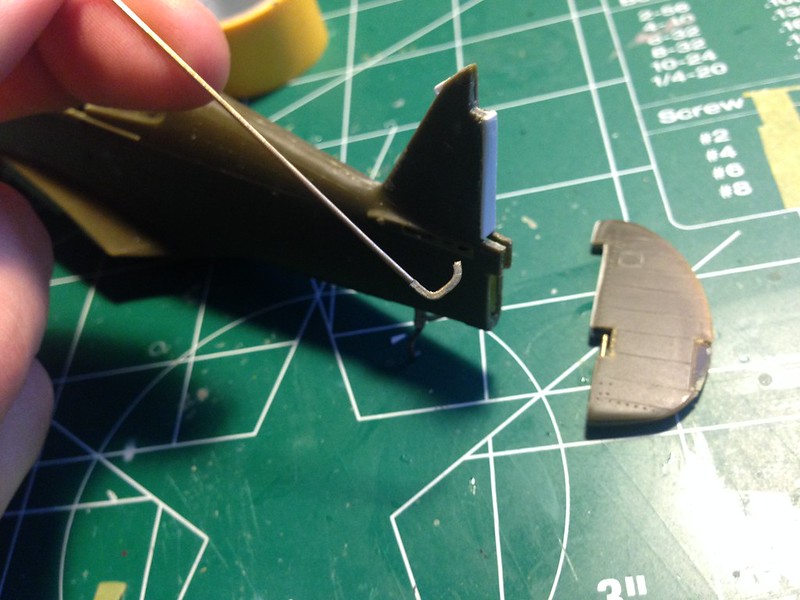
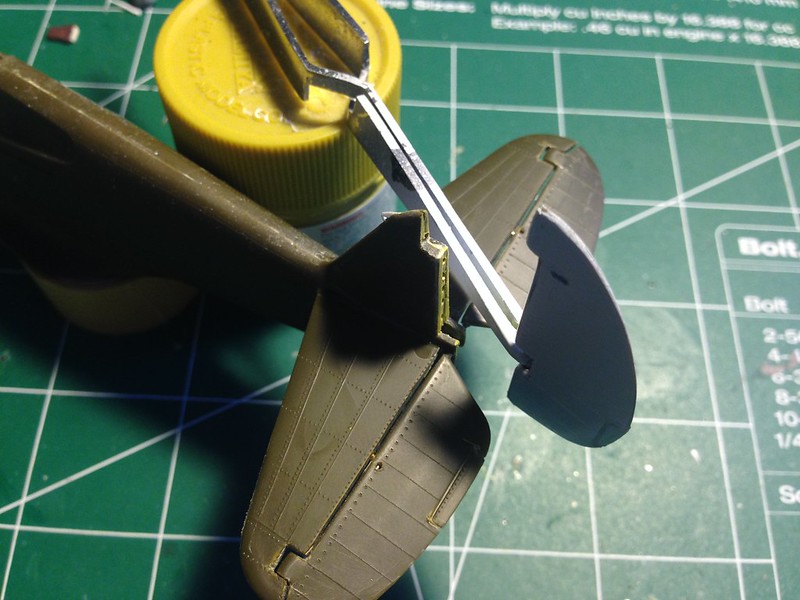
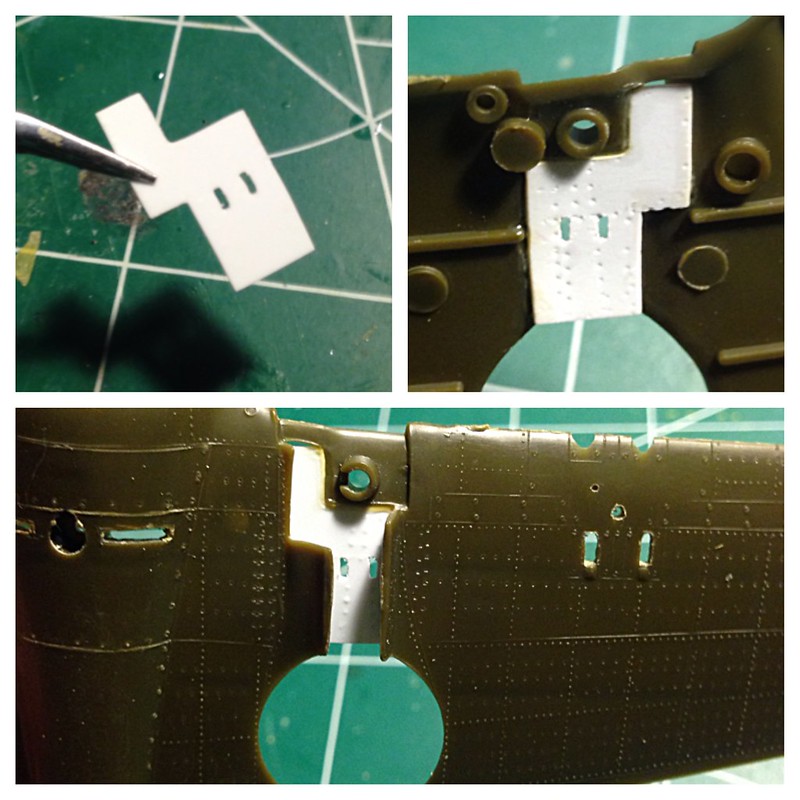
I wanted to include this because the kit part wasn’t suitable for my needs and I wanted the opportunity to build my own from scratch. It’s not as hard as you think. Some things you’ll need to make it easier: Albion slide tubes, various diameters of brass rod, Tamiya tape (or some other masking tape), and plastic card.
So, I first started with the rod that accepts the tire and it’s adjoining assembly parts. Here’s a picture to give you an image of what you’re working towards.
 P-40_Parts_50 by brittvallot, on Flickr
 Untitled by brittvallot, on Flickr
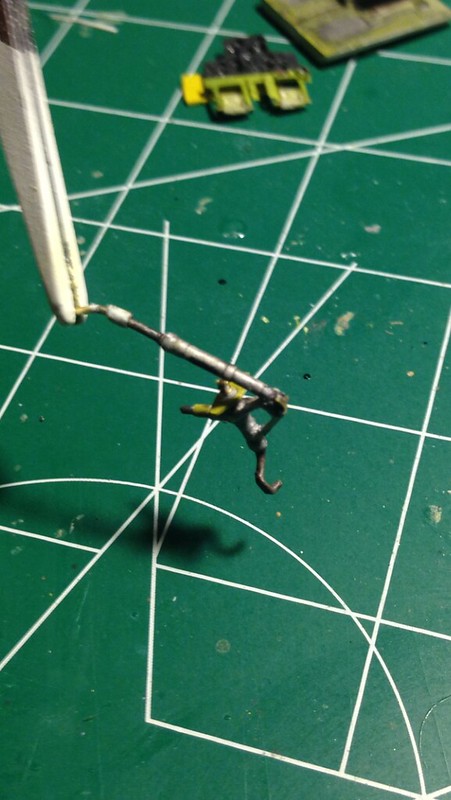
After some strategic bending and a little filing, I have the correct shape and size I want for the strut. I’ve kept the actual tail wheel from the kit as I’ll be using it still. The bends in the rod work according to the wheel size. More of an engineering standpoint and less mathematical for anybody who knows that joke.
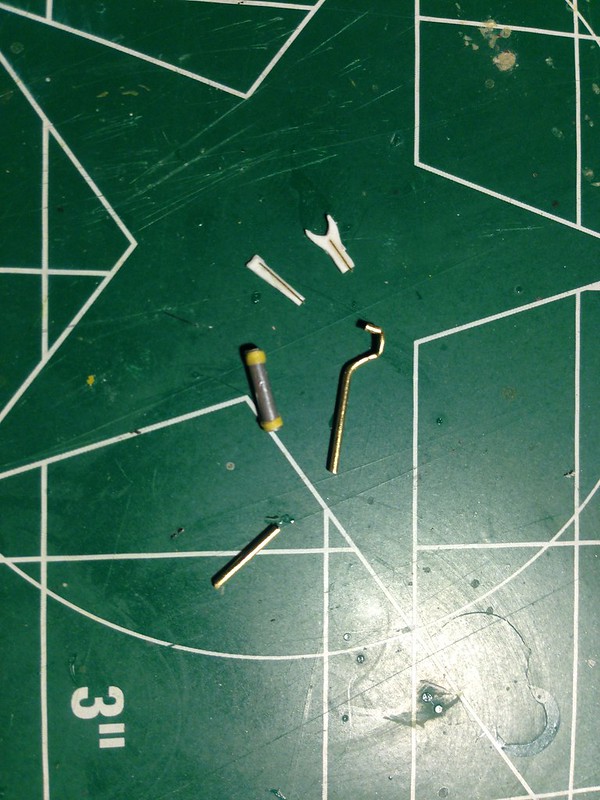 image by brittvallot, on Flickr
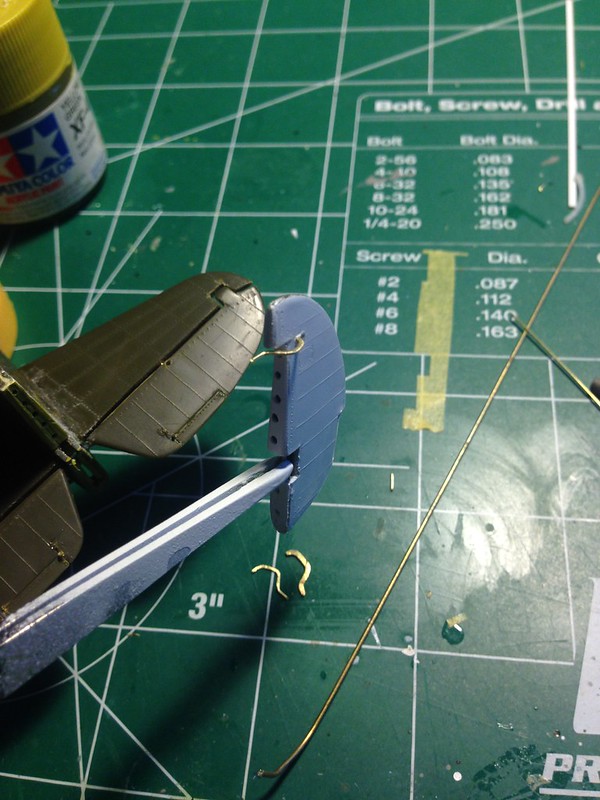
Be careful when making these bends that you don’t over work the rod. I’ve chosen to smash it flatter with my needle nose tool I’m bending it with and filing it down to something I prefer, but this can make your parts weak if you don’t find the bend right the first time. If it breaks, don’t sweat it…just cut you another strip to work with and do it better. =]
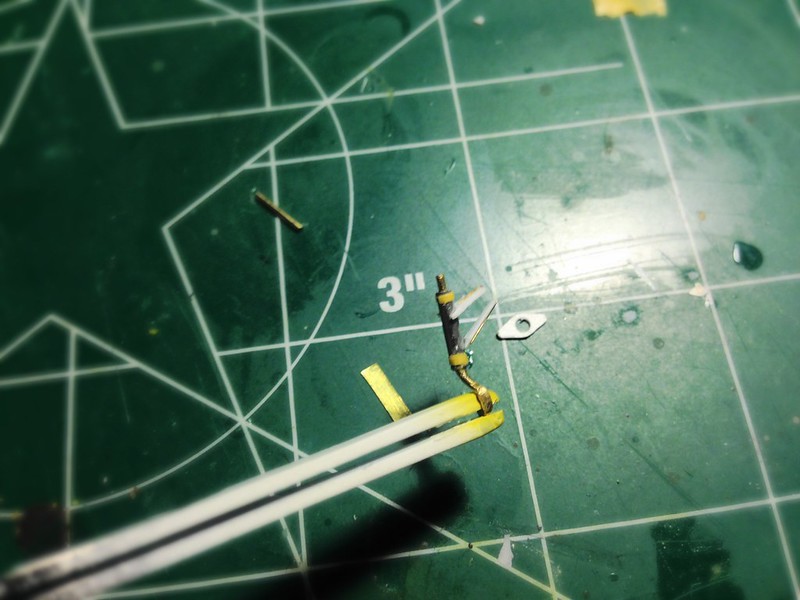 image by brittvallot, on Flickr
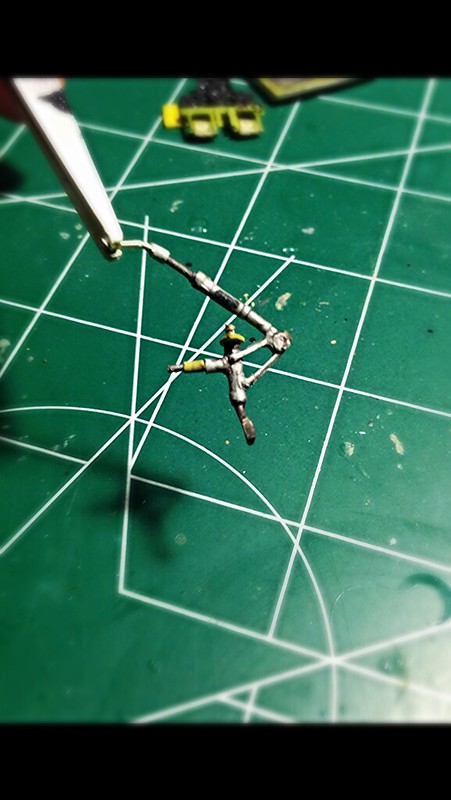
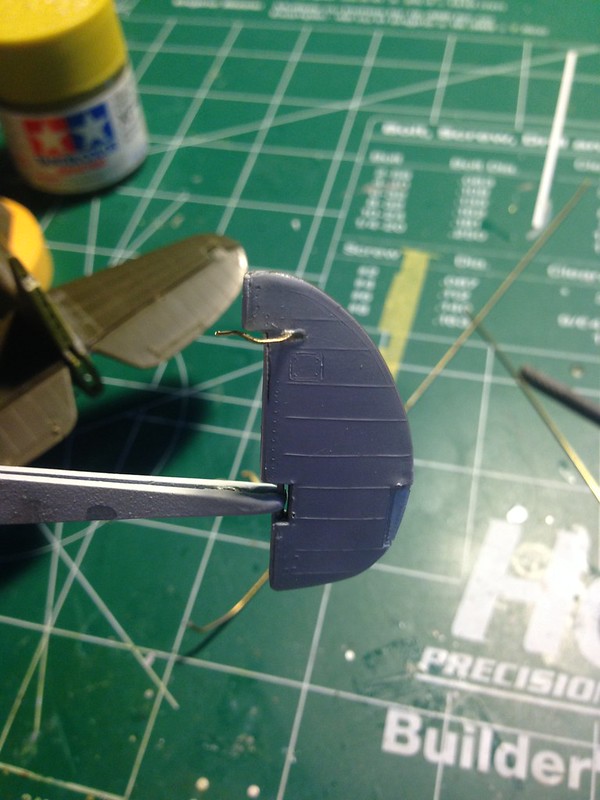
As I don’t have enough of the sizes I’d prefer of the Albion slide tubes, I’ve made up the difference here with Tamiya tape cut into thin, small strips. I find it works well over a small area such as this to build up a surface. None of it acts as anything structural, so you really don’t have to worry about something falling apart. Purely cosmetic. Here’s skipping ahead to show the step-by-step parts to the tail gear assembly.
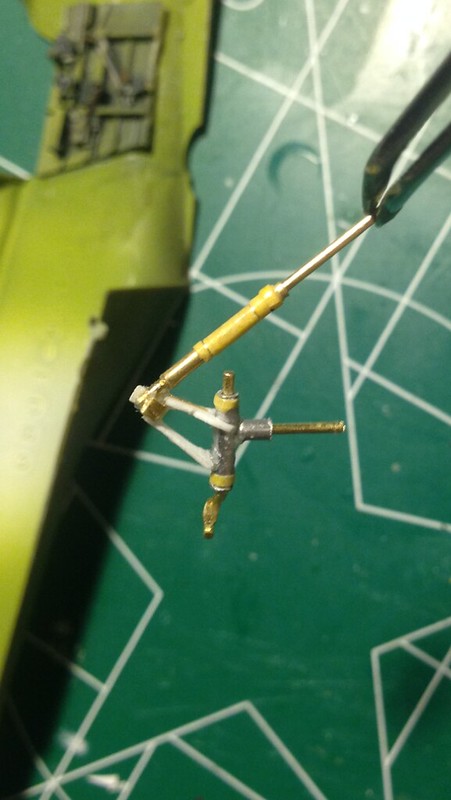 image by brittvallot, on Flickr
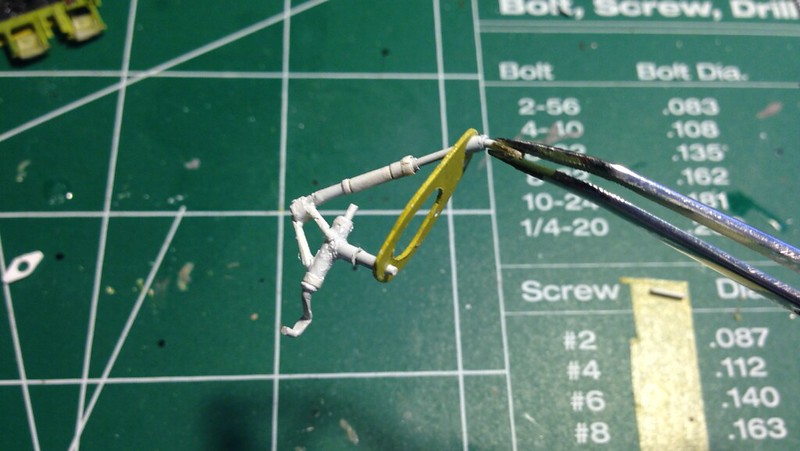 image by brittvallot, on Flickr
I seem to be having some problems adding more photos…so I’ll post this and continue. ![]()