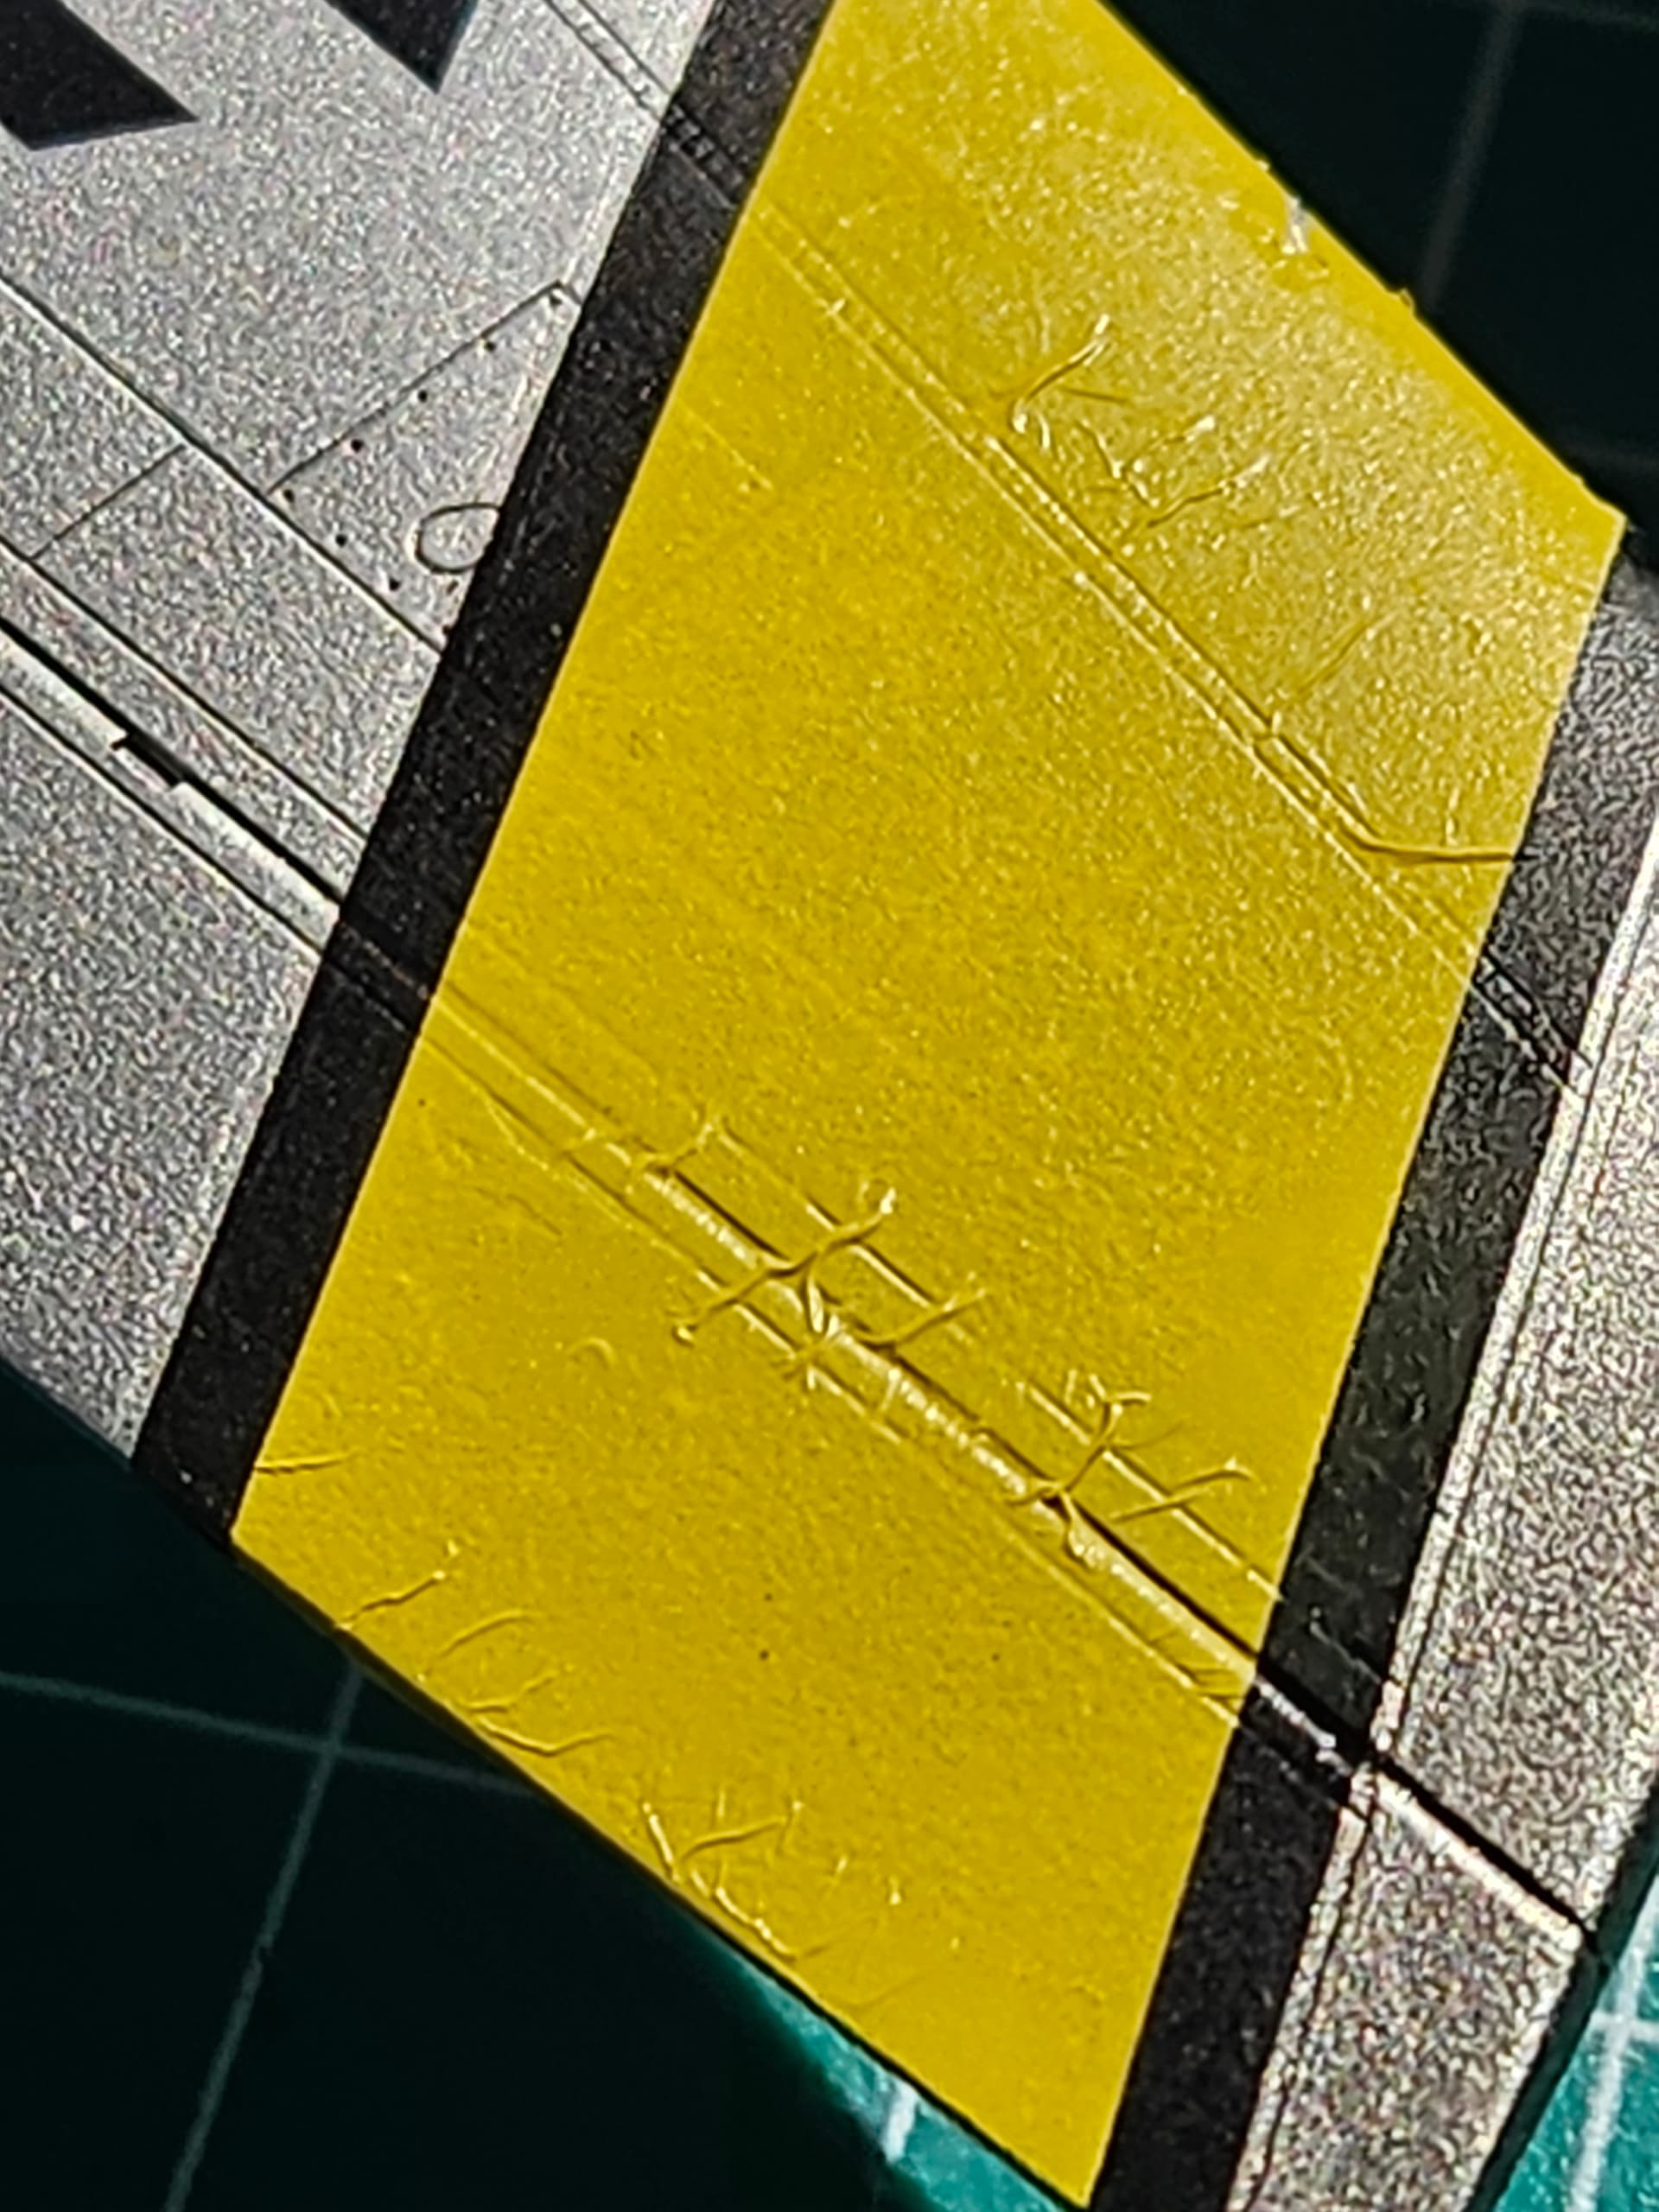
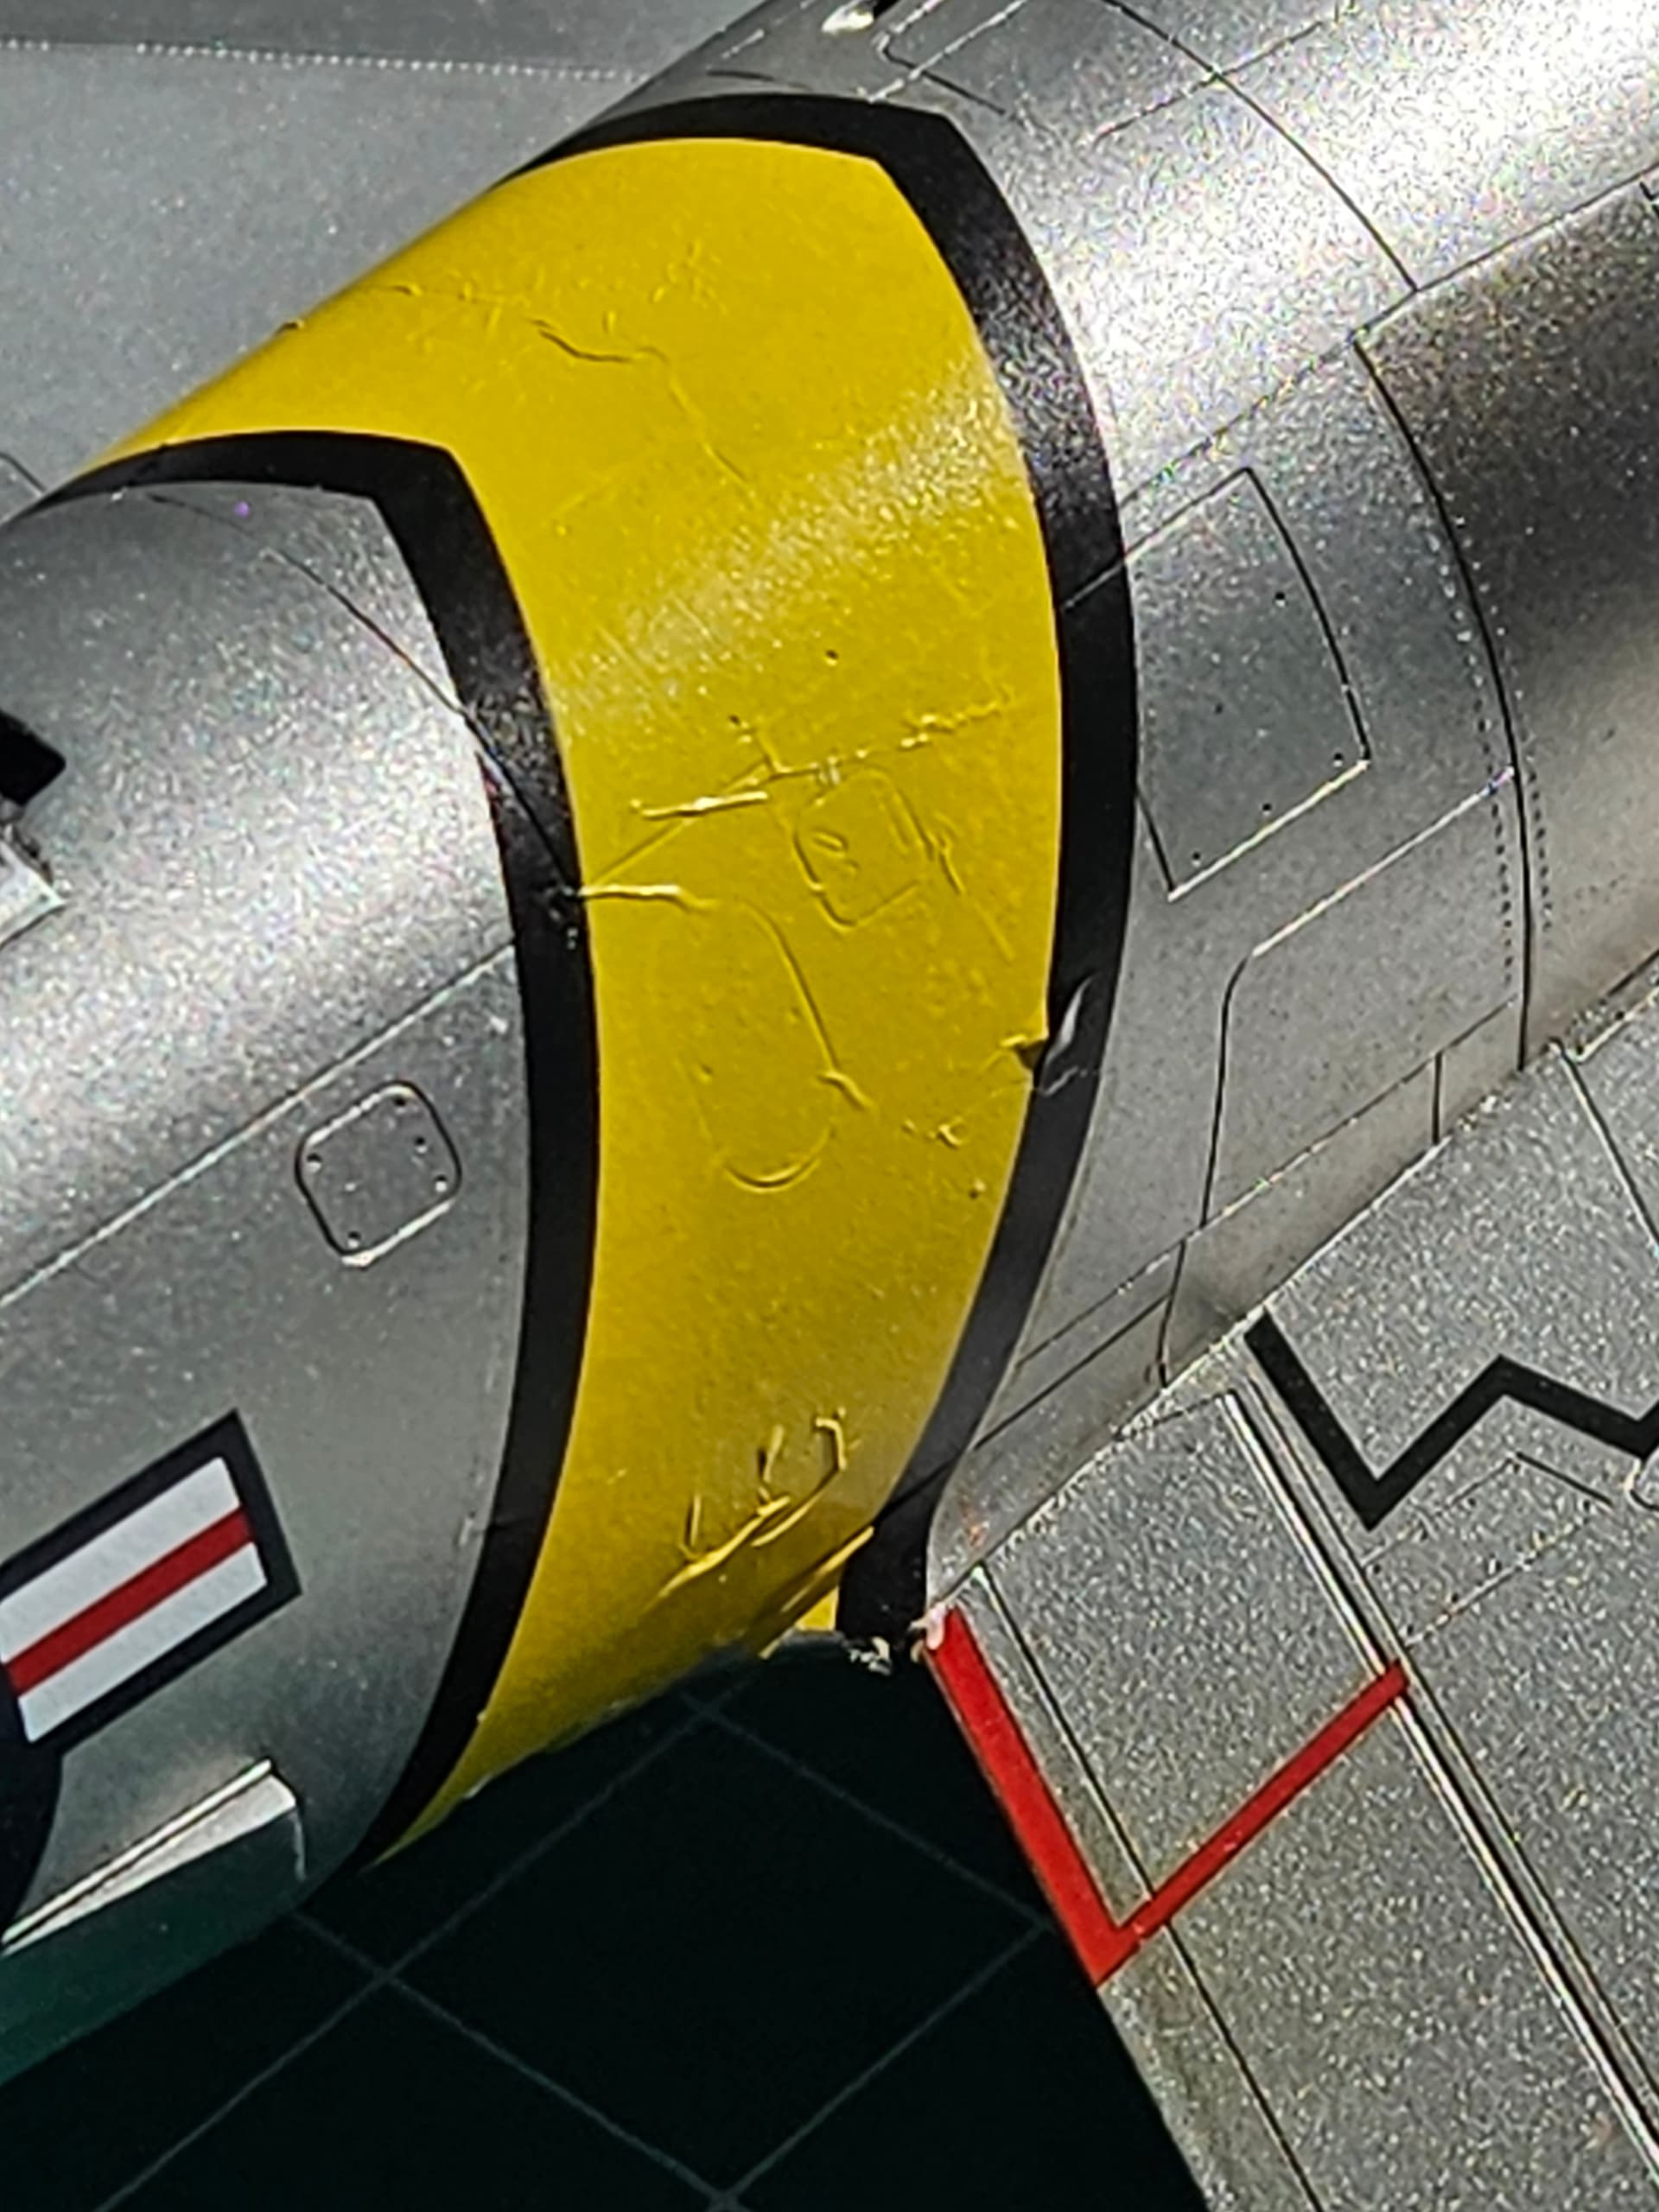
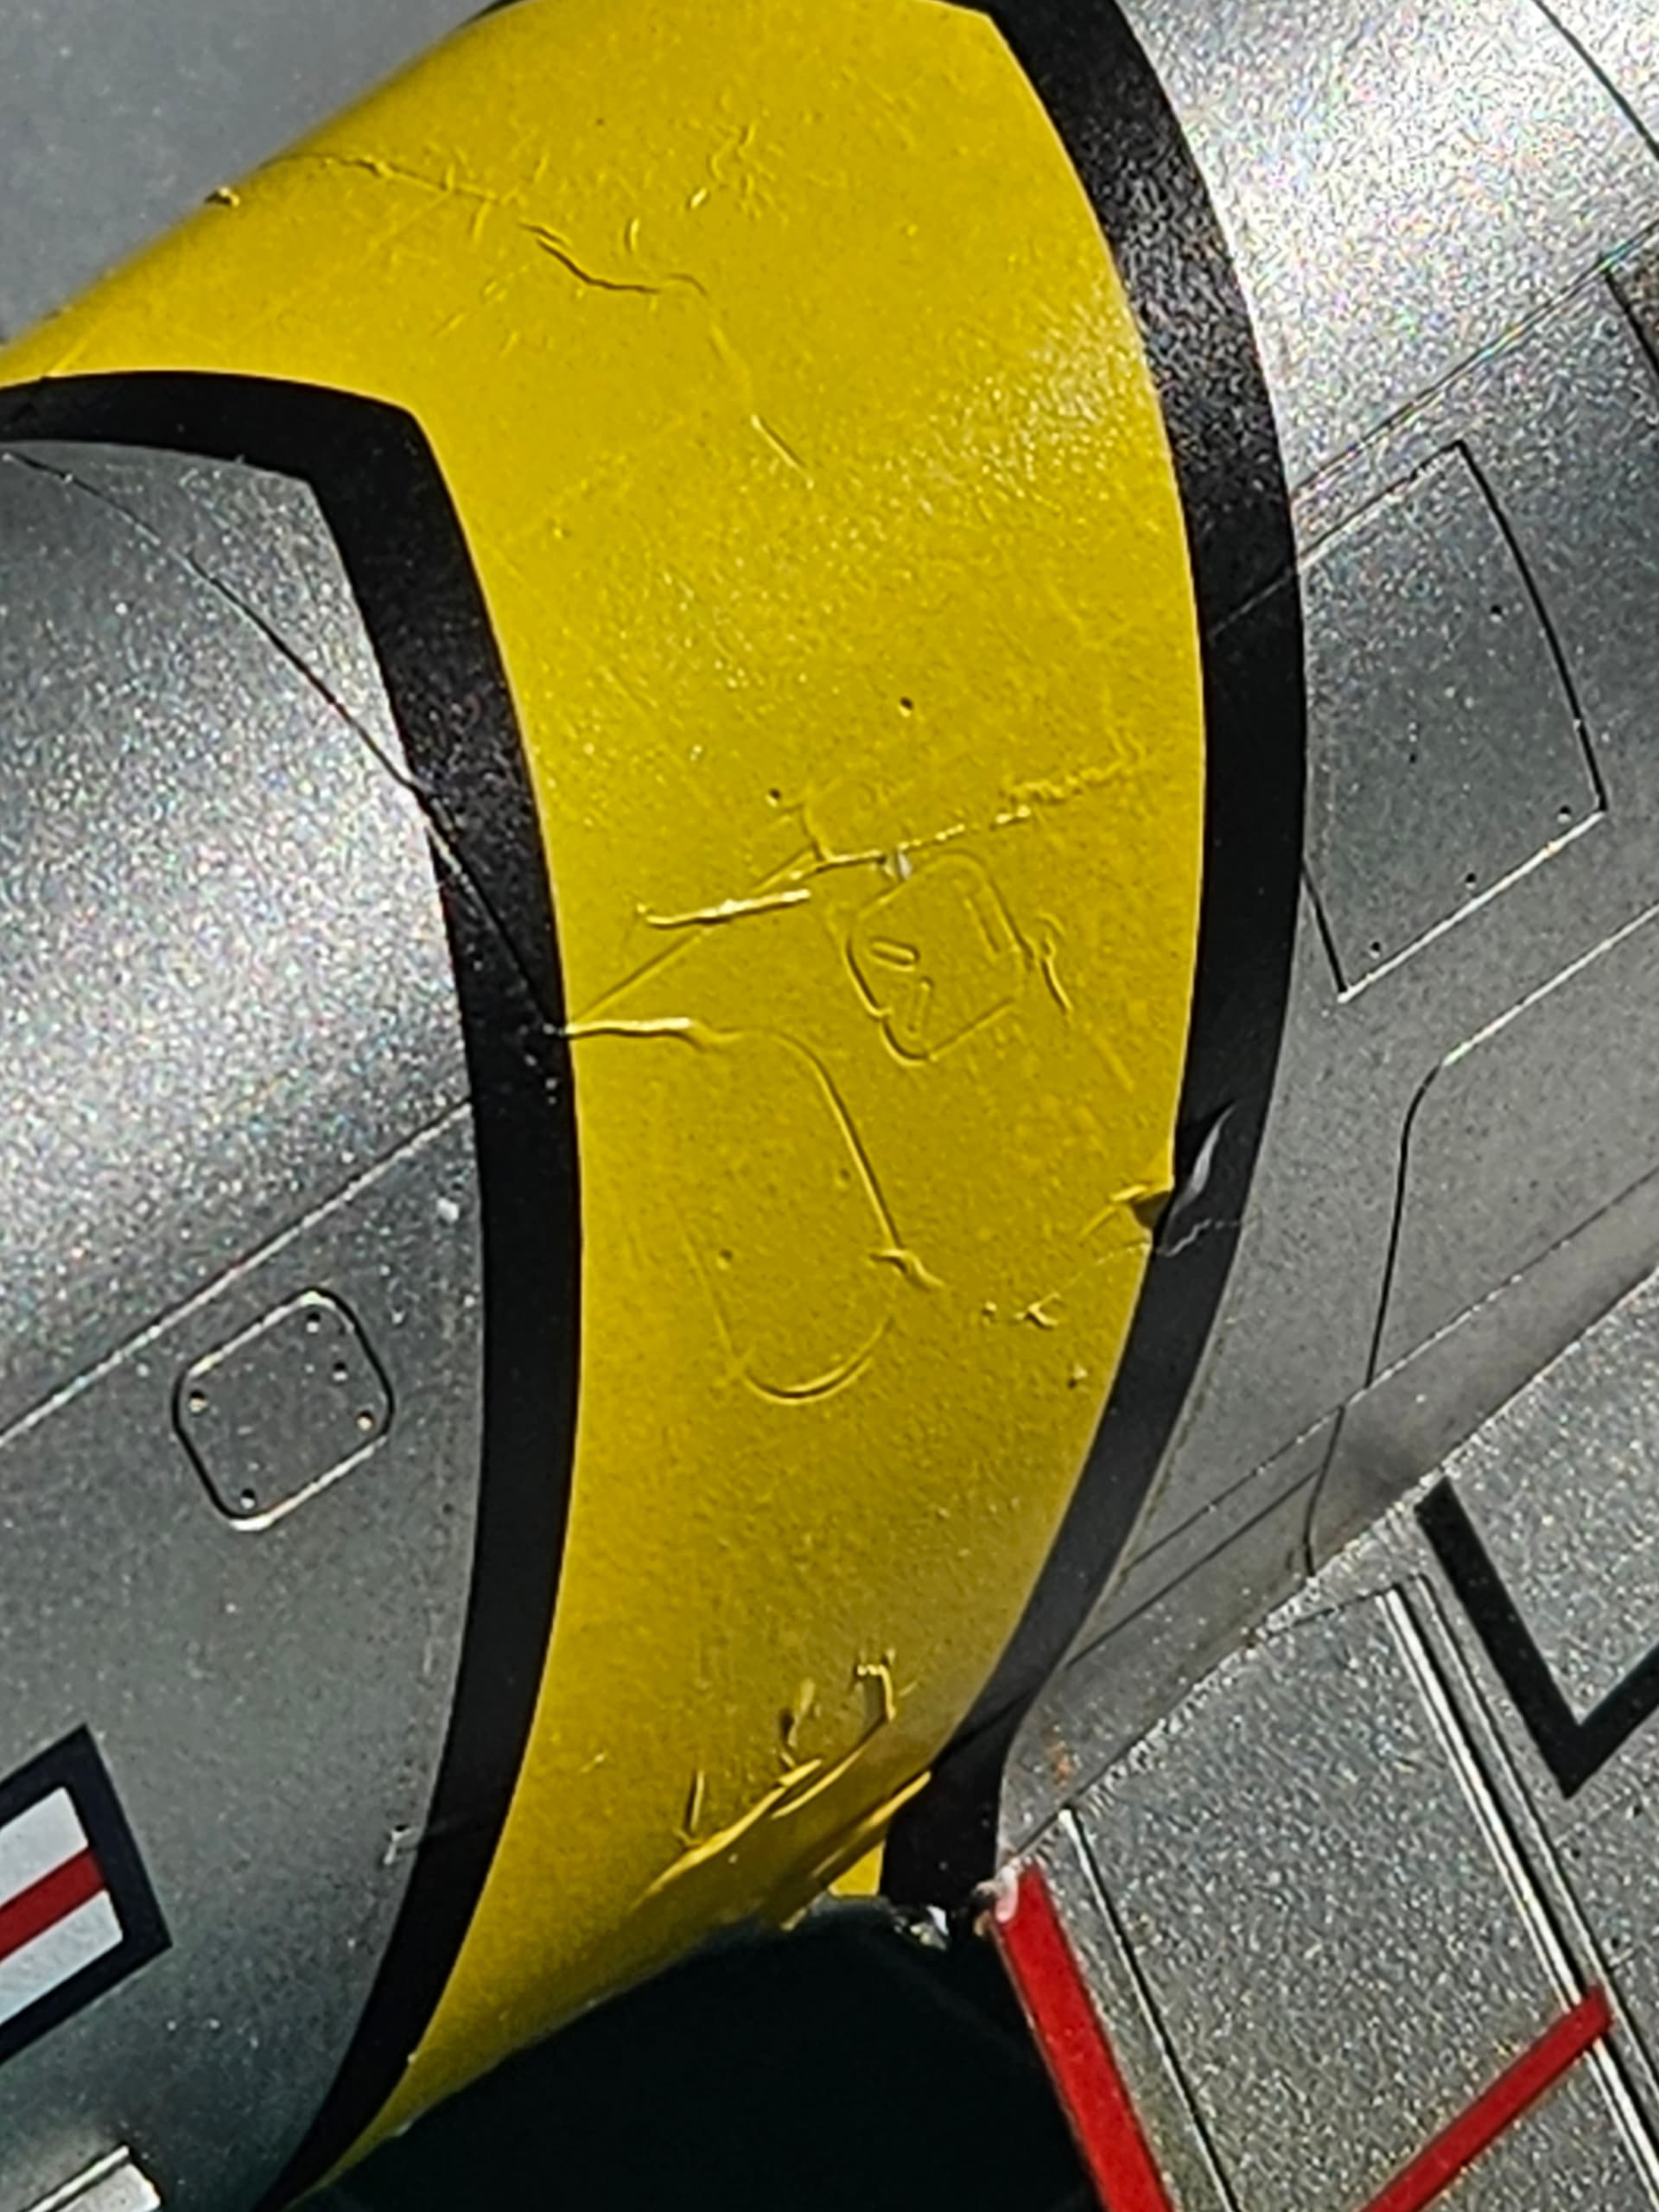
Today, I watched hours of build time be wrecked by bad decals. I hate decals. I’d been putting off putting on the theater stripes on my otherwise finished (and favorite build so far) F-86 for exactly this reason. This is my second attempt at doing these, as the first set (after market) also failed, but in a different way.
First time they were thick and didn’t conform into the cracks and panel lines and looked terrible. So I removed them.
This time, using the kit hasegawa decals, they conformed but are wrinkled after sitting overnight.
I followed my normal process with micro set and micro sol and even sprayed microscale decal film on these to help them hold together (they didn’t).
Wish I knew what I’m doing wrong?
I had played around with creating masks on the cricut but could never figure it out, their software is not easy.
Now I’m going to sand everything smooth, use these decals as a mask and paint, what a pain.
I would mask off and paint those areas first, then trim the black stripes off the decals and use them separately (cutting them into two strips if necessary). Seems the easiest route. Good luck!
Yeah the plan right now is to mask the black and sand the yellow smooth, (it’s only the yellow that’s wrinkled for some reason). Then repaint the yellow only using the decals as the guide.
Could be that you need to have a smoother finish. Your NMF looks a bit pebbled - could be the pic. Decals like smooth gloss coats to sit down on. Just a thought.
It’s interesting, it looks really grainy in the photos, but it isn’t really. I put a smooth gloss coat and sanded it with 6000 grit sandpaper before decals. All the others are perfect, but I used a AM set of decals except for these theater strips which looked more accurate in both design and color. I think they might be old decals, (like 1998 old) that have lost their plasticity. I did some research and it fits the results.
Apparently, older decals often fail because the carrier film has lost its plasticizers over time. Those chemicals are what keep the film flexible. As they’re lost over the years, the decal becomes stiff and brittle. When decal-setting solutions soften the film, a fresh decal can stretch and conform to panel lines and rivets. An old decal often can’t—it wrinkles, cracks, or bridges over details instead because it has lost much of its elasticity.
I’ve had that happen at times. I’ve been able to fix it by using a fine needle to poke holes in the wrinkles, or making tiny slices with a Nr 11 X-Acto blade, and then applying decal setting solution again. It can take several passes but eventually the wrinkles have smoothed out