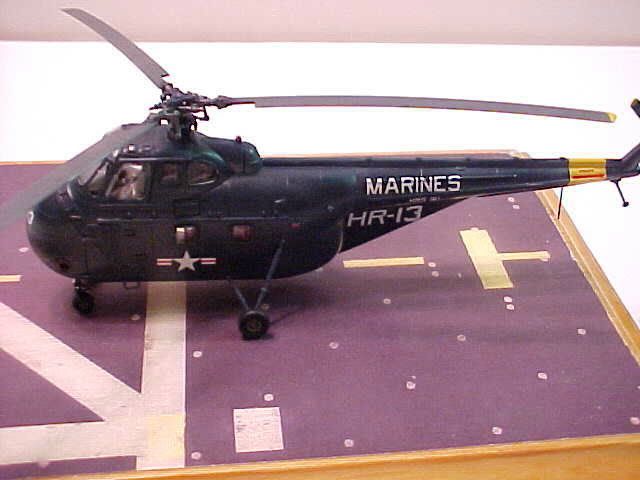
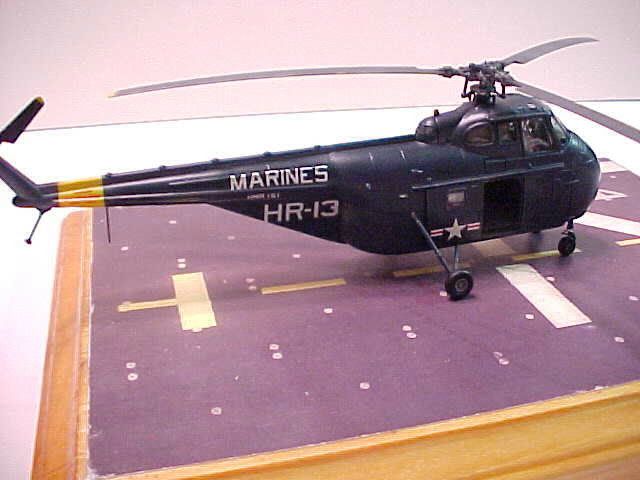
I recently picked up the Italeri HH-19 kit and was surprised at the detail on it…I was expecting much worse.
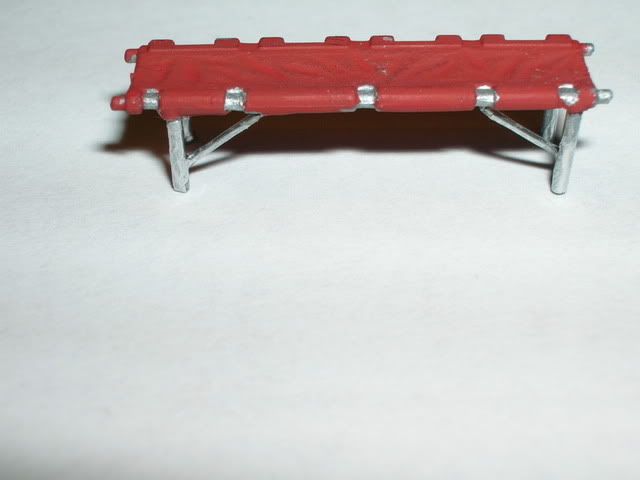
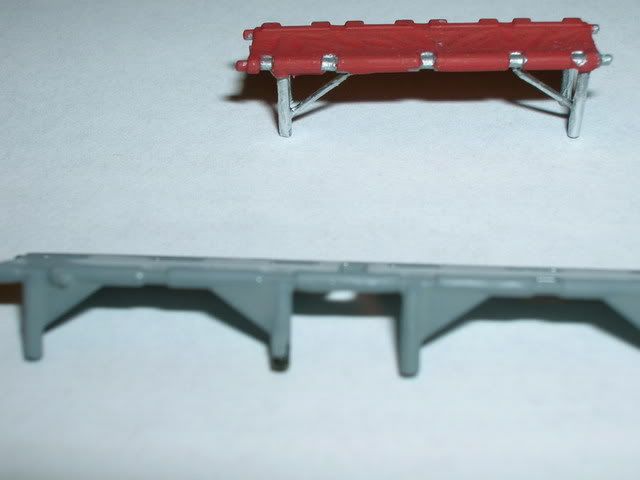
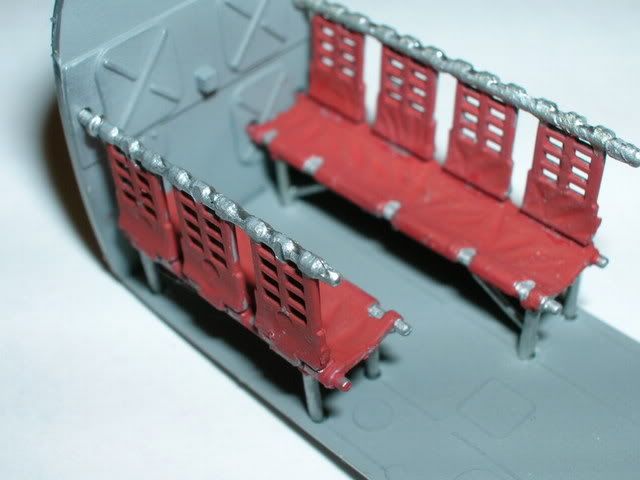
Anyway, I looked at the troop seats and decided I could improve on them. I modified the seat supports by cutting off the plastic ones and replacing them with small gauge welding rod and pieces of .020 safety wire (also known as “lock wire”)
As I don’t have anything else to illustrate the “before” and “after”, I took one of the troop seats from an Italeri H-21 kit which had the same kinds of supports.
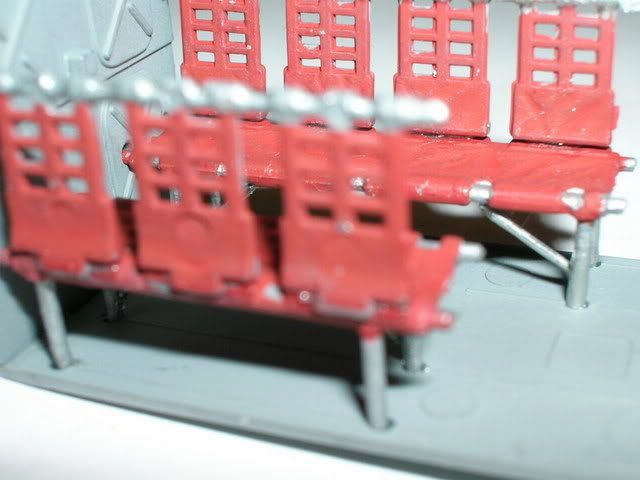
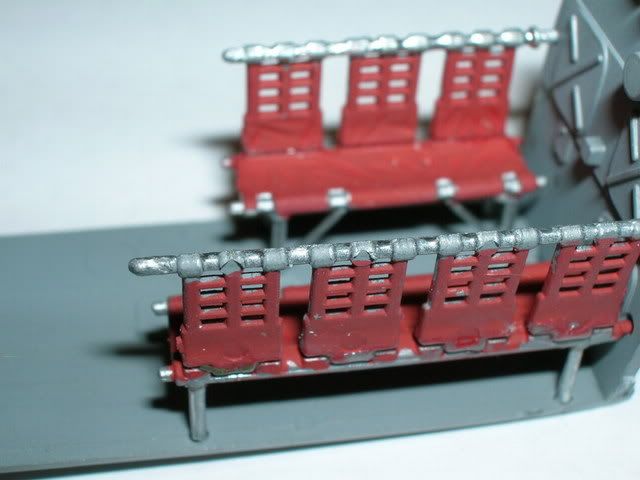
Some touch up painting is still required, but dry fitting the seats looks something like this:
I probably will not add lap belts because most of this will not be visible once it is closed up in the fuselage…More photos will be added as the build progresses.
its not a bad kit at all, actually one of Italaris better kits. Wish they had put as much attention into the AH-1T/W/ Z kits, but thats what resin and scratchbuilt parts are for!
Any other photos to share?
David
Baton Rouge Scale modelers, 94 days till Cajun Modelfest XXII!
good job on that H-19 kit! It looks really good. I am planning to do a USMC bird like yours, recycling the decals from the last re-issue of the Airfix kit.
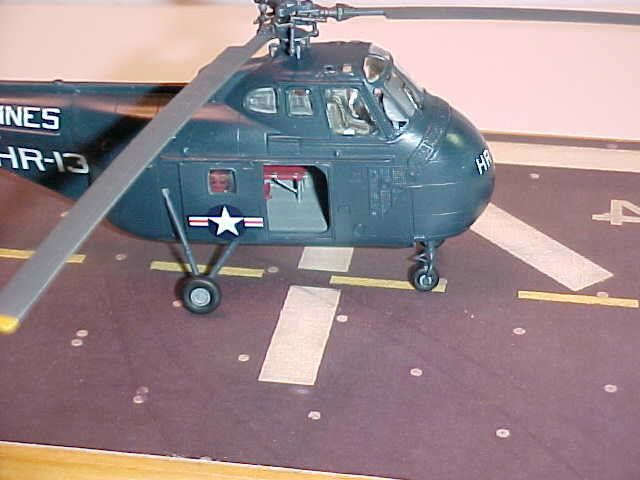
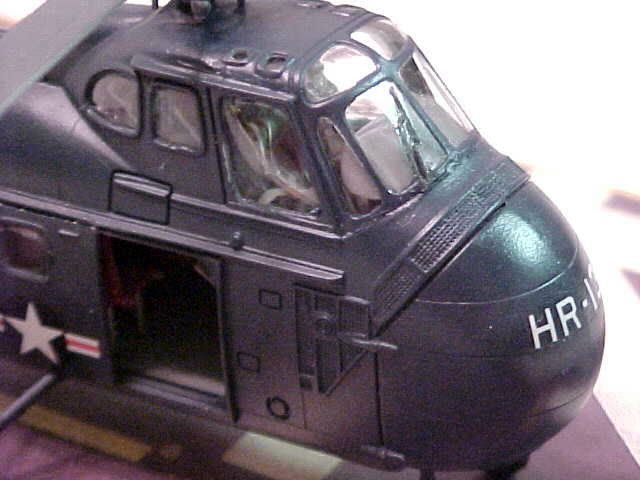
One thing I would like to point out, and please don’t take this as bashing of your build, because I’ve already made the same mistake on one of my Whirlwind conversions. On the early H-19’s and ALL of the Whirlwinds, the canopy framing was different, and the windscreens were internally braced. I just found this out thanks to a write-up in a UK magazine. Have a look at these photos, and you’ll see where Italeri goofed it up for all of us. (Bless 'em, there’s always a snag in their chopper kits!!)
Thanks for the kind words and no offense taken, I’m glad you pointed it out…I only wish I had know about it before I started, I could hace taken the extra frames off.
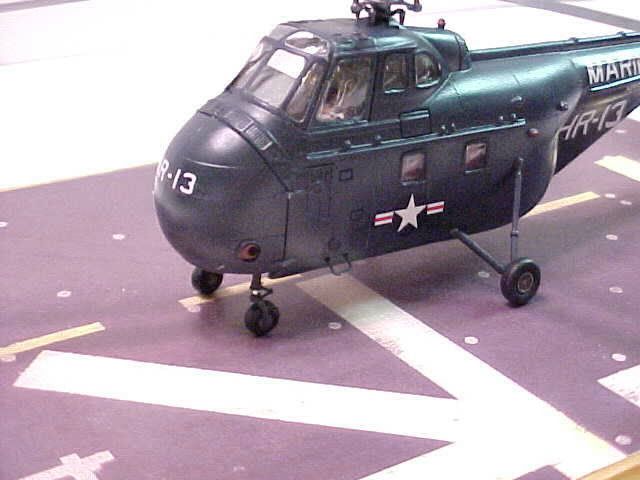
BTW, Nice reference photo of the HMM-162 bird… Do you have any more, or as was asked earlier do you have any color references for that particular paint scheme? That photo has me wanting to do one for that squadron…I was assigned to that unit from mid 1976 to late 1977.
As regards the B&W H-19 photo, I don’t have any good info on the trim color. The photo was originally published in the Japanese magazine Koku-Fan, and I’ve cropped it slightly for emphasis on the windshield.
I am reasonably certain that the overall color is Light Gull Grey, as this was an appropriate color for helos in active units in the late '50’s. I asked one of my Japanese co-workers to read the photo’s caption, but he said it gave no info about the trim color.
In this case, I would have to guess that it might match up with the ‘doghouse’ coloring seen on Marine H-34’s in the early VietNam period, but I’ve never been able to make sense of how those colors were assigned to the various squadrons.
(Personally, I think it would look great with red trim, but that’s just me.)
Thanks. I’ll keep my eye out for pictures. Funny that the only other picture in that scheme I had was of the other windshield - different squadron but same stripes.