Hello all! I frequently remove the parts from the sprues, clean them up, and tape them to a piece of cardboard, and primer or paint them. This is a real pain, and uses lots of tape, and it’s easy to lose parts. I may start primering everything on the sprues, cleaning them up (sanding sticks for mold lines, etc) and theN attach them to something to be painted.
regardless the process, I find that the biggest struggle, is having a place to put stuff to dry, that is NOT inside the booth, so I can keep painting!!! I am curious to know what other people do. Do you have racks? Do you hang the sprues from the ceiling? Do you have a little card table you lay them out on? Being in a wheelchair, I really don’t have a spot to put another table, as I can’t get around it. This is why I am thinking of going UP! and having some string hung from the ceiling for drying possibly? I do need some of those little alligator clips on sticks to stick in a piece of foam, I’ll order some today. Just curious what others do…
Hi Rudy, I stumbled upon small bricks of RC balancing clay at Hobbytown usa. It has a little weight to it, so it makes a perfect drying stand. I stick those alligator clips on sticks right into the clay and it can easily hold pieces or a whole sprue vertically for drying. They don’t take up much room so you can set a whole row of them on a window sill or edge of a table and get drying stuff out of the way. Hope it helps!
you could paint a sprue and use a hand held hair dryer to dry the paint right away. I never allow my paints to “air dry”. Easier to manage parts and mush less opportunity to get dust in the paint. You can get about using the parts right away too.
Fuselage & mainwing interiors well as small parts do spray while on sprues whenever possible. Sprue cutting is an art for sure particularly old airplane model kits, most I’ve work with have very thick sprues requiring very careful cutting, more often than not have to follow-up with putty work.
I don’t paint parts on spruce because when you cut them off you need to go back and touch them up.2 as mentioned above sometimes once parts are put togthere they may need putty to hide seams so you end up sanding paint back off to me its a waste of time and paint measure twice cut once.
Agreed. I simply lay my parts on the tape sticky side up (sticky side up taped down on a clean flat board or a scrap cardboard box and paint away. I never paint my part on sprues.
I see that you’re into car models, so I’ll try to be helpful with that type of painting. The parts that require simple assembly like motor blocks, rear ends and the like I do on sprue, trying to eliminate attachment points that are visible on the finished part to reduce touchups. Bigger things, let’s say a multipart chassis, I’ll attempt to figure out how I can break it down into subassemblies that will paint easily. For individual items like seats and headers, etc. I use blue tack or similar nonstaining mounting gum to temporarily fix the parts to clothes pins; Black Sheep’s tape method also works well.
As for getting stuff out of your spray area, I have two suggestions. The first is to glue alligator clips to cooking skewers, cut in half so you get two pointed ends to shove into blocks of styrofoam ( the big blocks that come in so many new product boxes). You can sometimes cut off all but one sprue “stick” for the clip to bite, or clip to a point that will be hidden. For soft clip jaws I use electrical shrink tubing to cushion the jaws. Second, if your space permits a string line with clothes pins will hold sprues, parts or assemblies for drying.
I hope something I’ve said will be of help. Happy modelling!
I have my paint booth on a big workbench, so there’s lots of room to set things. Mostly, though…parts to be painted go into the box top, over to the other room, painted and back into the box top.
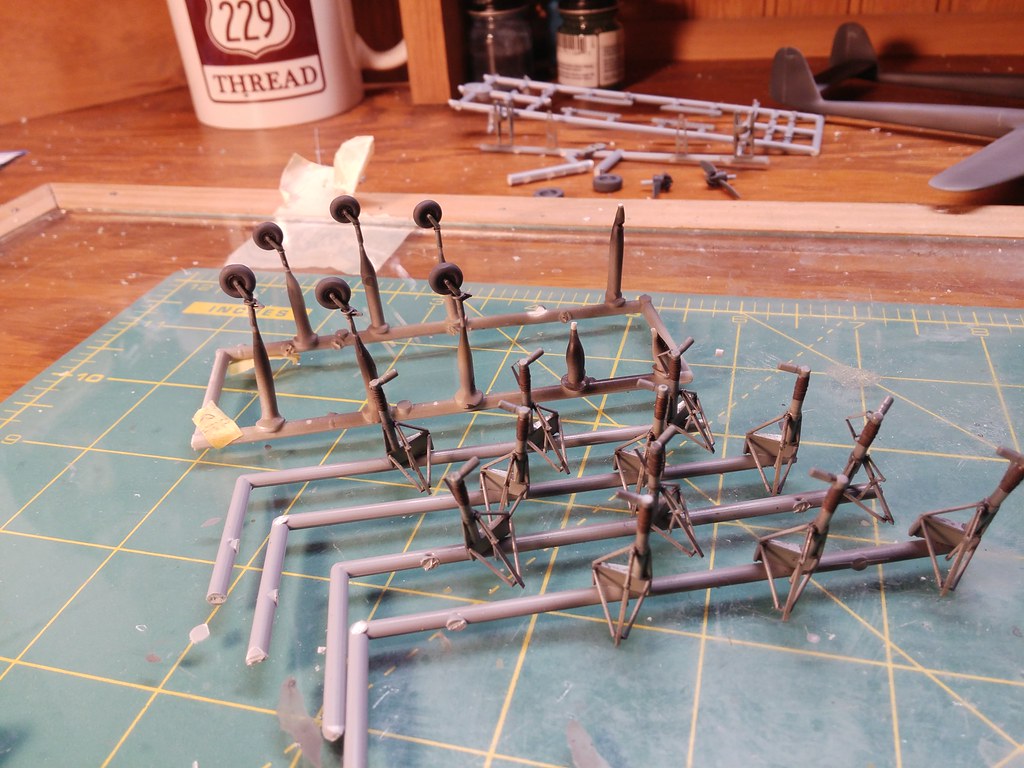
The only time I’ll paint anything still attached to the sprue, is if I won’t have to do any touch up painting or clean up(seam lines/flash/etc). I normally get the parts freed, cleaned/sanded, whatever prep needs to be done…then CA them to scrap sprue for painting.
In this pic, I’ve got the main gears for 6 kits CAed to the sprue and painted.
The rig with the tailwheels has actually made to have wheels “press-fit” onto the tapered sprue.
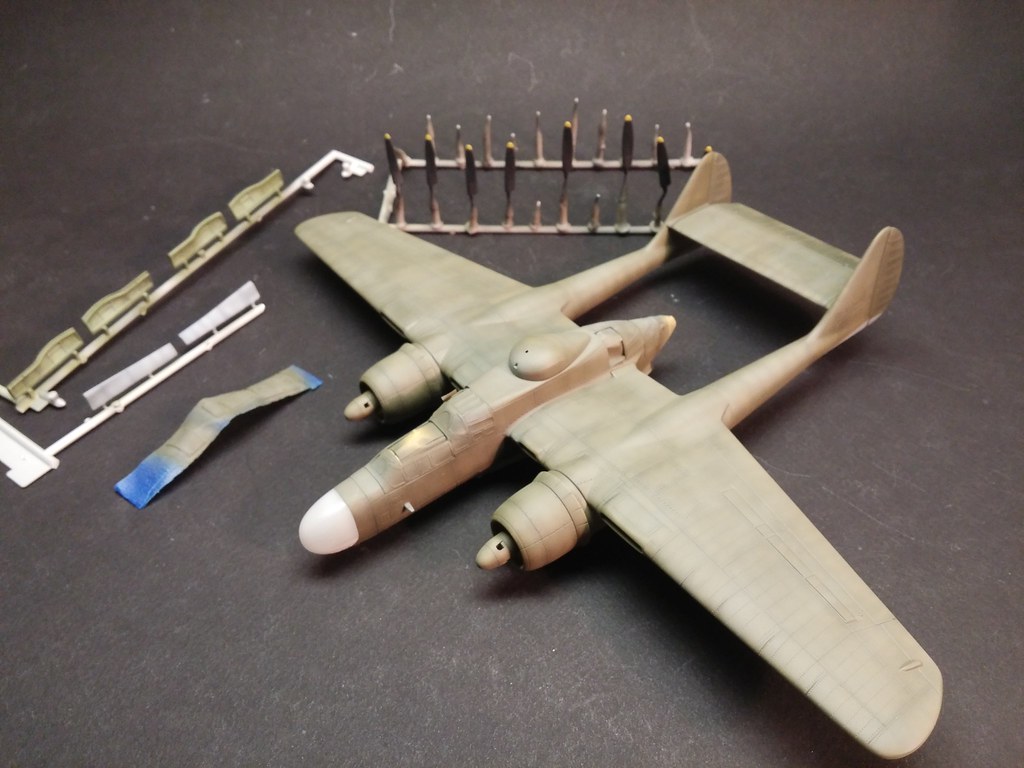
I typically do the same thing with gear doors…you can also see the prop blades on a rig like the one above…(the piece of tape has the open canopy sections stuck to it)
Since I usually use enamels, drying takes awhile, so I built a drying box. Here is a picture of it.
There is a series of holes between the bottom chamber and the top. The holes are spaced so I can stick the “handle” end of clothspins between two of the holes to hold parts of sprues, or , I can stick a few clothspins around a sprue and stick a whole sprue in a section that has no holes- the clothspins hold the sprue slightly off the surface. for car bodies I cut a block from particle board (I keep a supply on hand for jigs, cutting surfaces, support blocks, etc.
I always assemble first, then paint the finished assembly. It is difficult to glue parts after they have been painted without making a mess. The cement will melt the paint wherever it touches.