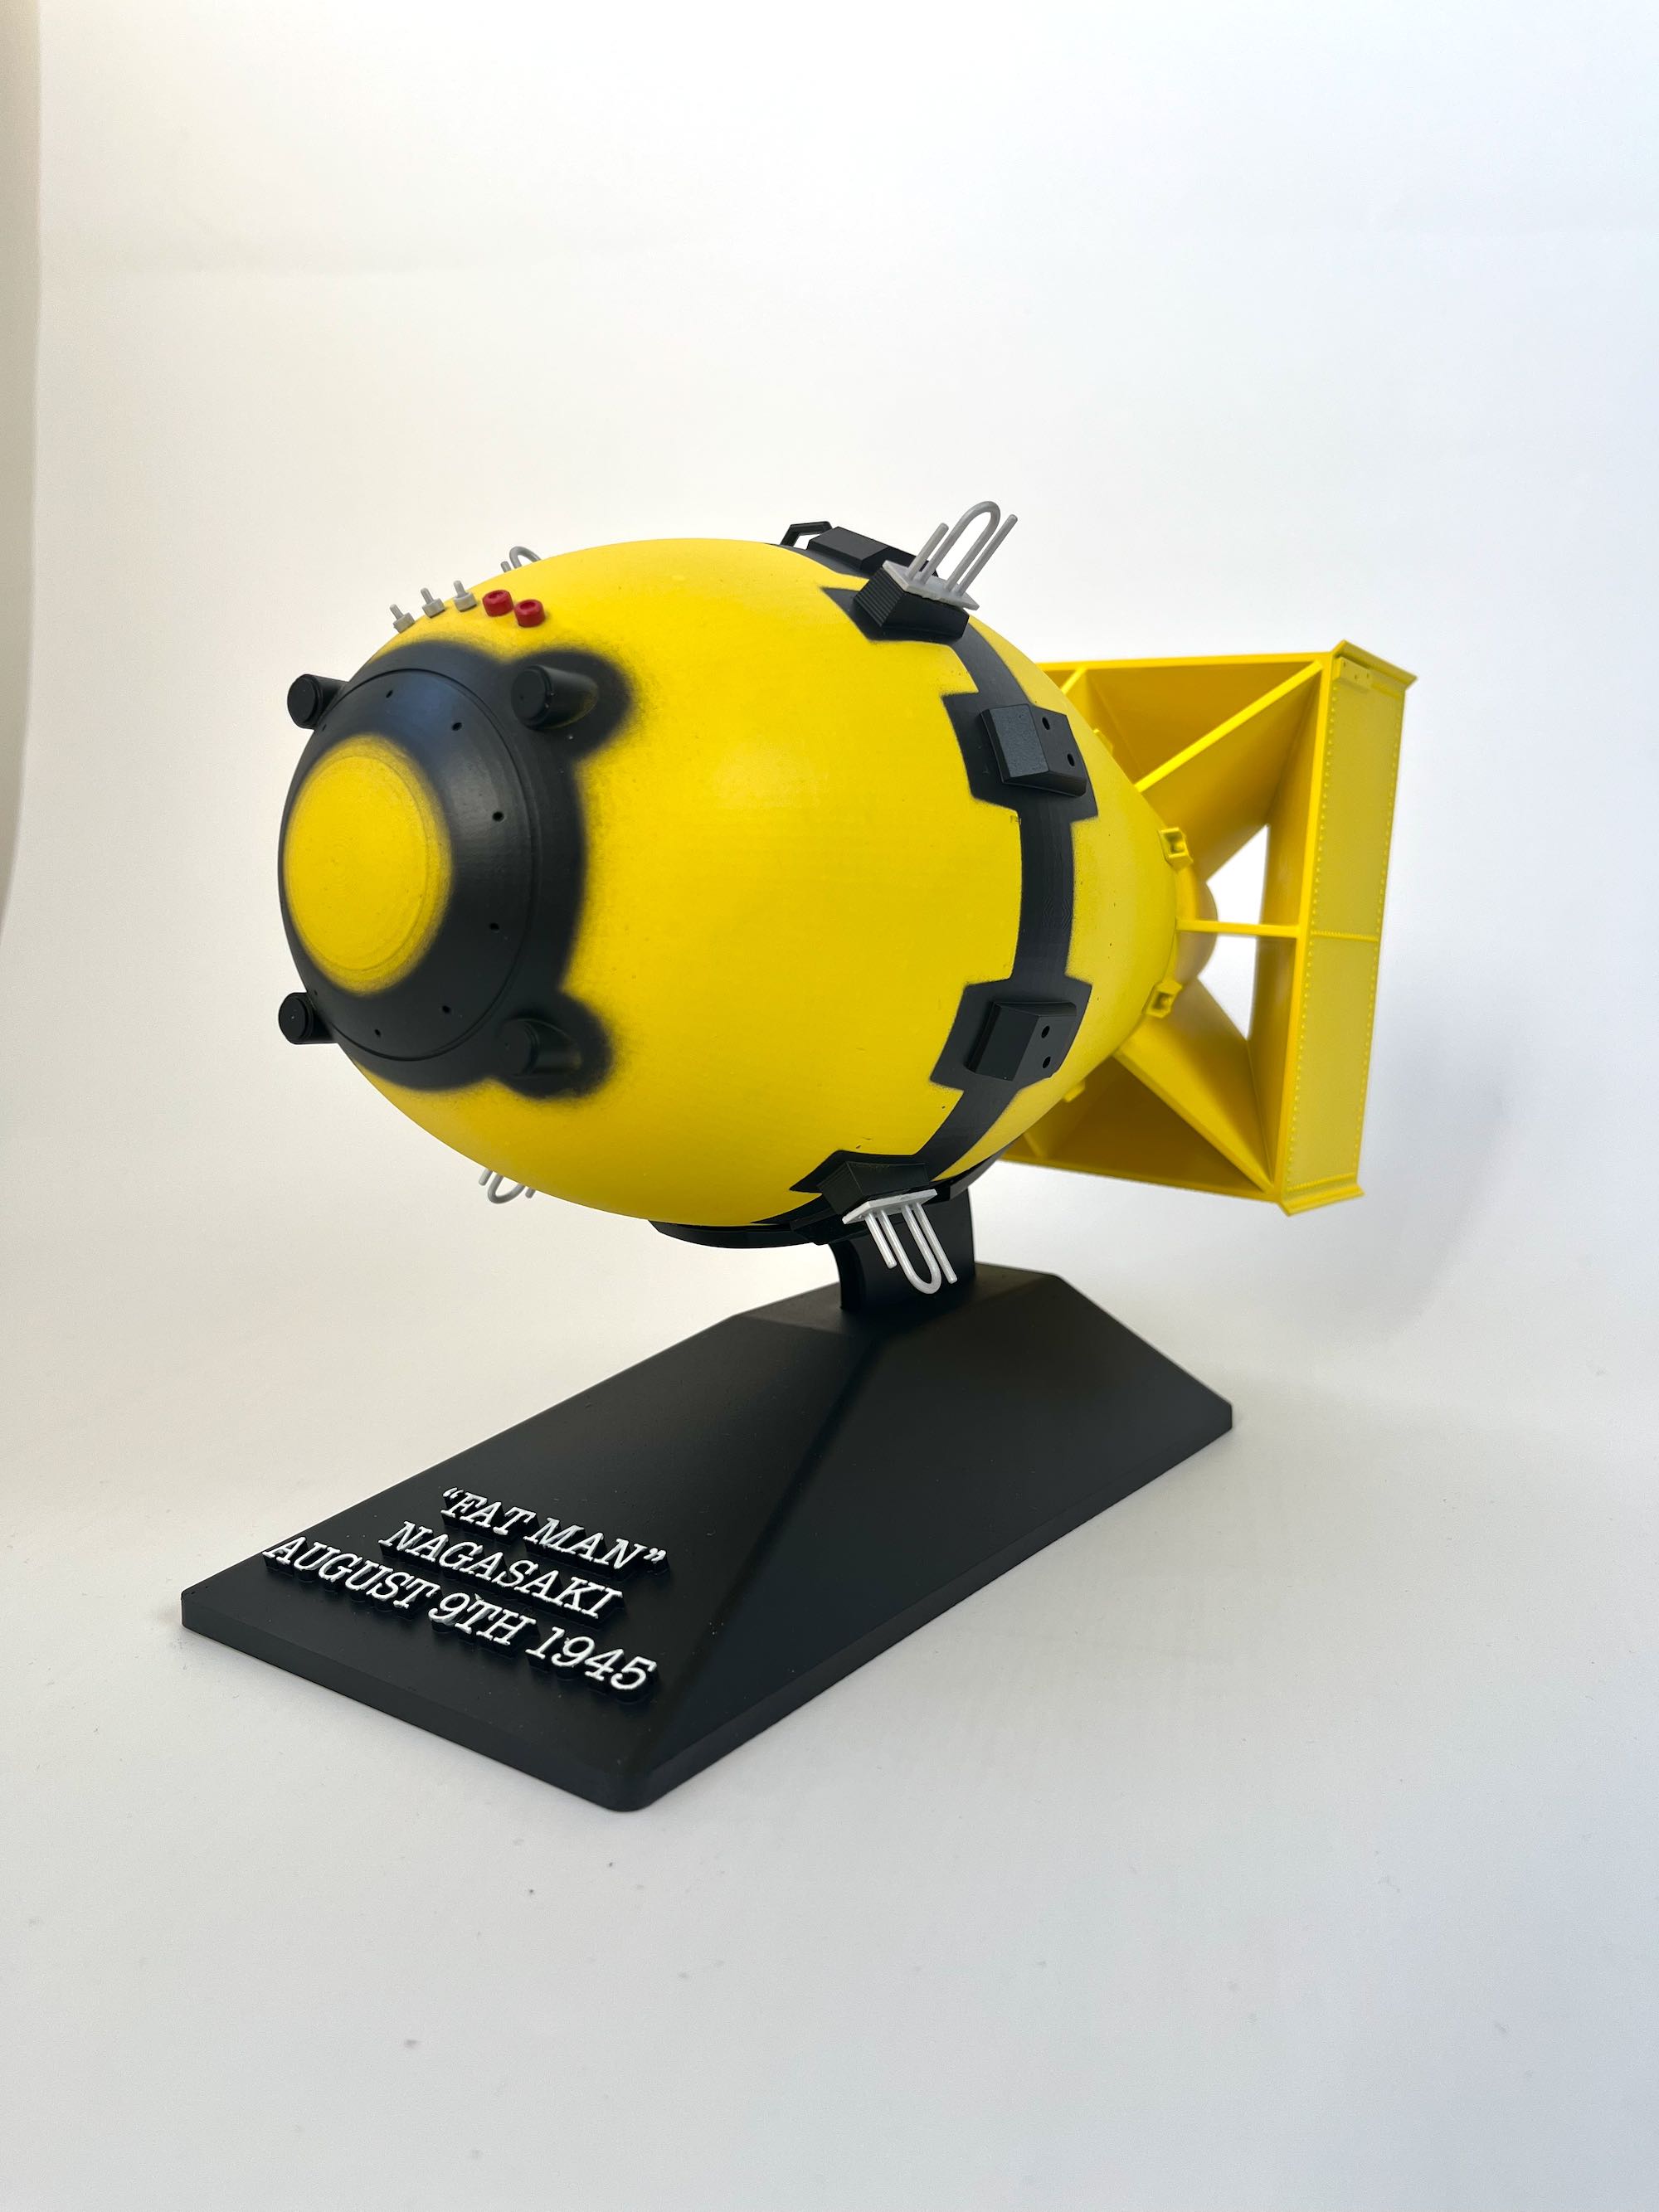
I’ll be honest and say i’m intimidated by weathering fearing I’m going to ruin a perfectly good paint job but weathering adds so much to a model that I want to learn how to do it properly. I’ve painted this Fat Man atomic bomb in vallejo acrylic yellow and black and coated it in matt varnishand want to give it a weathered look. I’ve read, and watched, so much on the subject that i’m in a state of ‘analysis paralysis’. Can anyone lay out the steps that i could do to give the model a weathered look?
1 Like
Maybe a light wash with a dust or dirt color. Good luck!
1 Like
It does look a little dirty in original photos although what I’ve been able to find are B&W. It looks like it’s been handled a lot by dirty hands, so not scratched up or damaged in any way just a bit grimy. At least one of the flat fins on the tail end have names or other text scrawled on it in the photos I’ve seen, probably some of the typical “Dear Tojo have one on me” type of wisecracks that obviously were never going to be seen. Something like this didn’t have much chance to get all that weathered or banged up - it was assembled and crammed into Bock’s Car and off it went.
1 Like
I know virtually nothing about weathering an atomic bomb, and honestly, I’m not sure they were ever really out in the “weather” in the first place. So my instinct would be to keep the weathering pretty light rather than trying to make it look heavily worn.
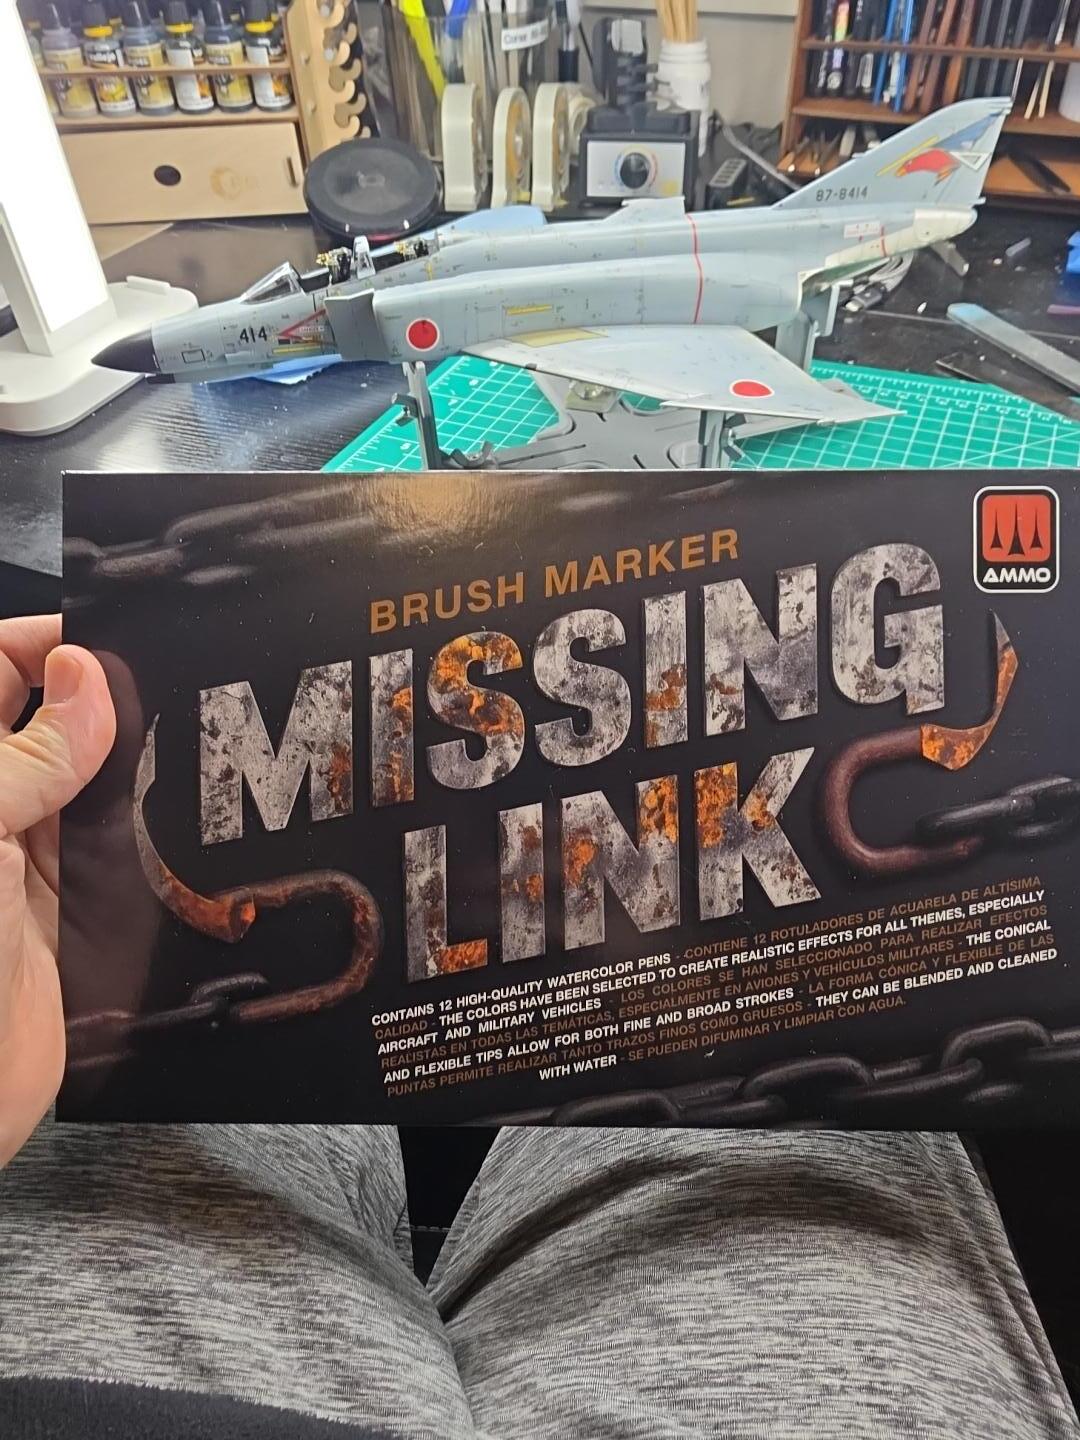
If you want to experiment without risking the paint job, I’ve been having really good luck lately with the AMMO MIG Missing Link watercolor pens. They’re completely water-soluble, so if you don’t like what you’ve done, you can remove it with a damp brush or Q-tip and basically start over.
That’s one of the things I like most about them. You can gradually add a little grime, streaking or color variation without worrying that one wrong move is going to damage all the work underneath.
For something like this, where I wasn’t sure how much weathering was appropriate, that’s probably the direction I’d go.
1 Like
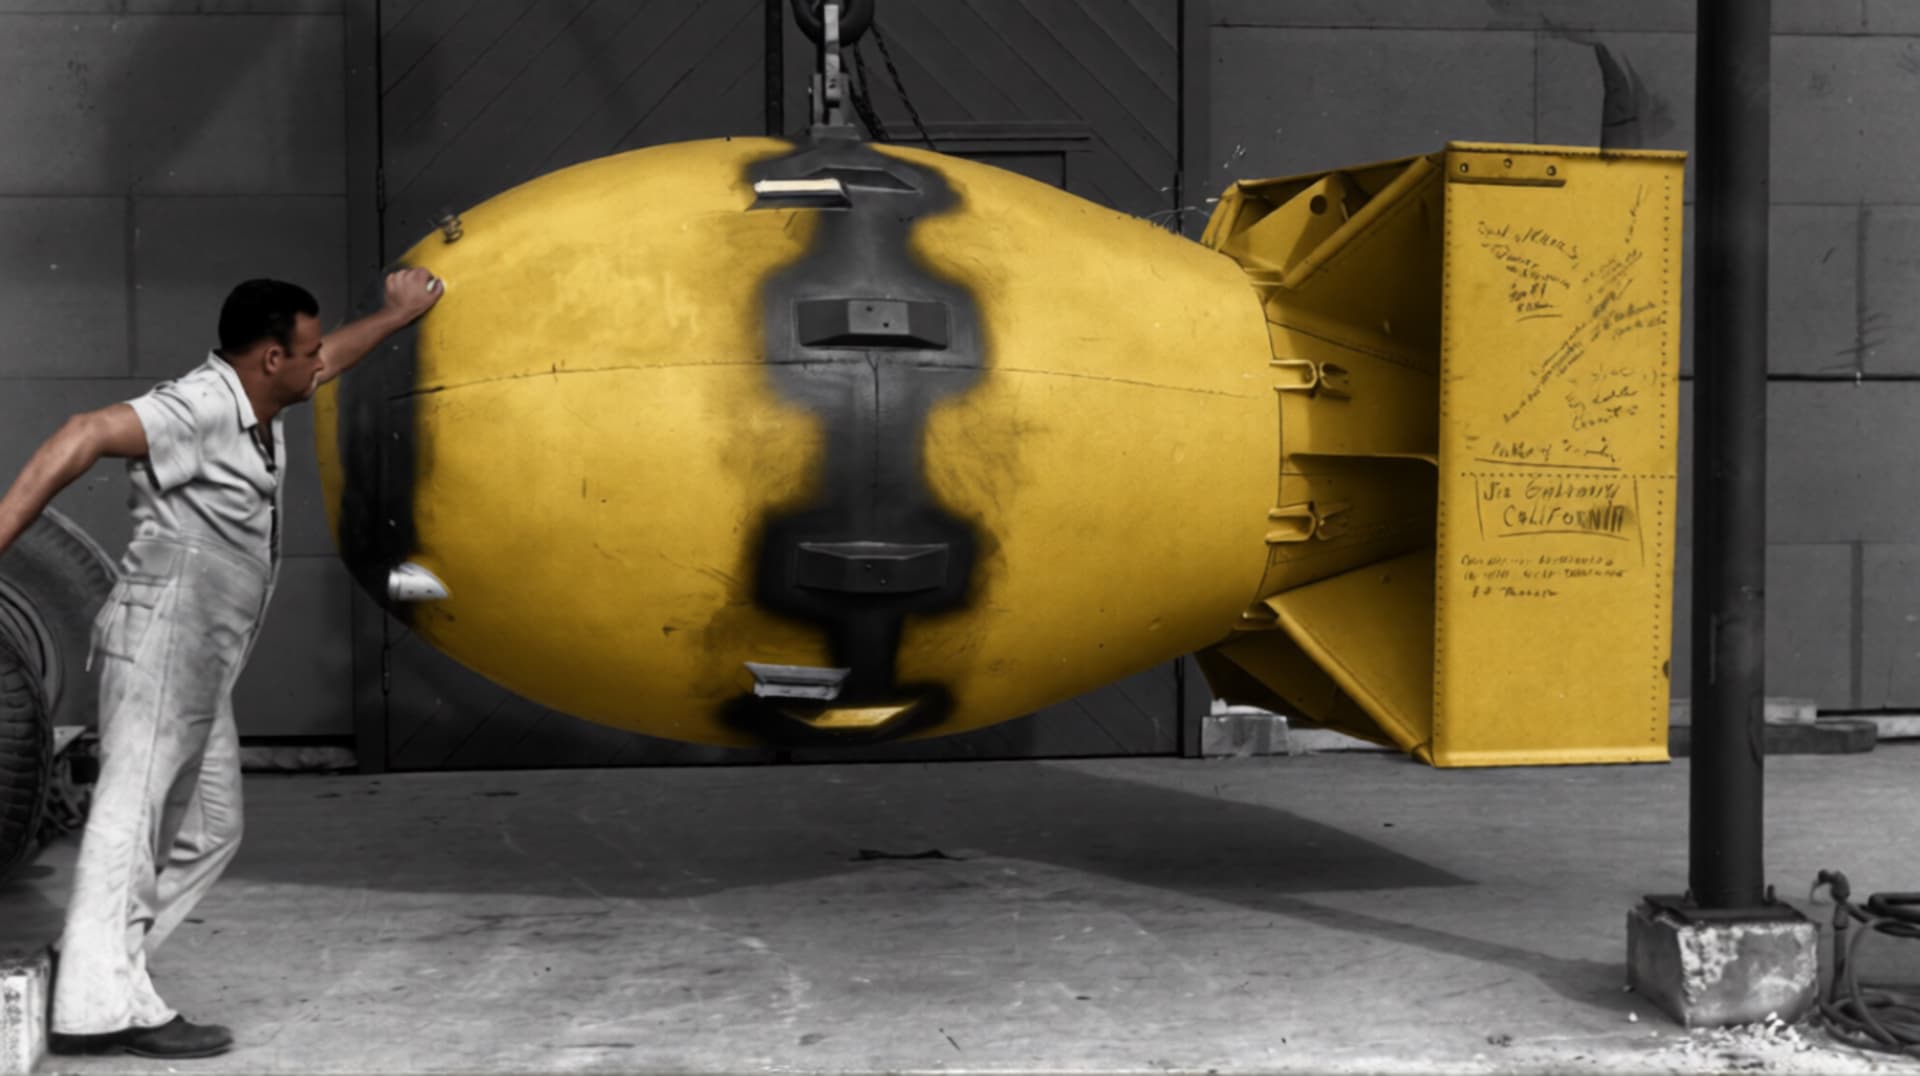
Wow, that colorized version really tells the story.
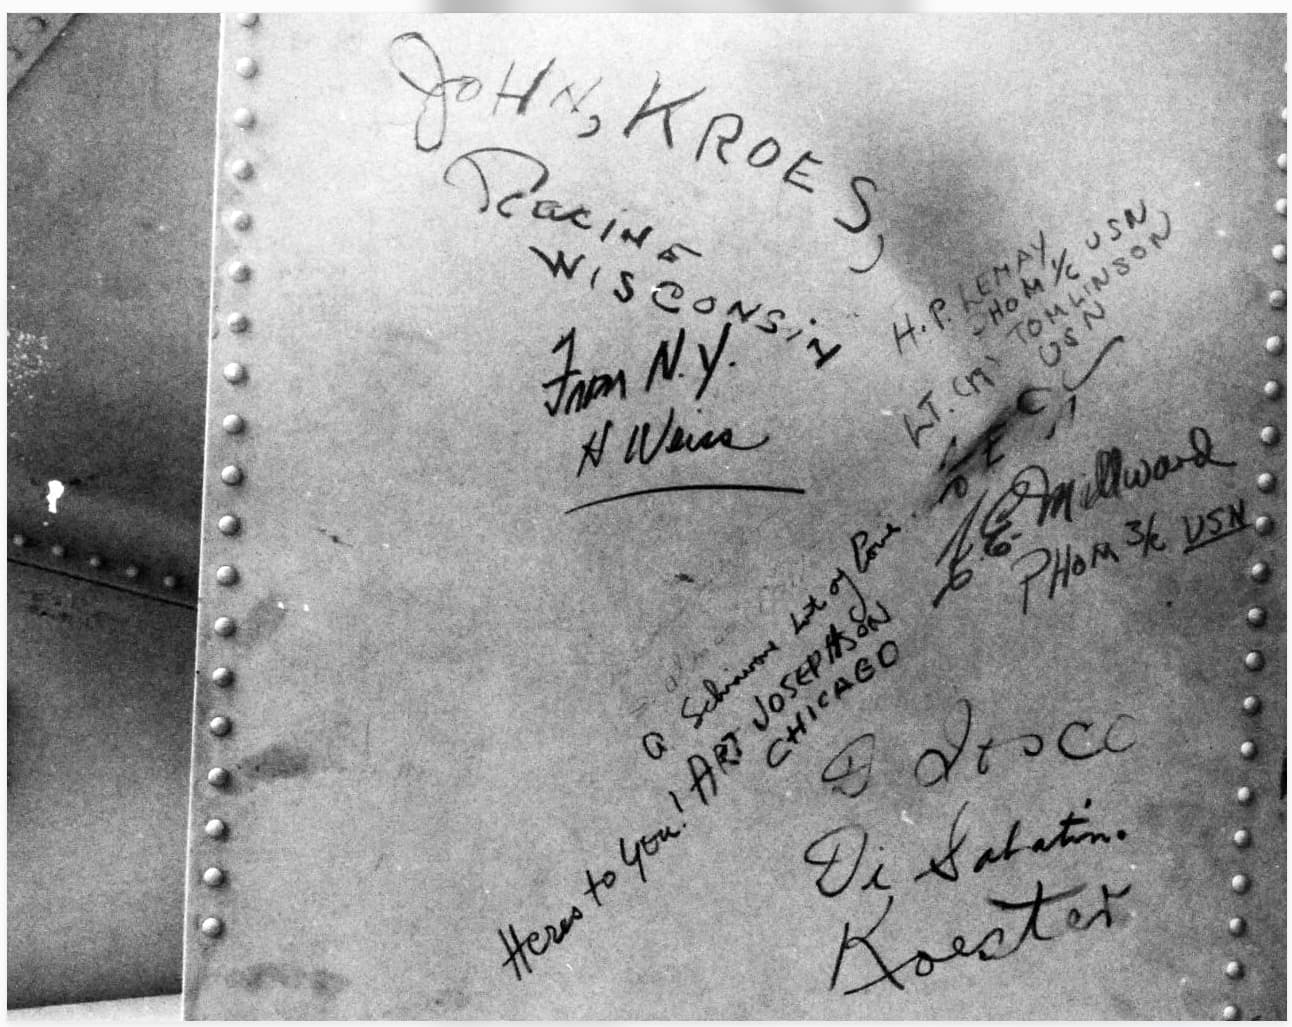
Seeing all those signatures on it is kind of eerie. If I were building this, I’d be very tempted to try to reproduce them somehow.
I did a little digging, and there are actually some very high-resolution period photos of the signatures close up, including one from the National Archives. With a good scan and a little image work, I think you could probably turn the signature field into a clear decal.
At this scale they wouldn’t all need to be individually readable — just reproducing the overall pattern of handwriting would add a tremendous amount of historical context to the model.
2 Likes
Hello!
For a yellow object like this, the best way would be to preshade it in brown before putting the yellow on. Once I’ve had a similar problem. I didn’t want my model to look like this:

So I put on a preshading in brown:

And after basically adding yellow and a tiny little of black wash it turned out like this:

I’ve said it many times - when you start “clean” and try to “dirty it up” later it can turn complicated. Good luck with your model and have a nice day!
Paweł
4 Likes
Good responses so far. I would probably do some washes around details with a mid-brown colour, black is too stark. As well, this looks like a good opportunity to tint the base colours, I would probably use inks for that. With a matt finish anything you apply that’s been thinned a lot will tend to spread out across the surface rather than stay around details. That might get you the look you are after.
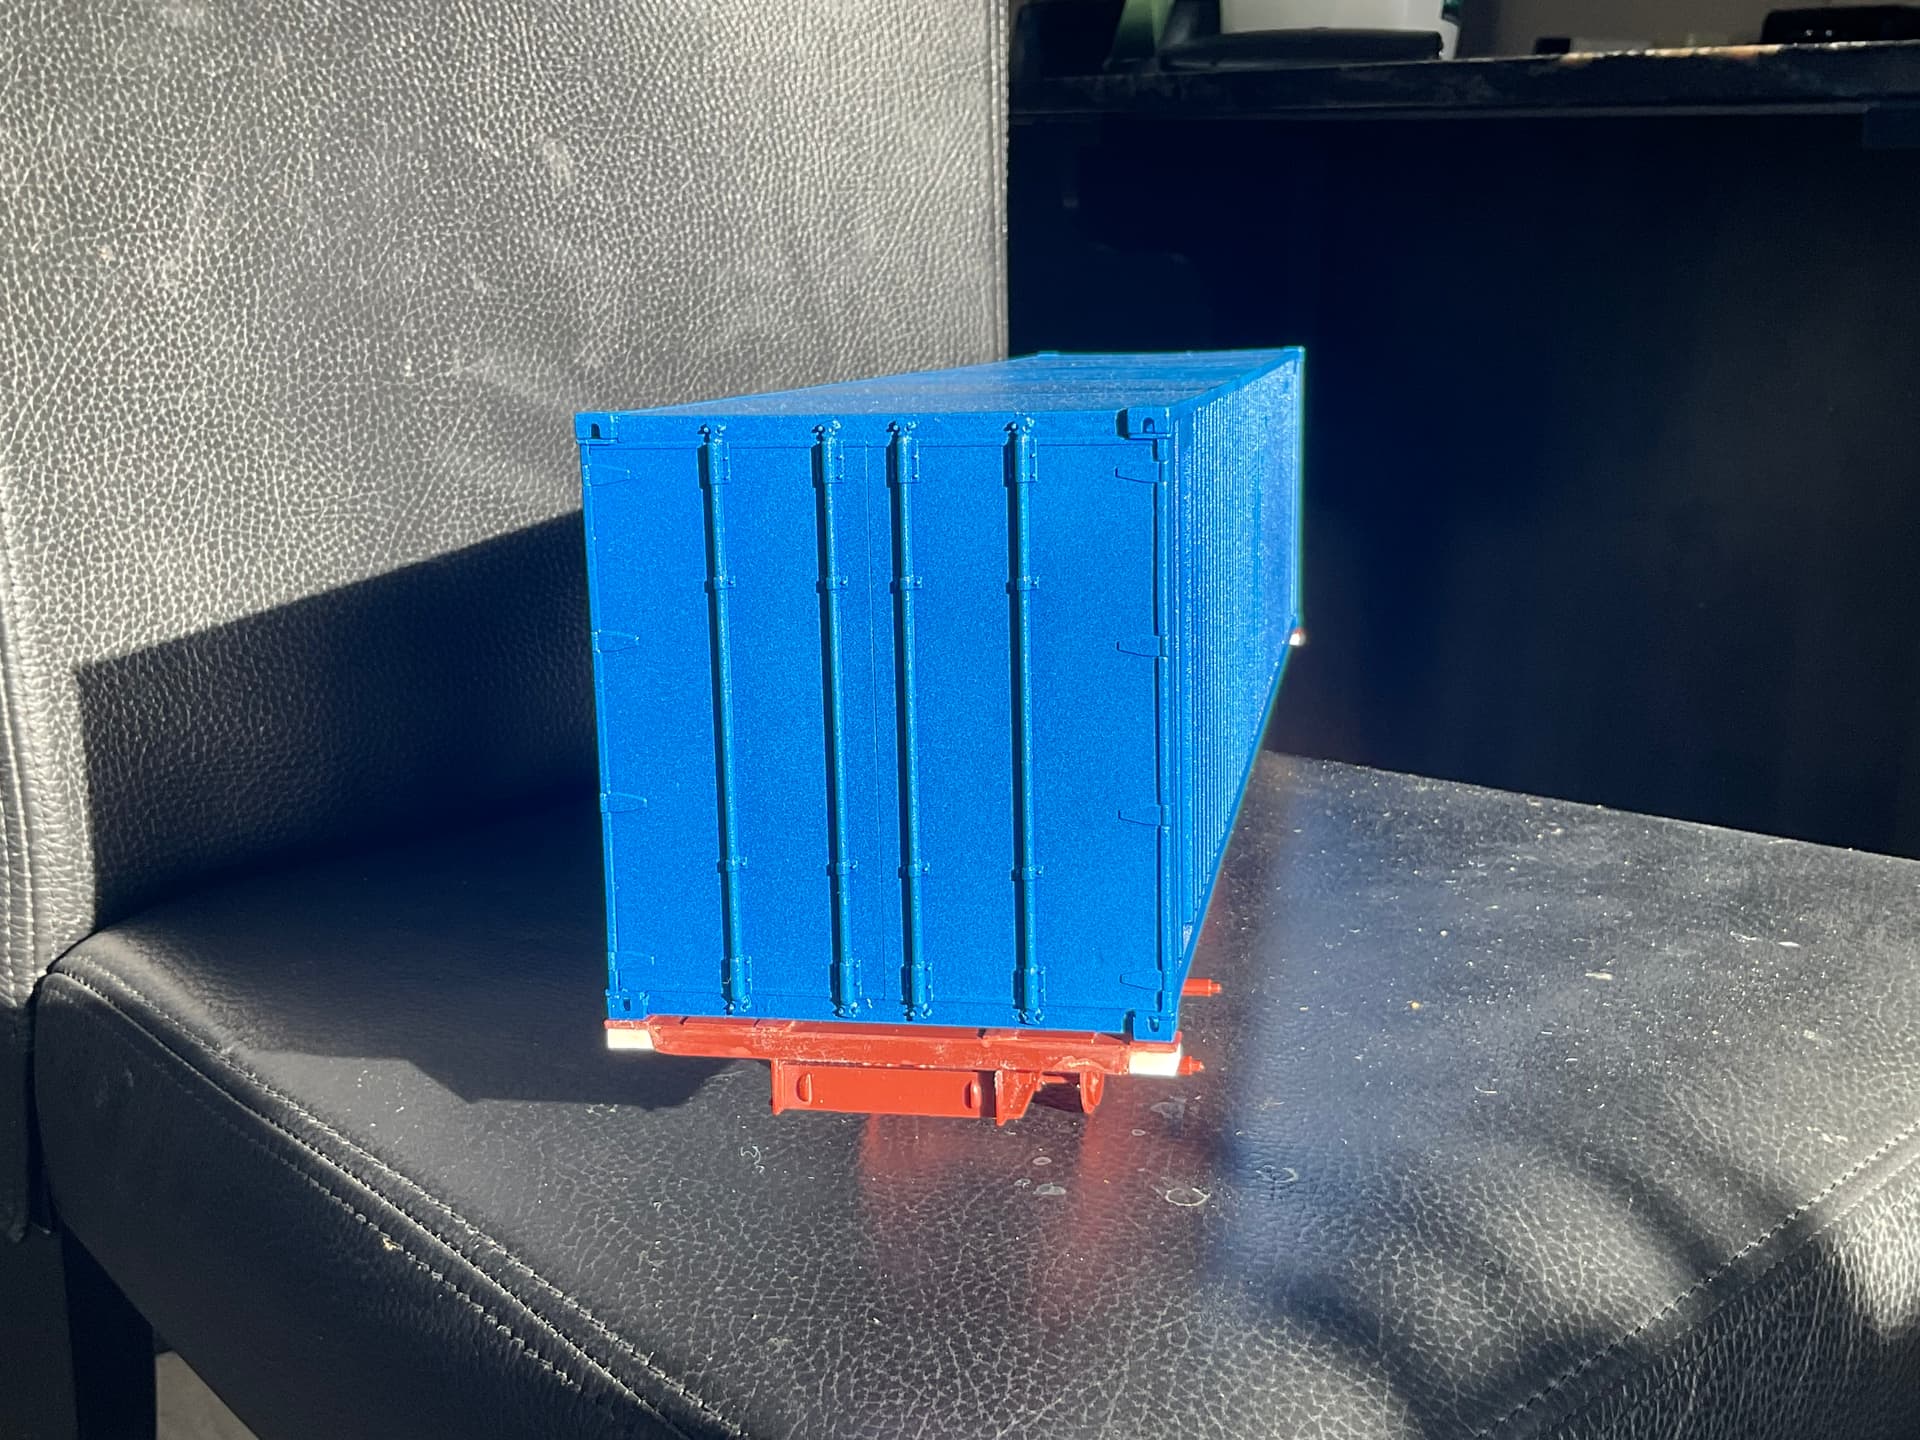
This is an example of what my latest project looks like using inks to tint the edges with a rusty appearance.
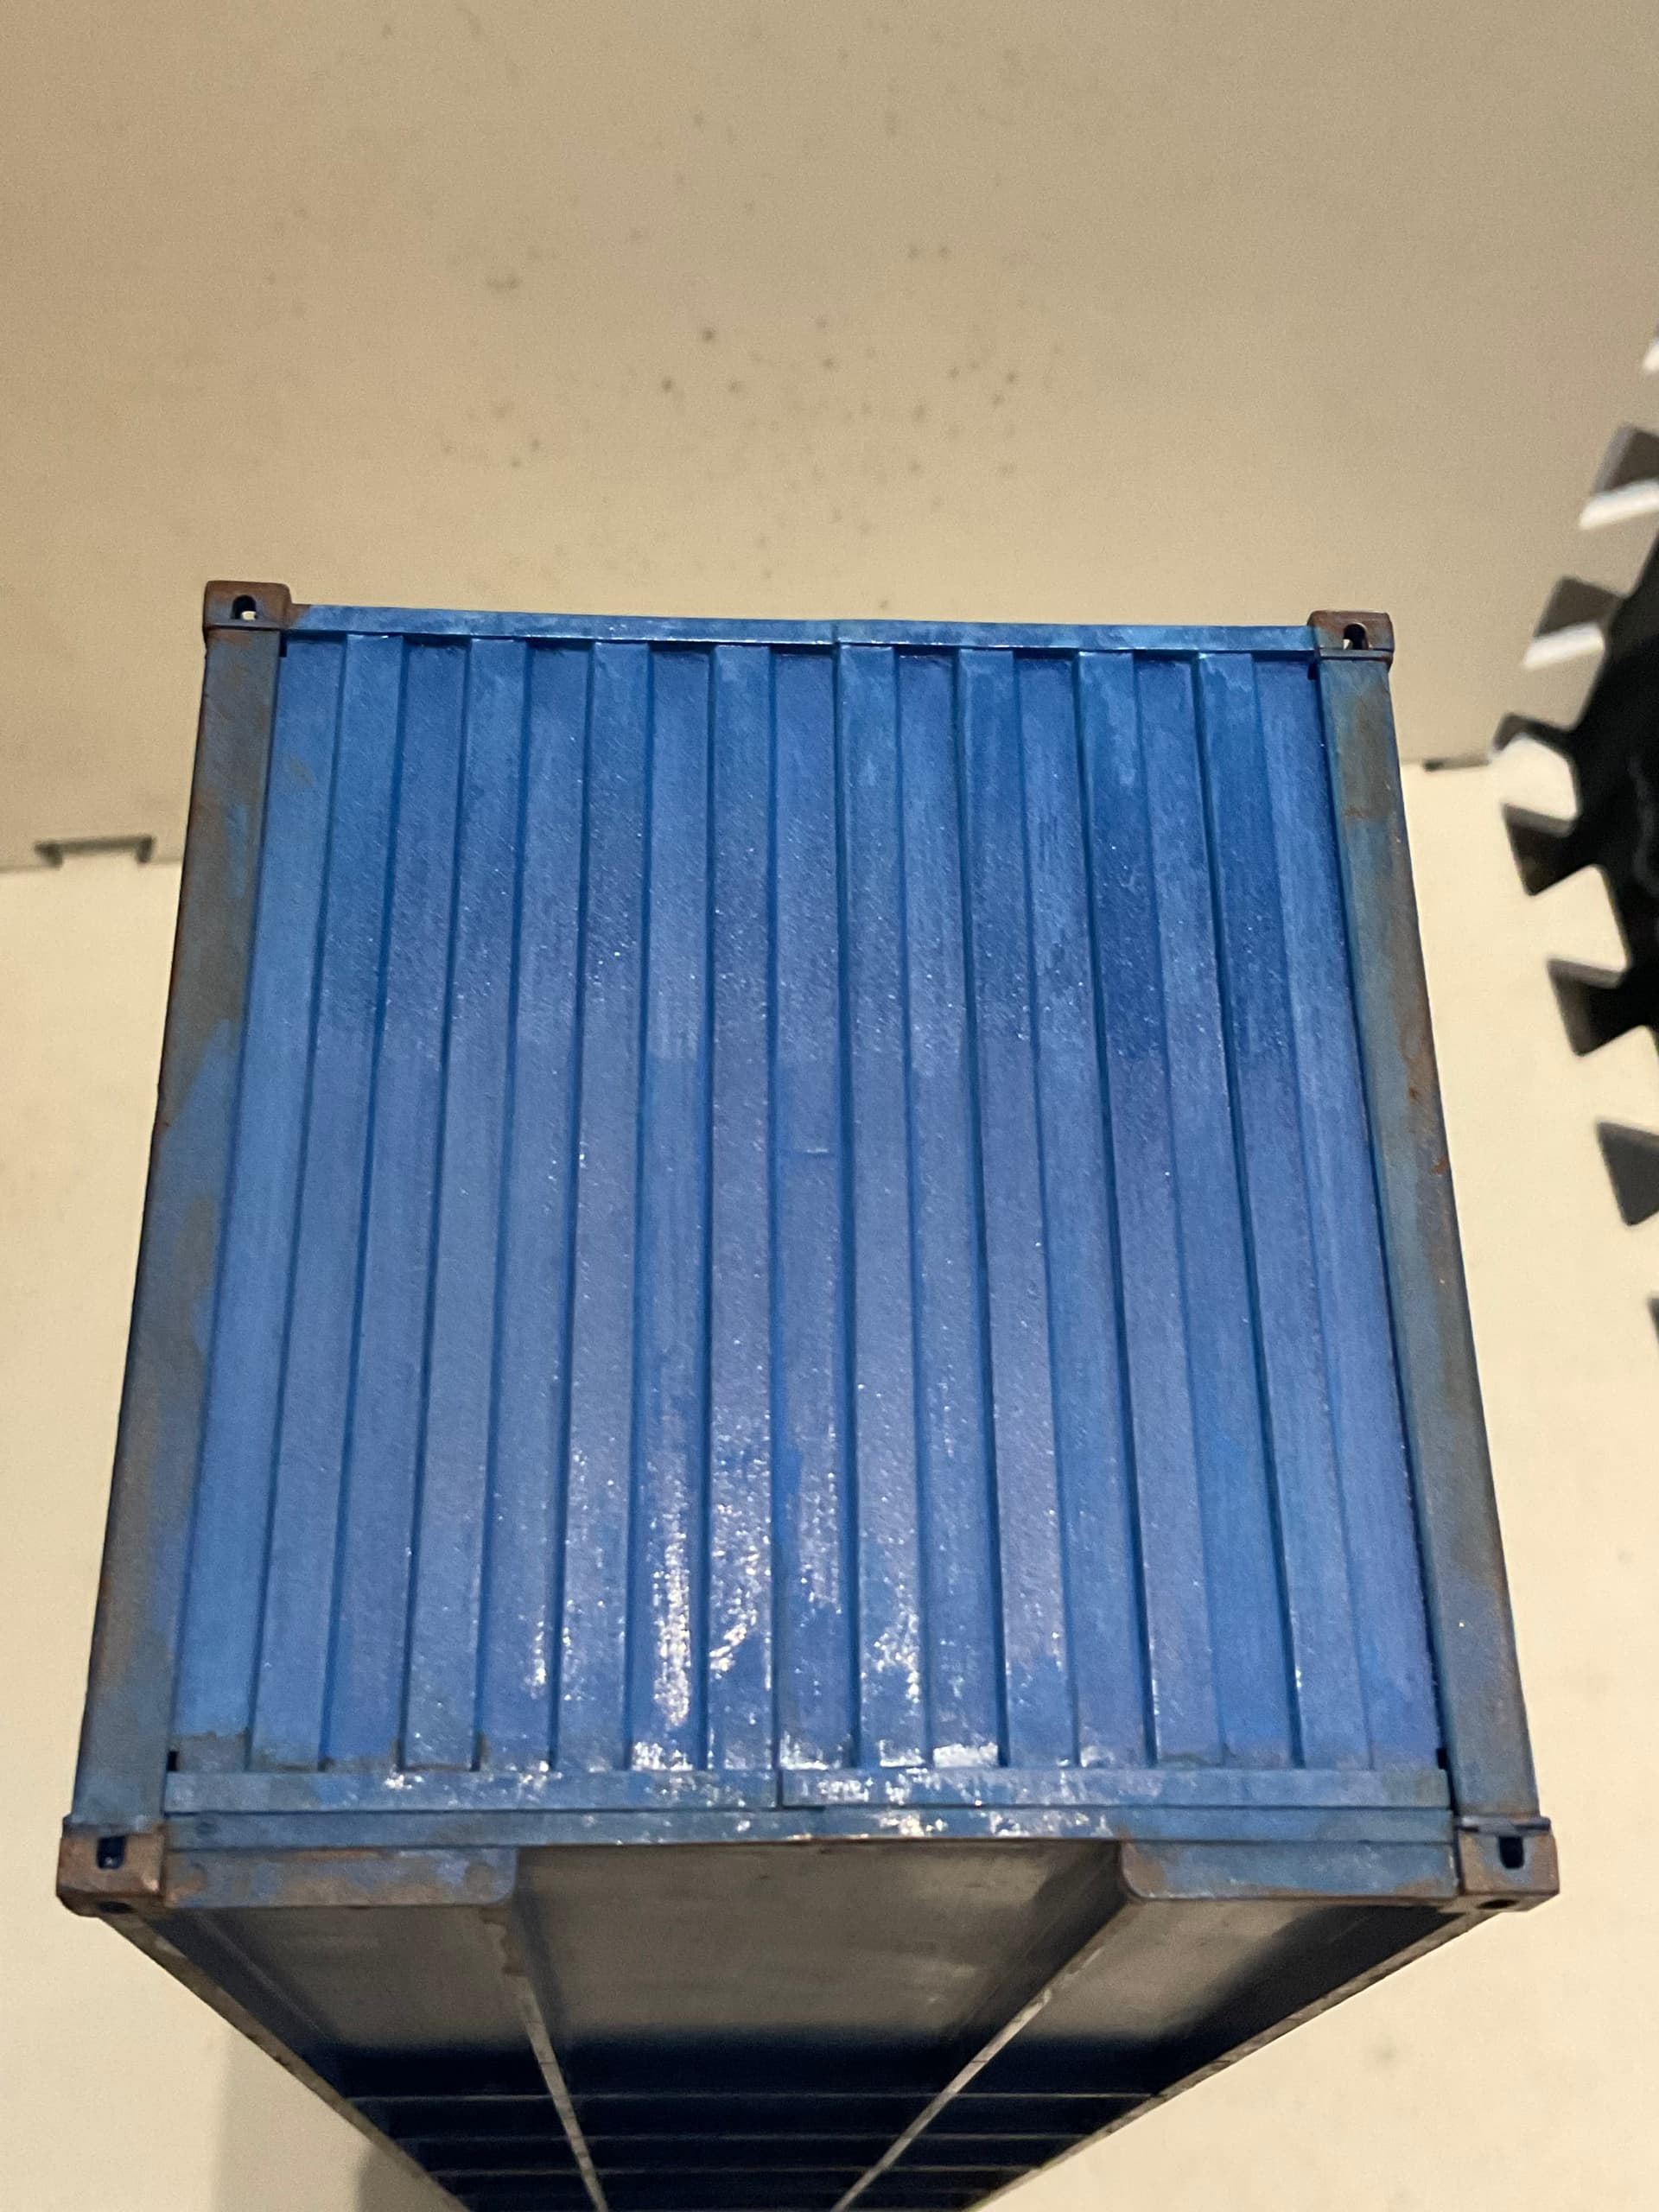
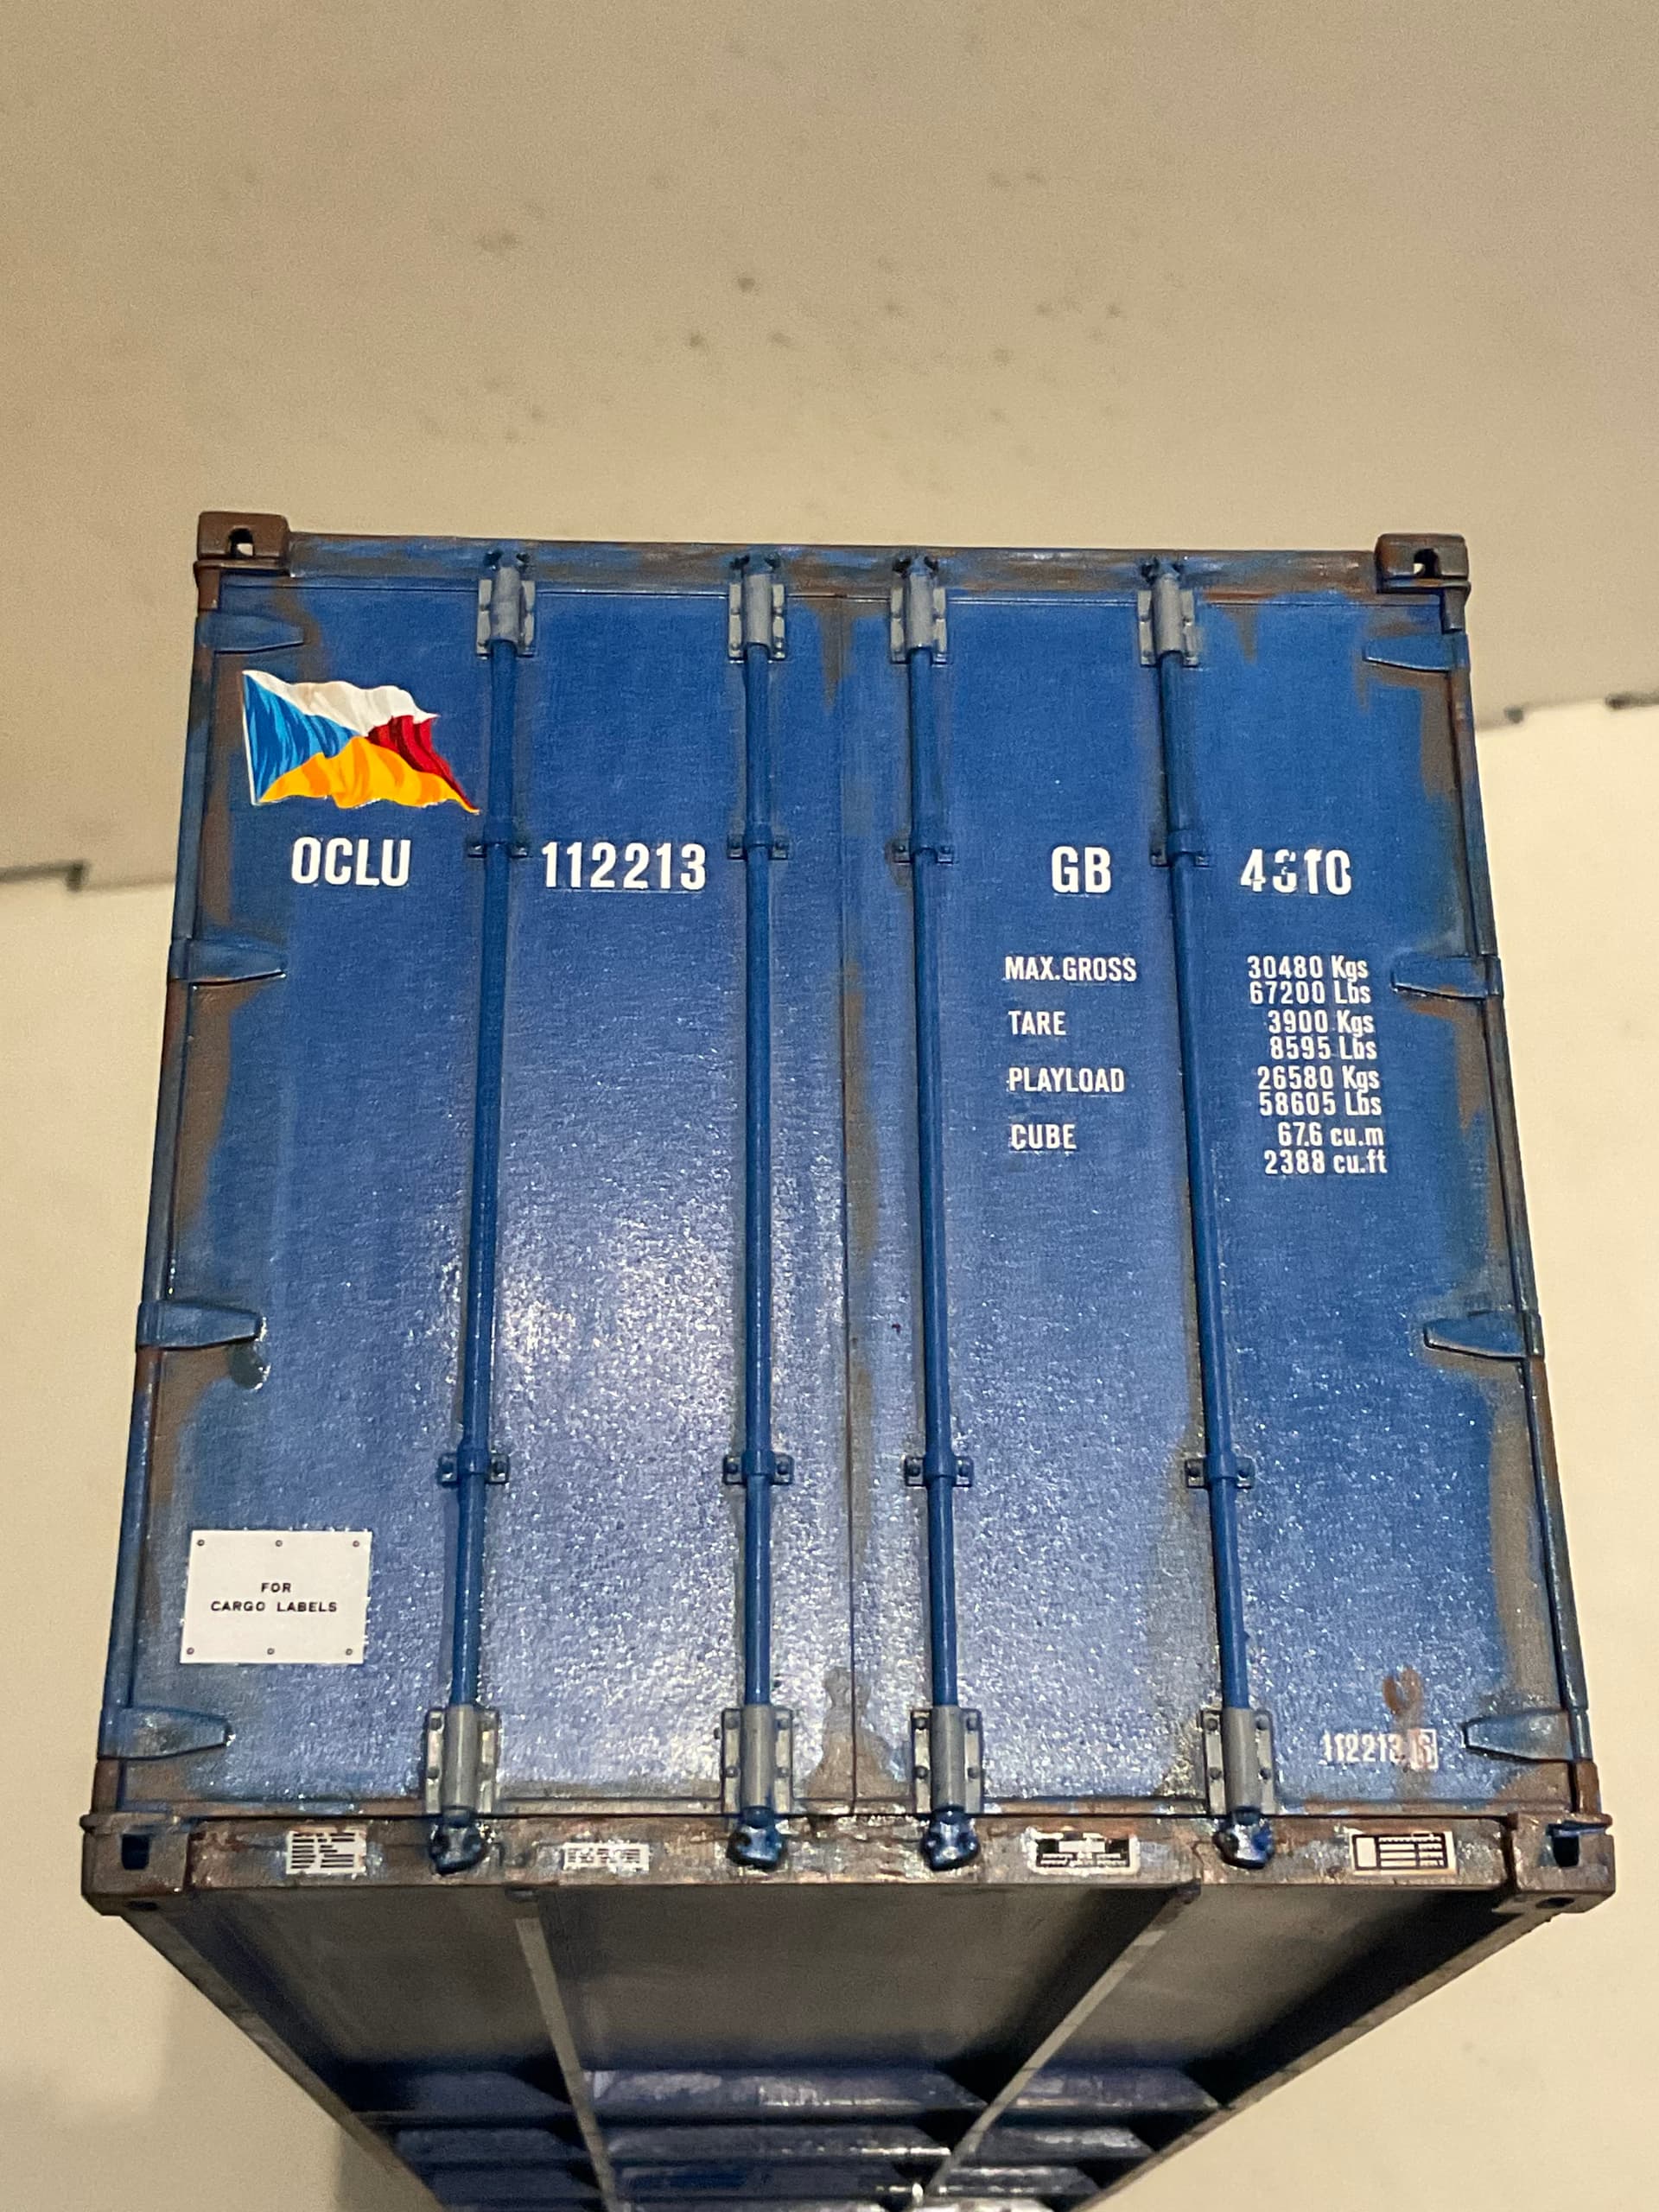
This is the point just before the inks were used.
2 Likes
Flory washes are very effective and you can take them off with a damp cloth if you don’t like it. They are clay and water based so will not impact the underlying paint/surface.
2 Likes
Love that build Pawel. I recall your build thread - just exceptional.
2 Likes
I could be mistaken, however aren’t those the names of theB-29 Crew on that fin? Maybe not, I see a few tagged with USN, so it could be the assembly crew. Even so, the images shown really made me stop and consider.
I initially was thinking, “There shouldn’t be any weathering on a new bomb.” That said, some grime, marks and those painted over sections in black certainly do count as some form of wear/weathering.
3 Likes
My nine pack of Flory washes just arrived looking forward to trying them out, thanks for the recommendation.
1 Like
Thanks, nice AI. Would that be drybrush in silver to highlight the edges?
Great idea! I’ve done a few decals before. going to give it a go 
1 Like
Ha! Can’t deny my initial thoughts were “Yeah folks, can we please not leave the atomic weapon getting rained on in the motor pool? Thanks”
Here’s a couple I found during the prepping and loading process. The first photo shows a technician applying putty to the various crevices or panel lines, over which the bituminous black sealant was applied. Together, “this sealing process helped stabilise the internal environment by preventing moisture, dust, or temperature fluctuations from affecting the delicate arrangement of wiring, detonators, and high‑explosive segments inside the casing. Even minor contamination could compromise the implosion sequence, which relied on a perfectly symmetrical inward blast to compress the plutonium core to supercritical density.”
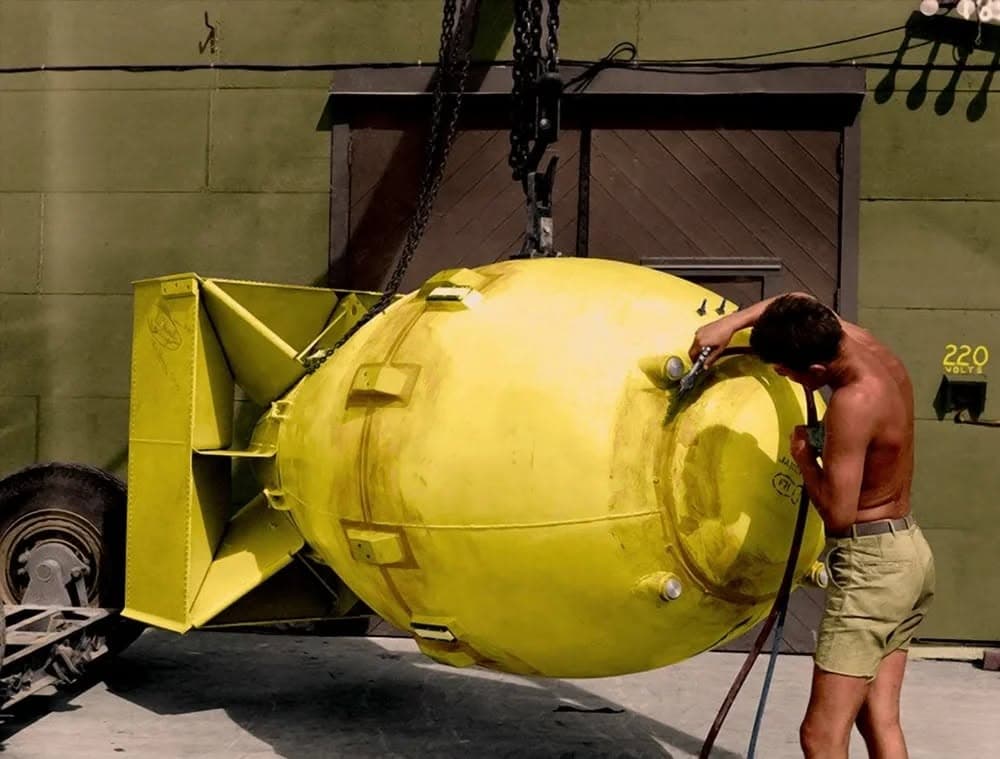
The second photo (colourised) shows the process of transporting the bomb.
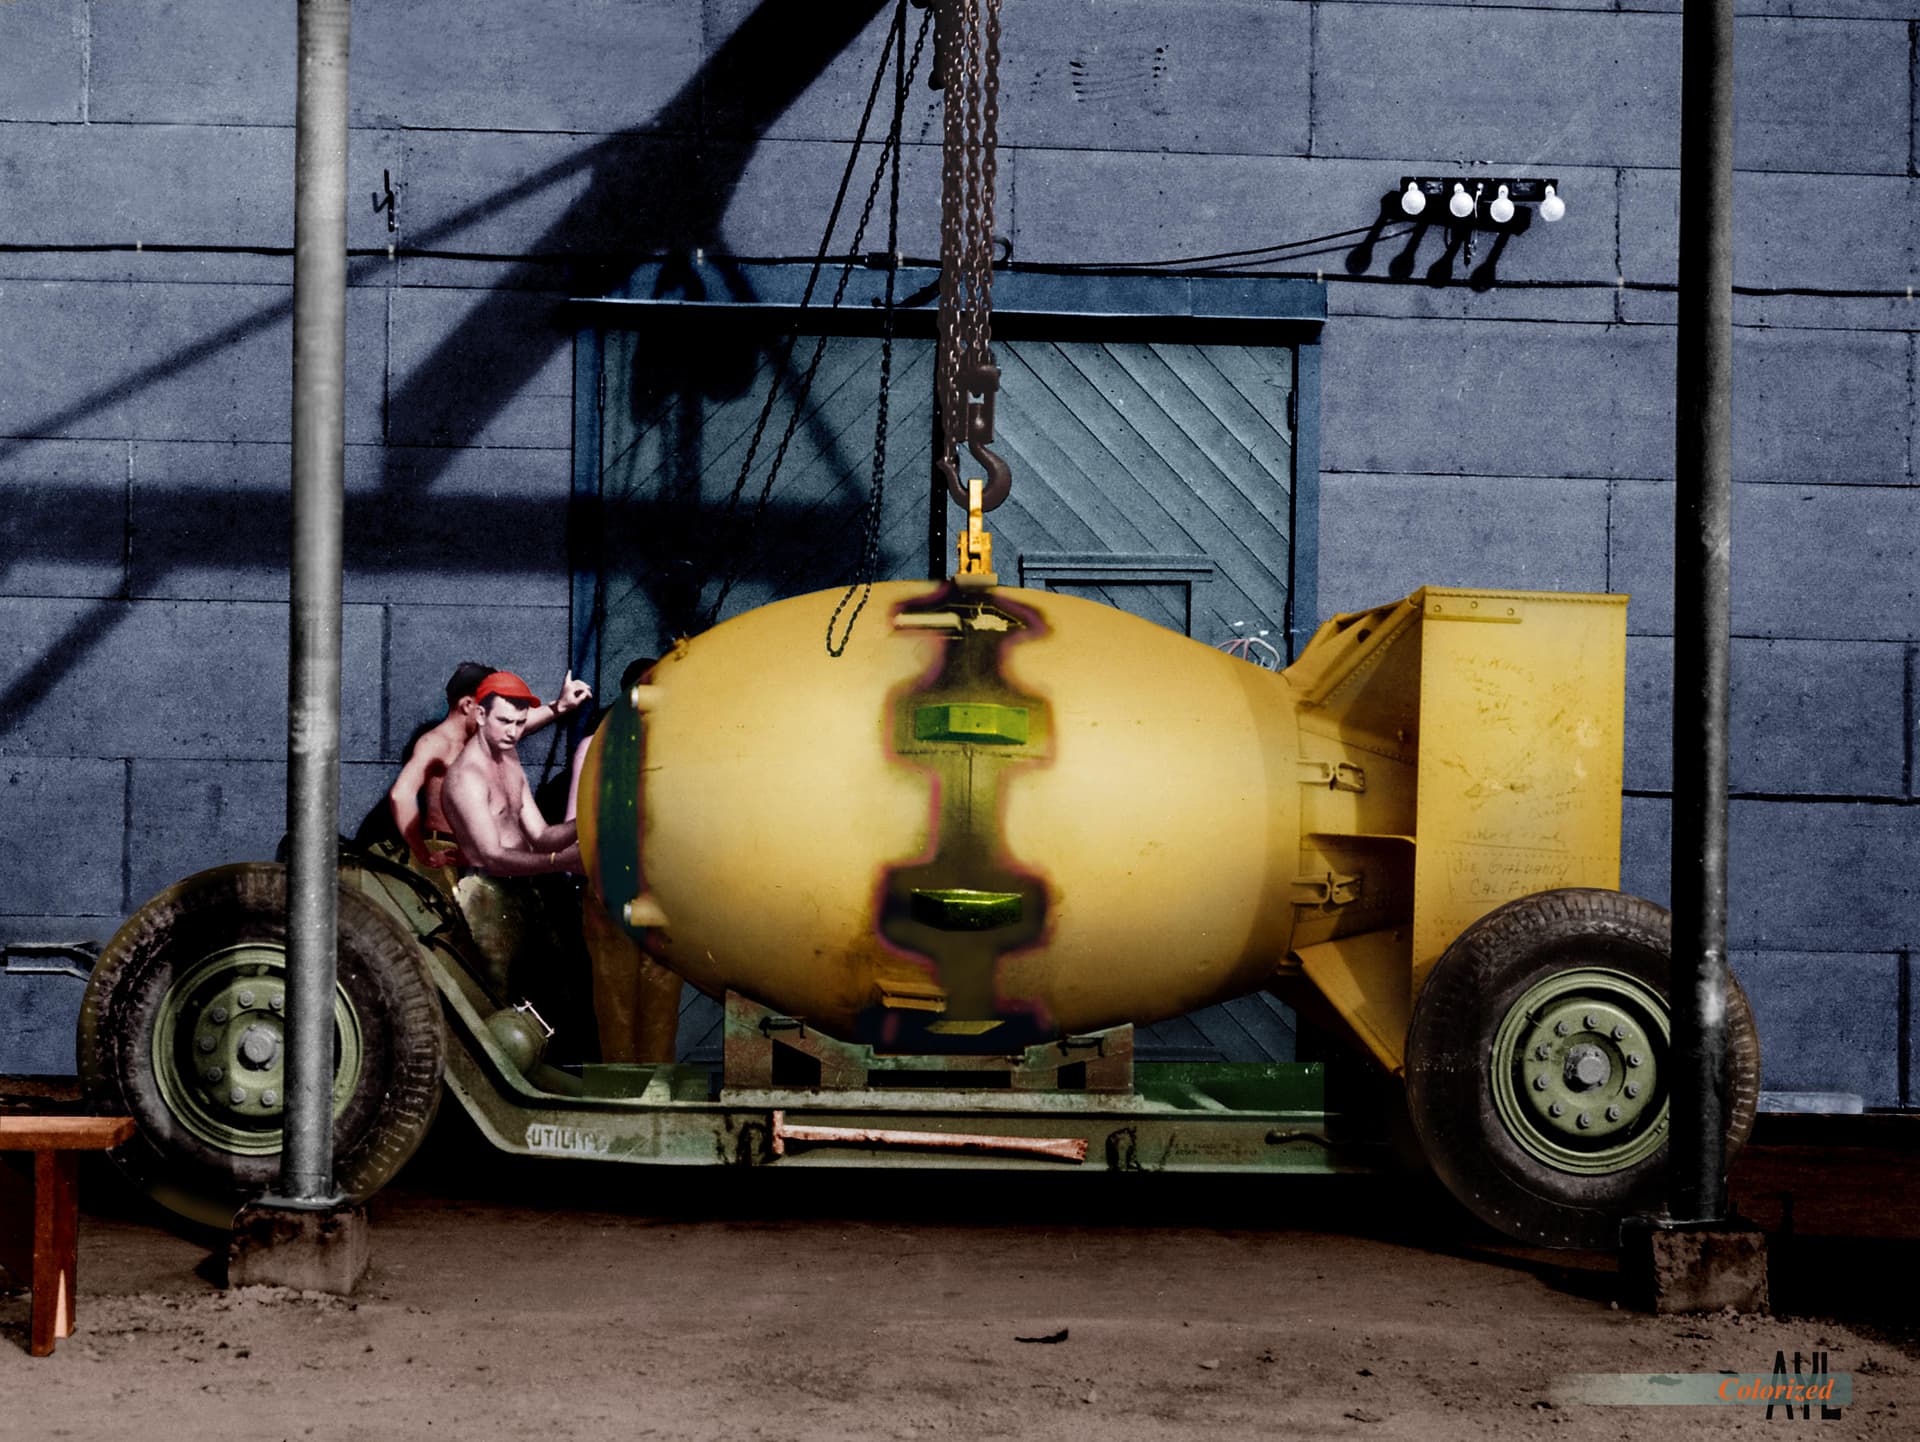
Note each of these images show potential for metal-on-metal contact such as on lifting eyes, the cradle upon which the bomb was transported and loose chains. Each of these are likely to attract scuffs and scratches to paint.
3 Likes
No, I was thinking dry brush it in a brown or dark gray to simulate the dirt. I don’t see any edge paint chipping so I’d avoid silver.
The other thing to consider are your layer lines, the dry brush technique works good on smooth surfaces but it might enhance those layer lines and look really bad. Best to test print a part and try different techniques before committing to your nice model.
2 Likes
Don’t think of weathering in the sense we think of with a ship, an airplane, or a tank. It’s not spattering this with mud. It’s more a matter of showing the wear the object got between the time assembly was complete and the time it was winched into the belly of Bock’s Car. Too many of the respondents in the Facebook FSM group seem to think right away of mud and sun fading.
As others have noted, it’s scuffs and scratches. Also, the black paint around the circumference scheme should had a soft edge. It wasn’t masked off and painted. Check the photos of the real bomb for reference.
1 Like