I’m planning on starting a german tank (probably Stug III) after I finish Tamiya’s 1/35 M4 (been on a sherman kick lately), and I was wondering, How dark/Light should dark yellow be?
Since I returned to the airbrush, mixing paint isn’t an issue, but I’d like some opinions, paint ratios, or even better, pics to color match to.
When thinking about painting it’s important to consider all of the weathering steps that you plan on adding…each one of those steps will darken the colors somewhat. It’s been my experience to begin shades (many shades) lighter than what I have in my mind’s eye as my finished appearance.
You can always make it a little darker with ease…it’s not so easy to make it lighter.
As for Dark Yellow, it is much too dark as a beginning point in my opinioin, but - that is just my opinion.
There’s ENORMOUS variation based on the light source. What you have on the modelling desk, versus your library/office/display area, versus the model show competition hall, verus outdoors.
This is a particular “peeve” of mine-it’s waaaay too dark for application in 1/35 or especially 1/72 scale right out of the bottle.
There is the phenomenon of “Scale Distortion of Light” which is another highly contentious topic for some, but which I sincerely and adamantly believe is a valid guiding principle in base coat painting. Basically what it means is that light plays differently on a small-scale model than it does on a life-sized vehicle. To put it bluntly, a model painted in exactly the same shade as the real vehicle will appear too dark every time.
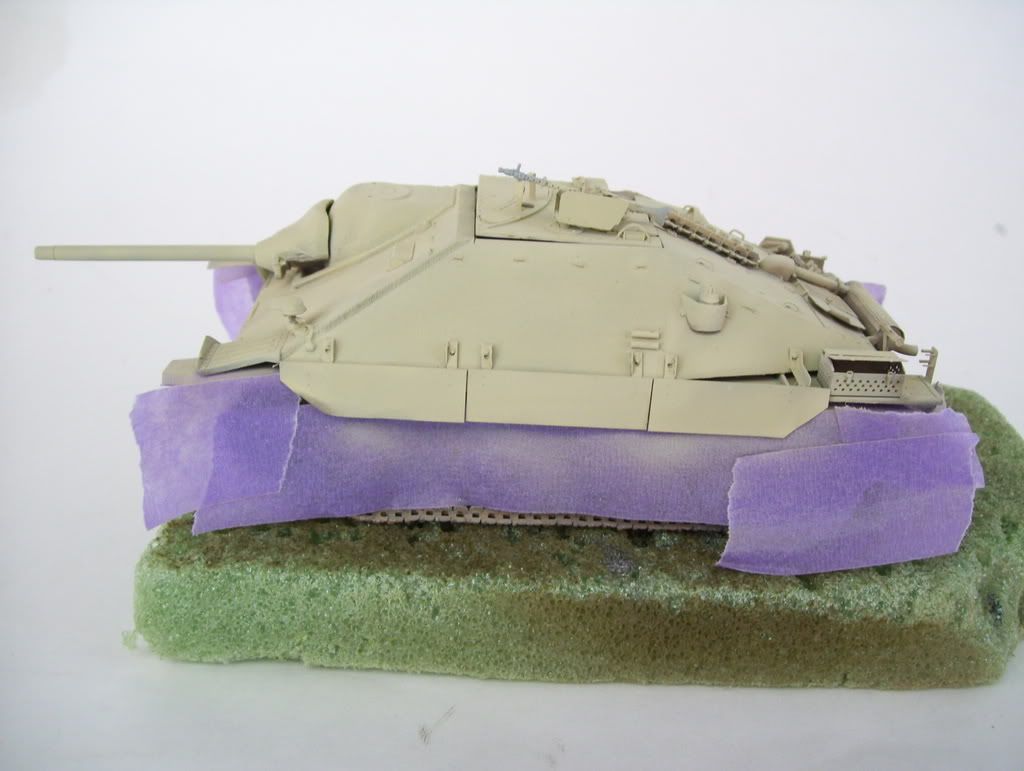
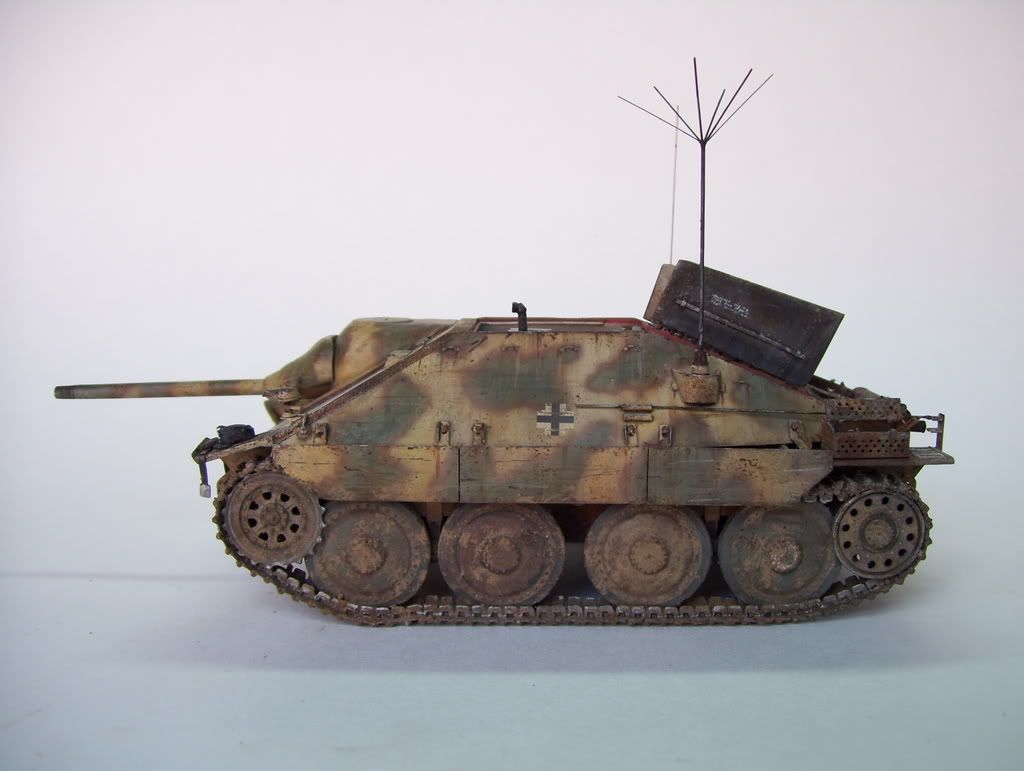
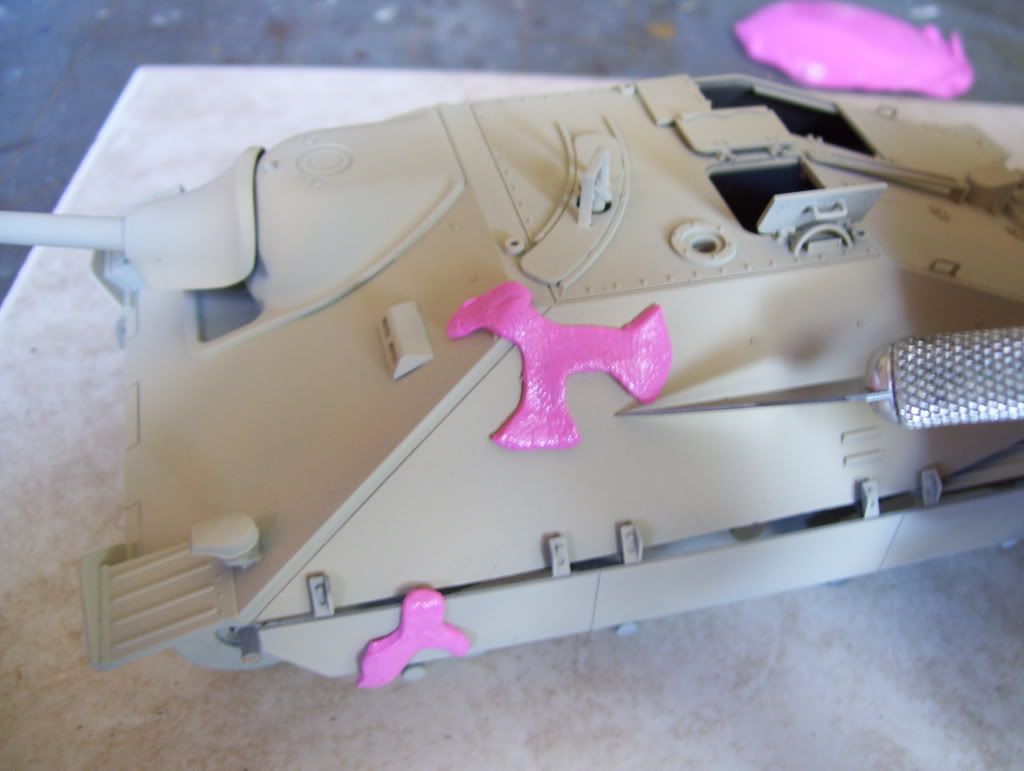
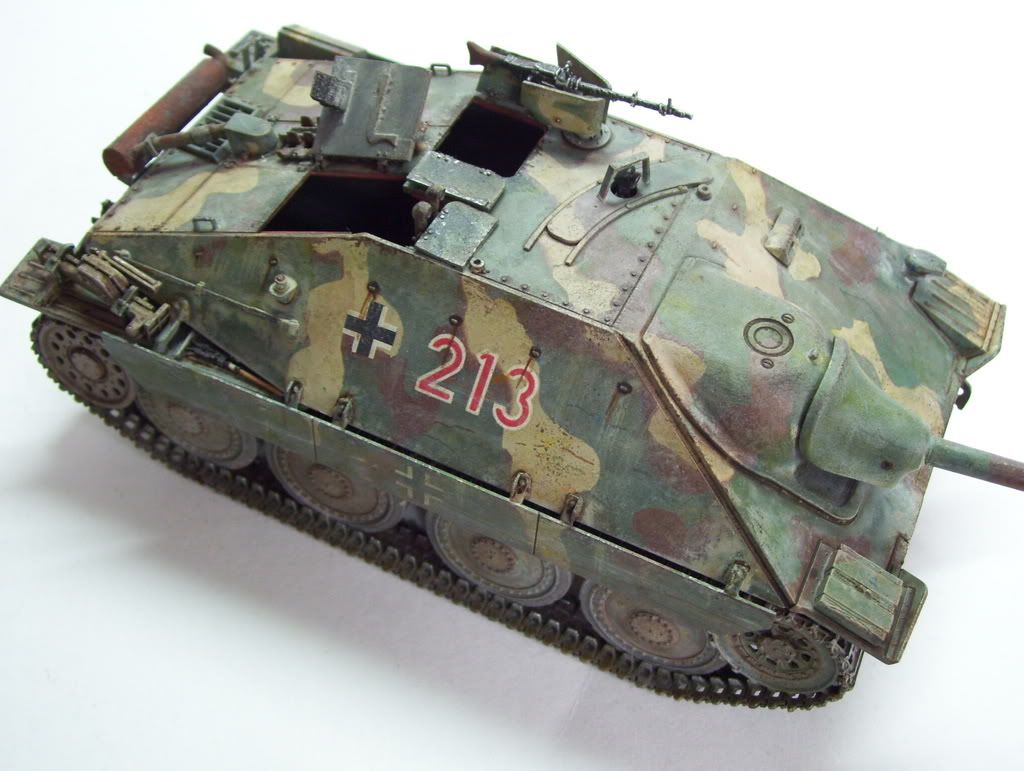
I actually add about 80-90% white to Tamiya Dark Yellow, sometimes even just dumping a quarter-bottle into a full White paint jar. Take a look at the color of some of these models, before and after weathering: Note the lightened base color, and the way that it looks after the washes, etc.
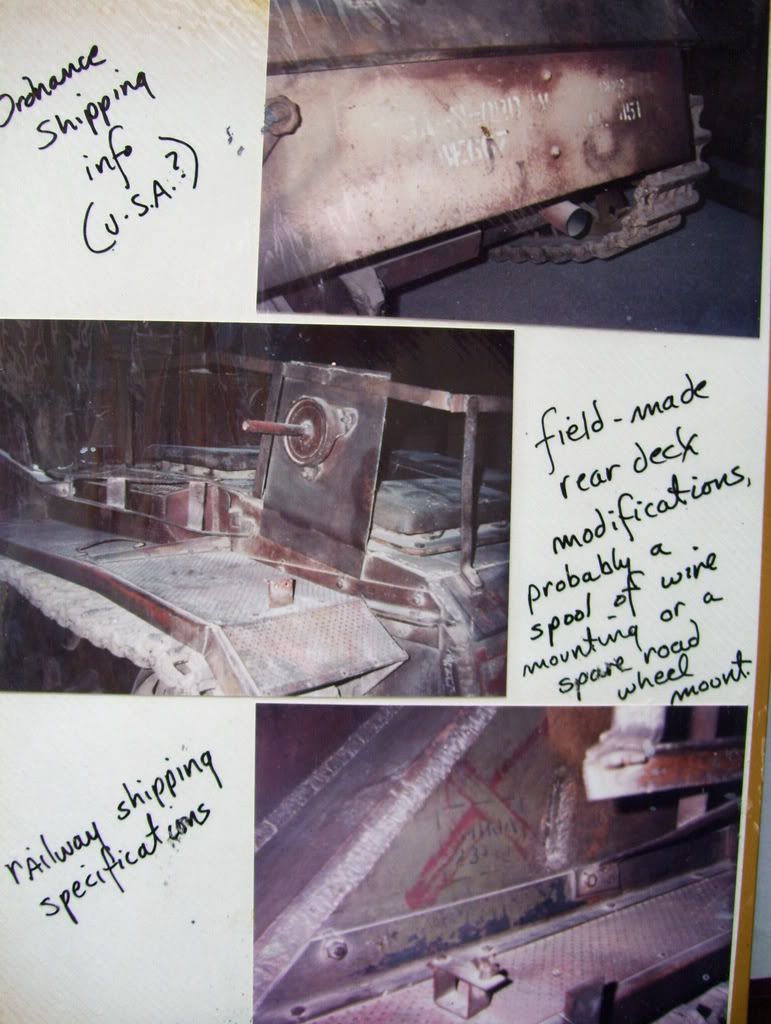
And here is the color of a StuG G allegedly in original Dark Yellow at Fort Knox, from my old photo album of my trip there–still with shipping labels and all–something I find very hard to believe that they would have tried to replicate if they had repainted it? You will notice the color is quite faded; not at all like you would see in the bottle.
Remember–perception is everything in “Art”. And what we’re doing here is, in my opinion, absolutely “Art”.
In addition to what I said earlier about light sources, before anyone gets too dogmatic and wants to argue about “correct” color, check out the seven “colour perception” illusions this page:
I’ve started using Lifecolour Camo set no.1, which has dunkelgelb in, I was very surprised to see how light it really is when compared to Tamiya Dark Yellow. Here’s my 1/76 Puma I did for the Vintage GB:
There’s been enough hot air about the “right color” to inflate the Goodyear blimp, so I will be brief.
The German color “Dunkelgelb” was supplied to field units in a paste form, which could be diluted with gasoline, oil, or even water in a pinch, so a wide variety of shades was possible. Even the factory-fresh color showed a wide variation. In theory, Dunkelgelb was a mustard-yellow shade with a very slight green tint. Scale effect, painting application variations and weathering will affect how the color will look.
Testor’s “Afrika Mustard” is not really Dunkelgelb; it is closer in shade to the early camoflage color used by the Afrika Korps in 1942. It really is the wrong color for the three color camo used after February 1943 by the Wehrmacht in Russia.
Testor’s does make an accurate dark yellow in bottle form, along with the usual green and red-brown camo colors. Tamiya’s laquer spray and acrylic bottle color “Dark Yelow” is also accurate.
Once you have a base color applied, weathering and added camo colors is going to affect how it looks. So don’t sweat over it too much. As long as you don’t paint it bright purple, you’ll be close enough.
That’s incorrect. Dunkelgelb was the base color applied at the factory. Dunkelgrun (dark green)and rotbrau (red brown) were the colors you’re thinking of.
Ummmm… to add more “hot air” to the subject (especially in light of Link’s comments).
Back in '01 or '02, Tom Jentz gave a seminar at AMPS about uniformity of wartime dunkelgelb. He was satisfied that factory applied dunkelgelb matched across the board in an extremely unified fashion. He cited as his evidence several relics that were in original packaging or otherwise pristine condition. I recall he said he examined unopened Notek blackout lamps (still wrapped in paper) and the inside lid of a new 2cm Flak barrel case (which had been stored well). He said that these examples (and others) that had not been handled (oils from hands) nor exposed to elements were evidence of uniform dunkelgelb – despite coming from disparate sources.
Also, he said that dunkelgelb was not susceptible to fading because its primary pigment was not sythetic but a naturally ocurring ochre-colored compound. The ochre color WAS the base color and it wouldn’t get any lighter. I don’t know anything about this so I can’t comment on its accuracy.
Finally – as to their being a hint of green (as some paint makers include). Jentz had a sheet of metal that was painted three tone using colors Jentz had procured for a Hetzer restoration. Inside the seminar room, it DID have a bit of green tinge. Outside, in natural sunlight, the green tinge disappeared. Now what is a modeller to do with this info? I’m not sure. Maybe “artificially” leave out the green tinge since we’re hoping to model tanks outdoors? I dunno. I’ve done both and I like the look of the tan and not greenish dunkelgelbs on my models. However, one should ABSOLUTELY not say that others are wrong who interpret dunkelgelb without greenish hues.
Finally, I had the honor to interview Wolfgang Kloth, a German WW2 tank commander (transcript was published in Boresight). He was asked about camo application by an audience member. His terse reply basically was: “I was a tanker, not a painter.” I cracked up.
I am no expert at all about Panzer Yellow shades but I do remember messing with some German paint in our Motorpool during the early 1980’s. It wasn’t in cans it was wrapped up in a wax paper type wrapper. Looked like a big stick of butter. We mixed it with regular gasoline and it was sprayed with the air painting sprayers.
The crew mask the headlights and periscopes extc and then the whole process took about 30 minutes. The gas based paint dryed quick and there was no wait between appling colors. 4 tone pattern. Dark red earth, Dark green, dark yellow and black. More to less in that order sprayed over top of each other in random patterns.
After a trip to the washrack and the high pressure recycled stinky water full of oil and ammo it all lightened up to a more faded color. Kinda like appling a wash.No pun intended.
The Dark yellow was very close to a Khaki color like Manny said.
That is true. However, the directive of 18 February 1943 stated all Panzer Division vehicles would be painted with the Dunkelgelb base color, therefore, it was issued in paste form to the field units to enable them to paint over the Panzer Grey which had been the standard up to that time. It was supplied with the red-brown and dark green pastes. Only vehicles leaving the factory with the Dunkelgelb base color were issued just red-brown and dark green pastes. There are many, many pictures of rough dark yellow paint jobs over the existing Panzer Grey, often with a lot of the grey still showing.