Homage to Old Ironsides

Hello all, new to the forum community here at FSM, but not to the world of modeling. I’ve built everything from car, trucks, aircraft, to modern warships, including 3 1/96 Revell sailing ships, Thermopylae in the mid 70’s, USS United States in the early 80’s, to recently finishing a very badly damaged Cutty Sark that sat for 18 years half finished while life got in the way.

I have been following Force9’s build with great pleasure and decided to pay homage to the great Revell kit myself, found a 1976 release on Ebay in perfect unopened condition for $65.00 (with free shipping!) and agree with the consensus that her glory years in the early 1800’s are the best way to represent her. Force9, Jtilley, and Bondomans insight have helped me to “plot a course”, to borrow an appropriate nautical phrase, regarding the build. One thing I have always done which may seem counterintuitive to some, is to rig running rigging from the pin rails up and tie of in the mast and yards, basically reverse of instructions and cw. I feel I have far more control over tension up where I can actually see to work. I lay out rope coils on the deck and hang them from the pin rails before I ever mount a mast as it is easier for me to get the look right without masts and yards in the way. Any suggestion here to improve my technique would be appreciated, especially since not counting my completion of Cutty Sark last month, it has been over 18 years since my last build, and Cutty Sark required so much repair to broken top masts, bowsprit, catheads, and dolphin striker I very nearly gave up, and I am barely satisfied with the results.

Began my build yesterday afternoon with gluing hull halves together and the long tedious task of reaming out block and other holes throughout the ship with my pinvise (thank goodness for a good glass of rye!).

Force9, I know you are leaving gunport covers off, but I left them on with United States and even if not period correct I think it gives a better look, I might lash them to the deck but I am curious what your thoughts are on those 2 options?
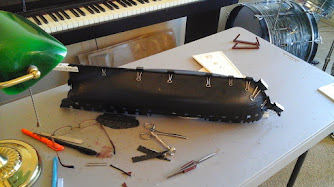
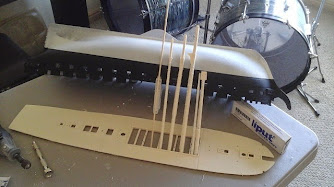
This is my badly damaged and extensively repaired Cutty Sark

https://lh4.googleusercontent.com/-YCZJMbz5lr8/VOd_afXrZRI/AAAAAAAABBU/_v_0IsTPpnk/s642-no/IMG_20150129_155520.jpg

Kit is in excellent condition for having sat for 39 years, here goes…

https://lh5.googleusercontent.com/-_fp68fJFbqw/VOeWj9lrYeI/AAAAAAAABD8/1WxRt6jgFmQ/w924-h520-no/20150213_175716.jpg

Hull glued, will be using Milliput to fill and refine the keel seams

Photo

Hull primed, lower masts and bowsprit built and seams cleaned up, 3 piece spar deck will be filled and etched following Force9’s method

Photo

Pin rails and the beginning of the fore fife rai build, this was a 2 Scotch night!

Photo

Test

Your Cutty Sark looks great so we look forward to what your new Constitution will look like.

Thanks Scott, gonna be fun, gonna take some time.

Dan

You should replace the exposed deck/ boat beams. IIRC they are molded wider than deeper and the real thing no double is heftier looking.

Hull coppering done, will weather them mildly as I did Cutty Sark, but copper not exposed to oxygen will not look as deteriorated as some examples I have seen, so a light greenish black wash will suffice, obviously the above water line weathering will be a little more pronounced, the job Evan did on his hull was amazing but I do not have that kind of time (nor probably the skill)

Keel seams filled and scribed to represent hull plating, not possible to do corresponding scribes on both side of the hull so it will affect the way side of the ship I will display (starboard side)

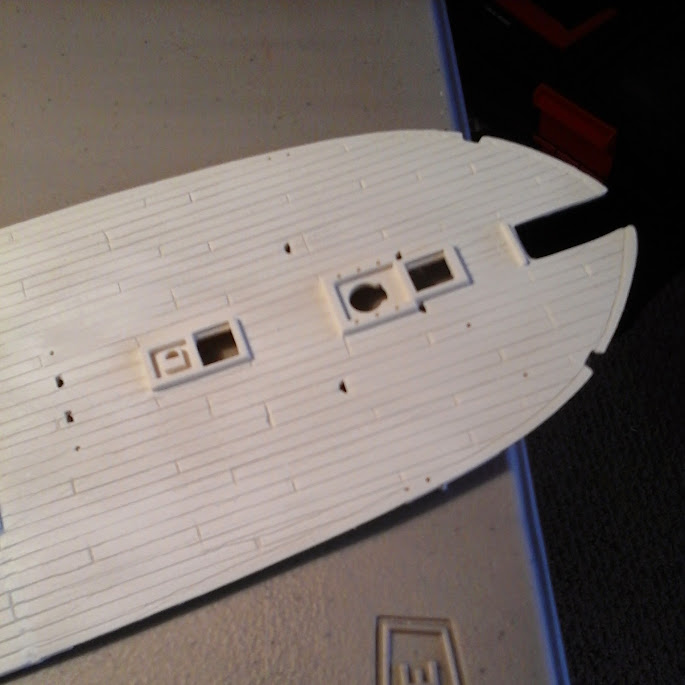
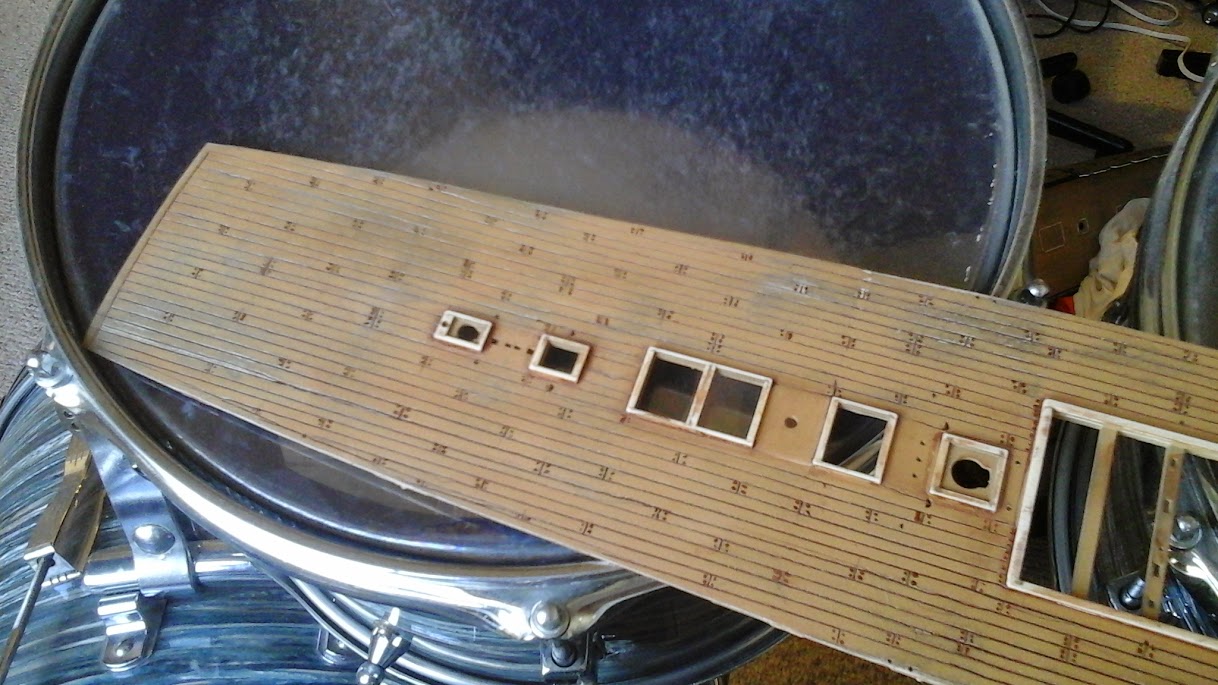
The decks are turning into quite a challenge, horribly warped and simply not lining up correctly. I am not above considering scaledecks.com’s superb alternative however were I to spend that money I would be inclined to go a little more extreme on other items as well. MEthinks after all the block sanding on the gun deck, the final spray and finish will decide for me but as can be seen here, the gun deck still needs some work.

I would like to follow Force9’s design but I don’t know if the deck here are salvageable, we shall see…

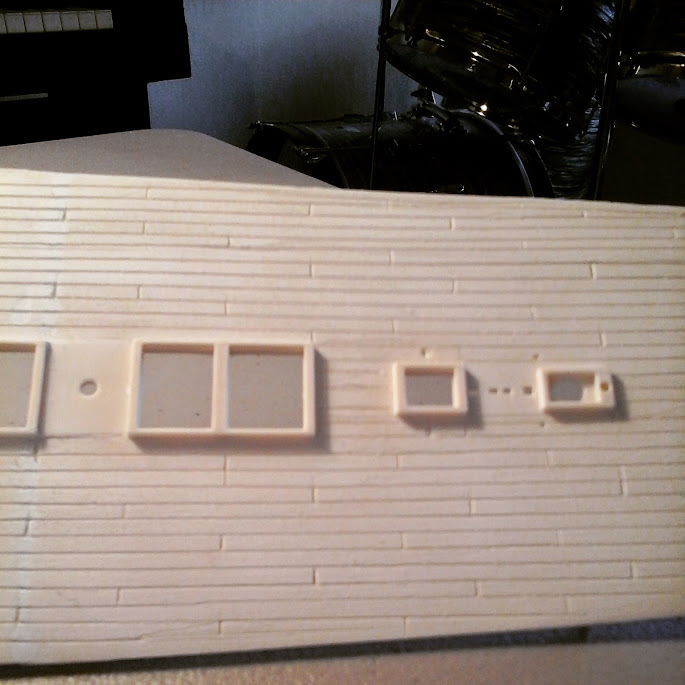
Tried my hand at Force9’s method of scribing the planking in on the decks, didn’t come out quite as nice and I made no attempt at the joggling pattern, infinitely better than the molded deck as it came from Revell

If you have more scribing to do, dymo tape REALLY helps as a guide. It’s the stuff old label makers used (the ones with the raised white letters punched into the various colored backgrounds). Just stick it down and scribe along it. Office supply stores still carry it (Staples, Office Max, etc.).

Regardless, your deck looks really nice from what I can see!

Groot

I appreciate the advise Groot, but the deed is done, so maybe next time I tackle this ship [:D]. BTW, I have a cousin named Oost who goes by the handle of Groot, very cool you do the same, you Dutch are strange people!

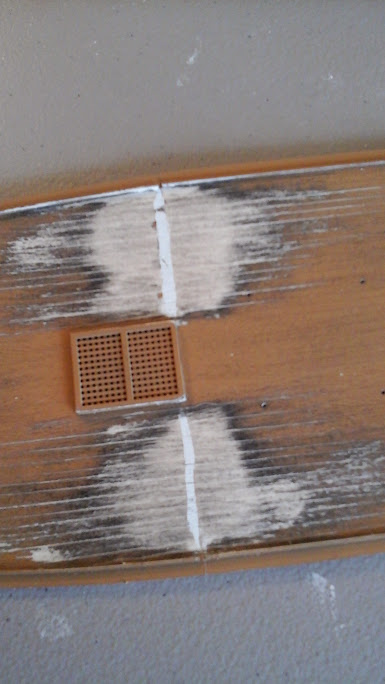
That being said, I finished the spar deck as a somewhat worn and weathered piece as is my wont and I must say, I am not too disappointed, the exception being the forward seam, I just could’t seem to make it look right, but I like the way the weathering came out. The deck is a flat black base coat, wood tan top. I then layed on a rather heavy smear of undiluted leather to fill the seams and then washed it off with thinner SLIGHTLY tinted with flat black. I then poured a nice single malt scotch, (for me, not the deck) and proceeded to dot the butt ends with undiluted leather.

I left the gun deck somewhat weathered but didn’t spend too much time on it. Unlike Evan I am not cutting viewing ports into the spar deck so no ned to get too extravagant with detail, but what is visible should be ok.

Your deck looks pretty good to me! Though now I am curious what affect a scotch would have applied to the deck… [:D]

Groot is my callsign as sometimes naval aviation isn’t overly creative. The family name is Groothousen. Originally Dutch-German, what we have now is the simplified American version as my great-grandmother refused to marry my great-grandfather until he simplified it!

Groot

I hope the following will be accepted as a constructive suggestion. It’s the sort of thing that’s relatively easy to fix this early in the project - if you want to - but would be a pain in the derrière later.

In laying a wood deck, each plank is fastened to every beam it crosses. There’s a line of nails, or trunnels, running across the deck over every beam.

It’s also worth thinking about what those fastenings look like. If they’re trunnels, the carpenter starts by boring a hole for each one. He than pounds the trunnel in with a mallet. The top of the trunnel has a slot in it; the carpenter pound a small wood wedge into the slot, expanding the trunnel. Then he hacks the whole thing off flush with an adz. Because the visible part of the trunnel is end grain, it soaks up more of the oil or whatever else is applied to the deck much faster than the face grade n of the surrounding plank does. Another factor: the plank is probably pine and the trunnel is probably locust, which is a darker, harder species. So the trunnel becomes a little darker than the plank - but not a lot.

If the fasteners are iron or copper spikes, the carpenter starts by boring a hole that’s a tight fit on the shank of the spike. He then counter bores, with a bigger bit, part way through the plank. He then drives the spike into the hole, so its head winds up slightly below the surface of the plank. In the meantime, somebody else has been using a bung cutter (a hollow drill that’s slightly tapered) to cut a bunch of tapered plugs (bungs) out of a pine board. The carpenter dips a bung in caulking compound, and pounds the bung into the hole, covering the head of the spike. When the caulk is dry, he planes tithe protruding bung off flush with the plank.

With that method, what’s visible to the eye is a thin, hollow circle, an inch or two in diameter. It’s the color of the caulk, probably a slightly brownish black.

Which of those systems was used in the Constitution I’m not sure; Force 9 probably knows. My guess is that pine bungs covered the heads of the copper “bolts” that were supplied by Paul Revere. But maybe she originally had trunnels.

How all this should be represented in 1/96 scale is, of course, up to the individual modeler. But the real deck would have a heck of a lot of fasteners.

I actually did a fair amount of research on the subject John and your description of the various methodologies is spot on. Having a fairly extensive background in carpentry, particularly finished trim woodworking, I pondered long and hard using the doweling (or trunnel) method, which would require a much lighter color to properly depict, as opposed to the unthinned leather I used to represent the oakum in the deck seams and end butts, or whether to use the iron spiking method which would allow me to use the leather again to depict oakum. I obviously chose the latter as it allows for a more pronounced detail on the finished deck which will capture the eye of the casual observer. My normal method of furniture or wood working is doweling but then visibility of the joint work or fasteners is not desirable in most cases, I figured a functional Naval ship has no such criteria. I also share your opinion that she likely had copper bolts with cross grained wooden bungs, likely finished off with an oakum caulking, which is the look I am going for.

The reason for just representing the fasteners at the butt ends is, as you so clearly stated, that would be a lot fasteners! I think the detail at the butt joints illustrates the point without making the deck look too “busy”. Besides, it would take more time than I really have, (and good single malt to “assist” me is not cheap :slight_smile: ). I’m already 12 plus hours into just the decks and I did not even spend a lot of time on the gun deck, scribed, weathered and left it alone from there, I am not cutting viewing ports into the spar deck as Force9 did so with my time constraints it seemed a reasonable compromise. I still have the cannonball racks to build and I am still considering whether or not to beef up the hatch comings, so time is definitely a factor for me.
At any rate, thanks for the comments, keep 'em coming, I appreciate the insight and suggestions. I am getting a new mini lathe soon and I your suggestion regarding the use of cherry for the mast tops is probably course I will pursue.

Dan

Thanks Groot, I wish I had more time to spend on the deck but it is not a luxury I can afford right now and as my goodies from JoTika should be here Monday (eyebolts, cannonballs, rigging hooks, etc). I really need to focus on finishing up my prep on the hull. I would like to have the at least the gun deck finished with gun carriages in place and lashed and the spar deck installed before I cut back my time on her, my mountain bike is calling my name, Alas! I must answer the call! So it means Connie will be worked on sporadically over the spring/summer months and I really hope to at least have the deck in place before that.

As a side note, I am sure the original decks had plenty of spilled grog “applied” to them back in the day, a nice single malt, probably not so much, too expensive and too tasty for the average sailor I’d wager! [;)]

Happy Modeling!

Dan

I wish I still lived in Annapolis, I could have run up to Baltimore and shot some photos for anyone really interested in what the decks look like (of course that would be what the deck currently looks like).

Groot

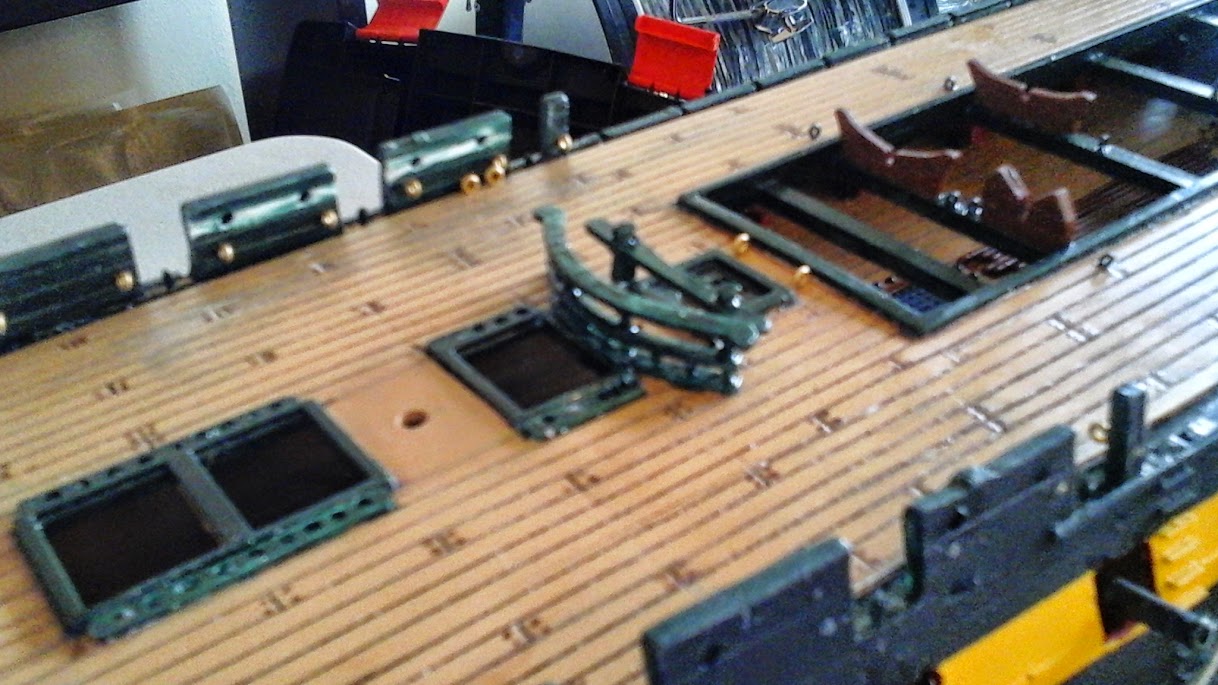
So I know I will get grief for this and that’s OK, at my age it’s water off a duck’s back, but I think clean unblackened brass eyebolts look kind of cool, and so I will leave them that way. I know it’s not correct and I do want to capture the year 1812 as much as possible, however, if everyone is bent on that goal, then everything looks the same right? Besides, when I look at Force9 and Arnie60’s work I realize I am not on their league and so I will do the build similarly but with a nod to what I think looks good, and I think the brass eyebolts look very cool.

This does not mean I will not attempt to make other aspects of the build come as close as I can to the era I am trying to represent, but it is my take on what will make the build stand out.

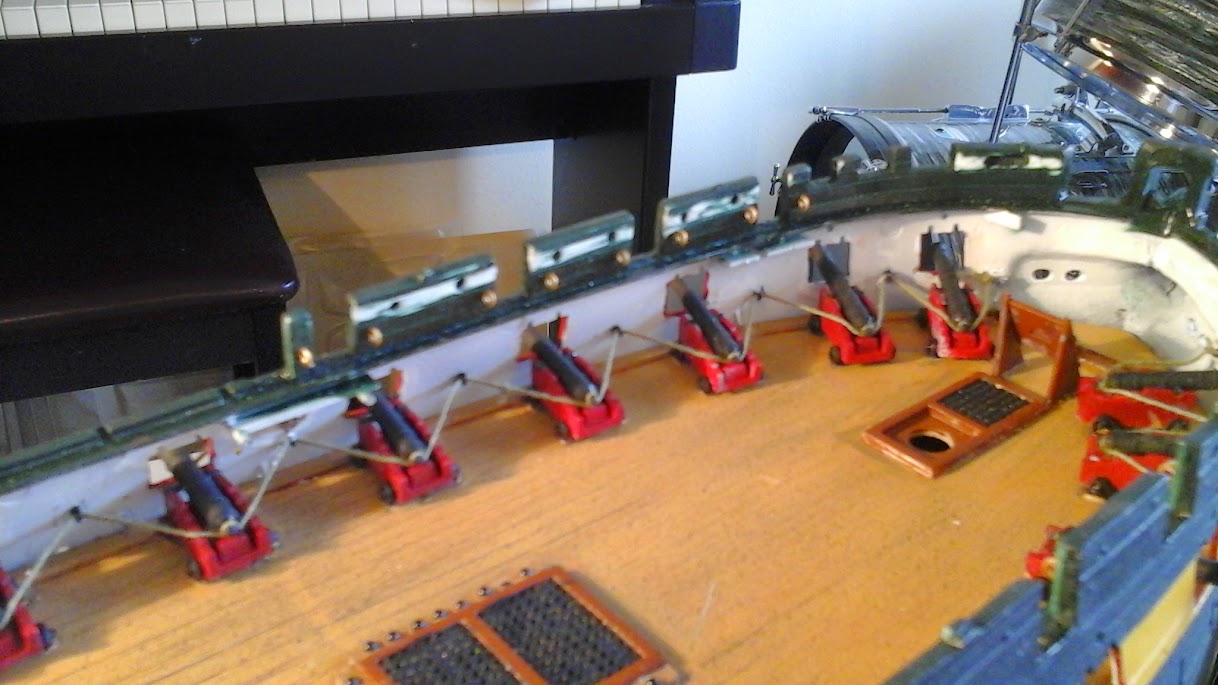
That said, here is my latest work on this build, I decided the little “knobs” molded into the hull for the gun rigging on the gun deck are a joke and so I replaced them with the OOB eyebolts, no need for strength so I did not use the JoTika brass, better served where they’re seen and needed, IE the spar deck.

Evan, I’m curious, did you simply fill the hinge points for the gun ports or insert styrene to fill the holes? I am thinking I will discard the port doors and haven’t decided what to do regarding the hinge points