Hobbyboss Morane-Saulnier Ms.406 1/72 - WIP

These are supposed to be easy builds, so I thought it would be a good change of pace after the PM Fokker D.XXI that required so much fitting, filling, sanding, and scratchbuilding. I was right. Simple construction and nice fit and finish leads to a smooth OOB building experience, even if some kit detail is sacrificed. Still, comapred to the PM Fokker, this thing has TONS of detail! This is only model number 2, and I am learning a lot – all comments and criticisms welcome.

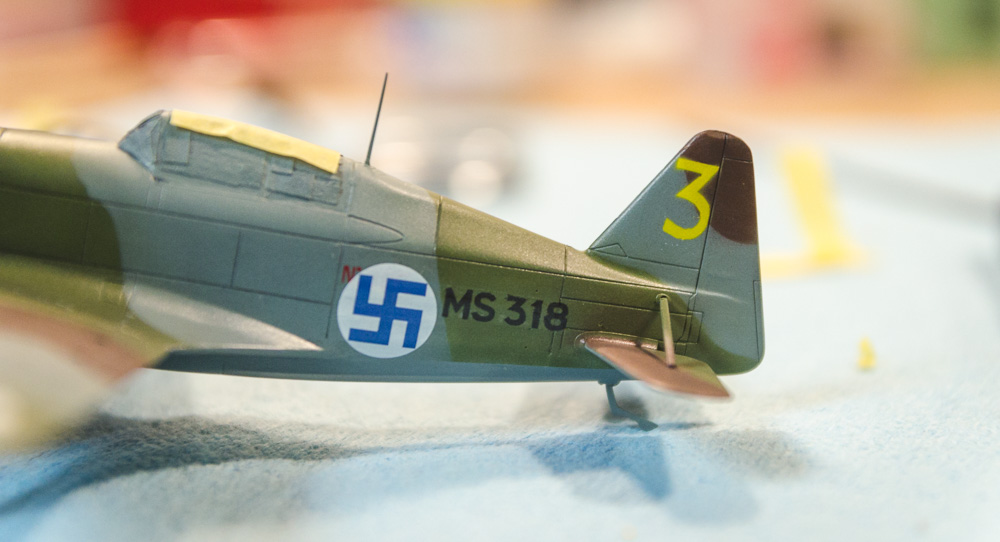
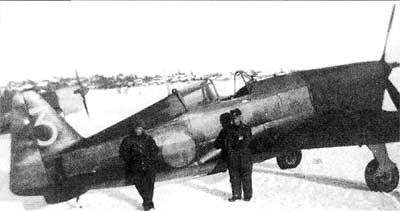
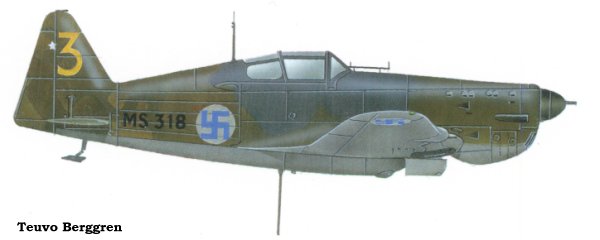
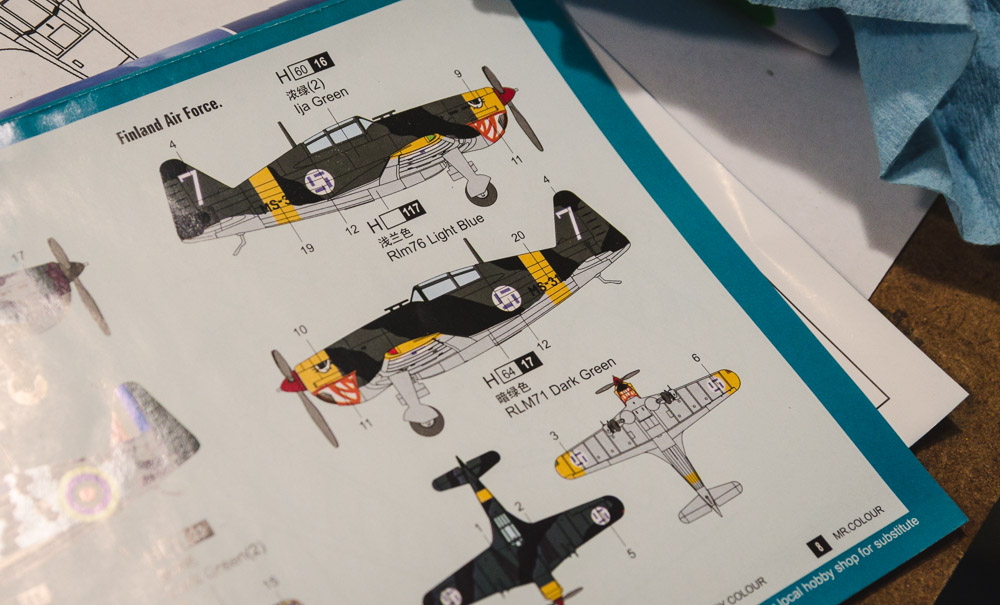
I posted this one in the OTS 2016 group build as well. I’ll be trying to model MS318, one of the 30 airframes that France sent to Finland in early 1940. The Finns later got a bunch more from Germany, who captured them in France. I wanted to model one of the Winter War birds that the Finns pressed into service so desperately, painting their own insignia right over the French camoflage. There is a period photo of this plane, “yellow 3,” showing a single star on the rudder, which is the only known victory marking from the Winter War period.

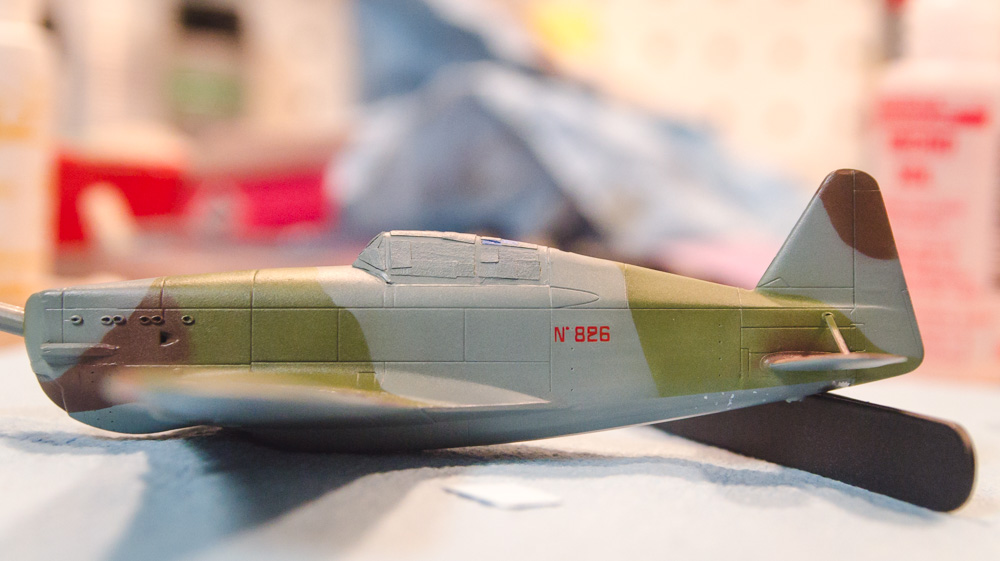
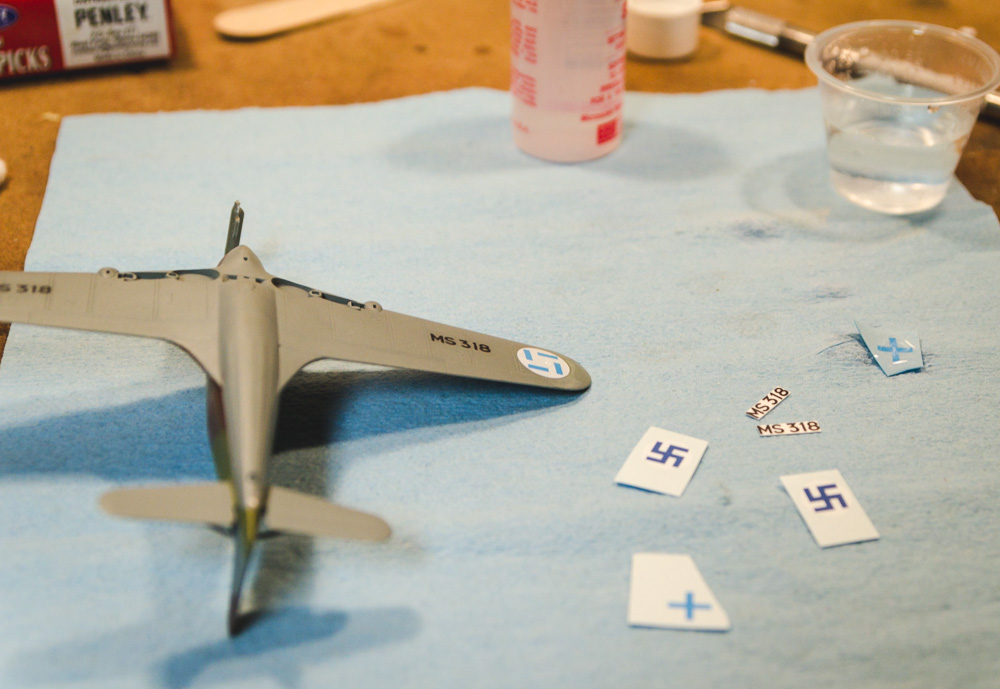
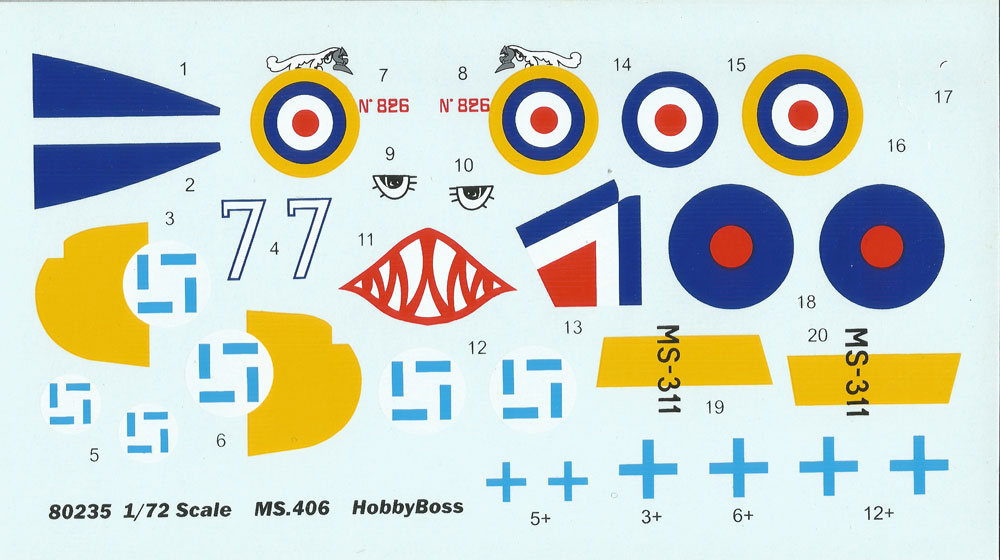
Of course this puts me into a pickle already with regards to the decals, as the planes arrived with French-painted Finnish serial numbers which were a different font than the standard Finn numbers. Looks like I’ll be experimenting with printing my own this time around. There are also only a handful of period photos of these Winter War Ms.406s, as they were repainted into standard Finnish colors over time as they cycled through the Finnish repair depot.

The kit decals look real nice, bright colors and sharp edges; but the Finnish ones look like a major bear to use – the yellow Eastern Front stripe is integrated with the serial numbers and wing roundells! The shark mouth is cool but of dubious historical accuracy, and in any case these are all too late for my subject. I’ll only be using a few, if any: the French serial number, maybe some stencils.

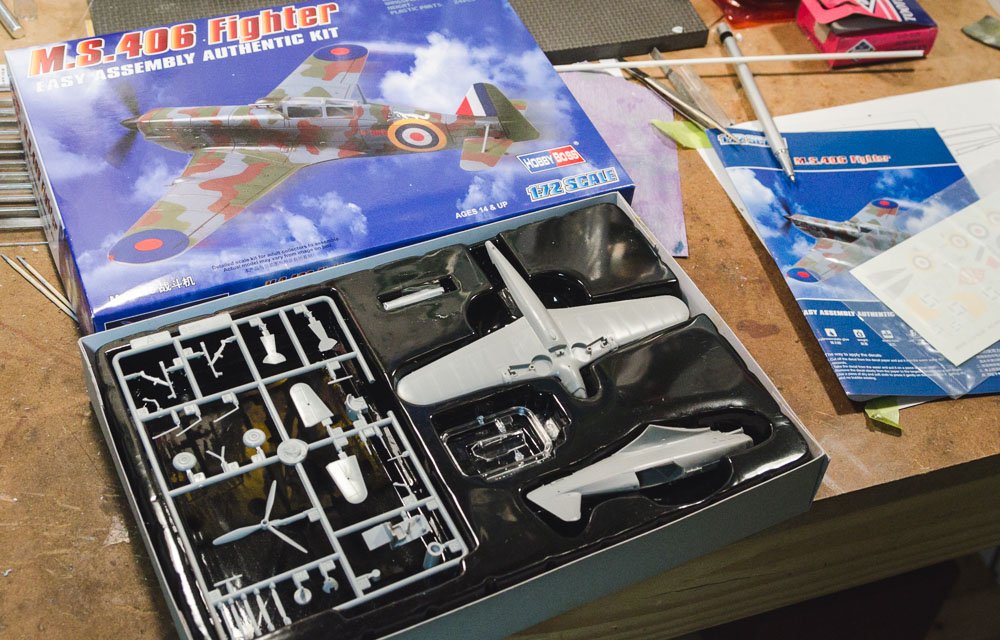
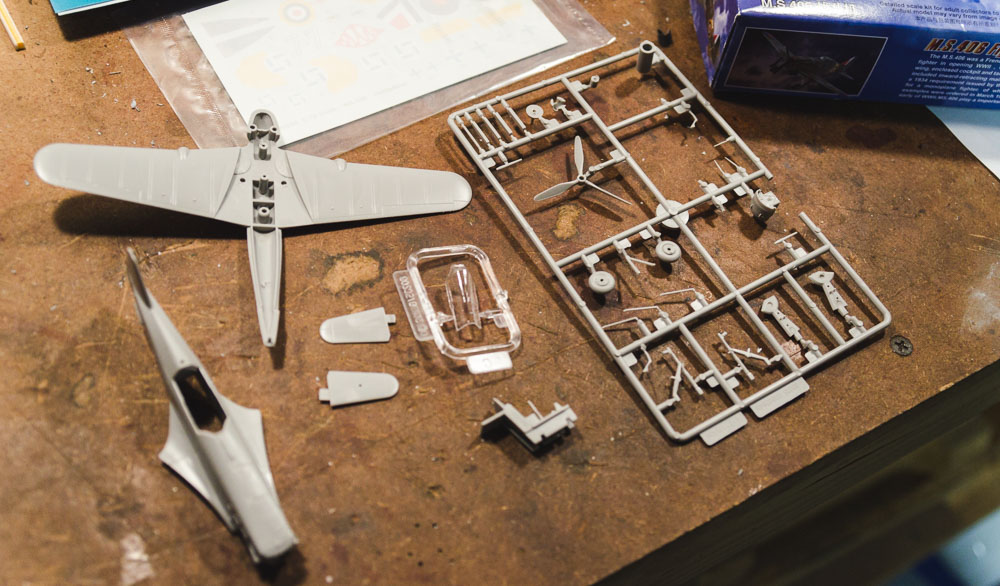
Here’s how the HB “easy assembly” kits are boxed, for the curious.

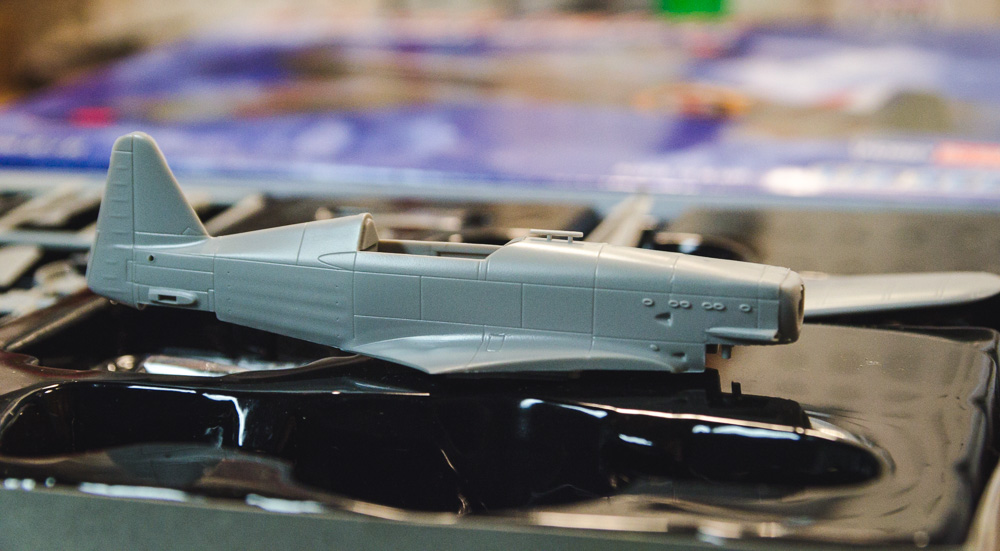
Detail is pretty good, if a little exaggerated. A little flash on the seams.

Parts out of the box. About half of these are extras.

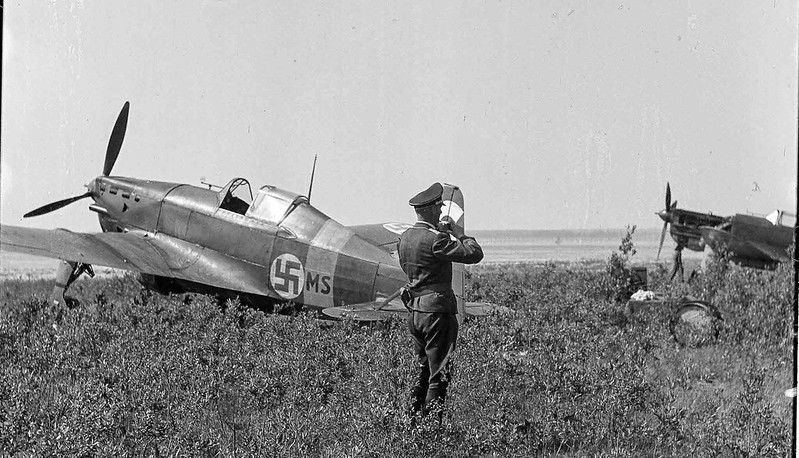
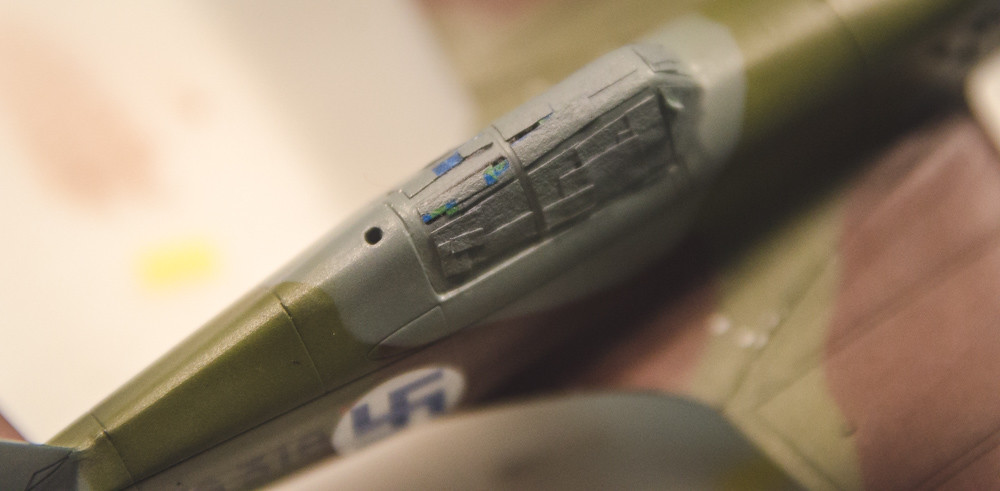
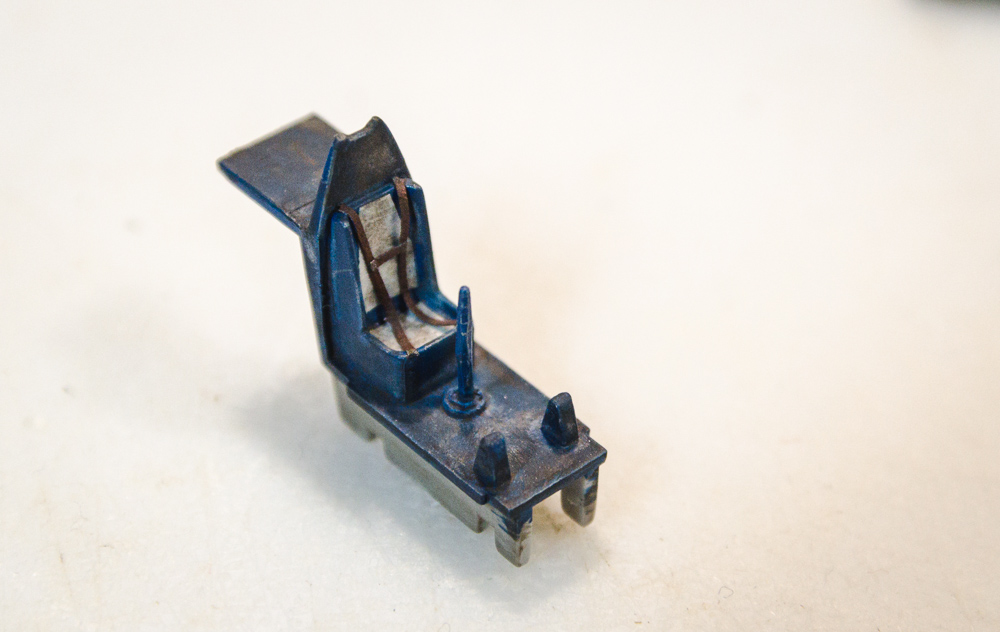
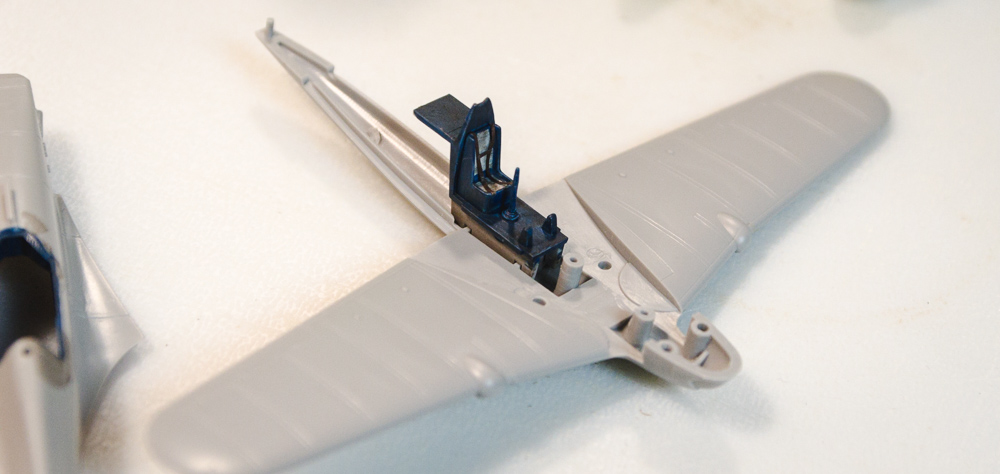
Cockpit interior is one part. I did not add any detail except for the seat cushions and harness (made up design) out of masking tape. Interior is French grey/blue and a grime wash with prismacolor pencil for highlights. I later found out that there is a PE cockpit set for this scale. I’ll try it on the next one (I’ll do another Ms.406 in Continuation War colors eventually).

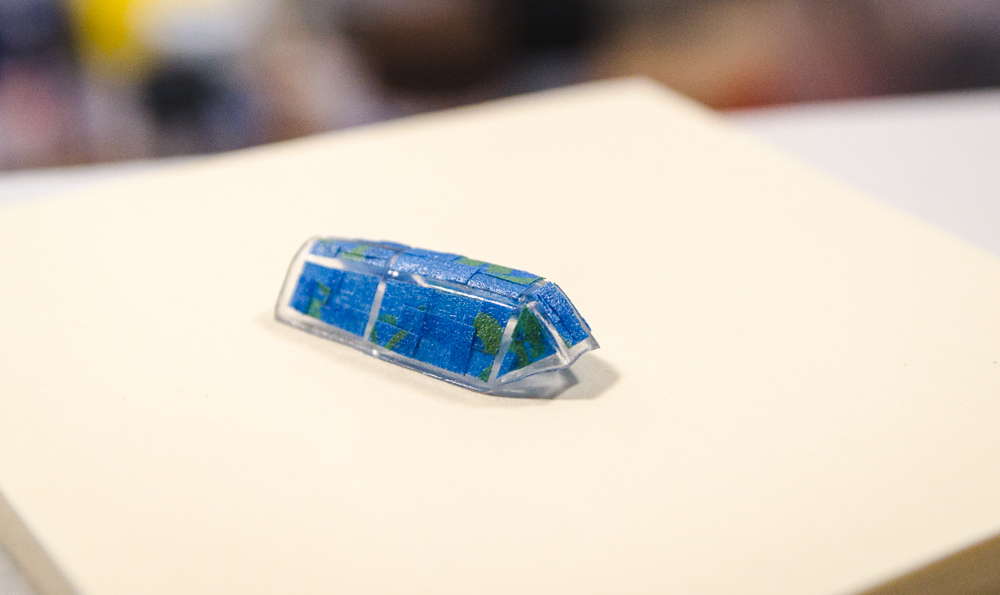
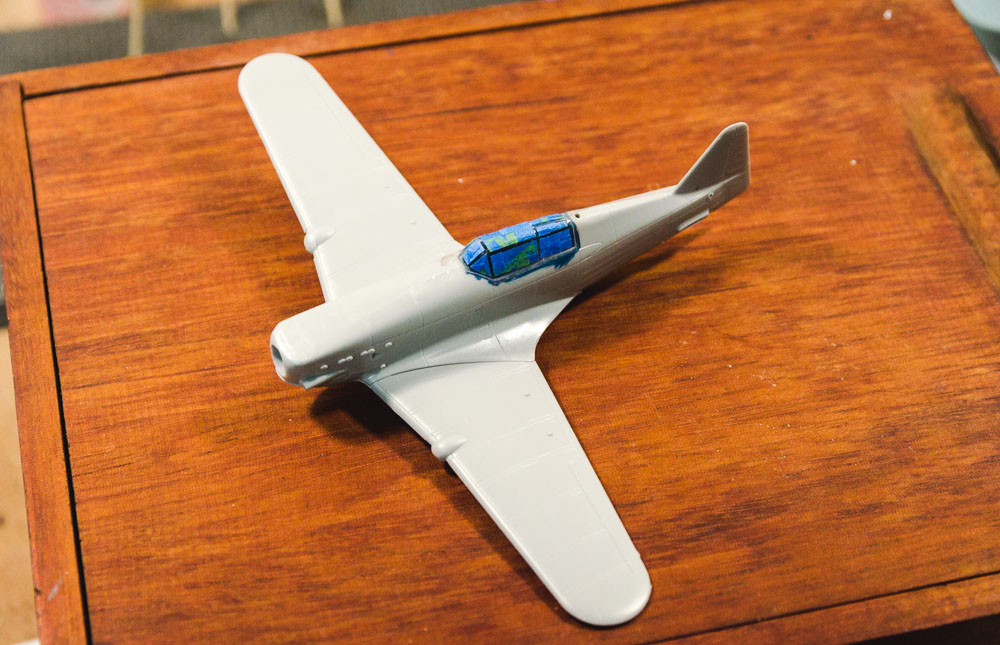
Canopy clarity is pretty good. Fit is so-so. I hate masking!

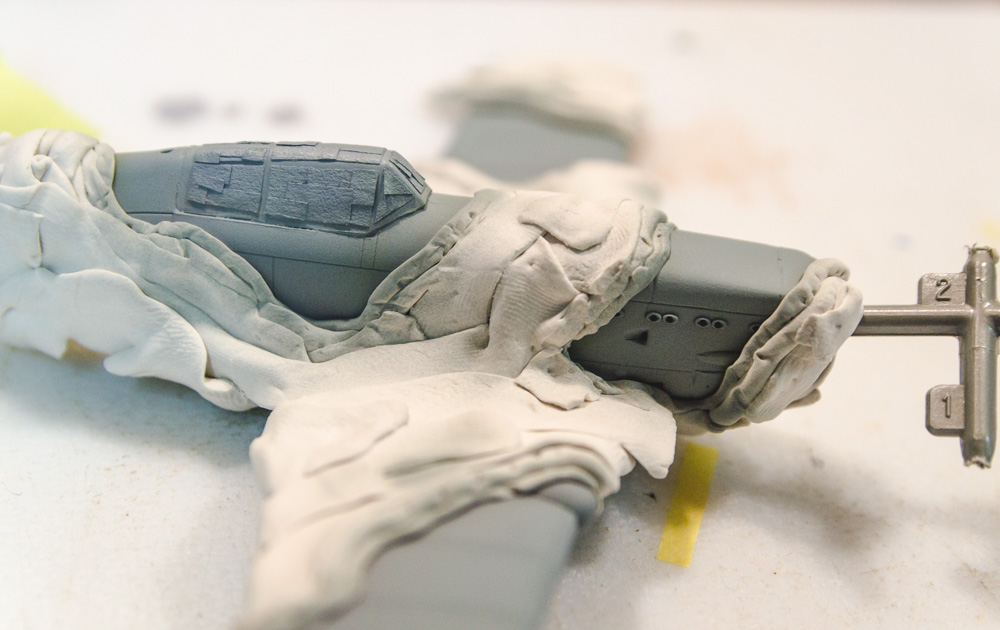
Buttoned up. Some filler required at upper wing root and rear lower fuselage.

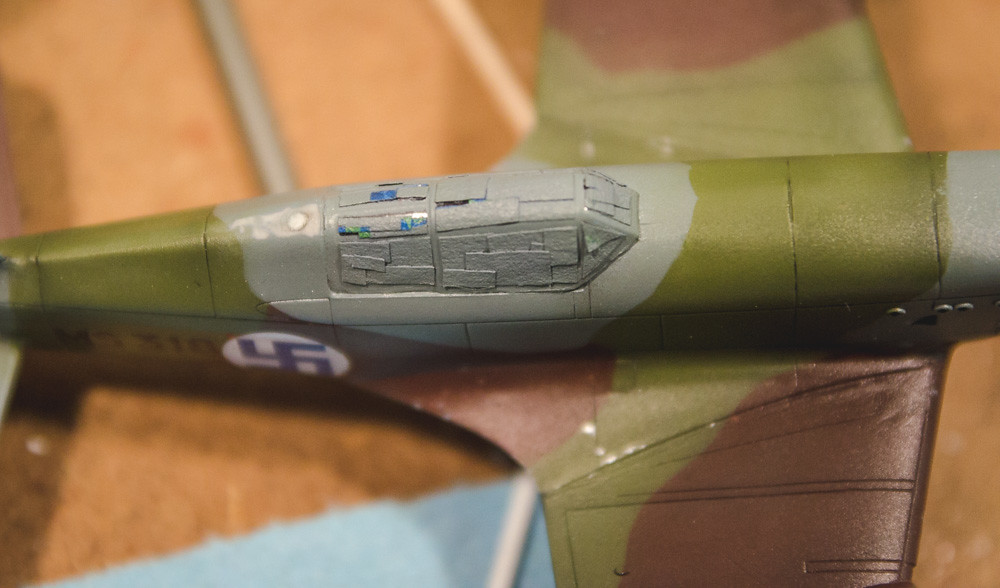
Tail assembled and a guide coat on, which revealed some seam lines to be removed from the wing MG bulges and some touch up around the compound seams of the nose.

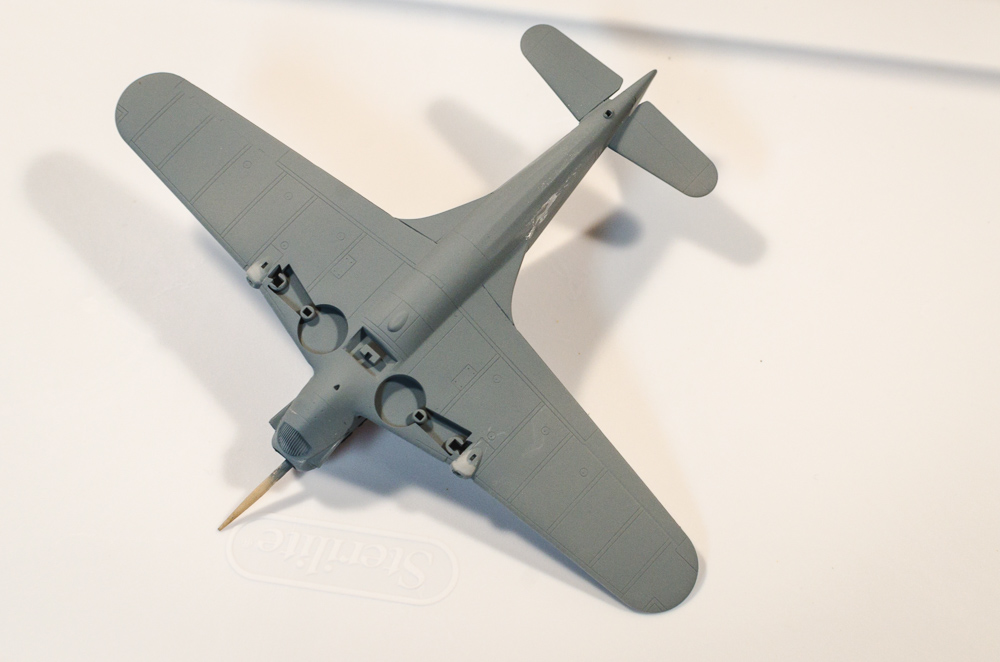
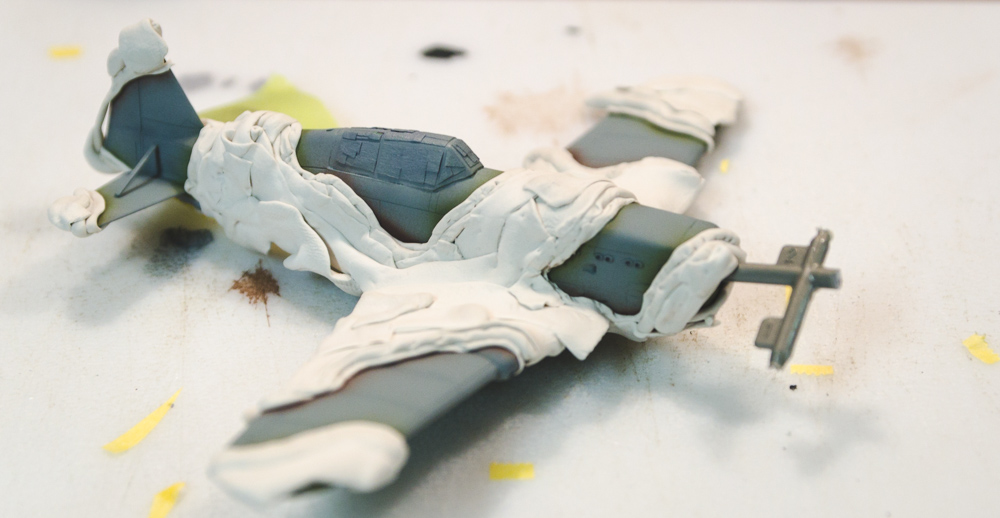
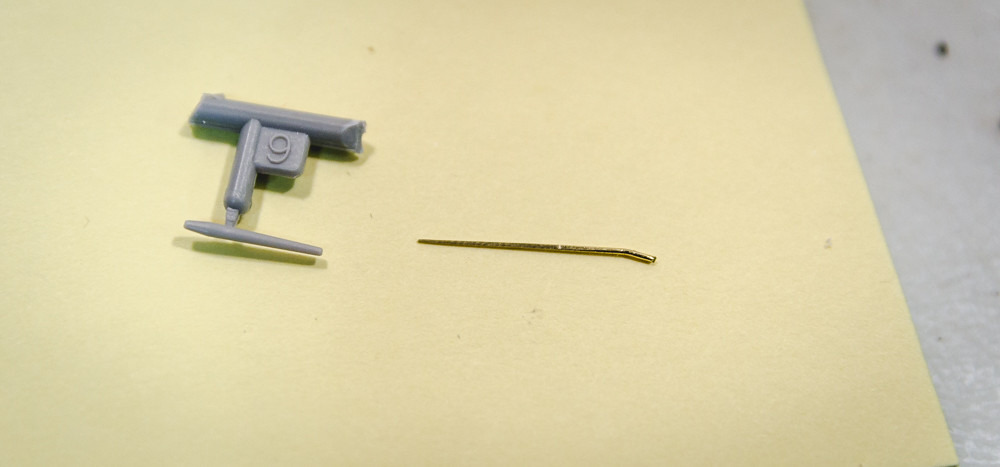
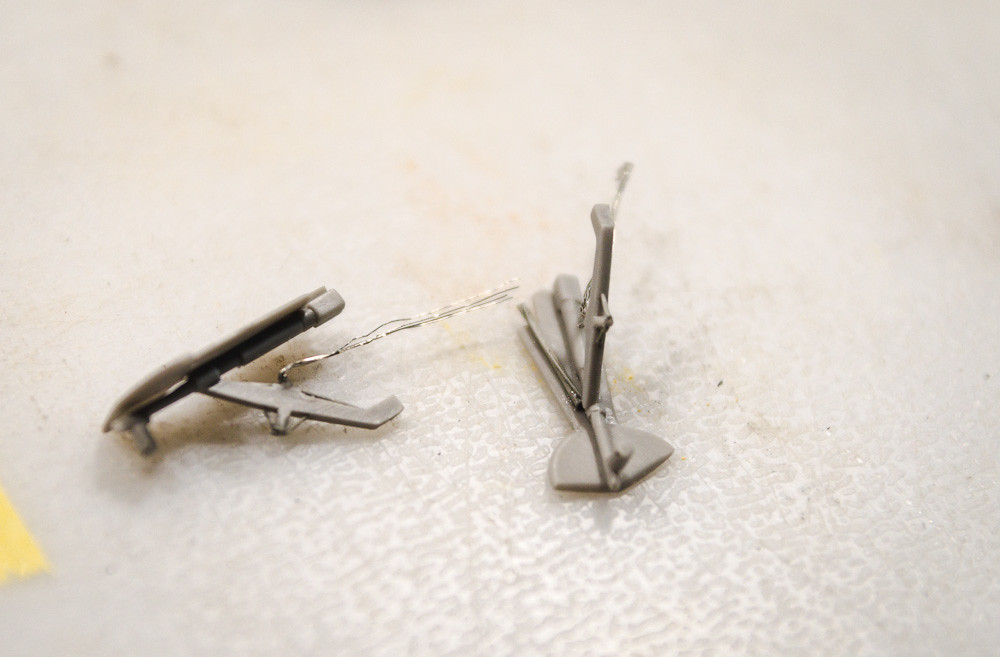
The undercarriage is very basic and visible, and since it’s a distinctive feature of the Ms406 I decided to do just a little enhancement here. First is cleaning up injection marks and thinning the doors a bit.

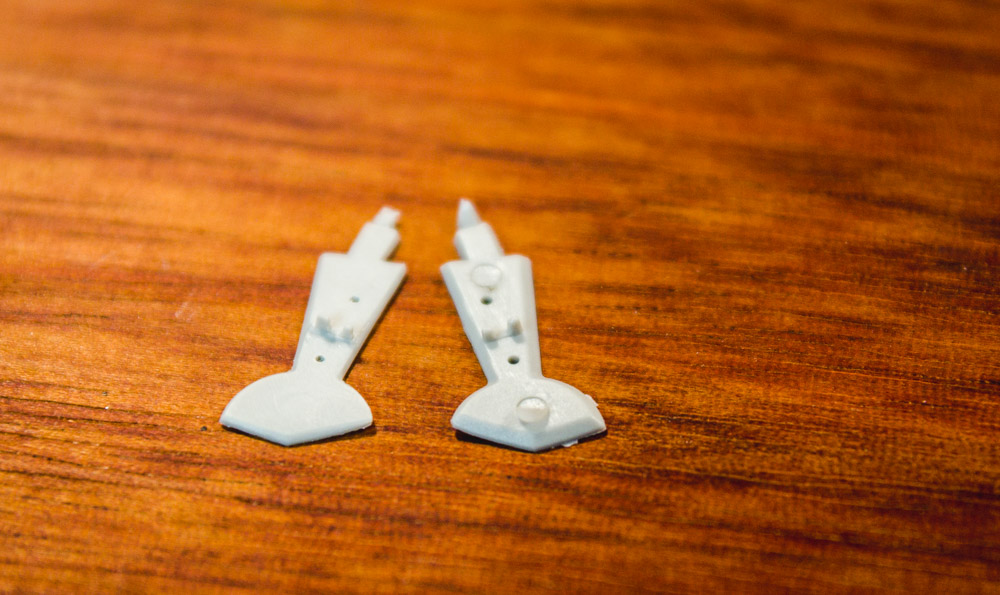
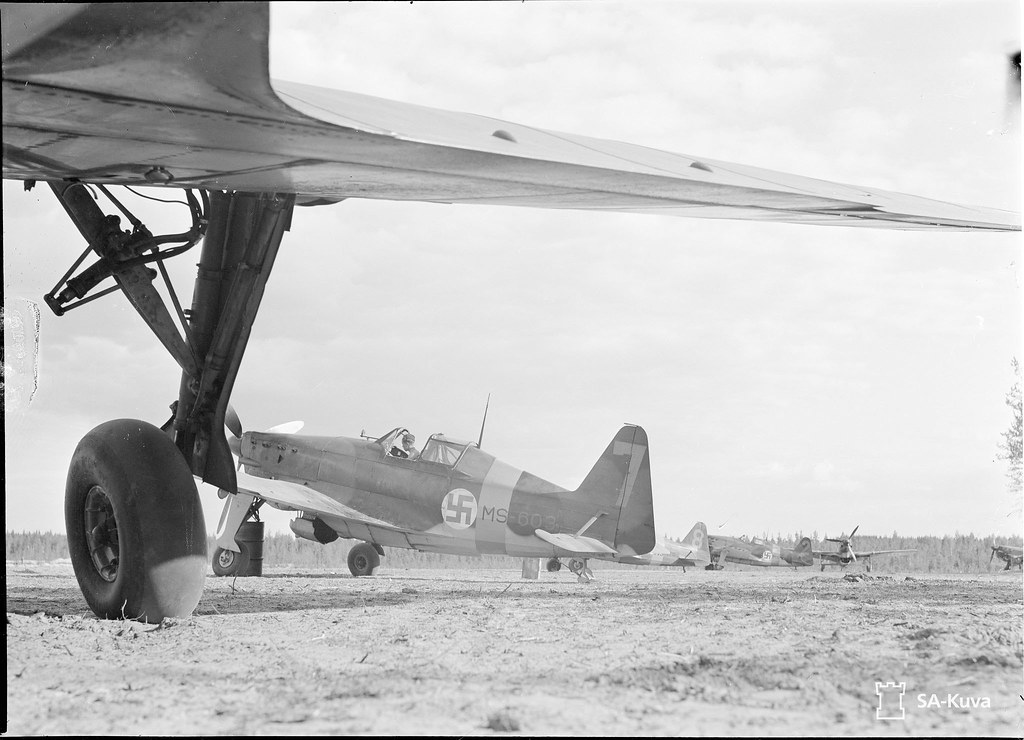
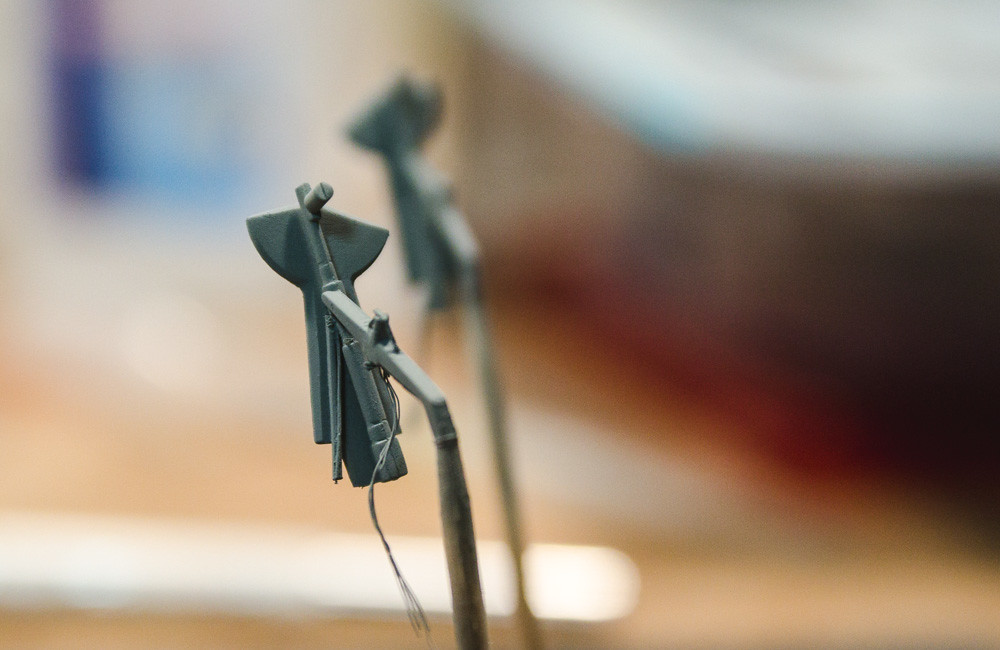
Then I added some struts and hoses per a really excellent period photo.

With paint.

Decided to try preshading on this one. Figured if I don’t care for the look, I can just apply a heavier topcoat.

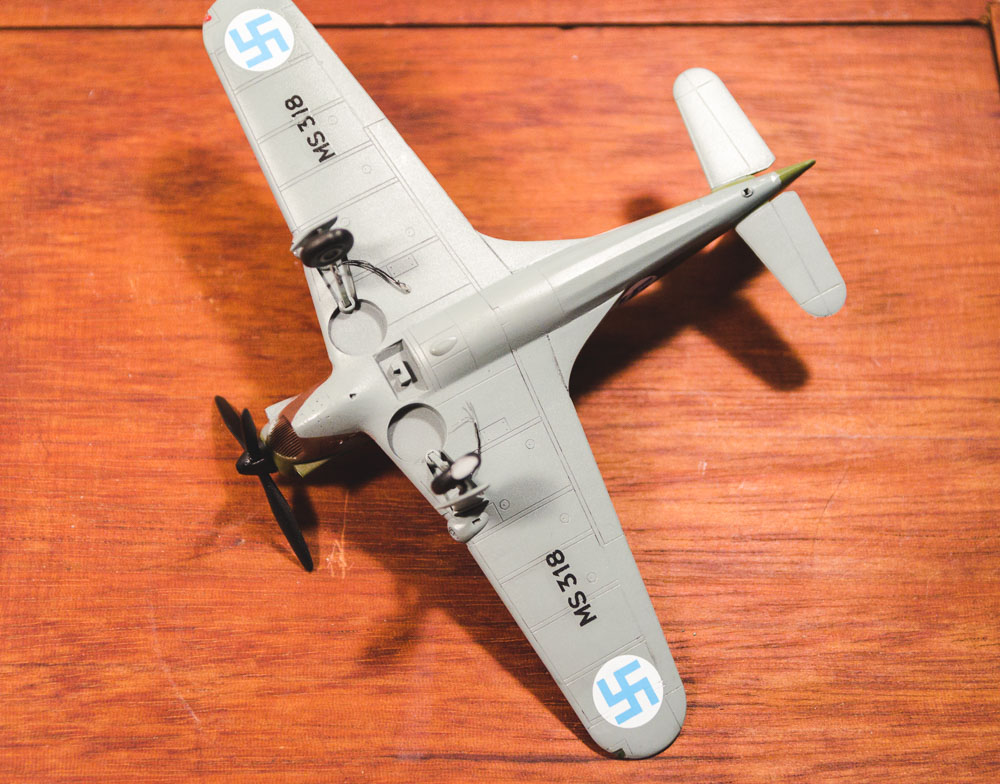
Bottom color applied (2 parts XF23 light sea grey to 1 part white). Preshading almost invisible. That’s the idea, right?

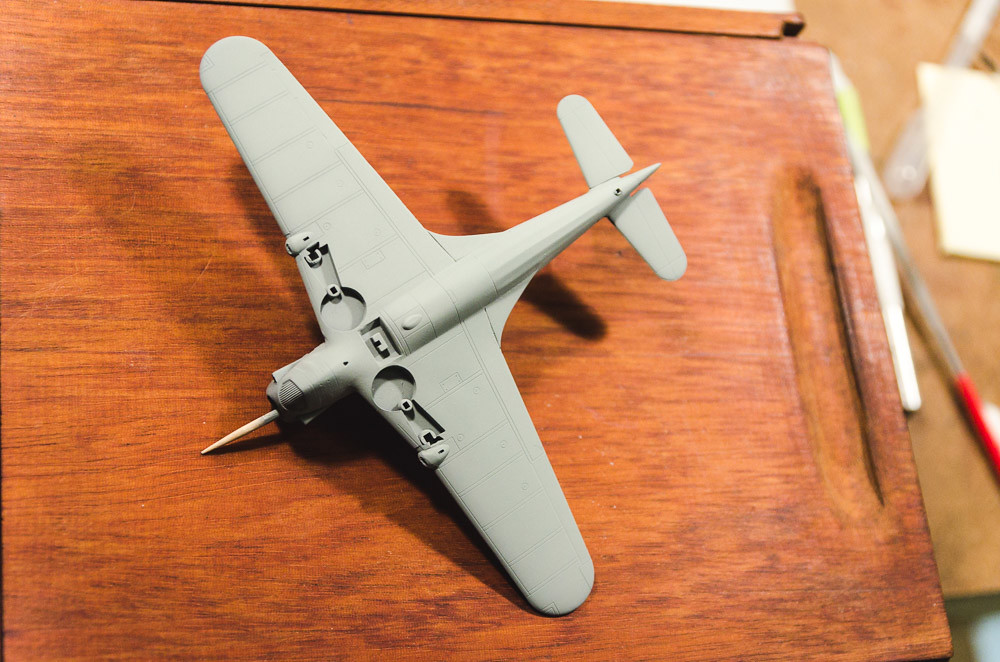
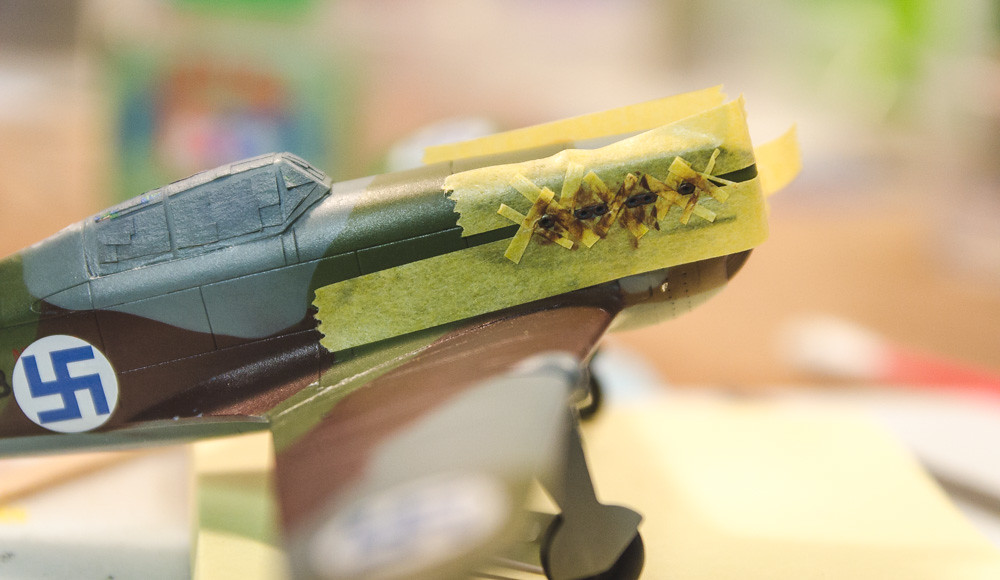
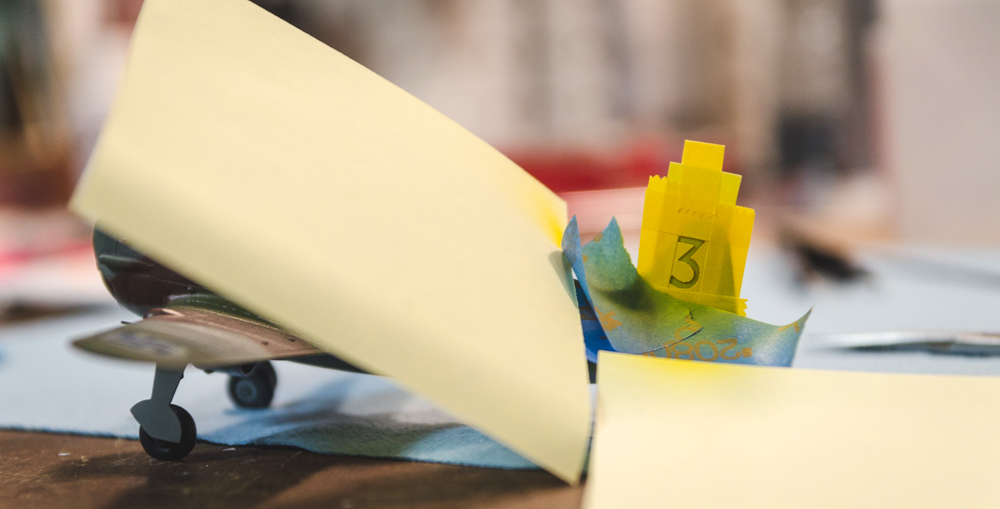
Prepped for top camo colors, before masking. Did I mention that I hate masking?

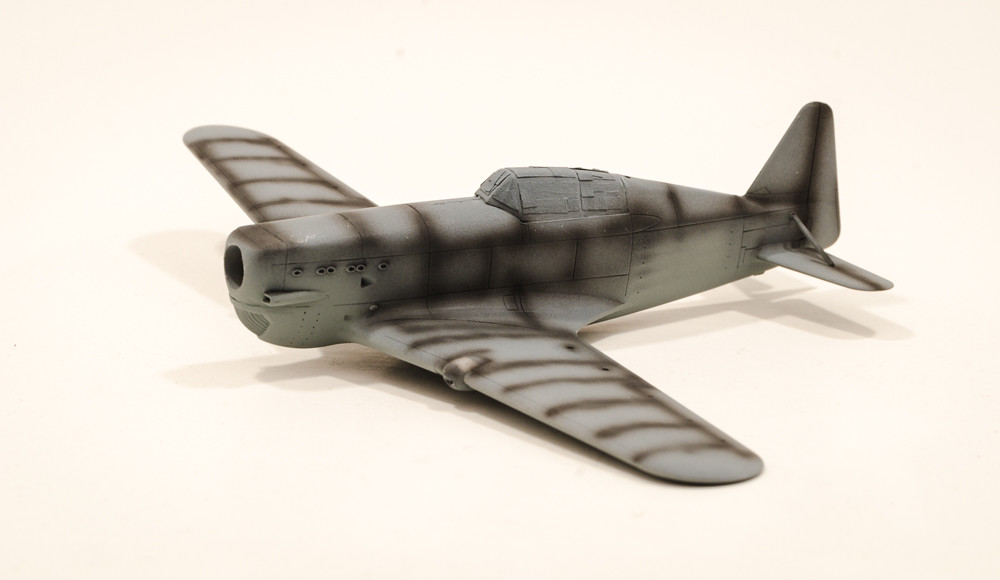
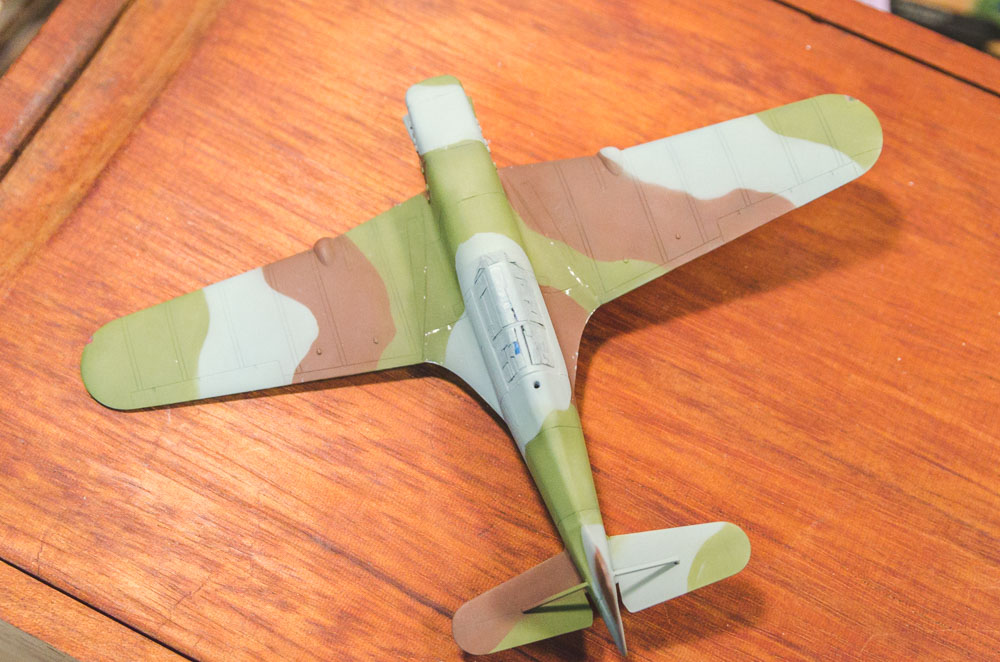
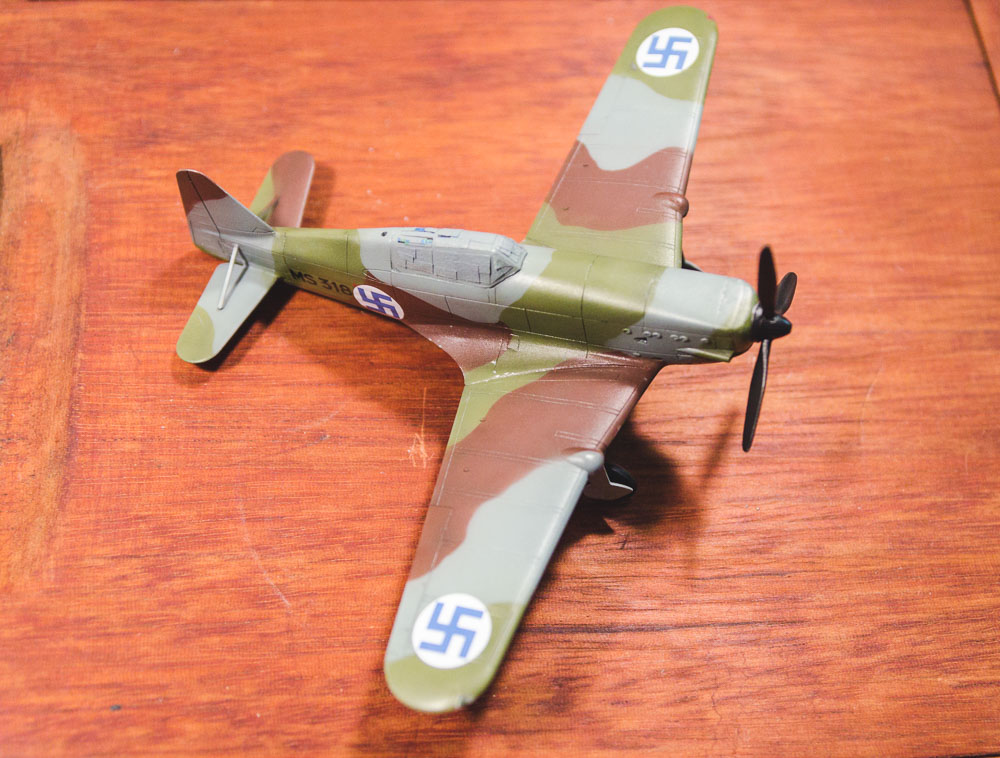
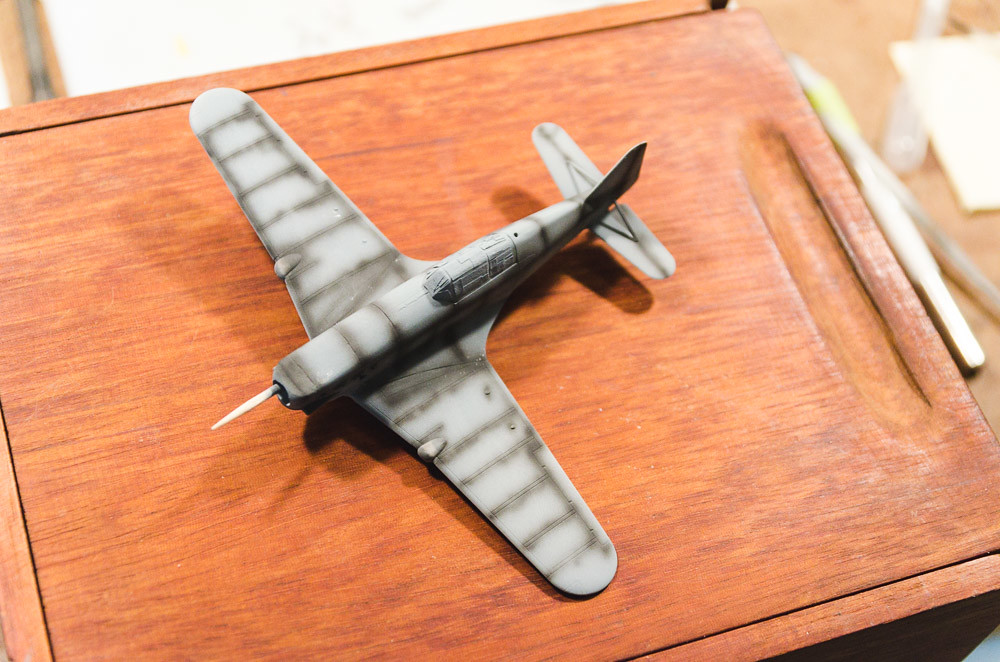
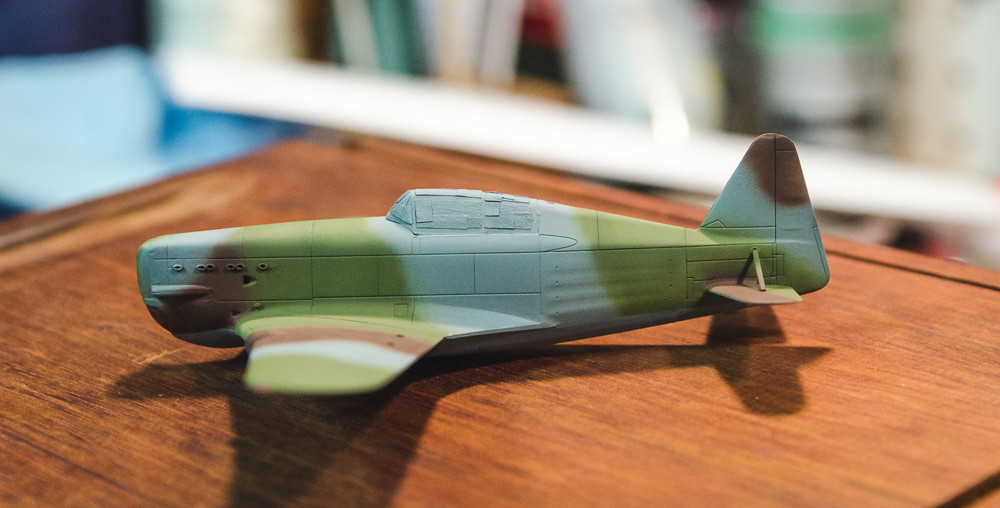
And colors applied freehand. Used the Tamiya French color mixes from the instruction booklet from their Dewoitine D520.

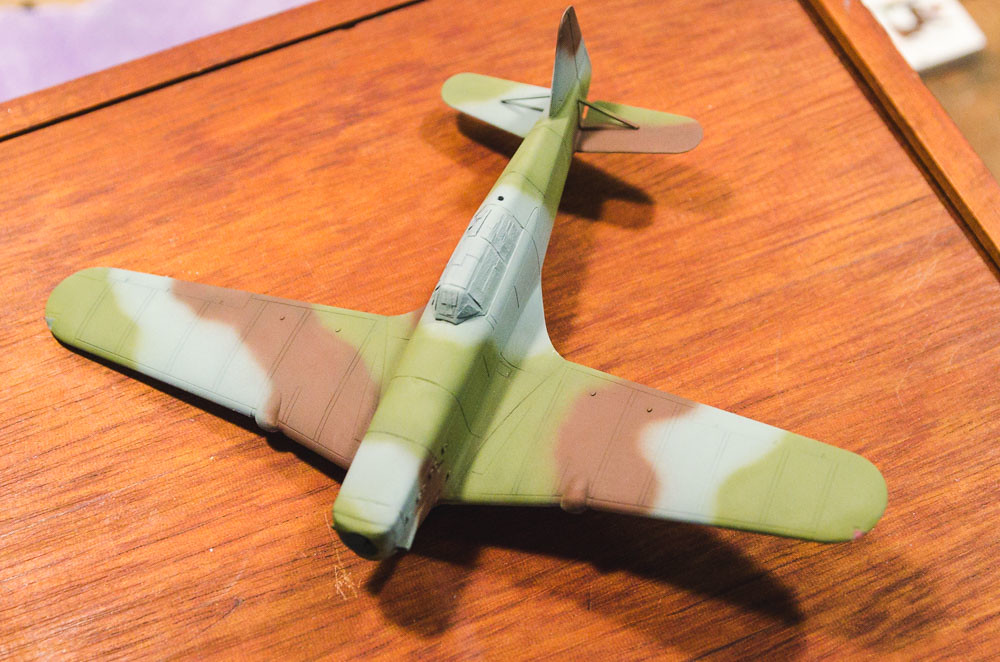
Here’s where I need some opinions from you experienced modelers. I am not sure I care for the soft airbrush edges here. I am afraid they are too wide and ruin the scale effect. What do you guys think? The real aircraft were each painted with a unique camo pattern (different from, say, the perfect factory RAF camo schemes) and period photos show a lot of variation in shade and edges.

All comments/constructive criticism welcome, and thanks for checking in.

Great work so far! Always liked this unusual aircraft.

The box design to hold the sprues looks wonderful! Kinda like a box of chocolates

Nice work, to me the camo borders look quite OK, in 1:1 scale the edges appear as if sprayed with a full size spray gun. If the color borders are too sharp the camo effect is somewhat defeated, so I say it looks spot on as a means of diverting attention.

Just my thoughts.

Patrick

Everything looks excellent. You did a fantastic job on this build.

Toshi

Nice work on the little lady. I’ll agree with Partick on the camo, looks just fine with the soft edges.

I like it.

Haha! That it does. “Never know what you’re gonna get.” The MS406 is an interesting aircraft for sure. A real transition of technology. No armor and a single hydraulic system running all the controls! Hope a line doesn’t get hit!

Thanks sir for the input. It looks a little better in the photos than in person - the overspray isn’t as visible. I might have to just try to touch it up a bit. But I agree that lines that are too sharp look just as wrong.

Thanks for checking in sir. A deceptively long way to go yet but I’m happy with this quick little kit.

Another vote in the “go with it” column. Thanks!

Me too! More and more. Thanks for the reply.

I’ve got all afternoon to tinker with it here. Time to choose between redoing camo edges or just clearcoating! [^o)]

I knew it was gonna bug me, so I took the time to sharpen the edges up. Still not perfect but I much prefer it now. Hope to still get a coat of Future on tonight. Also started on a little chipping around the walked-on areas (forgot to post a pic of the silver undercoat along the wing roots). I found by accident that dried flat Tamiyas seem to chip off of the metallic Tamiyas (used chrome silver here) just fine even without hairspray. So far so good, anyway.

It looks great…really like the camo. Keep up the great work and hope too see more from you,

The camo looked good before, looks even better now! [Y]

I really like these kits, our IPMS club did a group build of the Dewoitine D.520 and I later did a P-40 and they’re great little kits, only big issue I had was the cockpit- it’s a seat and a stick, that’s it!

Thanks Hunter. It’s a color combo one doesn’t see all the time, that’s for sure.

Yeah - not much “building” with these is there? Definitely room for a scratchbuilder to go to town, or for someone who doesn’t care for construction but like painting and finishing. Seems like the basic look is okay on the ones I’ve seen. I’m excited to wrap this one up and move on to a more complex build, though, I have to admit.

And I’m on my way to that end. Got a nice coat of Future on last night (I have been having good luck thinning it almost 1:1 with Tamiya thinner), and tonight was able to place a few decals. Here’s the only pic I took – the French serial number which will be mostly obscured by the Finnish national insignia roundel. Gotta let it dry overnight first.

Don’t mind the silver spots under the tail. My masking job pulled a bit of the grey paint up. [:|] Remember what I said about the Tamiya flats not sticking to Tamiya chrome silver very well?

She’s looking good. I like the paint work. Keep up the good work.

Thanks scorpr. I’m happy with it too. These Tamiya acrylics aren’t very tough but they sure go on nice.

Got most of the rest of the decals on (just the tail number to do yet, but I have to print that one still). Two-part swastikas are a pain in the neck. Also did a light pin wash and mocked up the prop and landing gear for the photos. I have a couple paint touch ups to do, and then it’s weathering… [:^)]

Have to apologize for slow updates on this. When I get right at the end of the build, I get paralized a bit about each next step – afraid to totally ruin the finish. I don’t have a streamlined weathering/finishing process at all, so I end up doing lots of little things, then clearcoats, and then having to wait overnight or longer just to be sure.

Like yesterday – I had to create and print decals for the tail number, and it takes overnight for the decal bonder spray to cure; the batch I had made didn’t end up working out and I had to make a new one, and wait another overnight.

The good news is that since this stage of a build is “a few minutes of work and then 24 hours of waiting,” I can get a good start on a second kit, so I’ll be posting another WIP here soon.

Here are a few more updates in any case. I’m a little farther along than this but am waiting for the tail number decals to be completed before I can go any further.

Undercarriage permanently installed (pay no attention to the missing wheels).

Gargantuan out-of-scale kit aerial mast, and a brass one I made to better match the wispy look of the real thing.

Photo of the real deal:

And just then realized how massive the hole in the fuselage for the mast was… even the kit part would fall right down inside. Better fill it (and be set back another day as I have to repaint and reclearcoat and wait overnight…).

Meanwhile I masked and drybrushed the tiny exhaust pipes in Tamiya red-brown.

Fade coat, shading coat, and dull coat are coming, but again, I gotta get that tail number done first. Maybe tonight, if my new batch of custom decals works… [|-)]

She’s looking good! Interesting way to drybrush the exhausts, I use a tiny brush but always get some paint where I don’t want it, never thought to mask the area- very clever.

Suomi -

It sure is looking great…have enjoyed watching your build. Great subject as for the aircraft. I sat down and did some reading on it and learned a great deal. Again, wondeful job

Thanks guys. Appreciate the comments. I just noticed that in my first post that I had the date wrong: the French sent these airframes over in early 1940, not 1941! They were in time to see some Winter War combat, which is the whole point of this paint scheme.

Well, a few experiments printing my own tail numbers resulted in nothing but frustration. I can’t cut the yellow-printed-on-white smoothly enough, and yellow-printed-on-clear is all but invisible, even several decals deep.

So it was time to try a mask. Used plain Tamiya flat yellow and sprayed very gently, using the air to dry between thin coats, trying to avoid wetness that might seep under the mask.

It worked pretty well! The other side went on almost as nicely. The soft edges are more than made up for by the flat appearance. No chance of silvering…

You did a fantastic job thus far. I love the build!

Toshi

That’s really looking nice! [Y]

Mike