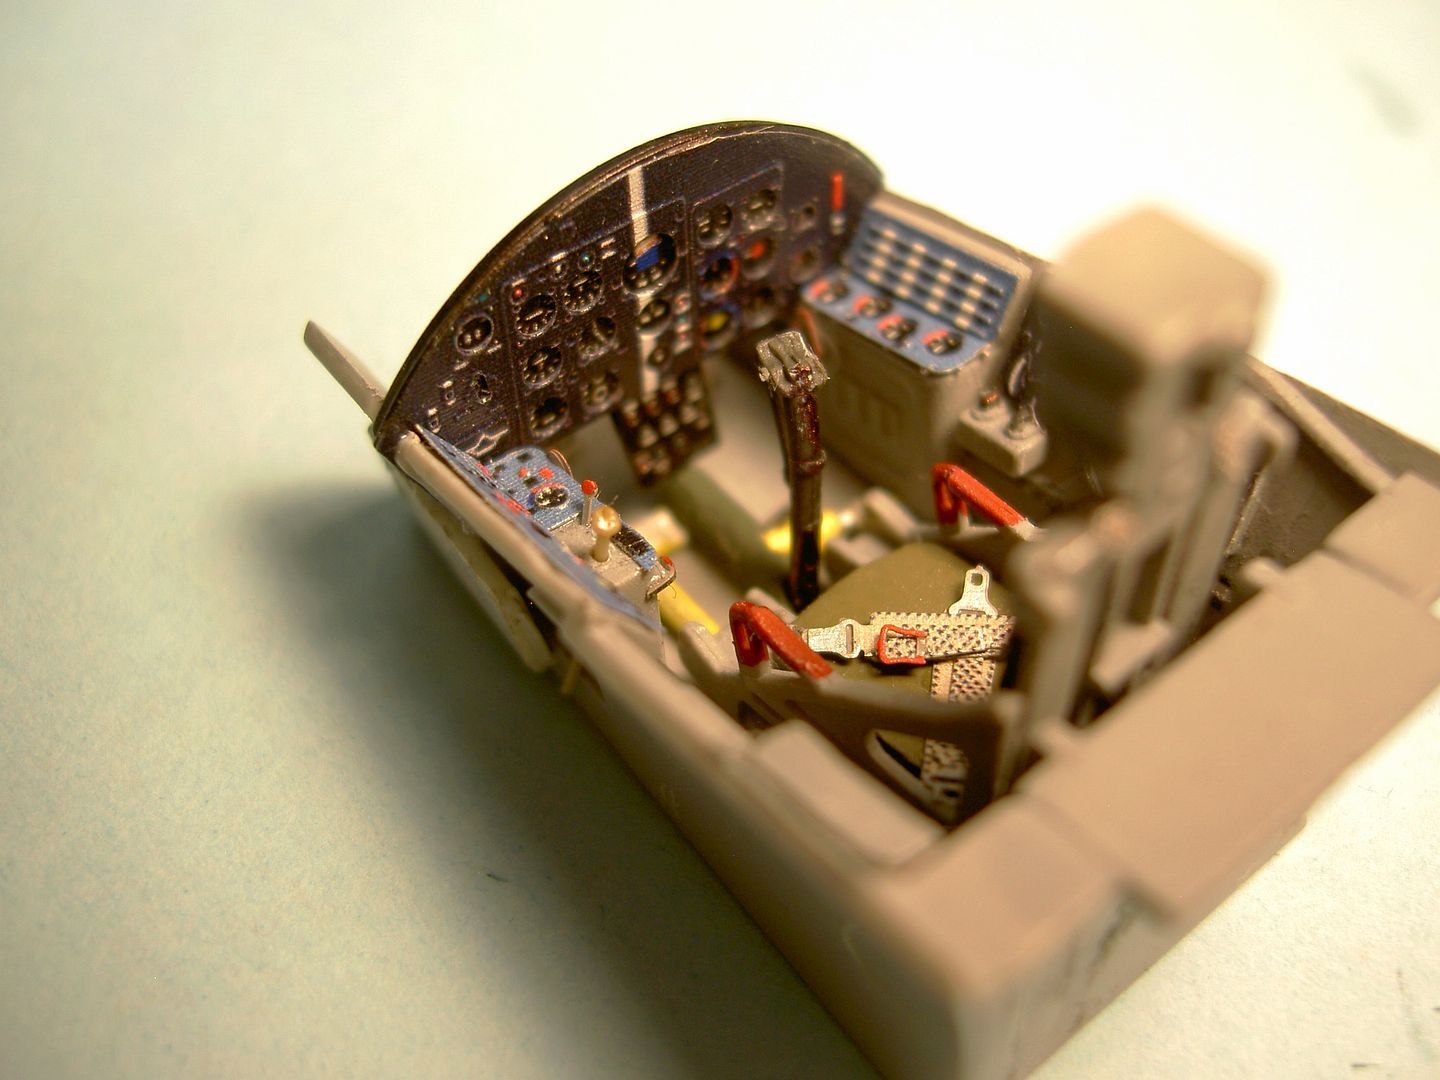
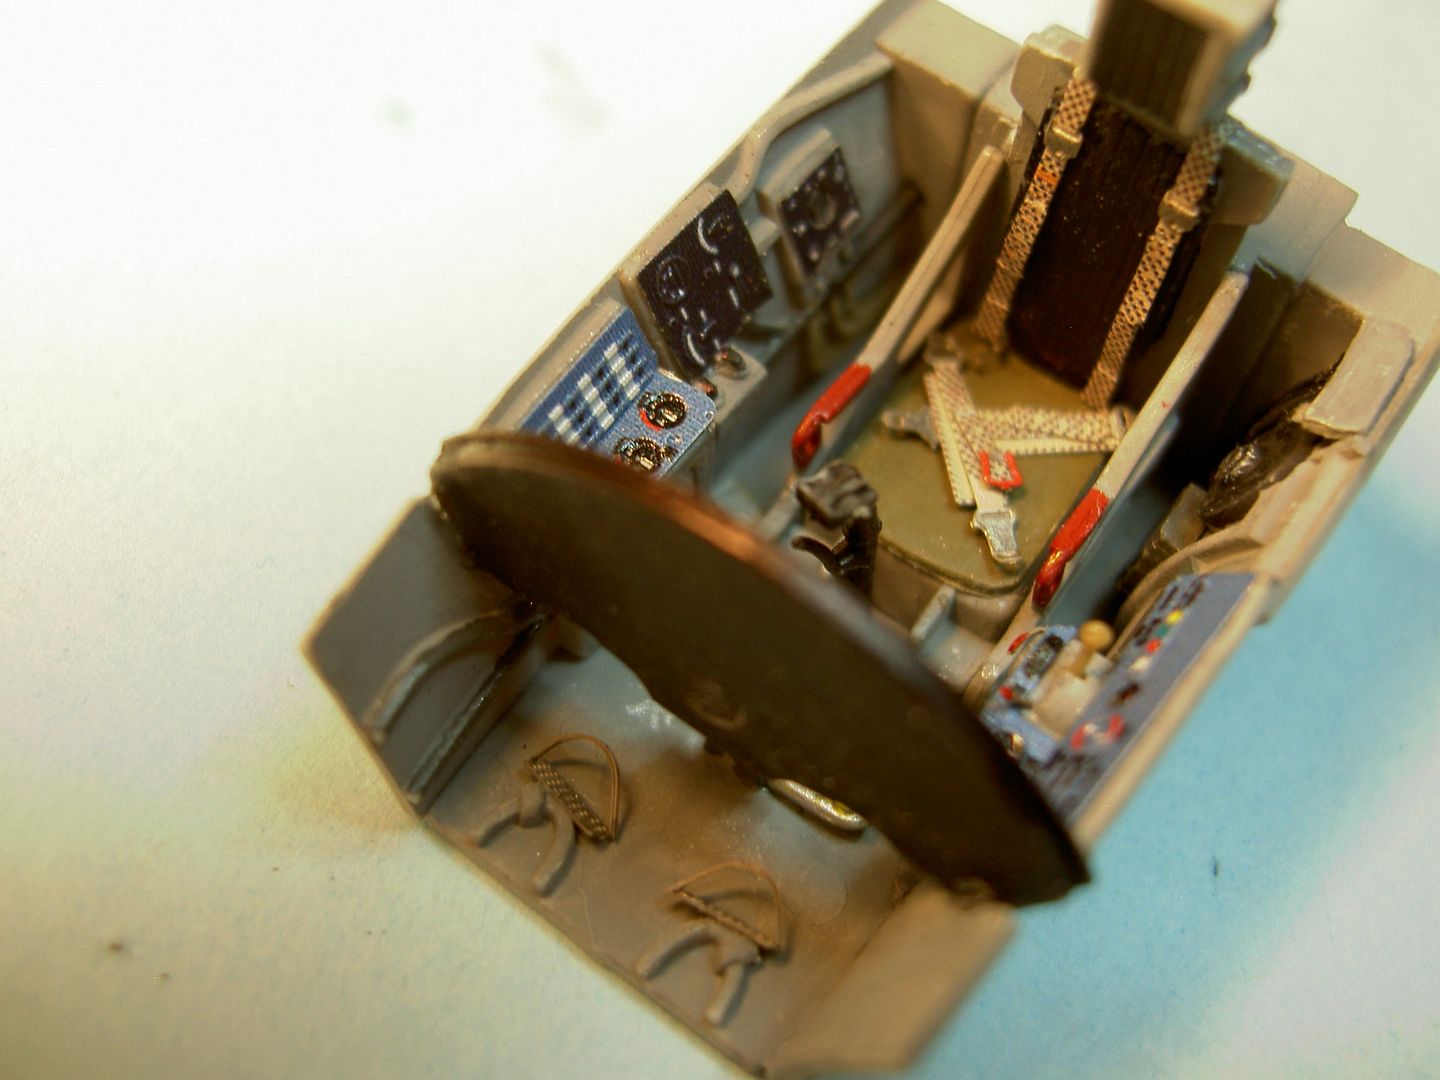
This was my first Hobby Boss kit, and it was bought for an on-going group build here. I started in earnest last fall and hit the first “snag” soon after. I had to repaint the seat several times to get the effect I wanted and stopped construction for several weeks. The I took up the gauntlet again. The plastic in this kit was sort of odd; in some places it seems quite soft but it also seemed very brittle at times too. I broke several parts just removing them from sprues, and this sure wasn’t my first rodeo. The fore and aft sections of the fuselage presented the next challenge. There was a terrible fit between the two sections. After I had them together, I found that it looked like “a bear’s *ss sewed up with a grapevine” (old sheet metal saying there…). Out came the Bondo and I went to work evening things up. Next step was re-scribing all the lost detail. The wing to fuselage fit sucked too, and I spent a few sessions wrestling that into shape. Then, I somehow lost one of the front gear doors and had to make another one. Believe me, I was quickly losing my passion for this build even though the MiG-17 was a long-time favorite of mine.
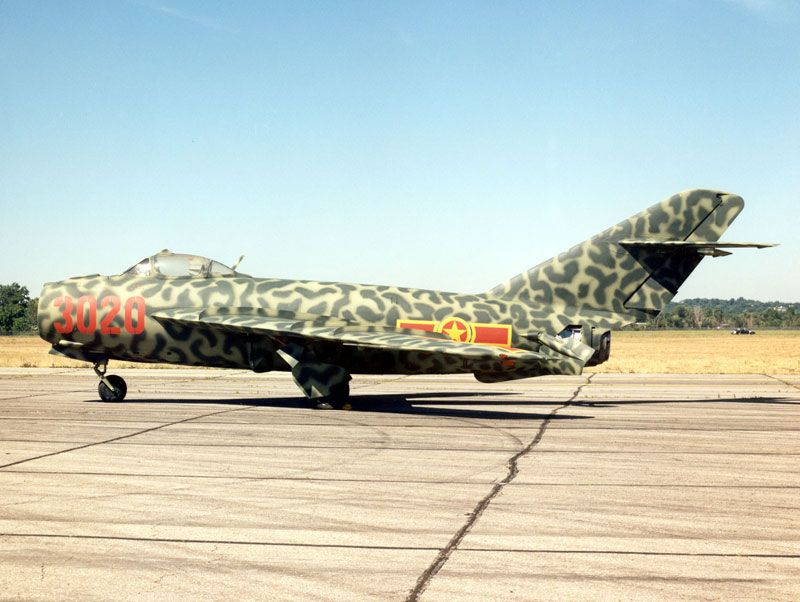
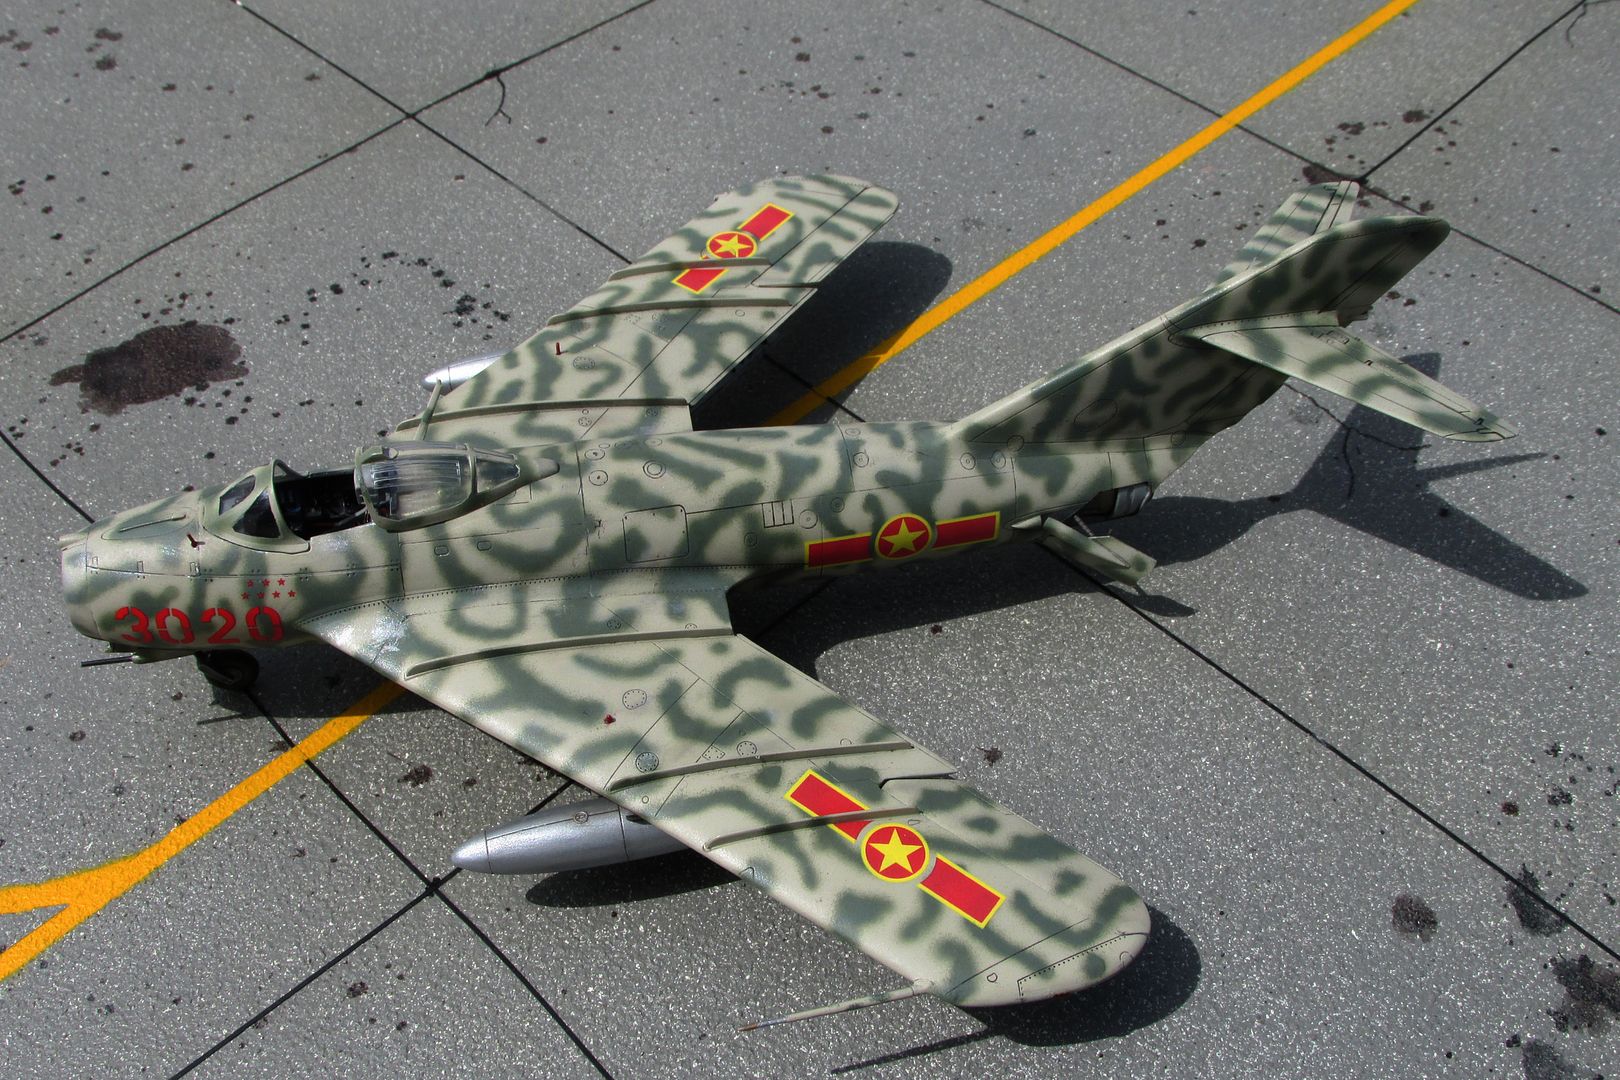
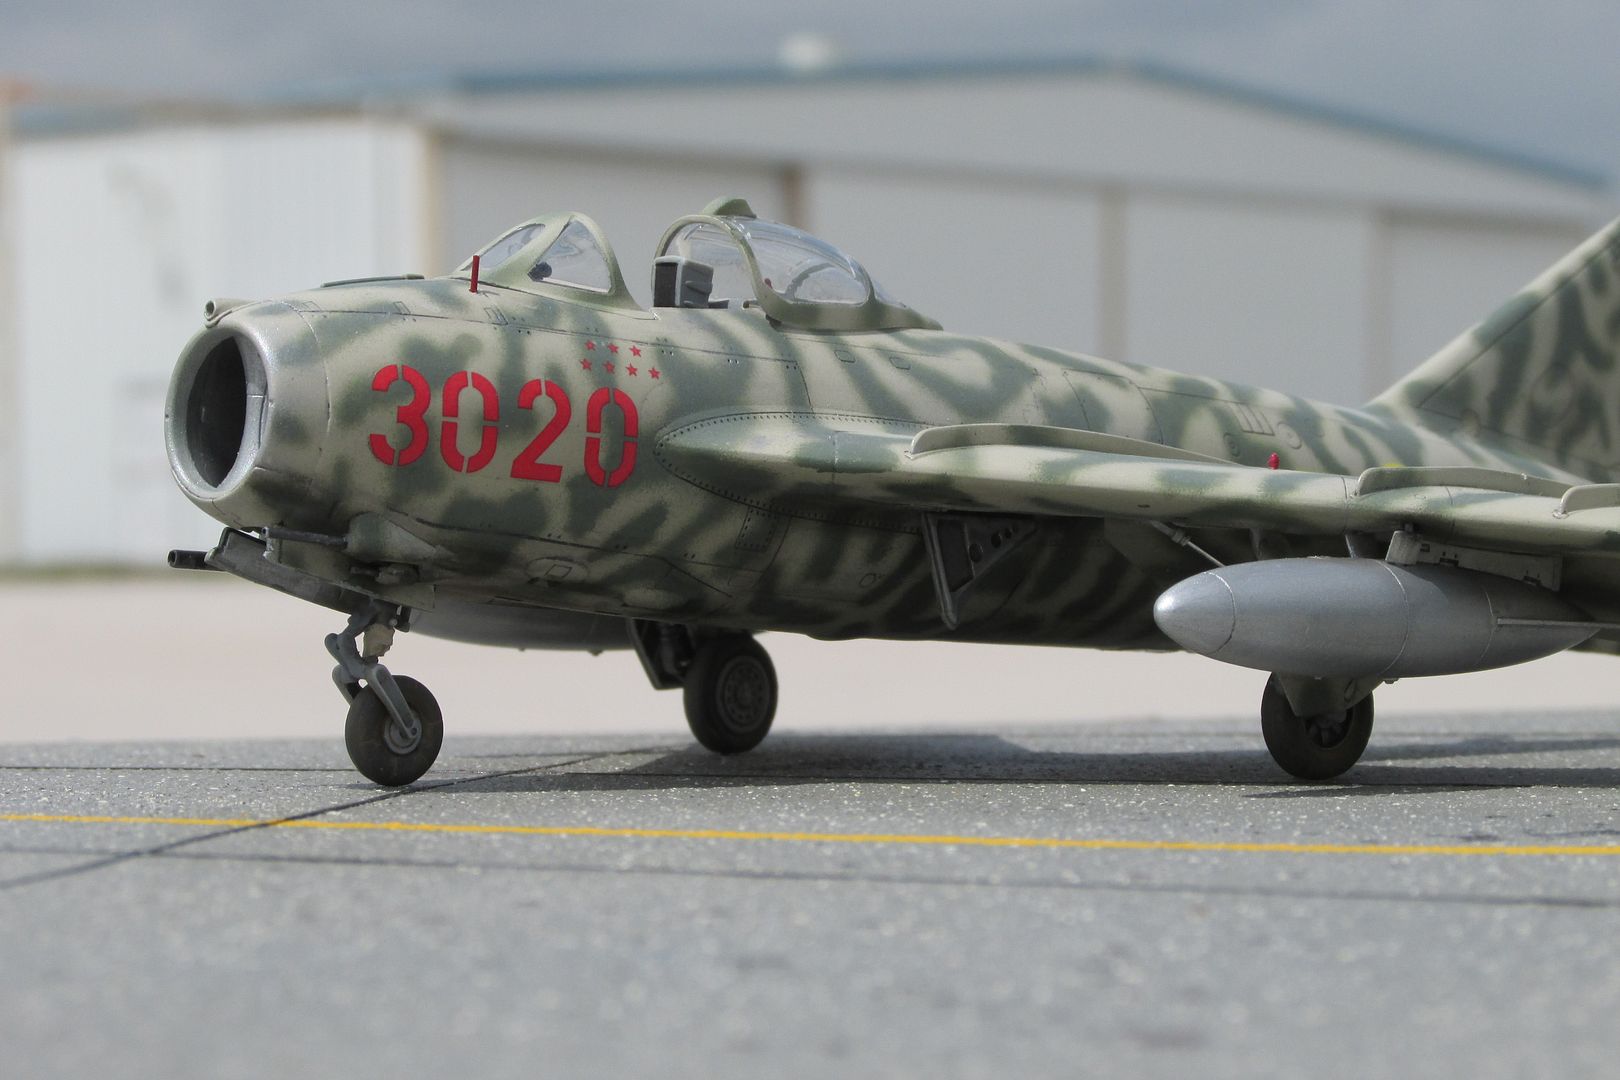
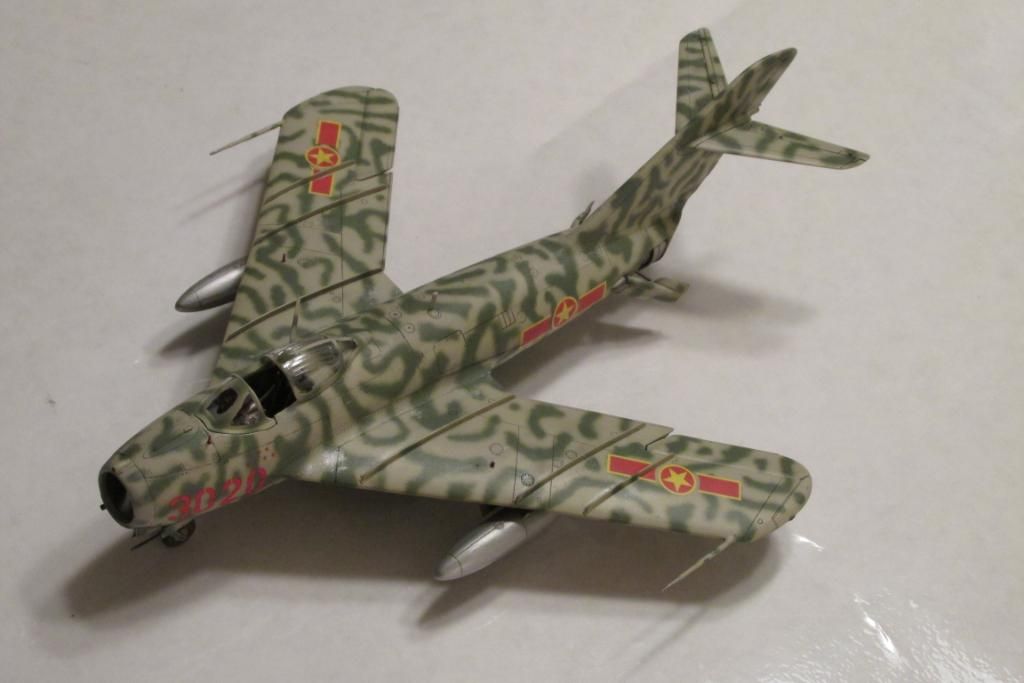
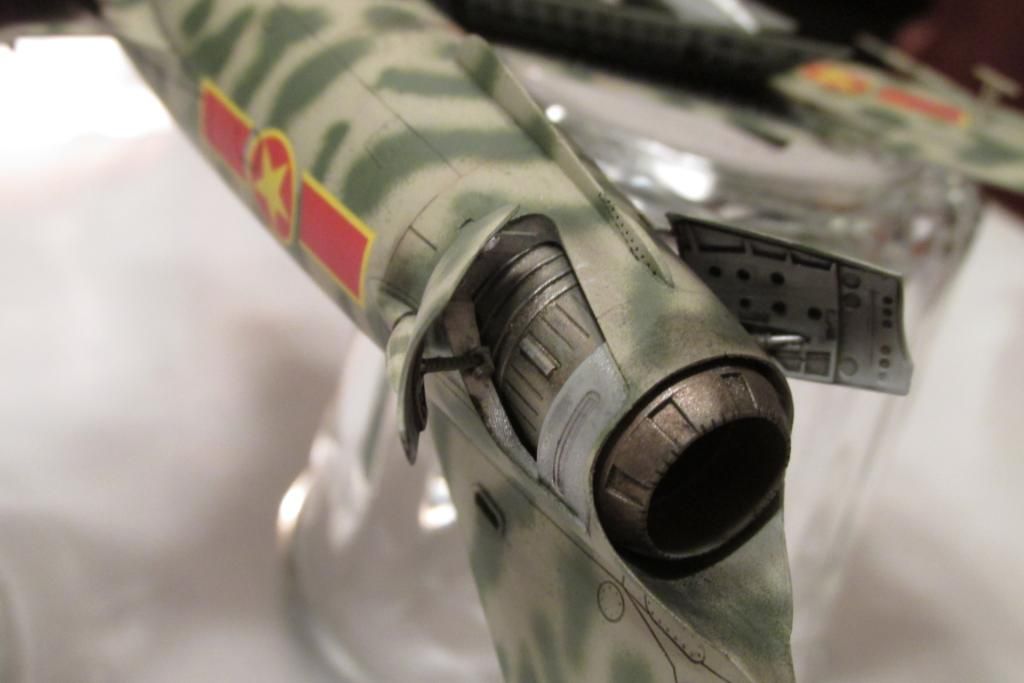
I wanted a MiG-17 of the North Vietnamese Air Force. I had looked at several paint schemes for this plane and finally decided on one. The full-scale plane like this is at the Air Force Museum. On-line research revealed that this scheme, along with 3 or 4 others all bearing number 3020, was claimed as being used on the mount of North Vietnamese ace Le Hai (7 kills). Hmmm…by this point though, the die had been cast, decals had been ordered and I stayed with the squiggly paint. I was worried that my Paasche H wouldn’t be able to do what I needed for those complex squiggles. I do have a double-action Paasche Model V, but I just couldn’t get it to cooperate at all so it was back to the Model H. At first I planned on doing a sort of “reverse” pattern. I would paint the darker color first and then use small blobs of Blue Tac to mask the squiggles and then spray the lighter color over those. Well, I had more than half of the underside done when I abandoned that plan. I don’t think I could’ve ever made that look right. So one fine Saturday morning, I fired up the CO2 and the Model H and just painted the darned thing. I wish my spray pattern had been a bit tighter but I finally justified my work by assuming that the original Vietnamese painter probably had a lot of over-spray too. So, it was onward through the fog!
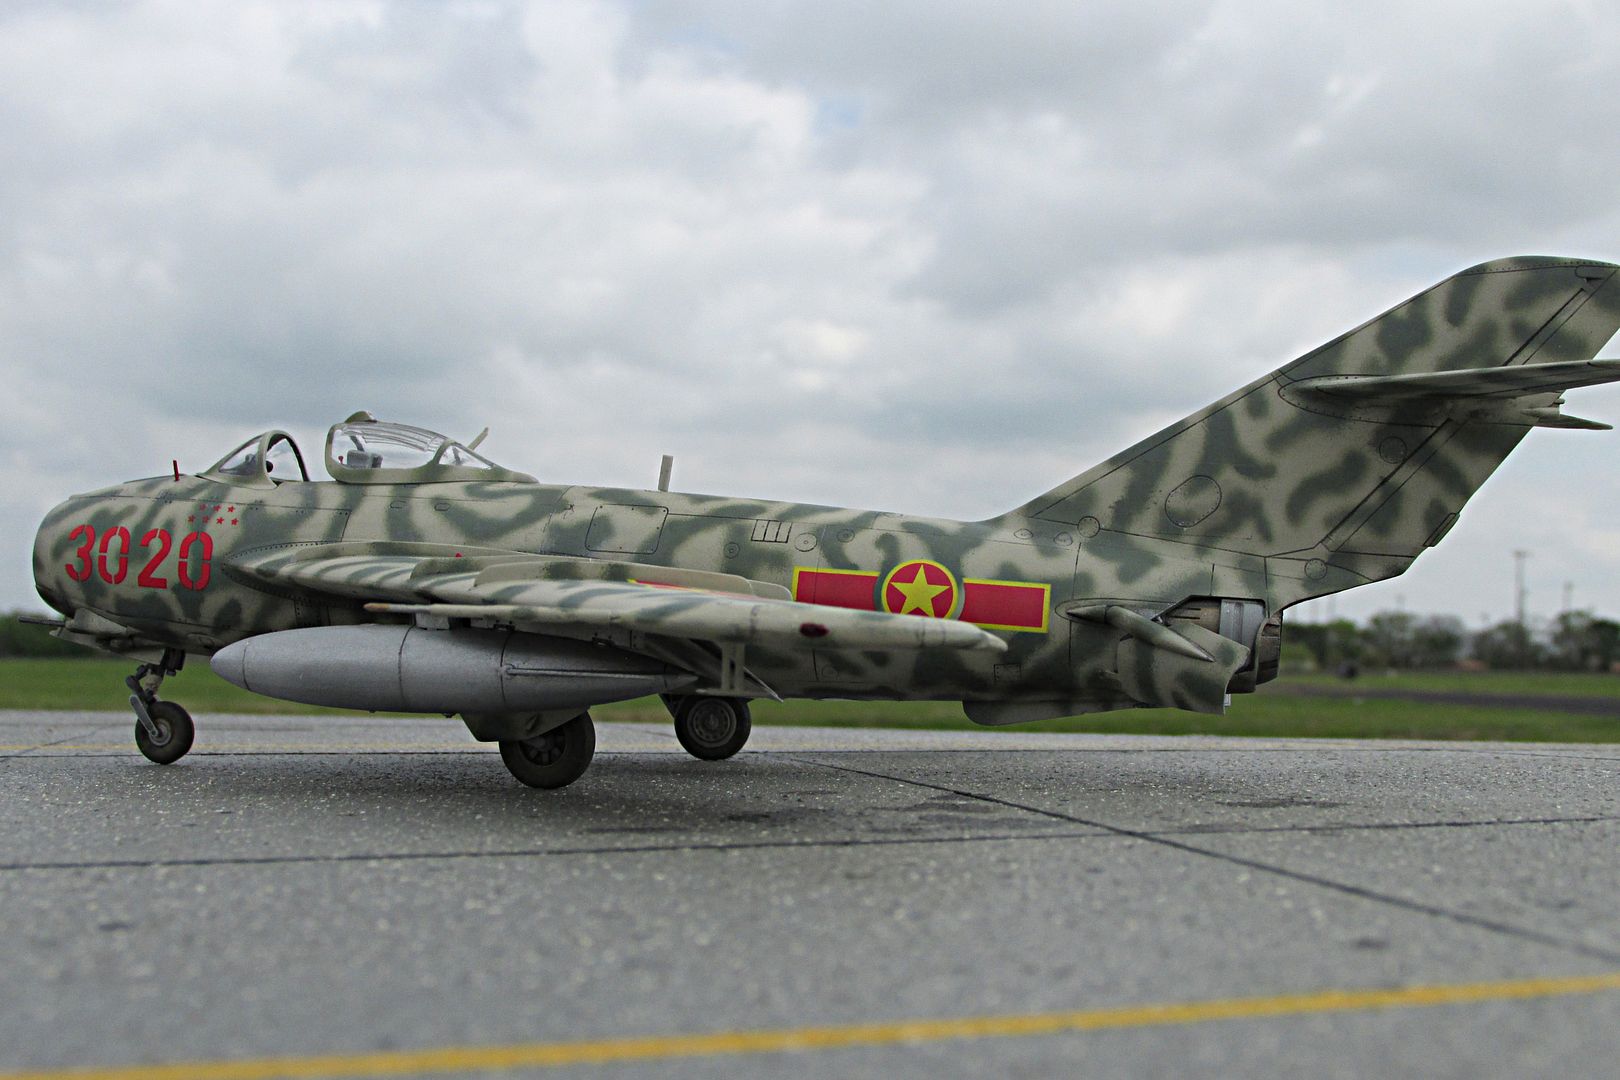
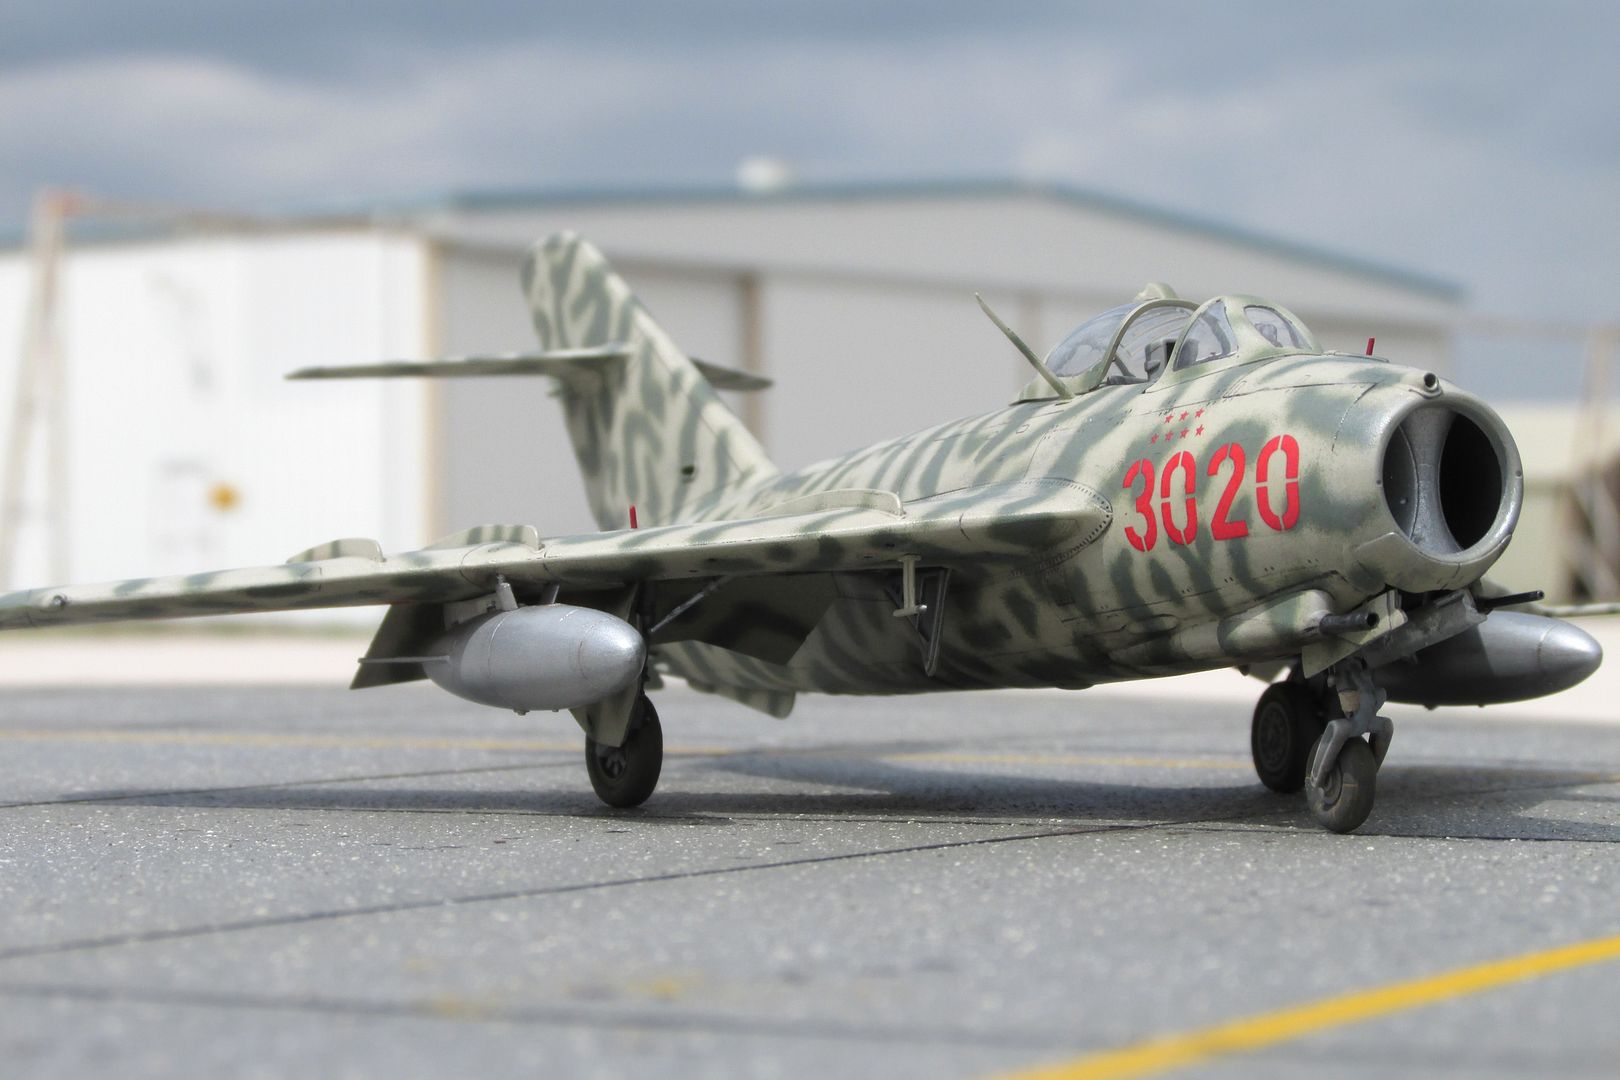
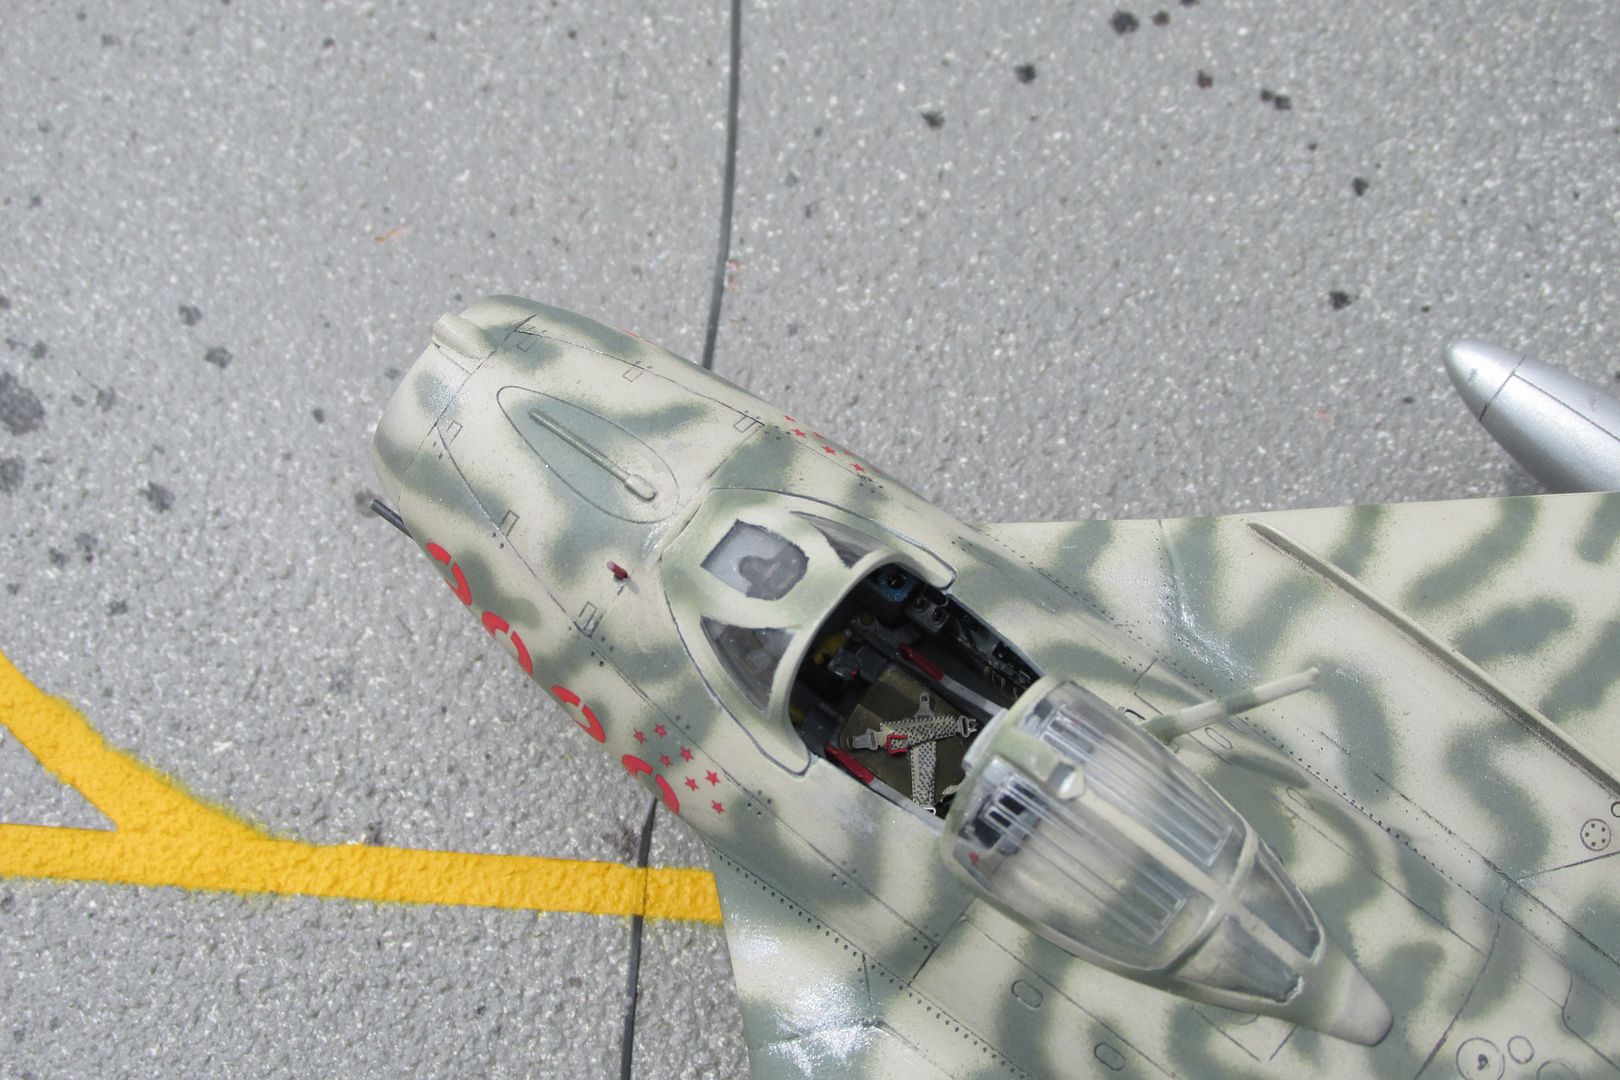
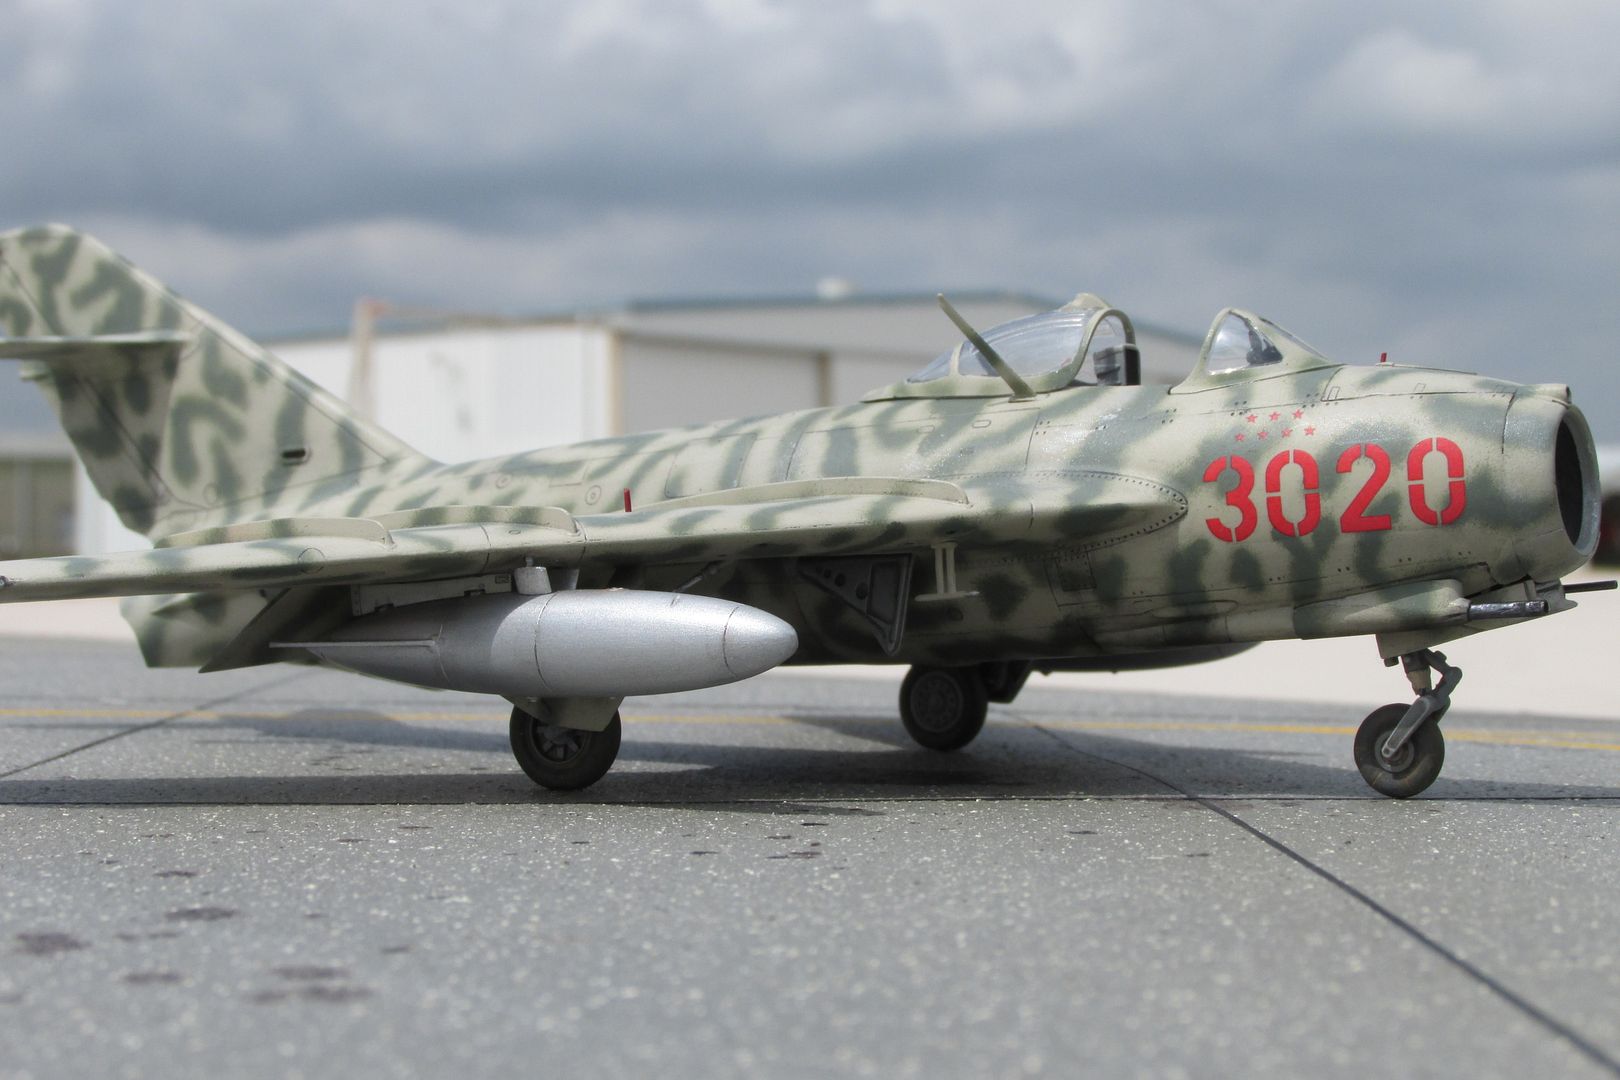
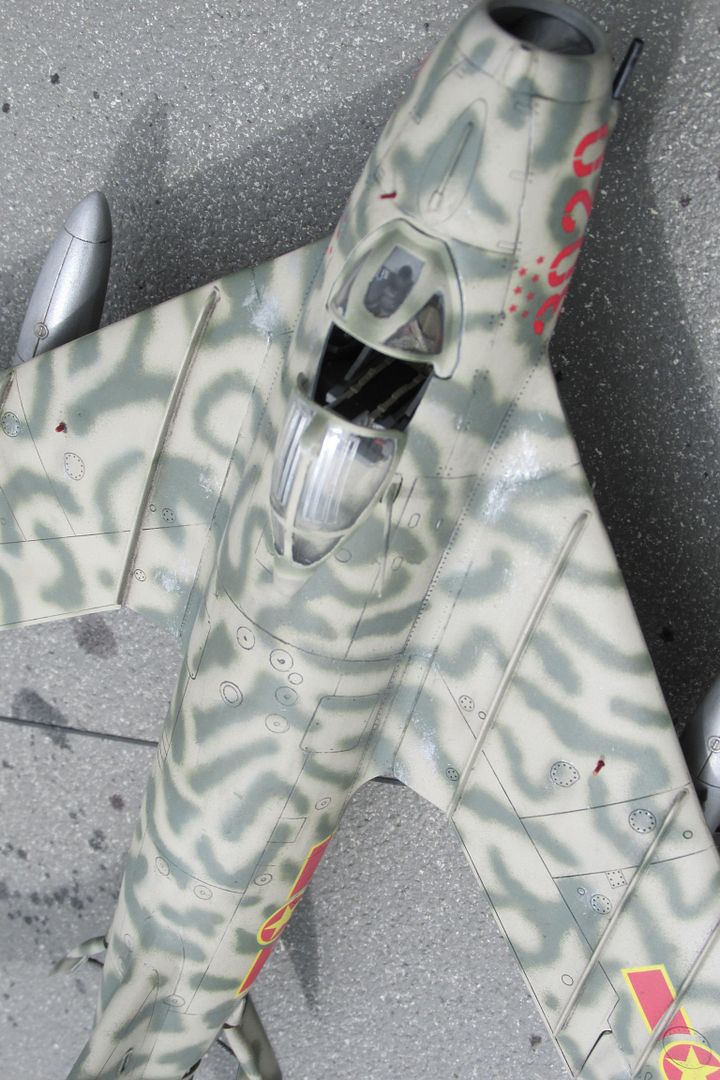
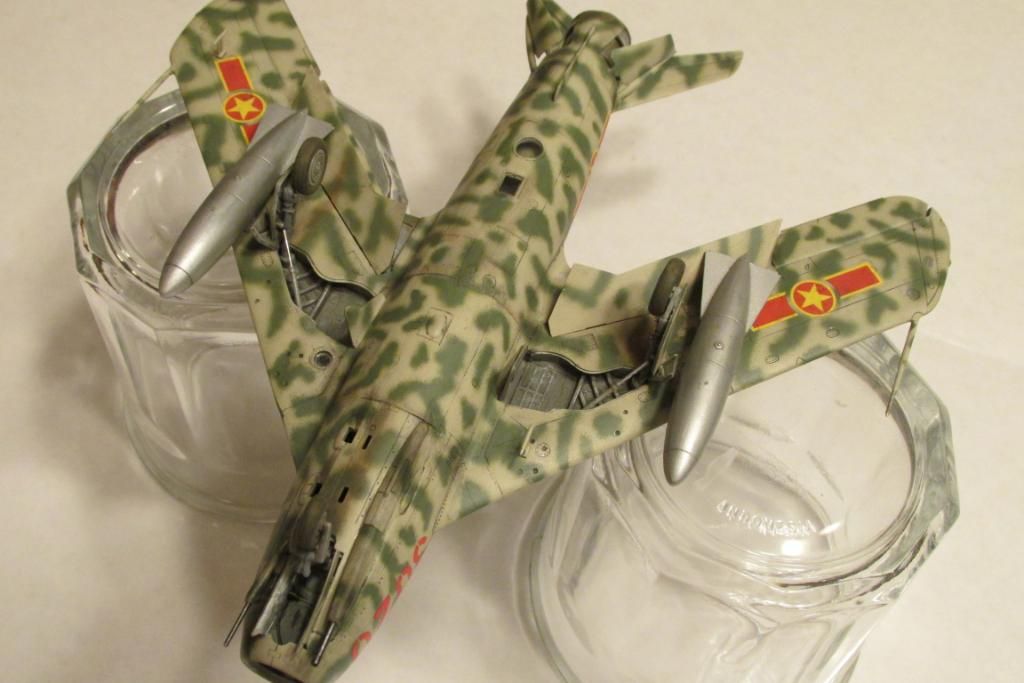
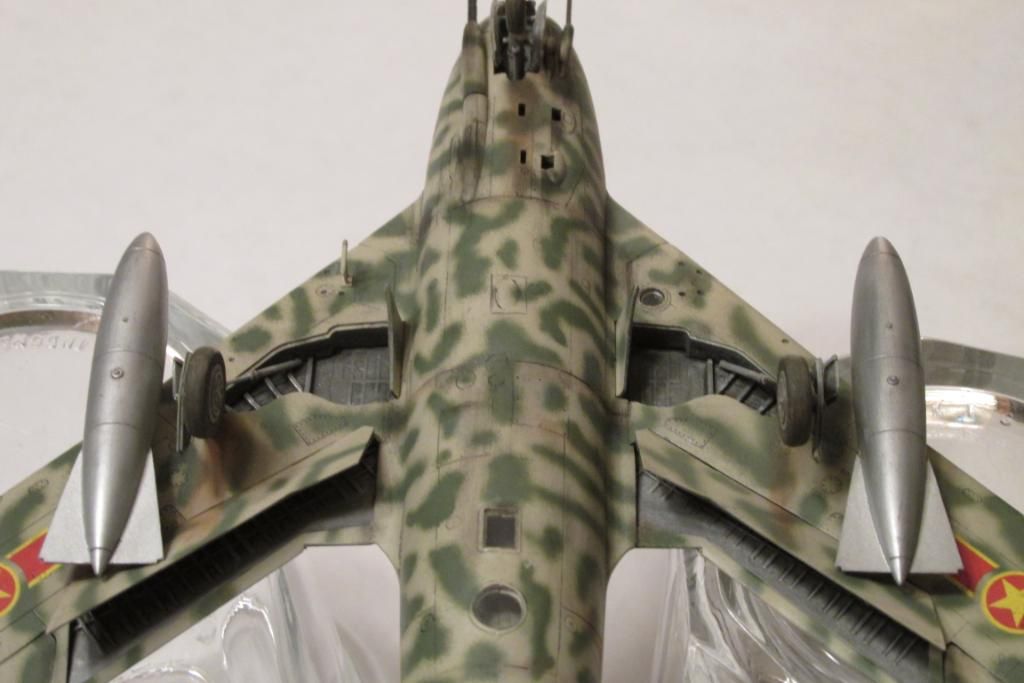
I custom-mixed the pale color from Model Master Sand, Flat White and Faded Olive Drab, while the green is MM SAC bomber green. The decals are a combination of kit markings and aftermarket. Weathering was done with Flory washes and pastel chalks, colored pencils and a bit of dry brushing with Humbrol Matt Aluminum. Cockpit features are mostly courtesy of an Eduard Color Zoom set. I did scratch out the oleo boot covers on the front landing gear. The canvas boots were frequently found on the front and often on the main gear too on NVAF '17s. My boots are tissue soaked in white glue and shaped around the oleo section. I broke both of the forward pylons/mounts for the drop tanks and had to wait for replacements, When they arrived and were painted, I had trouble getting the outside “legs” of both of these to fit tight against the underside of the wing. But, ah hah, a bit of internet research found several period pics that show the outside leg didn’t fit flush on the actual planes either.
I took a few pics of the MiG inside once finished just to document the actual completion and to get a few underside shots as well. After waiting several weeks for the wind to die down, I finally had a window of opportunity for a photo session at the airport. When I got out there and opened the box, the starboard pitot was laying on the bottom of the box. Arrghh!! Well, I wasn’t packing it in just for that.
It turns out that NVAF Pfc. Dam Dhum Phuc had backed a re-fueling truck into that pitot tube and knocked the damned thing off! Oh well, photography must march on! That was just one more SNAFU in what seems like a jinxed build from the start. At any rate, the MiG-17F is finished, and I like it alright I guess. Thanks for taking a look at her!
Gary

And, the inspiration for my paint job: