Hobby Boss 1/18th scale AV-8B Harrier II

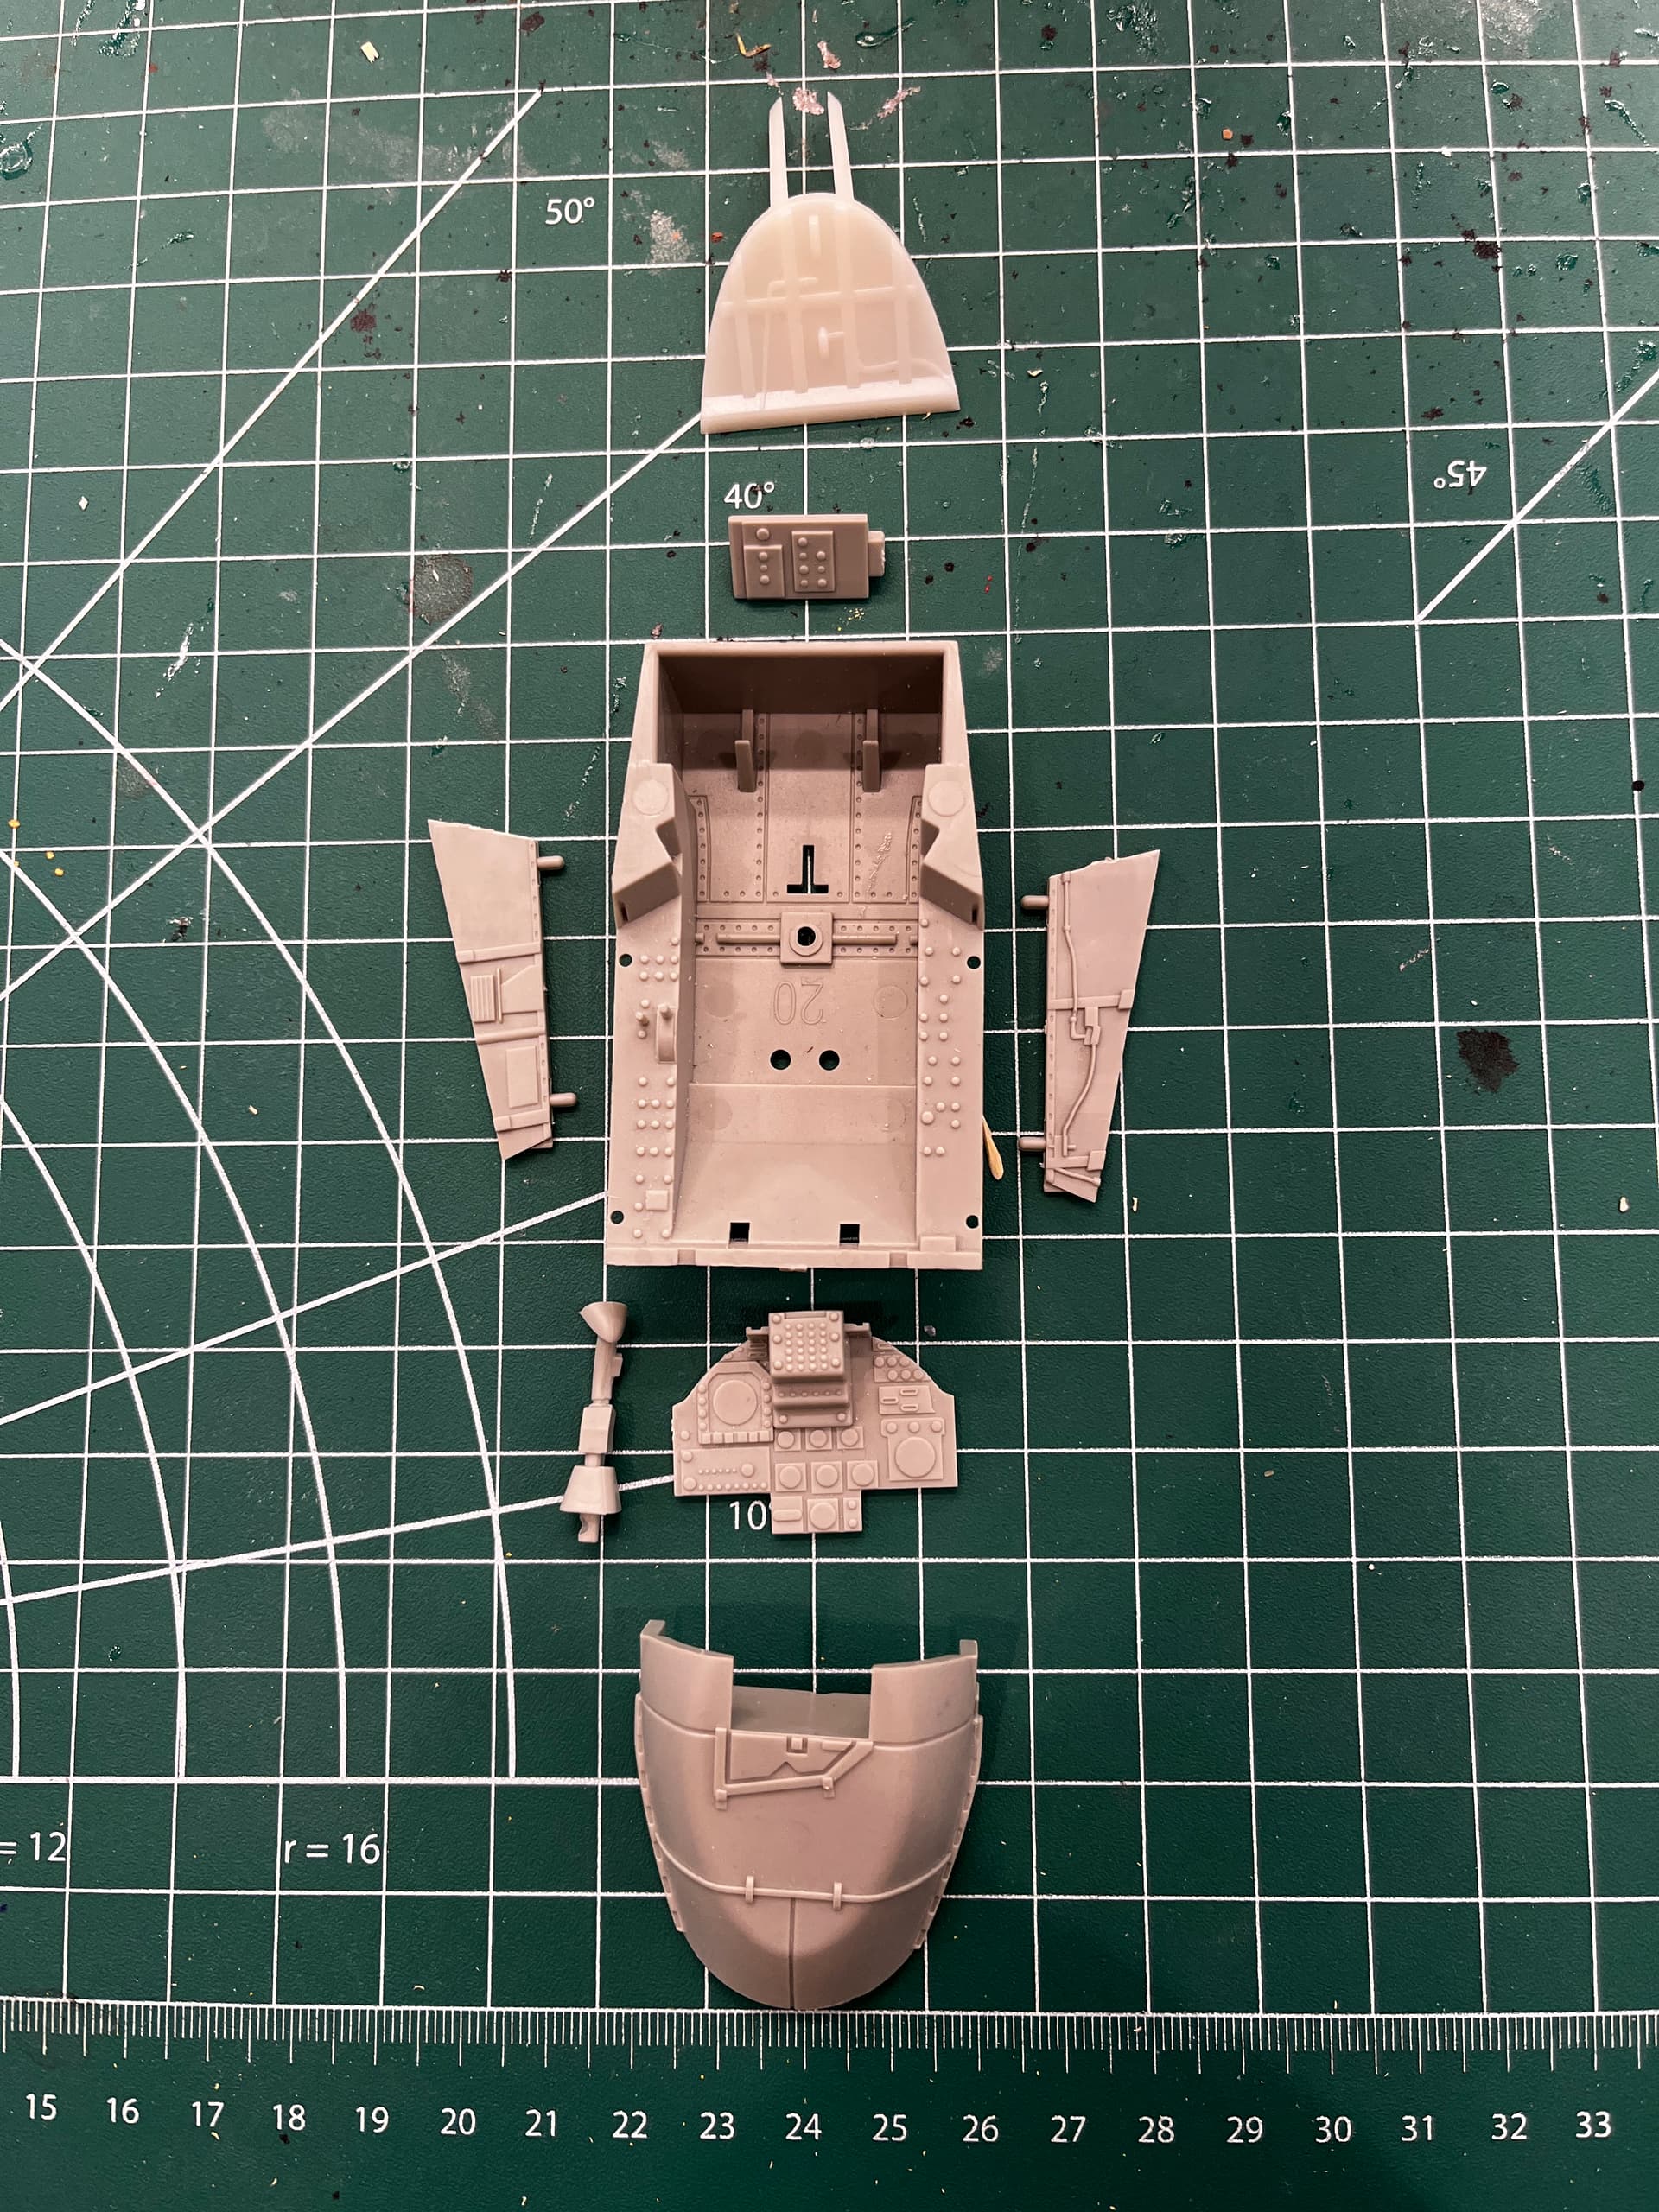
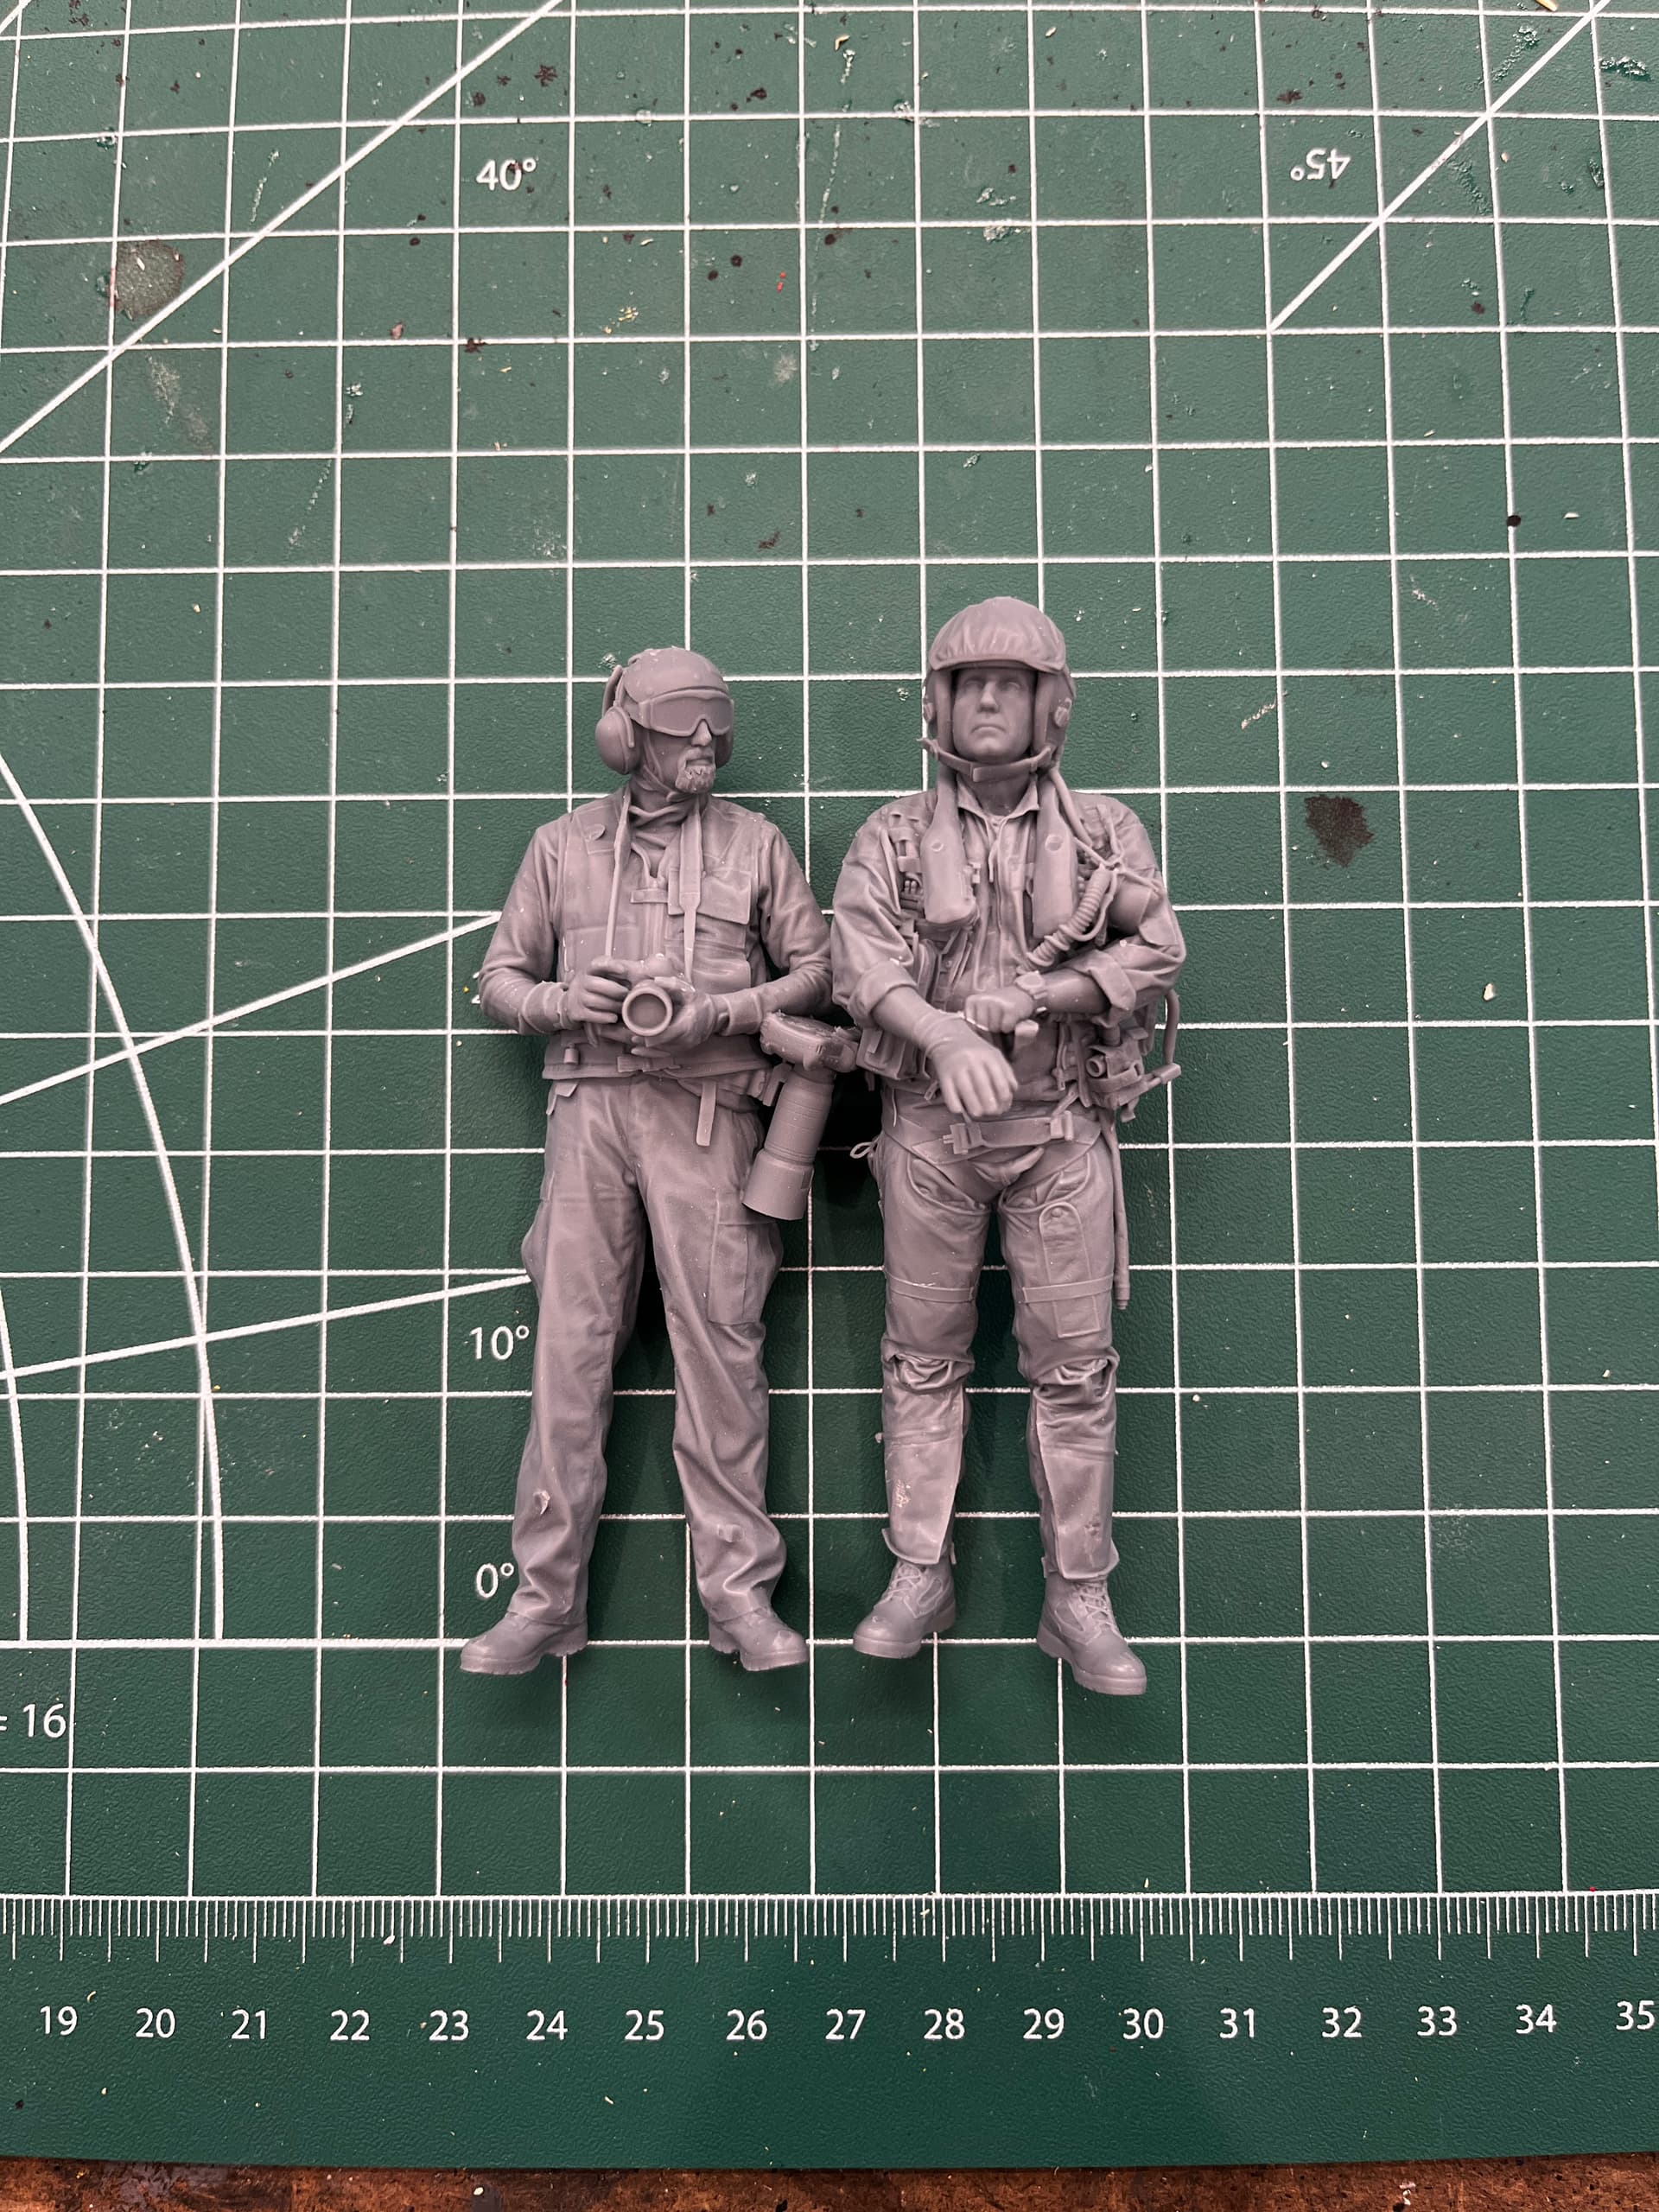
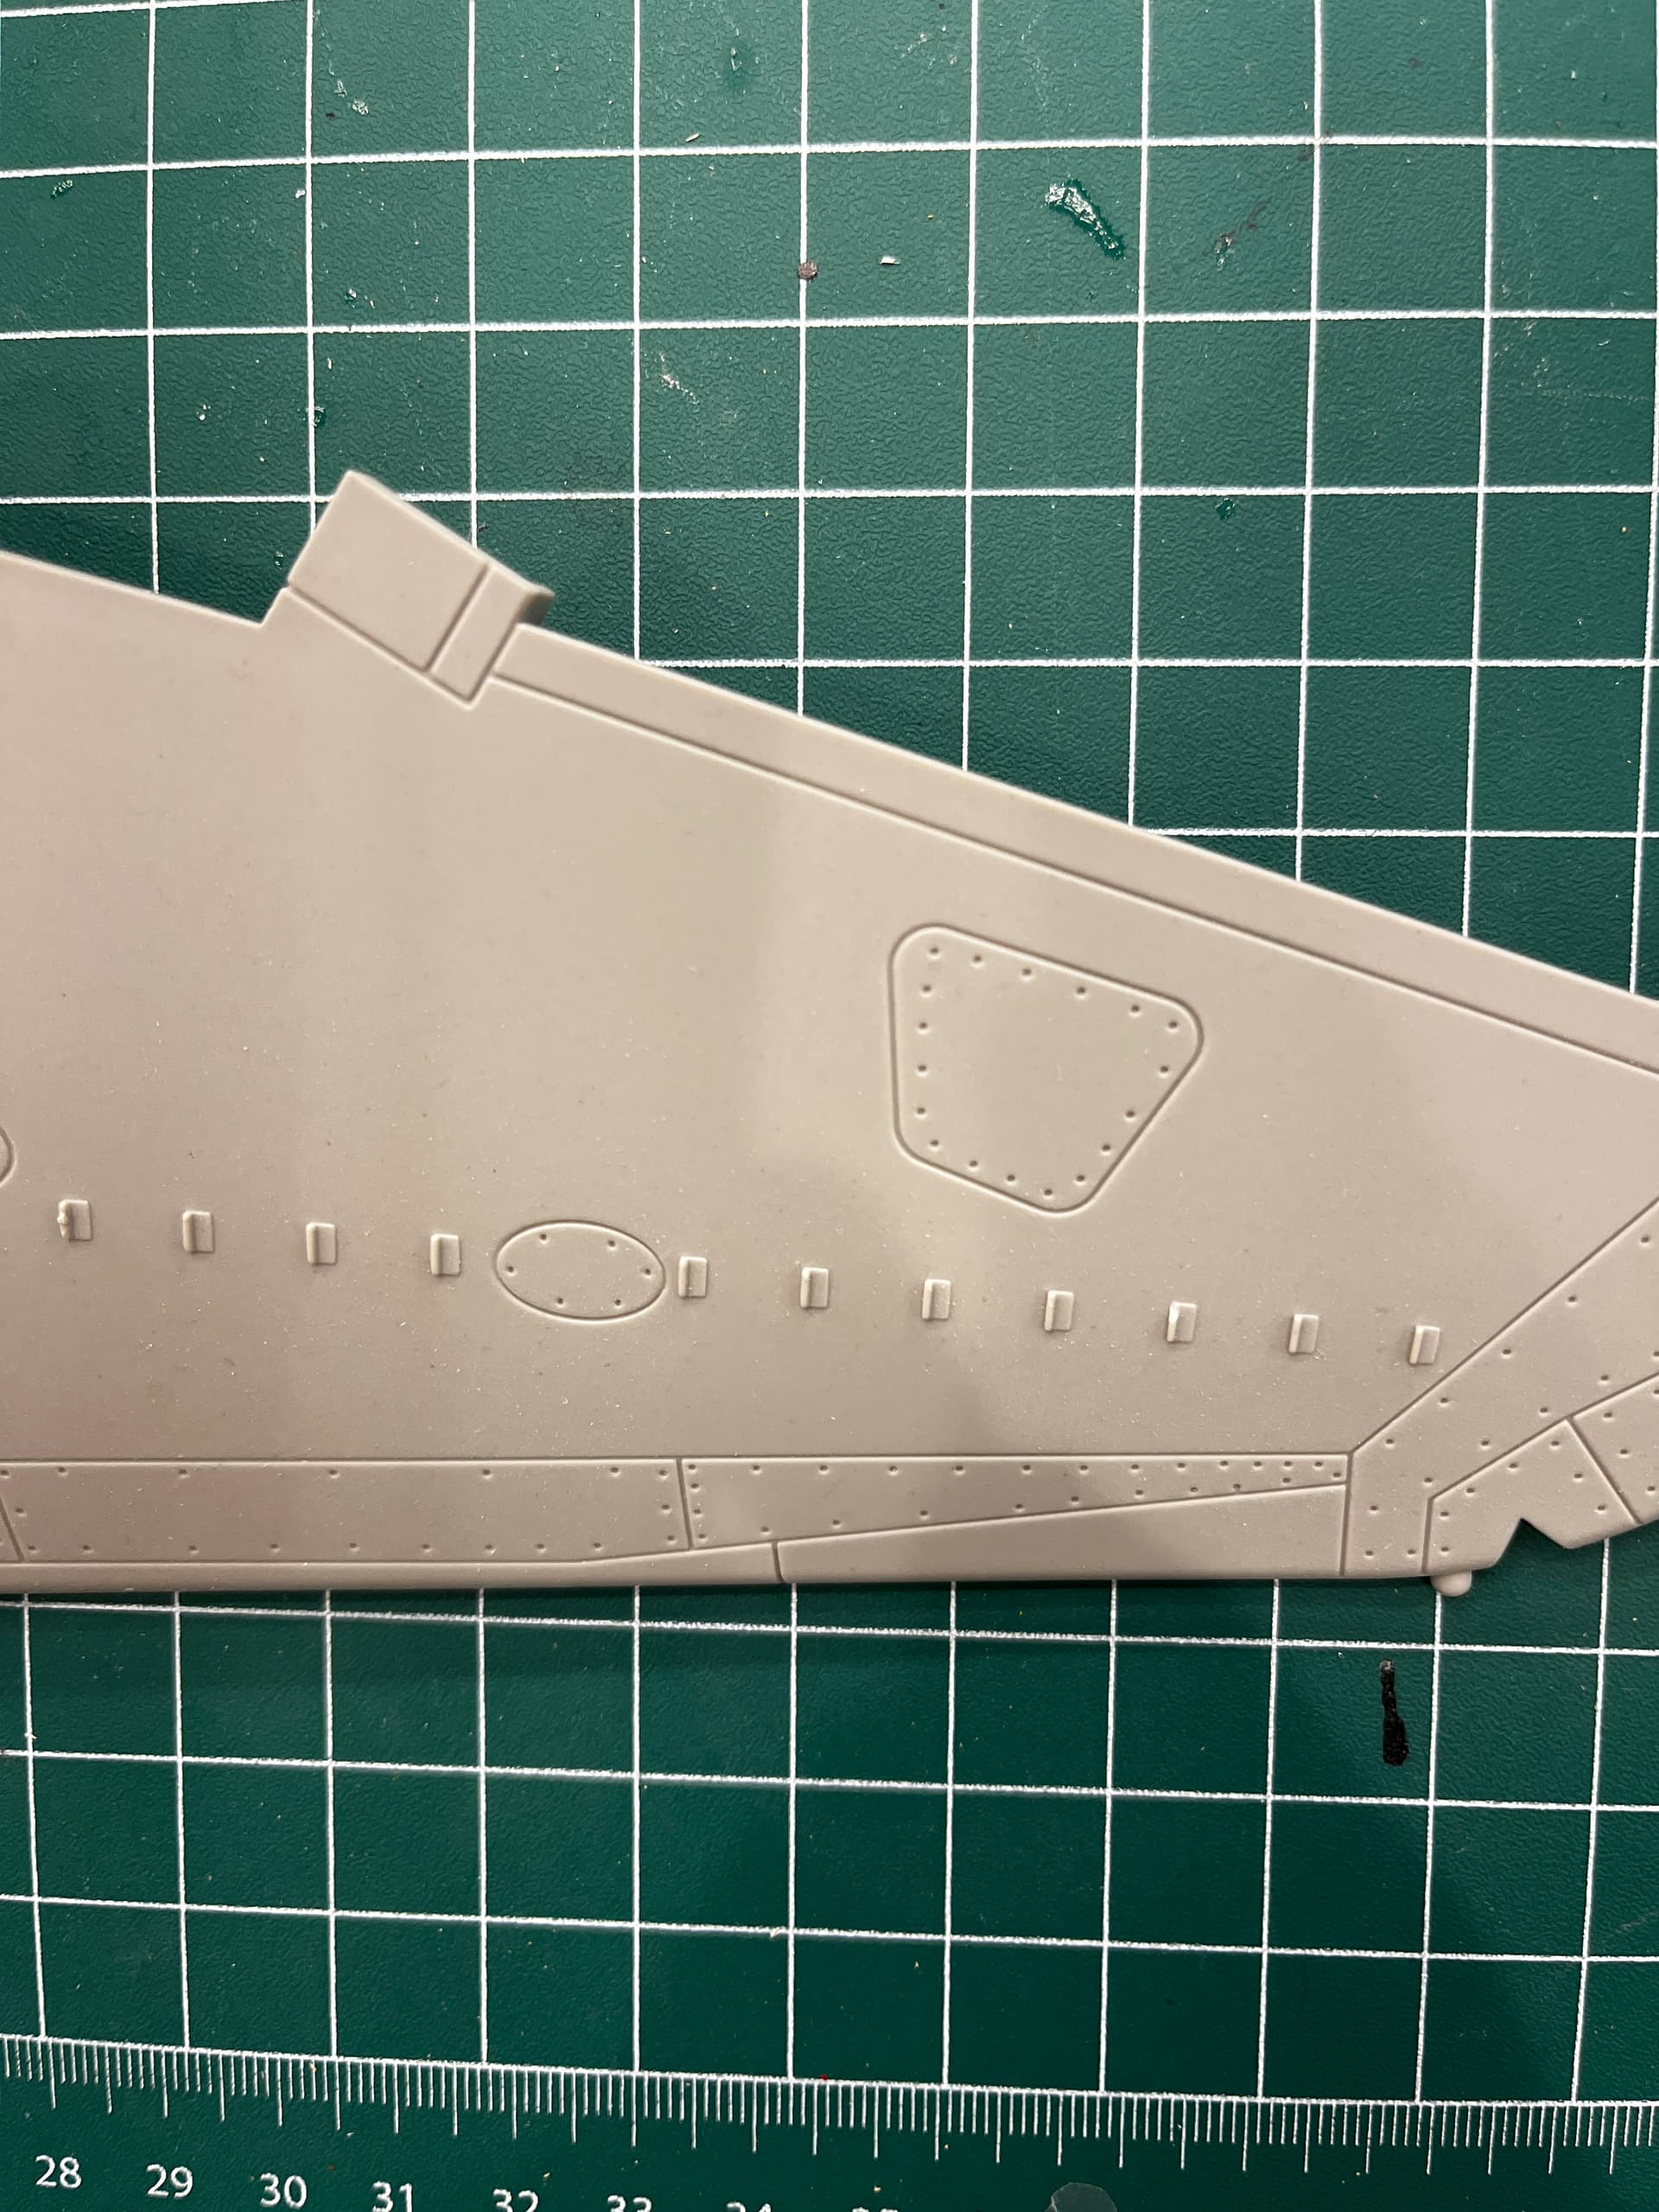
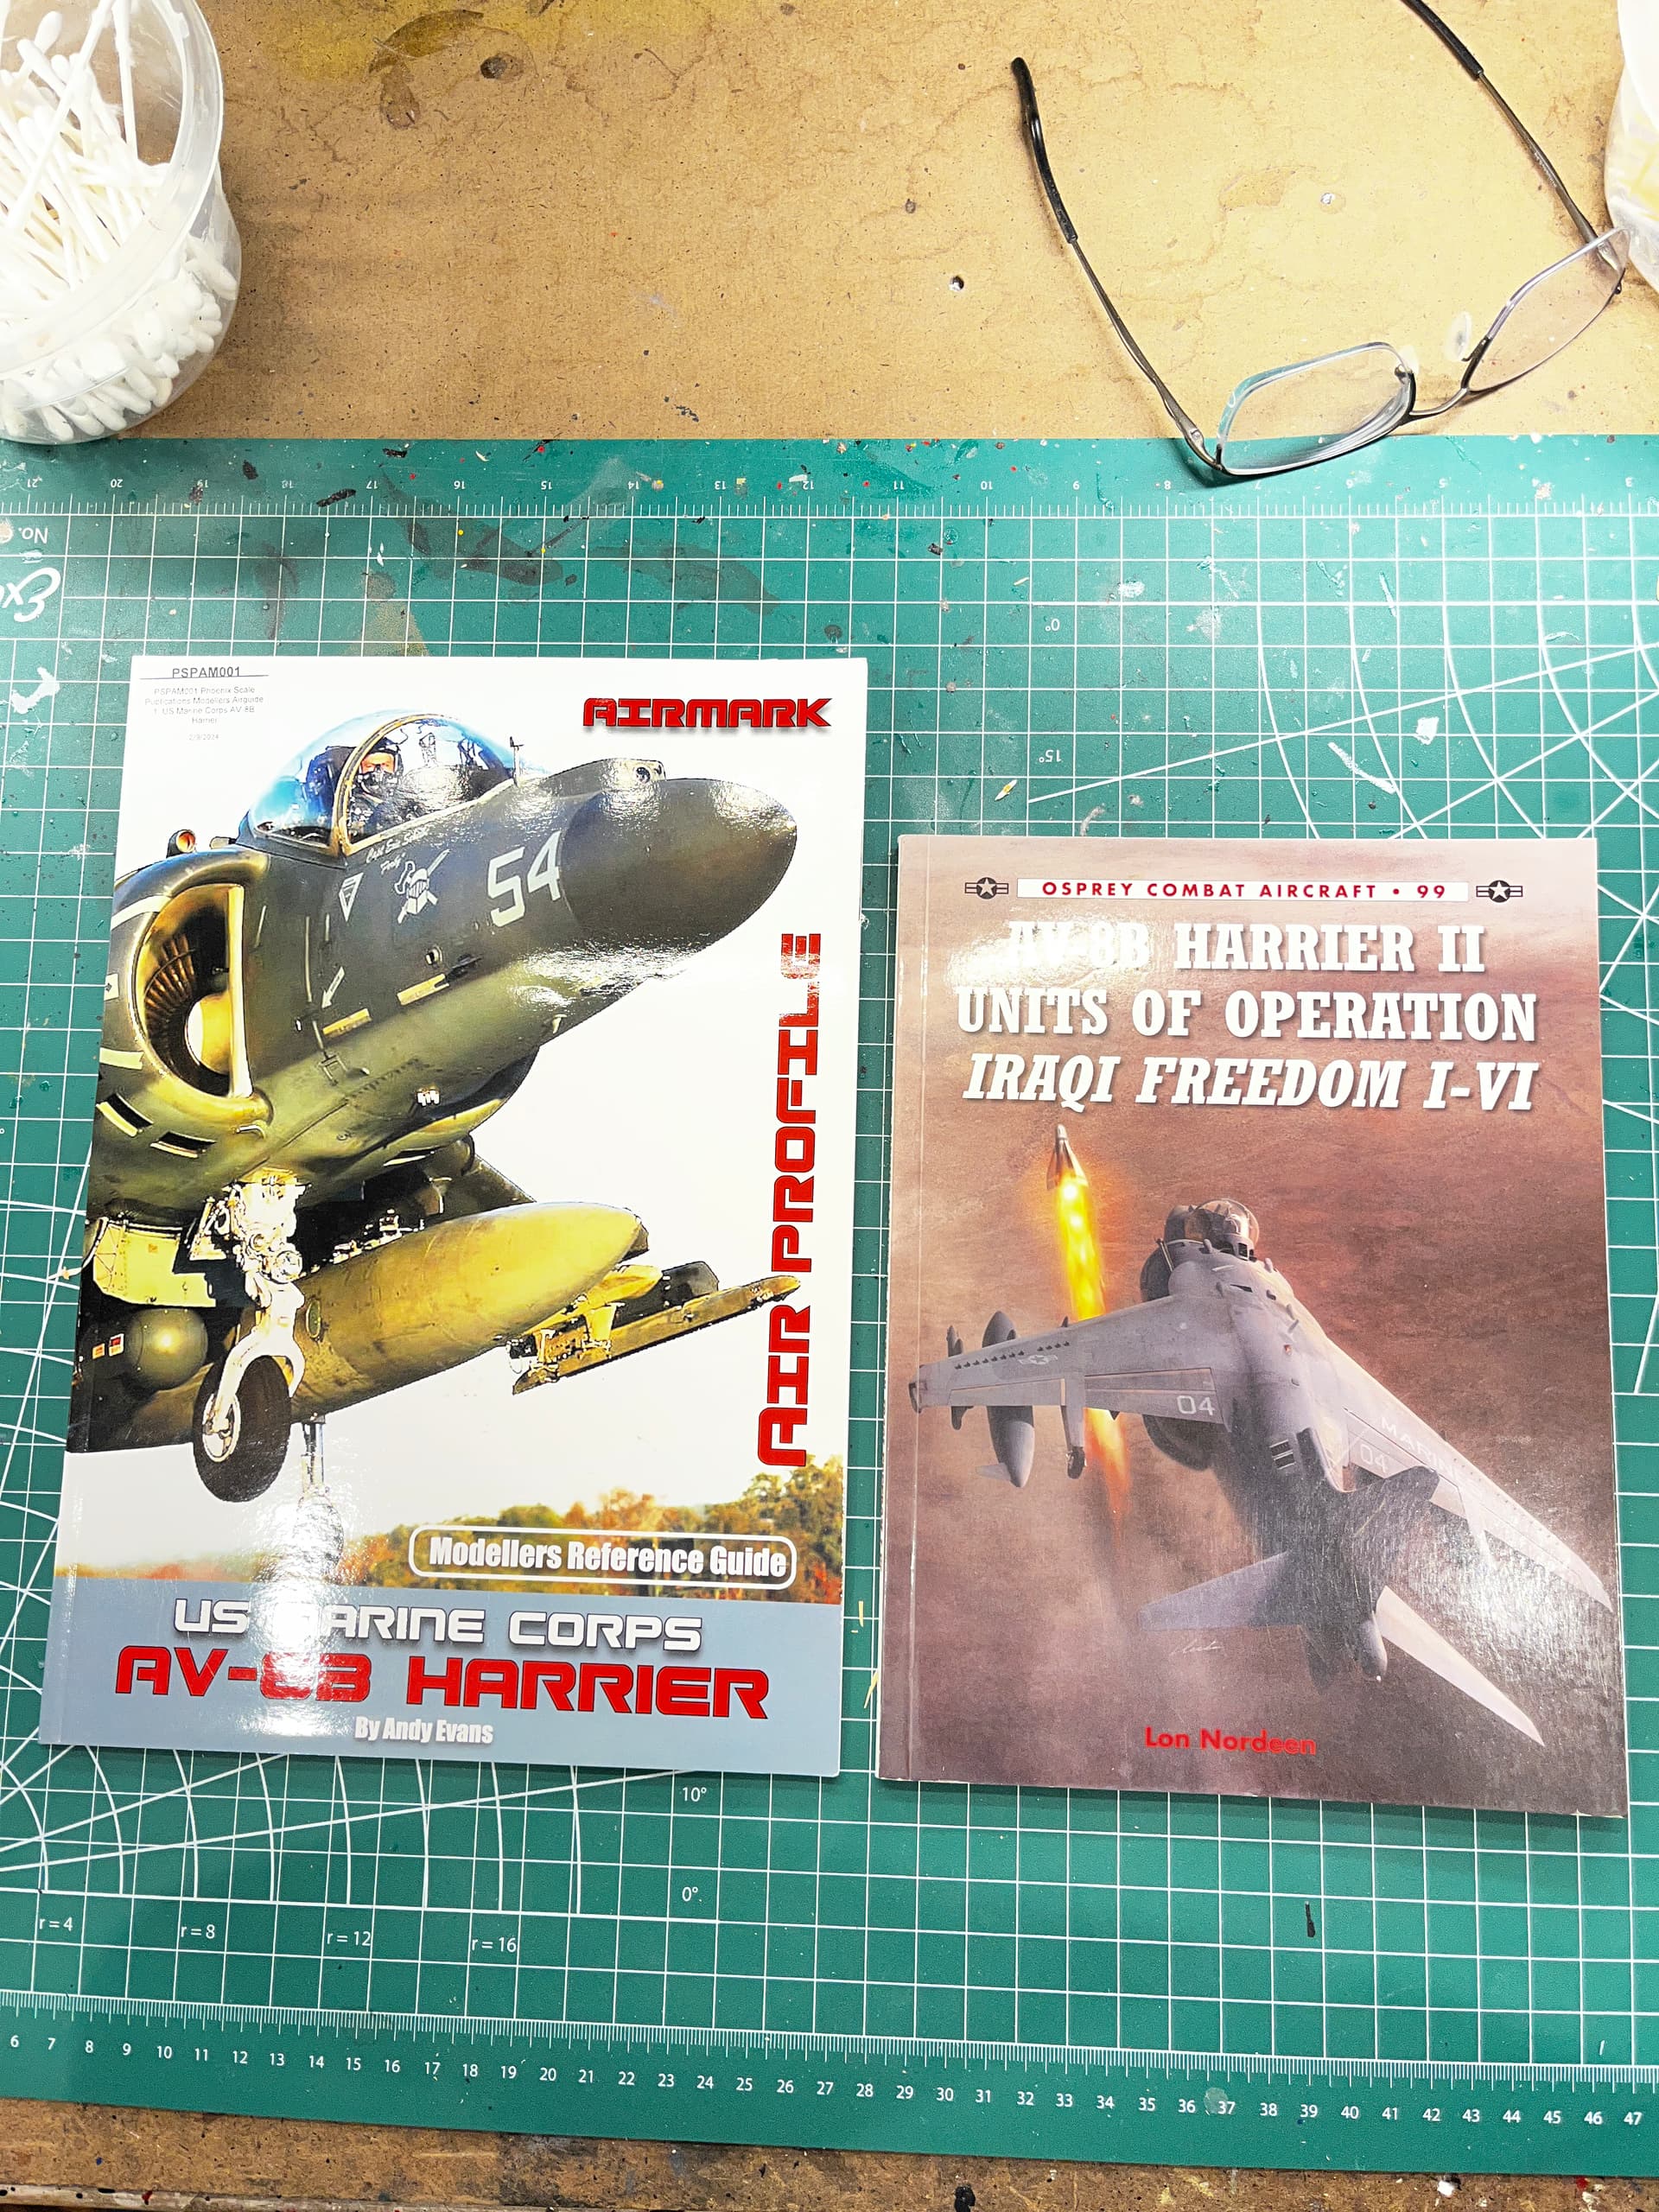
Finally able to get back to this one. I’m excited to start it. A lot of room for improvement on this one.
7 Likes

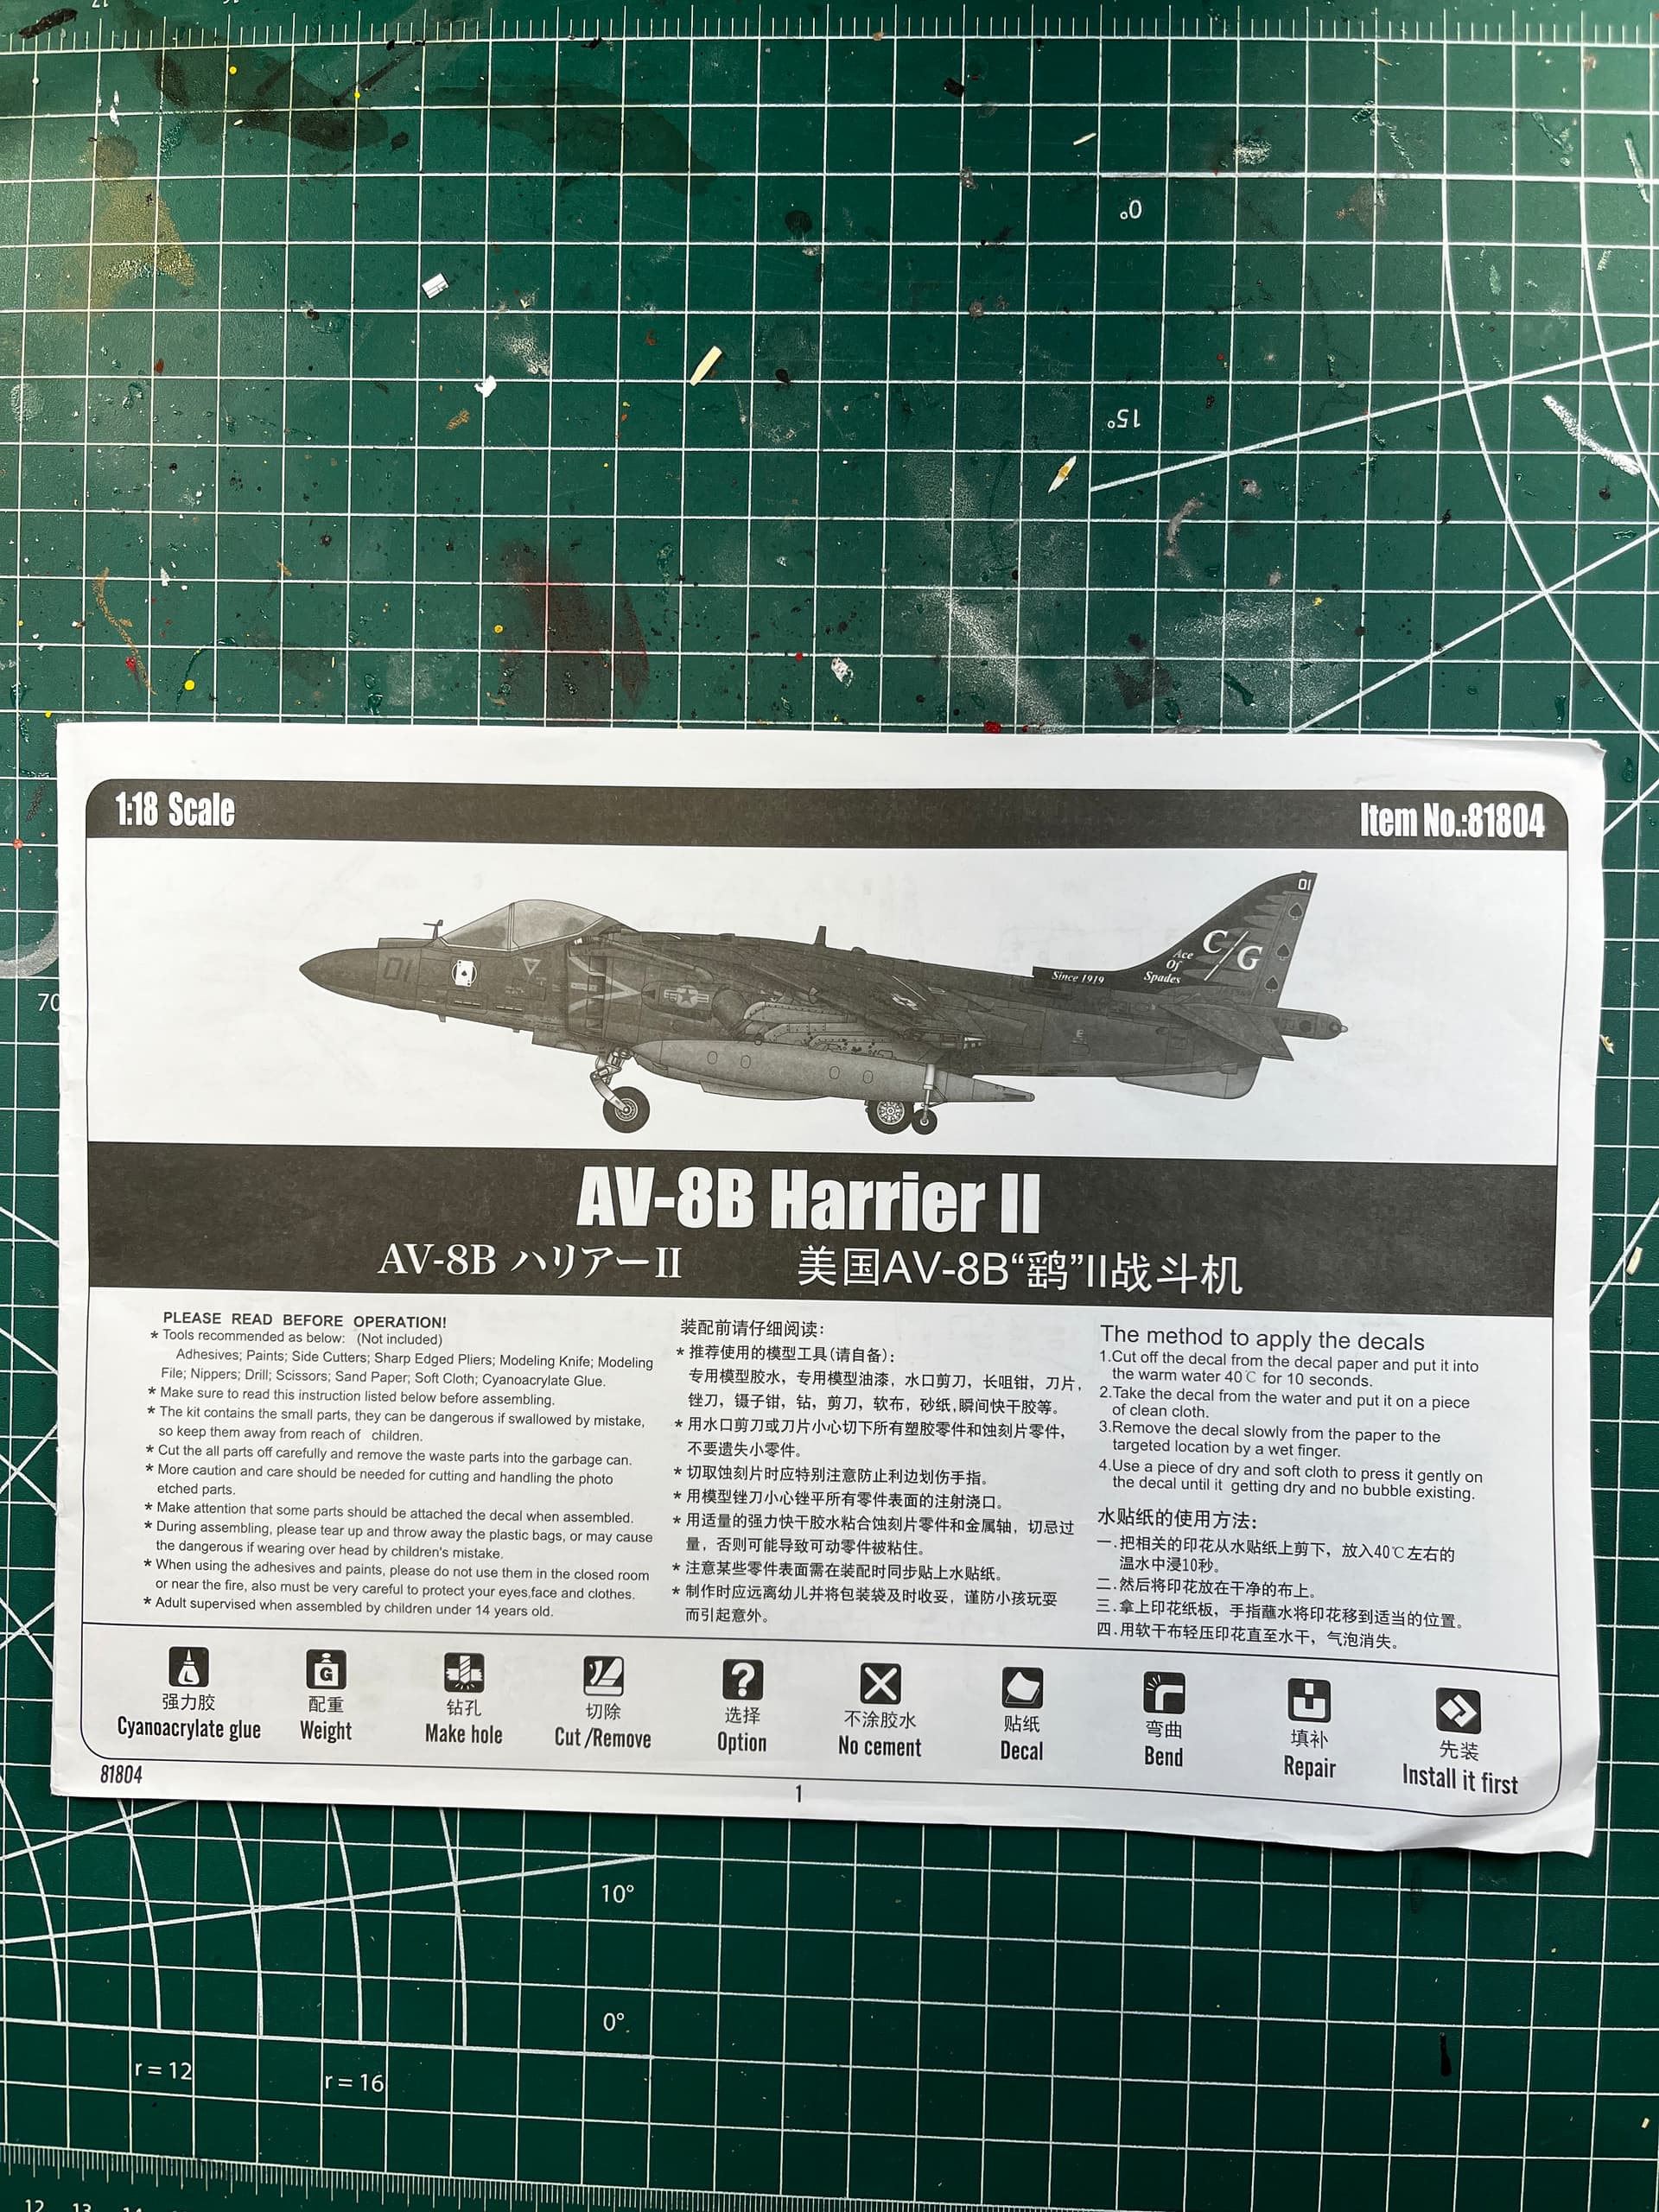
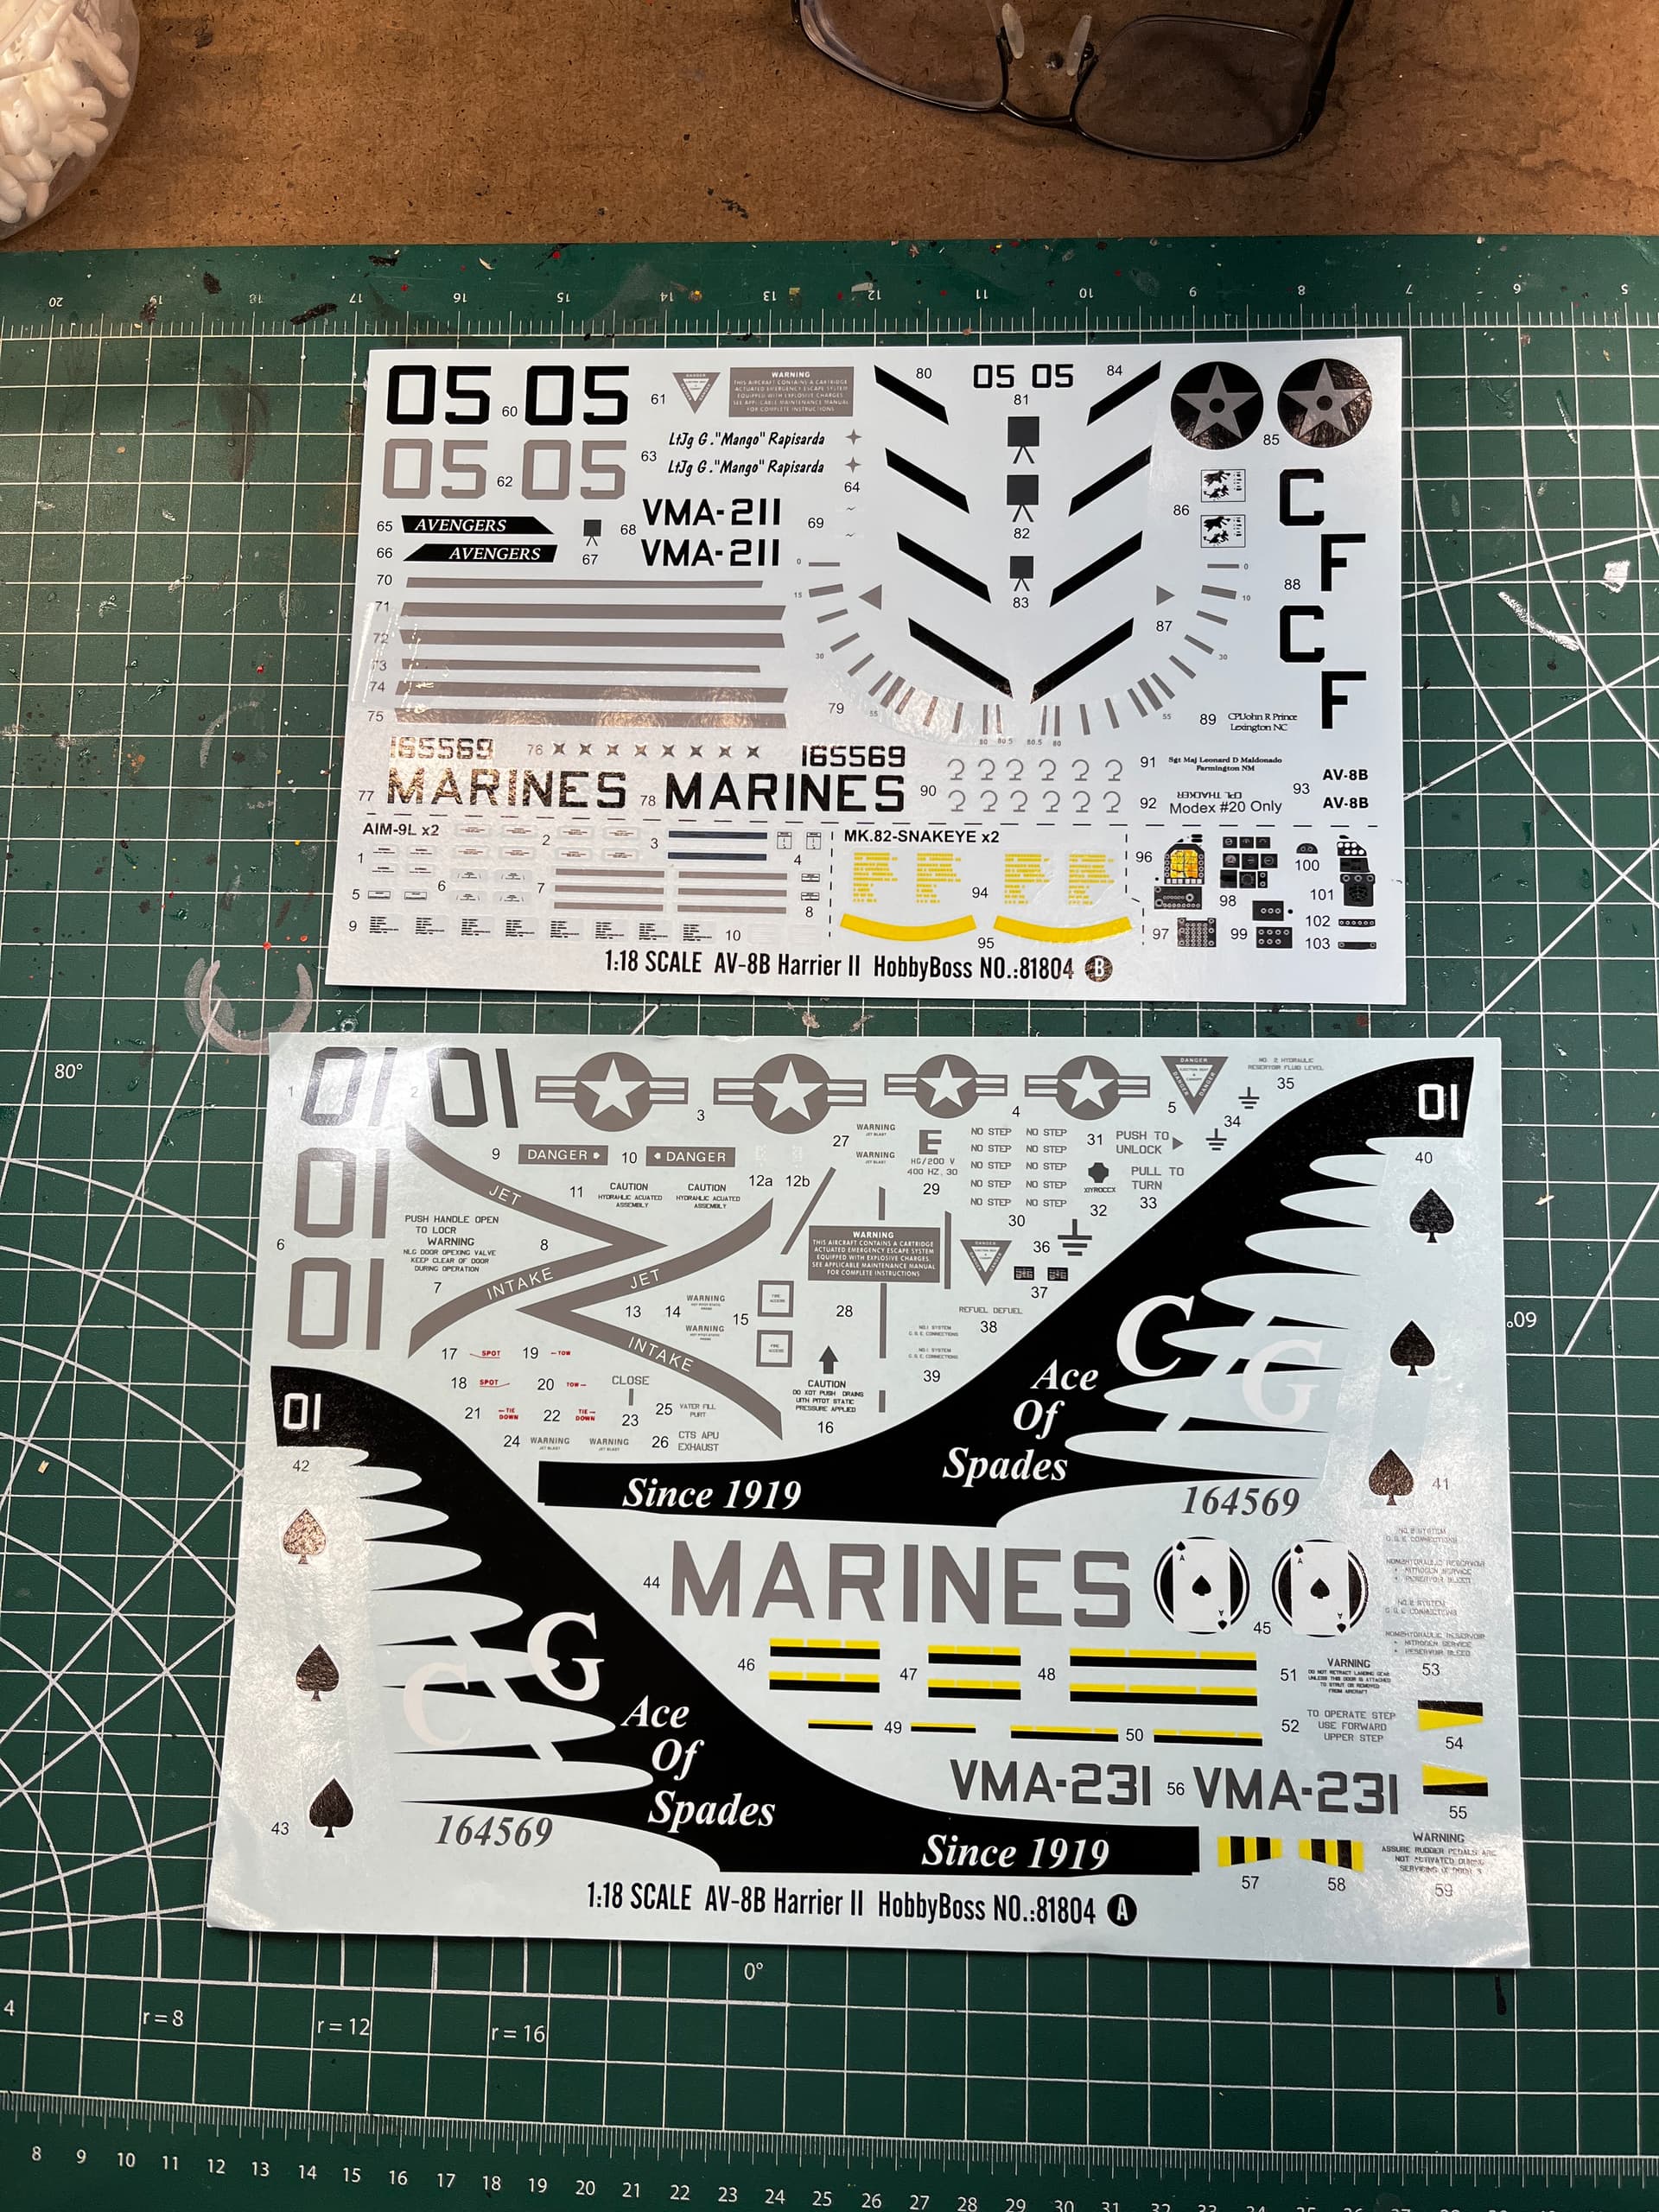
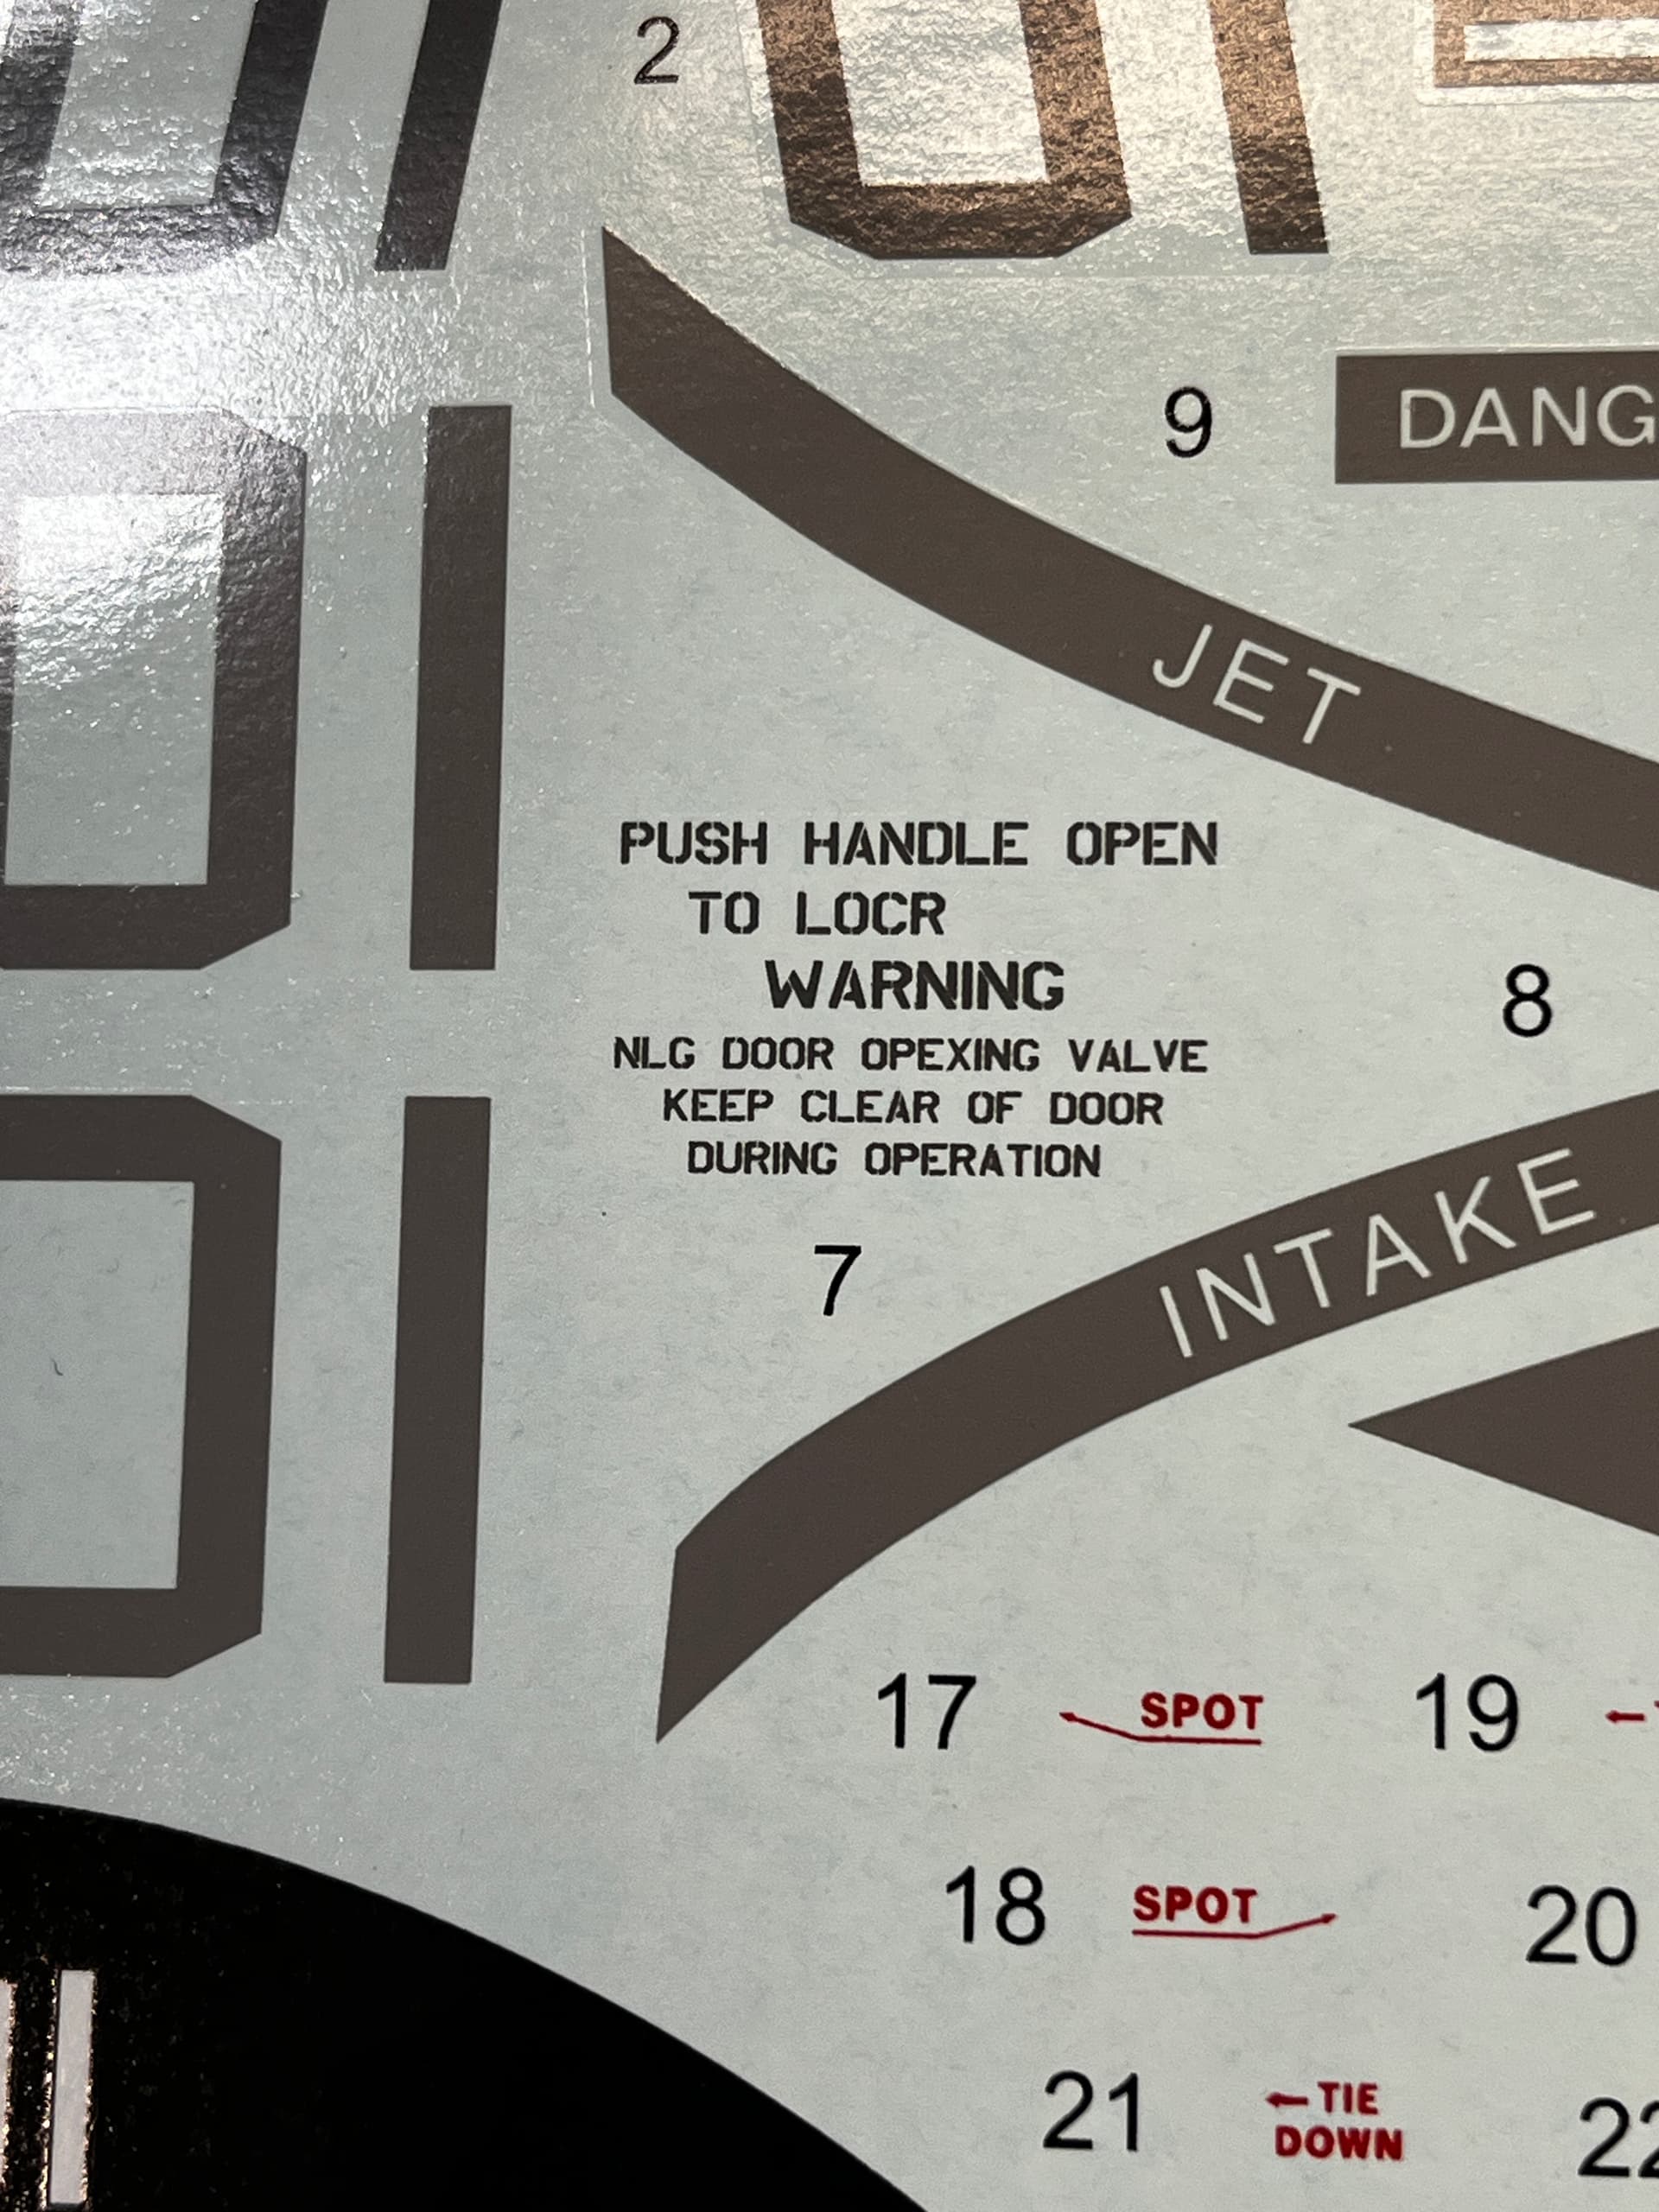
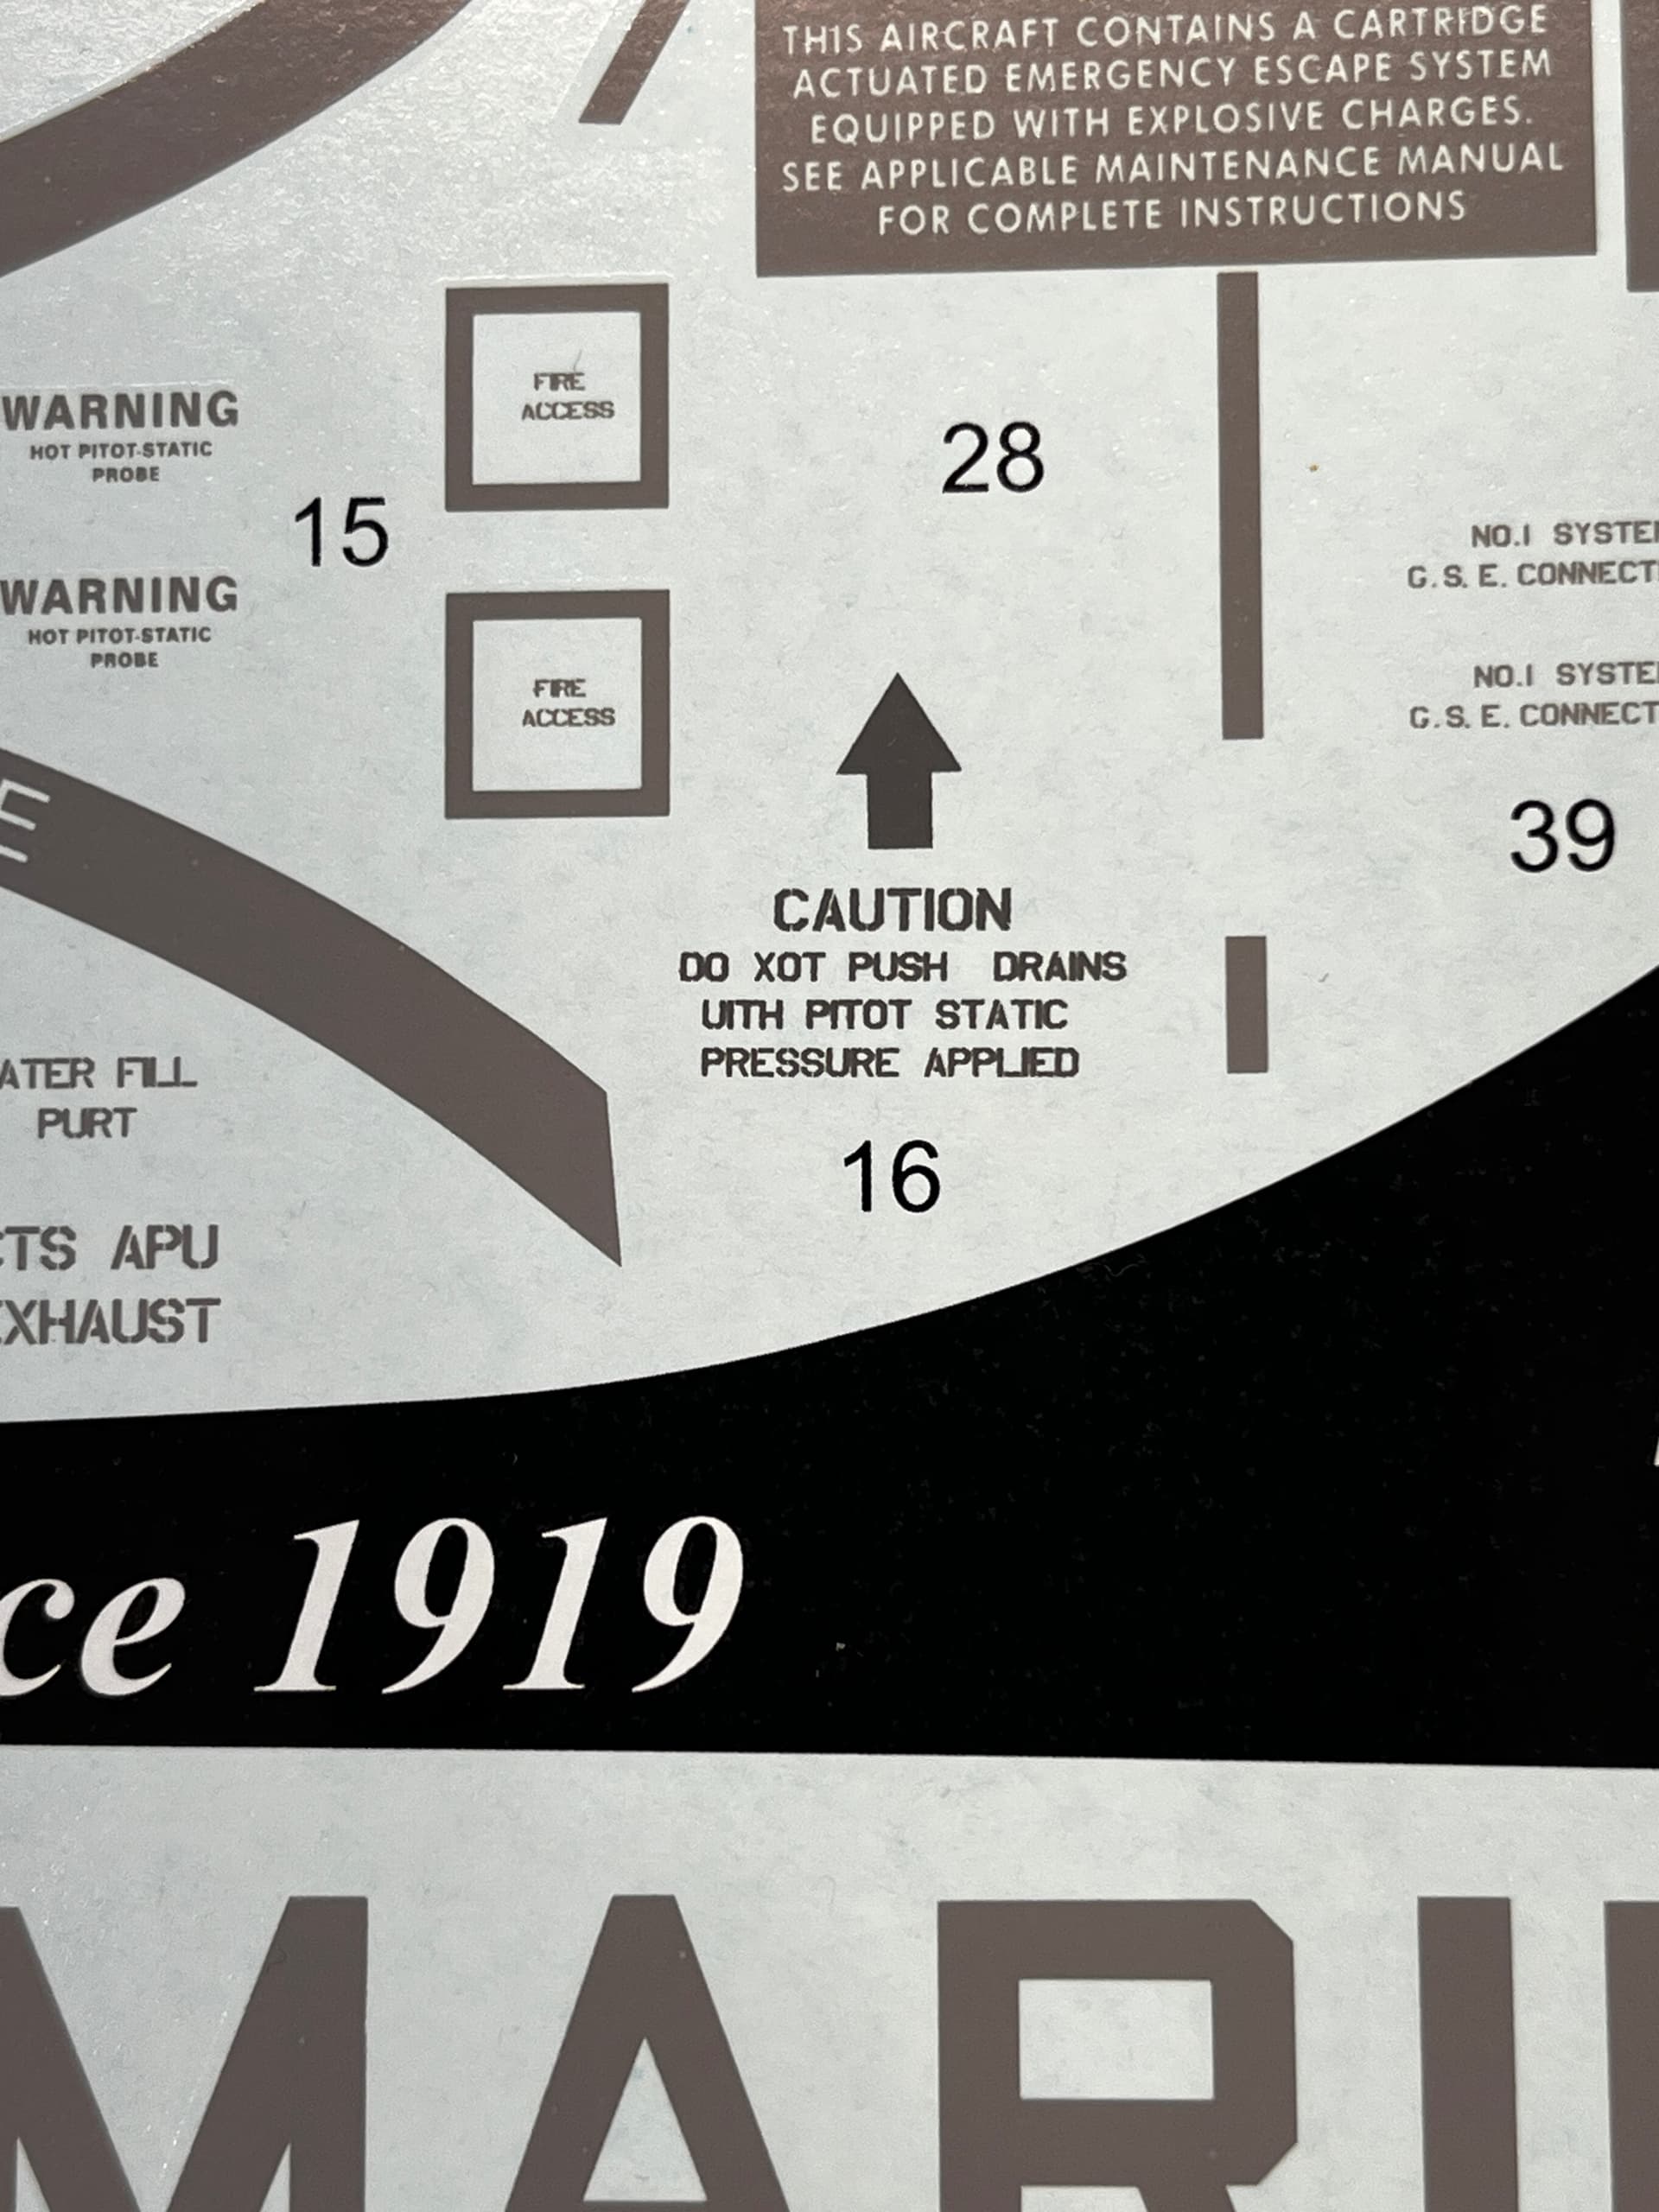
I won’t be using the decals that came with the kit. I’ve got a new sheet, and some other goodie’s coming from Flying Leathernecks
5 Likes

Eighteenth scale!? I bet there are flying jet-powered R/C Harriers at a smaller scale than that.

How cool. The details on those figures really give away the size this bird will be. Can’t wait to see what you do with it.

As a side note, there was a USMC Harrier at Oshkosh Airventure last summer, and that thing was filthy!

4 Likes

I have the Merit one, pre-painted version. I weathered her up a bit and added 4 GBU-38’s from Flying Leatherneck, the gun / ammo pods with a scratch-built cross over fairing, centerline pylon with a Litening pod, LAU-7 rails from Flying Leatherneck, a CAP-9 and a ACMI pod.
Looking forward to following your build.
Steve

2 Likes

I’m concentrating on the cockpit first. The ejection seat is done. I used decals, and photo etch to dress things up. It did not have any seat restraints. I had and extra set of 1/12th scale seat belts left over from the Camaro build. The only handle it came with was the center ejection handle. ( it was comically large). I ended up scratch building all three that you see on the seat.
I had to build new cushion frames. I covered them with white athletic tape. To get rid of the fuzziness, I coated them with watered down Elmers glue. Once dry, I primed the whole seat with Tamiya primer. Once the primer is dry, you can actually lightly sand the tape to get rid of any other strands that might be left behind.
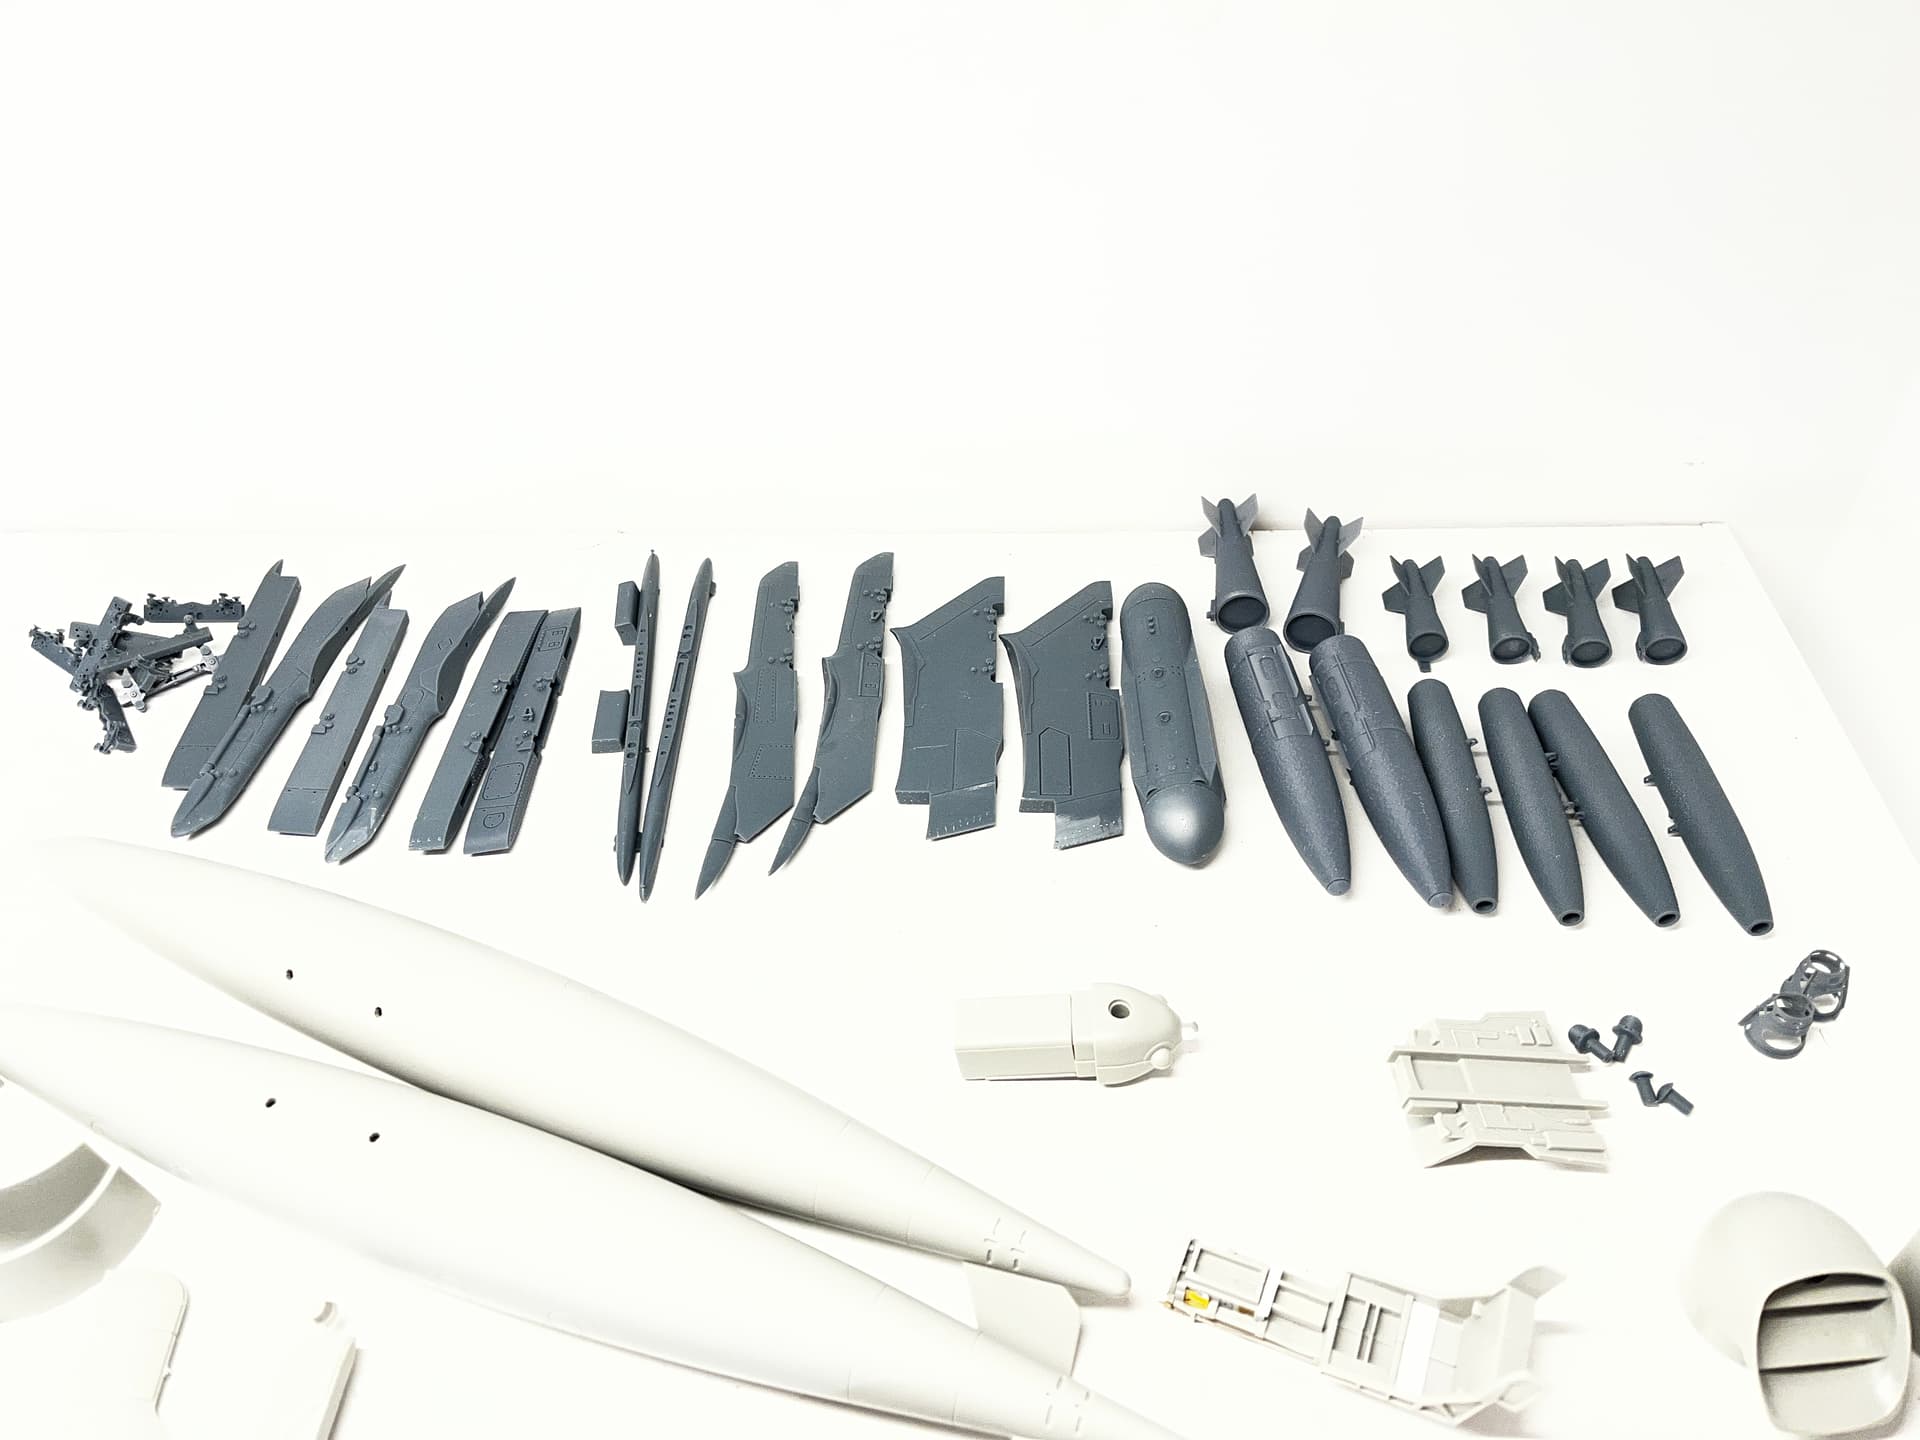
The last of the items have arrived from Flying Leather Necks. (AIM-9M, corrected fuel tanks, and a decal sheet.


6 Likes

Very nice progress. What markings will you be doing ?
Steve

1 Like

VMA-223 Bulldogs, Steve.

1 Like

This is going to be outstanding! I’m a 1/48th guy or I’d be all over this, the Harrier is one of my favorites.

Looking forward to seeing your progress.

1 Like

Some progress on the beast. Everything that has been corrected is now primed. I’ve added screw heads to several components. A pin vice is used to enlarge the hole, to facilitate the size of the screw head. The two components that were modified, are the gun pod, and the exhaust nozzles. I’ve got a lot more to fix, but I’m trying pace myself.
Looking forward to laying down some paint.


4 Likes

Looking really good Chris.
FYI, the “crossover fairing” (the part between the gun pod and ammo pod ) from the kit is totally inaccurate. I had to scratch-build one for mine.
Steve

1 Like

Thanks Steve! I appreciate it.

1 Like