I built the Tamiya kit probably 25 years ago. It still hangs in my shop. When I saw this kit, I grabbed it for the chance to build a more detailed Lanc than the Tamiya kit provided. Oh, and that Tamiya kit has been through hell with me, falling from the ceiling of a bedroom in my old house and shattering, only to be rebuilt (think 6-Million-Dollar-Man, we can rebuild him, we have the technology), and then in its current location, I noticed a sag in its appearance and took it down to my bench to discover that the glue had deteriorated to such a point that the fuselage halves were separating. Another fix implemented, good as new, well, almost new.
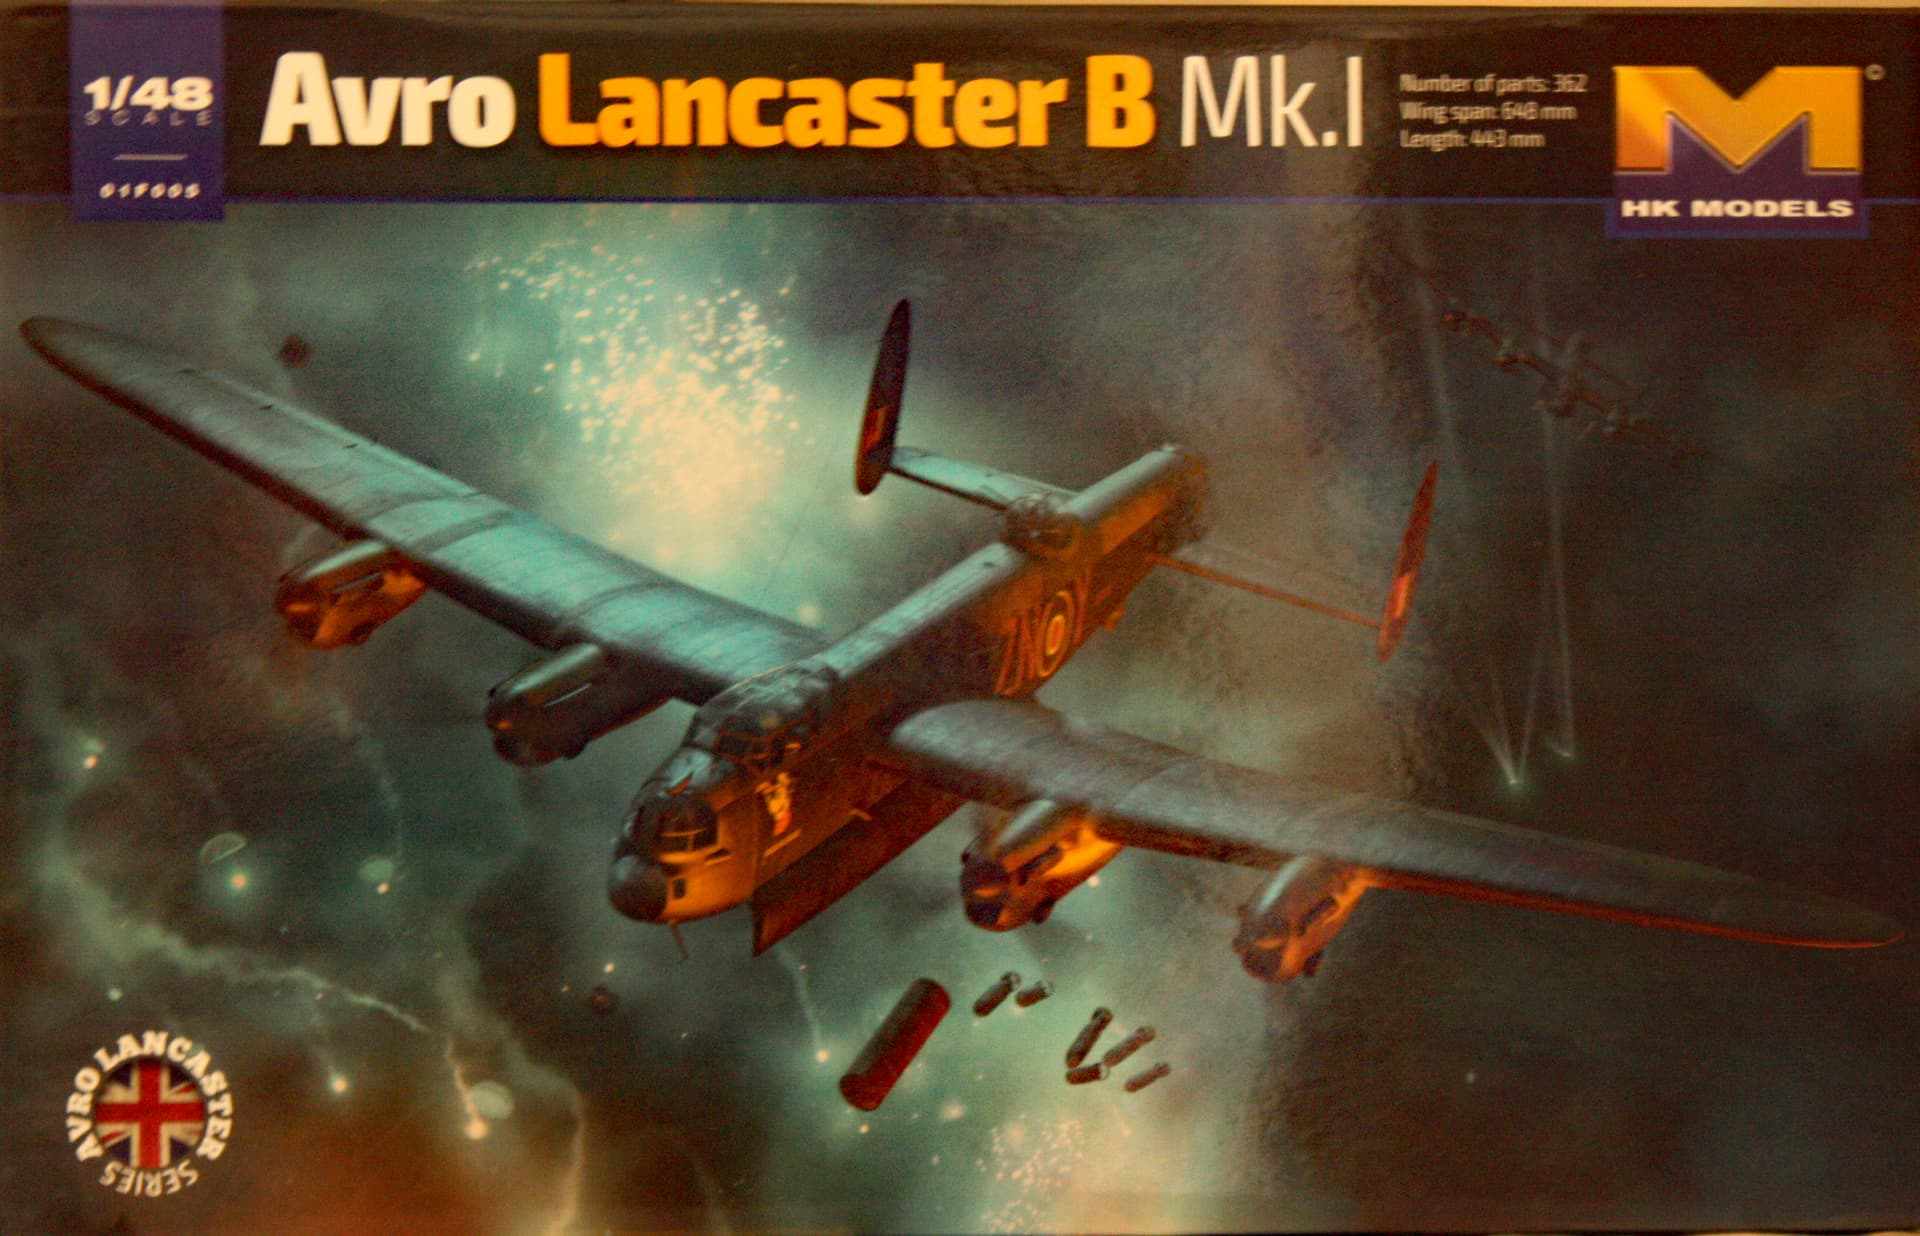
This HK Models kit will be my first from them, and will be OOB. I’ve chosen a building option that featured fuselage windows that were either painted over or replaced with metal sheets, so beyond the cockpit nothing will be visible. I will likely add the interior details but very likely those areas will get no further attention, including paint.
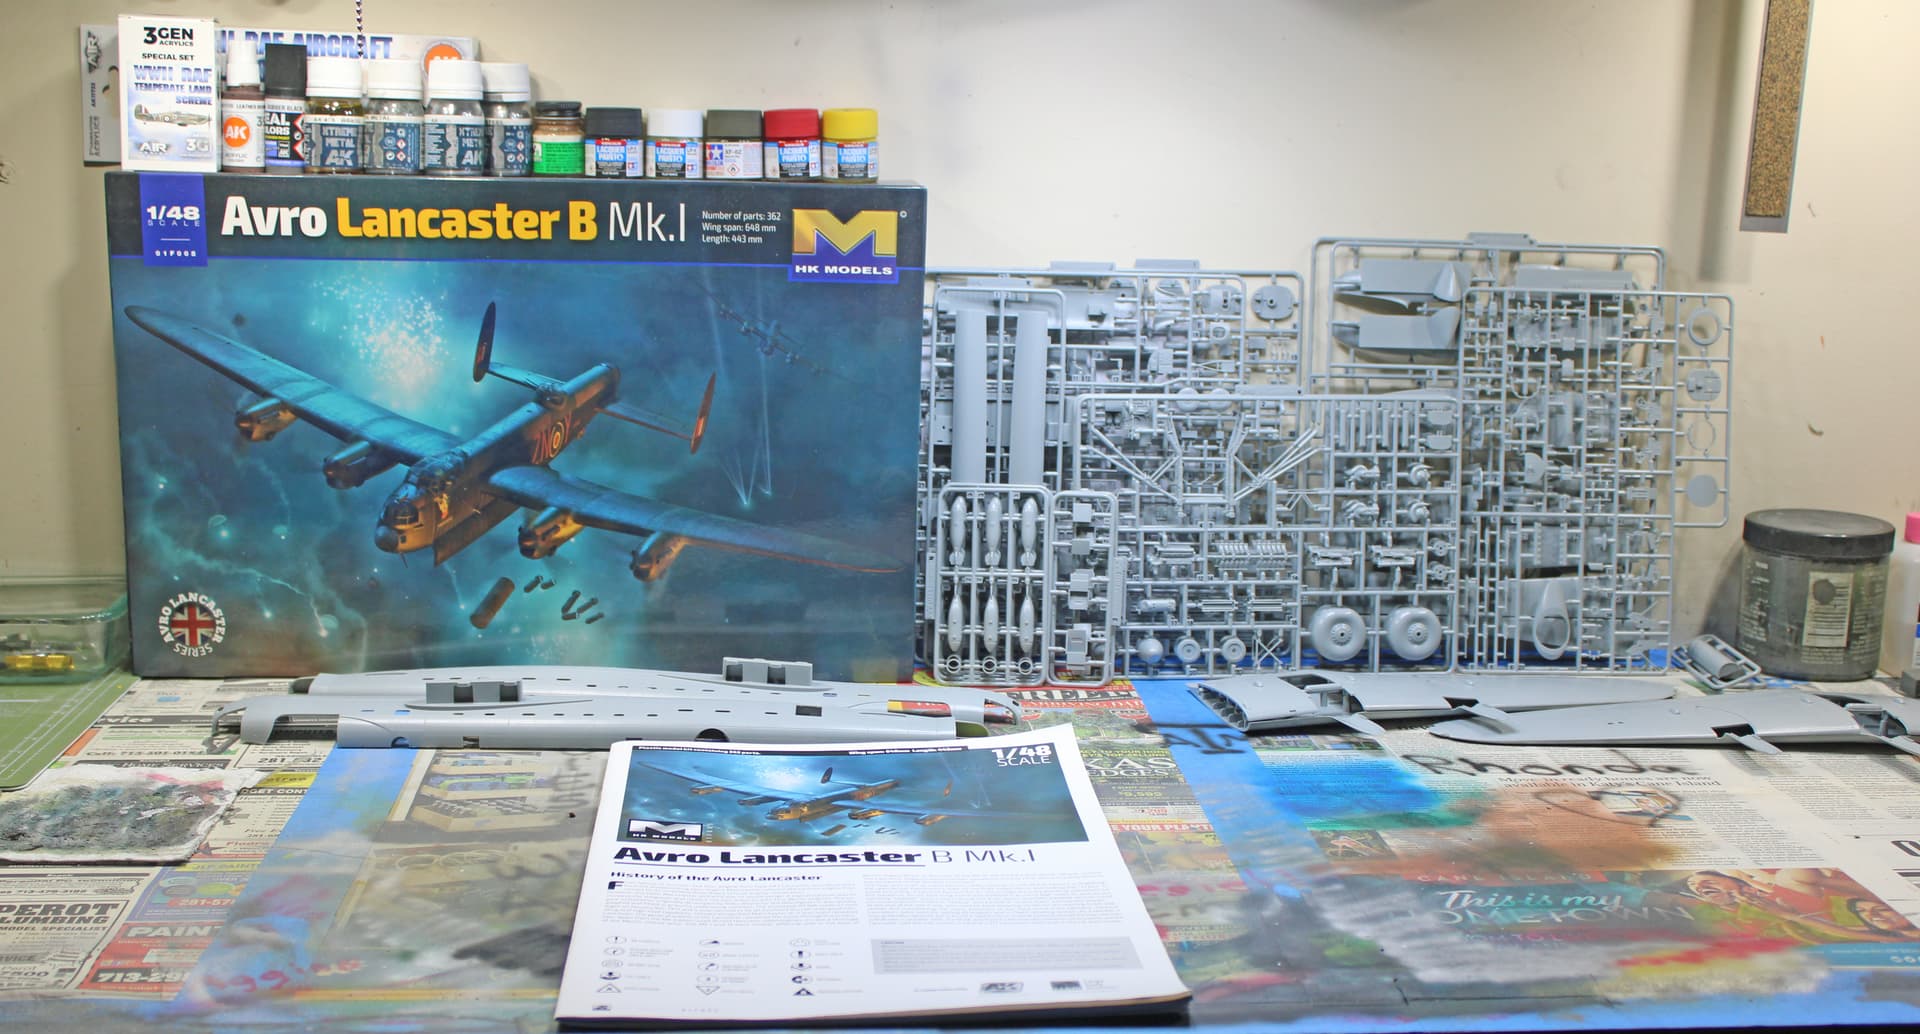
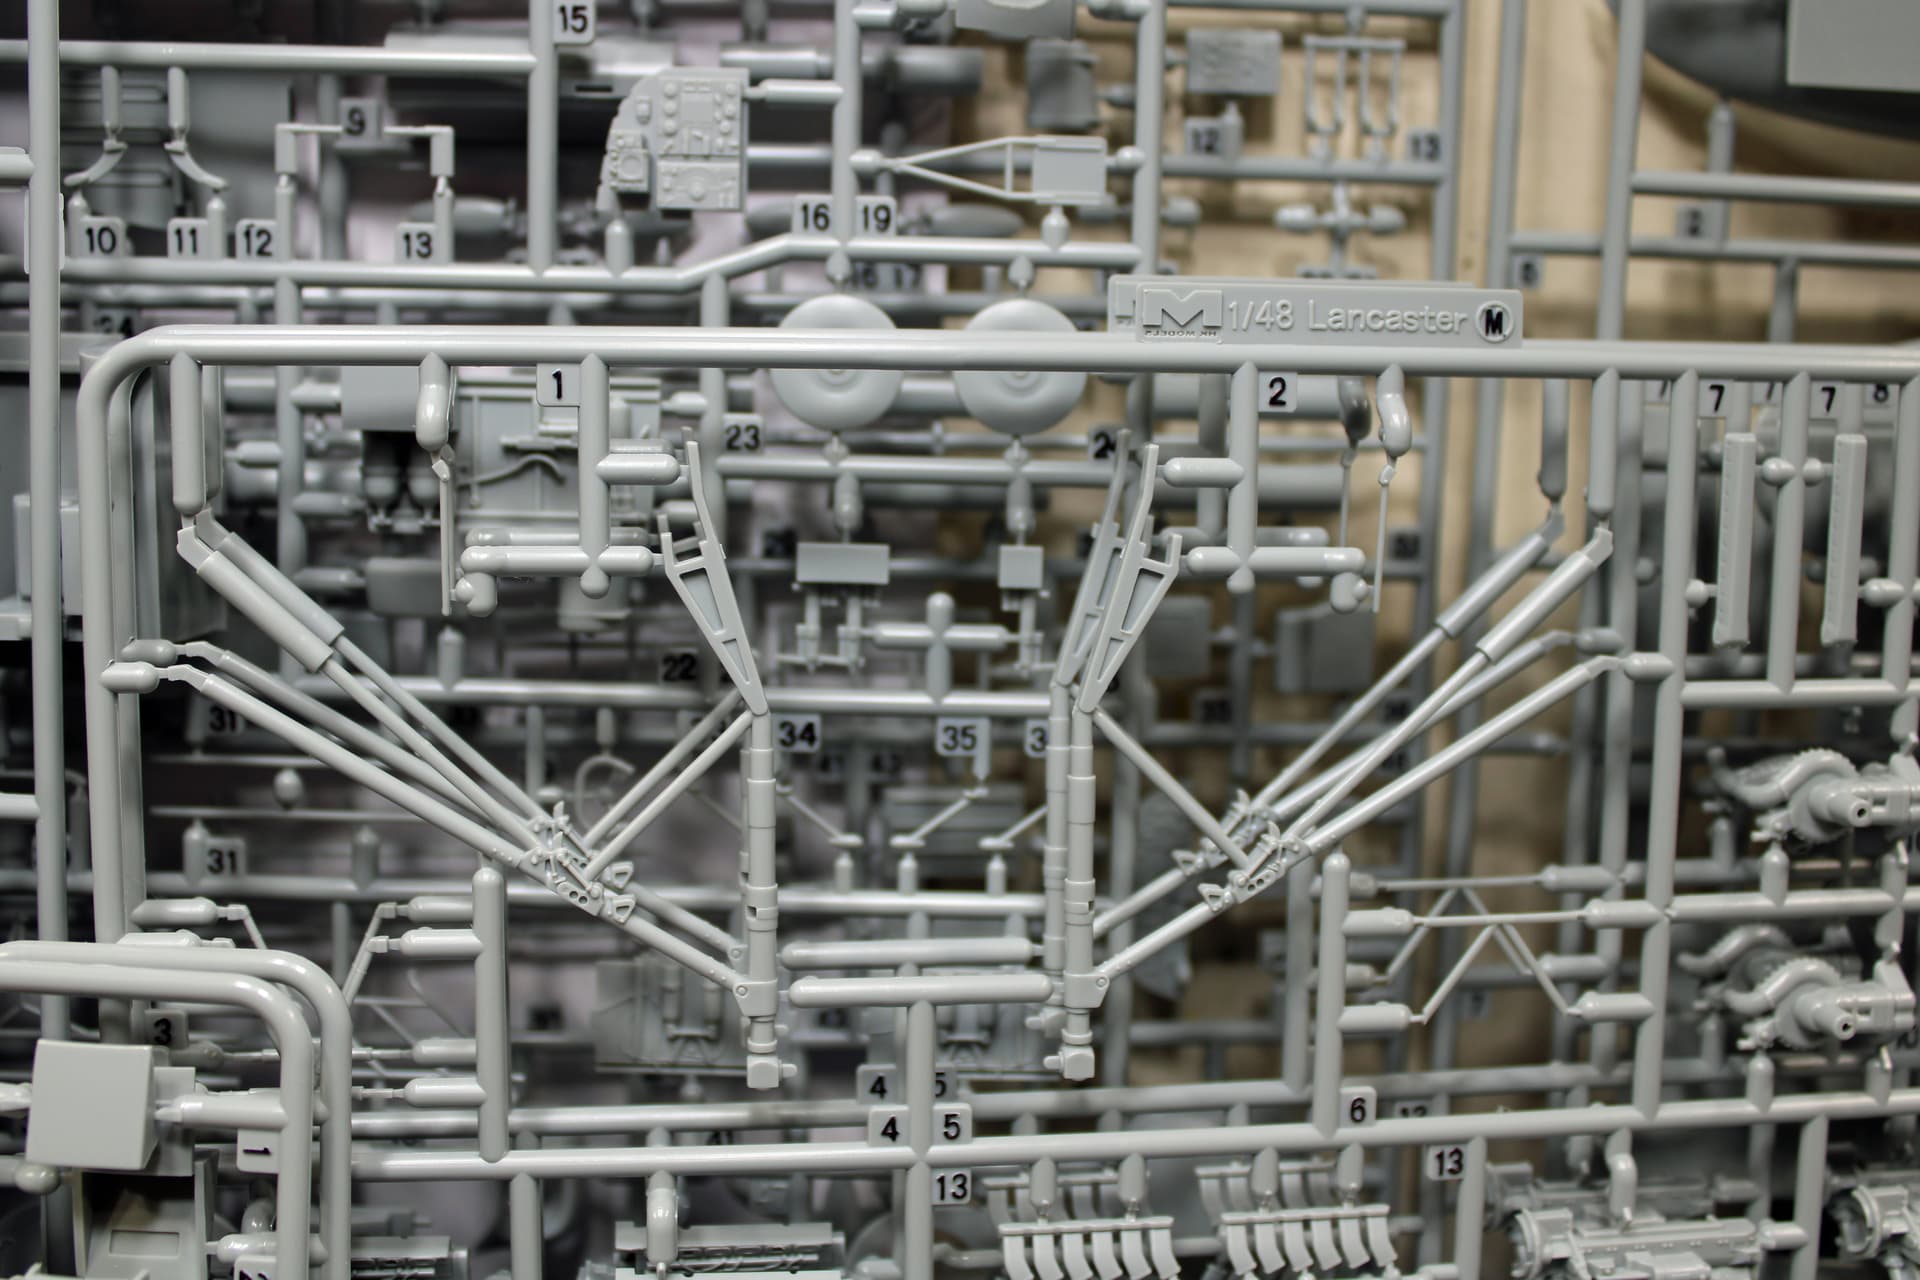
This is one of those kits that comes with a lot of sprues. When I do such a kit, I like to use a black marker to highlight the sprue letters and part numbers to make finding them a little easier. So to this point, I have pulled all the paint needed for this build and highlighted all those letters and numbers on the sprues.
Eagerly following along on this one. I know HK Models has a well-regarded 1/48th B-17 mold, but I didn’t know about this one.
I’ve probably mentioned this here before, but a Lancaster Mk X (owned and operated by the Canadian Warplane Heritage Museum) was a centerpiece at the 2024 Oshkosh Airventure show. When they towed it from the display area at Boeing Plaza out to the flight line, was positioned such that a large crowd gathered right behind it (including me). They fired up the four Merlins in turn, and each one sent a cloud of blue smoke into the crowd. Then they ran them up to taxi off and blew the smoke, and everyone’s hats, away. It was awesome.
About a decade ago, the small regional airport close to my place had an air show, of which the star attraction was the Texas Raiders B-17G (RIP - this is the one that crashed as a result of a deadly collision during maneuvers with a P-63 in Dallas a few years ago). I got to take my family on a walk-through, and then later, when they were prepping for departure, a whole lot of people (including me) got to stand behind her as she fired up those 4 radials. The noise and the wind was incredible.
Looking forward to watching you work your magic on this one. Will steal the sprue marking idea when I do my next big kit - thanks for providing a clear picture of the marked sprues.
I am definitely looking forward to this build Steve!
I have their B-25J and it is simply gorgeous looking in the box and the clear is especially nice!
I grew up in Niagara Falls NY and the flight circuit around the falls is right over my parents house.
During the summer/fall months, the Canadian Warplane Heritages Lancaster flies over their house a lot along with their other aircraft including our military jets.
It’s a blessing living in the Falls path haha. Their Lancaster is beautiful and when she comes over, you know its her!
Happy Modeling,
Mike
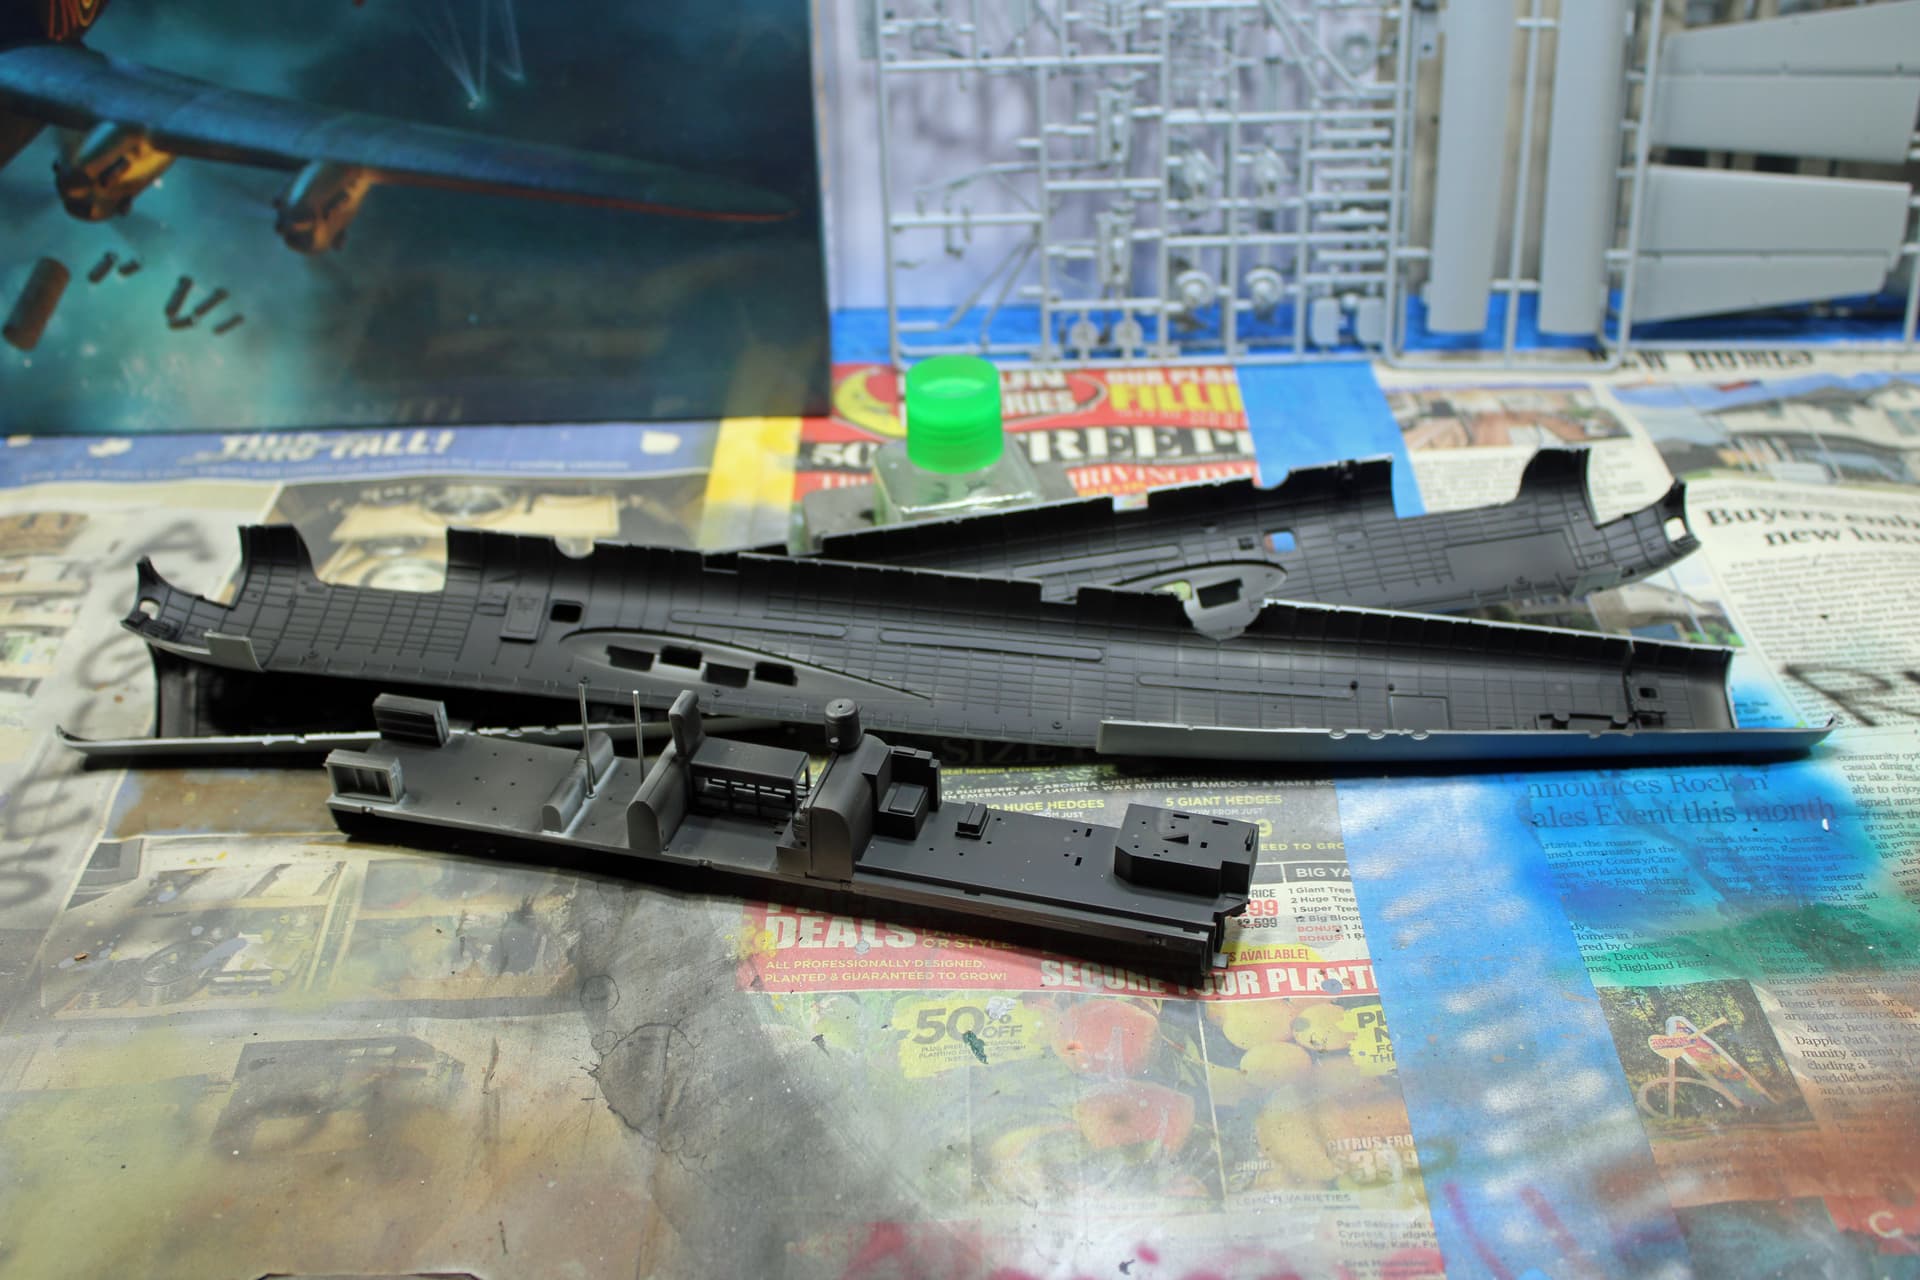
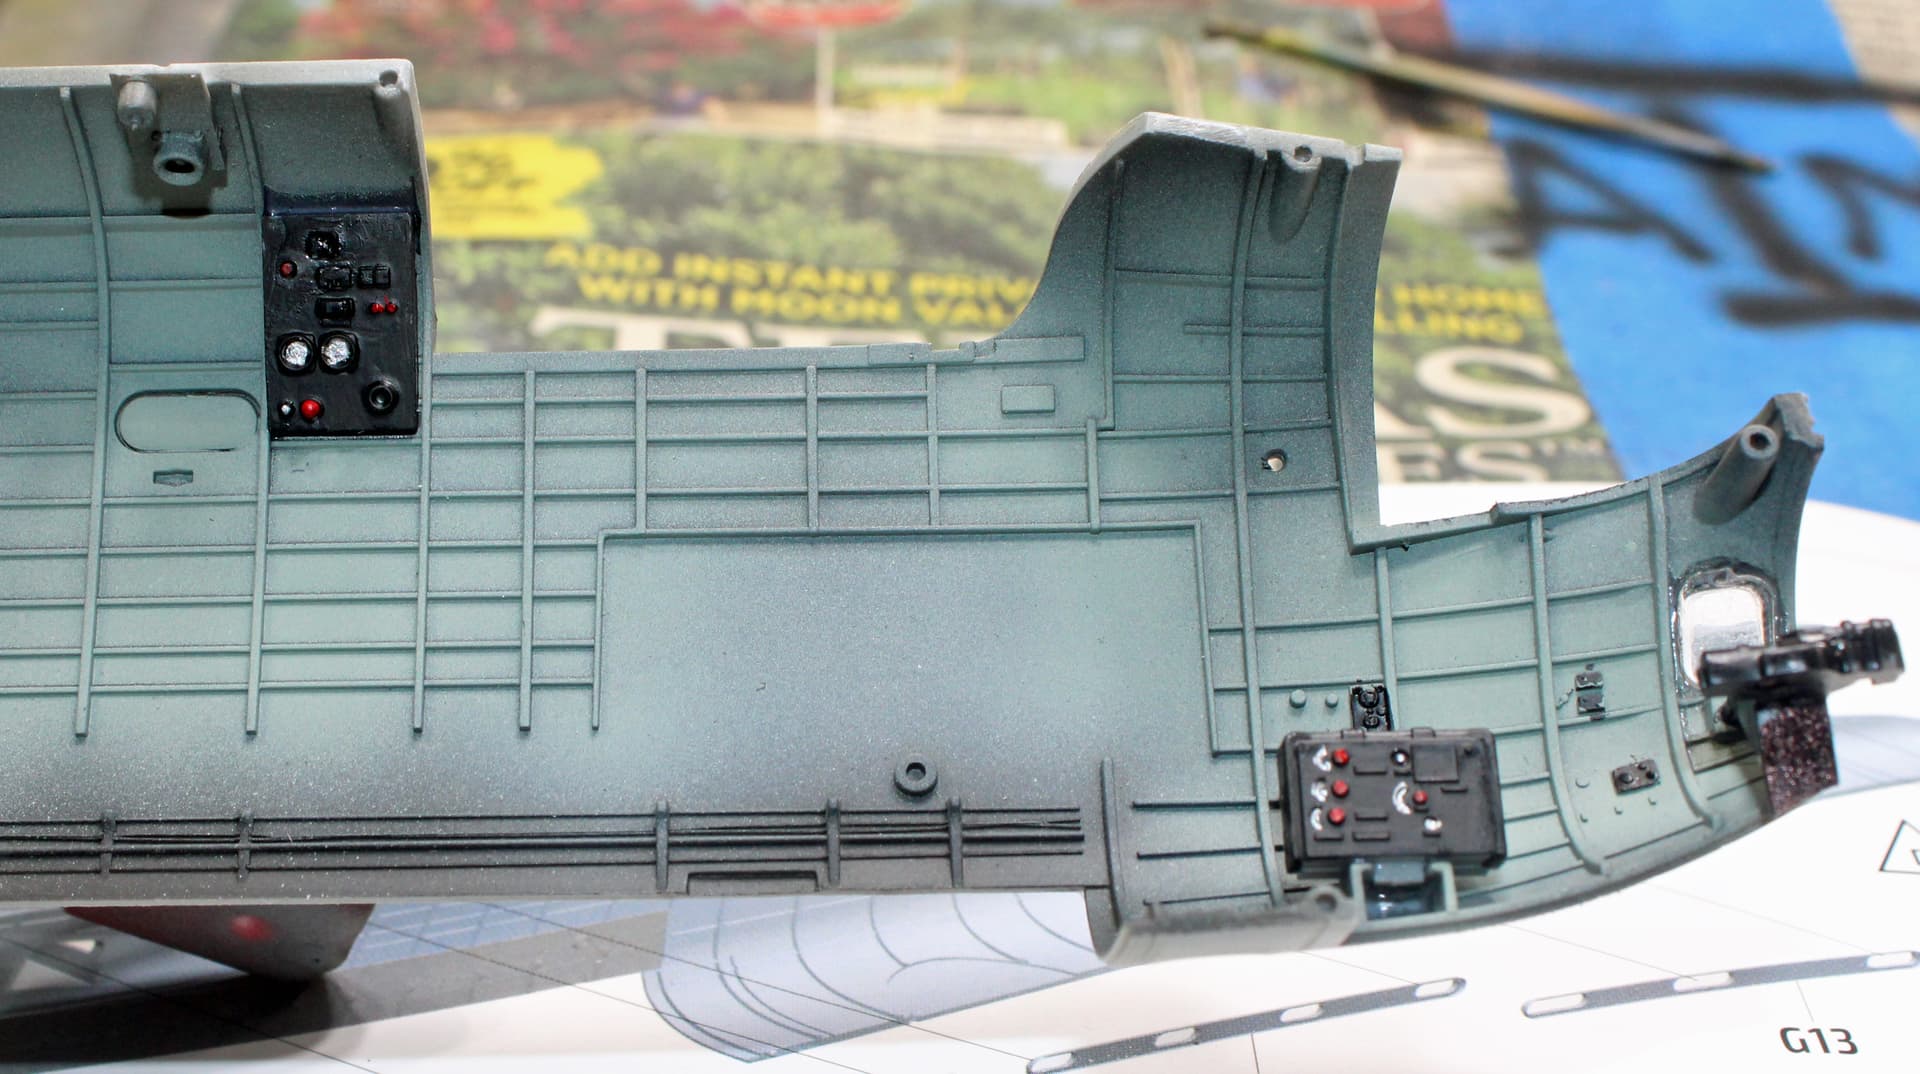
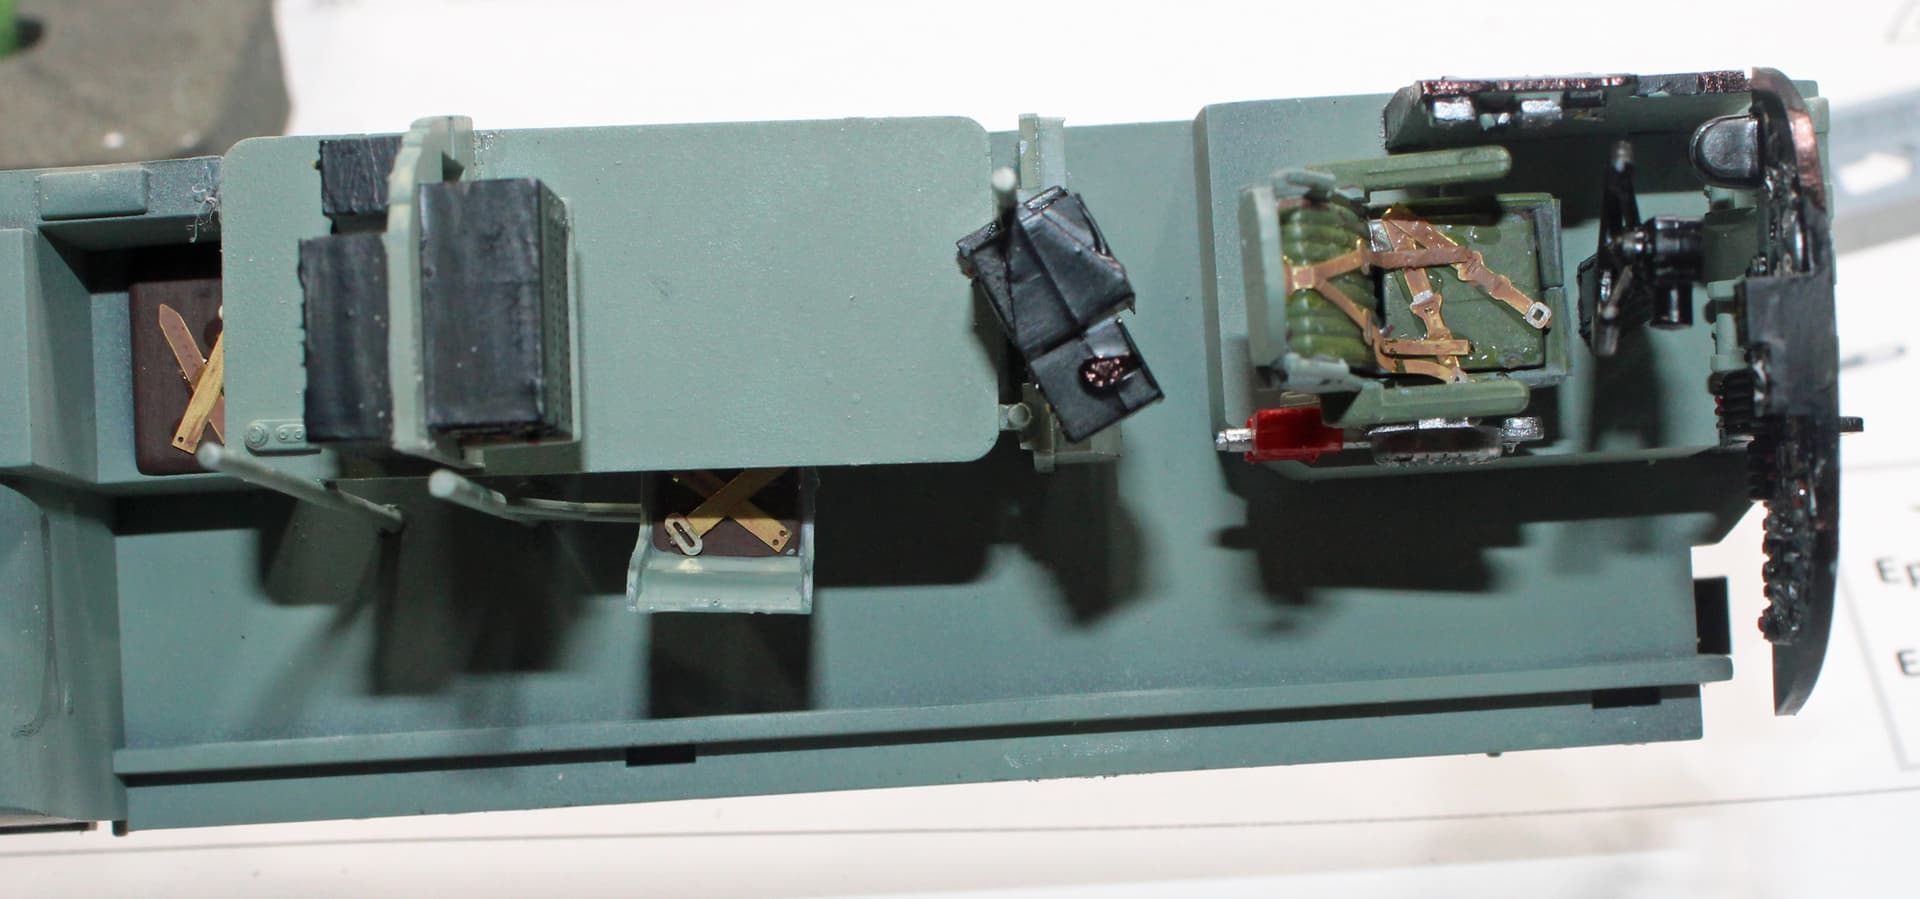
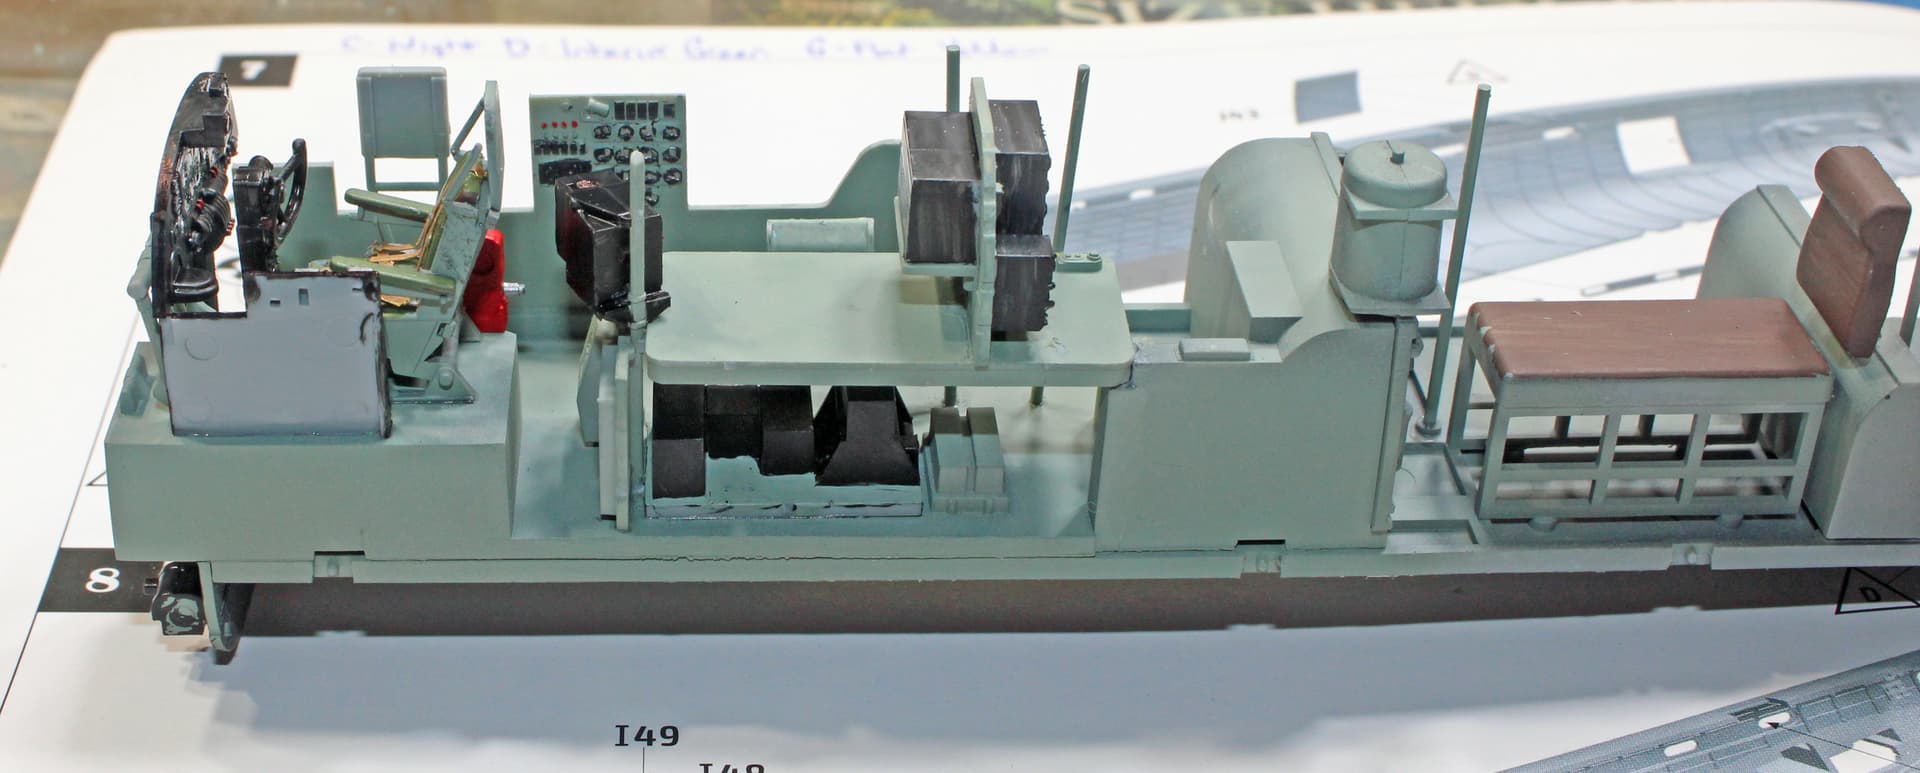
I was out of town for half the weekend, so I don’t have a whole lot of progress on the big Lancaster. To this point I have assembled and fixed seams on the ordinance and tires. Yesterday I began work on the interior structures. Mostly I just attached parts to the floor component. The actual cockpit requires a lot of additional paint work that I will do on the individual parts before installing them. I added most of the fuselage windows; the Lancaster I am building blacked out those windows, so I was not concerned by installing them prior to any paint.
This morning I sprayed a coat of black primer onto all of the internal components. Later I will spray a coat of RAF Interior Green.
Finally, some more progress. I typically like to model while watching TV. During football season, it will be a game, otherwise, it’s usually a movie. Most of the time it will be a movie that I have seen enough to know what is going on without actually having to watch. Today I spent roughly 4 hours at the bench, so two movies - both of which I’d seen but not in 30+ years: Alien Nation and The Hunter (Steve McQueen bounty hunter). Good movies.
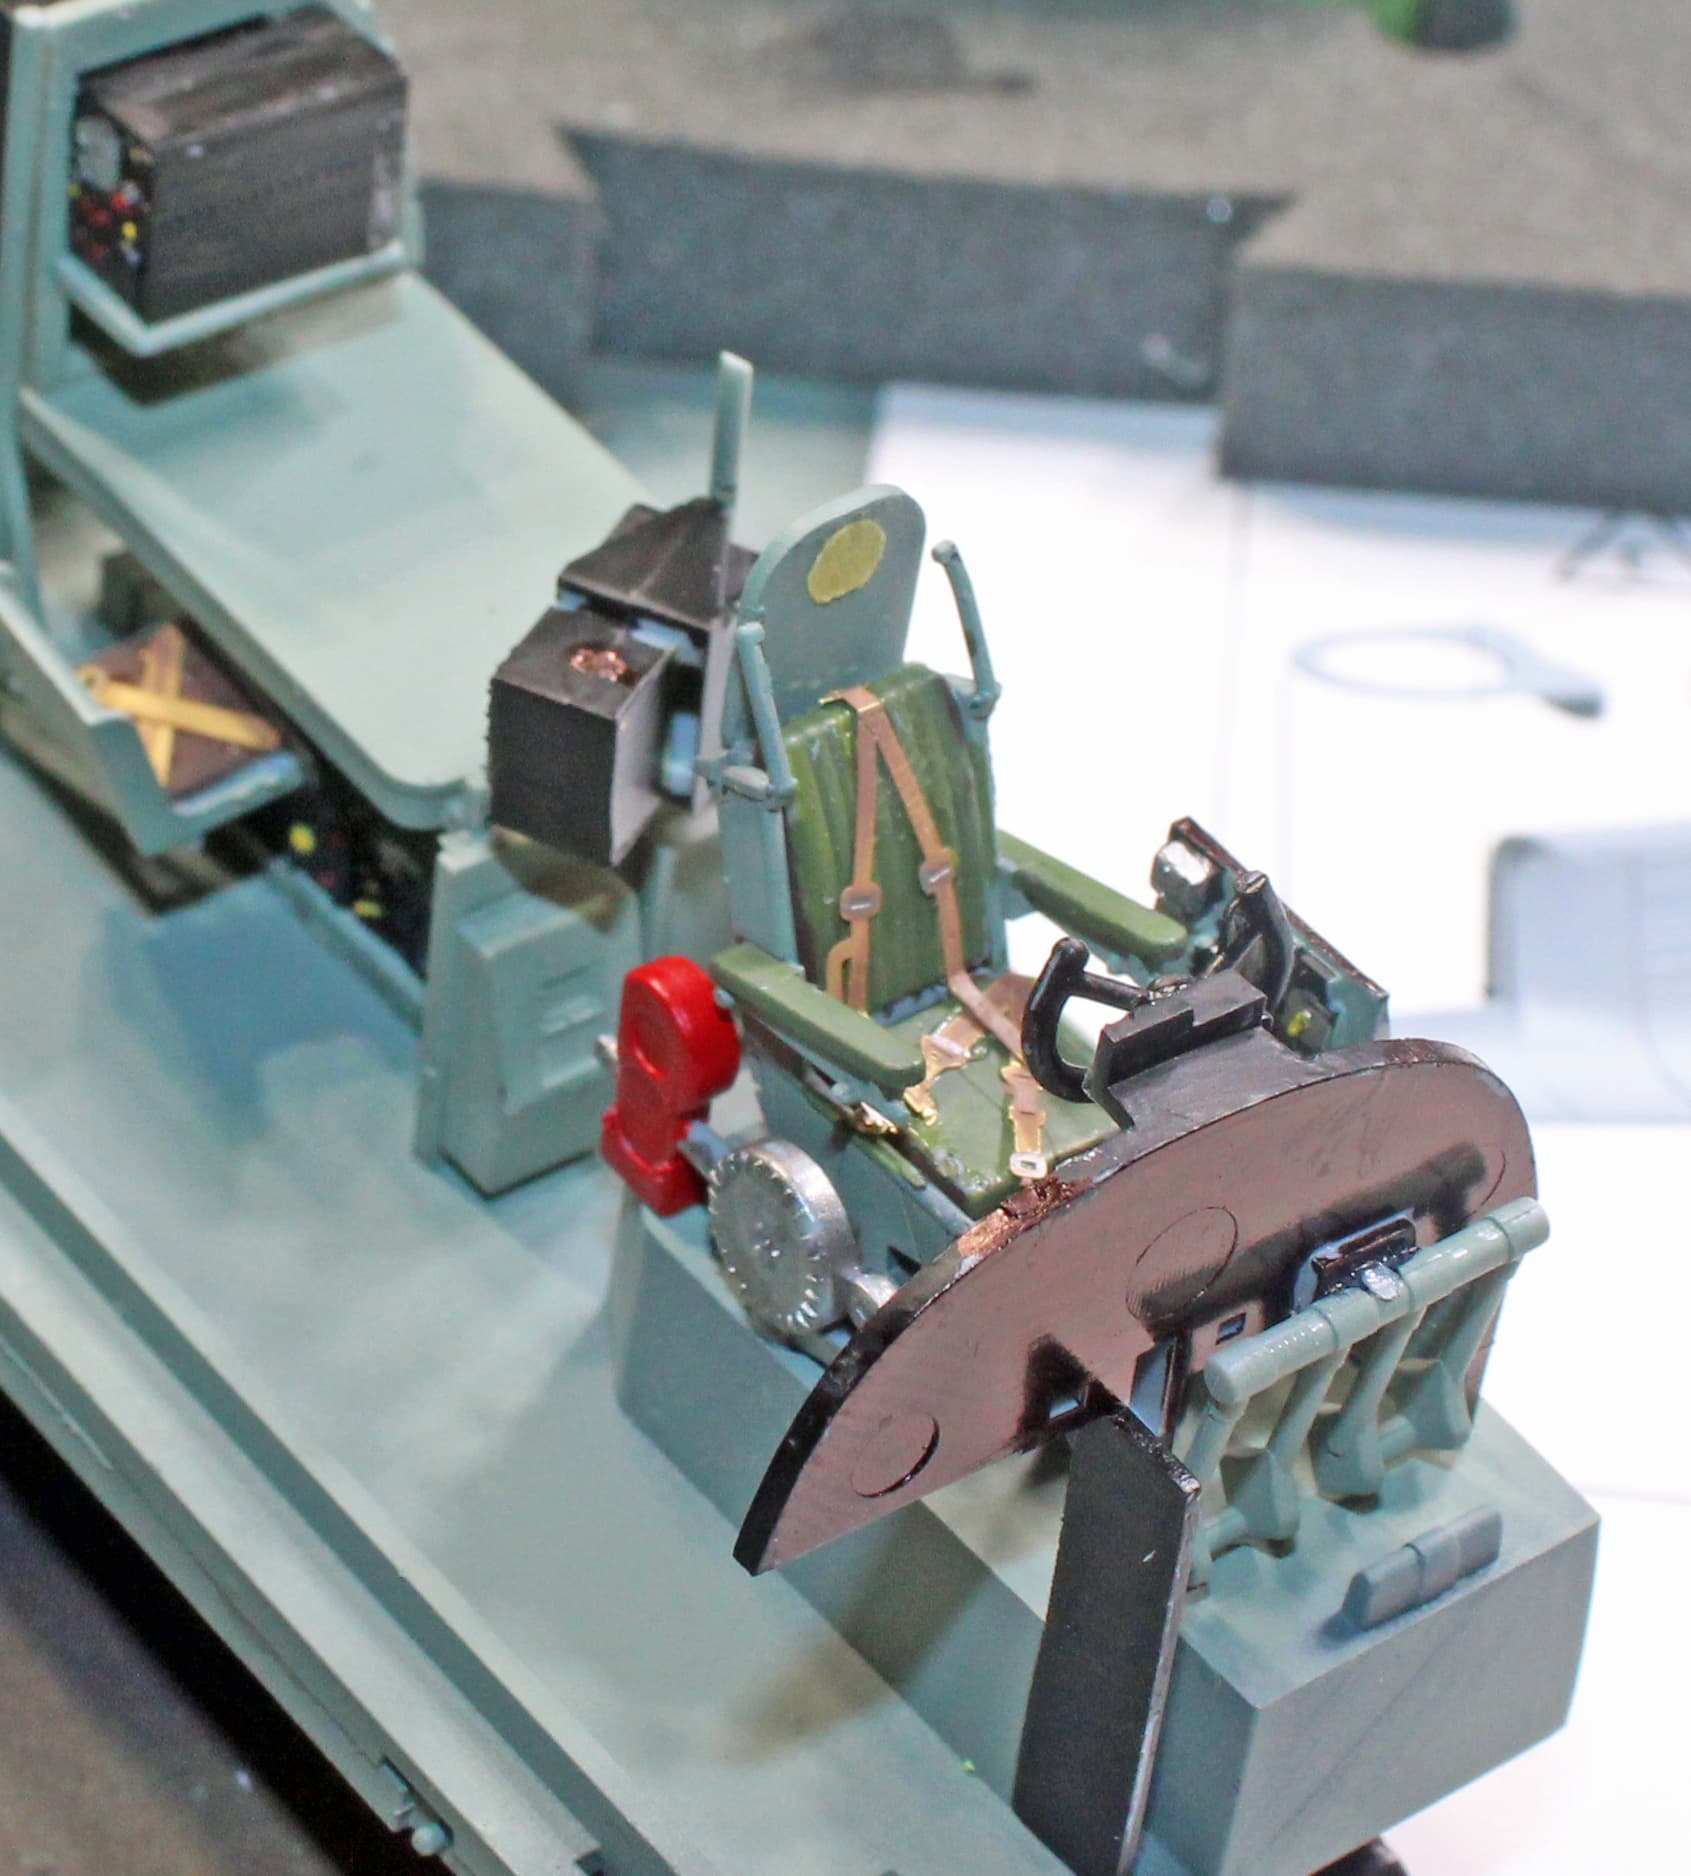
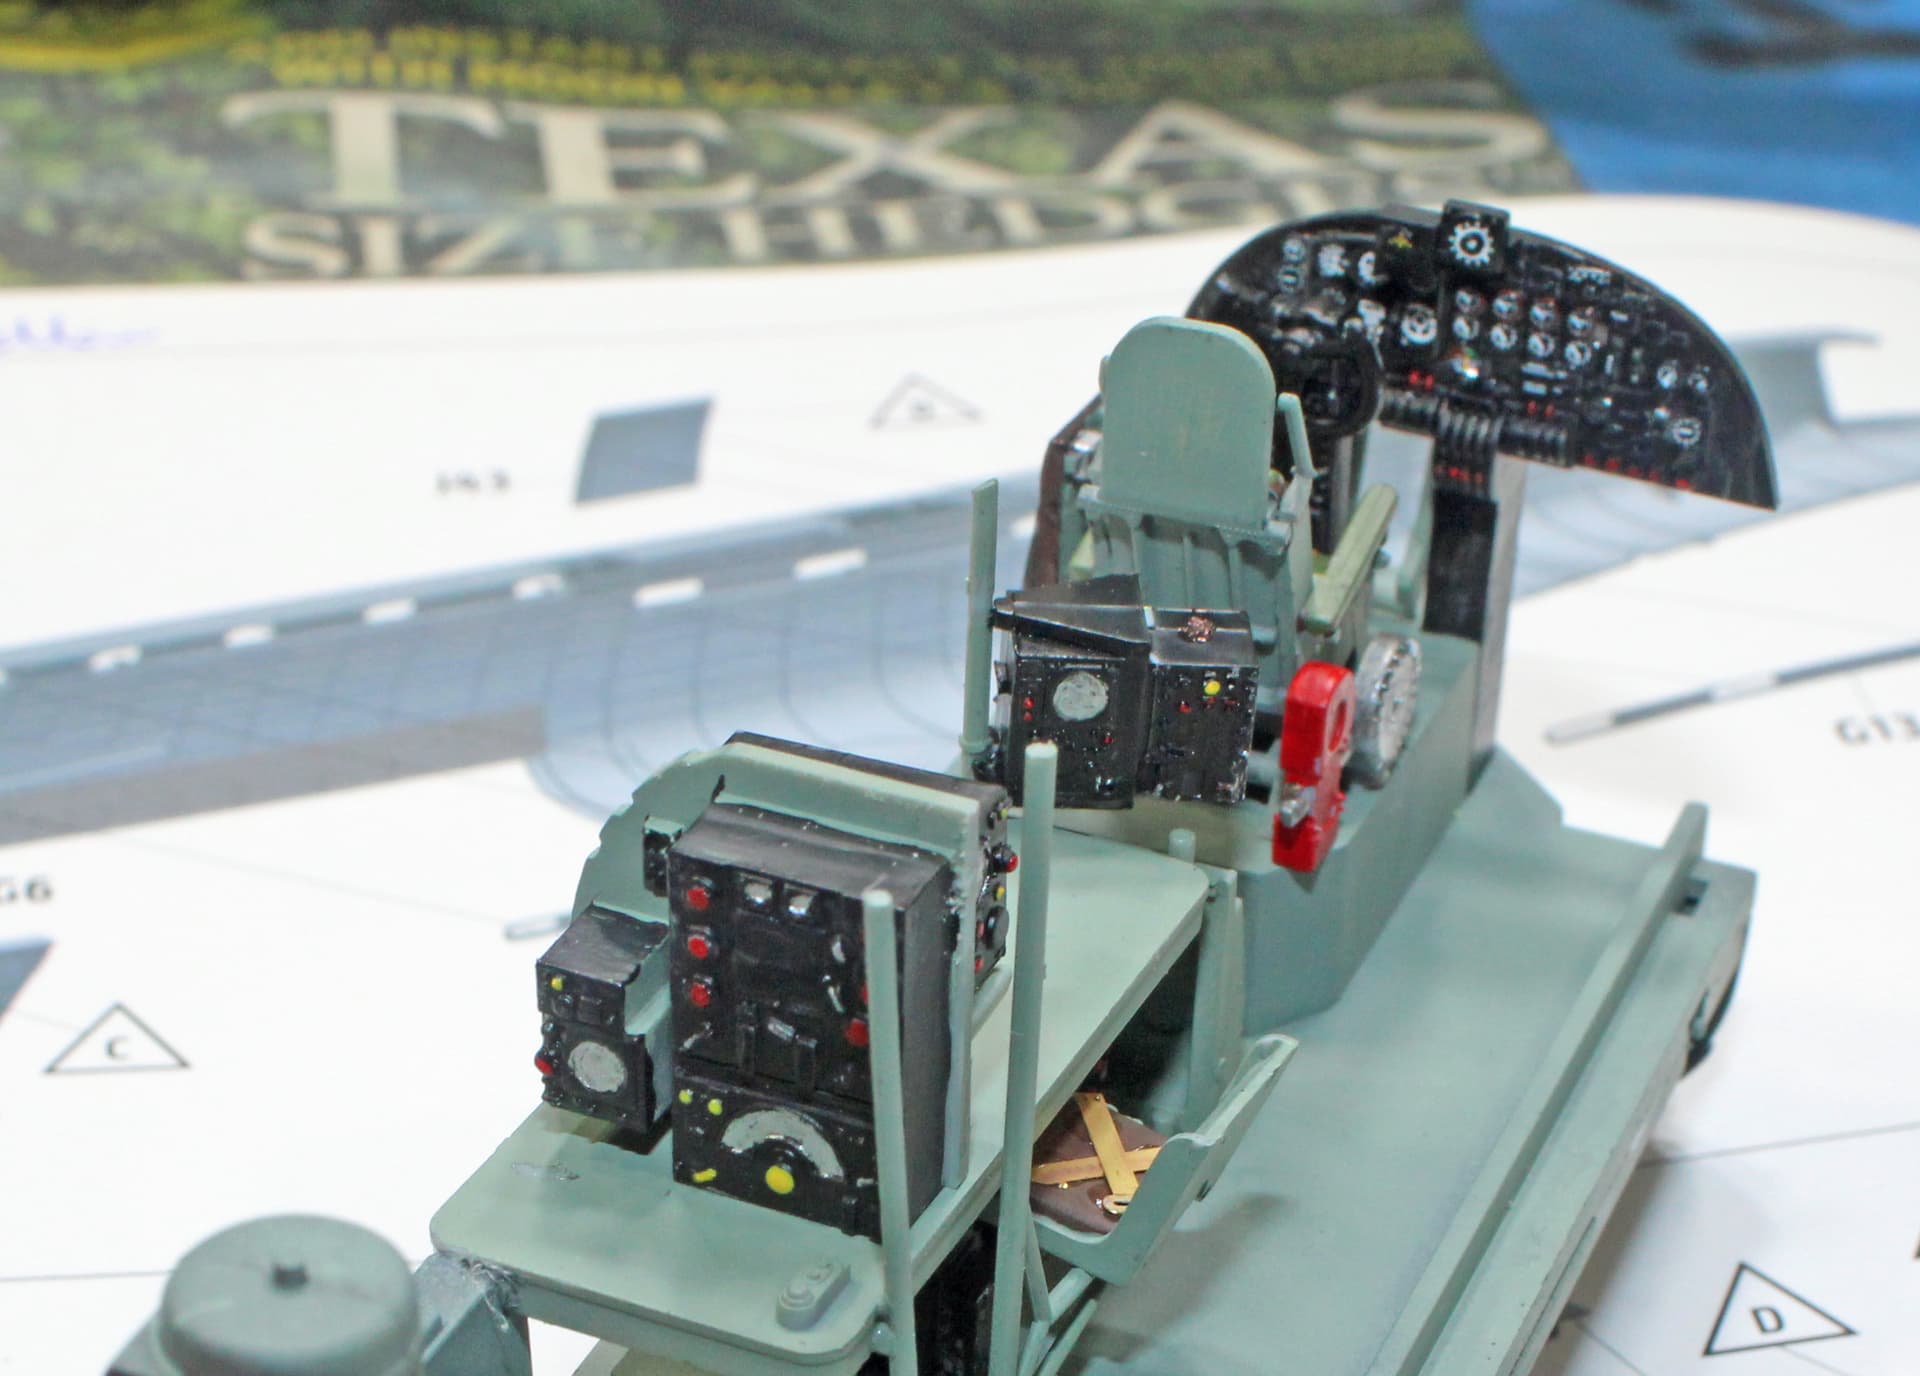
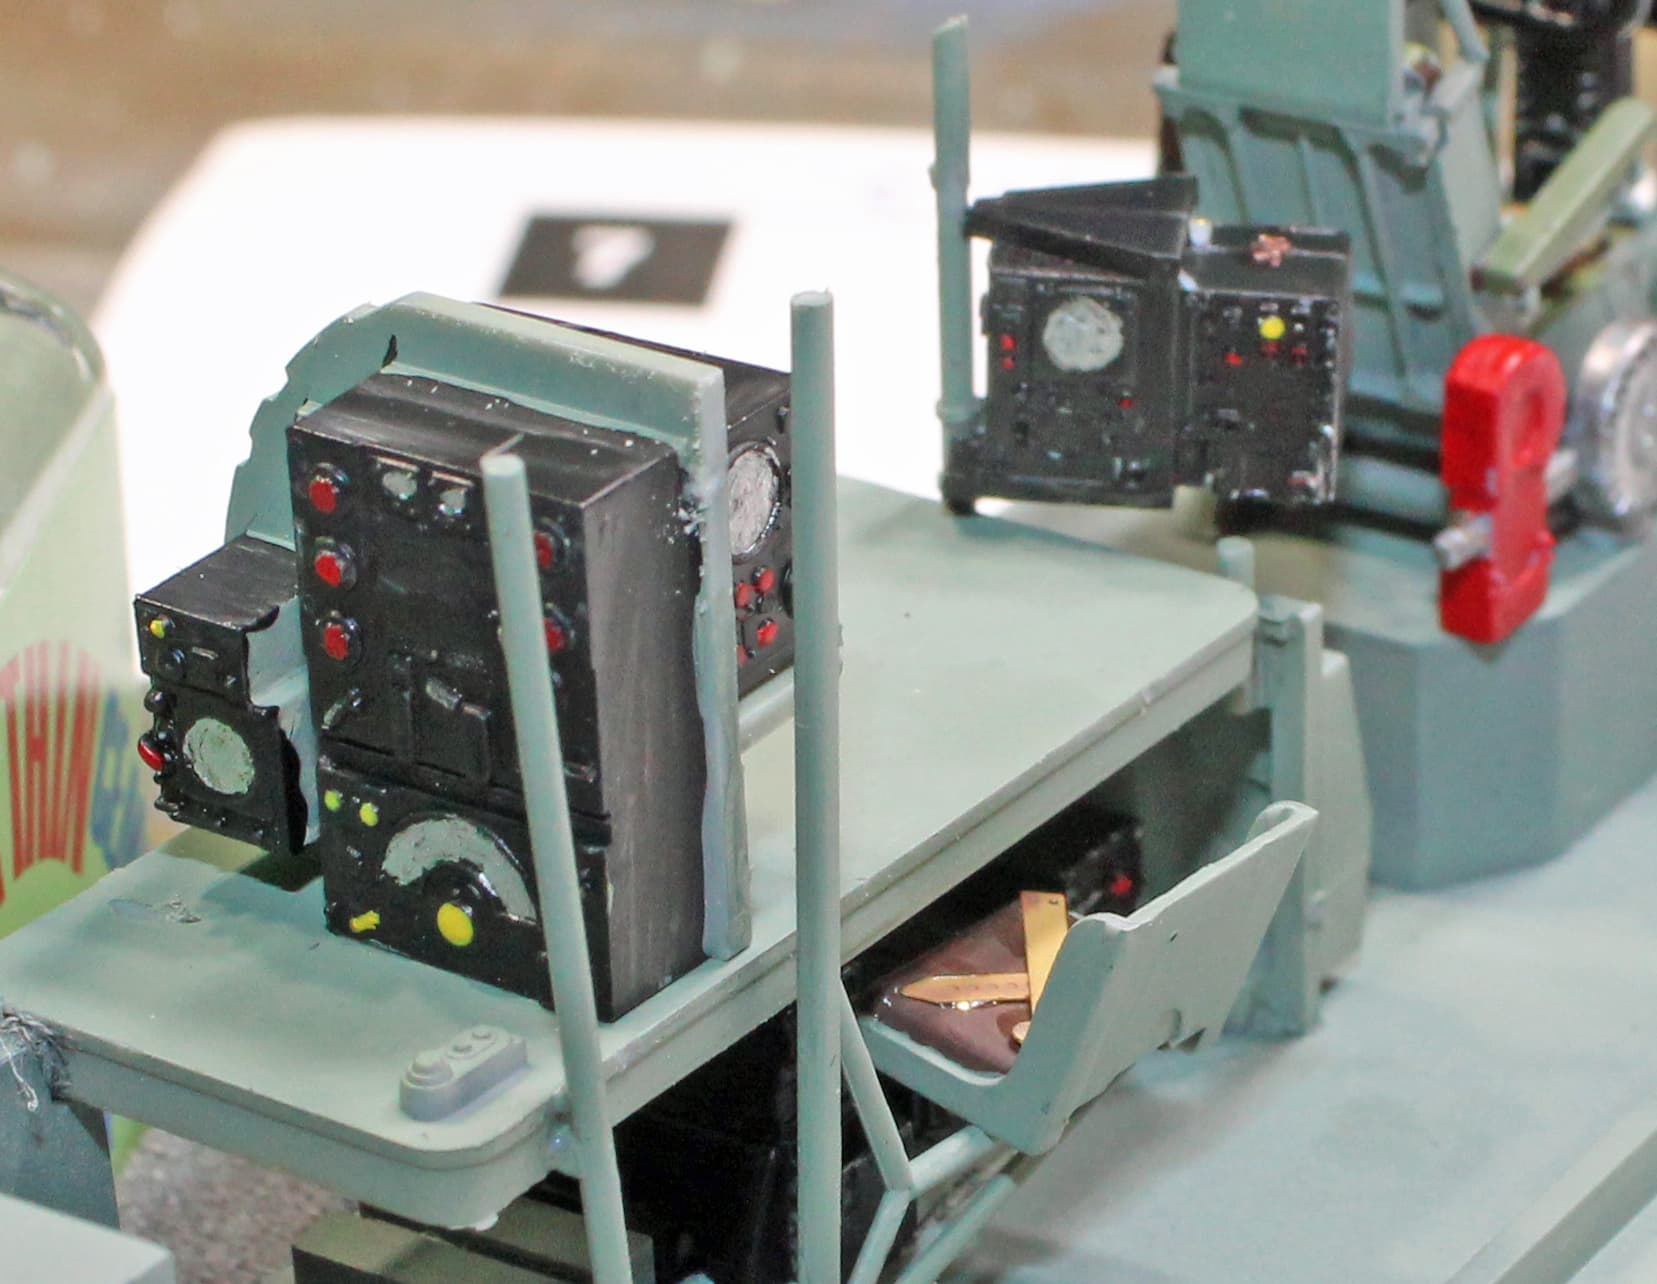
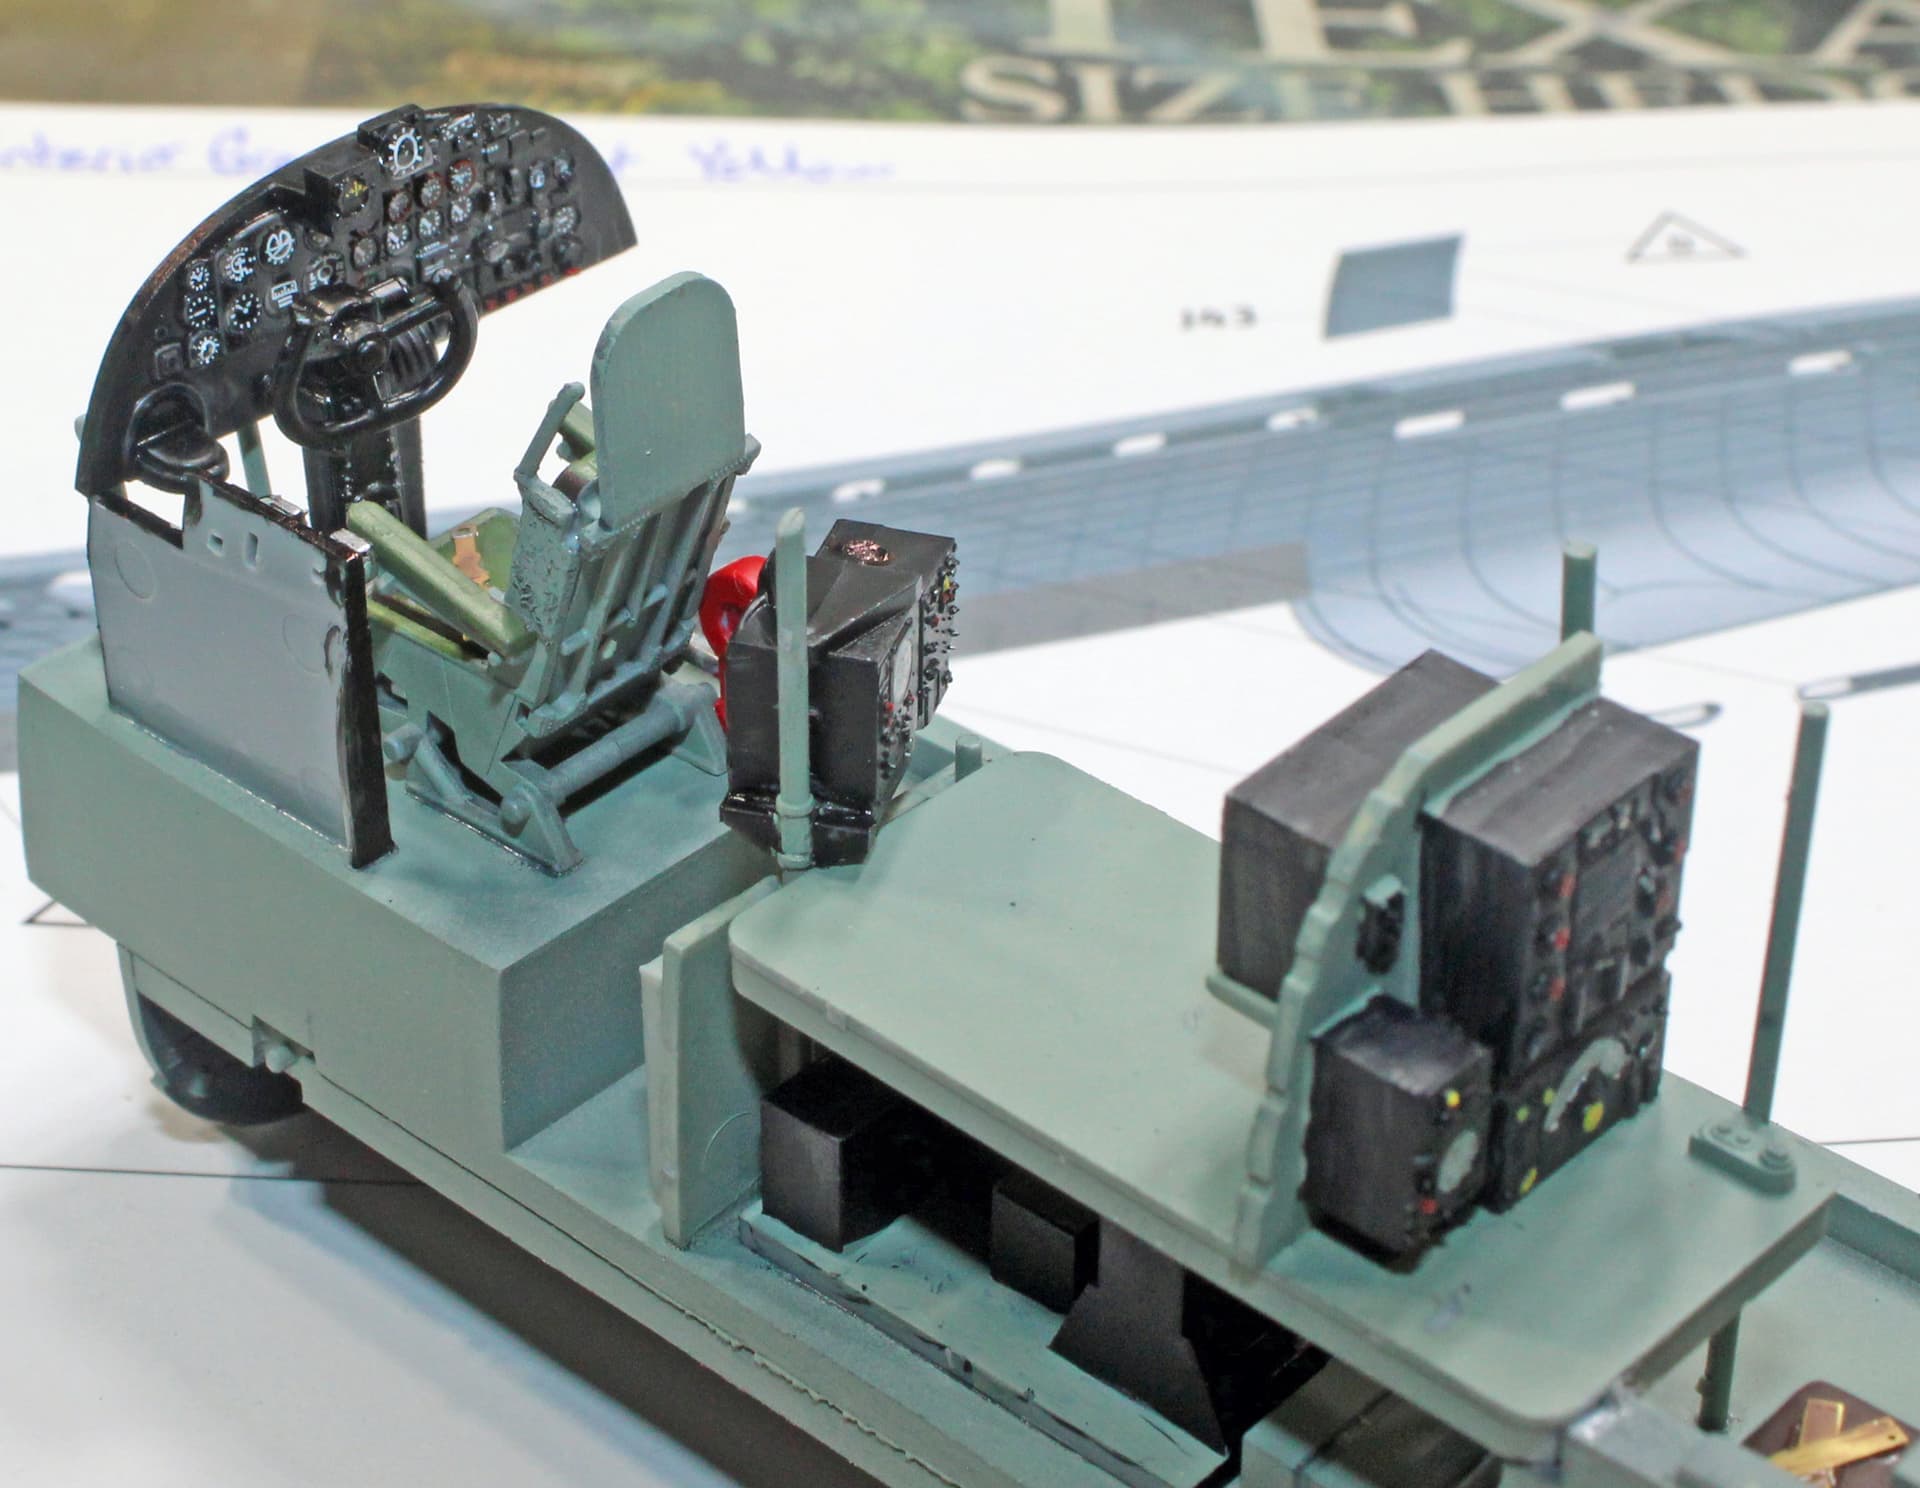
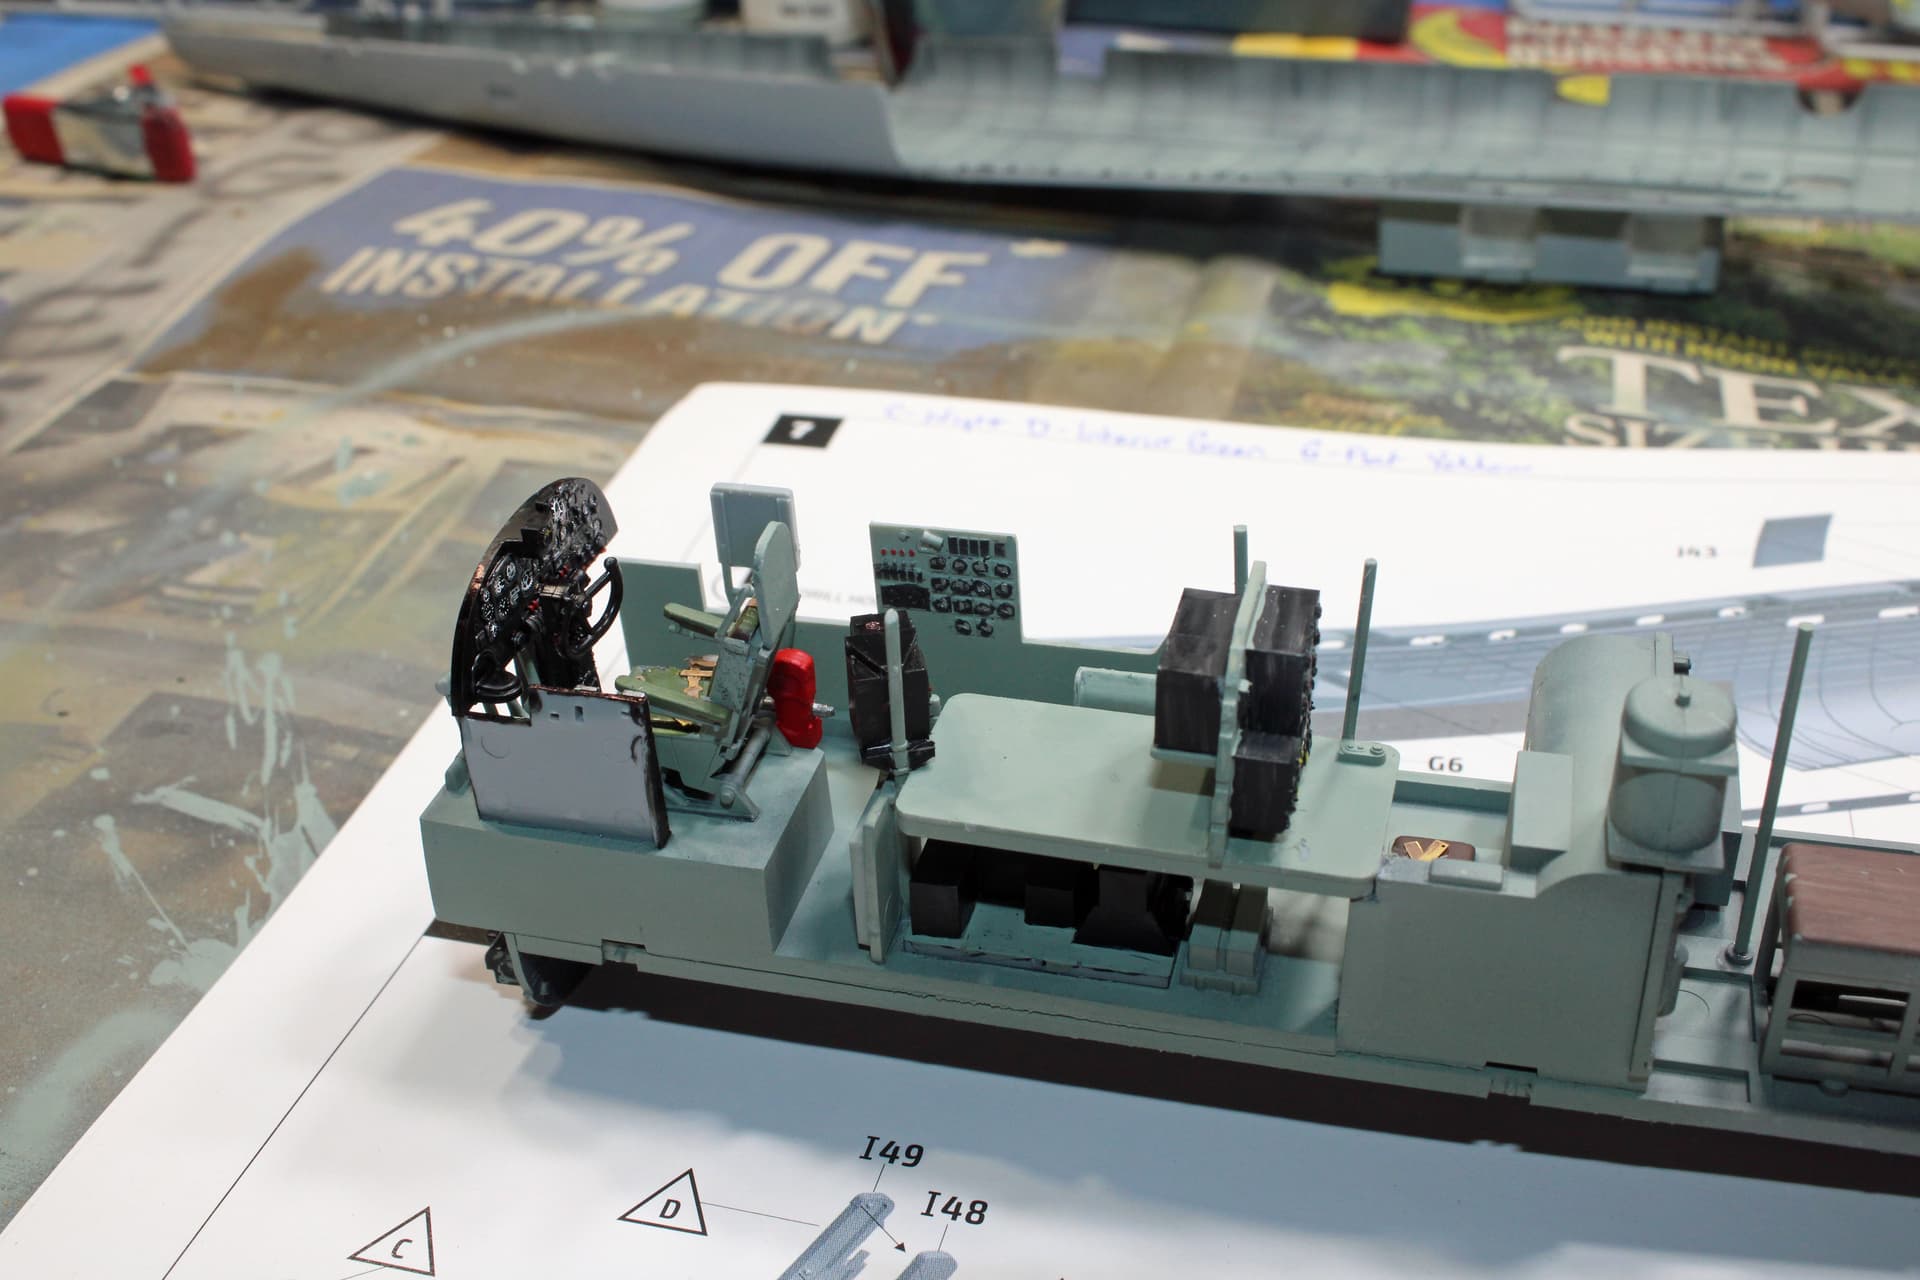
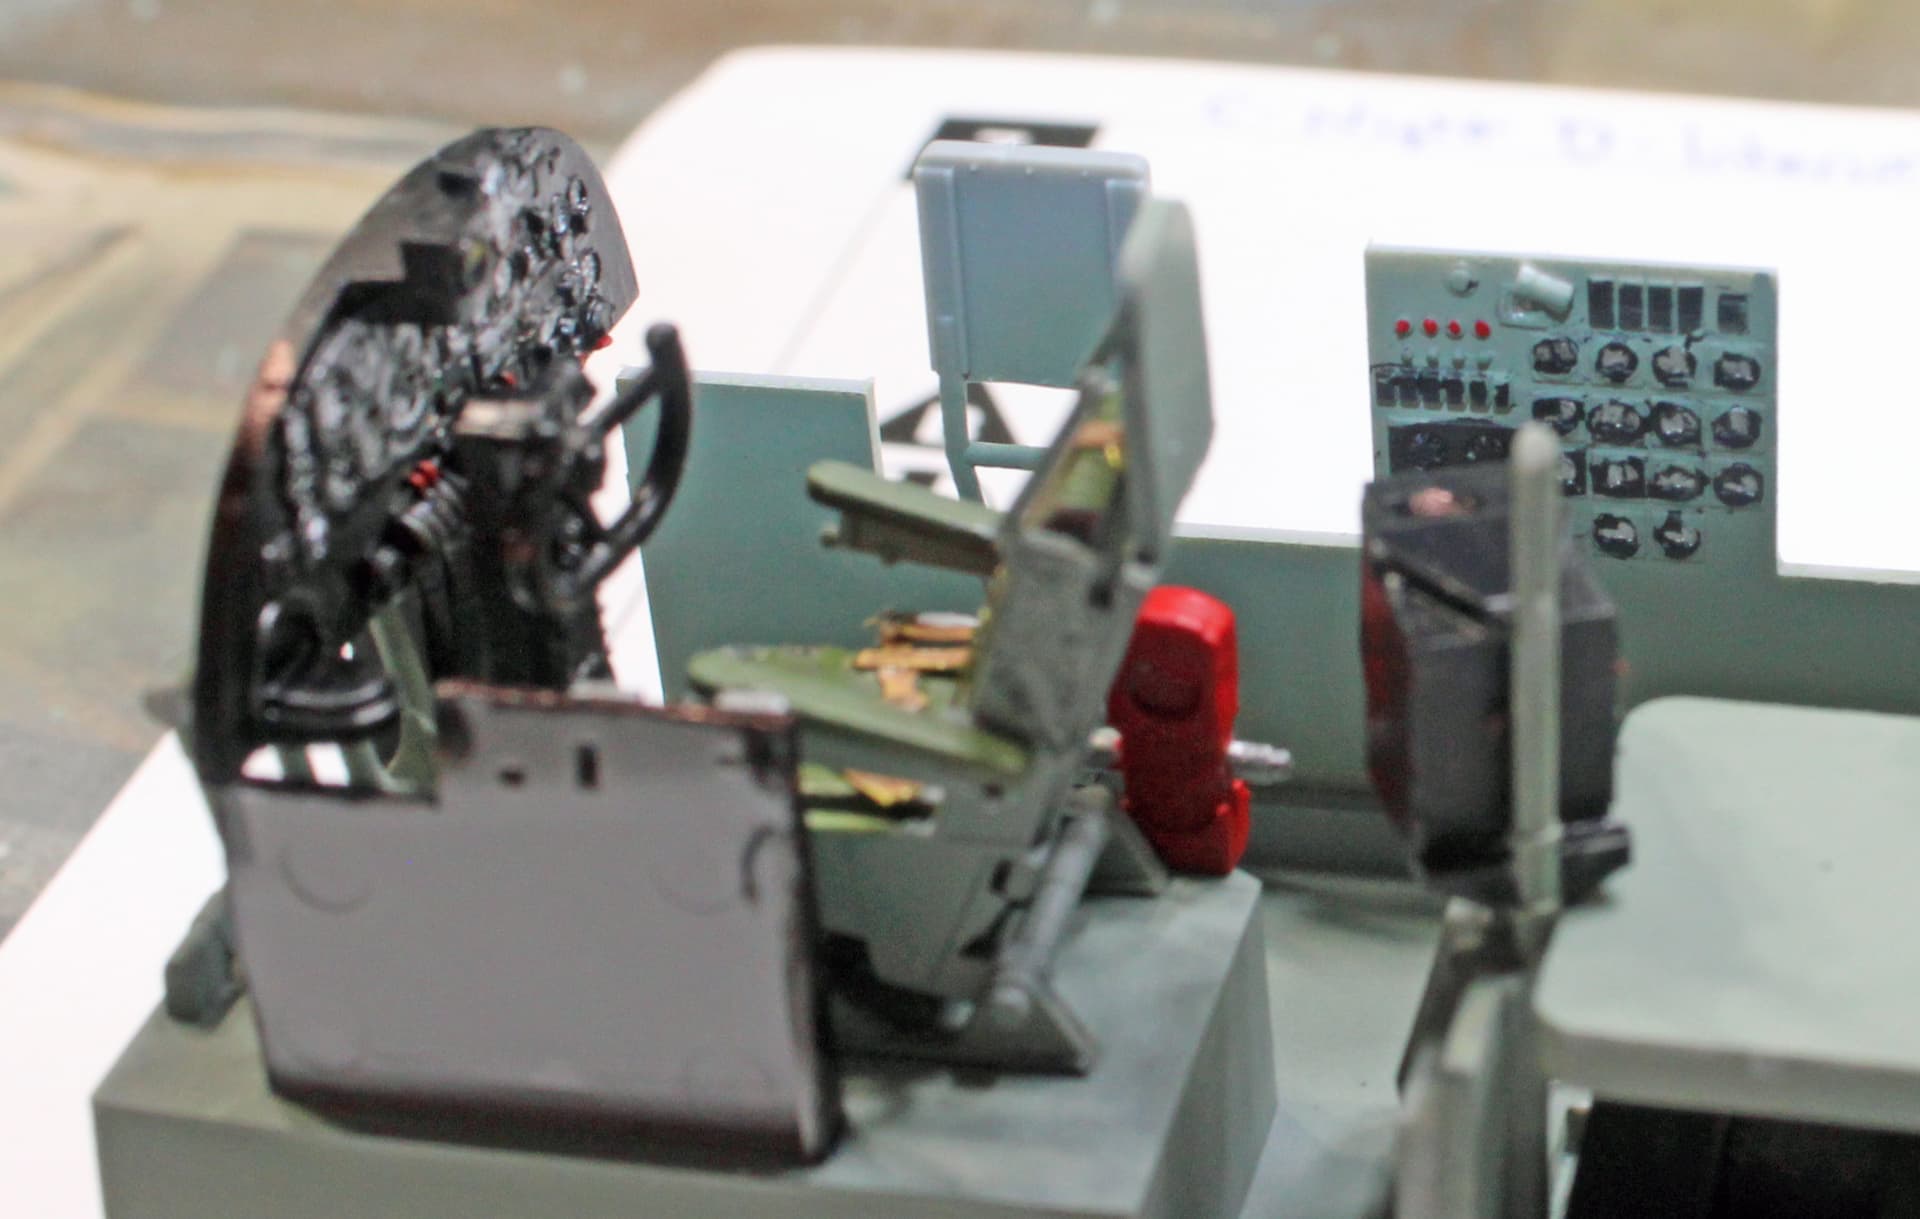
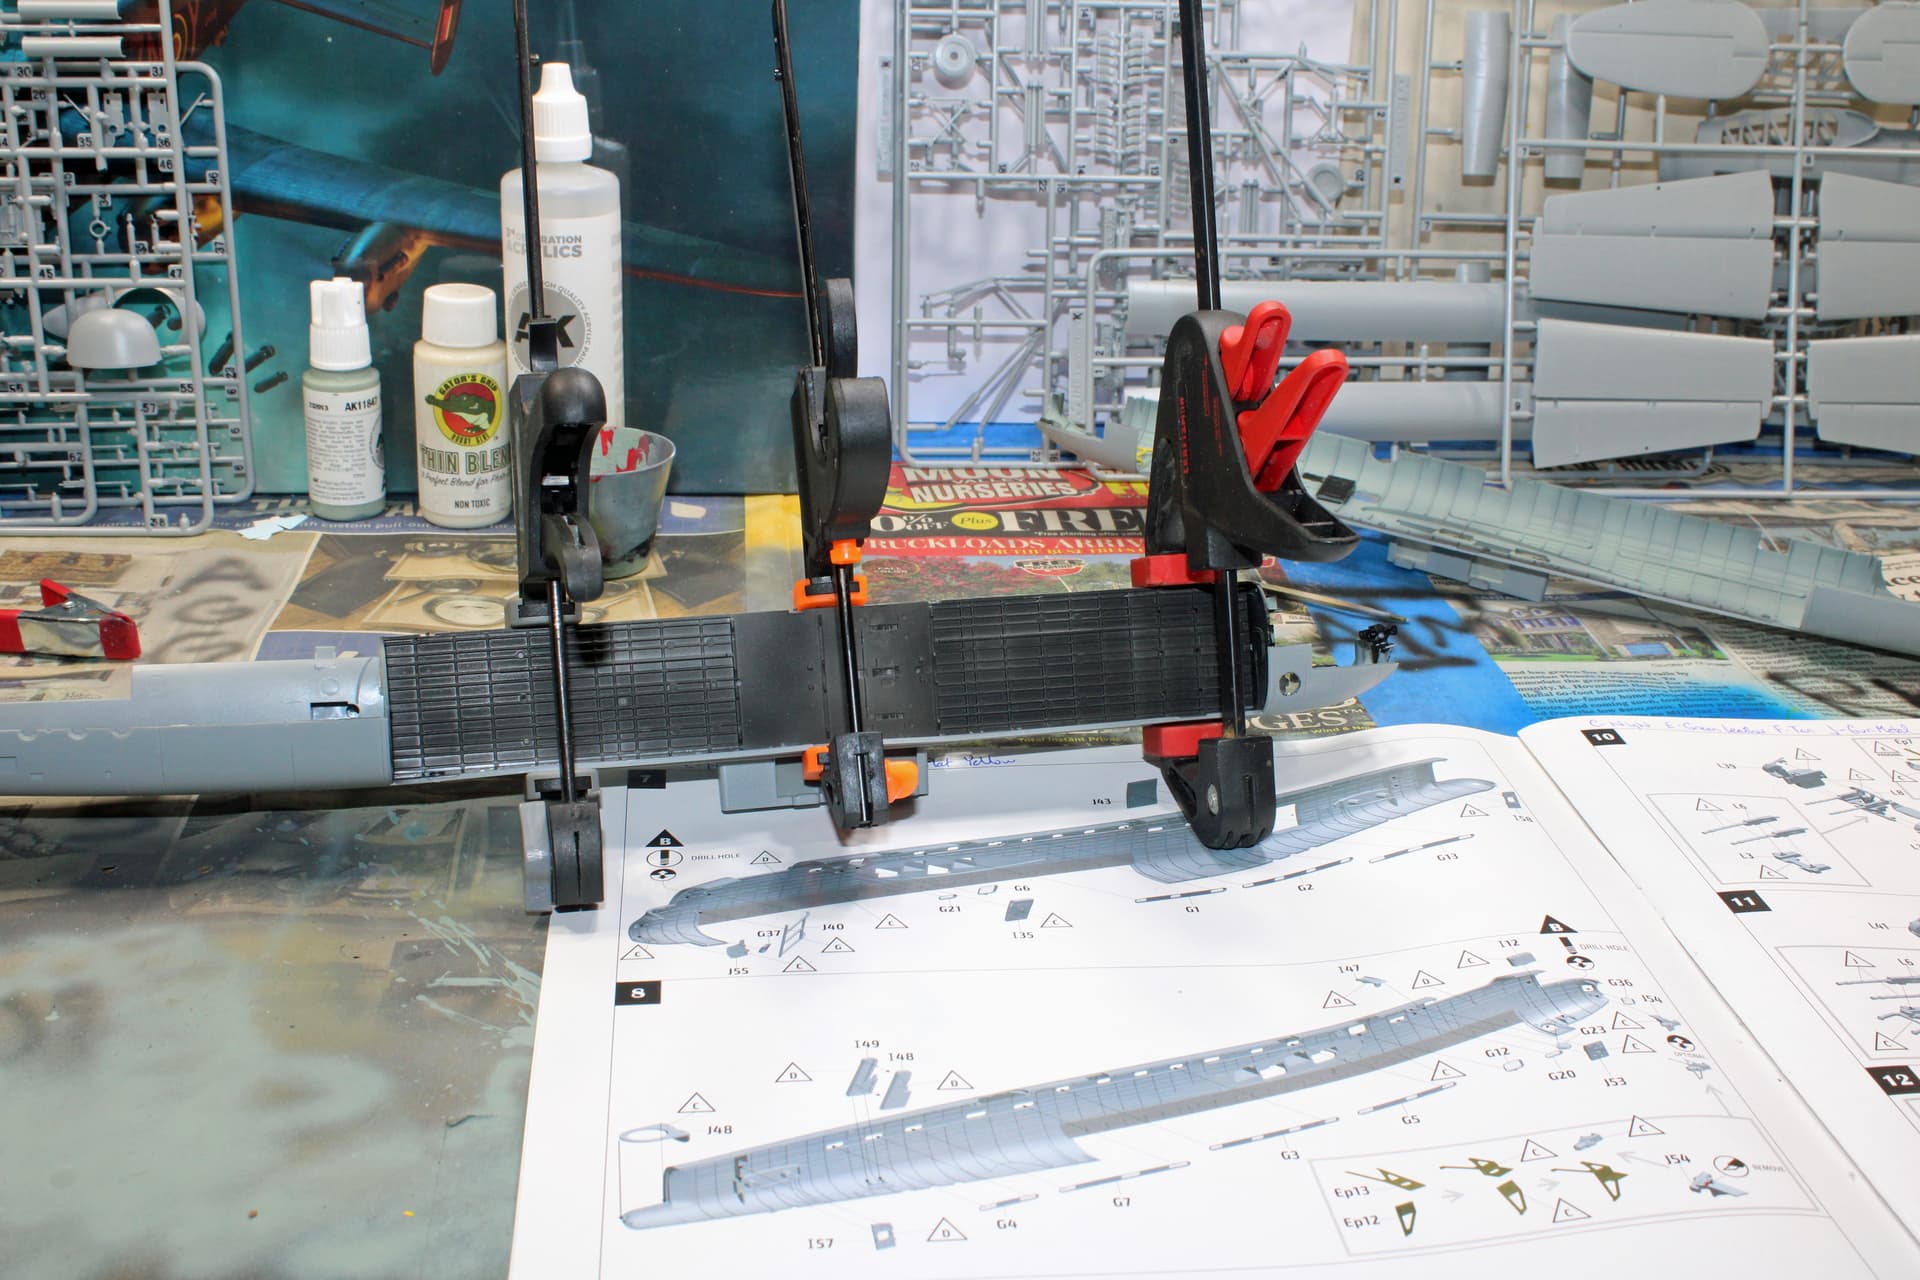
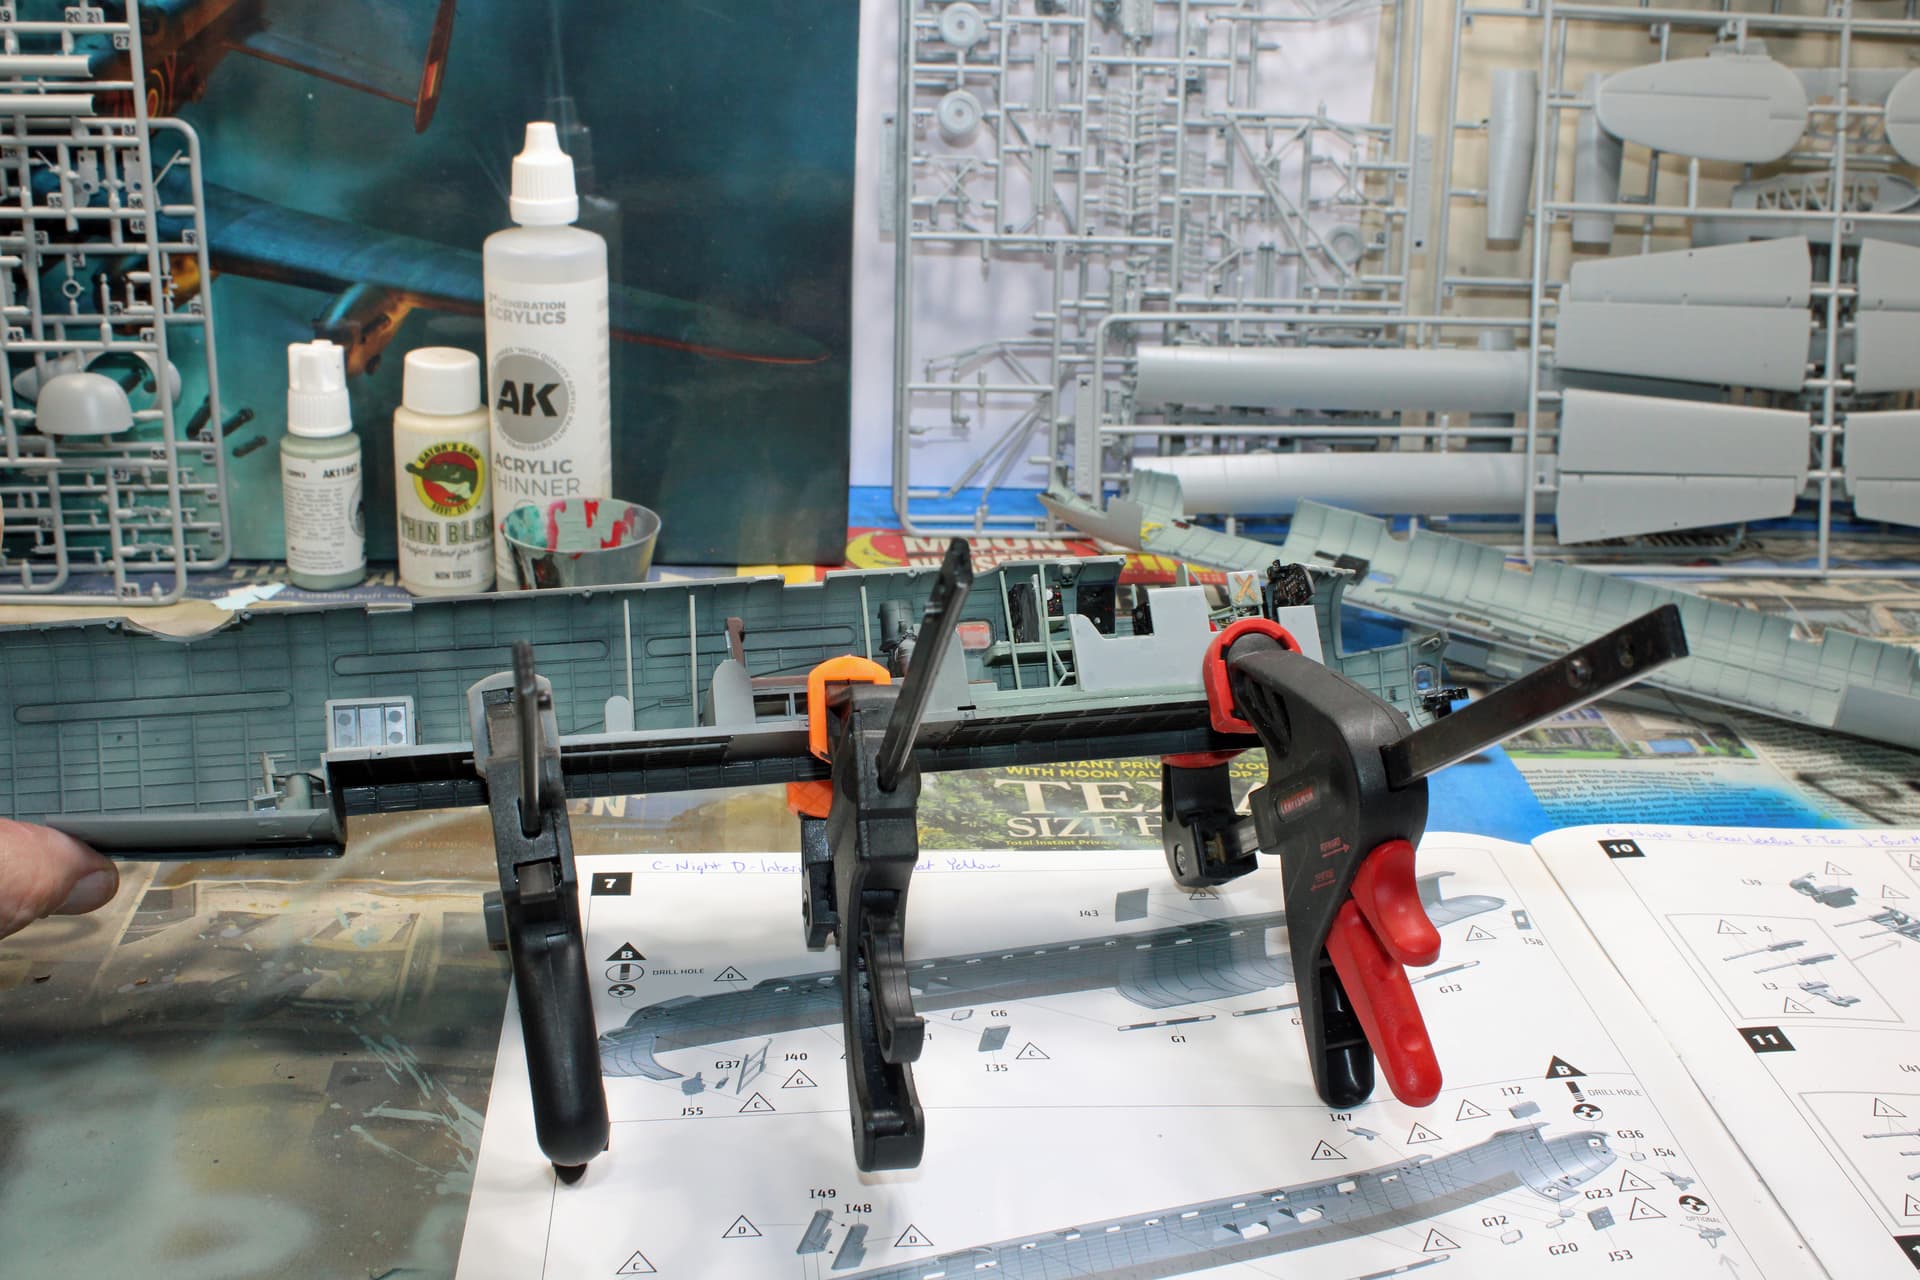
So today’s intent was to essentially complete the fuselage interior work. This necessitated a lot of detail paint work with a brush and my optivisors. I spent a lot of that time picking out dials or buttons with a very fine tipped brush loaded with a smidge of paint - red, yellow, or aluminum. I completed all of that and got the entire cockpit completed, then installed that big structure into one side of the fuselage. This is where I left off, letting that assembly cure into position under the pressure of 3 clamps.
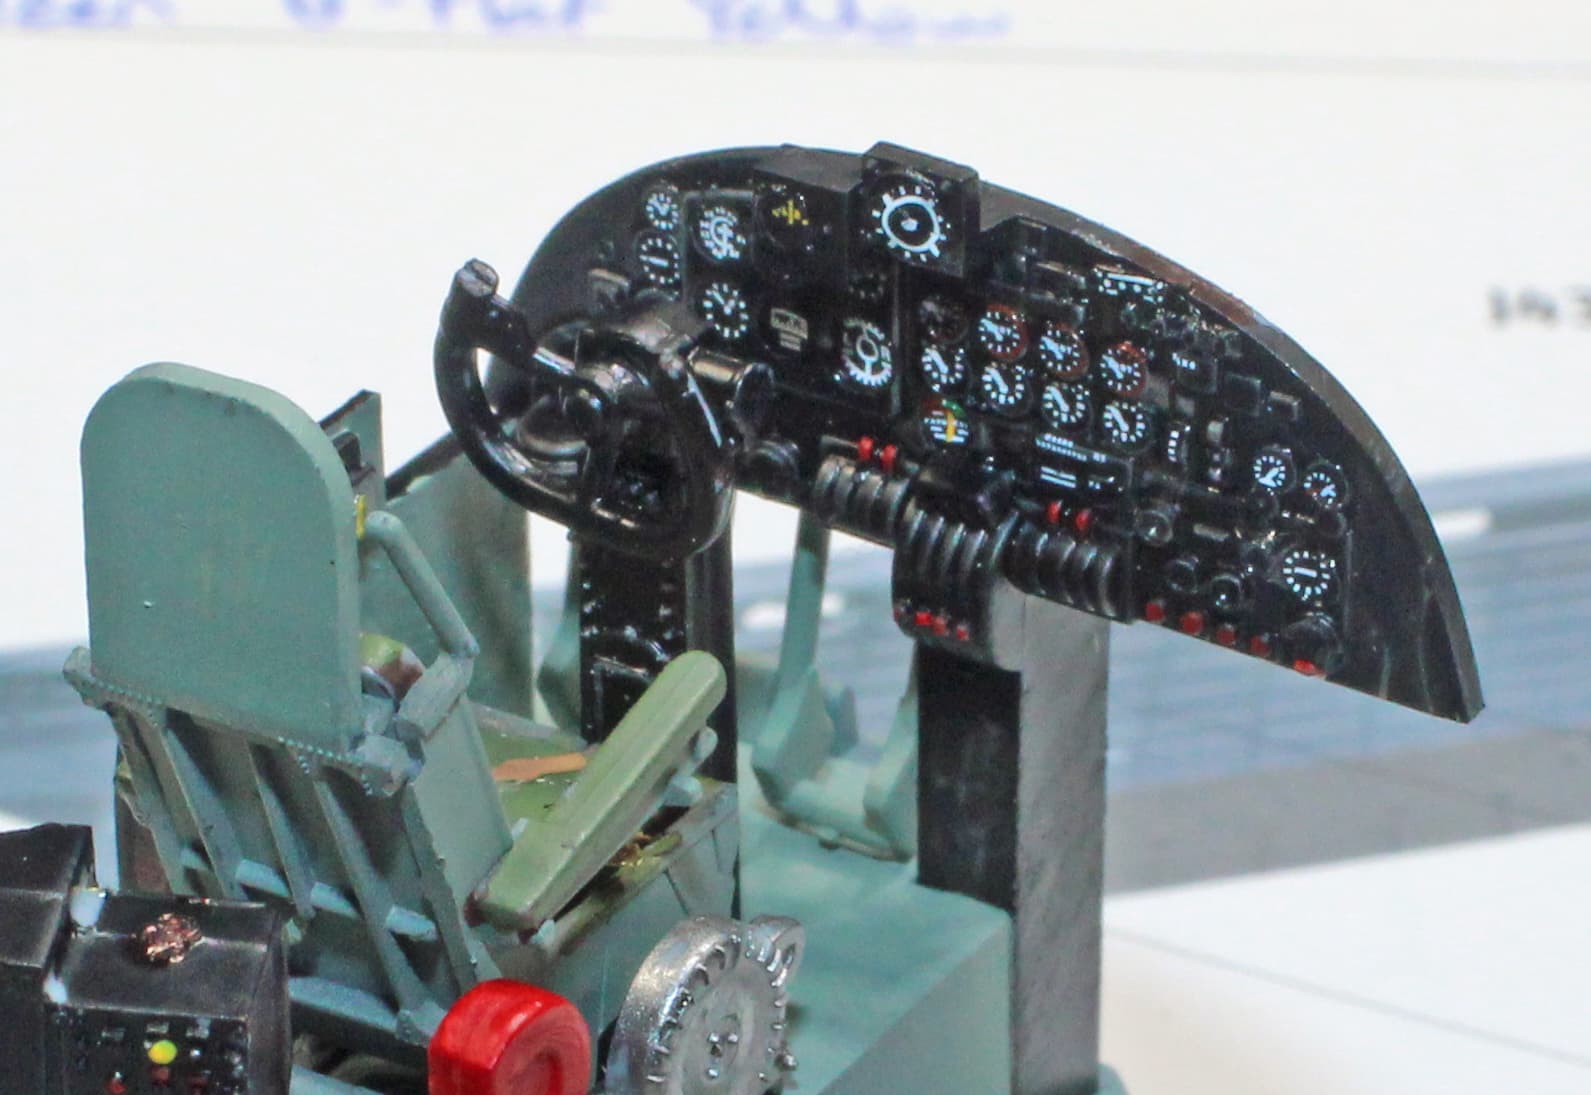
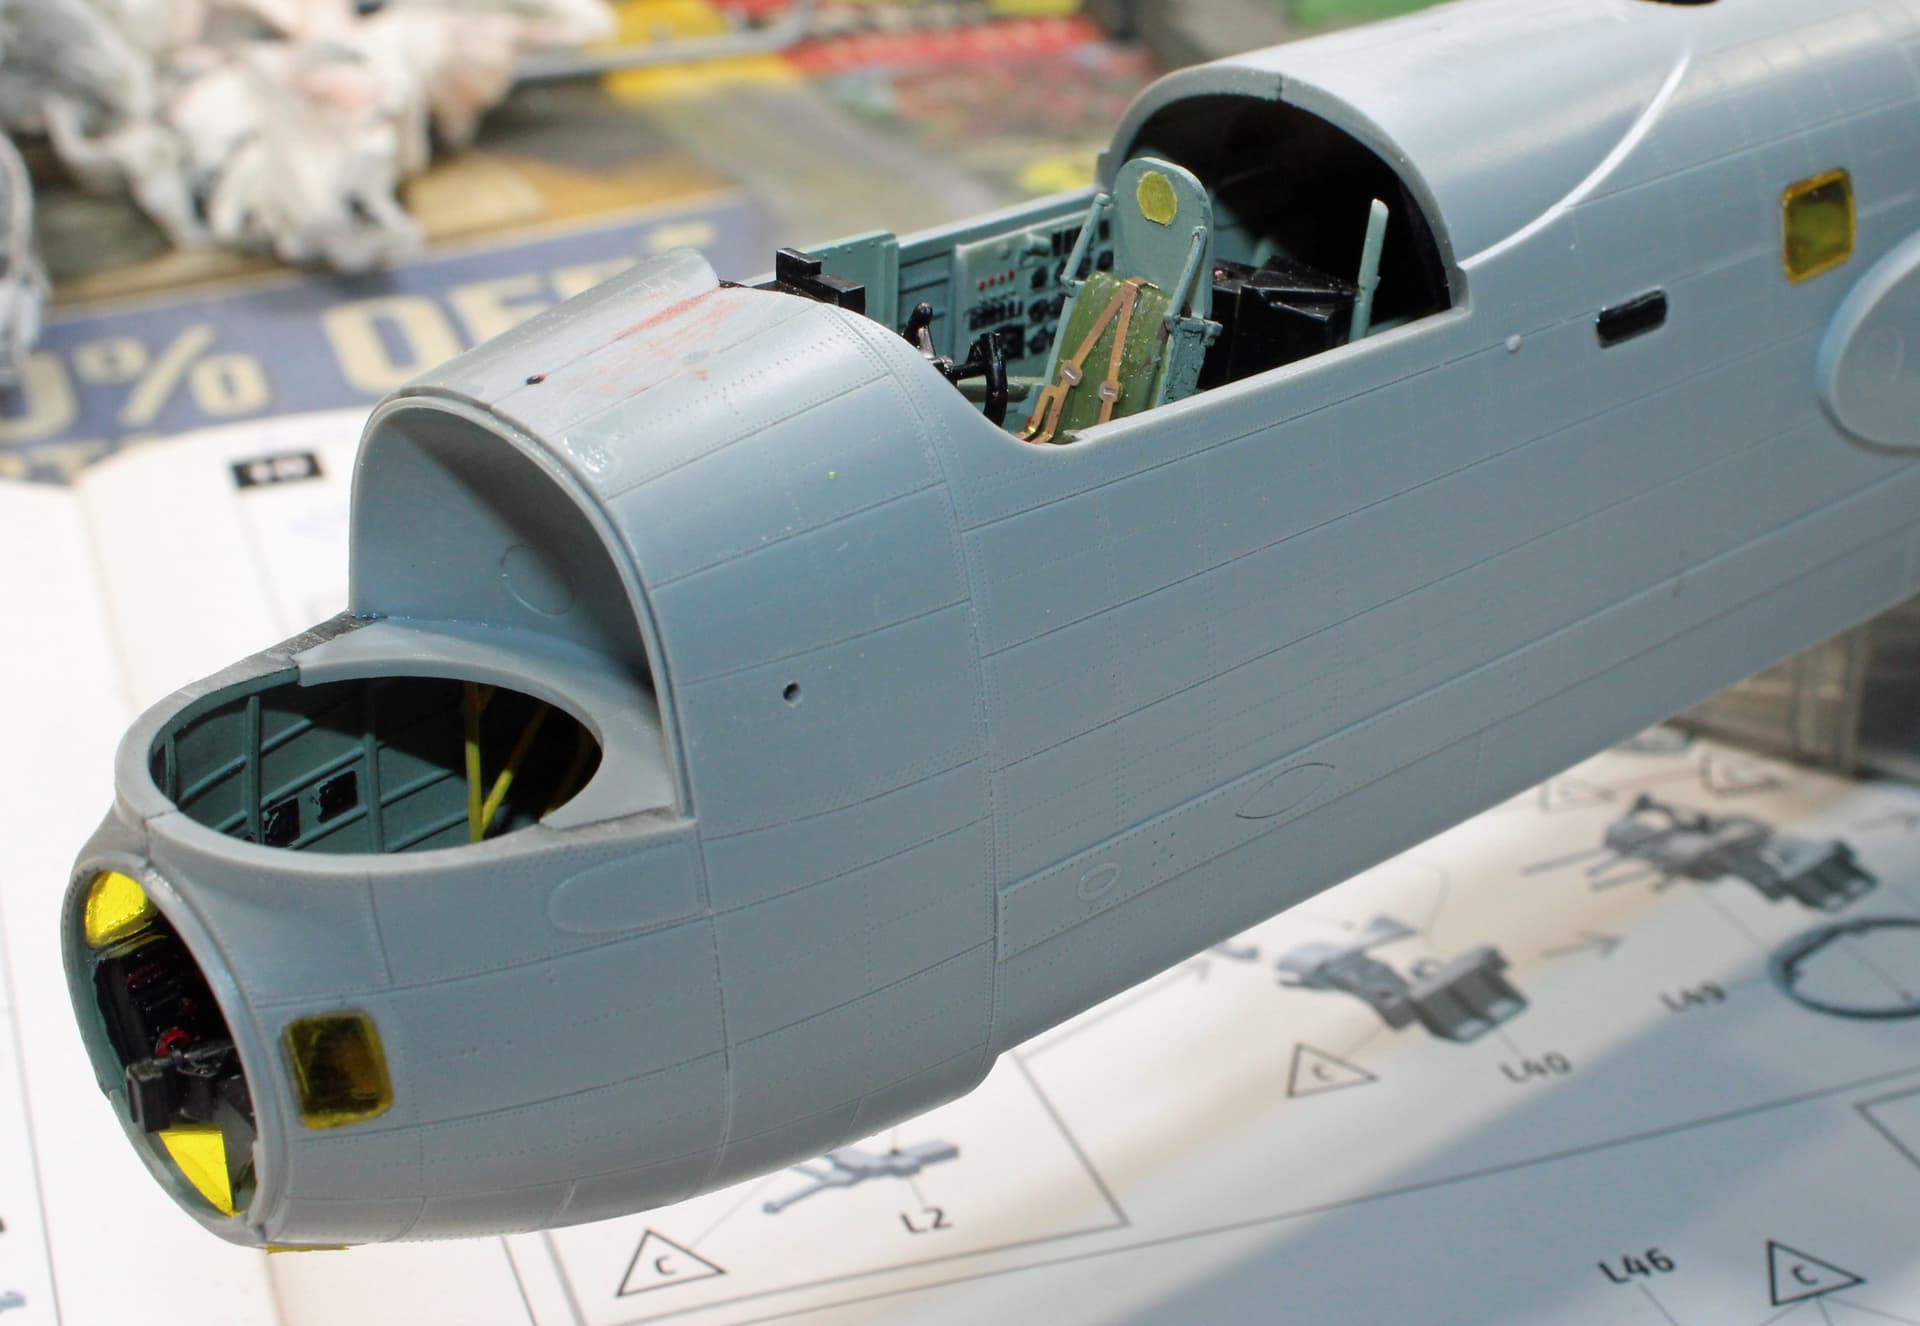
My first attempt at the yellow circle on the pilot’s seat headrest was not good. So I painted over it and cut out a piece of Tamiya tape under an old architect’s stencil. Much better circular appearance. The IP bezels are a single decal, but I opted to cut them out in smaller chunks to better affix them into proper position. I hope that IP is visible through the canopy since I think it looks great.
To this point of my first HK Models kit, I have to say that I am mostly pleased with the fit. The only problems I have encountered were on the two little windows right at the forward end of the cockpit, as well as the circular window on the fuselage underside. I never did get them quite right, as in flush with the exterior fuselage surface. Close but not quite.
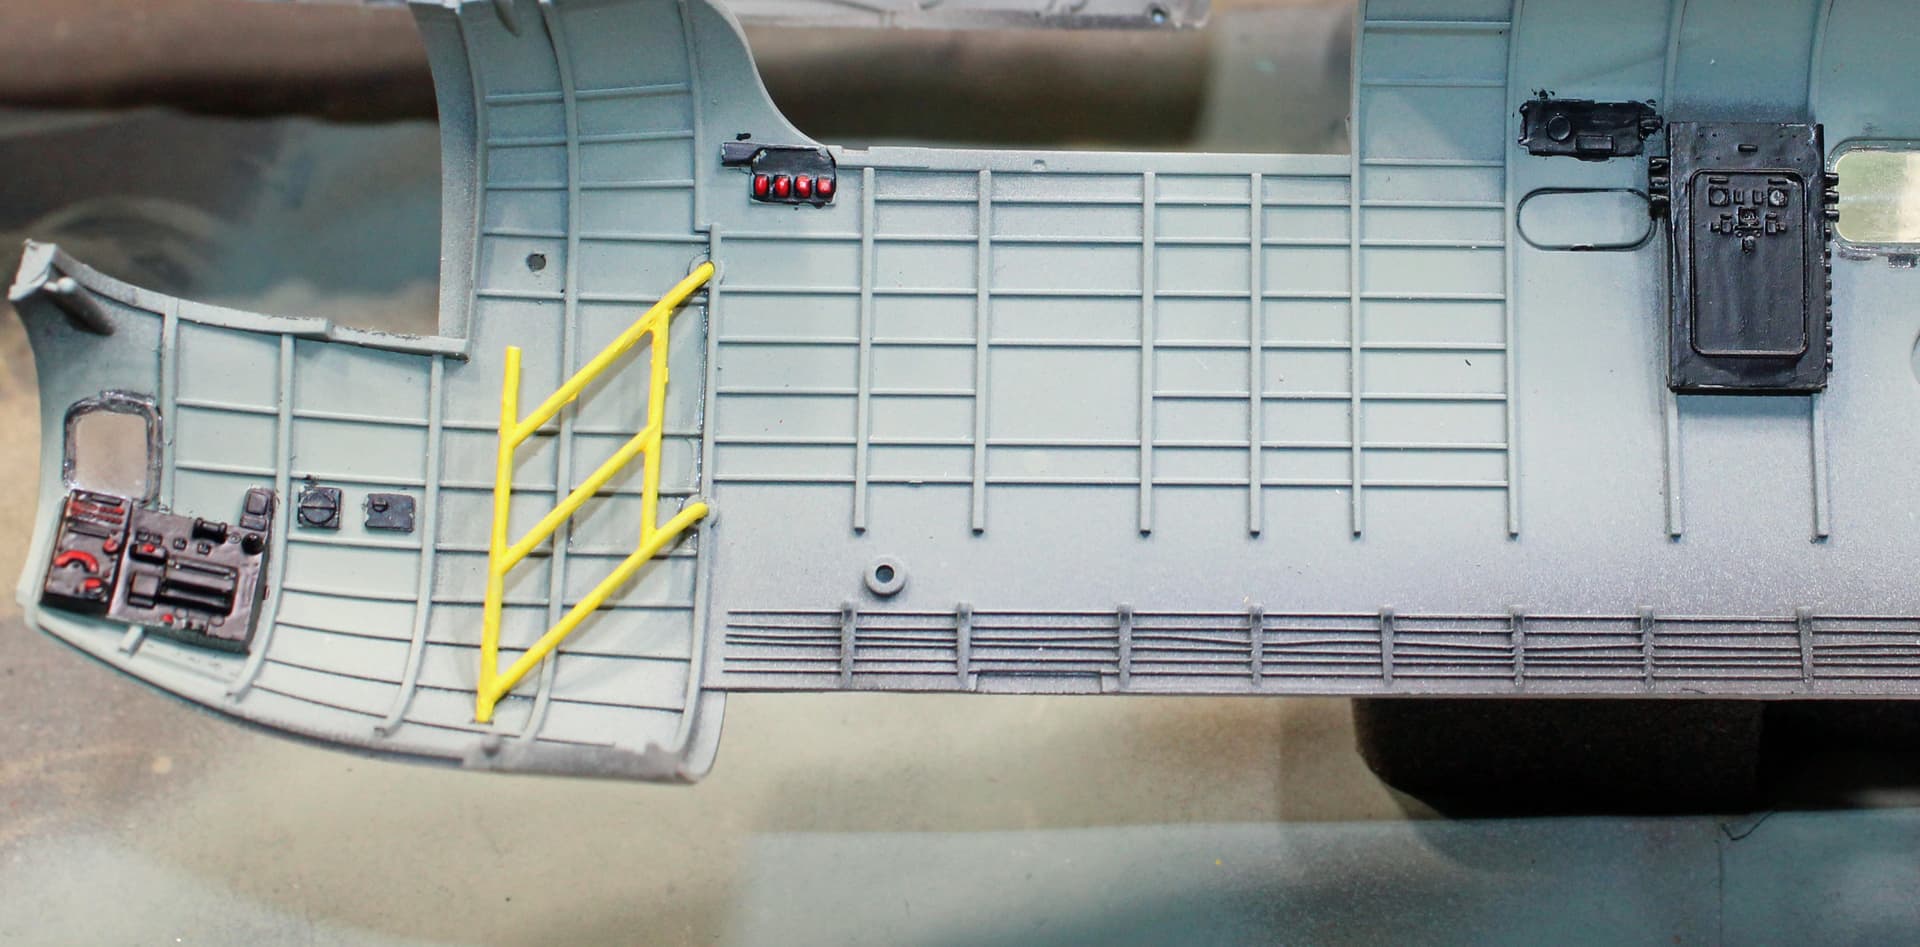
Even though they’re flying at night, bombing an enemy city under constant threat of FlaK or Night Fighters, generally without a fighter escort, it’s comforting to know that risk of harm to British airmen resulting from a mishap on the stairs has been mitigated by a vividly coloured bannister
This model is looking great! Am enjoying the follow!
Yesterday I spent a couple of hours building the engines. These went together real well and look as accurate as my fairly limited knowledge tells me they should look. I then spent the remainder of my bench time constructing the outboard nacelles. It was here where I ran into an awful fit problem. The exhaust stacks are covered by a shroud that has 4 mounting tabs on each end; there are two mounting holes in the nacelle itself. The instructions are not clear on how these are to be fit into position. I did a lot of test fitting, but at no point was I able to properly affix the shroud with all of the mounting tabs. I ended up cutting off the two on each end of the lower half of the shroud, and all on the upper half of the shroud. And even then, they did not fit flush over the exhaust stacks.
I will need some filler to close the gaps on these things.
It’s not a perfect kit by any stretch. The fuselage has some seams that will need to be addressed through scraping, sanding, and filling. The instructions are not crystal clear in some areas.
I haven’t had much bench time lately. I did manage to get the inner nacelles and wheel bays constructed and the wing parts put together. When I finally get some bench time again, I’ll turn my attention to the gun turrets.
I did spend a good bit of time working with my new Silhouette Portrait 4, but my first attempt at markings masks was a fail. The scaling was off. I’ll keep messing with it, but I’m not gung-ho about using paint masks for the markings on this big Lancaster. If I get the scaling right and have usable masks, I’ll use them; otherwise, the decals will have to suffice.
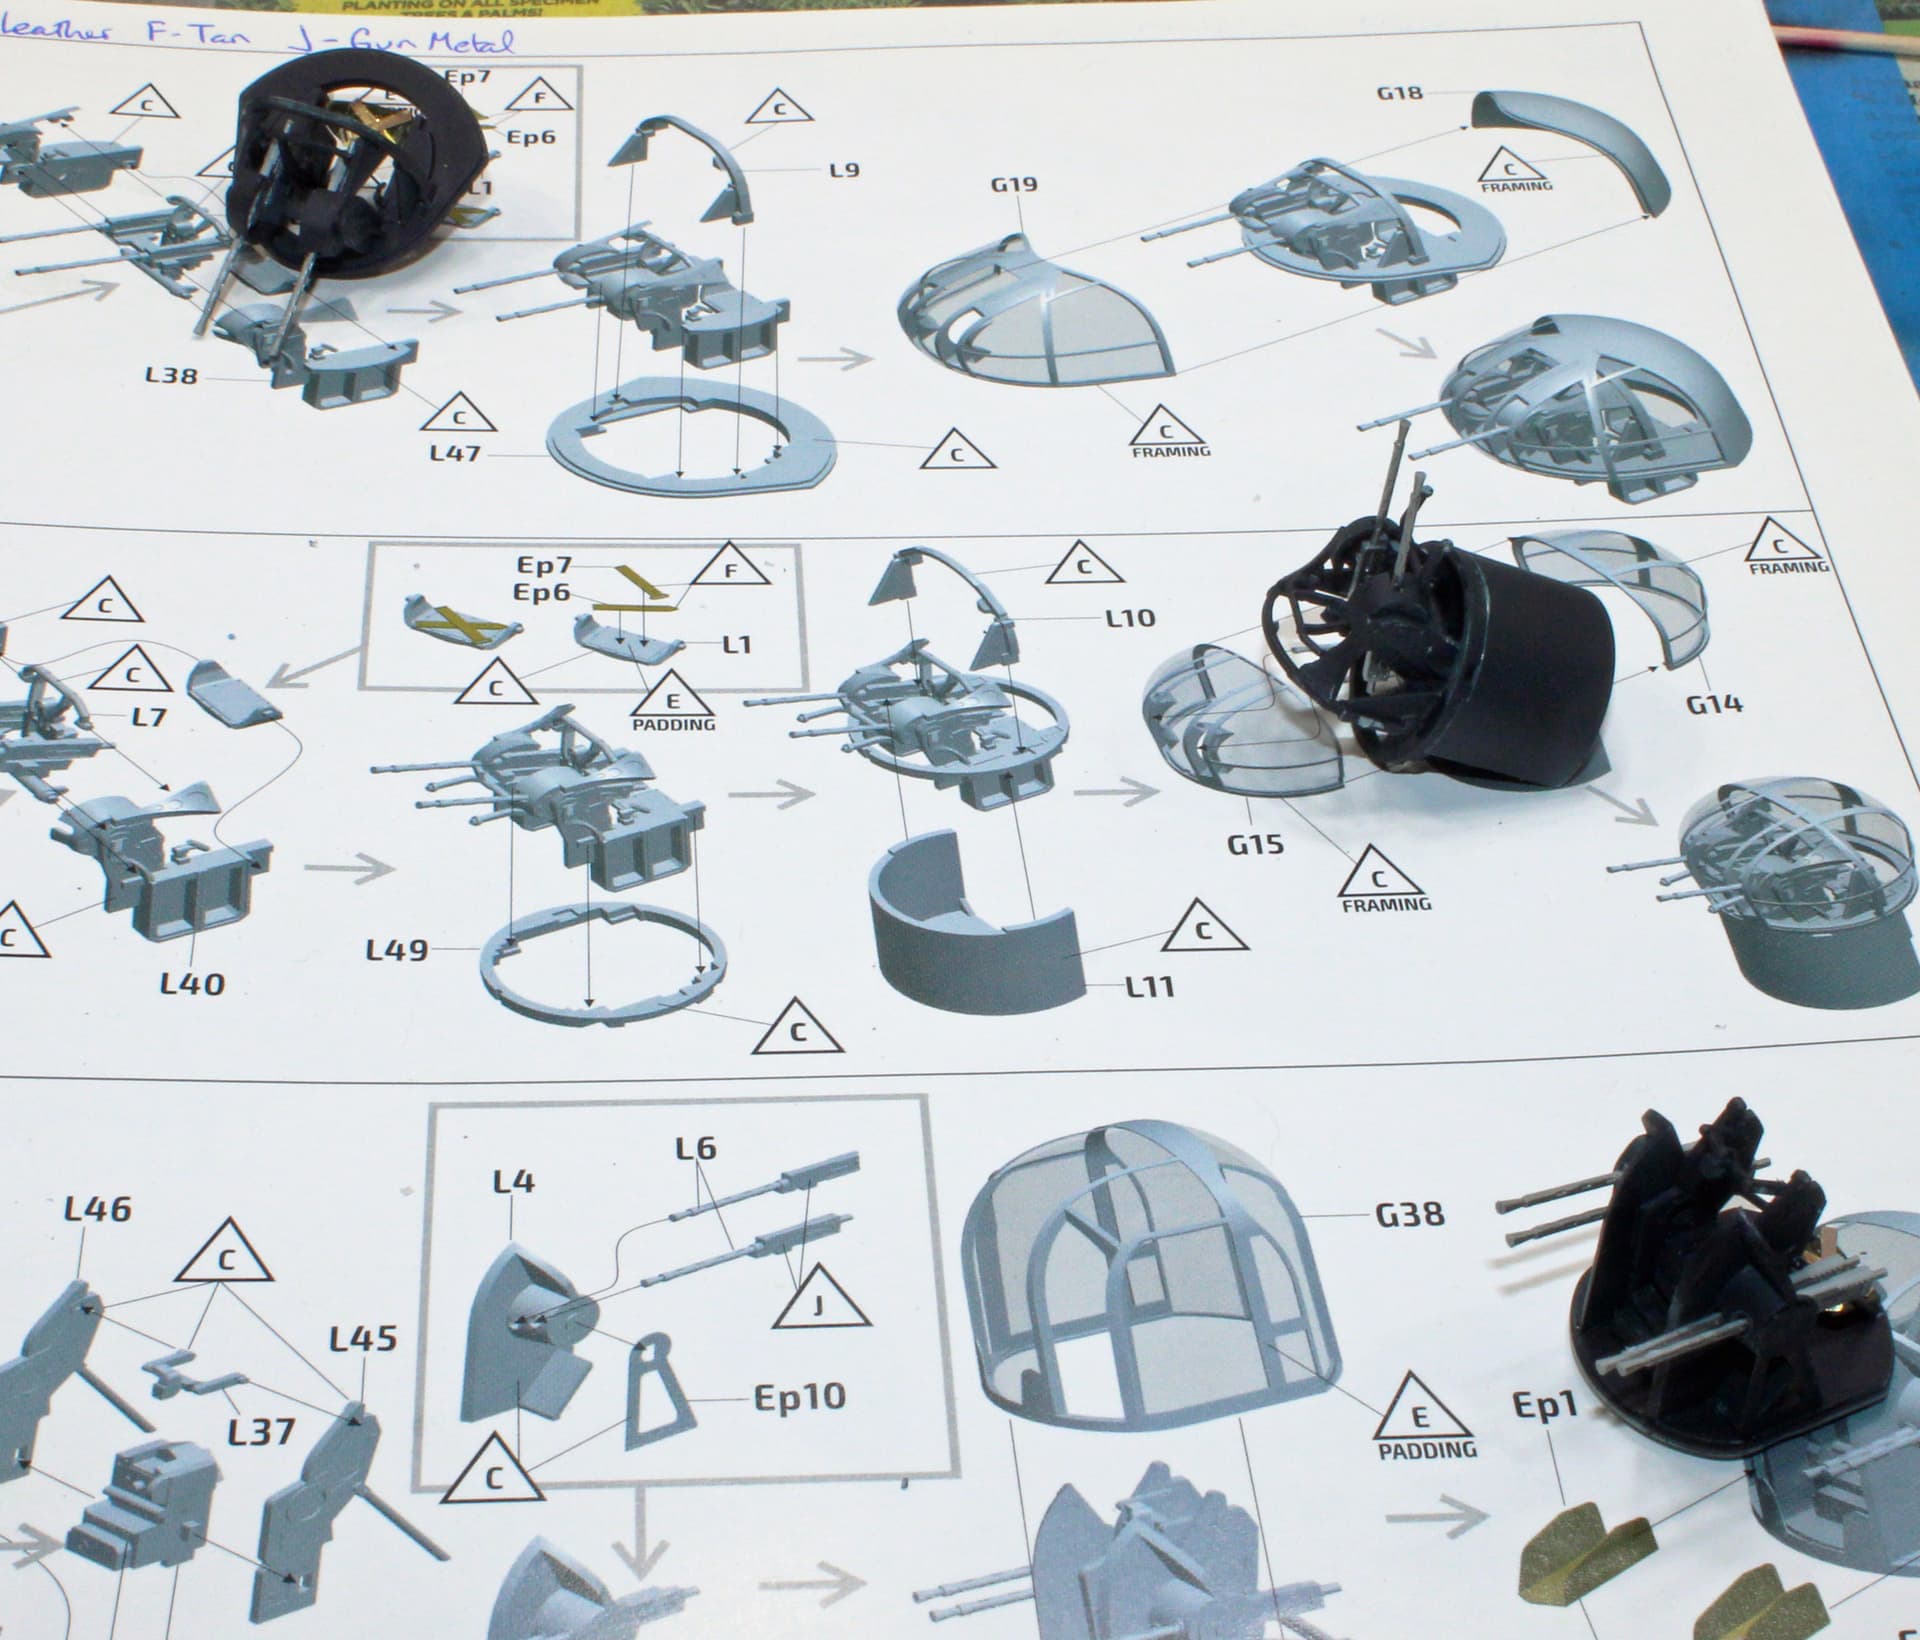
My crazy time with work-related travel is in my past, so today I had an hour at the bench. During which time I assembled the turret components (not the clear parts) that I had painted last weekend.
These parts are a bit finicky, made even more difficult by vague imagery in the instructions as to what goes where, exactly. But I did some dry-fitting to give me the best idea of how to put them together. But their details don’t show up very well given that they are nearly all black.
Just that bit of instructions made my eyes cross. Power through!
If you’re so inclined, a grey drybrushing can bring out details on black really easily. A silver pencil rubbed on the edges is probably easier, and works great, too.
Progress feels slow, perhaps because it is as compared to my typical build speed.
Over the weekend I got started masking all of the clear parts, started being the operable word. Late last year, I discovered a product called Heat Resistant Tape (link: https://www.amazon.com/dp/B0CQYJJMVG) that I have used on a couple of builds now. It works like a charm for masking canopies. It is translucent, meaning it does not obscure framing. It leaves no residue. It is time consuming to apply, but then, so is Tamiya tape. So far I’ve not had any issues with it lifting or allowing paint through to clear areas.
But with the Lancaster, there is a lot of glass - that big canopy plus 3 turrets plus the nose cone plus several inset windows. On my particular build, many of those inset windows were painted over, but there are a few that were not.
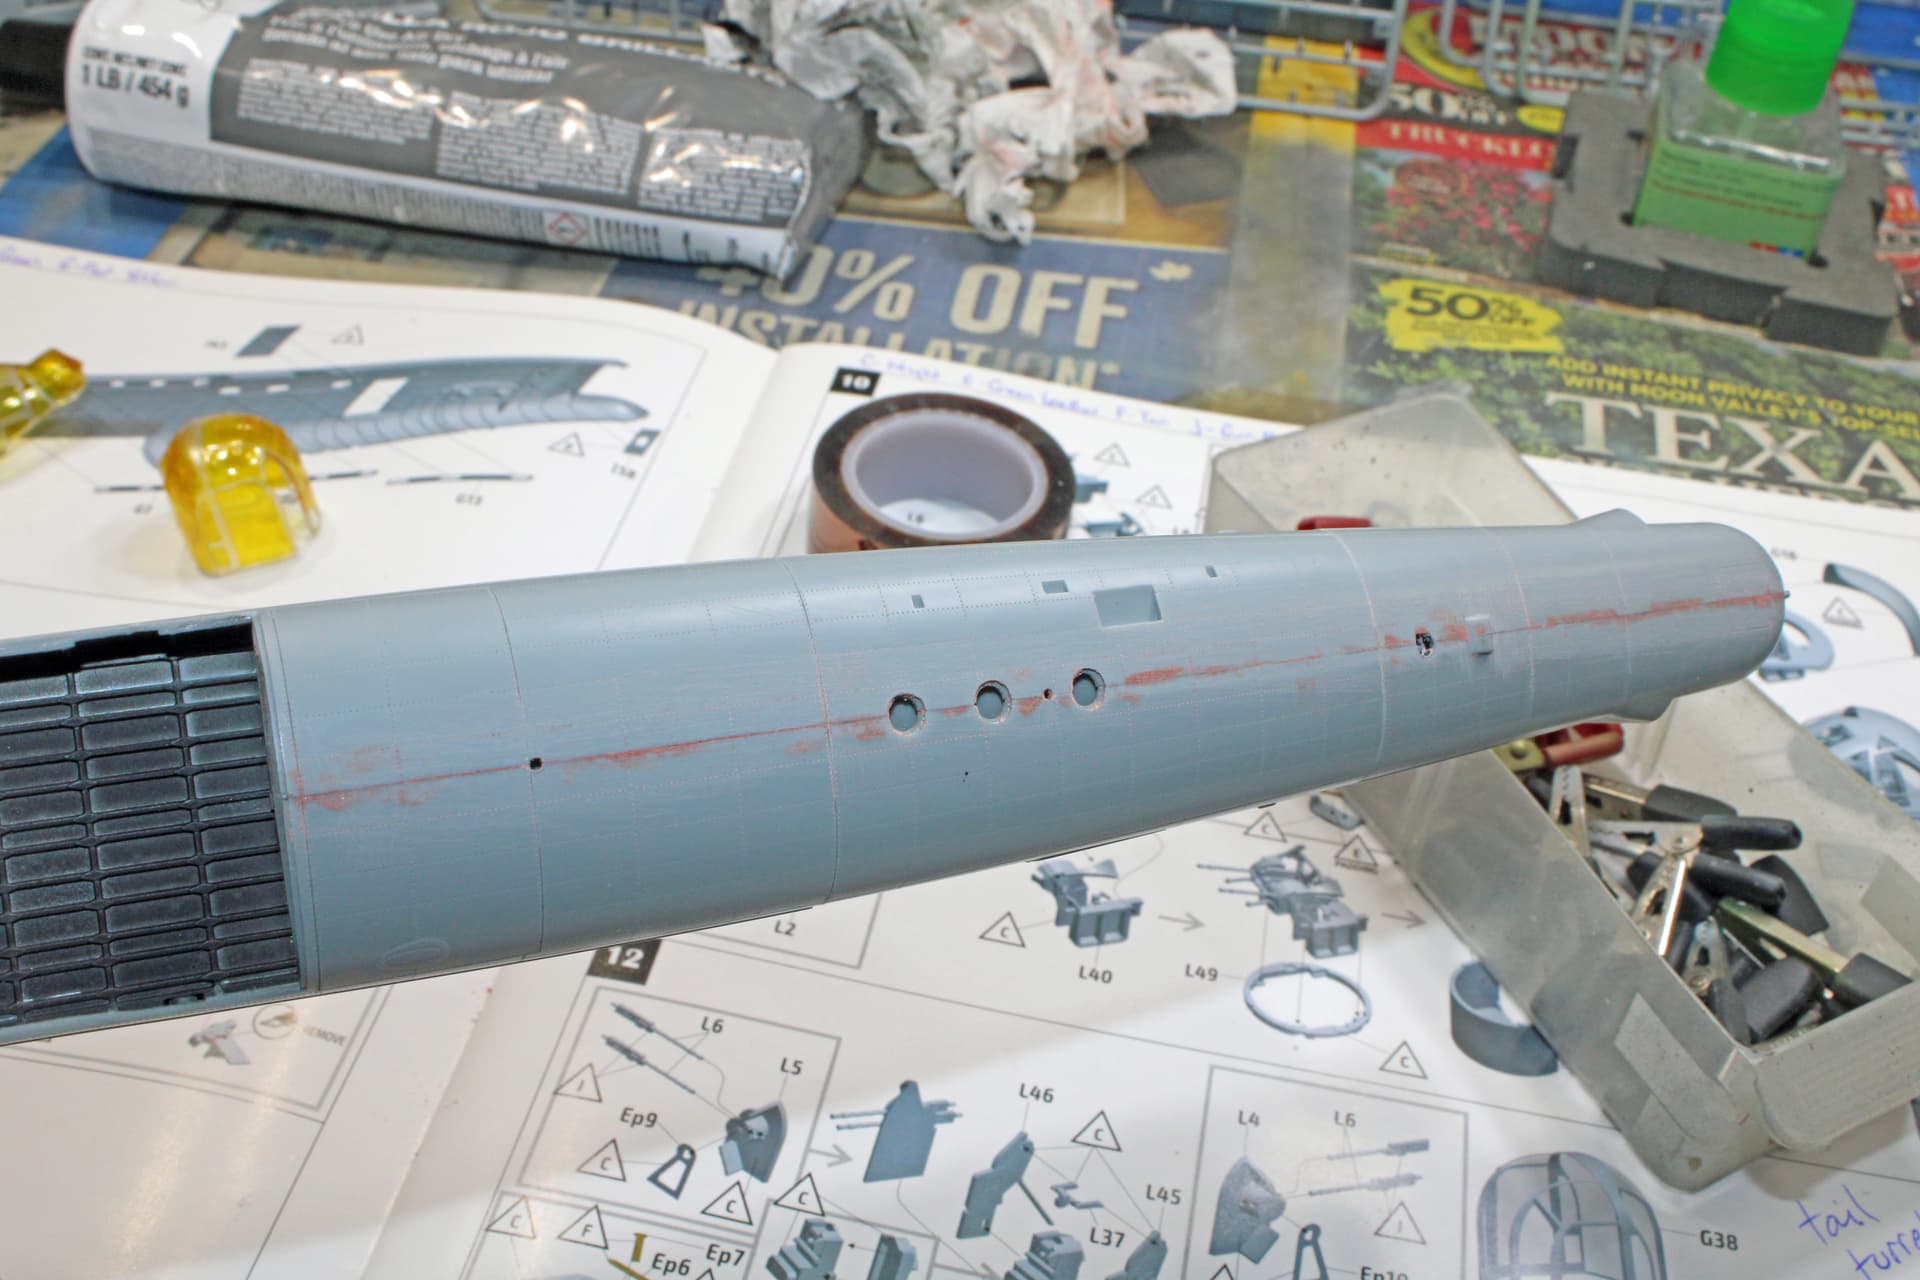
I have so far only two complaints about the HK kit - 1) the inset windows have not all fit real well, they don’t sit flush with the fuselage no matter what I do to get them into position; and 2) for such an expensive kit, I would have thought the fit would have been far better. There were some awful gaps in the fuselage seams. But I’ve started using red glazing putty on this build, which thus far has worked much better than even the Perfect Plastic Putty that I’d been using for a number of years.
Time for a mini-rant - why the heck do manufacturers insist on molding tiny parts with even tinier appendages with ejection points on them? One of the IFF aerials snapped off while I cut it from the sprue. Then I lost the part out of my tweezers to what I’ll call the “ether” - I don’t have carpet in my workshop, so no carpet monster.