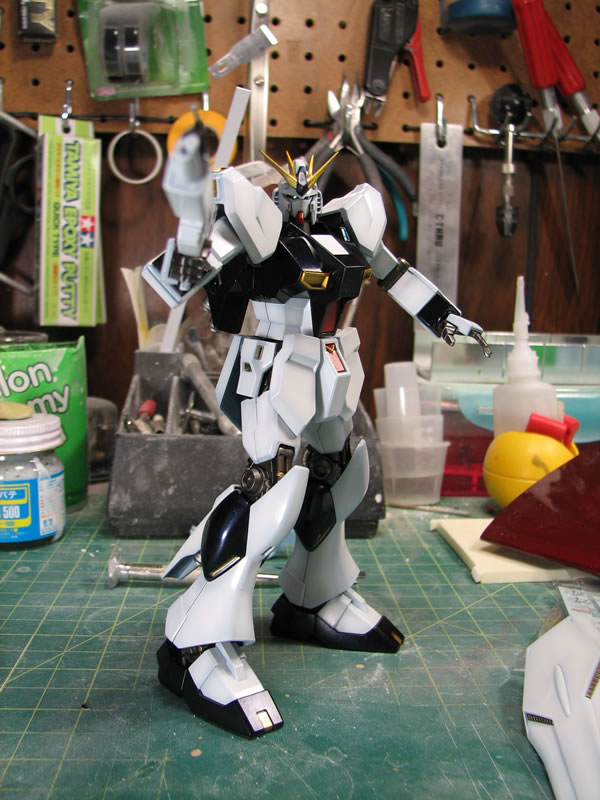
I shelved my current MG Hi Nu project to work on these 1/144 sized Nu that just came out last week. I’m planning on using these suckers to update the various video tutorials I have on my site so all the more reason to shelve the Hi Nu project. And these little suckers shouldn’t take too long to finish.
Weekend update. Actually, this is work done from near the end of last week and sunday night. I had a fairly busy weekend so I didn’t get as much as I wanted done, but progress is moving along.
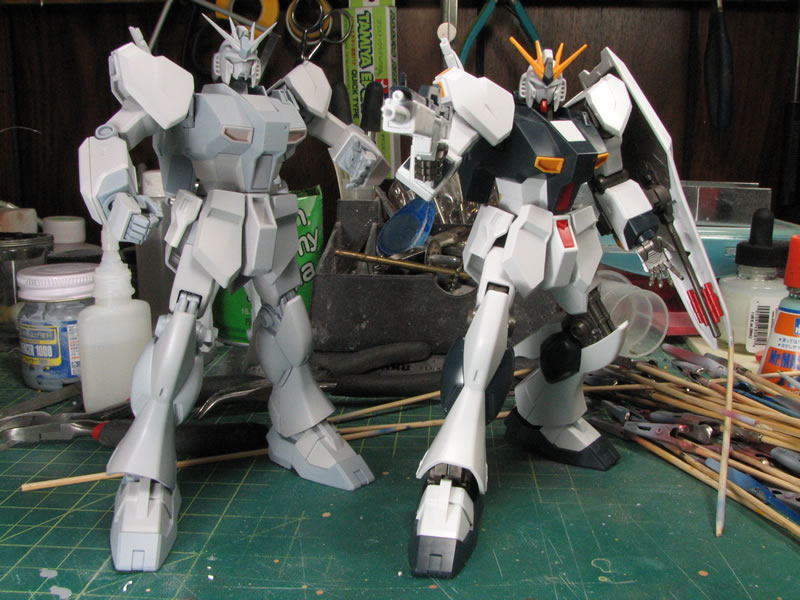
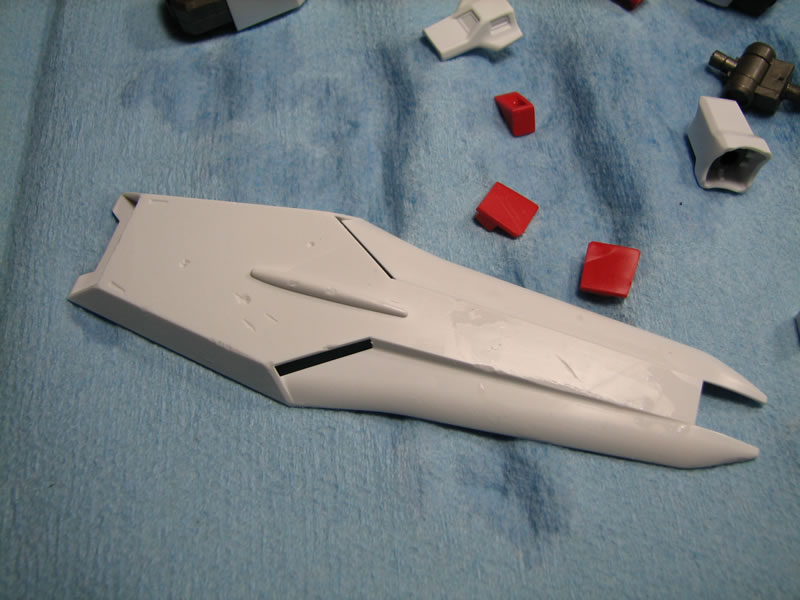
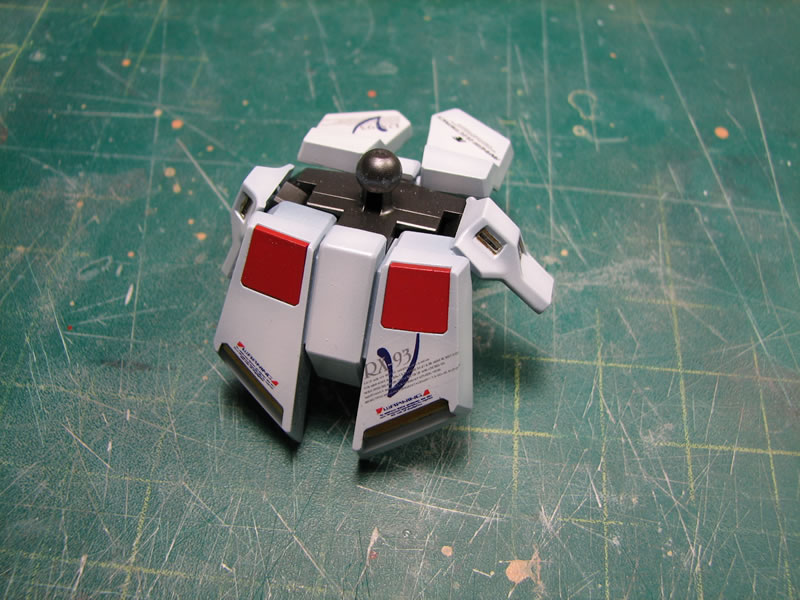
I did a quick assembly of most of the parts for a primed vs snapped comparison picture:
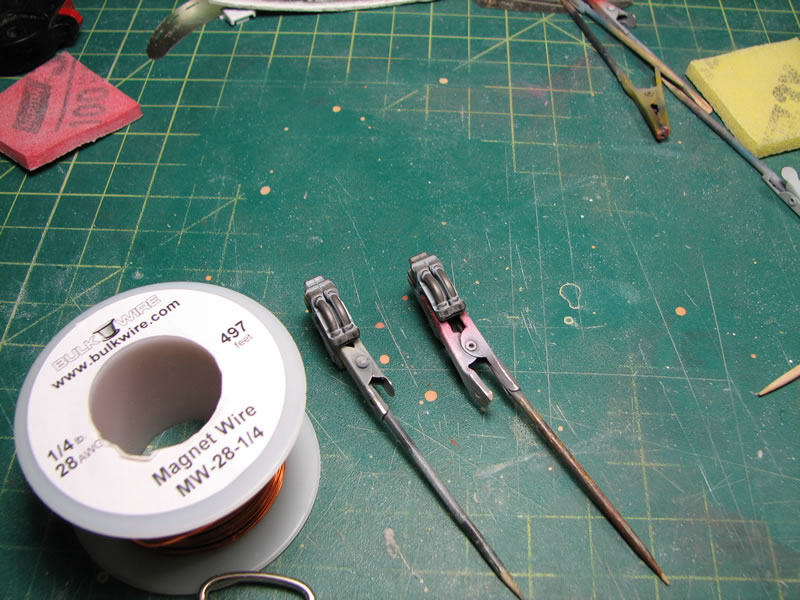
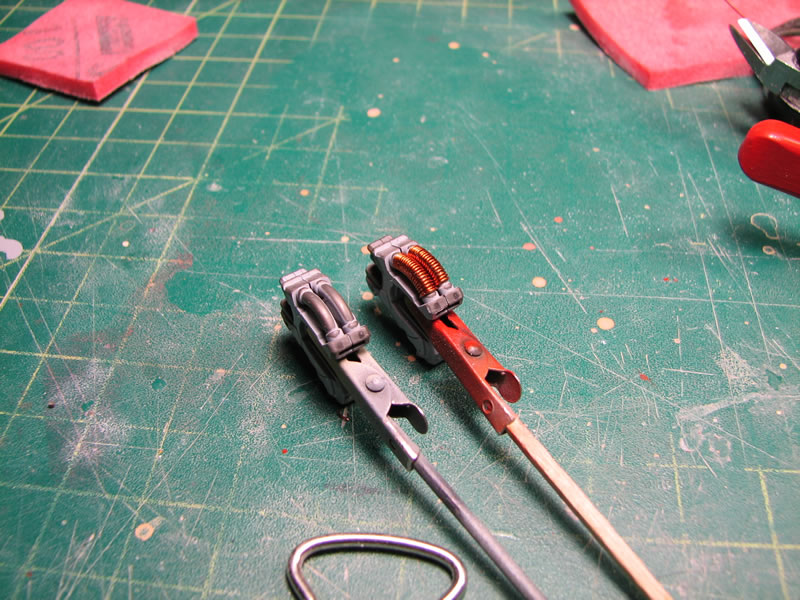
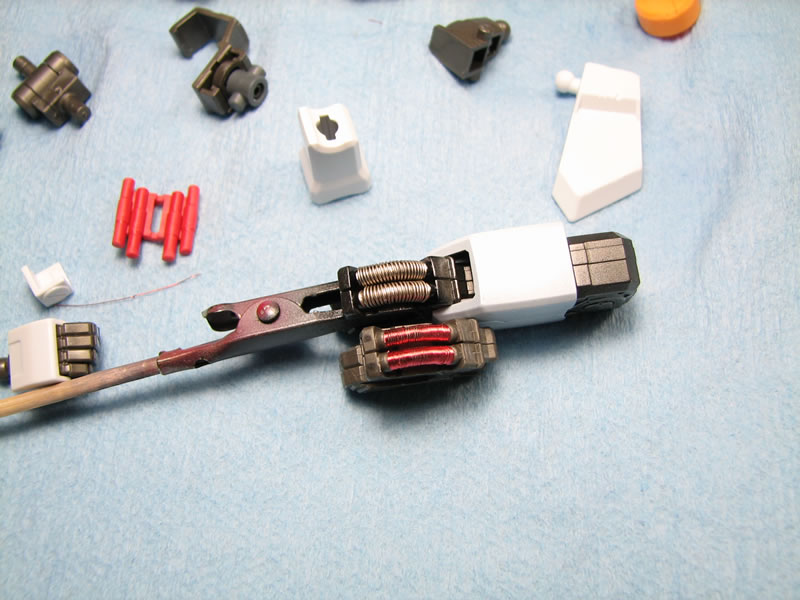
Next up, I found the back of the knee cables a little bland, so using some magnet wire, I wrapped around them creating some springs. Hopefully this will look good when I finish painting this part.
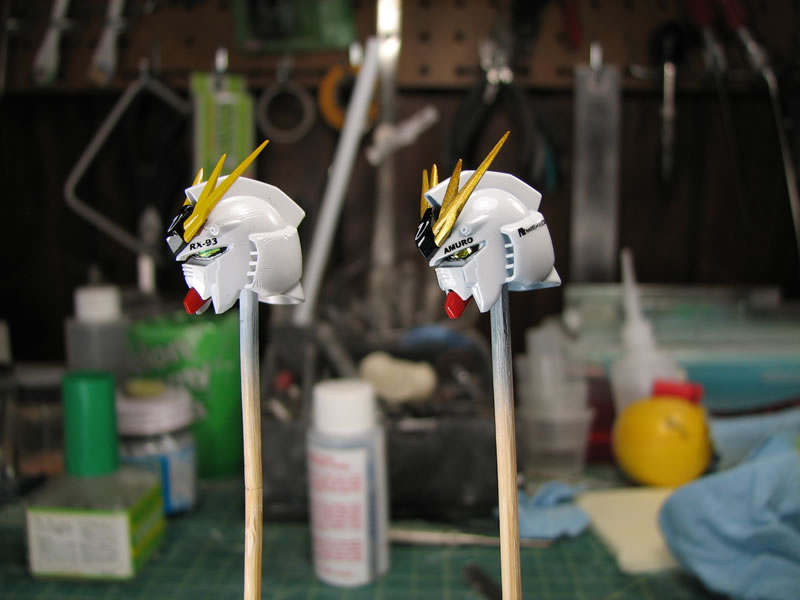
Initial base color for the white parts were painted on, I used Intermediate Blue from Mr Color.
Finisher’s Pure White was then sprayed on using the intermediate blue as a preshade color:
Closer comparison pictures

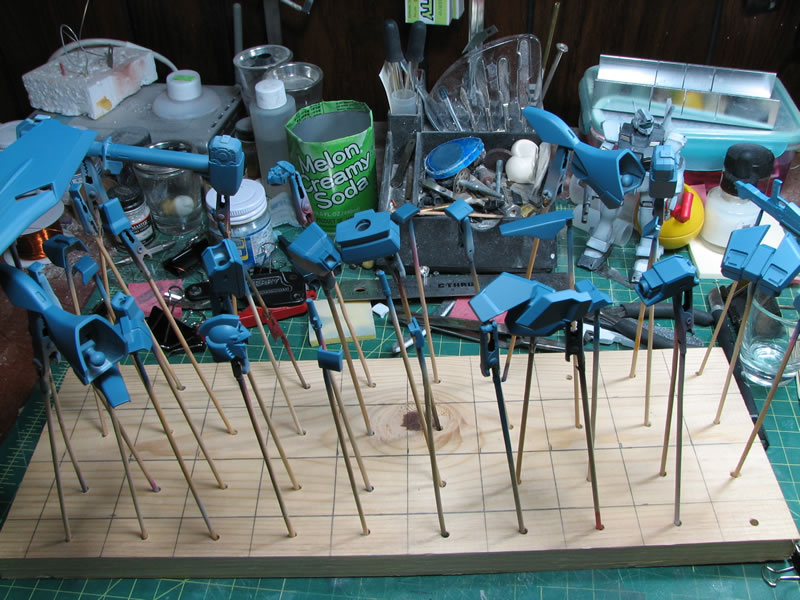
I would have gotten a little more done, but I picked up the new Rock Band guitars that came out this week and ended up playing rockband with the girlfriend for most of the night. But here are some new progress pictures. I assembled most of the subsections. I still have to do detail painting so those parts are going to be masked off and painted. But for now, this is what I have: 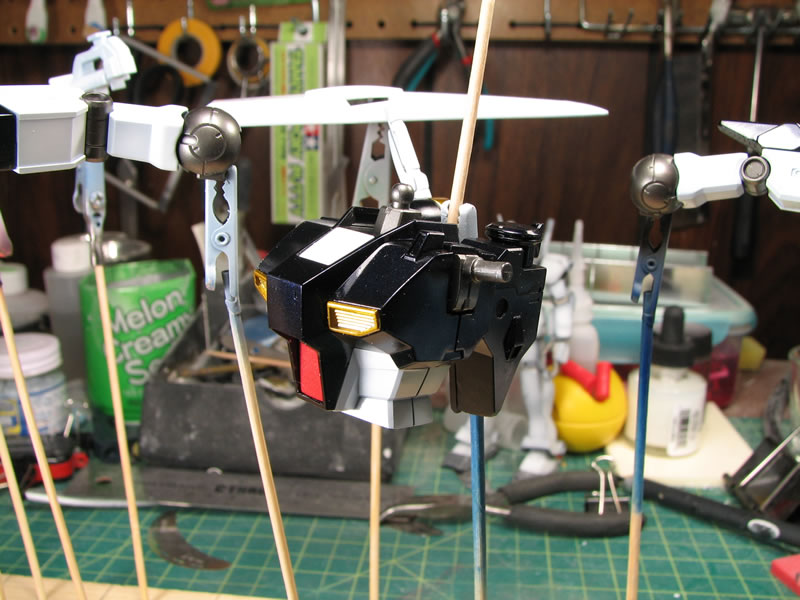
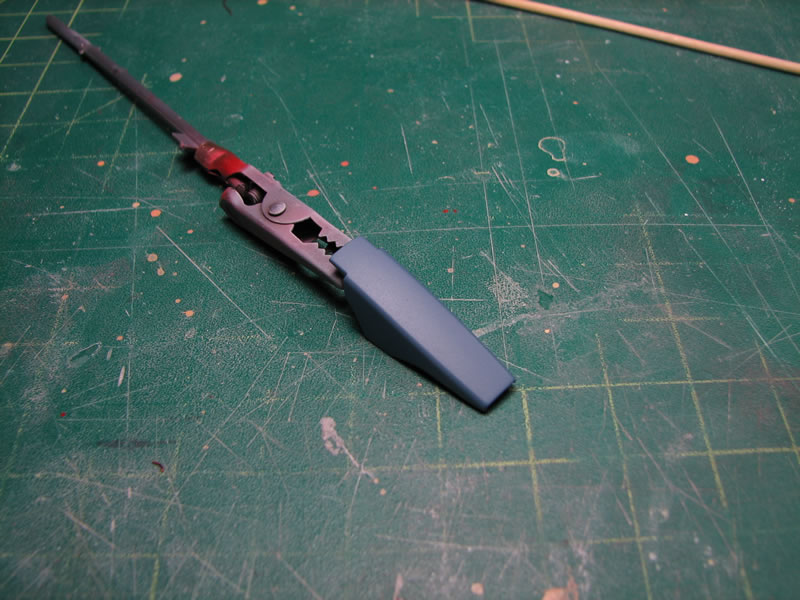
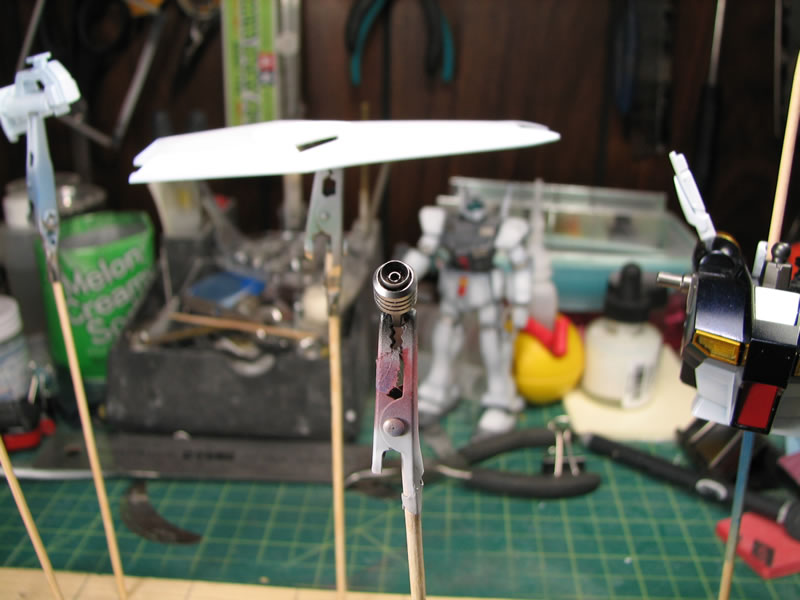
 Heres what the aluminum thrusters look like painted with alclad Dull aluminum.
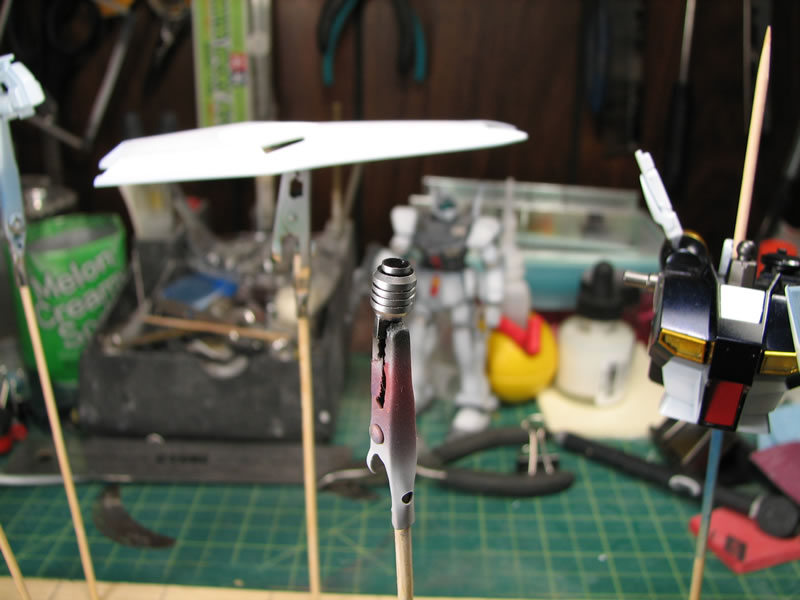
Excellent progress! It looks like it coming along fine. I’m really taking note on how you have the pieces mounted for painting. I just finished one and can really appreciate your organization.
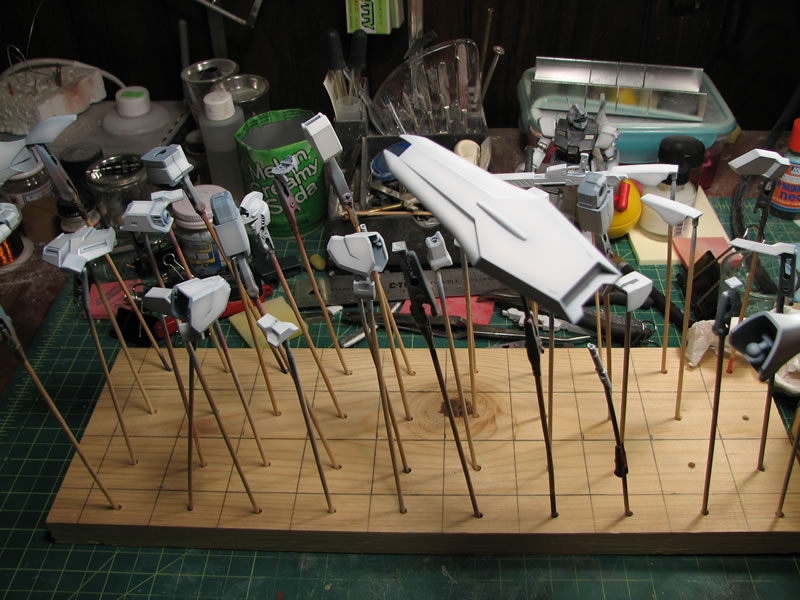
I saw a japanese modeler with wood blocks and holes drilled through it and thought it was a brilliant idea. Prior to that, I was using styrofoam blocks that just got messy as I reused and poked new holes… plus there is a bit of unstability with the styrofoam, and on more than one occasion, the damn things tip over with undried parts…
But for this lovely Tax day, an update… I actually couldn’t get as much done because I was spending some time working on my taxes… at least Calif is going to pay me back for the intrest free loan I gave them… sigh
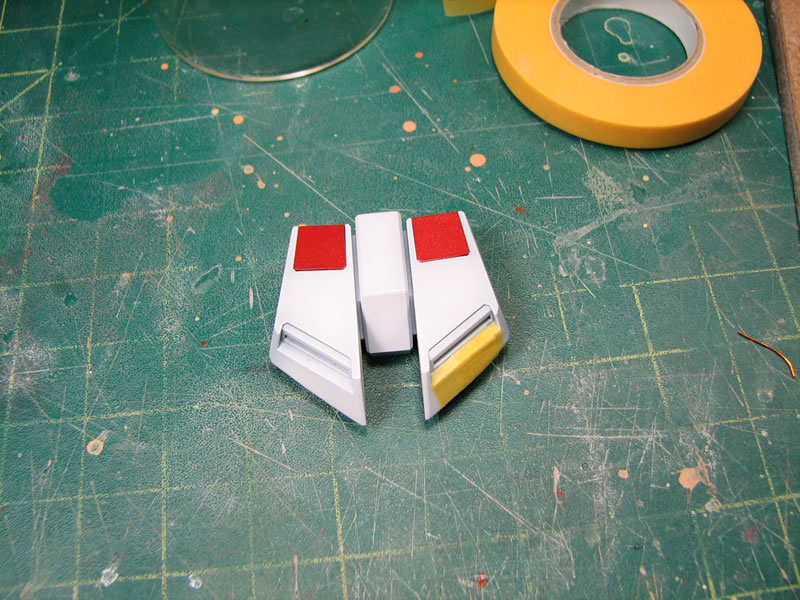
Well, on the a bit of work…With these hguc kits, there are a good number of detail areas that should be masked off. In hindsight, I should have painted most of the detail areas as they were indented areas and masking over those areas is much easier to masking in the other direction…
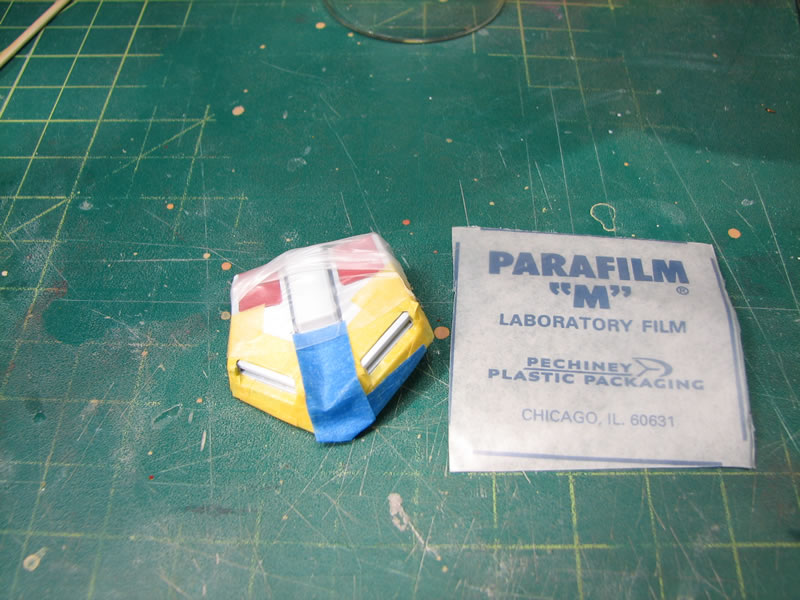
I’ve also been using Parafilm. The stuff is great for covering large areas, I end up saving on tape with a small amount of parafilm.
And lucky for me, when I lifted the masking tape, the true test to surface prep is shown as the underlying paint didn’t lift. I also lifted the masking tape a couple of minutes after painting. I do this because the paint isn’t completely cured. I’ve had instances when lifting the masking tape, long after the paint has cured, left uneven edges as chipping and lifting occurs. This is easily fixed by scoring the paint along the edges of the masking tape, however, if scoring the edge can be avoided, it is best to do so.

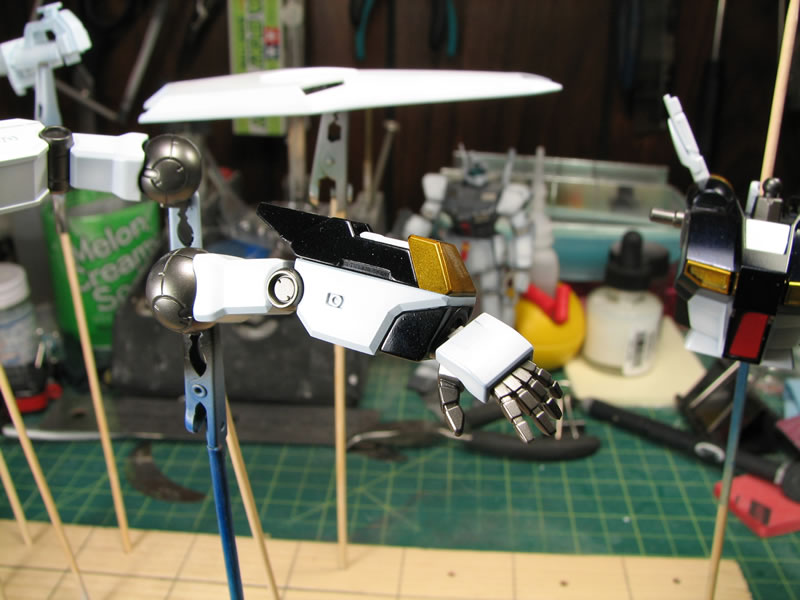
Some more detail work on some of the internals:
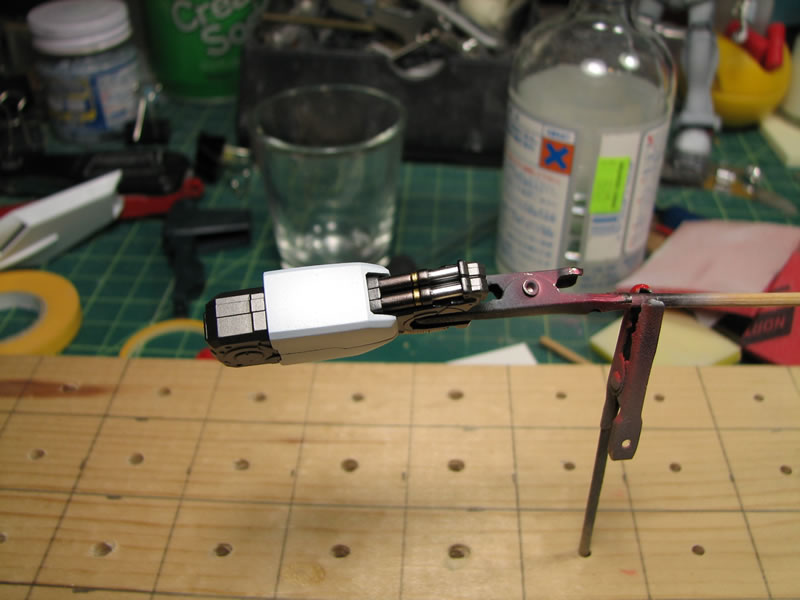
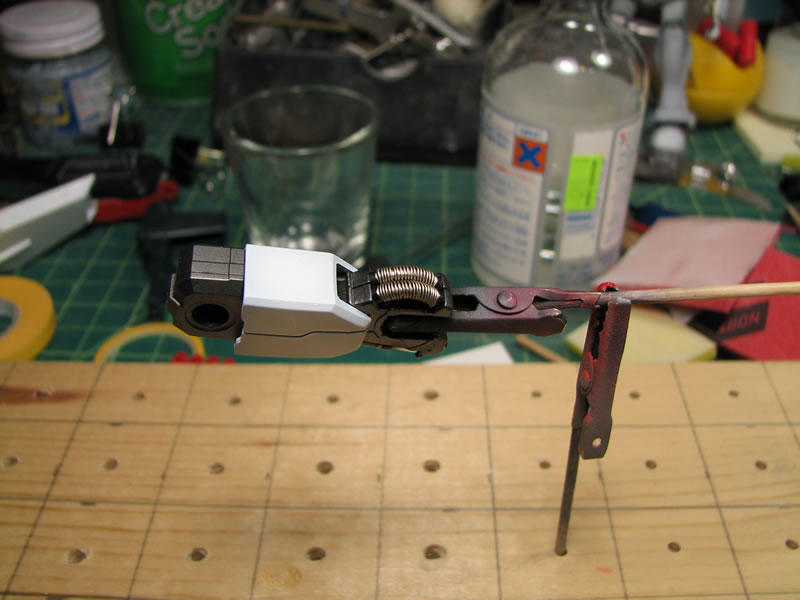
Very cool. I’m going to try the wood block on my next one. I like the details, especially the springs!
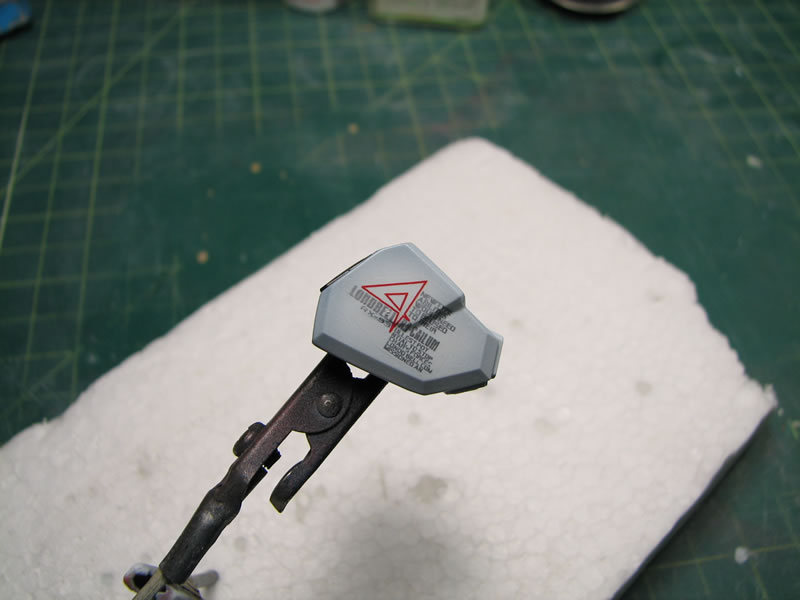
Weekend update. I got a good amount of work done towards the end of last week, and a little work over the build gathering. Since I’m letting the clear gloss cure on the first Nu, I got to work sanding the second Nu. Additionally, since the second Nu was toyed around with and just lying around on my work bench while I was working on the first Nu, the parts needed to be soaked in the purple cleaner and then rinsed to remove all the oils, dust, and other environmental contaminants off it. The hobby knife and some coarse grit sand paper went to work on roughing up the kit, adding scratches, dents, dings, and blast marks. Here’s the shield:
Next, I did the wire wrapping on the tubes behind the knees. However, for more contrast against the first Nu, I went with a high guage magnet wire. The following picture is a comparison:
And I’m almost done with the painting. Learning my lesson from the first Nu, I painted the indented parts first, masked, then painted the main colors.

There is still a small amount of painting work left on the Nu before I can get it gloss coated and I should be able to get to the decaling for both kits later on this week…
Nice progress. Looks like it coming along fine.
This weekend, I returned to working on the HGUC Nus. I got them gloss clear coated and ready for decals:
Decaled:

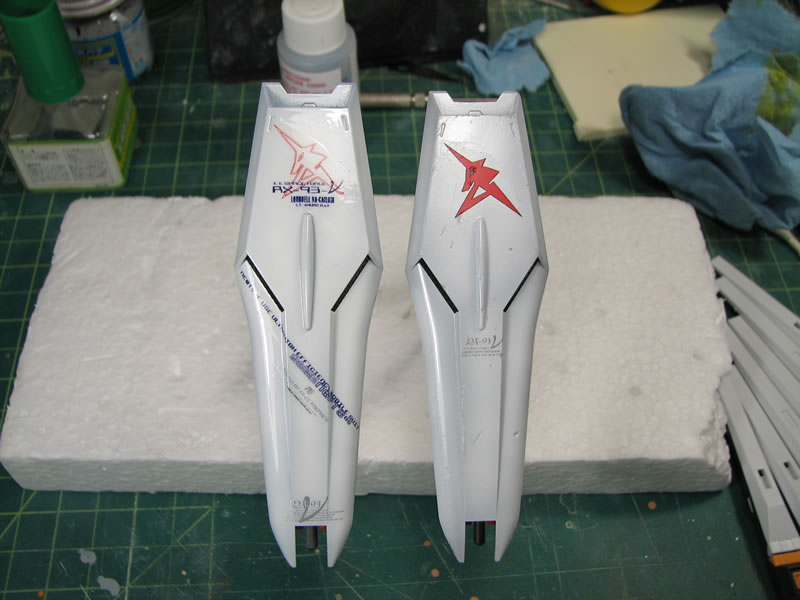
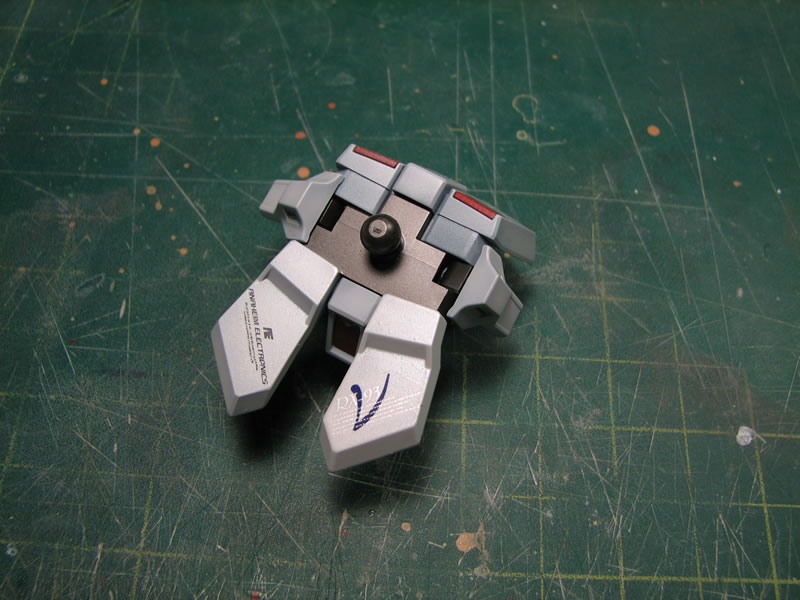
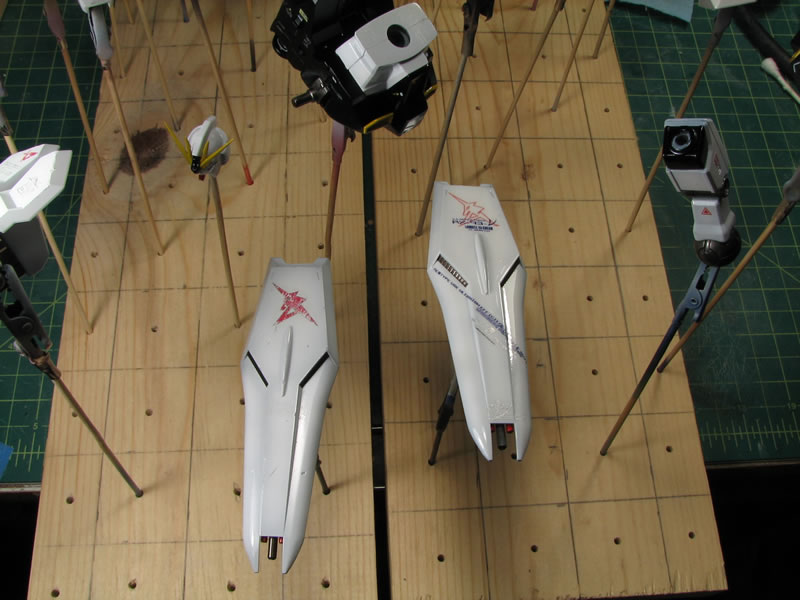
Here are some comparison pictures of the two Nus so far. In some of the pictures, you can see the weathering done to the decals.


That’s it! I’m sold. I’m building a Gundam.
Very nice dude. very nice. [8D] [tup]
Very nice!
I was looking at you website, and was curious about the “soup cans” you use for thrusters. Are they aftermarket parts?
m@
Yes, the soup cans are after market parts from ako hobby: http://www.akocreation.com/pages/metalparts.html
sweetness! what type of AM decals are those? or are they left overs from the MG sets?
I have seen a lot of awesome work from you when I was still wandering around at hobbyfanatics forum (love the haruhi i gotta say, so I am very much glad that you started to post here and looking forward to see these Nus finished.
Actually, these two Nu’s are 1/144 HGUC kits. The decal sets are from http://www.samueldecal.com <–site loads really slow because their webmaster has no idea how to properly render image files. But if you can load up the site, the decals they have are decent. They also print custom decals, so you can design your own.
For these two kits, I’ve been using decals from three different sheets designed for the 1/144 scale Nu.
yea i see what you said about the image problems on that site but yea they sure have a good collection of decals. [reaching for wallet/paypal…] i was actually debating on getting rid of a lot of my old MG kits from the stash since i was too lazy to find good markings for them considering the box stock stickers s@ck so several of my kits never got further than a coat of Future.
yeah, I have a box full of unopened MG decals (dry transfers and stickers) I refuse to use them unless I absolutely need to. Waterslides are just so much easier to work with and just look better than any sticker.
Acualy, I have had alot of luck with the rub-on dry transfers from the MG 1/100 kits lately. They came out awsome on my MS-06F Zaku II F-type Ver. 2.0. Wish I had some pics to show you. Sorry.[![]() ]
]
guess it helps to be stationed in Okinawa, Japan though. LoL
Oh man, knew I should have joined the navy while I could. Now all I am patiently waiting for is the zaku FZ. If MG just keep on exploding like this in numbers, and they keep putting up even game designs, Bandai should at least complete the classic lines. FZ is all we are missing in MG or HGUC to make dioramas for every scene of 0080.
actualy i think there is a 1/144 HGUC Zaku II FZ kit kicking around somewhere over here. I will look for it this week and get back to you on it.
The HGUC is going to be released this month (None of the online shops show it in stock yet - so I don’t think it’s out yet. But soon, I bet…)
It’s a bit too skinny and too rectangular in the chest area, and the hands are way too large - but otherwise I think they did a pretty decent job with it. I’d say it looks a little better than the HGUC GM Command and not quite as good as the HGUC Gelgoog Jager - maybe about on par with the HGUC Rick Dom II…