Help with display stands

Hey guys,

So I am very near finished my 1/350 Tamiya Battleship Bismarck and don’t want to really mount it on the supplied plastic stand. This is something I should have decided on much earlier but what can you do.

I would like to mount it on a wooden display with the 2 brass “I think” poles that I see many ship models on. As there is no way I can screw it and drill through the top inside the hull now, what are my options?

Any help would be appreciated! I’m so excited to show this bad boy off, I have been doing it on and off for 2 years with photo etch etc. thanks guys!

Easy to do. HEH!!!

Pick a piece of wood a little longer and wider than that model at the local Home Depot etc,. Like a two foot long by 4 inch wide piece of oak. Cost maybe five bucks.

Hint: if this ship thing kicks in, it might be the time to get five or so of these cut.

Now I found a sign shop (spoiler: the foreman there is my best friend), but you get the idea. Show up with your five planks and ask him/ her to put a routed edge all around the top. Maybe they charge you ten bucks total. Or not, square edges are ok too.

Here’s the hard part. But not really. If your wood base is a 1x4, it is really 3/4" thick. Your ship model is a big one, which I like to display low and squat on the wood base. Frankly a battleship on two stands is kind of minimal, but Bismark is a small battleship and I would do that.

CAREFULLY drill two holes into the keel. This is where disaster will strike. If you do anything too fast too big: you will split the hull.

I would start with a 1/16" drill, and at least three or four more until you get a good hole.

Where are these holes? That is the big question, the one that separates you from the rest. All on account of your eye. Over time I have found that on a battleship; under center of the turrets closest to the midship structure looks good.

Go to the afore mentioned Home Depot and buy some pan head 10/32 screws at least 1 1/4" long. And nuts.

Make the two holes in the bottom of the ship big enough (1/8") for the screws. Then carve a big pear shaped hole off to one side each for the head of the screw to fit up and in to.

Buy a piece of 1/2" brass tube. Cut two sections each about 1/2" long, polish them up with toothpaste.

Drill a pair of holes into your piece of oak.

Fit the screws up into the hull, slide the tubes on, drop the screws down through the holes you’ve drilled in the oak, and tighten the nuts.

Put 4 of those little vinyl feet they sell at Ace on the corners and you are all set.

Forgot- stain the wood and put a semi gloss finish on it.

The above is good technique.

One note, though–if you “keyhole” the slots, make the wide sides in apposing directions, not inline (lest your IJN Kongo get bumped hard enough to slip off . . . for hint at how i know this).

I like washers to help distribute the load, too. The ones that will be in the hull will need a slot cut in them. I like one on the outside, too, if only to line up the decorative tubing.

I like to counter-bore the base to take the tubing as well, so that, if there is a burr, or the like on the tub, it cuts the inside of the base, and not the finish.

GMorrison’s method will work with turned wood, or nearly any material, as long as it’s not transparent

If you dont want to DRILL!!! your lovely ship could you make something like my masterpiece here


masterpiece by omgpainful, on Flickr

maybe coat the v and u grooves you lovingly shaped to fit the hull perfectly with the tears of kittens to protect the paint (or just felt, or marshmallows.)

While a metal to plastic joint is always a problem, I use acrylic rods as stanchions (usually clear). They look nice, and acrylic bonds to styrene pretty well. I usually glue wood blocks into inside of hull as further support, but that of course needs to be done early in construction. If you use at least 1/4 inch rods, there may be enough strength for a ship that big, but it might be a risk.

If life gives you melons, you might be dyslexic. Other Bismarcks:


BUT »I« like this CGI version under dry-dock blocks:

Wow thanks for all the replies guys!

GMorrison, just to make sure I understand fully; would you mean a bolt would be used to secure the ship to the top of the brass and through to the oak where the nut will be? And the head of the bolt will slide up and into the hull and sit in there?

The thought of drilling into the model makes me cringe but I guess it has to be done, it’s just that feeling you know you put so much work into it then you drill a hole in it!

TomZ2 thanks for the picks, has anyone actually done that and displayed a ship on a dry dock stand? I really like that idea I think it would look great too! Something different

I have built many models using the “dry dock” style using Basswood stock I got at Hobby Lobby. Just, trace the shape of the hull on a pieces of paper, stain, cut and touch up the ends. This isn’t the best photo I have ever taken, but this is a 1/350 converted New Jersey kit.

100% gravity fed, 4 point contact, no hull holes or permanent attachment points (made same mistake as you haha) had to rush for show…and have never gotten around to “fixing” it six months later,typical but anyway

… there are small dabs of bluetack on the top of each pedestal, which are just $3 lamp finials screwed in from the bottom of the board. The mounting board was $11 at Micheals (the two gold cups you see are not in contact with the hull…they are a pair of japanese sake cups i had, 1937 w/ imperial crest. -same crest as on the bow of Yamato, Nagato etc., couldnt resist adding them, anyway, you will probably see a lot of different ideas here, have fun!

If you need any hole bigger than 1/8 inch, a tapered reamer is safer for drilling plastics than a normal drill. Get a tapered reamer, drill only as large a hole as necessary to get reamer into hole. Even for that starter hole, if it is across a glued seam, start with smallest hole you can, enlarge hole with next sized drill, repeat, until you can get reamer into hole.

Good advice. A reamer after all turns at your own hand speed, which is a quarter rotation in either direction as slowly as you care to. Buy a good one, they can be had with a taper from about zero to 1" or so for less than $ 10.

As it happens, I am at the base mounting stage of my Potemkin, so I thought I’d share a few photos of the steps that work for me.

Here’s my temporary base that I use for all of my ships. Well, not CV-8 Hornet- she is mounted to a 3’ long 1 x 10 melamine shelf.

But you see that the base has as many pairs of hole as I’ve had to set for the numerous 1/350 ships I’ve built so far. This base is great because it allows me to handle the ship without touching it too much. One of the other modelers here has a 90 degree end on his and I can see how that would help too.

Here’s the Potemkins hull with the finish coat of oxide, and the two 10-32 screws I keyholed, glued and puttied in. I’'ve masked the threaded areas where I need them clean later.

These neat little barrels are from the lamp part section at Ace. I have a big bag of them as I like uniformity in my displays.

Here’s the underside of the temporary base with nuts attached in the countersunk holes.

After it’s all done, I transfer the ship to a finished oak base. Same kind of set up.

That’s how I usually display my ships.

I’ll take the liberty of sticking an oar in here. I don’t disagree with any of the earlier posts, but I do have a few other observations on the general subject of mounting and displaying ship models.

First, if you want to put your model on a baseboard, there’s no need (unless money is a major problem) to be content with the sort of wood you’re going to find at a place like Home Depot. (That will almost certainly be pine. There’s nothing wrong with pine, but few people would call it the classiest-looking of woods.) The Lowe’s store in my neighborhood also sells very nice pieces of poplar and red oak. Stay away from poplar unless you’re going to paint it. (It turns green as it ages.) Lots of people like oak for baseboards. (It’s not my favorite, because of its coarse grain), but it probably would look very nice as a baseboard for a relatively large model.) Since you’re only going to be buying a small piece of it, the difference in price between oak and pine won’t amount to much.

My own personal favorites are cherry, maple, and walnut. There may be a lumber yard in your neighborhood that stocks them. If not, a good source is Woodcraft ( www.woodcraft.com ); I’m sure there are plenty of other good online sources. It’s hard to beat the look of a cherry, maple, or walnut baseboard.

The last model I mounted on a baseboard was the Revell Viking ship. I drove to the Woodcraft store in Raleigh (an hour-and-a-half drive), and rummaged around its lumber racks until I found a piece of spalted birdseye maple that just screamed “Viking ship” at me. It cost less than $10.00. I sawed it to length, routed an edge on it, and finished it with Watco Danish oil and Watco satin polyurethane varnish. I’m delighted with the results. So is my wife, who is, if anything, more sensitive to the aesthetic aspects of such things than I am.

If you have (or a friend has) a router, you should consider putting a decorative edge on the baseboard. My favorite tool for the purpose is a little Ryobi “trim router” that I bought at Home Depot for less than $100. My favorite bits for this purpose are a set of “miniature” ones sold by the good folks at Lee Valley: http://www.leevalley.com/US/Wood/page.aspx?p=30227&cat=1,46168,69435,46179&ap=1 . You don’t need much woodworking experience to get beautiful results with these little guys. (Warning: once you get a router in your hands you’re likely to get hooked on it. A router opens up all sorts of modeling opportunities - and even more beyond model building.)

You can also buy very nice ready-made baseboards. A couple of sources: http://www.bluejacketinc.com/baseboards.htm and http://www.modelexpo-online.com/search.asp?SKW=cat1_MX%20Board . Bluejacket’s are cherry; ModelExpo doesn’t identify its wood species. I’d want to find out about that before I ordered one of those boards.

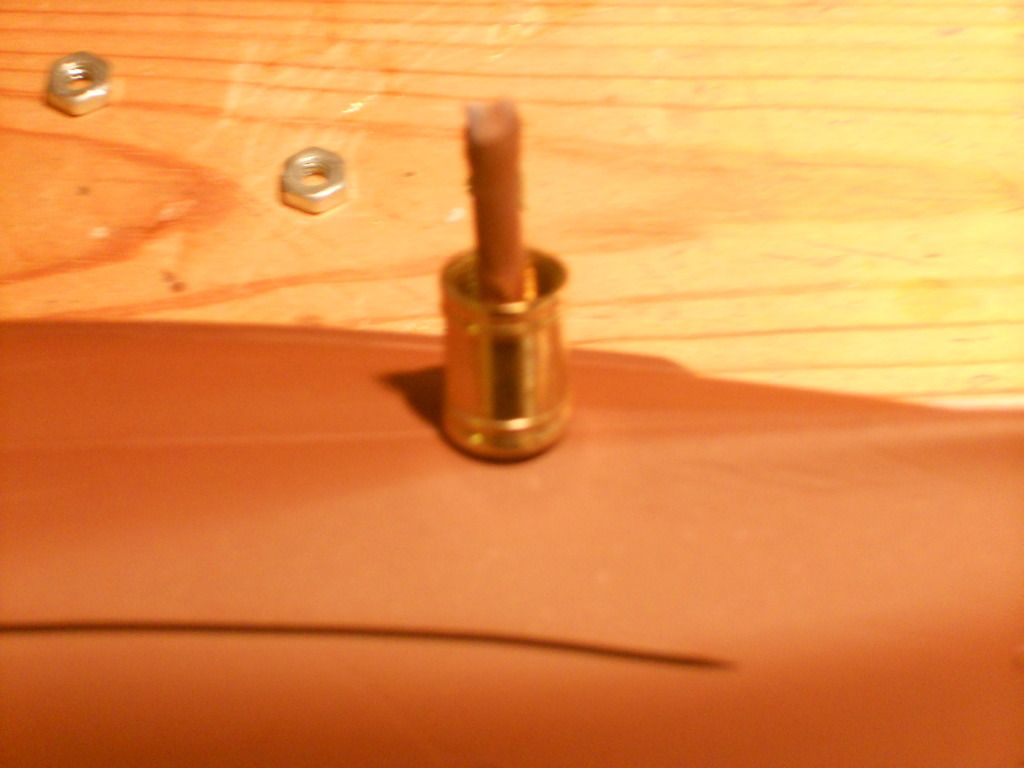
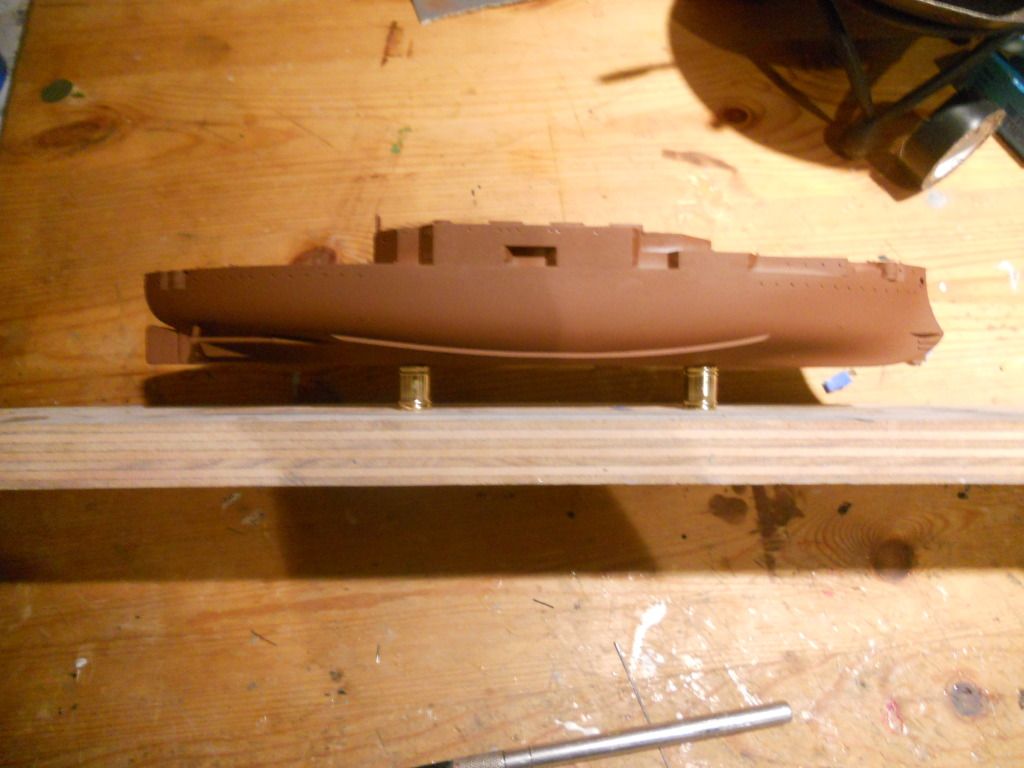
Bluejacket also offers a nice range of brass mounting pedestals: http://www.bluejacketinc.com/pedestals.htm . The keel slots obviously will need removing for a modern warship model, but that’s no great trick.

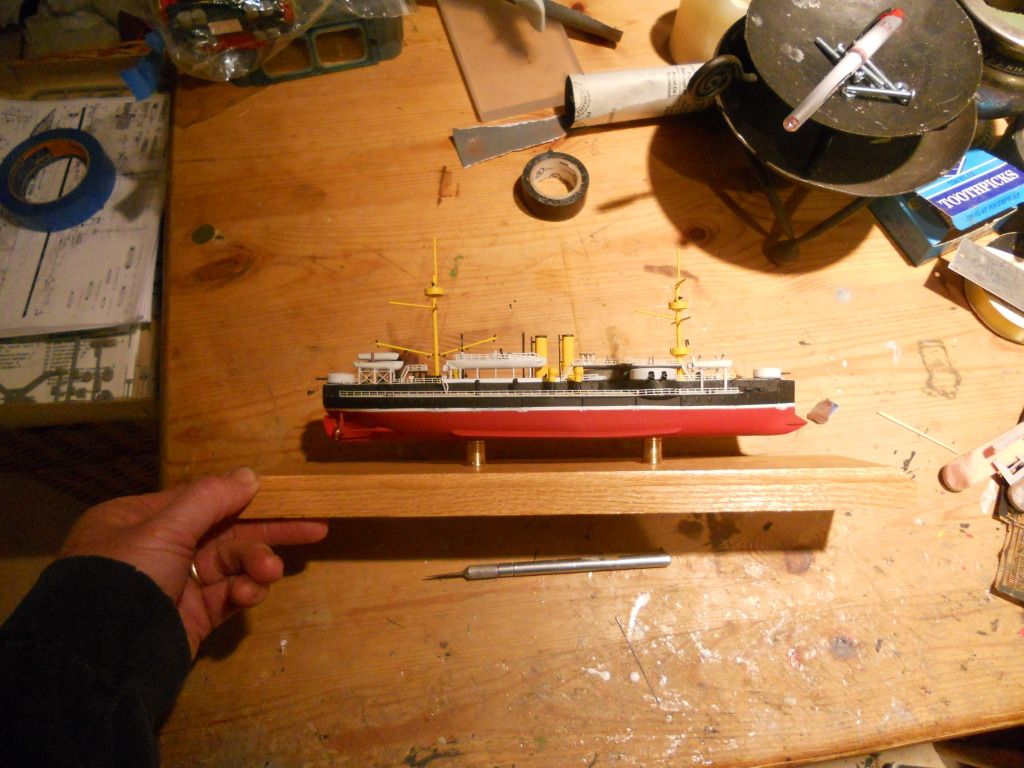
No rule says all the pedestals have to be on the ship’s centerline. I’ve seen lots of fine warship models with pedestals under the bilges, as well as the keel. To my eye, that actually looks better under a big, broad hull than pedestals just under the keel.

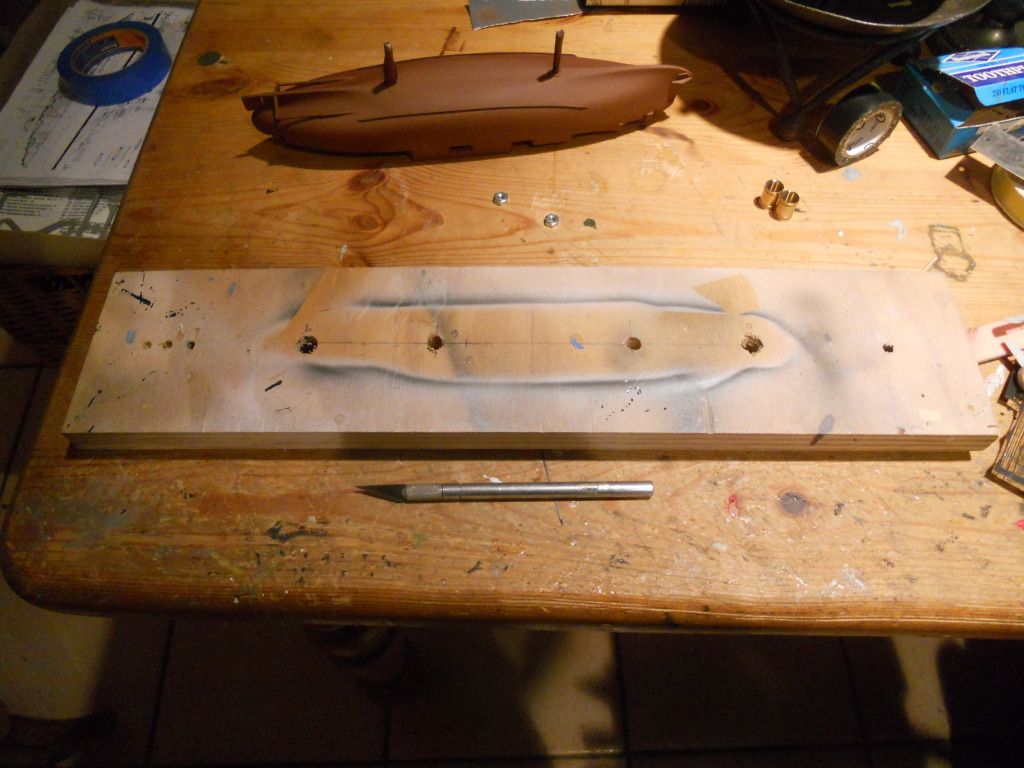
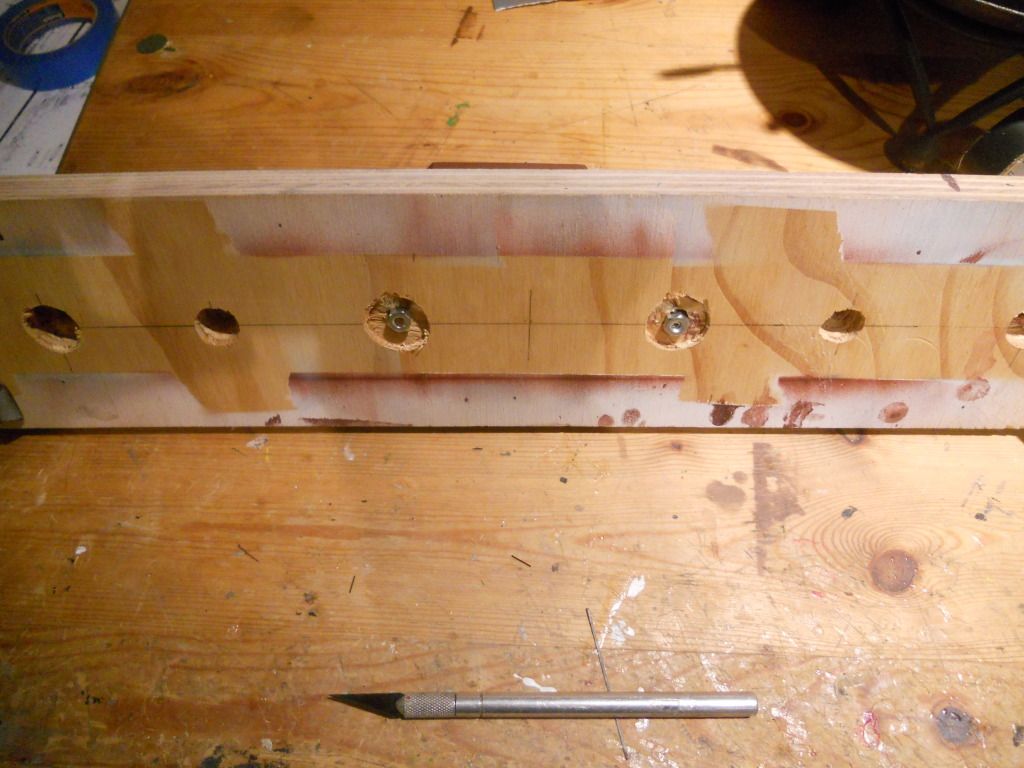
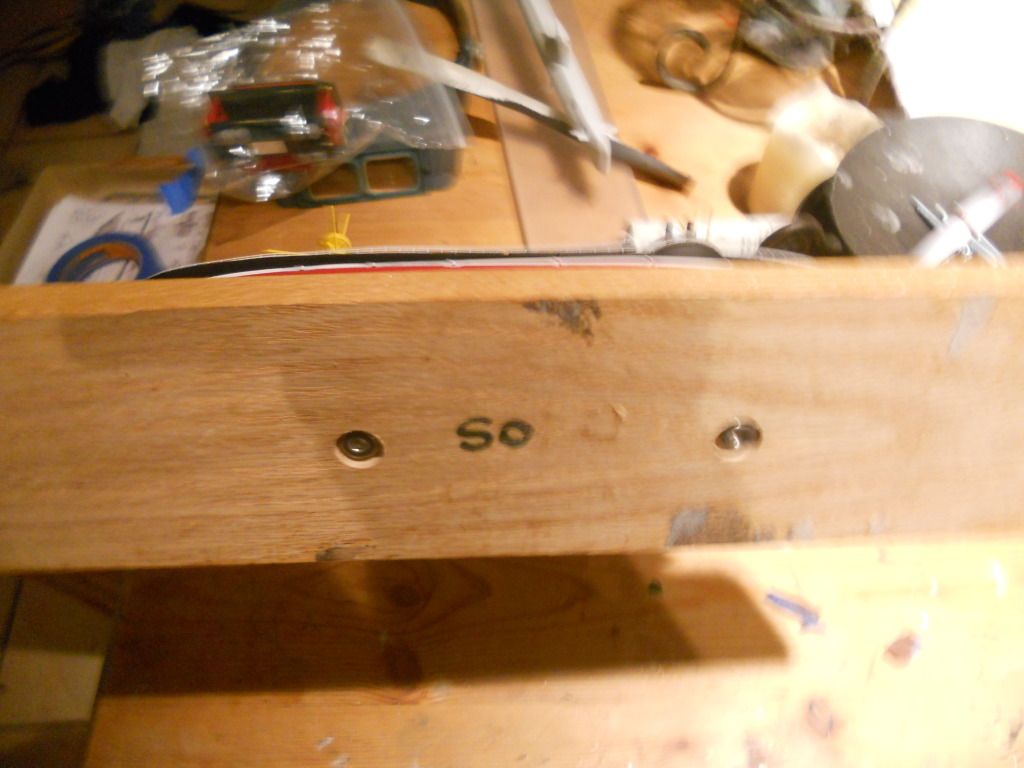
The best time to drill holes in the hull, obviously, is before the decks are installed. My favorite technique for a plastic hull is to glue (really glue) two or three steel nuts inside the hull, and use bolts for the fasteners. (Whether two or three depends on the size of the ship - and the builder’s personal taste.)

If I were working on a good-sized twentieth-century warship model, and hadn’t drilled the mounting holes in advance, I’d be strongly inclined to go the “keel blocks” route. As several pictures in this thread have demonstrated, that’s a nice, attractive way to do it. I’d be inclined to make the “keel blocks” out of a nice harwood that contrasts in color with the baseboard. (Maybe walnut keel blocks on an oak baseboard - or maple blocks on a walnut baseboard. Maple and walnut go beautifully together.) You can also paint the keel blocks black. (There’s a good application for poplar - which Lowe’s sells in square strips.)

Making holes in the bottom of a plastic hull doesn’t need to be a big deal (though it will be considerably bigger if the model is almost done). A drill bit will do the trick. So will an Xacto knife. Mark the location and diameter of the hole and spin the knife blade around for a minute or two. The hole may not be perfectly round, but (depending on the mounting method) that may not matter. I like the idea of the keyhole-shaped hole that was mentioned earlier.

The biggest, most important consideration in displaying a model: either get or make a case (glass or plexiglas) for it, or keep it inside some sort of cabinet. (My wife and I bought a curio cabinet at a local furniture store for about $200. It holds most of my models, and looks nice in the dining room.) If you decide you don’t like the mounting system on your model, you can change it. But if you leave your model exposed to dust, cats, and kids, you’ll regret it - pretty quickly.

Hope this helps a little - and maybe provides a basis for some thought. Good luck.

As ever, Prof Tilley offers sage words.

The “fine wood” at the average big-box home store leaving much to be desired even as construction material.

One exception worth poking around the store for, though, would be in among the decking. If a person were lucky, that search will turn up some Ipé (EE-pay). This is a South American hardwood of a straight and tight grain. Relatively affordable in modeler’s use, a “1 x 6” (generally 5/4 x 5.5") will run to US$10-12 for the one stick. The downside will be that, since its primary use is decking, other sizes are not always in stock. Ipé is hard stuff, be sure to use sharp blades when cutting it, and new bits when miling.

Just had a rememory (stumbled over the bag today) that, if one plans ahead, a person could use rare-earth magnets as a no-drill way of mounting a hull.

If you aren’t experienced with router work; route the “across-grain” edges first. Routers tend to split off a little chunk of wood at the edge. When you route the “with-grain” edge, it will remove the imperfection.

In addition to Lowes, both the Menards and Home Depots in my area have a good stock of oak, which I love for ship bases. Menards also carries a bit of mahogany. I generally use oak for bases, though. It isn’t that much more expensive than clear pine or poplar, and there are a number of stains that look real good on oak. Also, of course, oak and shipbuilding have a long association.

I would also suggest checking out your local cabinet makers. They often have drawer and cabinet fronts that were cut to the wrong size in their scrap bin for a reasonable price. The wood is usually very good quality. FWIW.

You can epoxy a bolt to the bottom of the hull and run a machine screw though the base and into the model. for a solid hull you can just countersink the base and use a long wood screw.

Wow thanks for the huge help, all very useful info, you guys rock.

Ok so I have decided to go for the dry dock blocks method to display it on a base. Will probably use oak and router the edges.

So what is the best way to apply this method?

How many and what dimension/size blocks will I need to make and how will I fix the ship to the blocks permanatley?

Thanks!

How many and dimensions is a personal preference thing. You’re not going to (easily) match the real things in size; I’d advocate buying a couple of cheap pieces of balsa at an art supply store and cutting them up to test for preferred size and pattern

To me cheap balsa is an oxymoron. I find basswood cheaper in many cases. But I have a table saw and a couple bucks worth of pine or even poplar will create a lifetime supply. The model railroad departments of many LHS also has basswood cut in scale sizes, which wouldn’t be in ship scales, but some simple math will yield scale sizes in other scales.