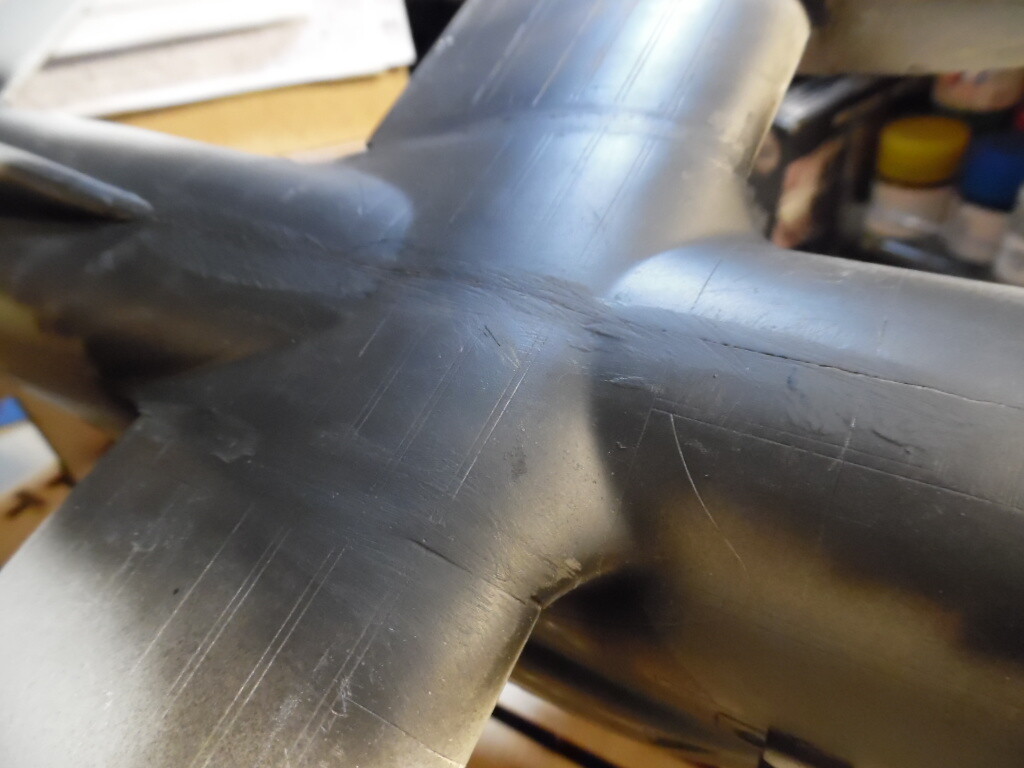
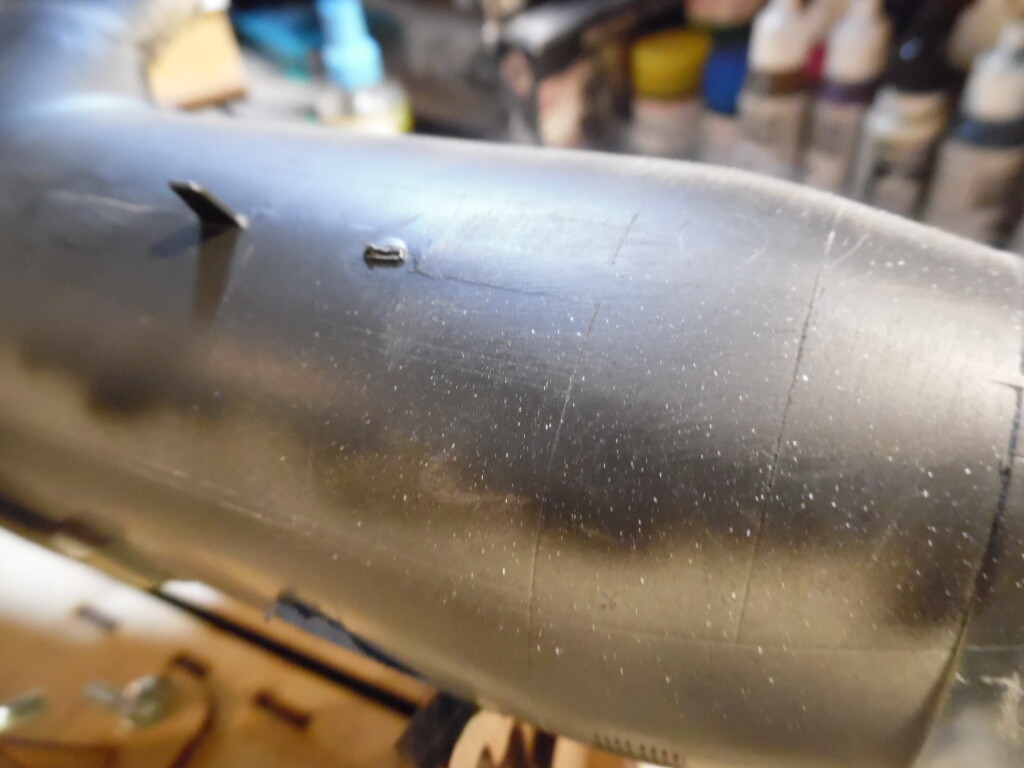
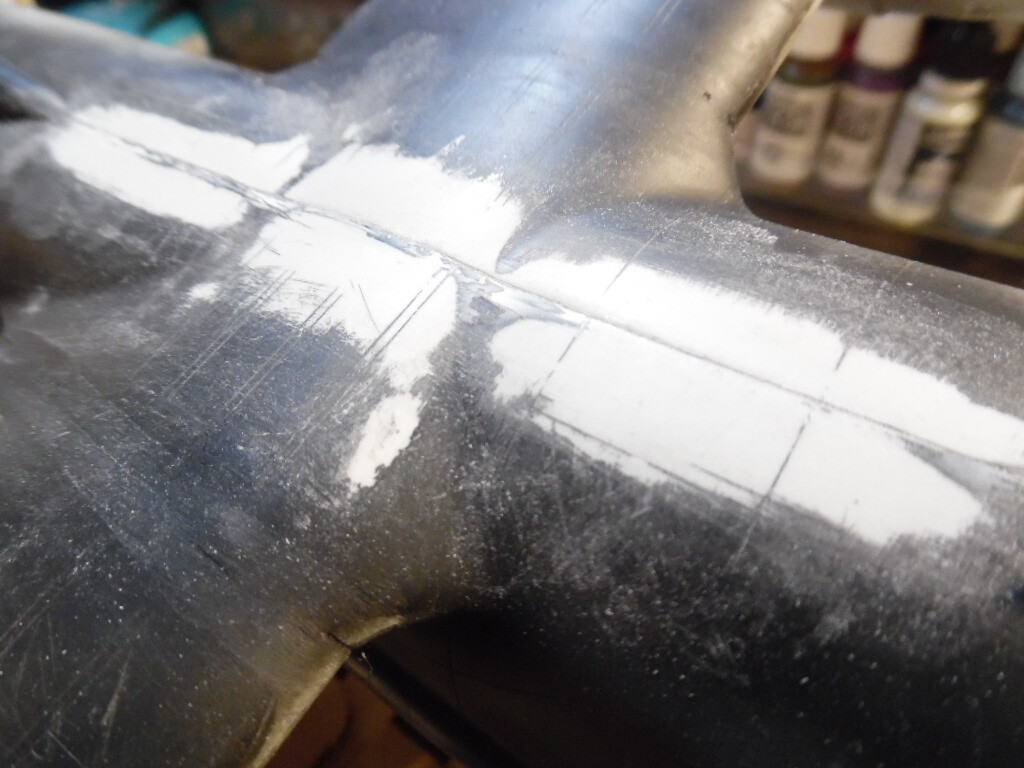
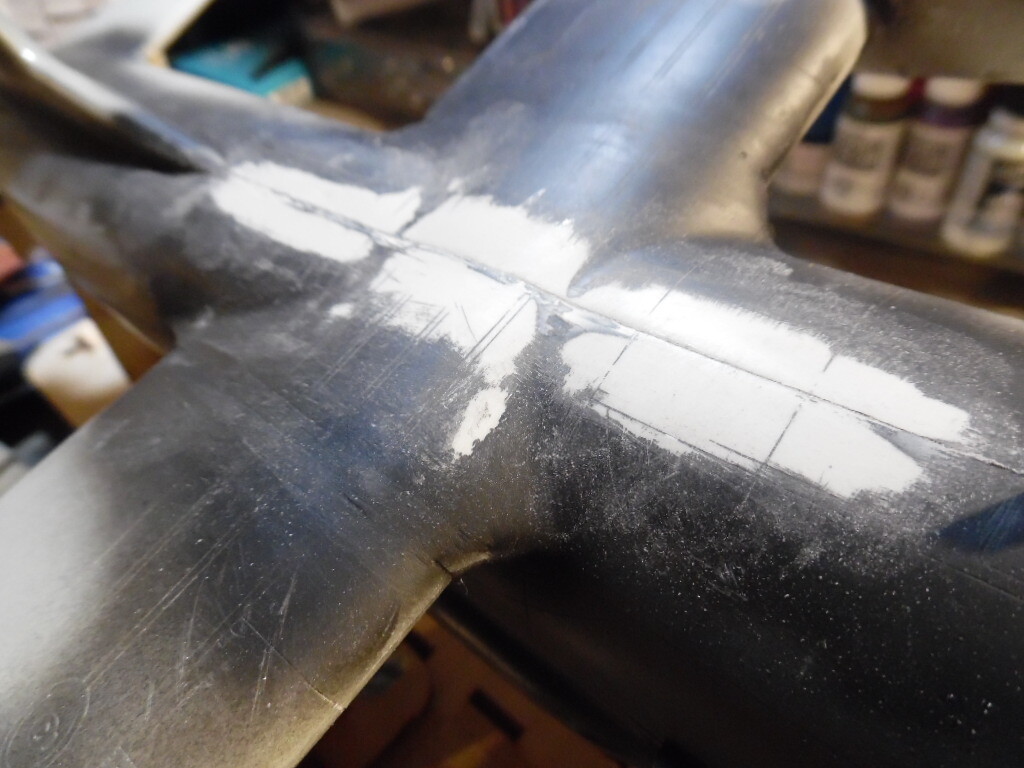
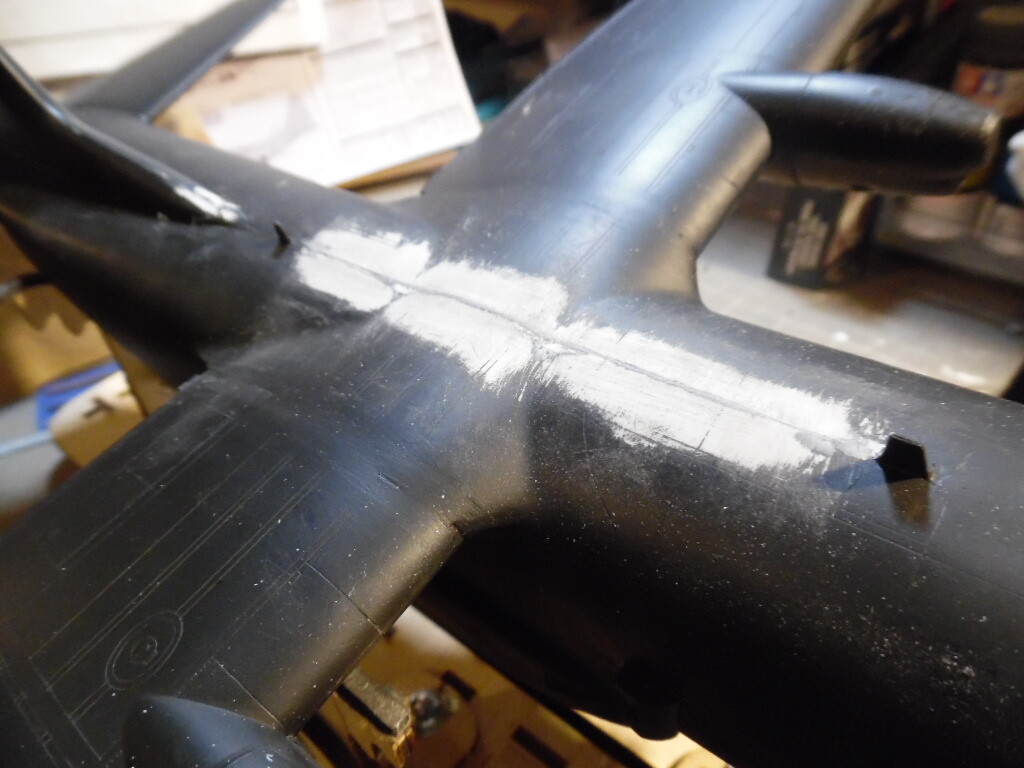
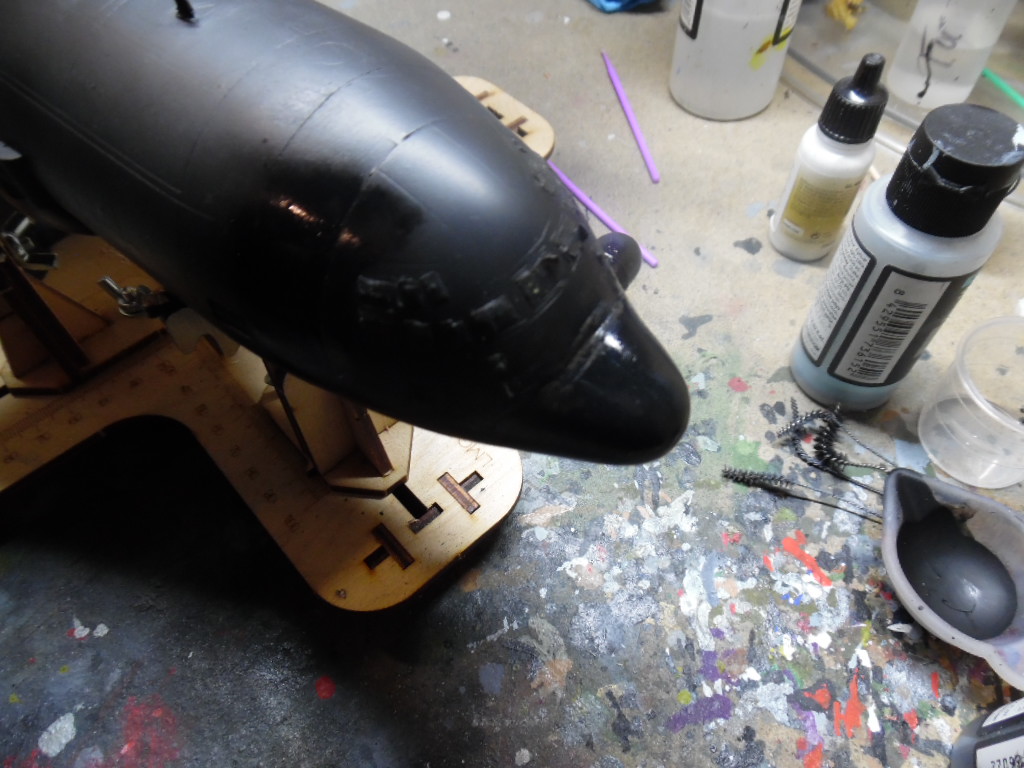
Here is a second pass through for getting the seams on my AC-130 build. I did not smooth out the scratches since I knew I was going to have to hit the seams again. At this point, I might try using sprue goo and feathering it when it dries. No time like the present to try something new.
3 Likes
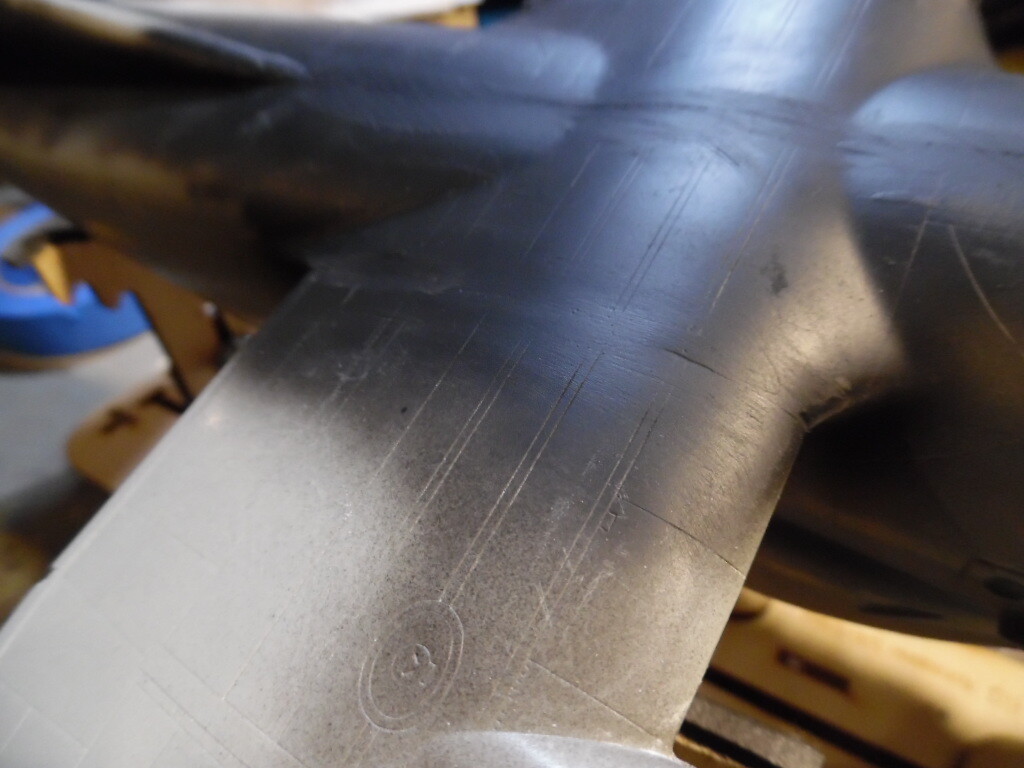
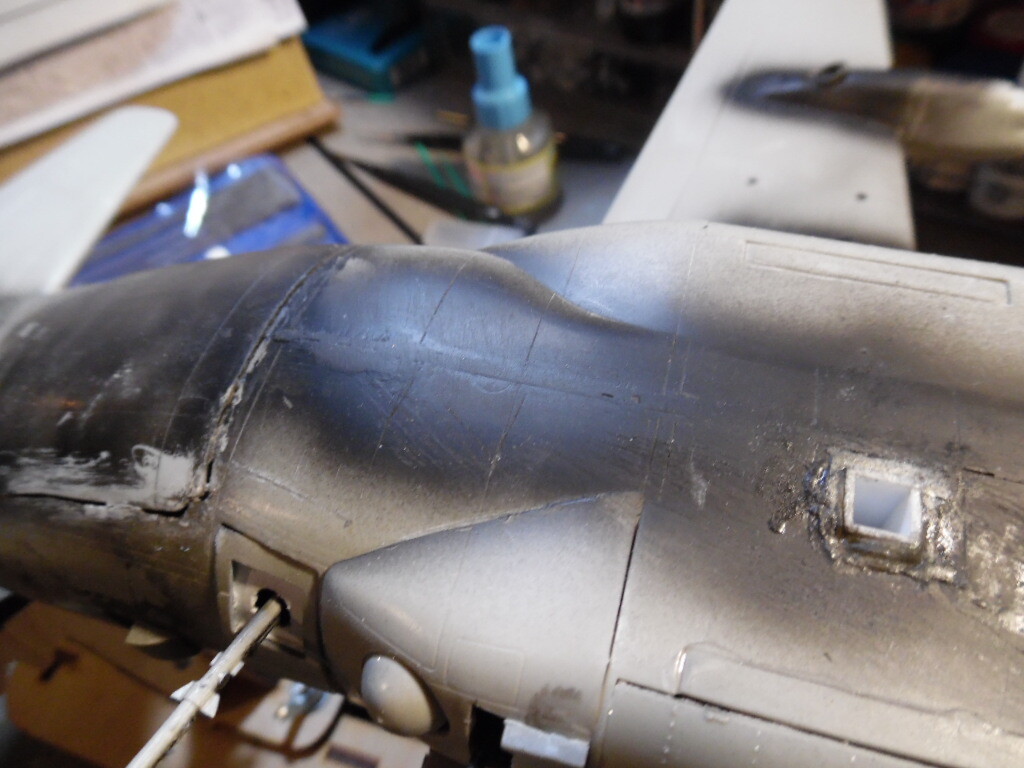
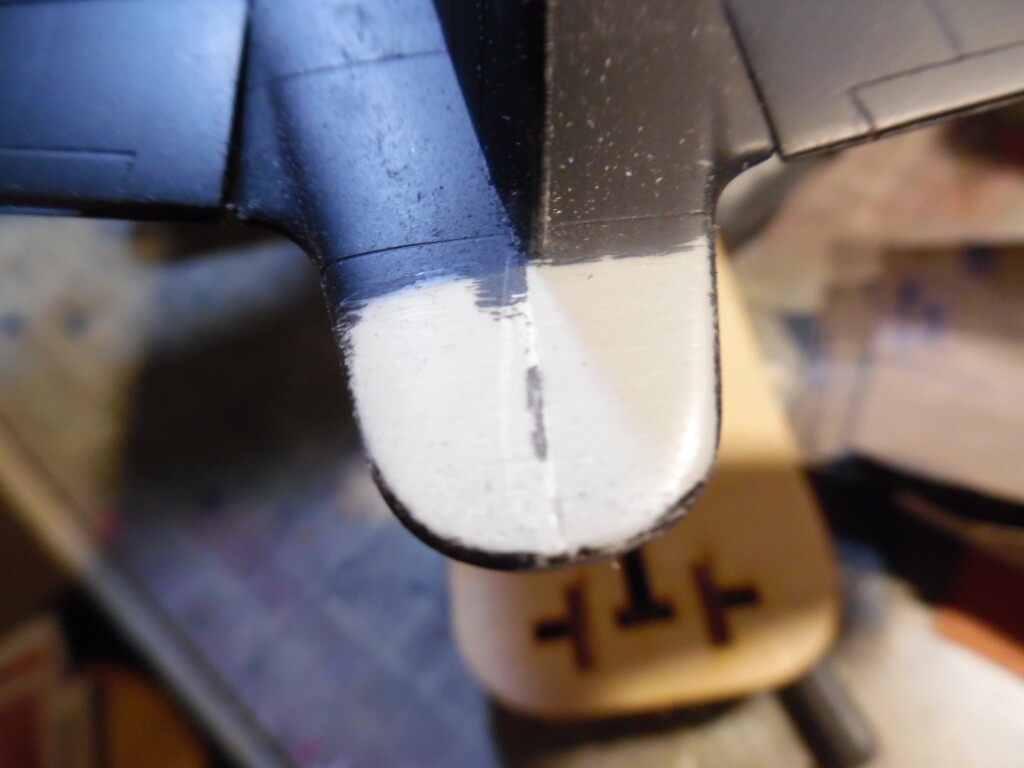
This is the 5th or 6th pass on this seam. I might have to call it done as is due tot he fact that when trying to blend the seam, I have actually split it on multiple occasions and had to reglue. Might have to sand down the panel lines that need to be fixed/corrected and go from there.
1 Like
Hi @Mustang8376,
That fuselage is making you work hard. You’ve been wrestling with it a while. Kudos to you for sticking with it. I was looking through all the photos you posted and your work has definitely improved the seams.
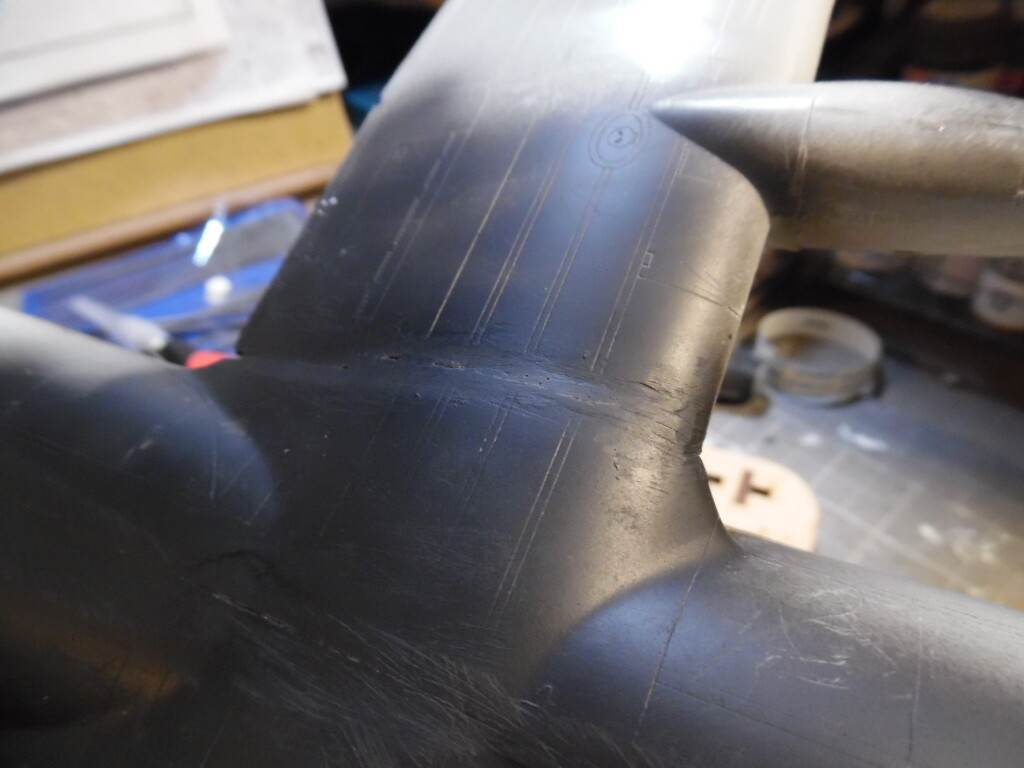
Don’t know if you’re still interested in any suggestions. If you are, I have a question before offering anything. It’s hard to tell for certain from the photos, but it looks like there is a step at the seam where one half of the fuselage sits a bit higher than the other. Most especially in the places where the seam keeps reappearing. Did I interpret the photos correctly?
2 Likes
No PhoenixG you are correct, After working with it, there is a slight step. When building the fuselage it was very slight and wasn’t caught until primer was applied. I’ve spent more time addressing the step over the last couple of weeks.
1 Like
Disclaimer and full disclosure:
I’m no master with putty. The method that follows is what I found produces a result that I personally find acceptable. My results aren’t always perfect, but it does remove the visual distraction of the step.
How I deal with steps:
- Scrape down the step as much as reasonably possible. For me, this usually means scraping it till I am no longer able to remove plastic without risking damaging the low side.
- Apply a small amount of putty along the step. Don’t heap it on. Just put in enough to start leveling it out and try not to move it around too much. It doesn’t have to be pretty at this stage. I found that putting on a lot of putty at once or overworking it an effort to get it smooth right away introduced a lot of air pockets in the putty. So after I started sanding, voids and holes would appear everywhere.
- After letting it dry. Sand just enough so the putty is relatively smooth. Sand in the direction from high point to low. This reduces the chance of removing too much material from the area you are trying to fill. Hopefully there will be few voids revealed during the sanding.
- Add more putty to continue leveling out the step and fill in any gaps/voids that appeared during sanding. Again, pretty putty is not really a consideration.
- repeat the process until sanding the putty smooth doesn’t reveal the high edge of the step.
Ideally by this time you shouldn’t be able to see any step. If lucky the step is invisible or have a barely perceptible, but smooth hump where the step is.
One final thing I’ll say is don’t be afraid to use medium or coarse sanding sticks on the putty on the first few layers. I found that doing so kept me from trying to dig into the putty to remove material faster and then cracking the putty from applying to much pressure. Most of what’s roughed up will be covered with more putty anyways. Save the finer sanding grits for when you think you’re close to the end.
My sincerest wishes that things improve for you on this build. You’ve already done some amazing work on it.
I look forwarding to seeing the end results!
4 Likes
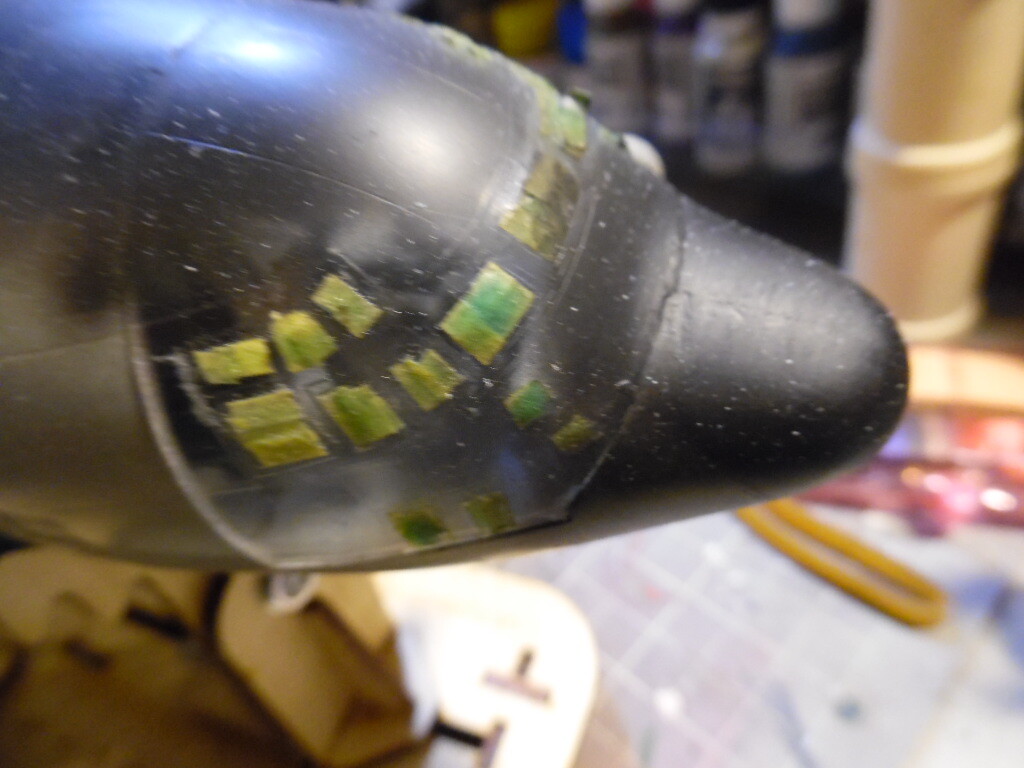
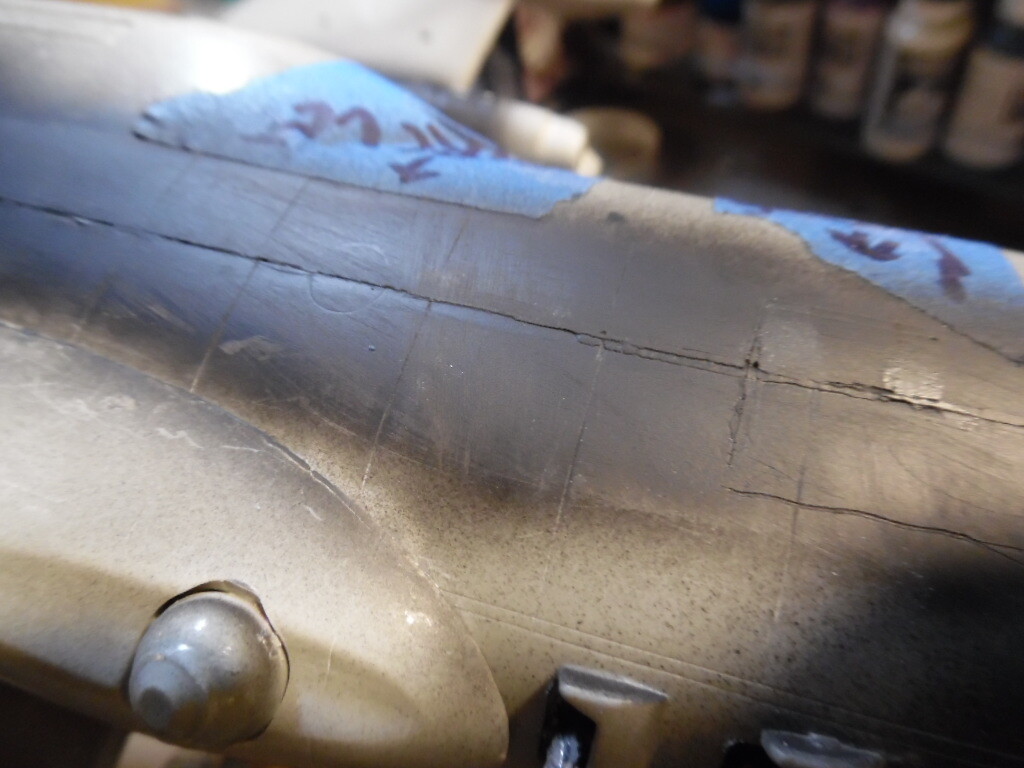
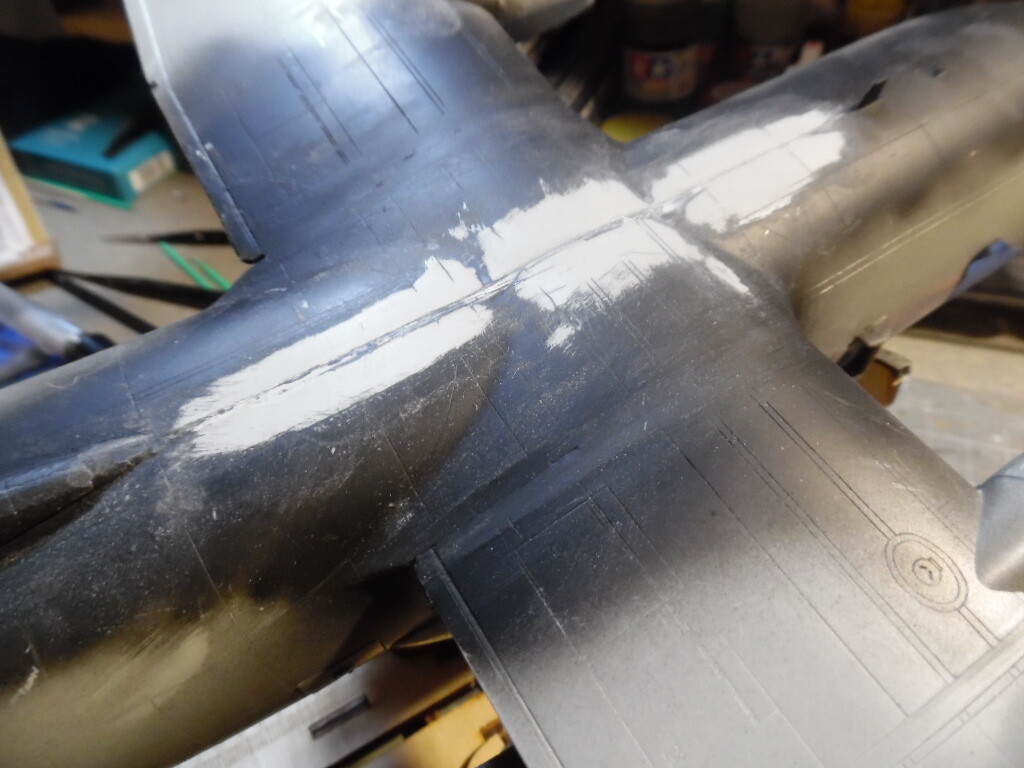
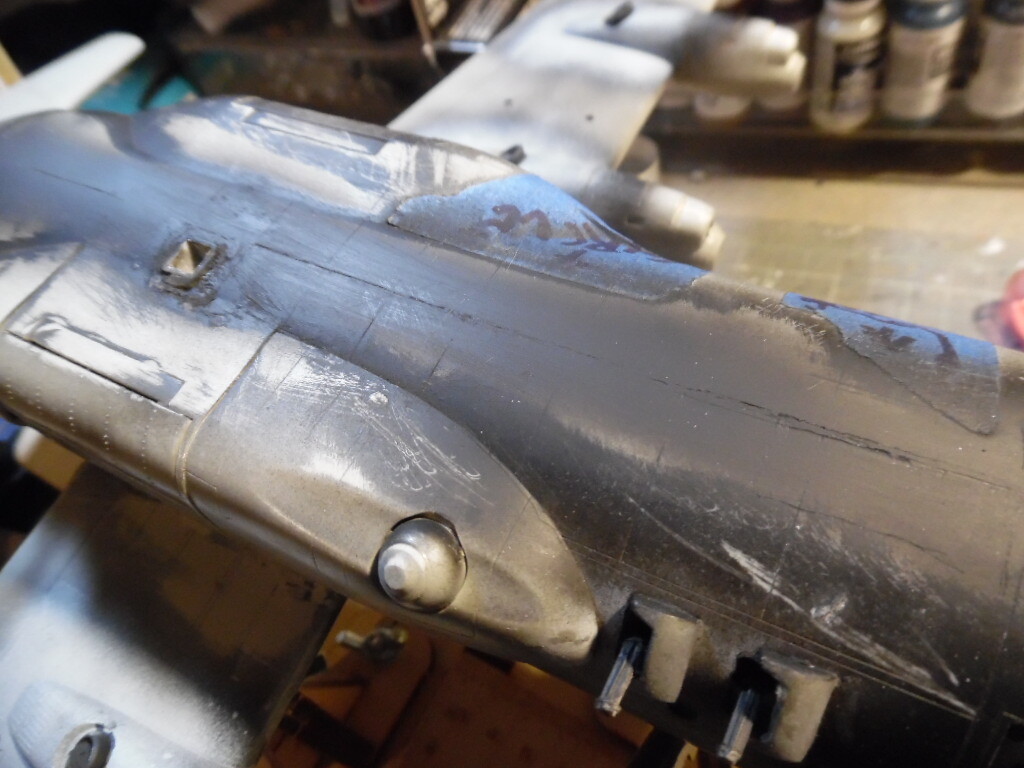
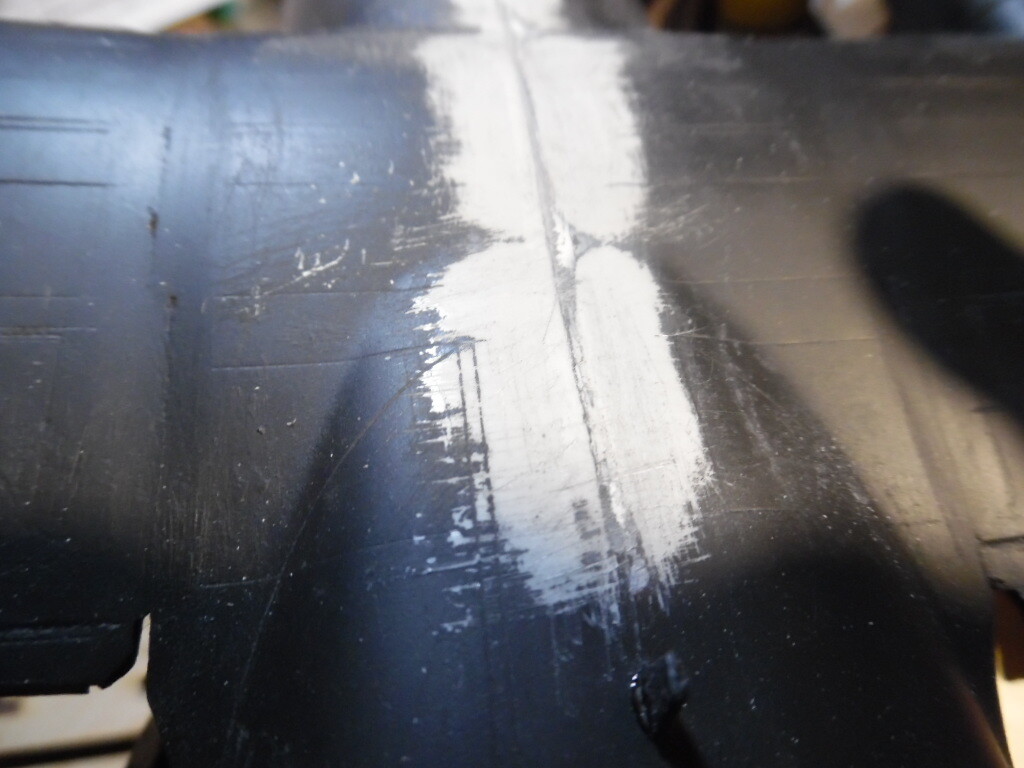
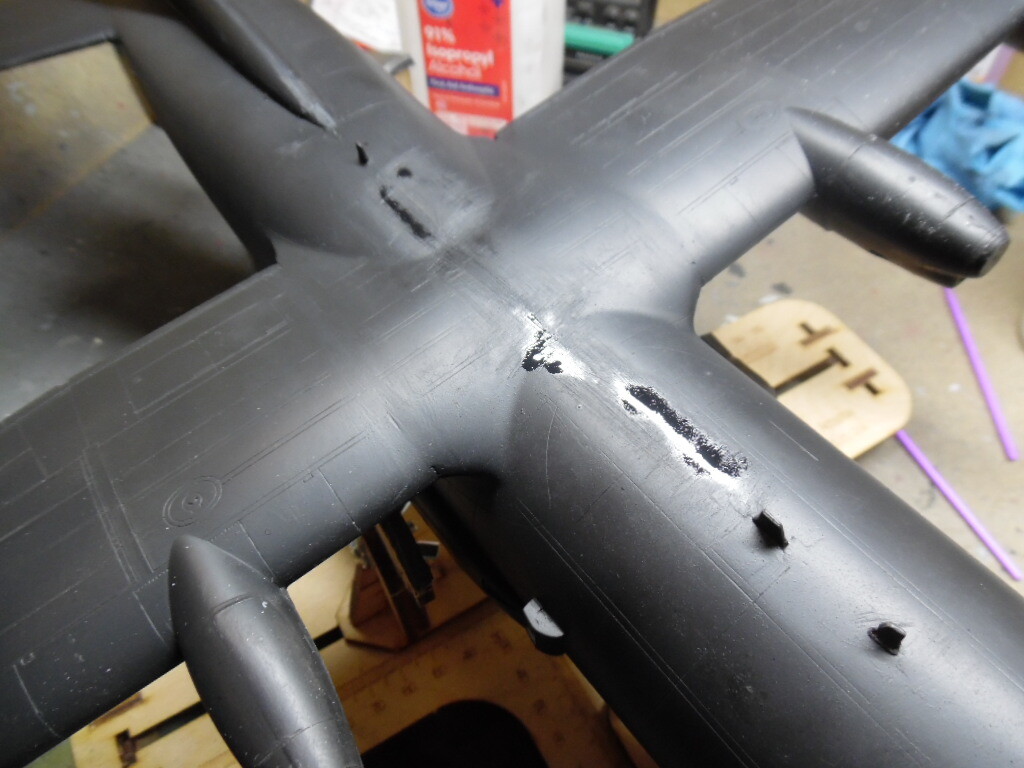
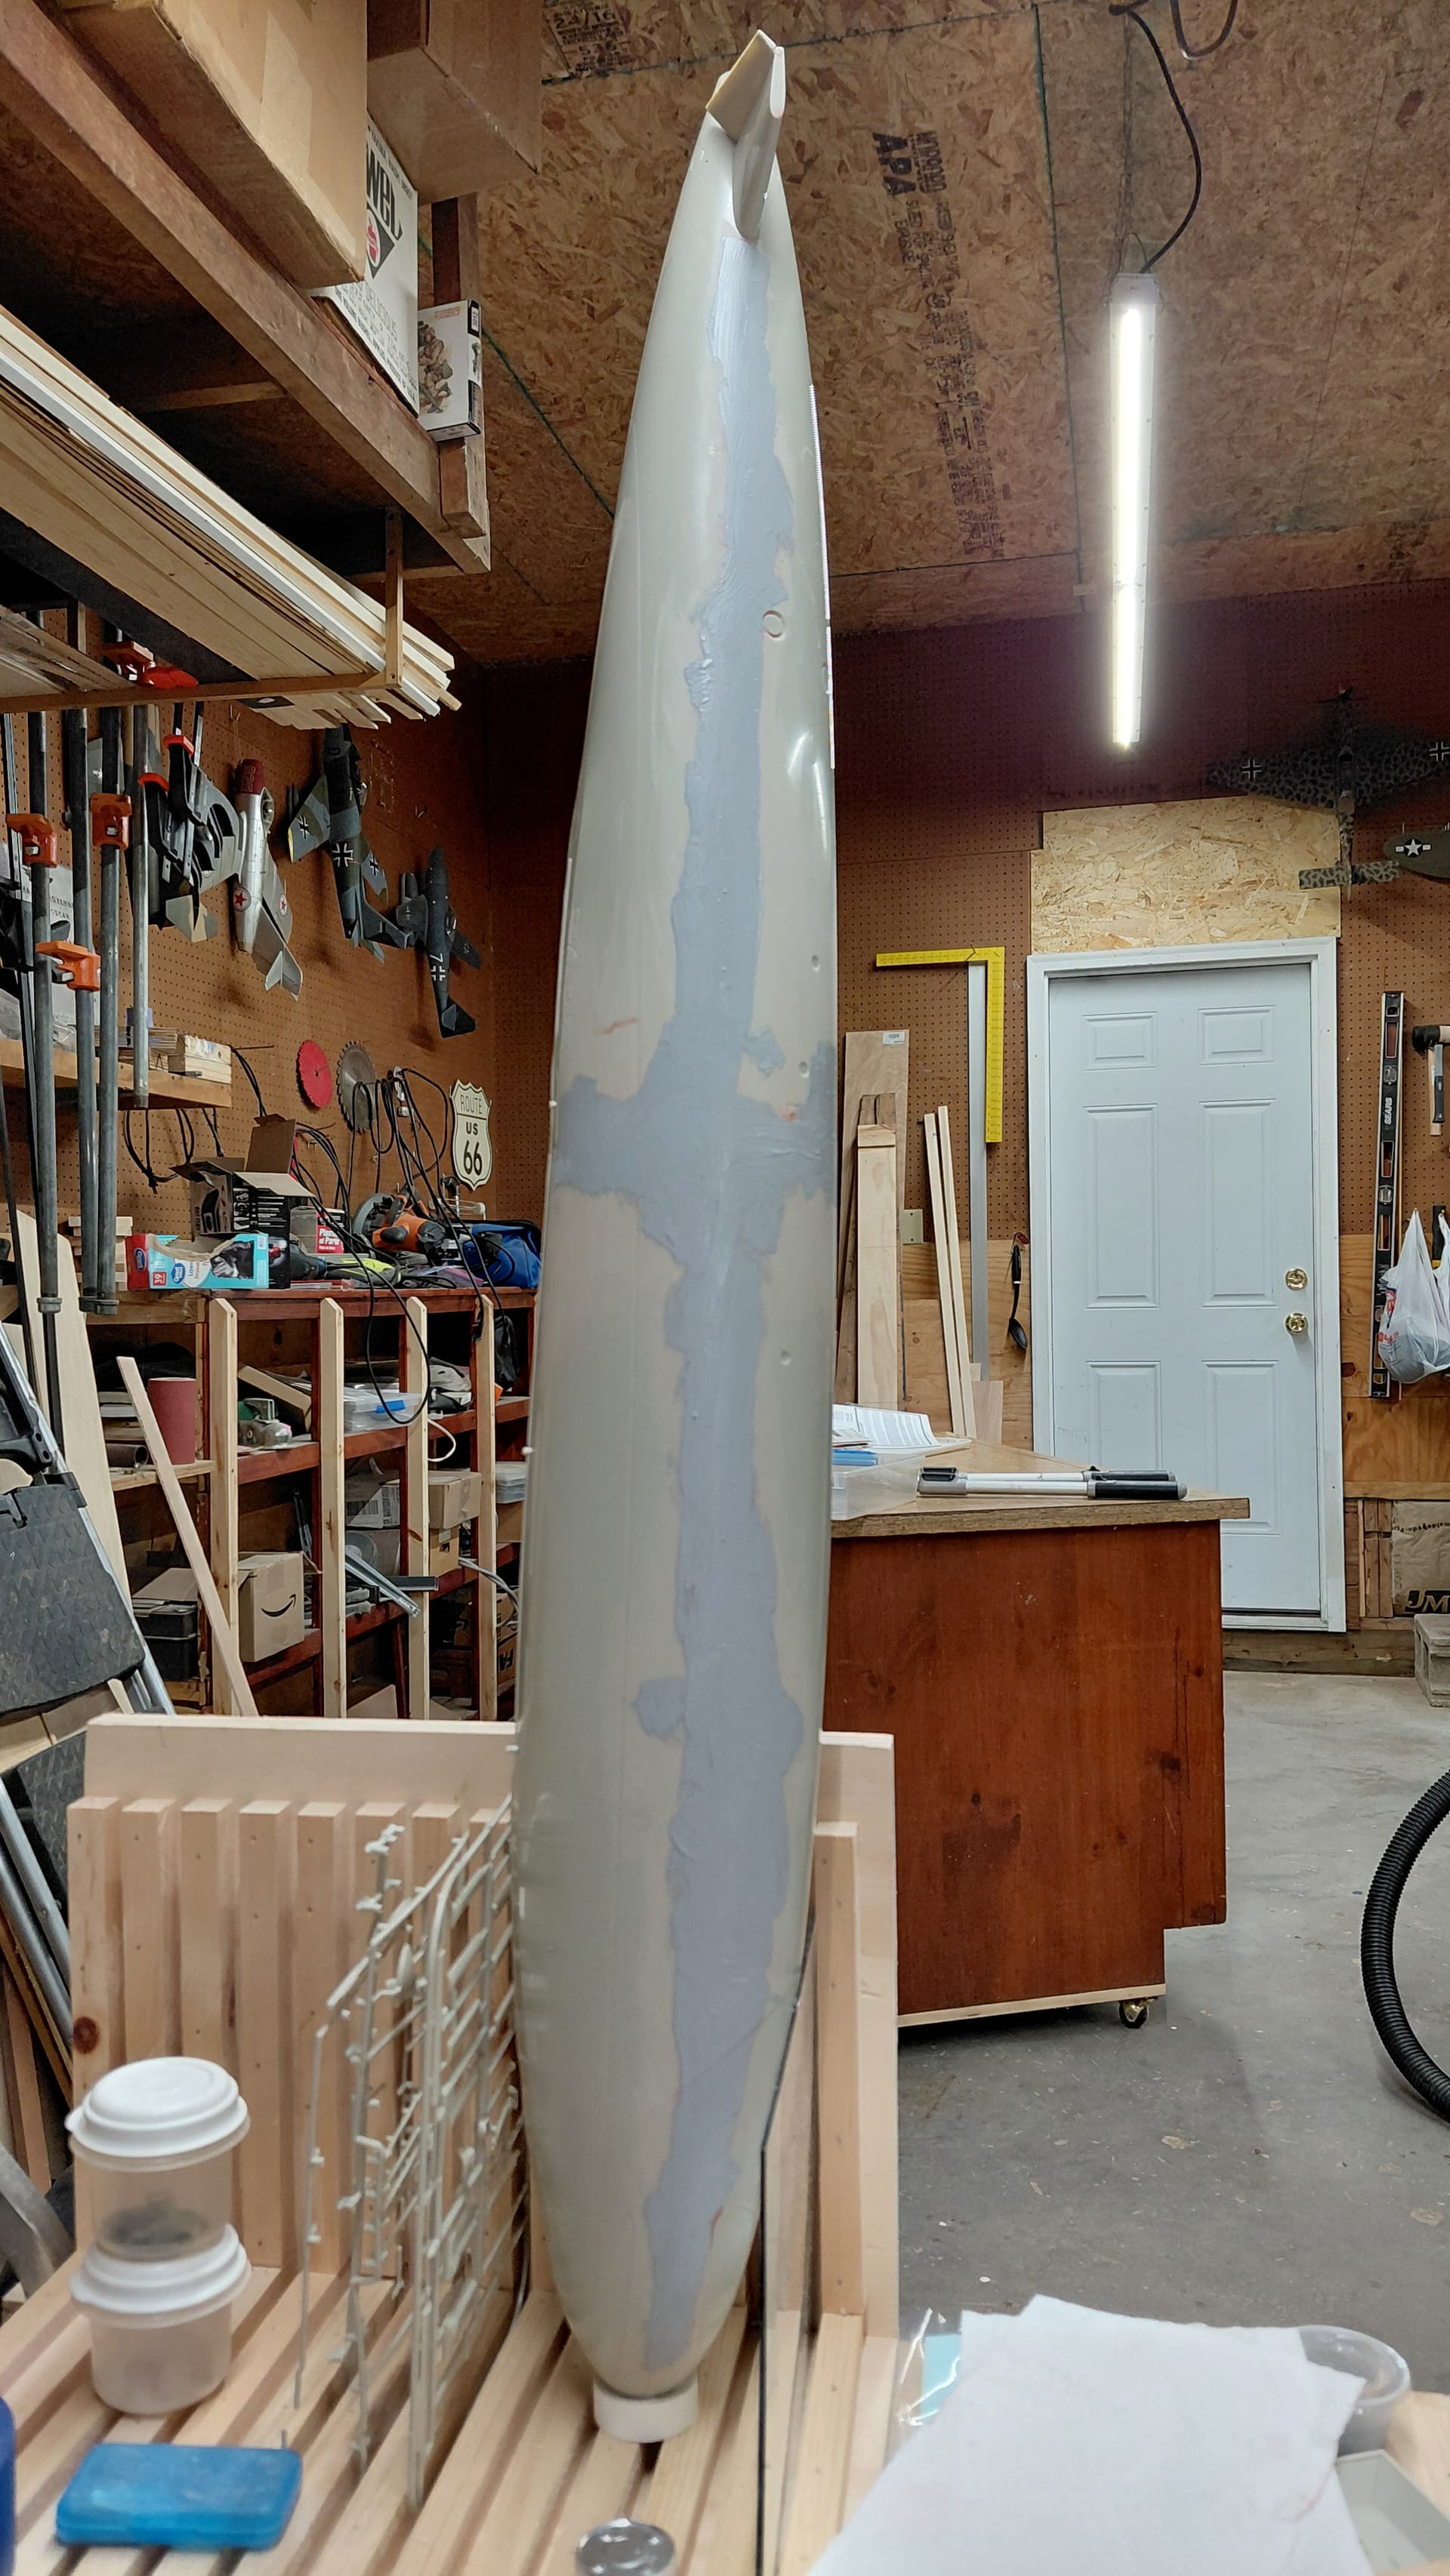
Again thank you everyone for the help and tips. PhoneixG, I believe I accidentally did Step 1 this last go around, but I also did the suggestion of using sprue goo on the seam. I figured no harm no foul. The below pictures are after I added the sprue goo and sanded for just the top seam. Here it is before the primer:
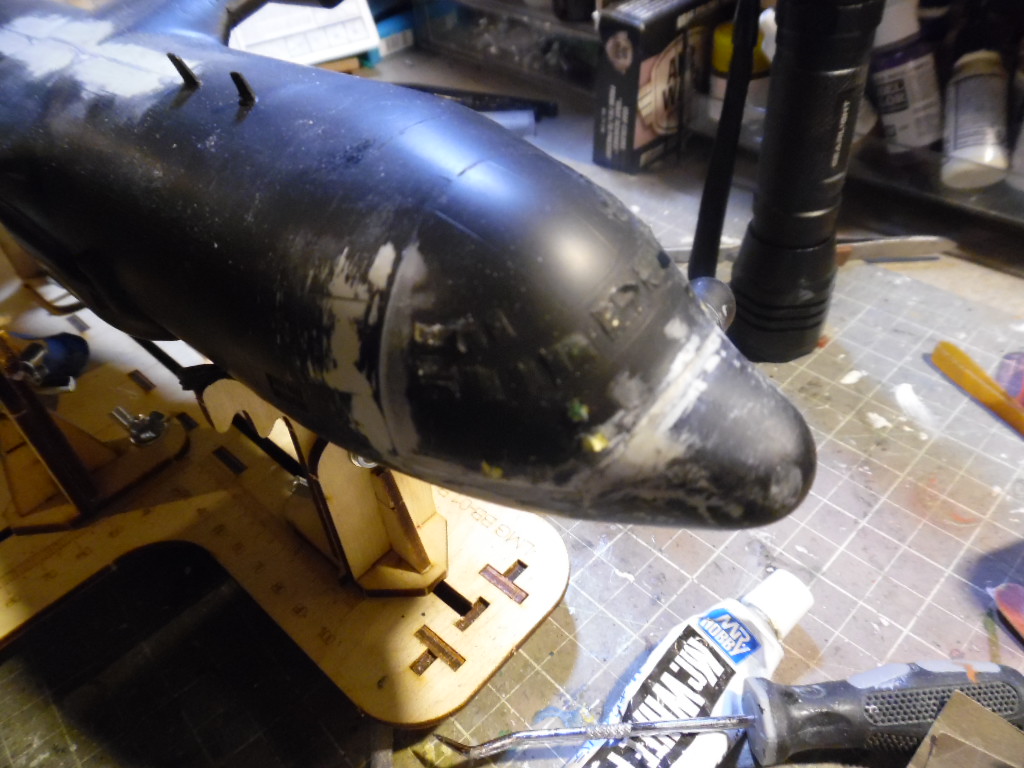
…and after the primer.
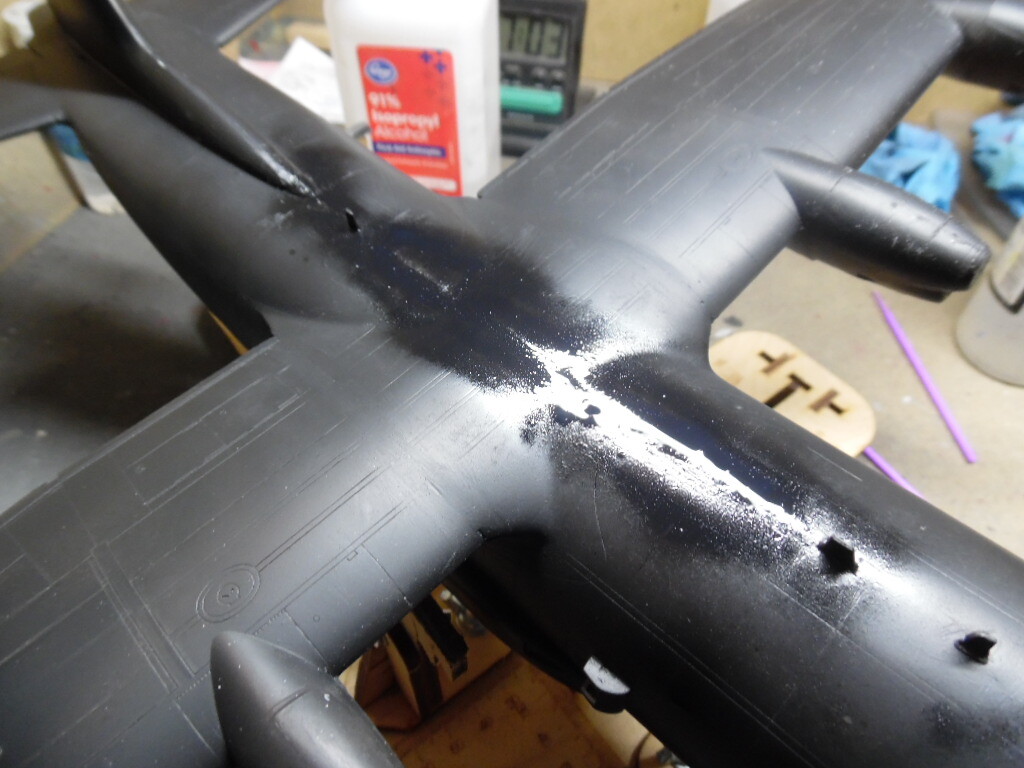
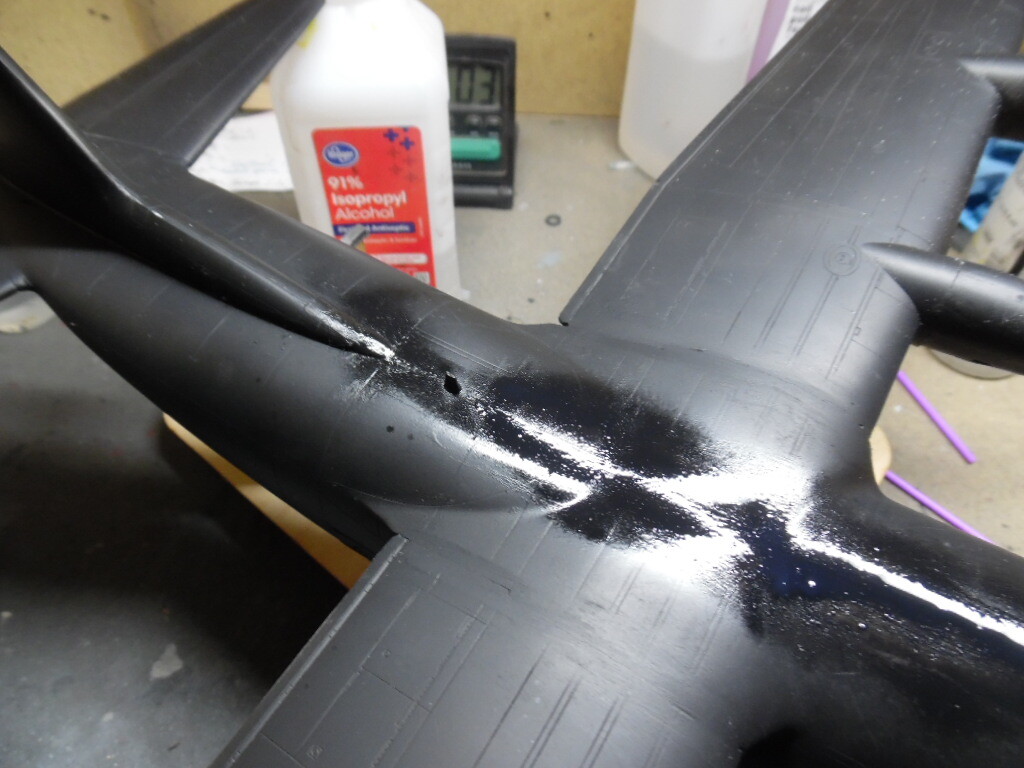

The only issue I can see is some slight sanding marks in the area, so maybe one last go before I do some scribing to bring back the panel lines I lost.
3 Likes
It’s looking like the sprue goo did the trick!
So glad you’re able to continue on with the build. ![]()
1 Like
I was just going to recommend this. I love that stuff for big sculpting.
1 Like
You did well, i don’t think right now i would have the needed drive to have worked through that.
I am now an admirer!
James
2 Likes
I alway wet sand with 600 grit wrapped around a small 3/16 X 1" wood block 1/4 wide across seams to see how where the putty is needed.
I then use auto body glaze/spot putty from wally world, I cut model box tops into strips 1/4 - 3/8 wide to spread the spot putty into the areas the block sanding didn’t touch. Let it dry thoroughly prior to sanding.
I then wet block sand with 600 grit paper from a hardware store wipe it with paper towel and let it dry out.
I then cover the putty with Mr. Surfacer 500, let it dry and wet hand sand it with a light touch with 1000 grit starting with the outer edges of the Mr. Surfacer 500 and feather in towards the center.
Be patient and wipe frequently with paper towel to control material removal from going to far.
I have found that the spot putty shrinks slightly and is softer than the plastic and brushing on a light coat of Mr. Surfacer 500 seals it and is almost a perfect match for the plastic hardness and doesn’t shrink when applied in thin layers.
I know it sounds like a bit much, but the extra effort really pays off on the finished kit.
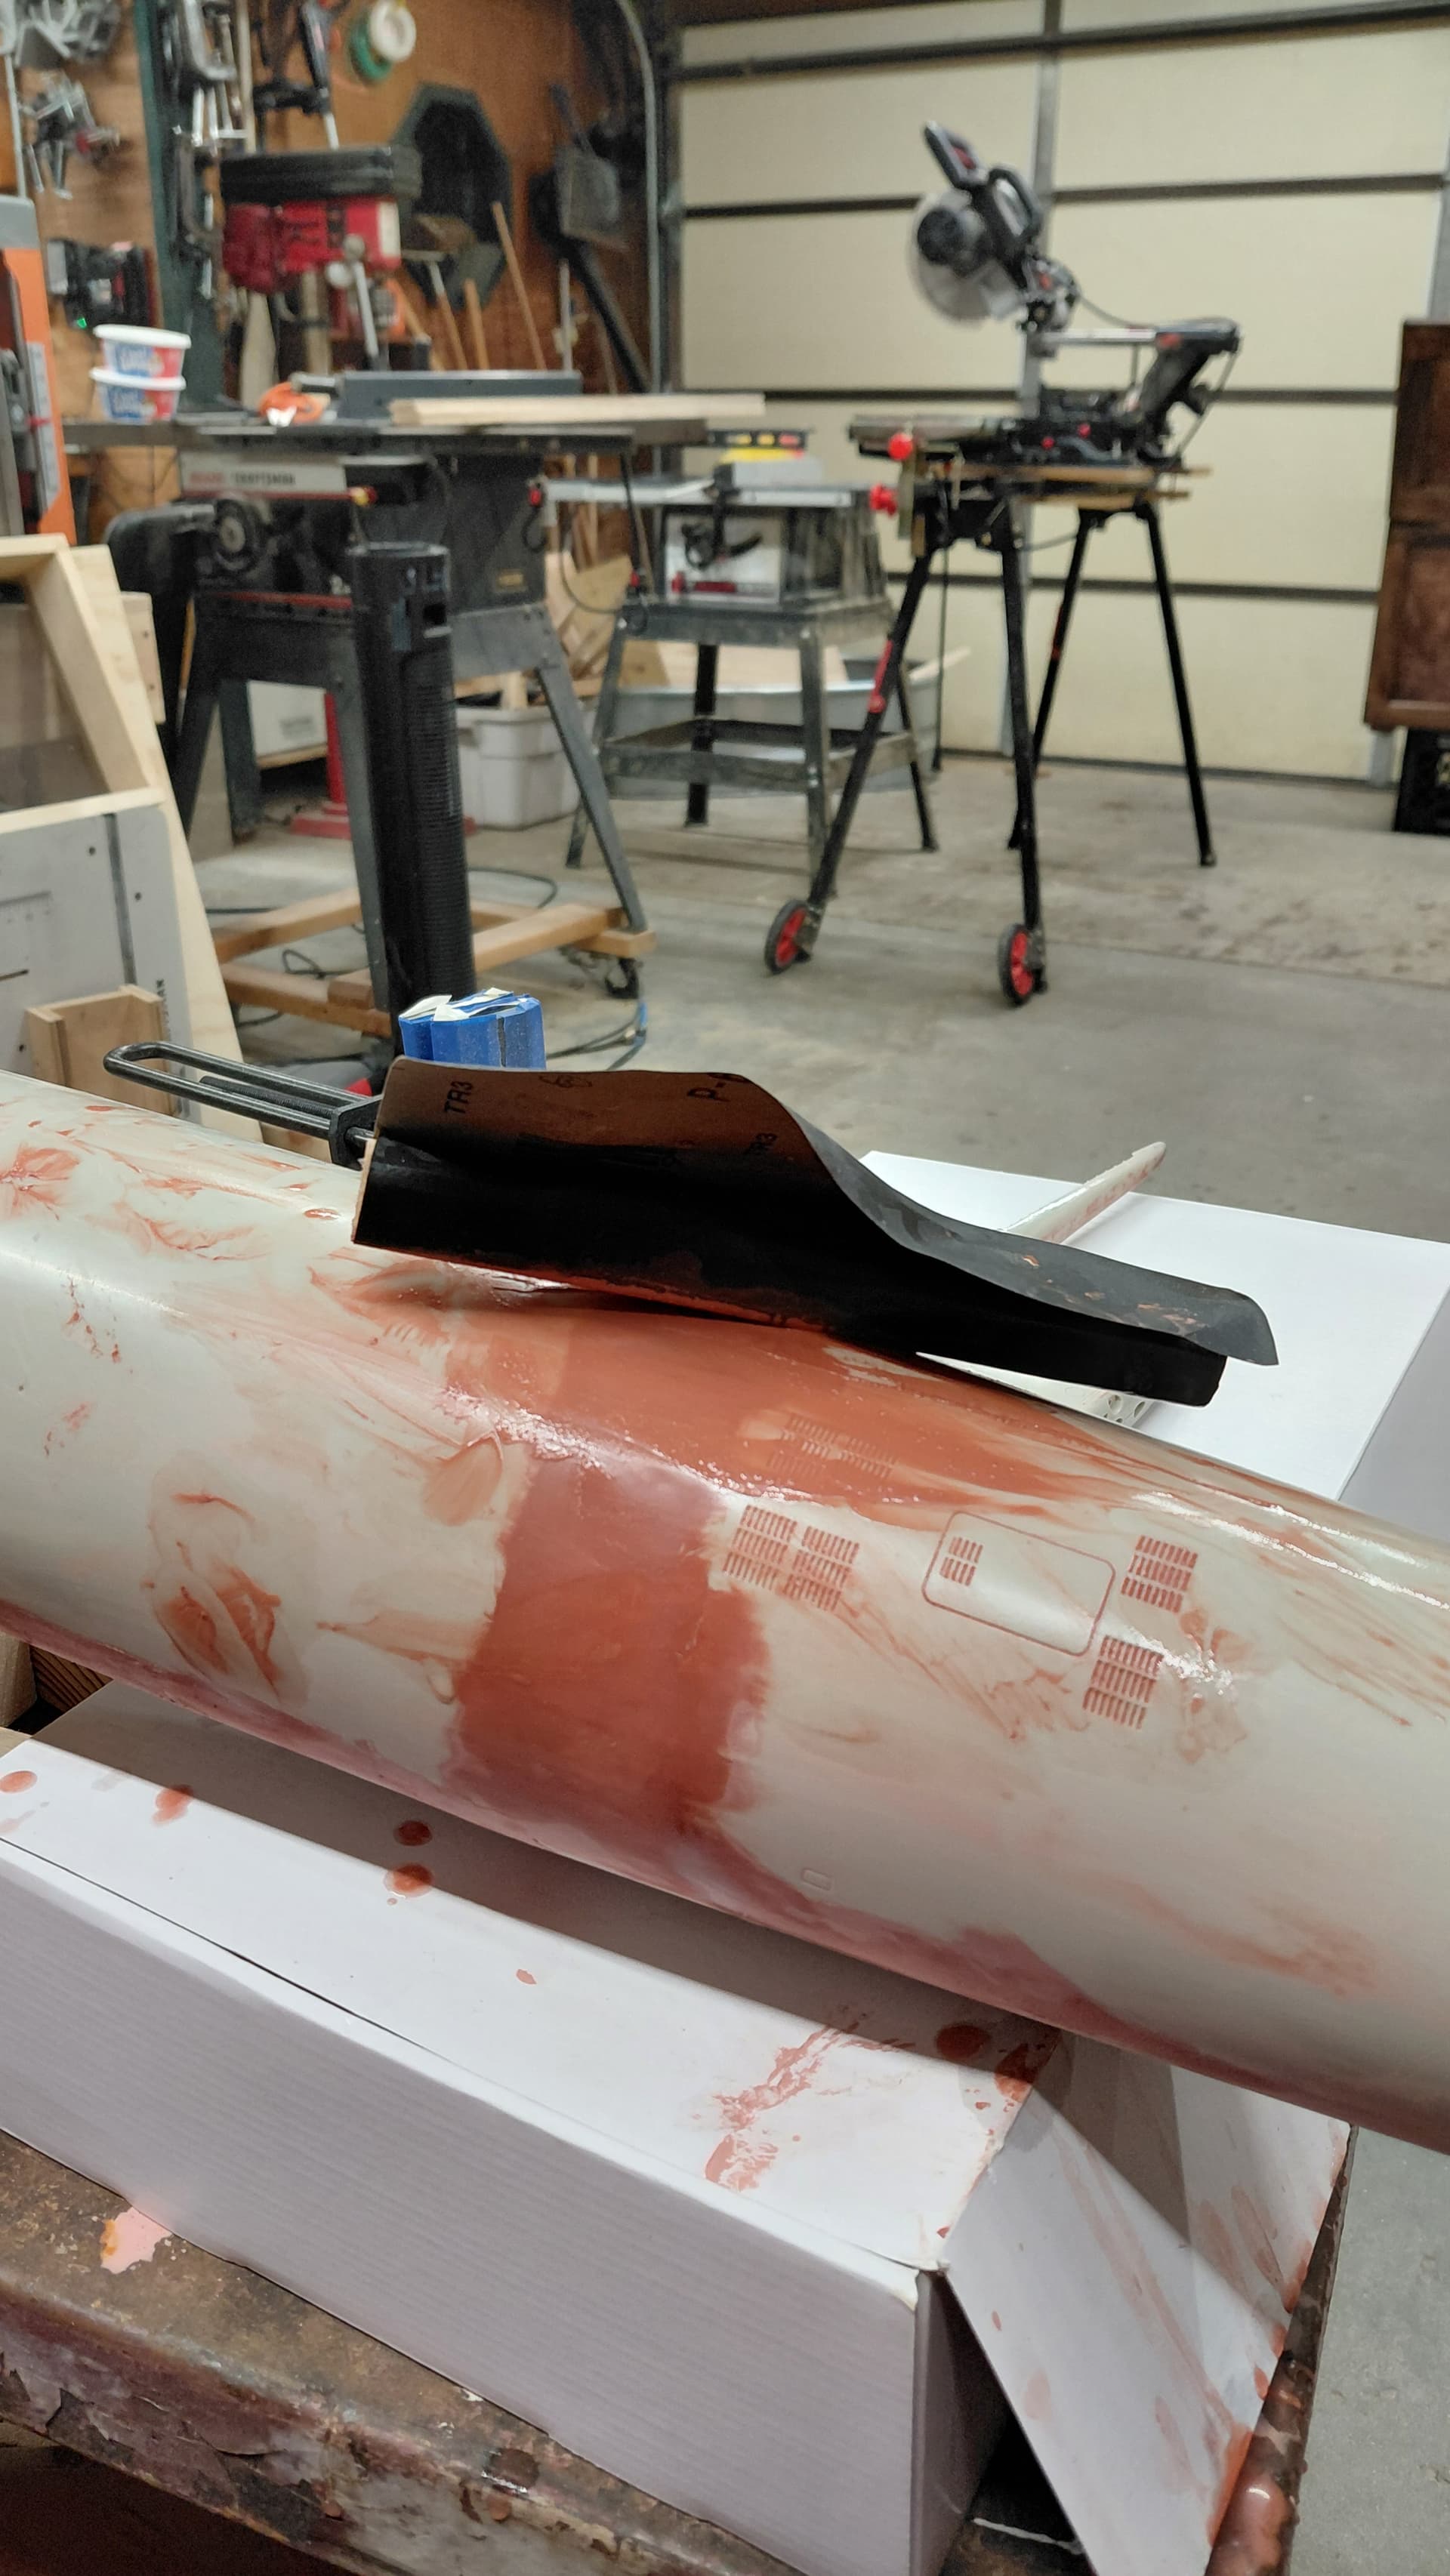
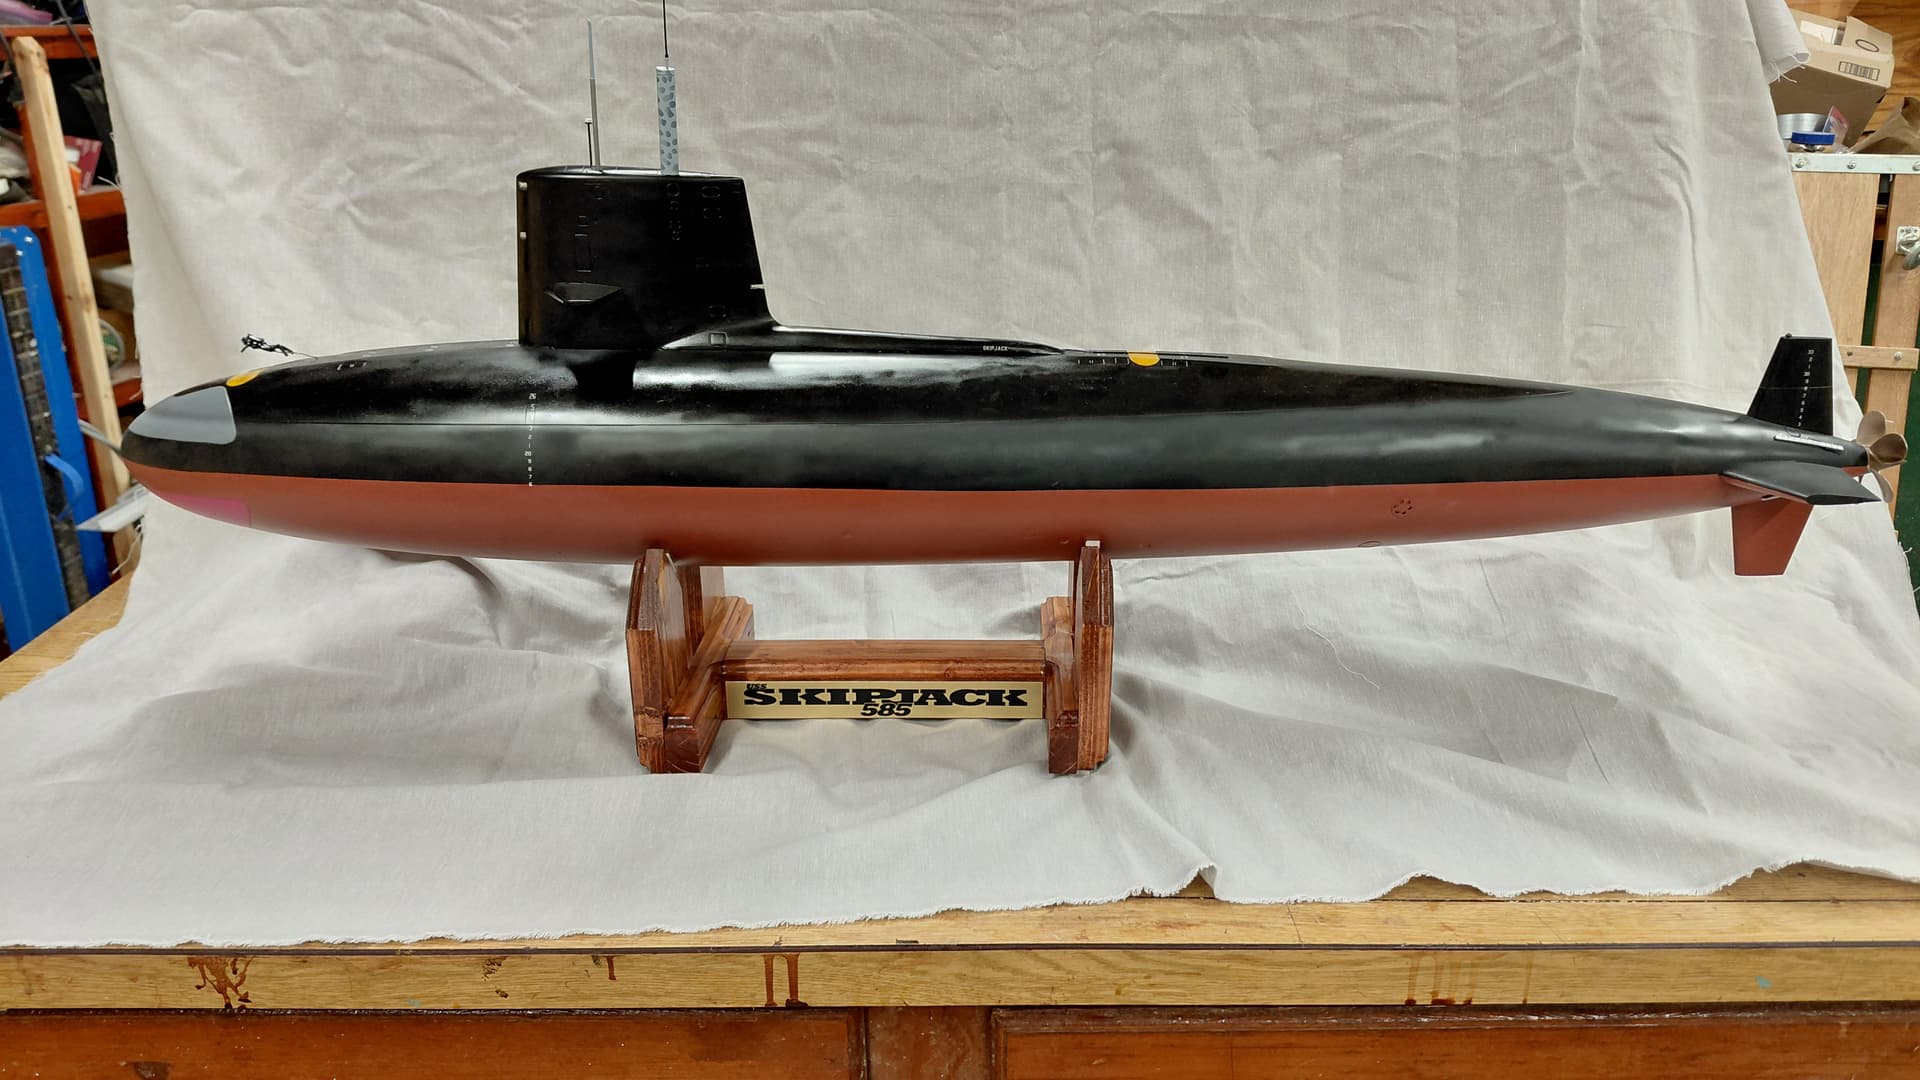
Built for the pastor of my church, as a young man he was the diver assigned to the Skipjack.
2 Likes