I’ve tried inducing sag into the rotor blades on an Academy 1/48th CH-53E, and I think I over-did it (way too much sag). It was my first-ever attempt at it. I tried a technique that I had heard about many, many years ago, so my memory of how to do it correctly might not be as accurate as I would like it to be. I taped all seven blades together at each end of the blades, then put them in almost-boiling water for a few seconds, pulled them out, and hand-held them with what I thought was the proper amount of sag. I then dipped them in cold water to set them with that sag. But, my hands aren’t calibrated for applying the proper amount of sag (go figure!). So, what is the correct technique for this?
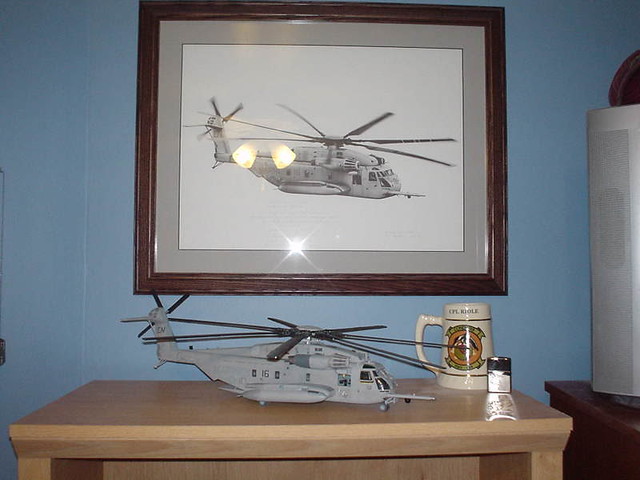
I think the first step would be to look at the photos of the real thing to determine how much the blades sag (depends if they are wood, metal or composite).
Next thing would be to make some kind of a jig to make sure the blades are at least close to one another, otherwise it would look like something’s broken. And I thing if you do it right you could also cold-bend them, but then applying some heat probably would help here. My bet would be to bend all the blades in a jig and set them out to the sun for a few days. After that they should hold the new shape.
Hope it helps, good luck with your choppers (or should I sey helos) and have a nice day
Remember that the blades will bend more at the root where the load moment it greater than towards the tips. Most of the bend would be in the first 1/3 from the hub and more straight or less curved to the tip.
I make myseif a template and simply work the blades with my fingers till they look right to me.
Theuns is correct, more bending/sag near the root of the blades, I gradually decrease the arc as I work outward, then leave the last 10/15% of the blade essentially straight. The blades should be at least room temp, a mild amount of heat is a help. If too hot, then it’s too easy to go WAY overboard on the bend.
Also keep in mind, some types like the large Russian helo’s have a readily noticeable more aggressive bending at rest.
I make my bends with thumb and forefinger on opposite blade sides, at nearly right angles. Thumb on the lower side, finger on top. Then I press down with the fingers, rolling the blade over the thumb as I work toward the tip. I do this with continuous movement, in small increments moving outward. This is very similar to the way sheet metal is worked into curves and bends, gently and in small amounts at a time.
I check for a consistent sag on all of the blades, by laying them inverted and side by side, to compare each with the first correct blade for accurate appearence. Make your first attempts gently, my first tries resulted in a few snapped blades, now many years later I’ve not broken another.
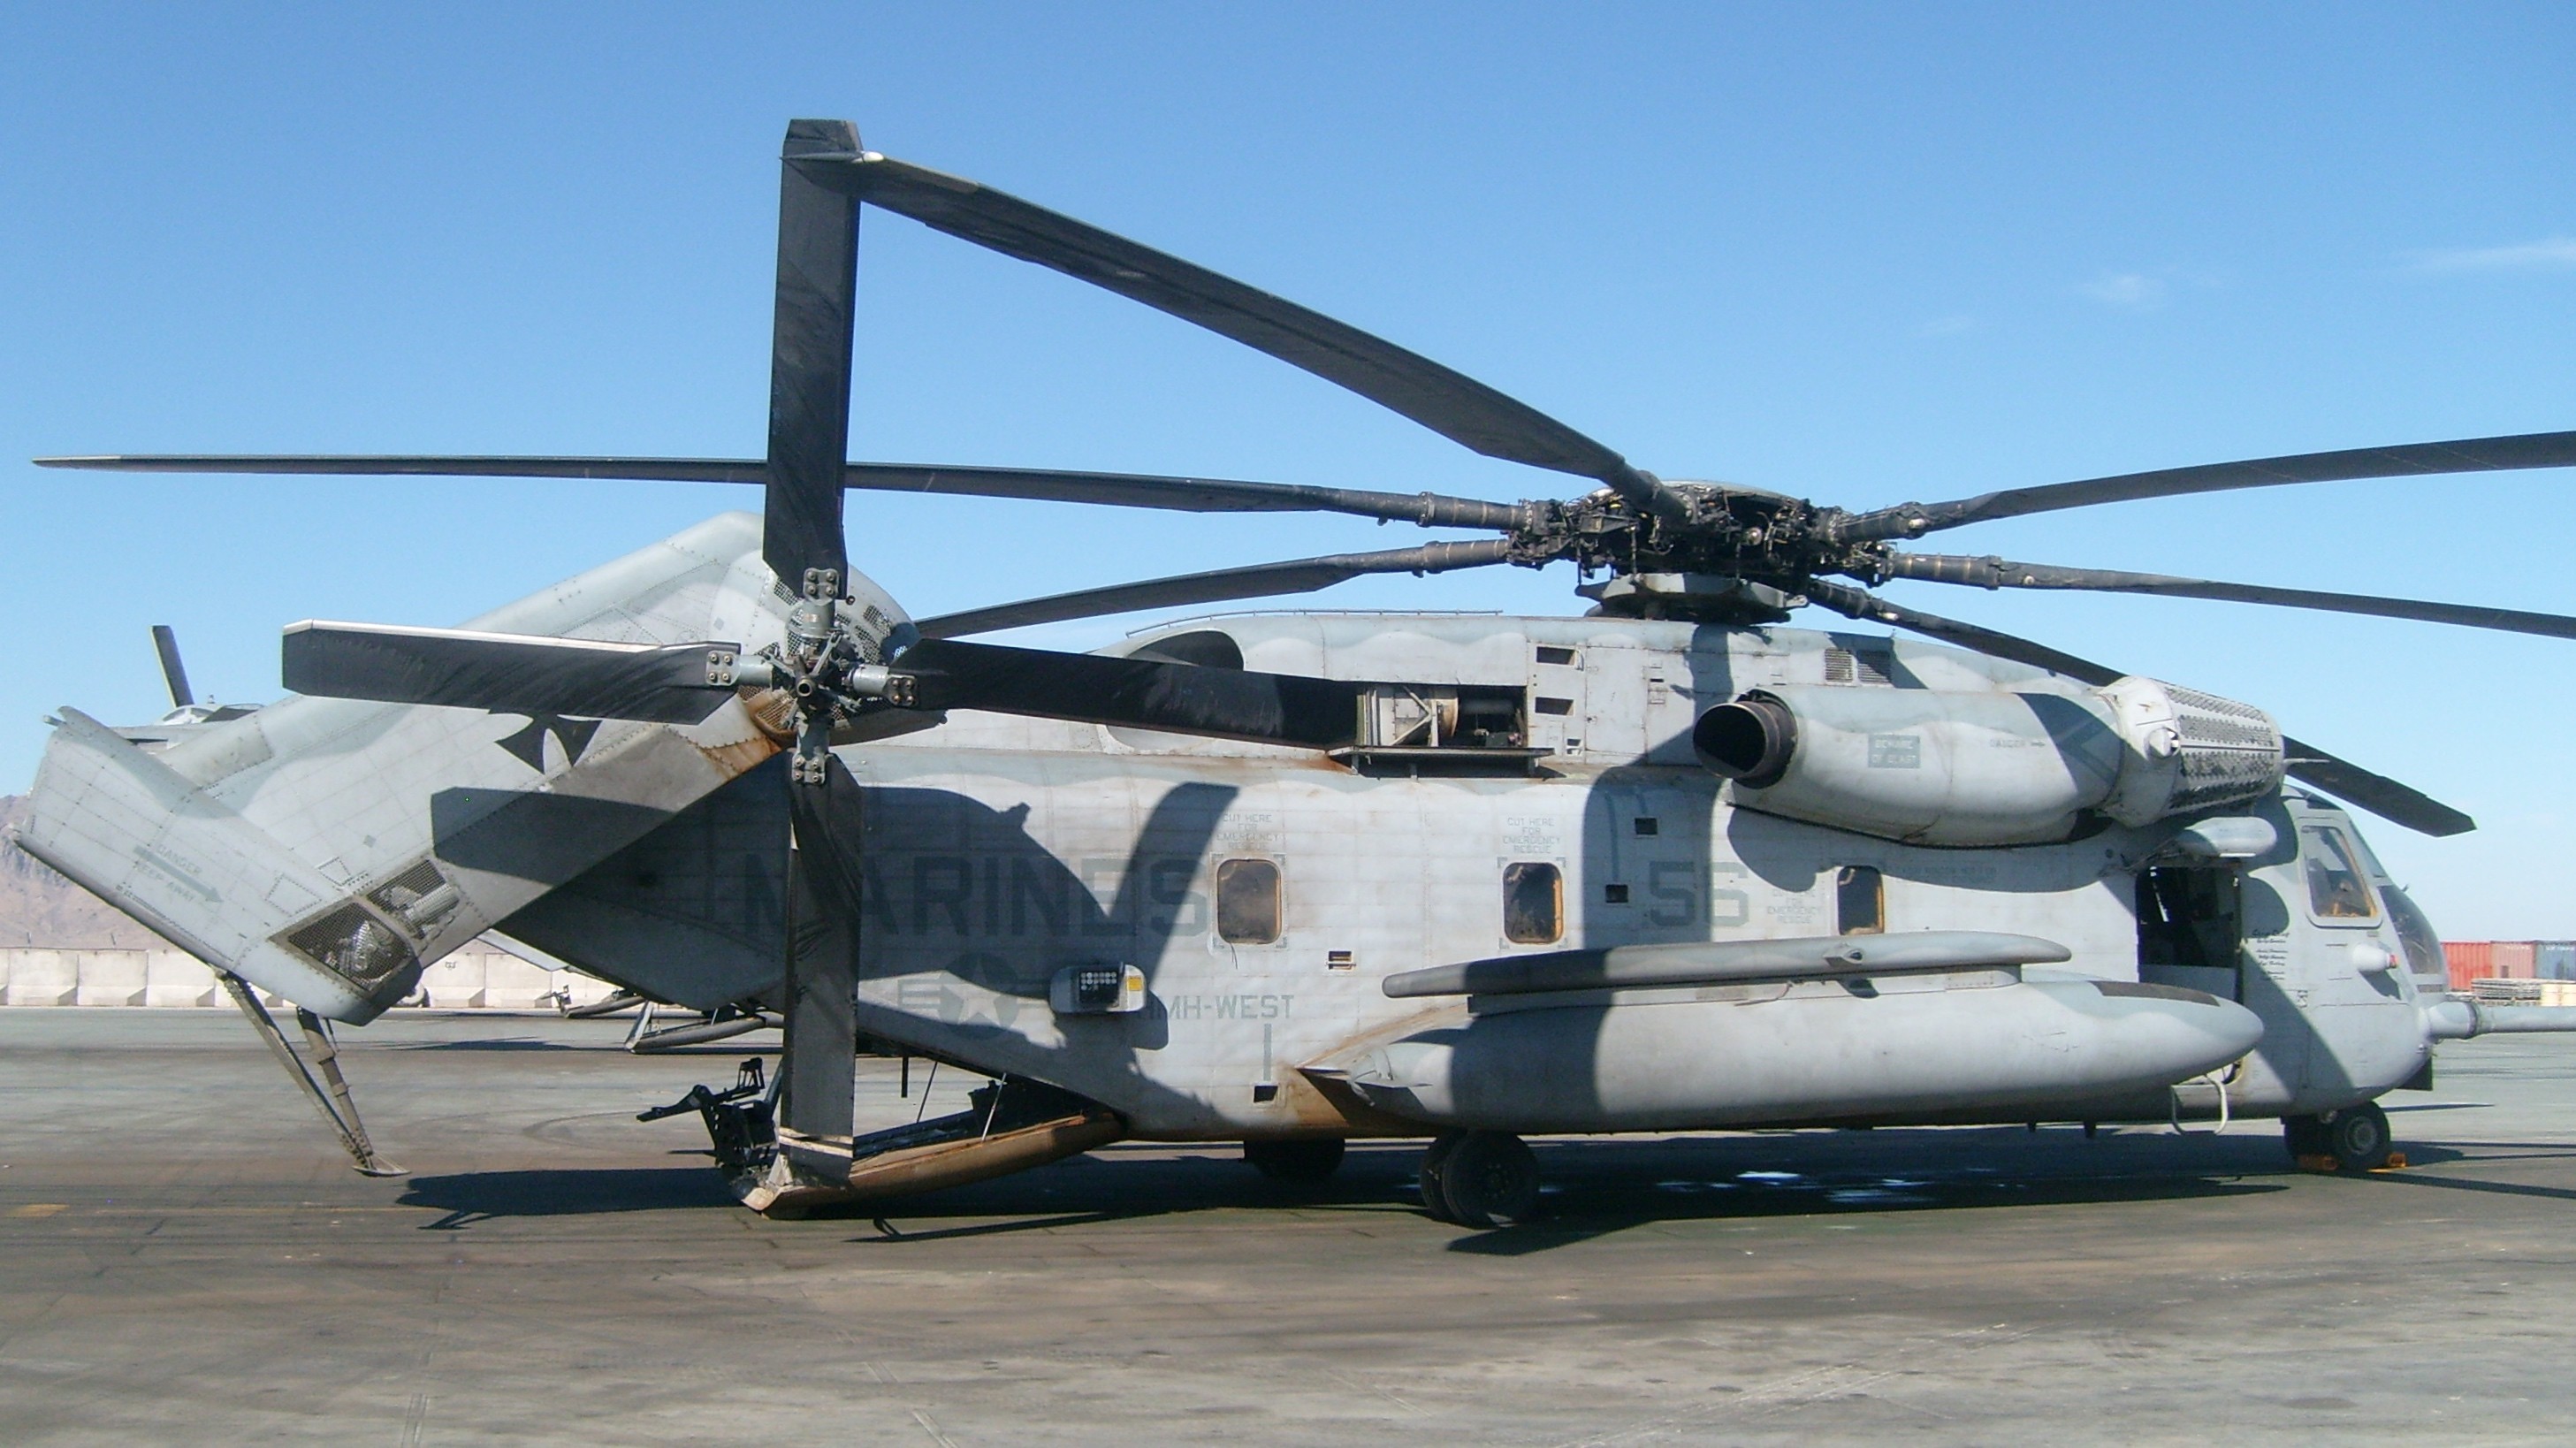
The 53’s blade sag is not very dramatic at rest. Keep in mind, as soon as the rotor brake haults the rotor head, maintenance crews install blade ropes and tie them to anchor points on the fuselage. The blade sag can be increased by a maintainer simply pulling very hard on the rope.
I did not use heat on my blades. I just flexed each one individually until they looked right. I’d hold the rotor head end in one hand, and I’d apply pressure at about 3/4 of the distance down the blade until the slight sag looked right.
I’ve got to second what RidleUSMC posted. When I was in the sandbox, it surprised me how little blade sag the -53s had.
I was taught very early on when I was a new helo crew chief that “You can tell how much the crew chief loves his bird by how tight the blade ropes are”. I could get the blade tips to sag under the tension of the blade ropes almost an additional foot, depending on where the blades were because of the tilt of the rotor head.