I’m working on the 1/144 Seawolf by Trumpter and I’ve figured out how to correct the numerous faults with the hull, sail, and pump jet propulsor, but the piece that is throwing me for a loop is the screw.
The screw, or propeller, on a submarine is made of brass and I haven’t found a paint that produces a satisfactory result. The RC community has a few metal propellers but none in the size/configuration I need. Since I’m not equipped to fabricate metal myself, I’m now looking at a foil solution
Anyone have experience doing detailed foil work? I’m looking for all the tips and tricks I can find so if you can help, I’d be grateful.
I appreciate the initiative on your part but I have only done bits like side mirrors on a 1/35 Stryker with foil. Basic stuff. I cut a piece to size overlapping a little, place down and rub with q-tip and trim with a brand new blade. Good results but I too want to hear from more qualified buiders on this. Thanks for the topic.
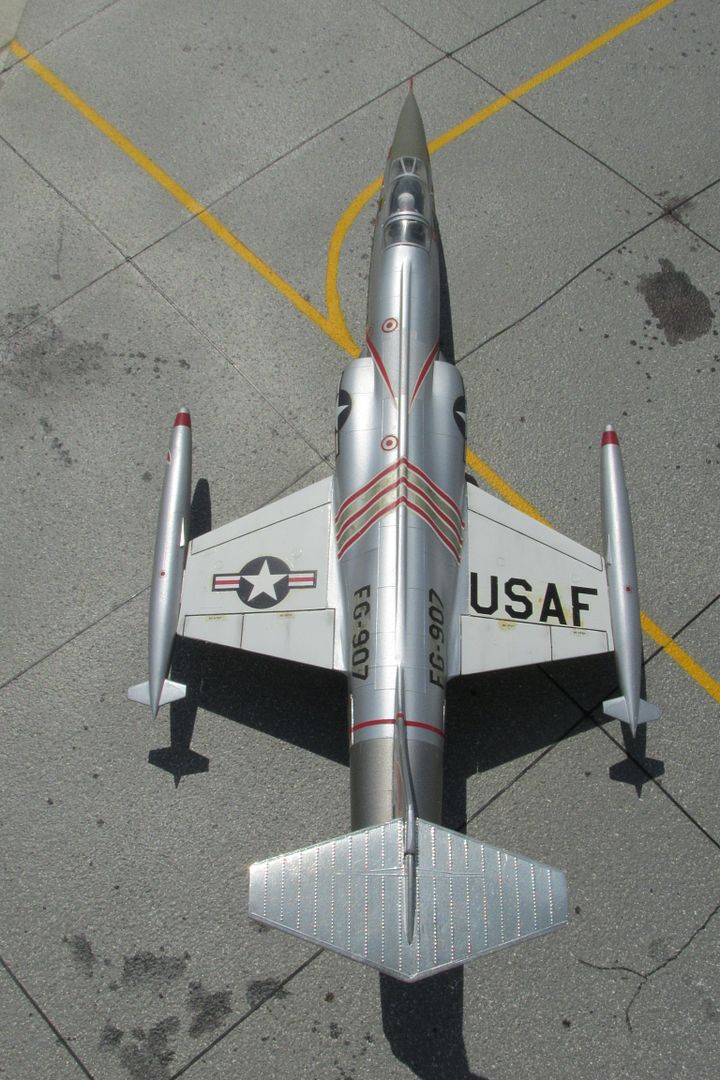
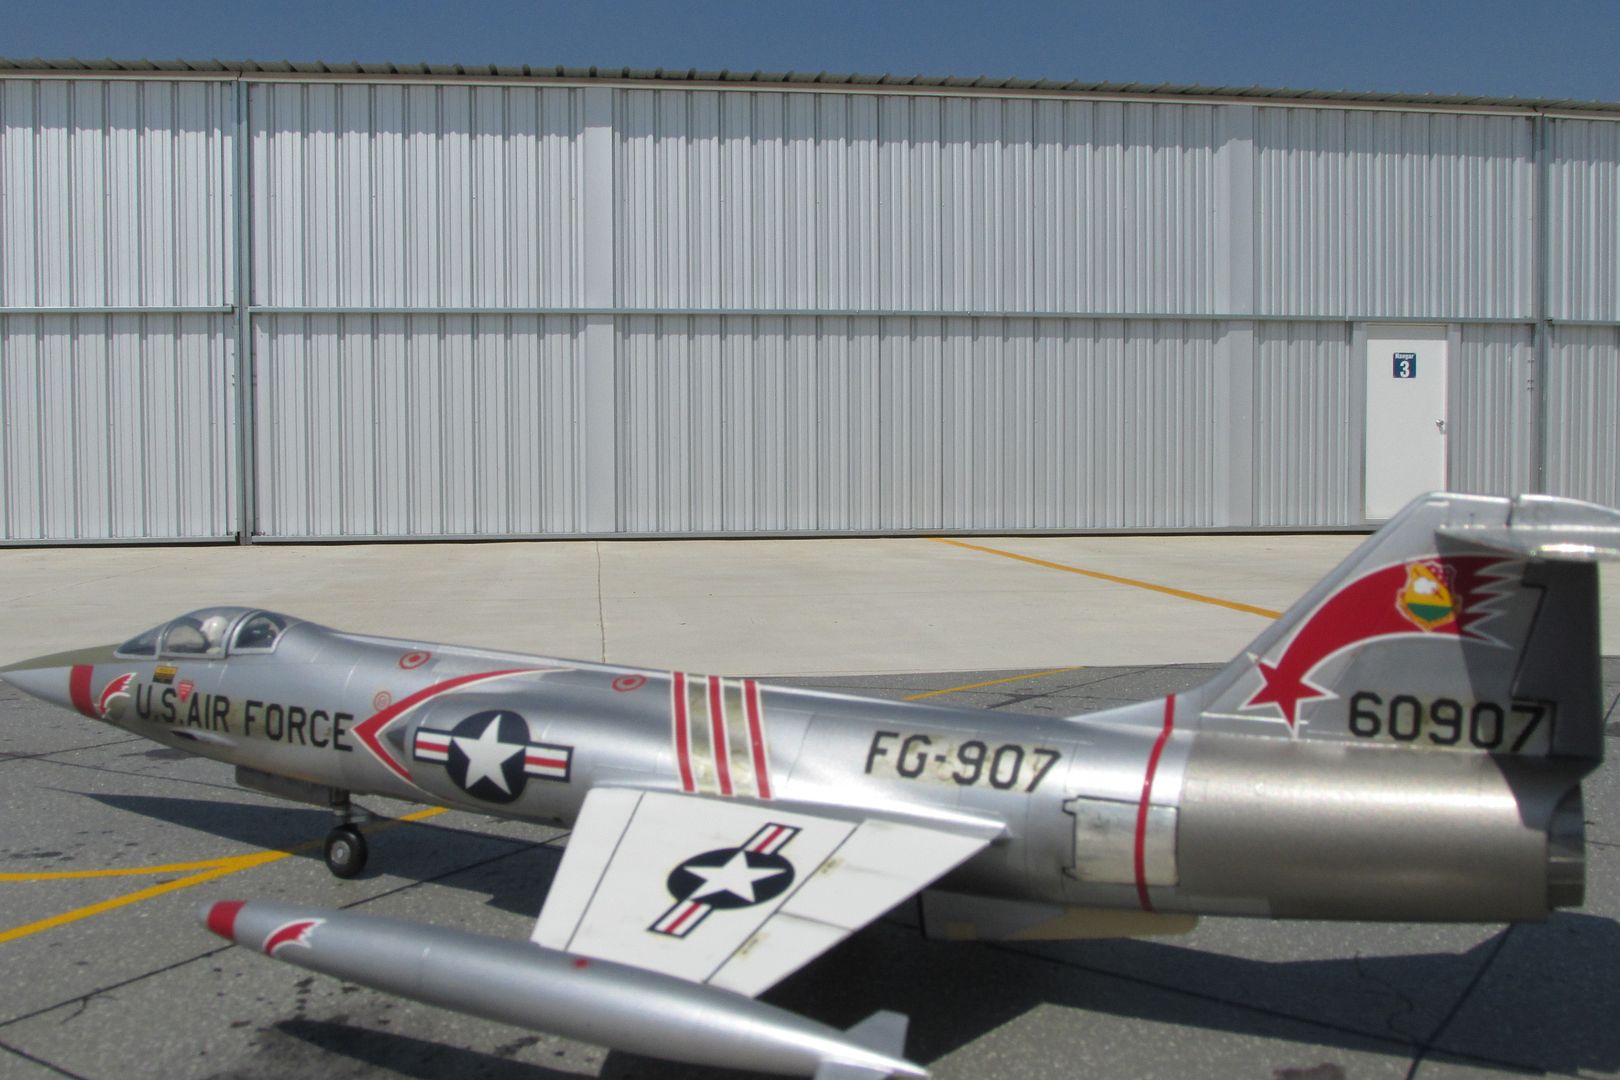
As mm66 said, I’ve only used it for small areas, and his technique sounds exactly like I’ve done with mine. The horizntal stabilizer on this 20 year-old plus F-104A and the dive brake doors were done with BareMetalFoil.
BMF is de rigour on car models, and some folks are real artists at trimming the stuff.
I would not use BMF for ship props, for two reasons. Thin edges can be difficult, and I know of no bronze BMF. Large ship props, in spite of what instructions say, are not made of brass- they are made of bronze or, for more recent ships, steel. Bronze is NOT the same as brass. Here is how I paint kit props to represent bronze; First paint with copper (Testors makes a fine copper paint). Then, with airbrush I overcoat with a very thin coat of medium brown. Lastly, I use a wash of green for a slight patina.
I have used Bare Metal Foil extensively on cars and airplanes . Following are my tips for applying Bare Metal Foil.
Cleanliness is essential. Your work space, tools and model need to dust free. Any bit of dust, grit or hair will ruin your project.
Always use a sharp X-acto knife to cut the foil. A dull knife will tear the foil. Change the knife frequently.
Use a paper blending stick to smooth the foil after it is applied. Blending sticks are available in the artist paint section of Hobby Lobby or any craft store.
Use 0000 Steel Wool to enhance the natural grain of the foil. Practice on scrap material first.
Thanks for the replies. I’m going to try both techniques, I’ll try the paint on the deformed screw that the model originally came with to see if I can make something out of it.
I have no idea what is used on larger ships Don, but I’m definitely looking for brass rather than bronze for a US Submarine. I was only TAD on Seawolf for a few months in '97, and I never saw it out of the water. My permanent assignment was on a flight one 688. When it was in drydock I spent a good deal of time working on her exterior with carpal-tunnel-inducing needle guns and I can assure you that the screw was a relatively bright brass with no major discoloration, patina, or oxidation; in fact I remember how the grinding wheel marks caught the sunlight before the shroud was hung.
Since I know there’s a submarine group build going on I figure it’s best to be clear. While I can’t speak to WWII boats, on modern US submarines, at least on the 637’s and 688 classes - flight one through three - people should stick with brass.
JohnnyK. I have a feeling I’ll have to try this more than a couple times to get the result I’m looking for… Thankfully I can remove and reapply until I get the result I’m looking for, yes? No matter which technique I try, I’m thinking there’s going to be some long nights and probable swearing in my future.
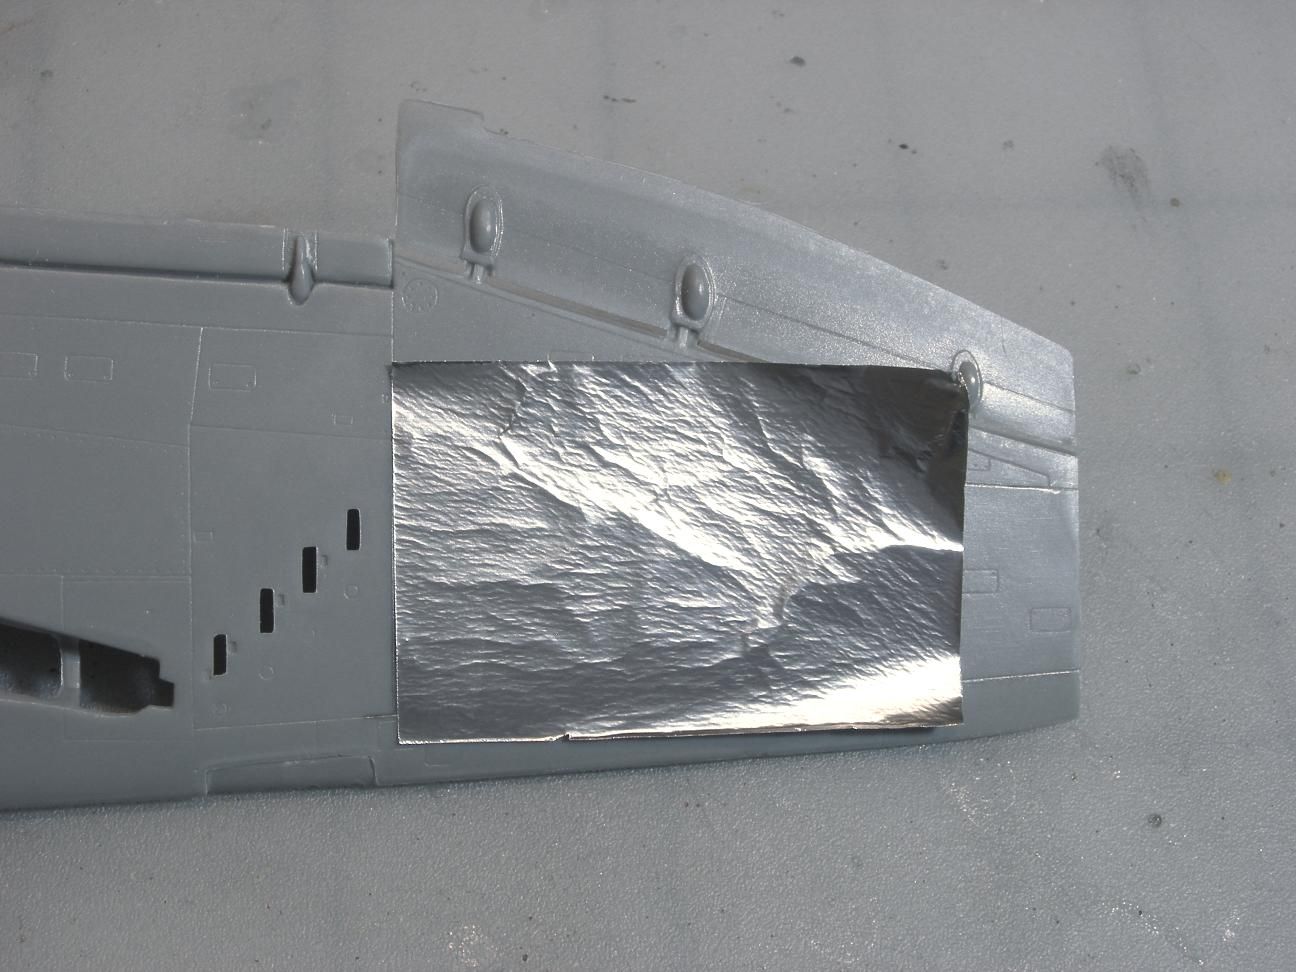
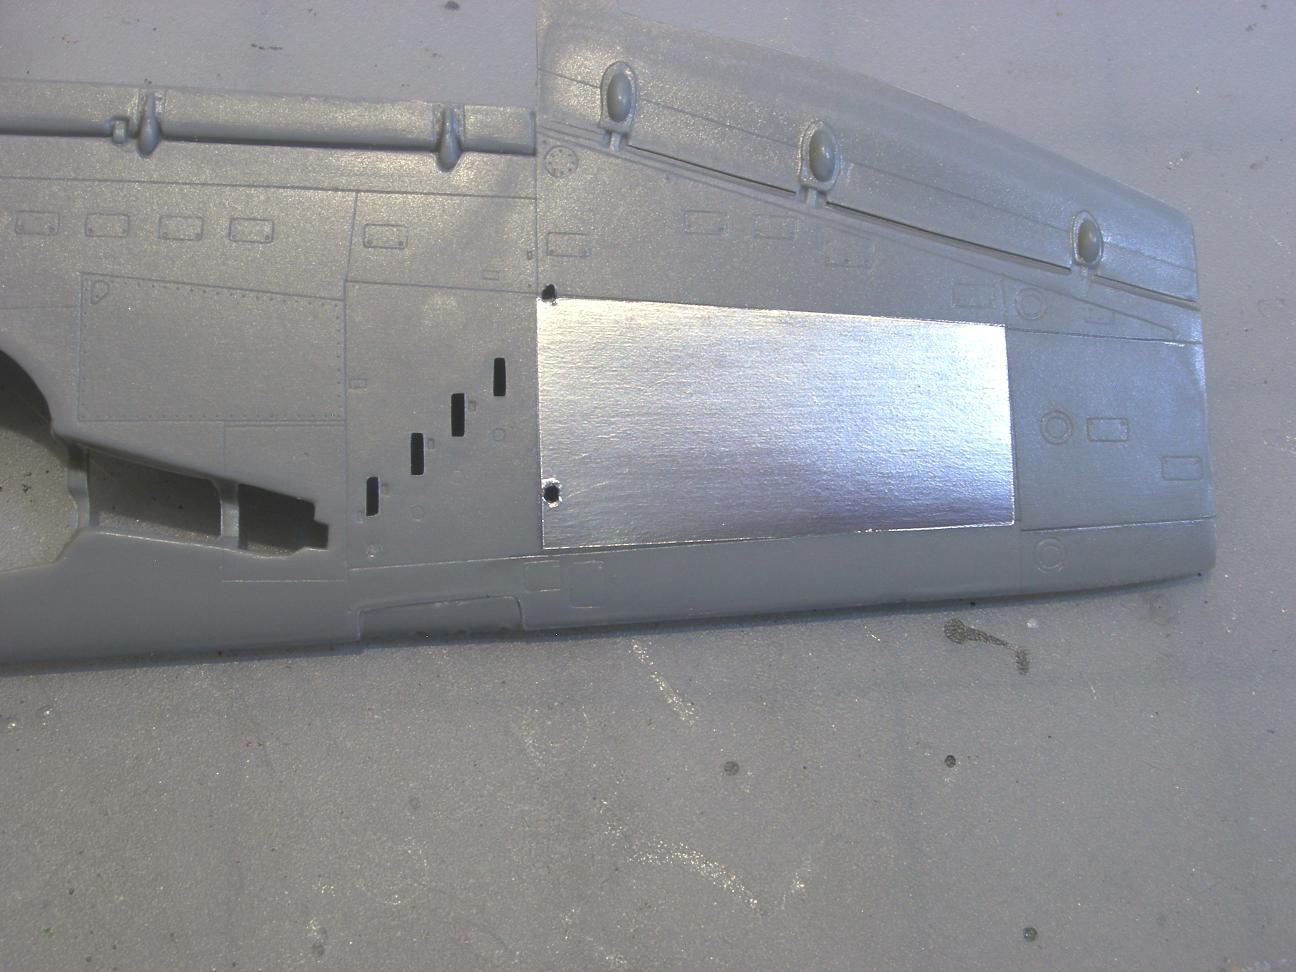
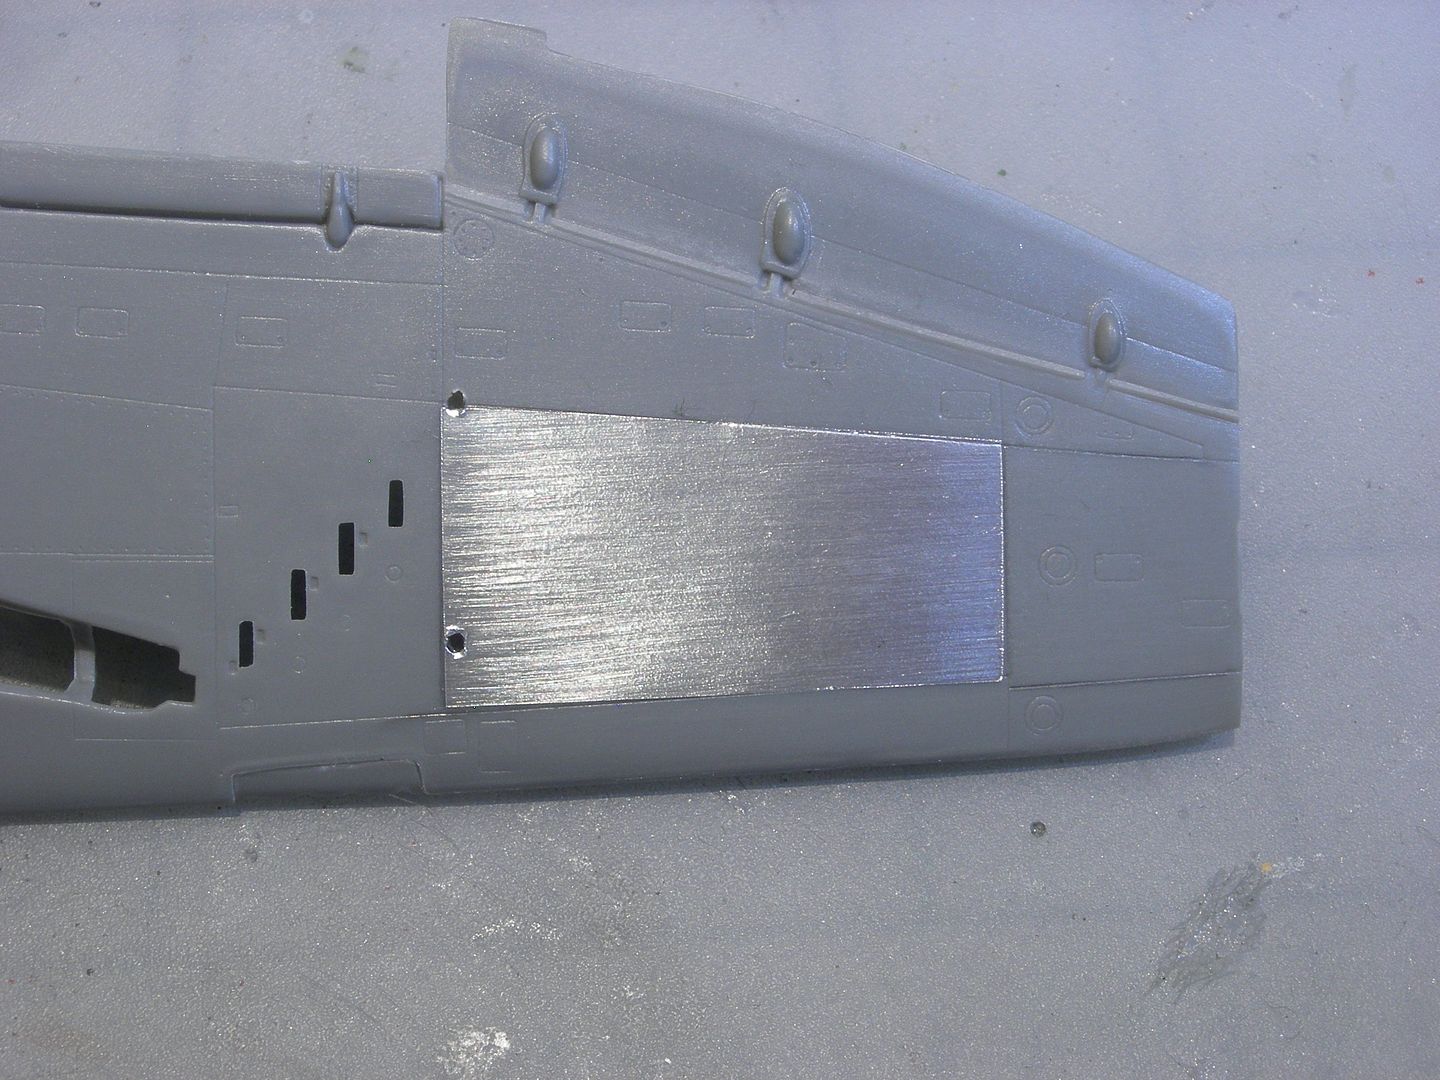
Here are some photos regarding applying BMF. It is not difficult.
PHOTO 1: This is how BMF looks when it is first applied. Don’t freak out. It will be made smooth in photo2.
PHOTO 2: The BMF has been burnished with a paper blending stick. No more wrinkles. The BMF also has been trimmed.
PHOTO 3: The foil has been lightly rubbed ONCE AND ONLY ONCE with 0000 steel wool.
It is somewhat difficult to remove the foil after it has been burnished “hard” with the blending stick. When it is removed the adhesive sticks to the plastic and needs to be removed.
If you go to Hobby Lobby they have craft foil in the color you need .Now you need " Micro-Foil Adhesive " Too .Take the foil , Say a 12’x12’ piece and paint the back of the foil with this product with a very fine bristled wide brush .Let it dry . ( It will turn clear ) .
Then apply to the screw one blade at a time and burnish down well . Do the other side the same way , trim the edges and touch up with Model - Master Bronze paint and you will have it . When finished , overcoat with a thin layer of Flat Acrylic Clear ,again brushed on thinly .
You must remember that although the screw is shiny it is not mirror shiny . T.B.
I have tried using aluminum foil with Micro-Foil Adhesive. I was never able to apply the adhesive very smooth. It always had wrinkles when it dried which showed through the foil. Any tips to getting the adhesive smooth?
Personally, I don’t like using BMF on aircraft kits. Too shiny and unrealistic. You’re better off using Alclad instead. Keep in mind, panels on some BMF jets are not uniformed nor clean.
Another issue is applying decals any weathering attempts on BMF. I doubt decals will stay on after a while.
I have never had a problem with decals on Alclad, even on models quite a few years old. Decals go on very well on Alclad, and seem to adhere very well. I do not add a sealing coat for decals on Alclad- I feel it changes the glean in ways I don’t like, so the adhesion of the decals on my Alclad models is the inherent adhesion of the decals.
Based on experience, decals stick very well to BMF and weathering is not a problem. IMHO, Alclad tends to look like paint, not real metal. BMF will not look shiny if done correctly. Plus, it is easy to vary the color of BMF. Just my opinions.
I disagree that Alclad looks like paint. I’ve seen quite a few impressive kits done with Alclad. If done right, it looks far better and realistic than BMF.
Personally, I think foil looks incredible. I’ve never seen a metallic paint solution that appealed to me. I was inclined to buy separate foil and adhesive but ended up going with some gold BMF for my first attempt. I figure it’s probably better to minimize the variables when I’m learning new techniques.
Also, if I’m not mistaken, decal adherence over time shouldn’t even really be a consideration. Since the foil should be sprayed over with a top coat to prevent tarnish as well as protect the surfaces, any decals would be as permanent as with any other finish, yes?
I tell you, I’ve been building and crafting my own whatever’s for the past twenty years but when I decided to try my hand at modelling again… It’s a whole new world compared to my teenage experiences in the early nineties. I only ever had testors enamels, testors cement, some crap putty, and sandpaper squares. Now, in addition to my subject research, it’s taken me a week just to figure out which type of paint to go with, then another to figure out which airbrush to choose.
Remember, you need to include the cost of an airbrush, compressor, cleaning solution to the real cost of using Alclad. Some of us, like I, do not own an airbruse.
You can find a decent starter airbrush/compressor set for under $150 at tcpglobal.com. Or you can go to Hobby Lobby armed with a 40% coupon and use it on an $80 airbrush. Harbor Freight has air compressors and airbrushes as well.
I’ve picked up a few bottles of Alclad lacquers and their thinner far cheaper at a LHS in Syracuse, NY than online a couple years ago.
Alclad will take on different sheens depending on how thick it is applied. I tend to use Polished Aluminum variant a lot, because I can vary sheen all the way from a true polished aluminum, with a very thin coat, down to a weathered low sheen look with thicker application. By masking with low tack materials, I can get different sheens on same model by doing some panels very thin, others thicker.
Some folks say bare aluminum aircraft never have a polished finish. Not true. I have seen several squadron commanders aircraft frequently polished to keep high sheen. During golden age, manufacturers supplied bare aluminum on prototypes to AAF with super polish on them. Many museum aircraft are highly polished, especially golden age civil aircraft.