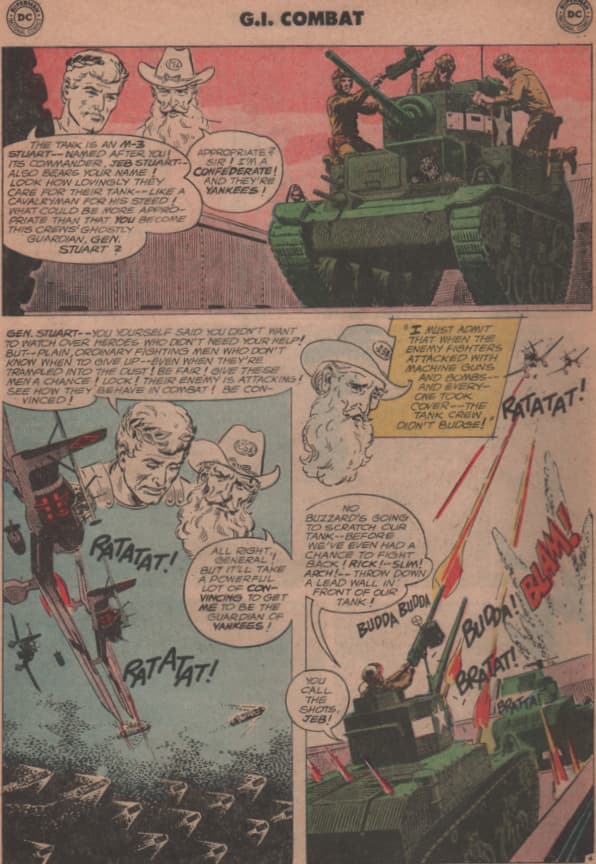
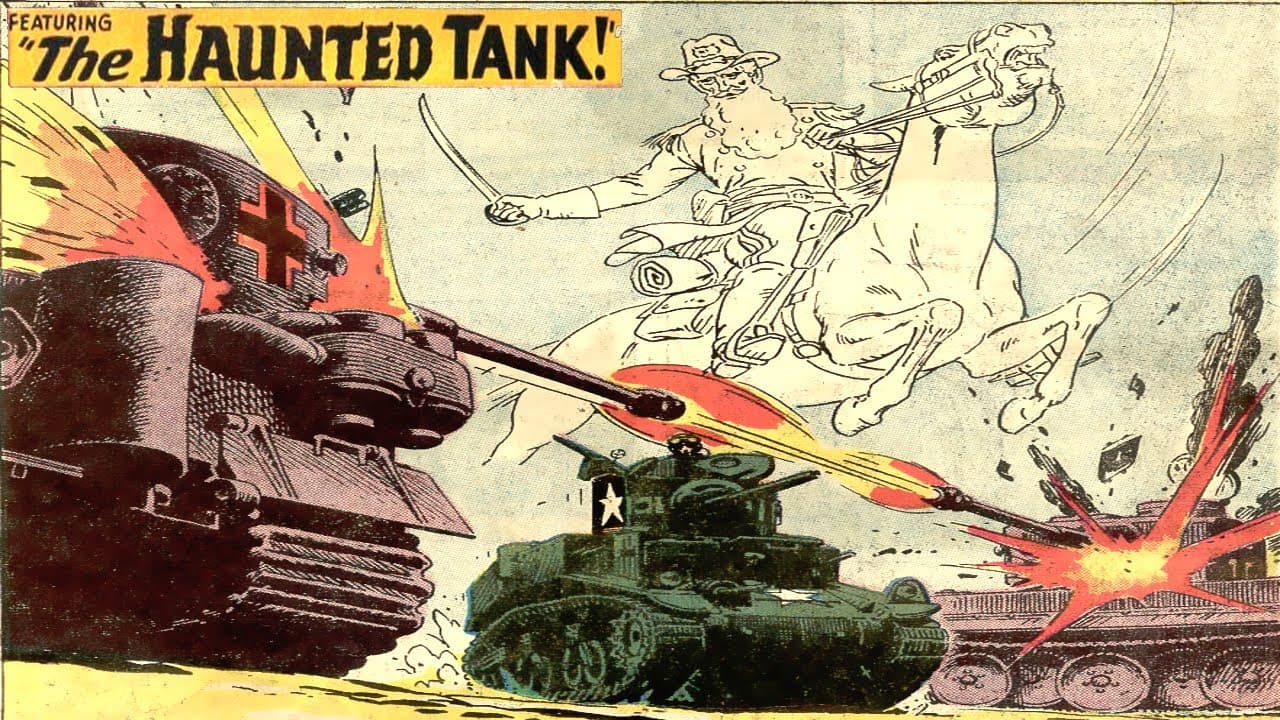
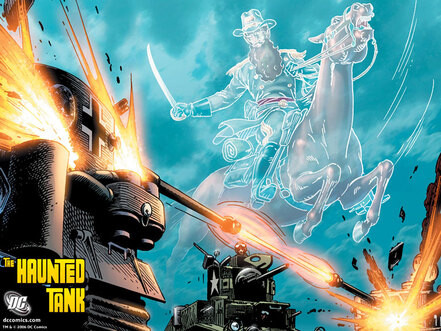
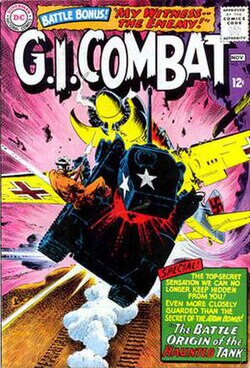
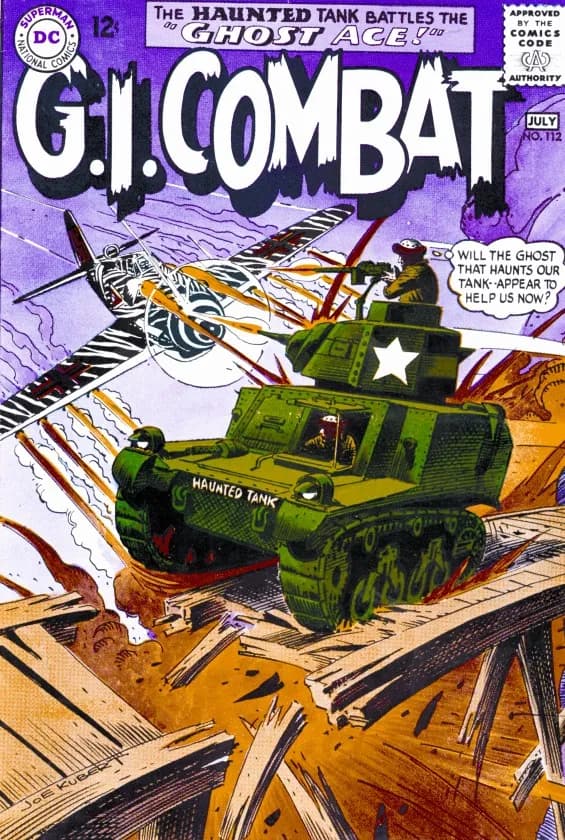
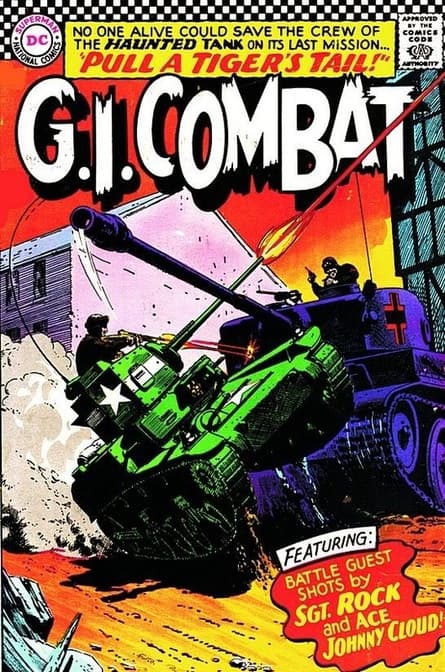
Those of us that are “older” may recall a DC comic book from the early '60s to the mid '70s called G.I. Combat. This comic often featured The Haunted Tank. These were set during WW2 with the premise that the ghost of General Stuart was sent to watch over his descendent Lt. Jeb Stuart and is (not coincidentally named) Stuart tank. The tank and crew often ended up in some very precarious situations that could only occur in a comic book world.
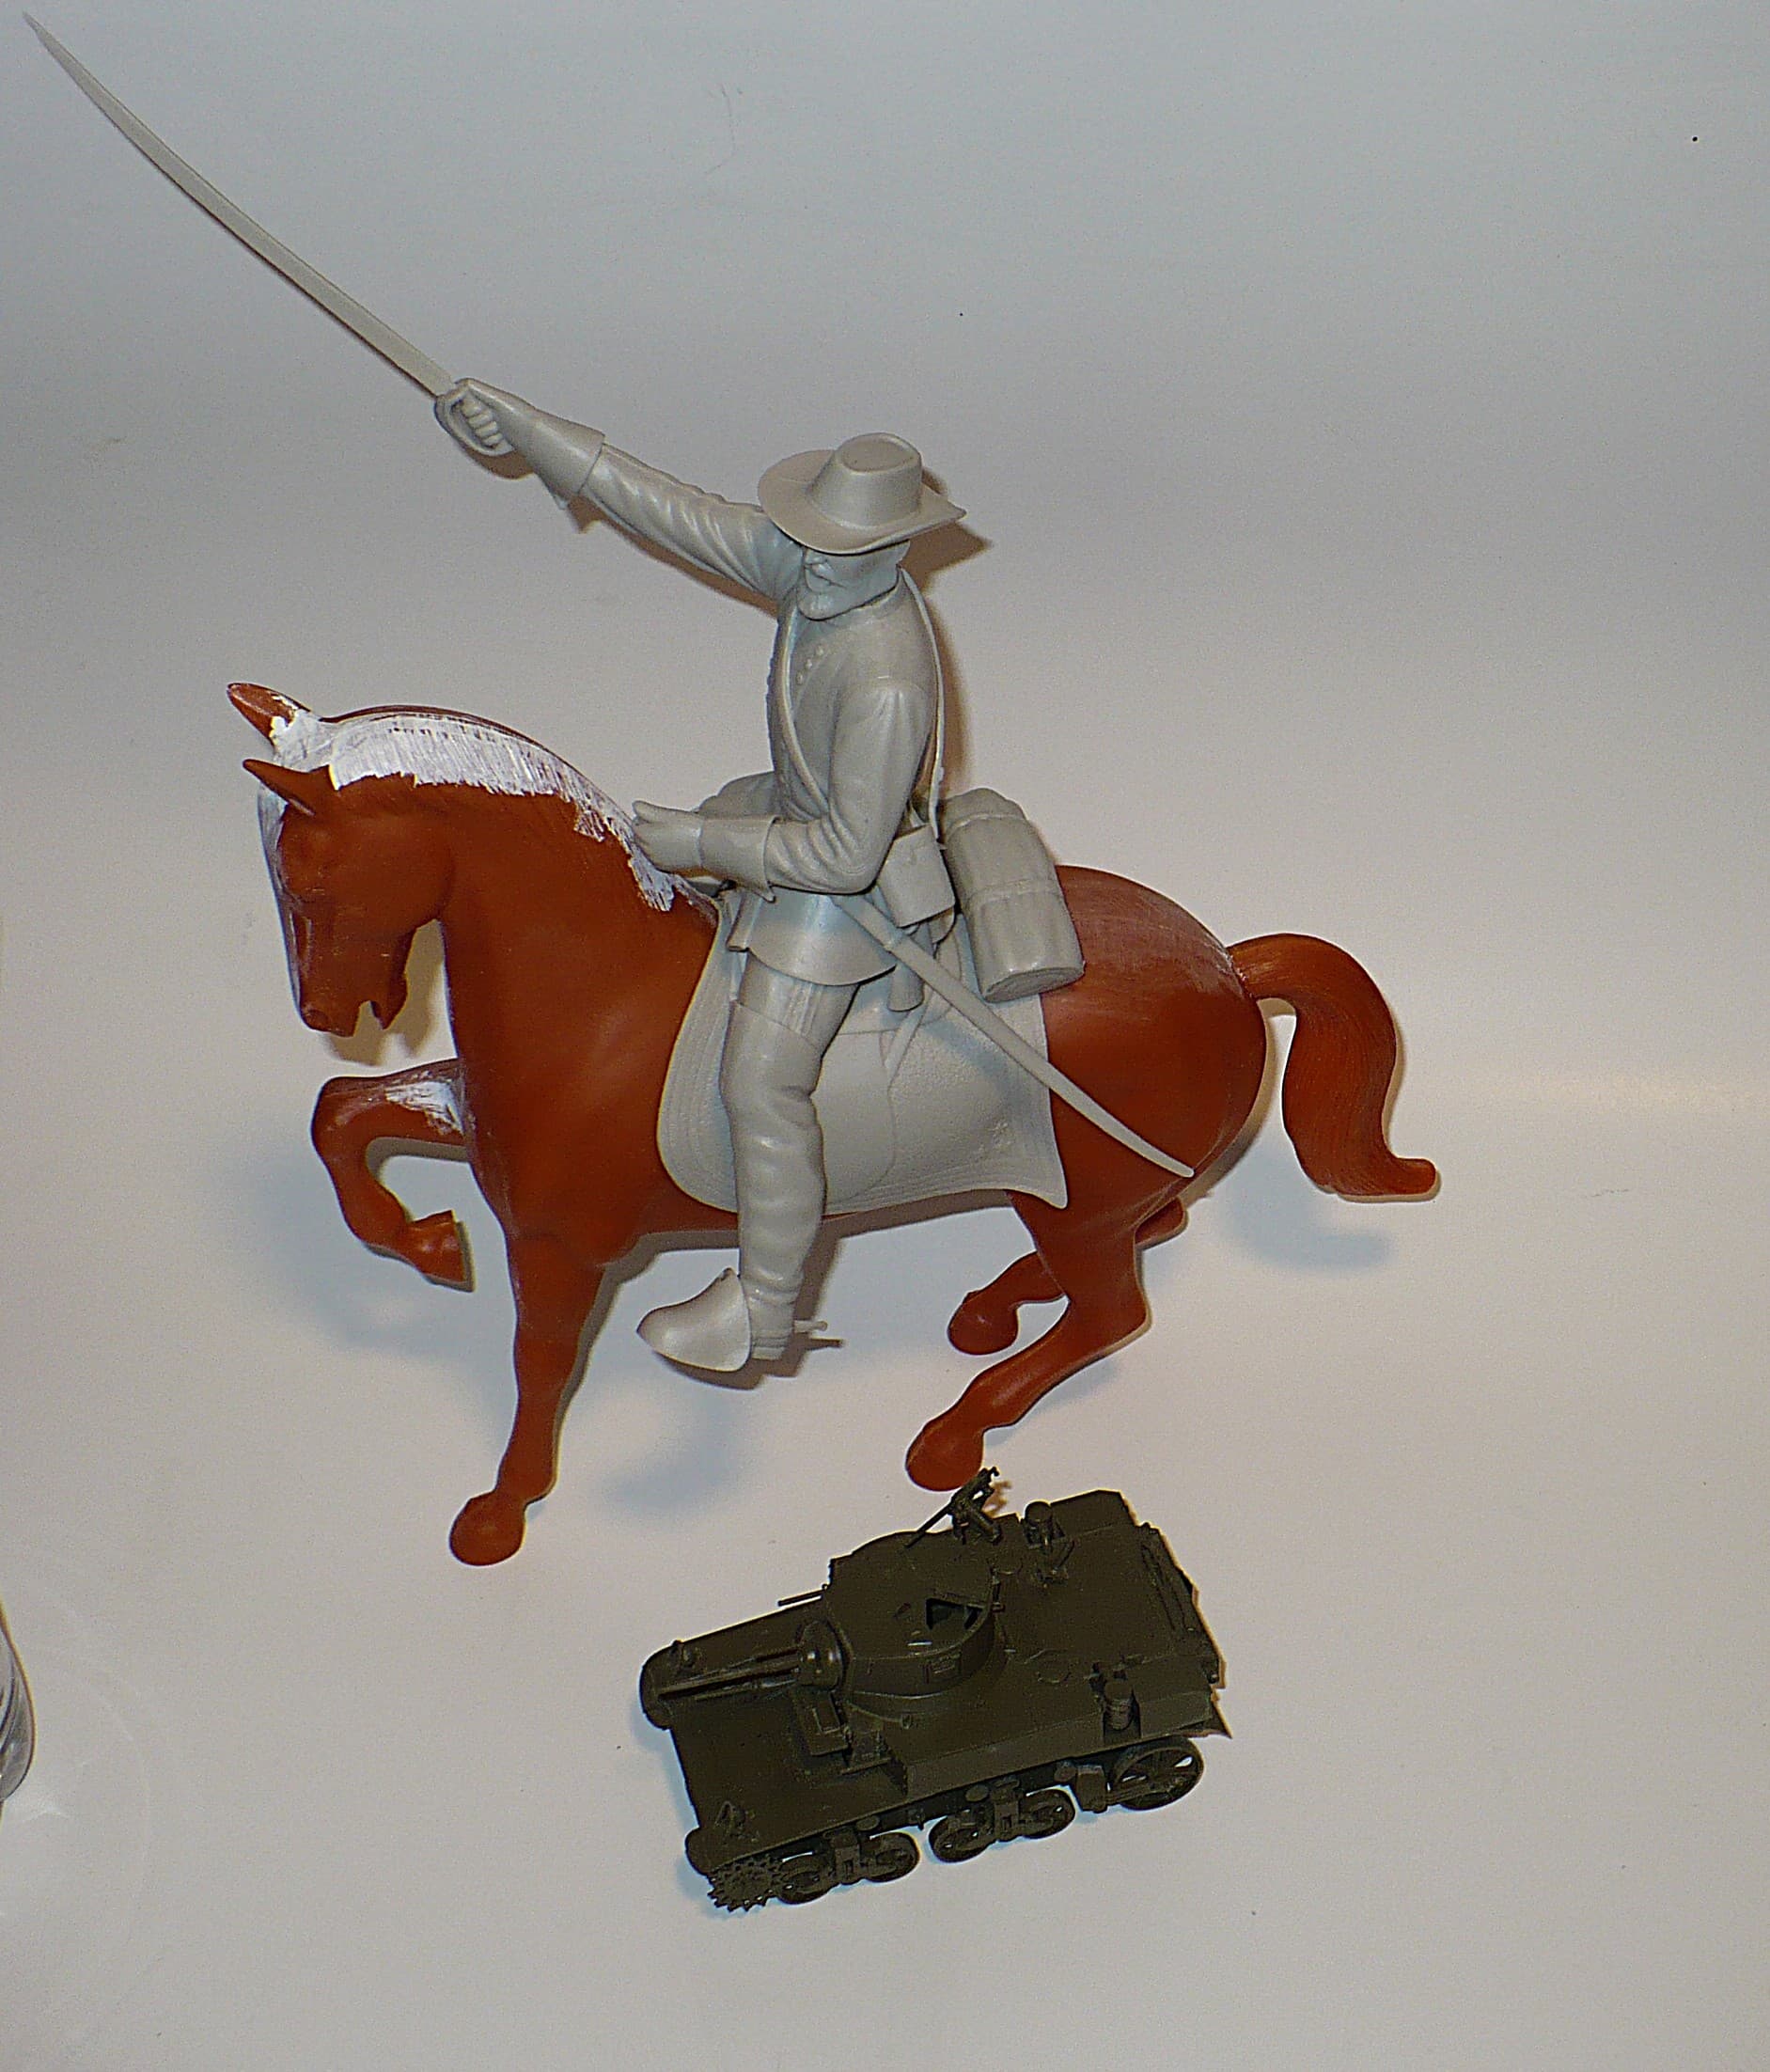
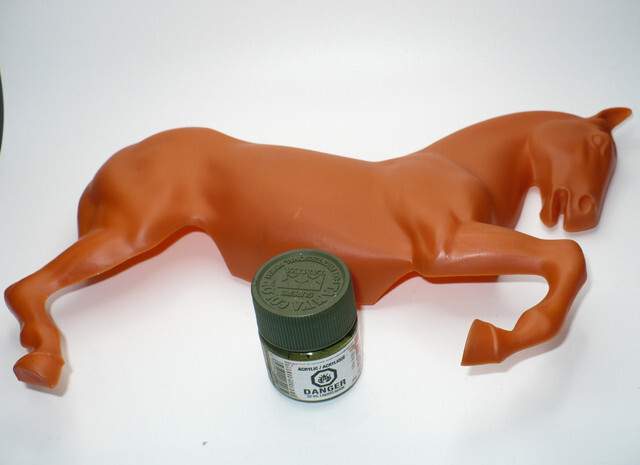
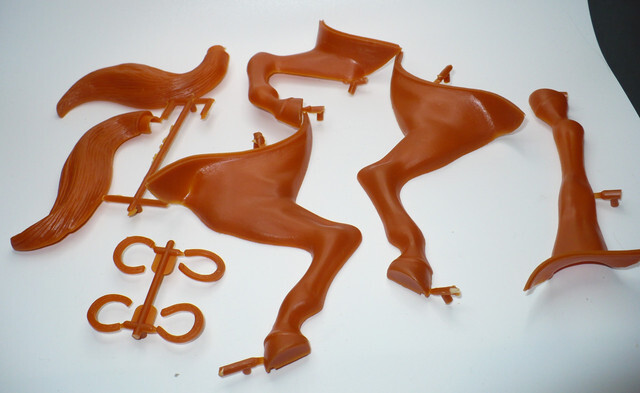
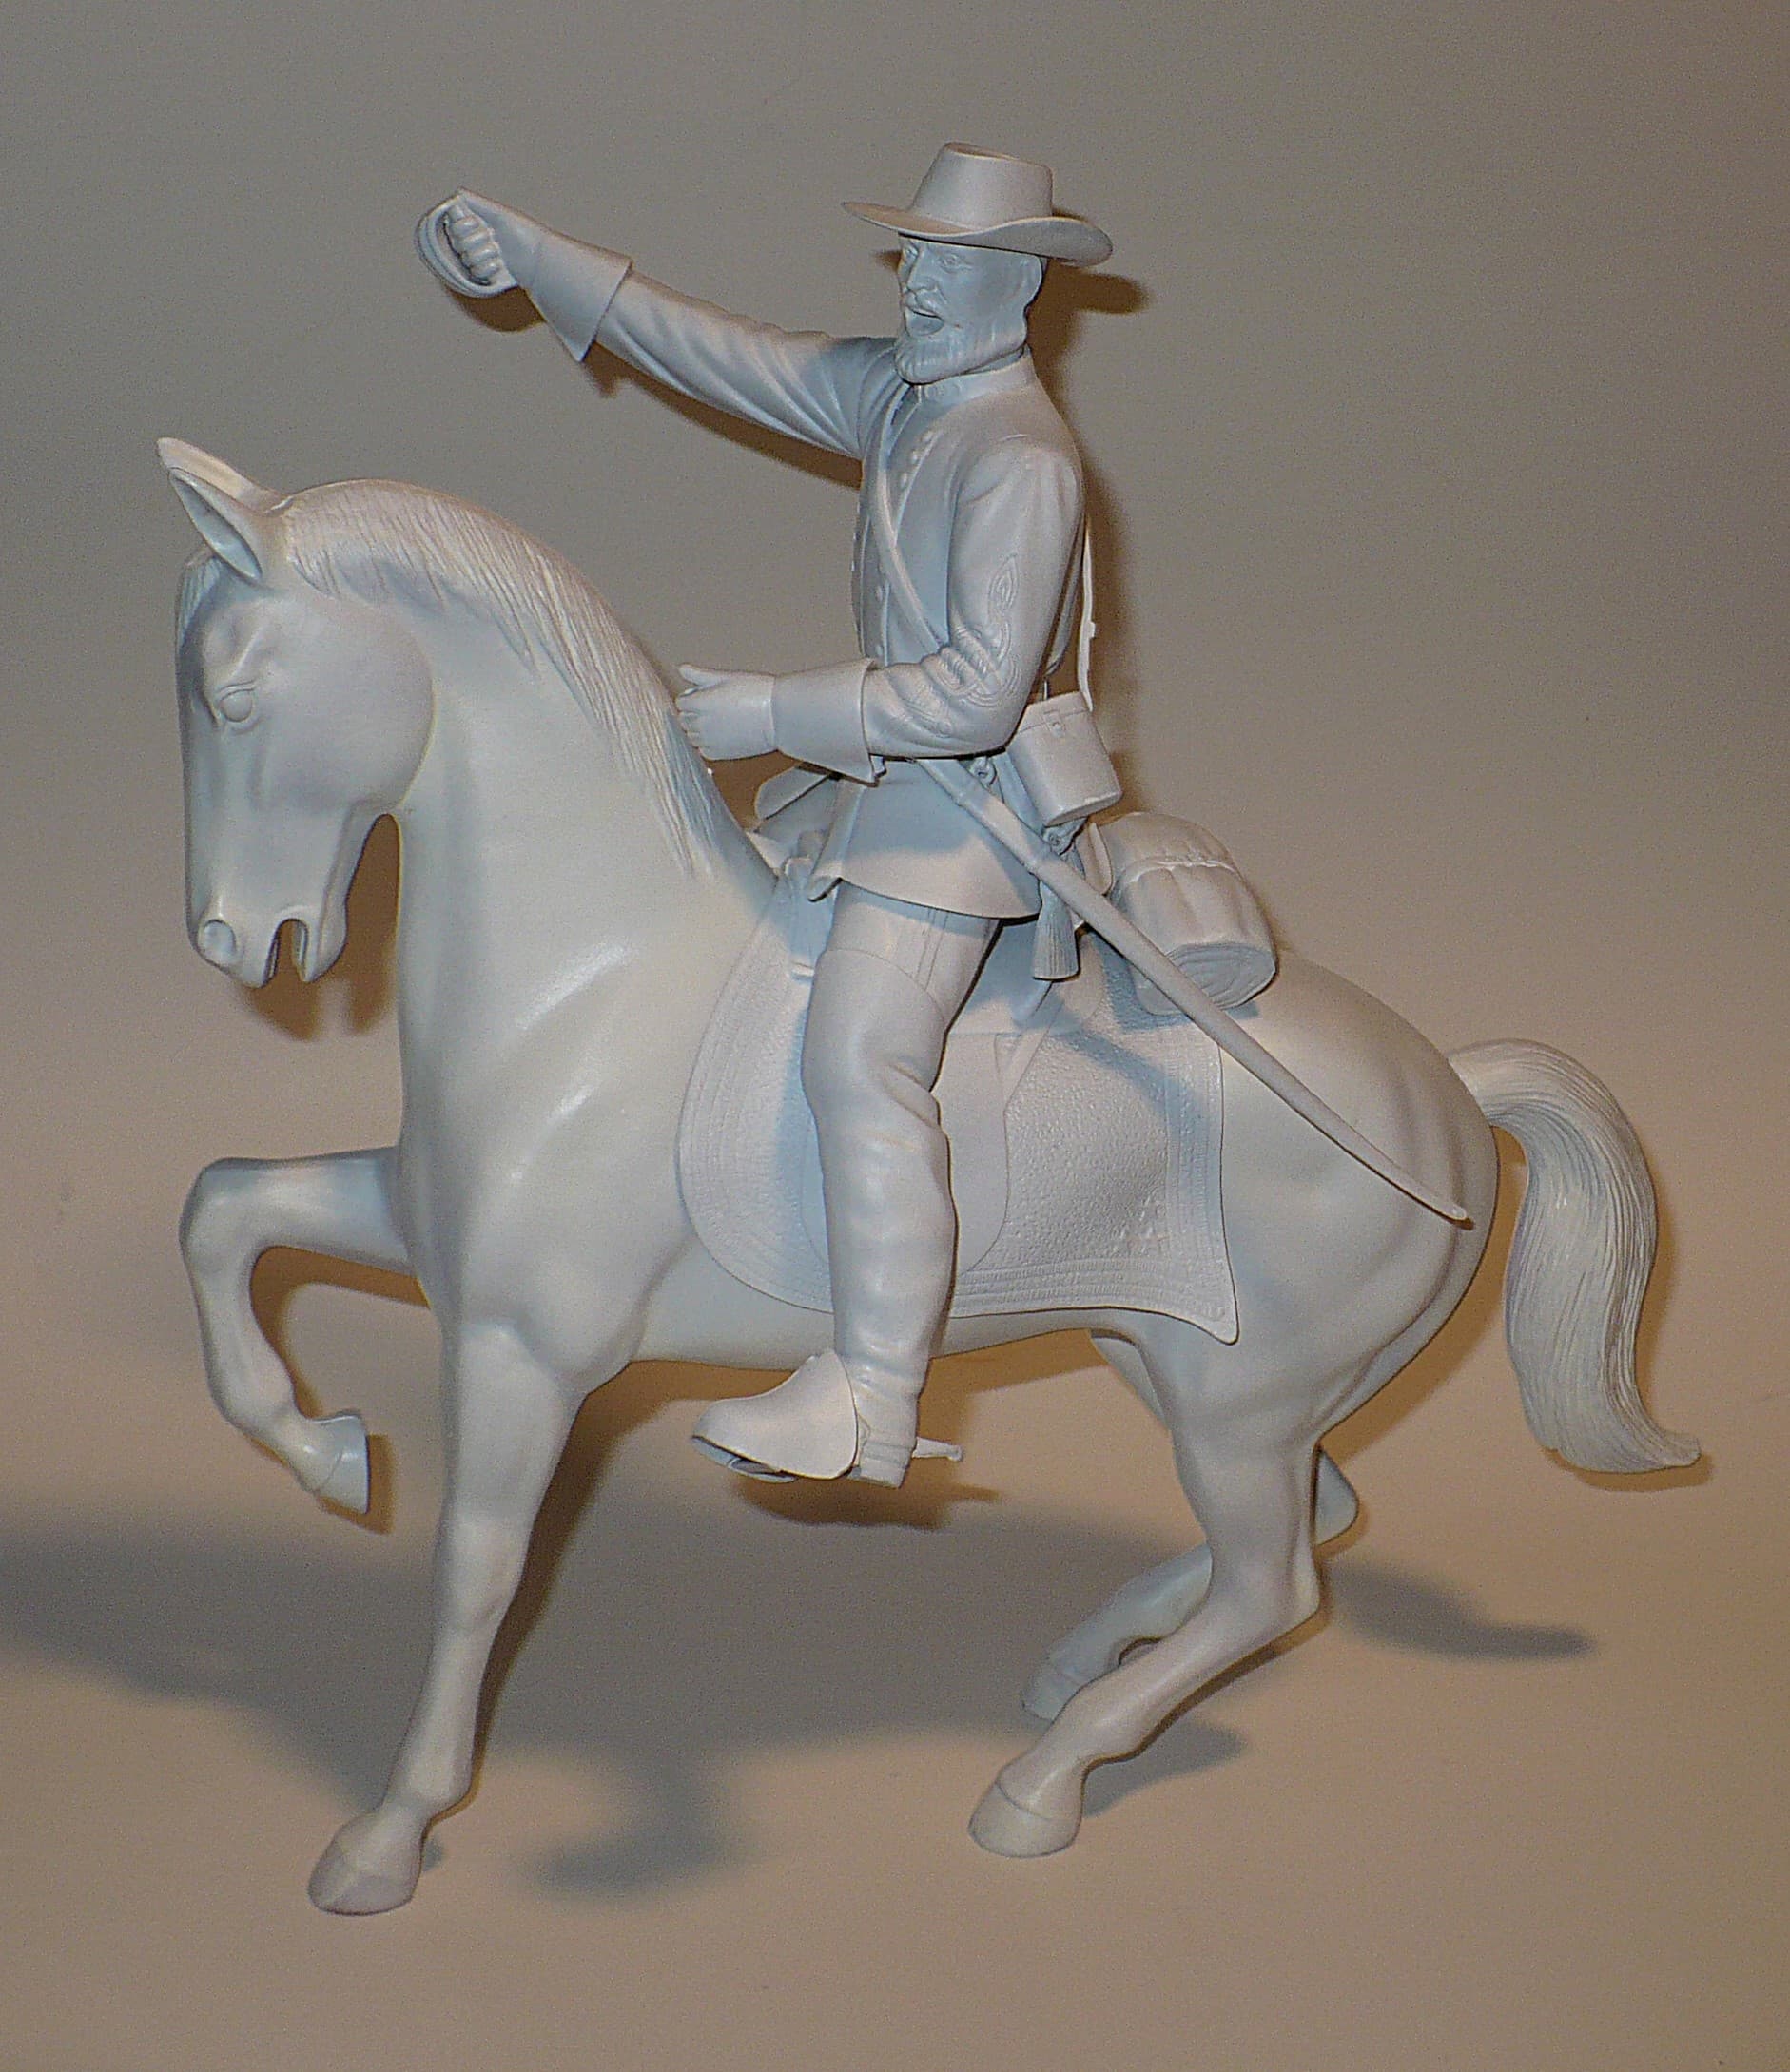
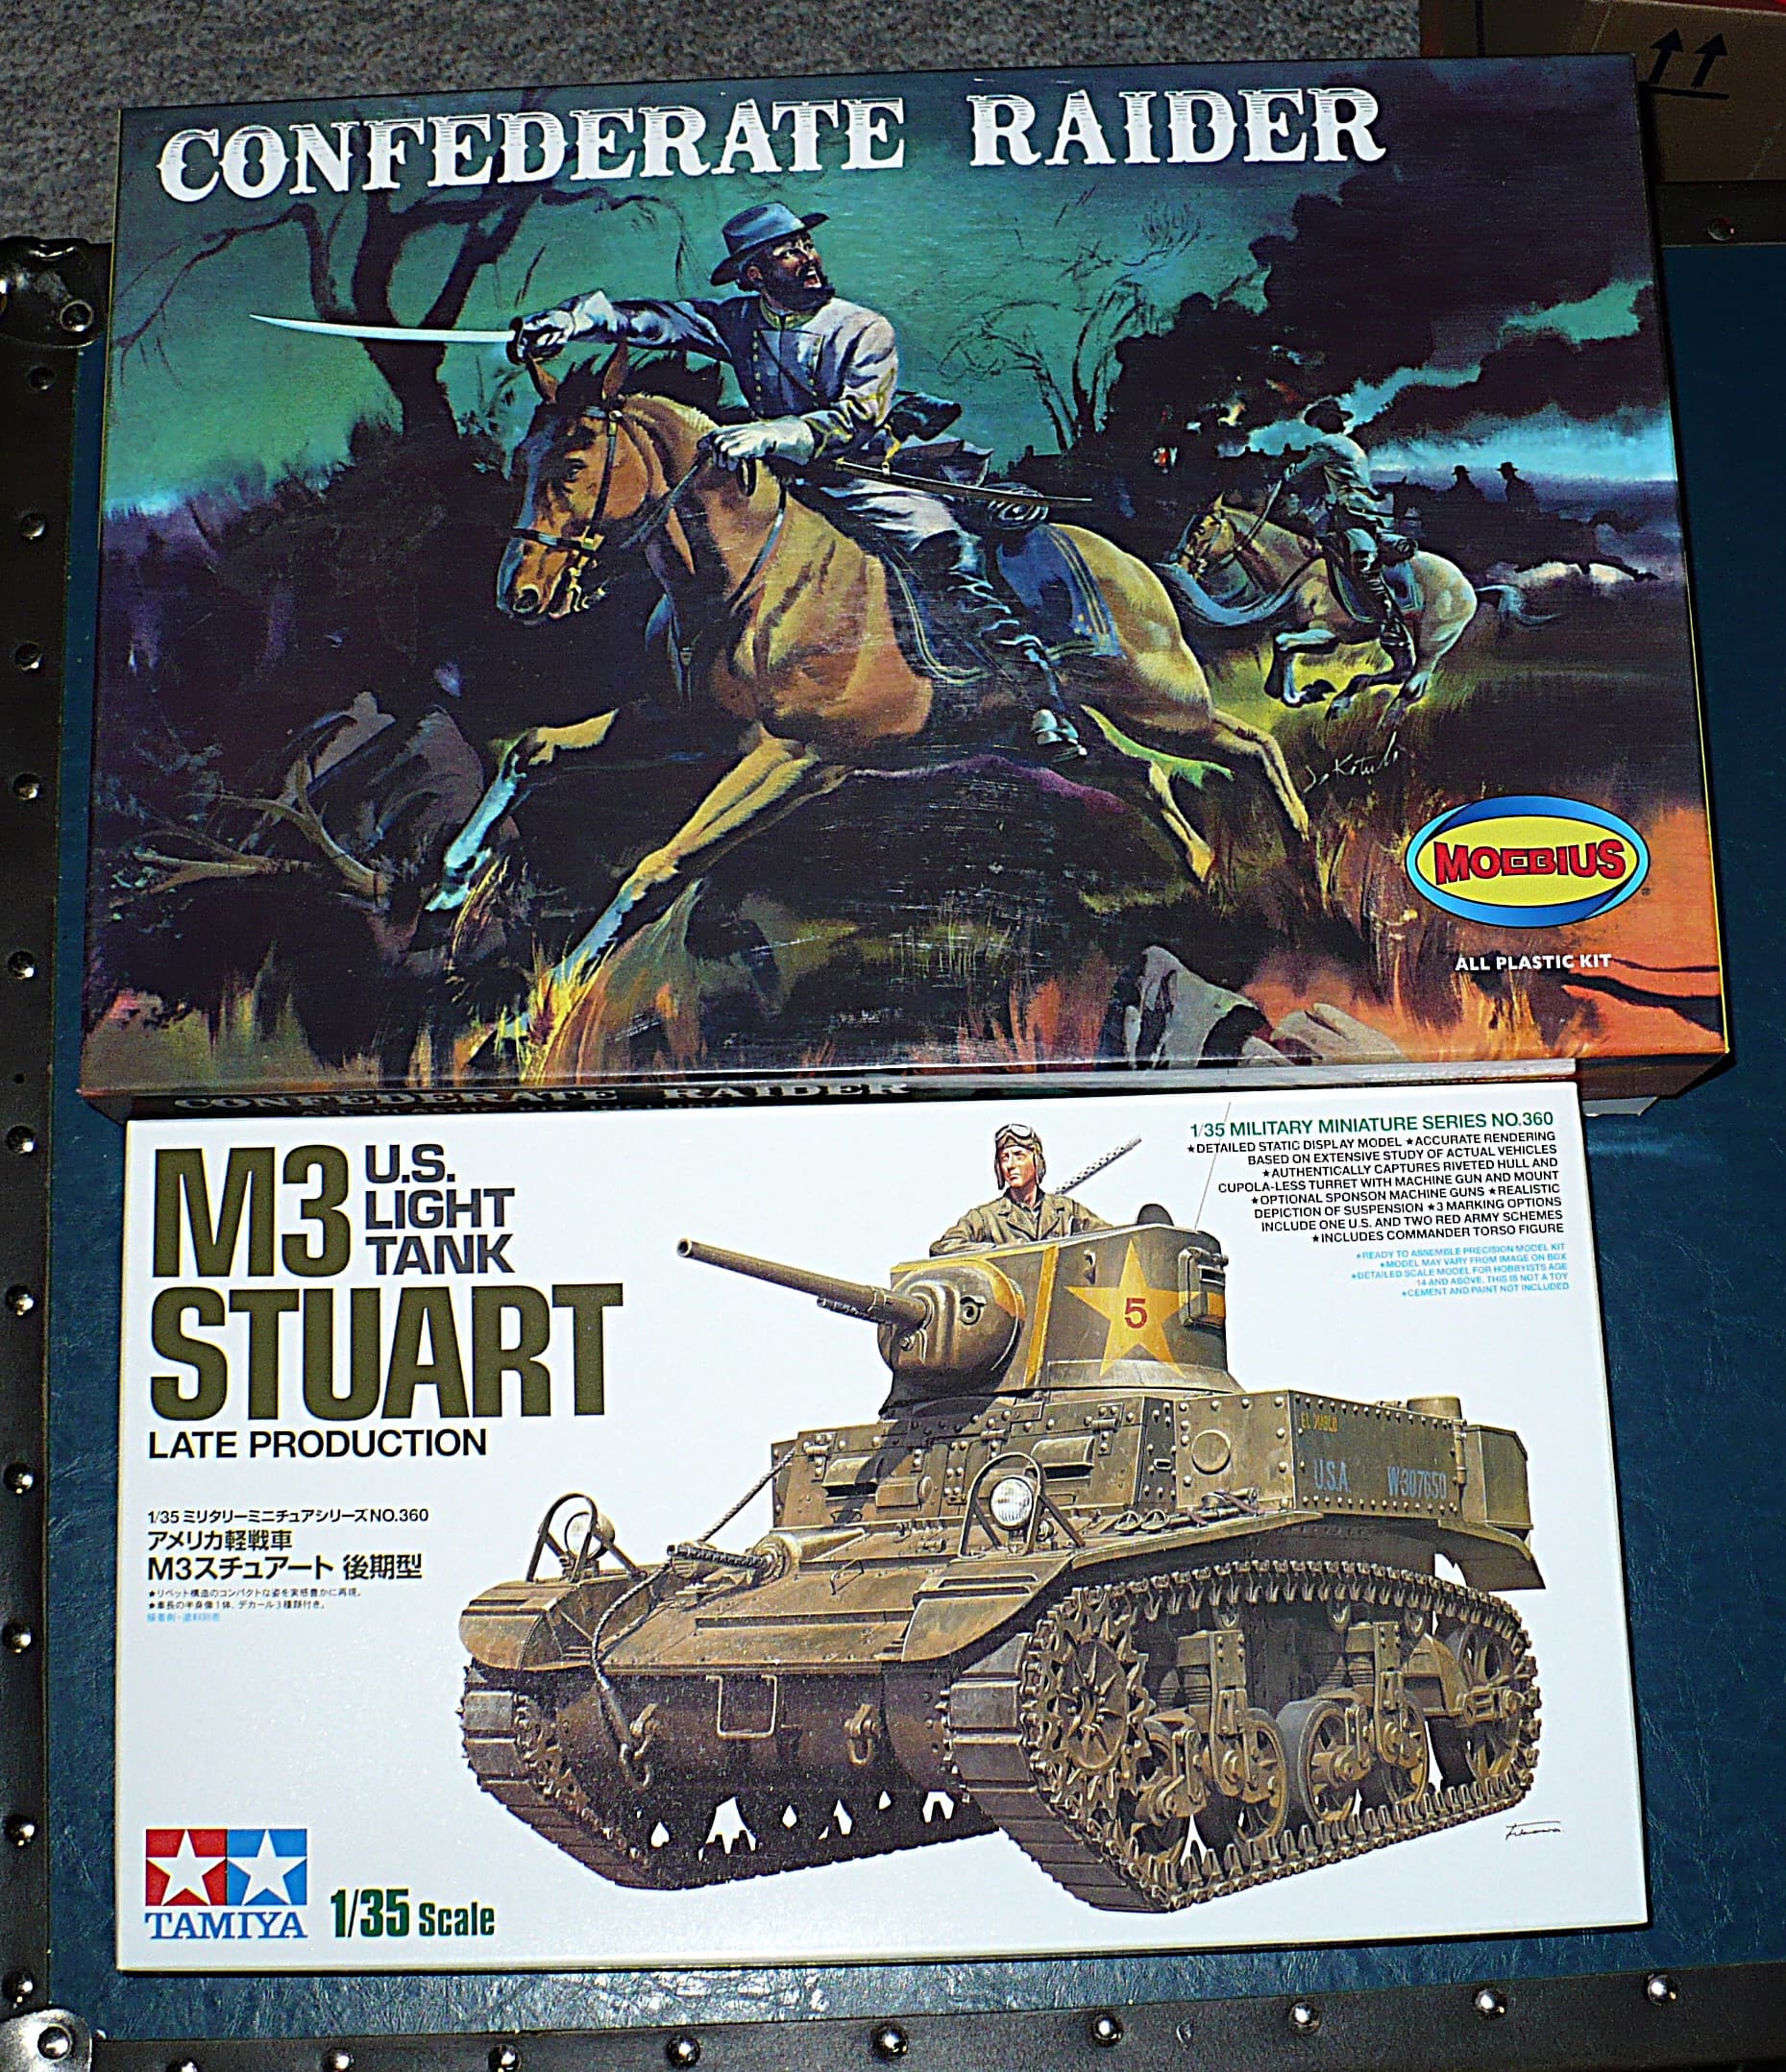
I have seen the concept modeled a few times and have wanted to do one myself for many years but a key ingredient was the availability of the right size general on horseback. Aurora made the Confederate Raider kit just once in the '50s and although Moebius did a limited rerelease a few years ago they were always to expensive to warrant the project.
During a recent trip to a large hobby shop I stumbled across a Moebius kit for a very reasonable price so scooped it up along with a 1/35 M3.
Since this is a comic book subject that often ended up in the most ludicrous of situations I plan to do the ghost, tank, figures and base up as if drawn in a comic style as opposed to “real life”.
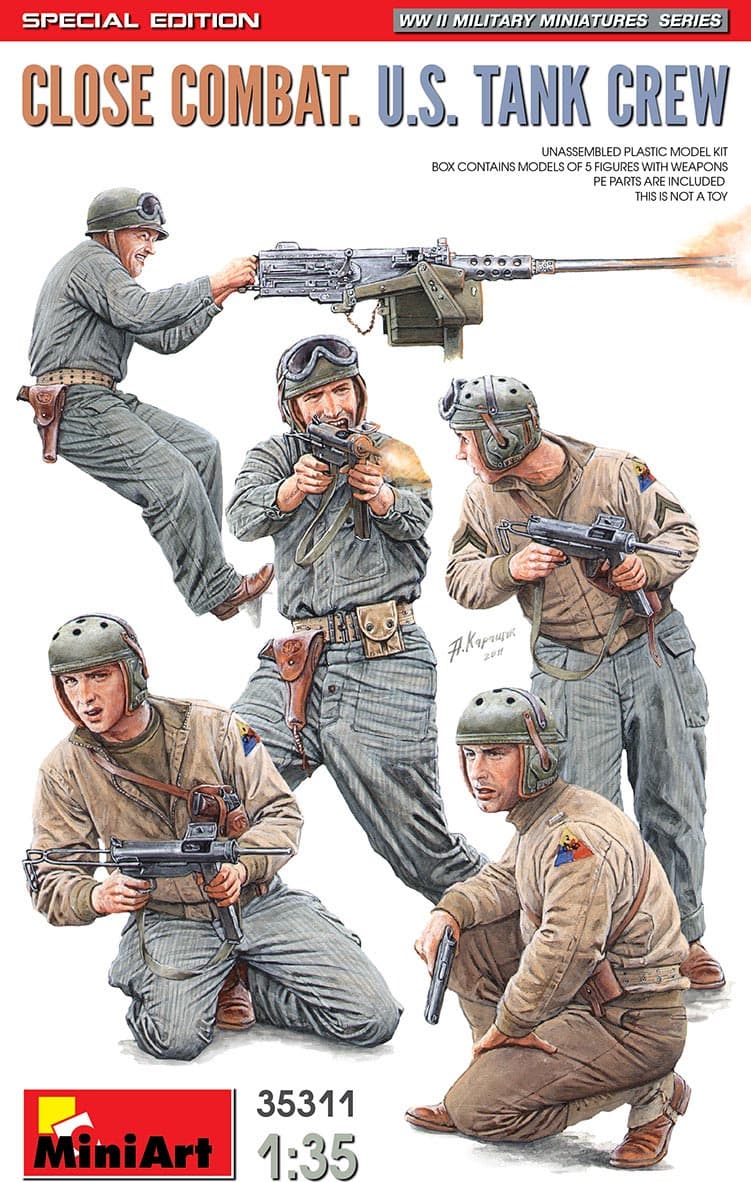
I remember the Haunted Tank well. At the time, I would never have questioned a 37mm gun taking out a Tiger. It will be great to see what you come up with in scale.
Well Jeb went together perfectly. The only seam that didn’t totally disappear with a quick scrape and a couple of light swipes with a sanding stick was underneath his butt where it won’t be seen anyway.
The horse on the other hand had more fit issues that I care to remember! In the end persistence prevailed and at least those parts that will be seen came out OK.
Not perfect but OK.
Just barely OK.
And after about 48.6 gallons of Tamiya white primer Jeb and his horse look more ghostlike. Even with two coats on the horse there is a visible tonal difference between it and the saddle. The next step is gloss white as prep for the black Future wash so it should even out.
Base paint on. I wanted to get something close to the comic book ink shade of green and knew the next stages would darken it up considerably so used some deck tan to lighten up some Tamiya NATO green. Yes the tracks, tools and everything else are green! Although they sometimes drew the tracks or even the whole lower hull and suspension black I would estimate that 80% of the time the comics just made them green like the rest of the tank so that is where I went. Later steps will add the “drawn” highlights in black.
Even though the wash looks heavy before flat coating it is actually very subtle once covered. Since I wanted more black I did a heavy coat of Citadel Nulin Oil to hint at the line drawings of the comics. The left suspension and wheels are done with just the Future wash. The right with the nulin oil over it. This will give the extreme contrast I am looking for over the whole tank.
What a cool concept! I remember reading Haunted Tank stories when I was a kid – from a box of my dad’s old comics from when HE was a kid. Ha! The artwork is so distinctive in my mind.
I’ve never seen a Future-wash before – very interesting.
I use a tinted Future (or now Rejuvenate since Future is no longer made) wash on almost every thing I make. Future was an acrylic polymer floor finish that has been used as a clear parts dip and gloss finish in the modeling community for decades so many may still have a supply of it. When tinted the easy flow and self leveling nature of Future makes it perfect to get highlights in low areas and around raised detail without dramatic changes to the overall colour. This makes things like interior or engine detail pop since it eliminates the monotone nature of solid colours by giving definition to detail and adding artificial shadows.
To make it I just use a clean Tamiya extra thin cement bottle (any glass bottle will do of course) filled about 3/4s with floor finish. Then I take a 1/4 wide brush and scoop the pigment out of a settled bottle of Tamiya acrylic semi gloss black. This can be done with flat or other colours but I like the semi gloss black the best. After I have scooped 4 or 5 brush full of pigment I completely mix it in the Future. You should have a completely translucent mix that you can not see through. I then try it on some parts to see if the mix is right (I have no precise way to measure any of this) and either add more pigment or more Future depending on the effect I get. It is all trial and error until I get the right effect. I have been doing this so long though that I can usually get it right with only one change.
To apply it I use a wide soft brush and cover the whole surface in a fairly heavy coat. It is important to do the whole surface at once (i.e. the top of a wing or a whole car seat) since if you overlap once it has started to dry you will get a dark section. If I am just after panel lines I will use a tissue to carefully wipe it off the flat surfaces but usually I just let it settle. If you get a puddle or too much in one spot just wipe any off the brush and touch the corner to the area and it will wick the excess up. On flat paint it will leave a very slight darkened finish to all surfaces but on gloss or semi gloss most will flow to low points and around raised detail. You may need to rotate the parts to keep it even while drying but it does set up very quickly so it isn’t a time consumer. When dry it will look HORRID but it makes a really nice semi gloss to gloss hard base (it is meant to be walked on after all) for any further weathering you may plan or can be flat coated with any type of product. Once it is flat coated the full effect is reached and it becomes more subtle.
With a bit of body part mix and match I have the figures in the absurd comic book positions I was after. They still need some cleanup at the joints and their helmets of course but they are looking like they came right off a comic book cover.
The sharp eyed viewer may notice that the beautiful little 30 cal in now a grown up 50. I swapped it out because the small 30 just didn’t look comicy enough. The one that came with the figures was trash so off to the spares box I went. I left all the sweet details off so that once again it is more like something drawn than real.
Figures base painted. Comic shows the uniforms ranging from an almost orange brown right up to a green the same as the tank. The most common colour was sort of a khaki so that is where I went. It took all of my willpower to stick to just basic painting instead of detailing things like the pistols sticking out of the holsters and using different shades of black on the boots and weapons. No idea why they always had white tops to the helmets but they do. I thought that was normal for many years.
Figures with tinted Future wash. I would normally stop there and flat coat but again I need to go extreme for that comic book look.
There we go. Citadel Nulin Oil wash for a nice heavy shading. Everything still in the high gloss finish. The shading will make more sense when flat coated.
Whoever sculpted this figure had my idea in mind! That face and position is perfect.
Flat coat on so tank and crew all done.
Note:
The black washes toned way down once flat but still give that drawing look I was after.
The tank is only painted in green, black and white. As in the comics tools, tracks and even ammo is all just green.
The figures faces look far better in real life. The camera washes out the shadows around their eyes, mouth and other details. Try as I may I can’t get a picture that looks even close to reality.
This is so cool. Can’t wait to see it all finished.
I’ve picked up a few Sgt. Rock comics over the years.
Even a graphic novel.
They’re around here somewhere.
I’ll be watching.
So… I knew the base was going to be a challenge. To keep with the comic book drawing theme I wanted one solid piece with no separate components or sharp angles. The ground is pretty much always drawn in a monotone with only minor change is tone and black lines delineating the “details”.
Then I realized I had the perfect surfaces in my old Aurora tank bases so I cast up a couple in plater of Paris. I only half poured the flatter base because if was only after the main raised boulders and surface. I didn’t want it too thick to impinge on the raised part. Of course it broke apart removing it from the mold but that was fine since it would be a jigsaw puzzle anyway.
I used an octagonal plaque painted flat olive drab with some holes drilled in it to hold the drywall compound that I was going to use to bring all the pieces together as a base.
A thick layer of drywall compound was laid down and then all the pieces pushed into it. Gaps and bare sections were filled with more compound and the whole works smoothed and blended with a wet finger. Probably will need some touchup once dry but looks pretty comic like to me!