Here is the 14th build in my Year of the Axis Build, Hasegawa’s Aichi D3A1 Val, one of my favorite airplanes.

I still remember when I first visited the Nimitz Museum in Fredericksburg, Texas, and found this rusted hulk of what was obviously an airplane, sitting there in pieces really, and without even needing to read the accompanying signage, knew that I was looking at a Val. It’s an easy airplane to recognize given those huge, elliptical wings (like a Spitfire), and those Stuka-like landing gear boots.
I had built a Val previously. It was the Nichimo kit that I found in a shop soon after I returned to this hobby in the mid 1990s. That was the first Japanese kit I ever built, before I ever discovered the joys of Tamiya or the huge inventory of Hasegawa. Sadly, that build was lost in a shelving accident about a decade ago. I grabbed this Hasegawa release to replace that earlier Val, with every intention of building it in the colorful scheme shown in the boxtop art.
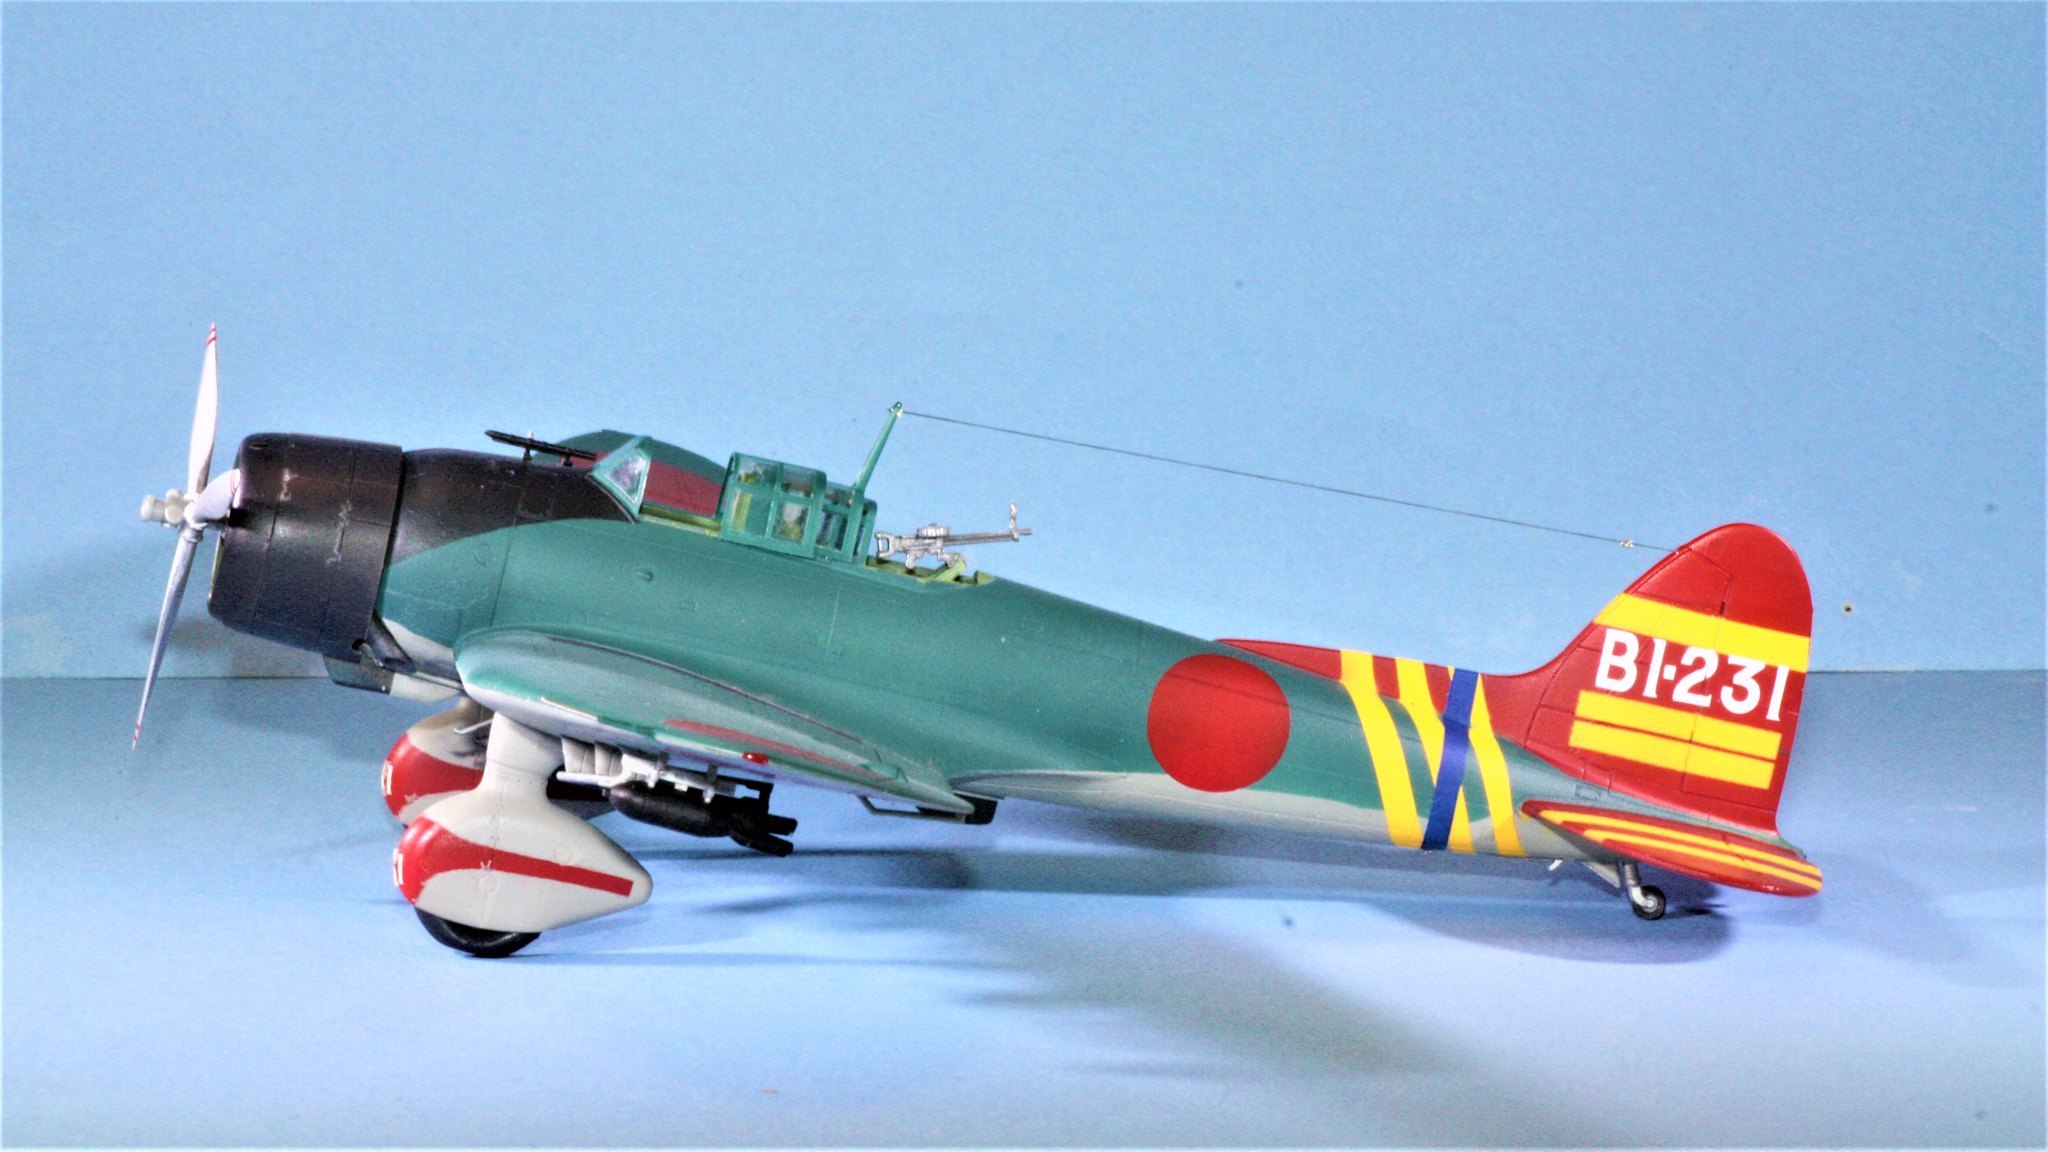
The scheme is of the lead aircraft of the carrier Soryu. Paints are a mix of Vallejo and Tamiya. Markings are 99% paint, with Montex Masks and my own personal masks to account for much of the markings. The only kit decals are in the instrument dials and the number “31” at the front of the gear boots.
I was disappointed with the Montex Masks for this kit. Yes, they worked great, but the set did not included the fuselage stripes or the red swoosh on the gear boots. I had to cut all that myself, and it took a bit of time to get it to this level. Of course, once every thing was finished and I removed those masks, I noticed that the fuselage stripes were not really wide enough and were not placed entirely correctly, either. But I figured I have three yellow stripes and a blue stripe, that’s good enough.
This kit was a joy to build. No construction issues what-so-ever. I did have to leave the rear canopy off, as the instructions were not clear as to how to place the rear part of the canopy (diverging from the Hasegawa Kate, which was quite clear as to how to place that part).


I will admit to having a funny feeling while I was putting all the finishing touches on the Val and Kate this week. I had my TV on to the funeral of President Bush. I found myself wondering if he might have encountered either of these aircraft during his time flying the Avenger, and I actually felt a little guilty that I was doing these aircraft that represented a “villain” that he and many, many others like him had put their lives on hold for to go fight. It was a wierd feeling, given how I hold him and those like him in such high esteem for what they did when they were young (and the fact that my own kid actually met President Bush prior to a Texas Aggie football game). Well, the wierd feeling passed; I’m sure President Bush would have been perfectly fine with me doing these planes.