Hasegawa 1/48 F-4C - Shelf of Doom Resurrection - COMPLETED

Hello fellow plastic mashers,

I’m back with another project. Yes, my HB A-6E is still in the works. Right now, it’s in the fiddly-bits phase, so I decided to get on with another project to keep the fun rolling.

While searching through my computer’s external drive, looking for some unrelated photos, I ran across some pictures of an old project that had been relegated to the Shelf of Doom. When I say old, I mean it. This is a project that has been for 15 years. Yes, you read that right. 15 years.

I like building subjects with unique camo, markings, or loadouts. I ran across this particular photo…

…and knew I had to build it. Realizing that I don’t have a Phantom on my shelf, I decided I’d dig the kit out of the stash and get back on it.

The reason it was boxed and forgotten was because the kit became a slog. I decided (foolishly, in hindsight) that I wanted to rescribe AND rivet the airframe. So, after starting the process, the project quickly lost its fun-factor. But, it’s a new day, and I’ve resolved to finish it. So, while the little things on my A-6 dry, I’ll be gluing myself to the Phantom.

Looking back at things, I noticed that the lines and rivet patterns aren’t 100% accurate. As I move forward, I’ll be working toward representation, not replication.

Anyway, I’m on Spring Break this week, so I hope to make some progress on both my A-6 and this F-4. As usual, comments, questions, and criticisms are welcome. Feel free to drop your two cents into the bucket on your way out. I’ll be sure to post progress when there’s progress to post.

Wish me luck!
-O

5 Likes

All right O! Love a good phantom build - I’ll be following along.

Best of luck! I do love the Phantom!

Hey there plastic mashers, I’m back with an update on my Phantom. So, I’ve been working on this one alongside my A-6 and WIF F-16, and since my last update, I’ve been able to reach a milestone with the F-4.

One of things I was able to do was represent the red light on the leading edge of the vertical stabilizer. I carved out the kit’s plastic and inserted a piece of clear sprue. After some shaping, I was happy with the result.

It’s since been painted clear red and masked.

I was also able to get the major assemblies mated.

I had a chance to prime and start the painting process, too.

I sprayed AK’s Real Colors, freehand, through my Sotar with a .2 needle. I’ll need to do some touch-ups, but I’m happy with where things stand. Next will be the underside color.

And that is where my Phantom stands. I’ll be moving between this one, the A-6, and a SoD T-6 that’s been languising for 9 years. Comments, questions, and criticisms are always welcome. Feel free to drop your two cents into the bucket on your way out. Stay tuned for more!

Cheers,
-O

7 Likes

Glad you resurrected her, she’s taking shape and looking good.
Steve

Really nice work freehanding the camouflage with your airbrush. Looks like you were successful tidying up the obnoxious Haswgawa seams.

I have three Hasegawa Phantoms on my bottom shelf where I put my “least likely to ever be built” models.

I was a flight line mechanic on F4-D & F4-E Phantoms, in the Air Force, in '71 & '72. I always love to see models of Phantoms being built. Keep up the good work, I’m looking forward to seeing it completed. Keep on modelling!

3 Likes

Hey gang, I have a little more painting progress to show. I was able to get the bare metal hot areas done. I haven’t done this sort of painting much, especially on Phantoms, so I’d love some feedback. This is all done with various shades of Alclad, some markers, and a silver colored pencil.

This pretty much finishes up the principal painting. Now I’ll move onto the ordnance and other dangly bits. Please, comments, questions, and criticisms are welcome. Feel free to drop your two cents into the bucket on your way out. I’d really like to know your thoughts on my effort.

Thanks for lookin’!
-O

6 Likes

The metal work looks really good to me as does the rest of the jet.
Steve

The bare metal looks really good O! Nice work.

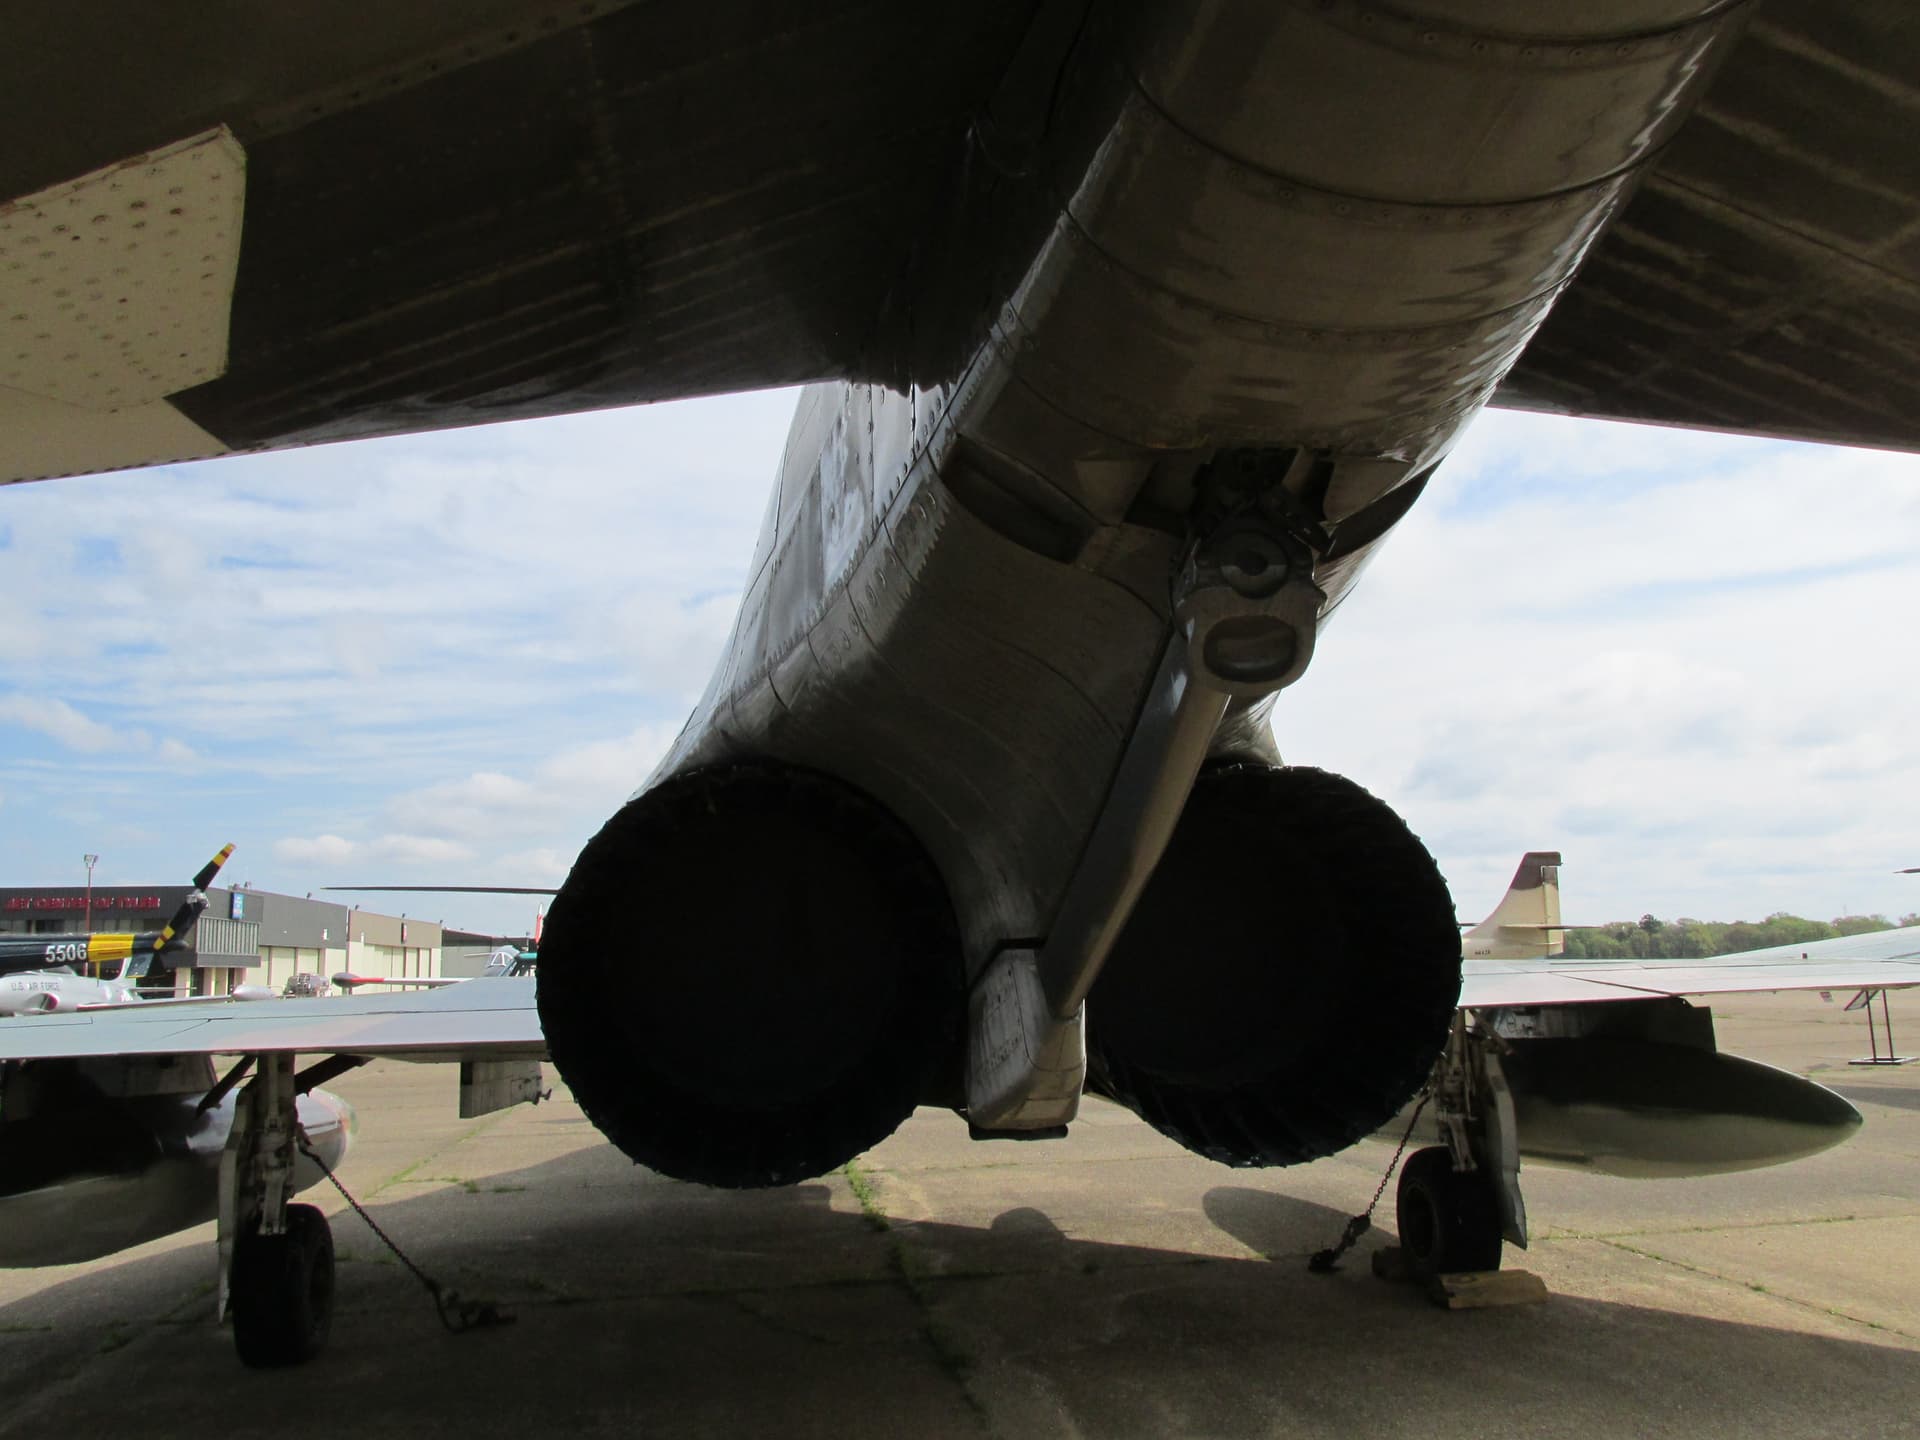
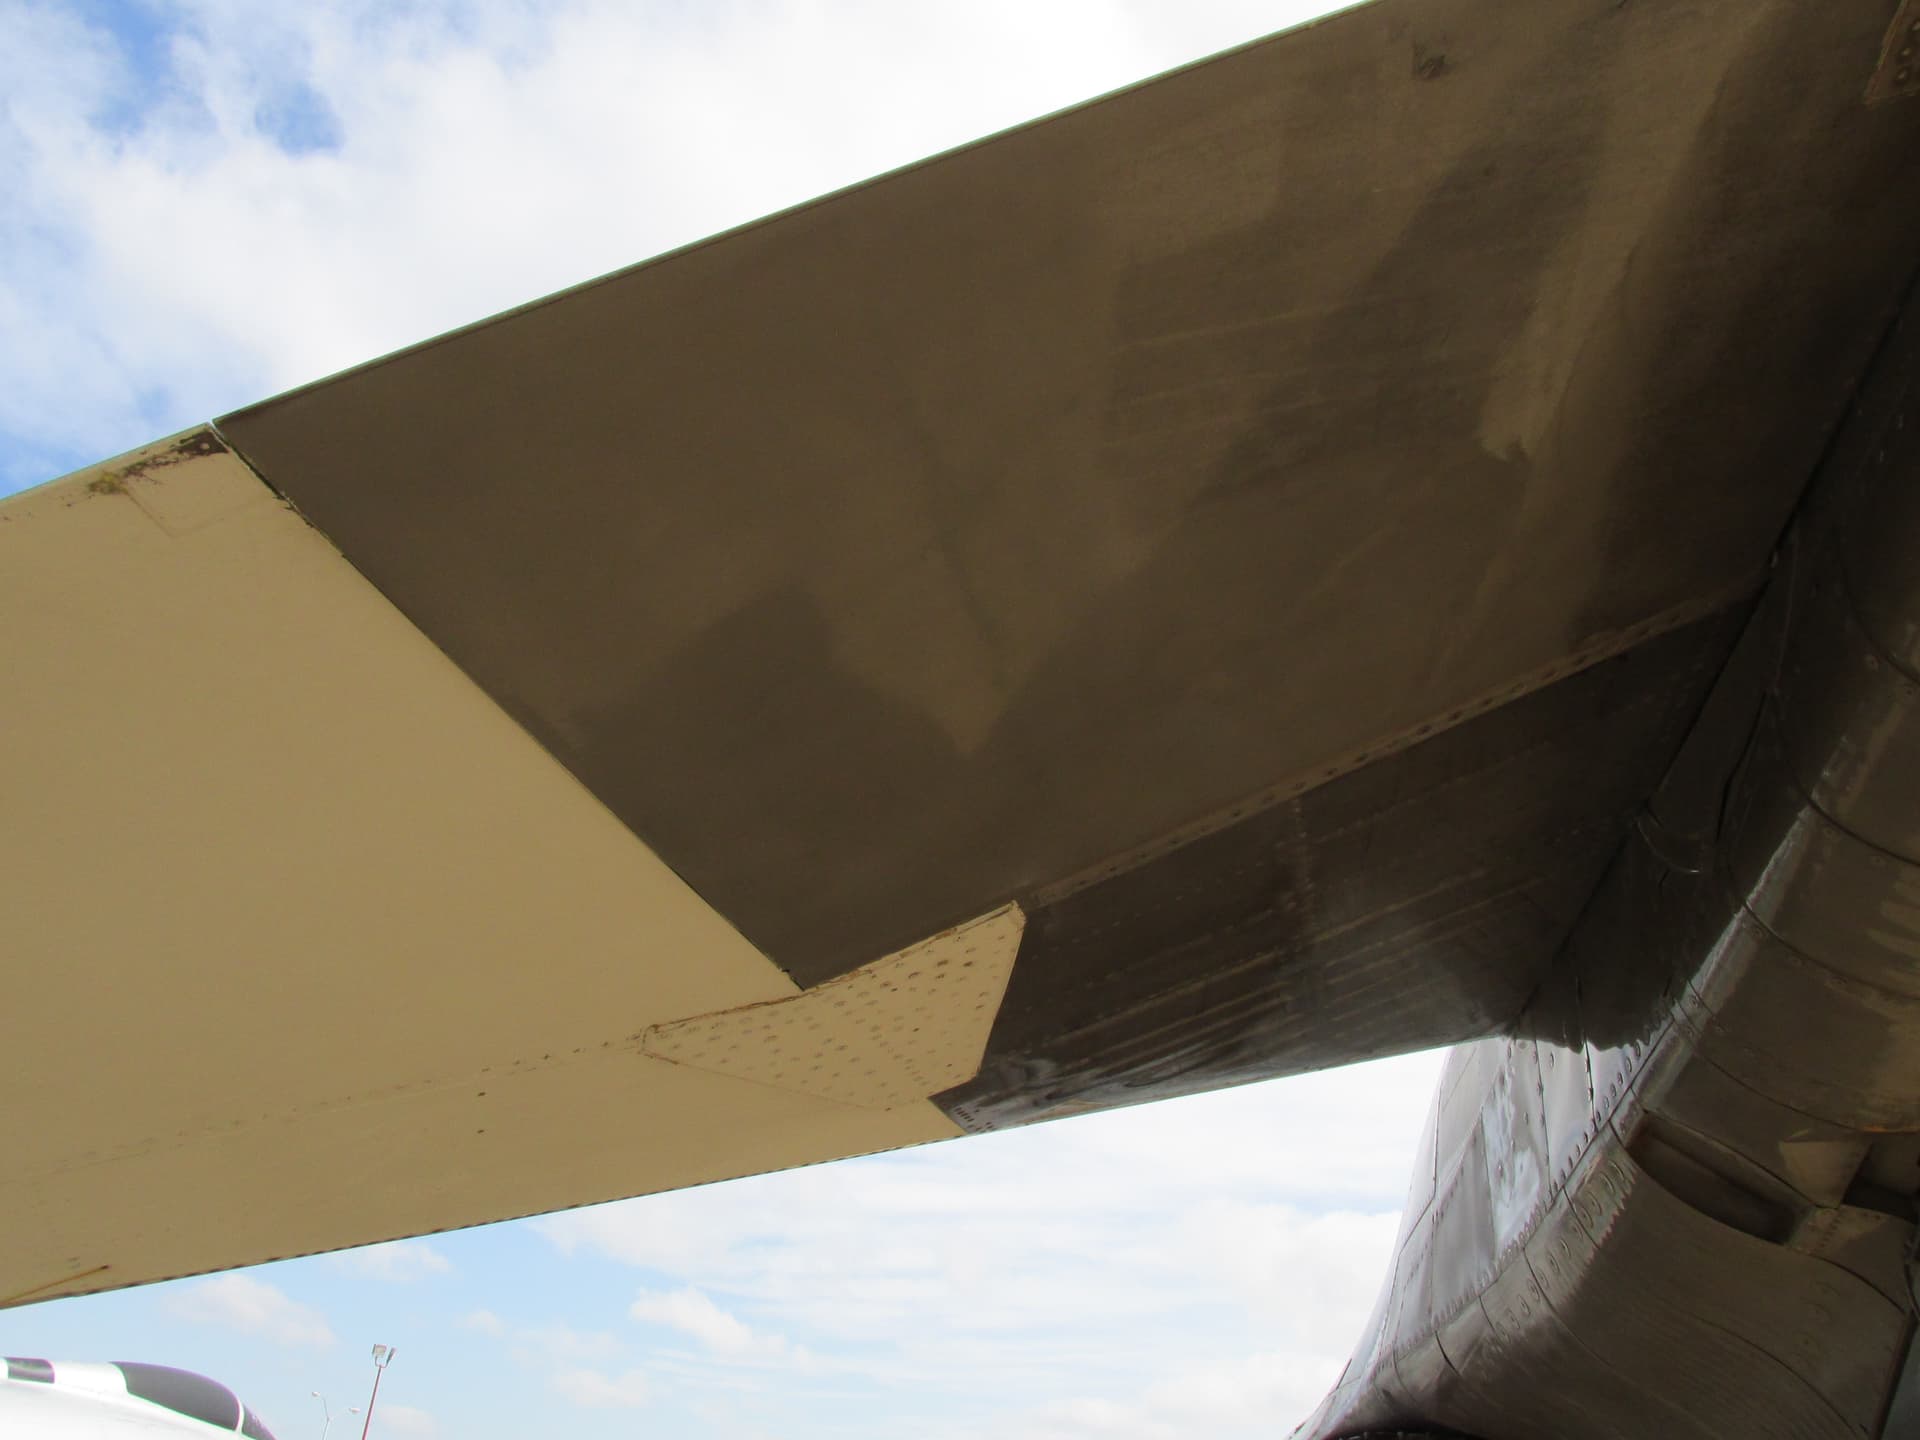
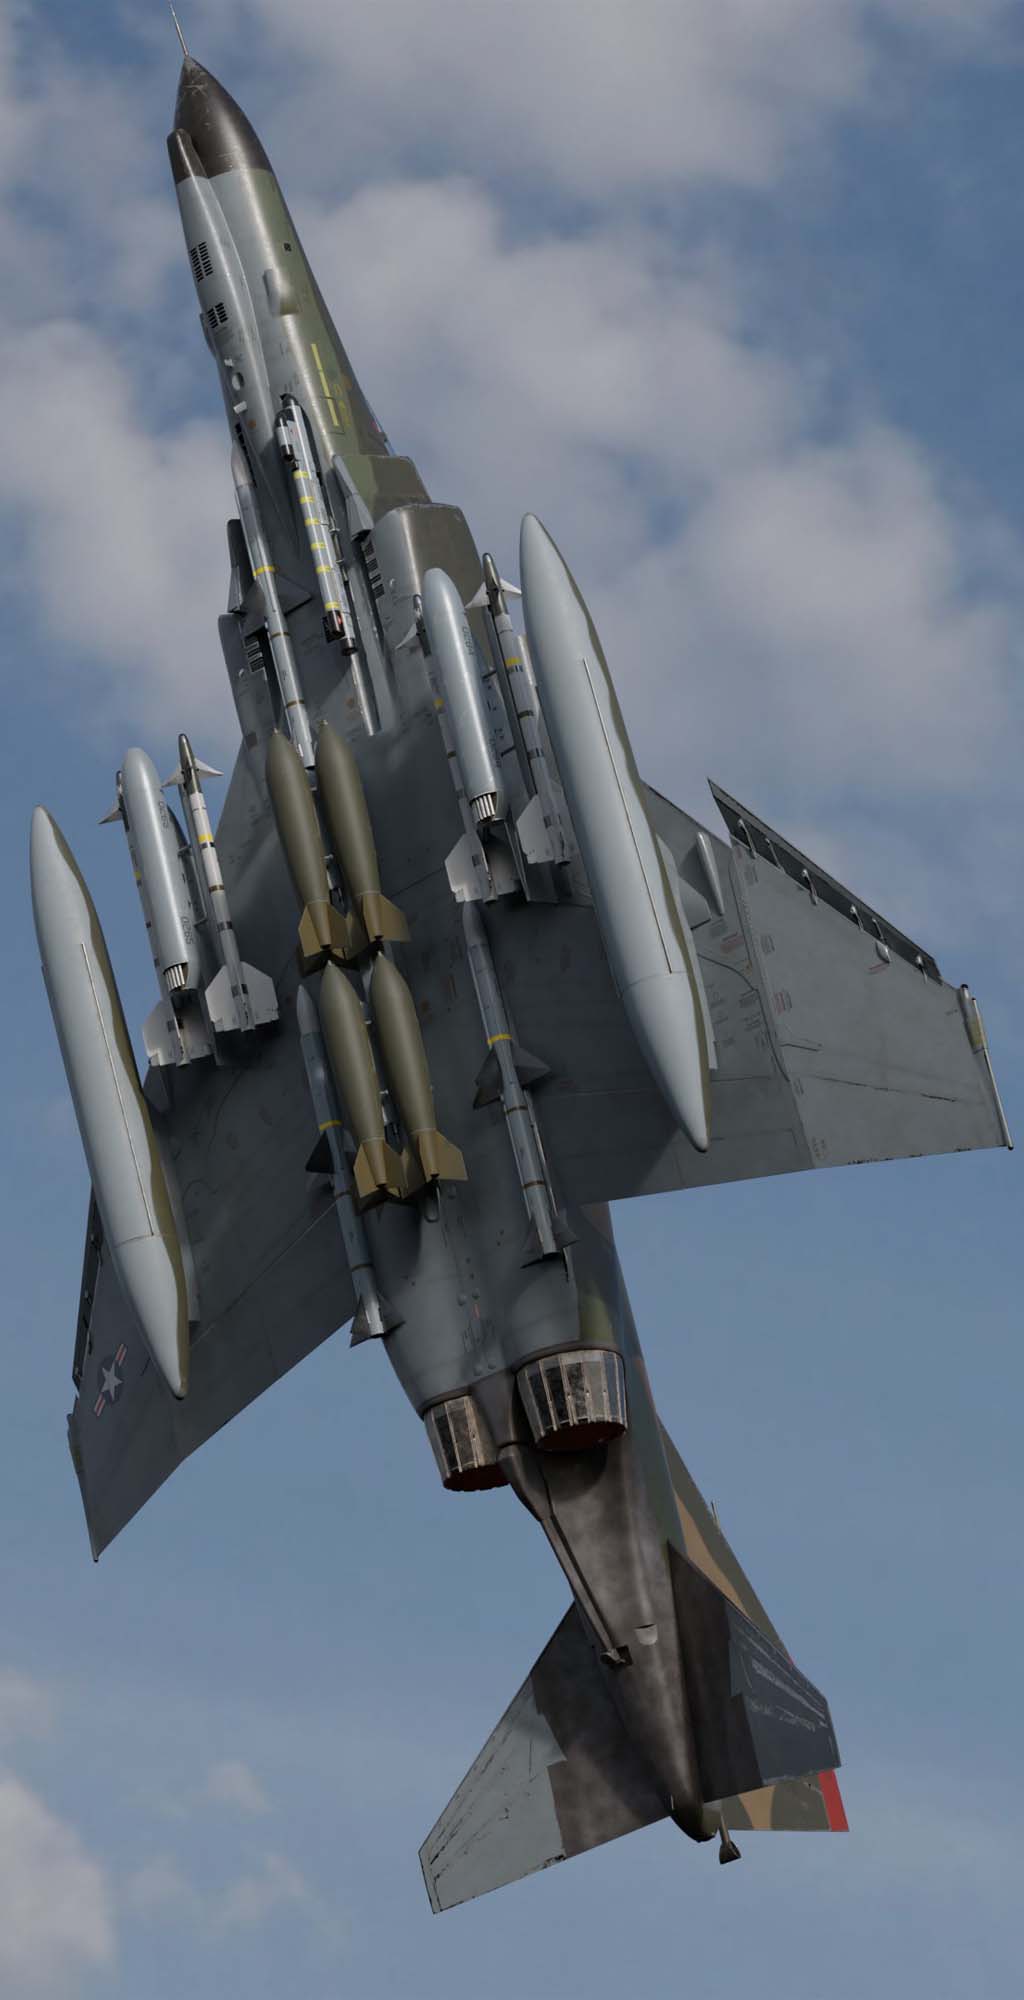
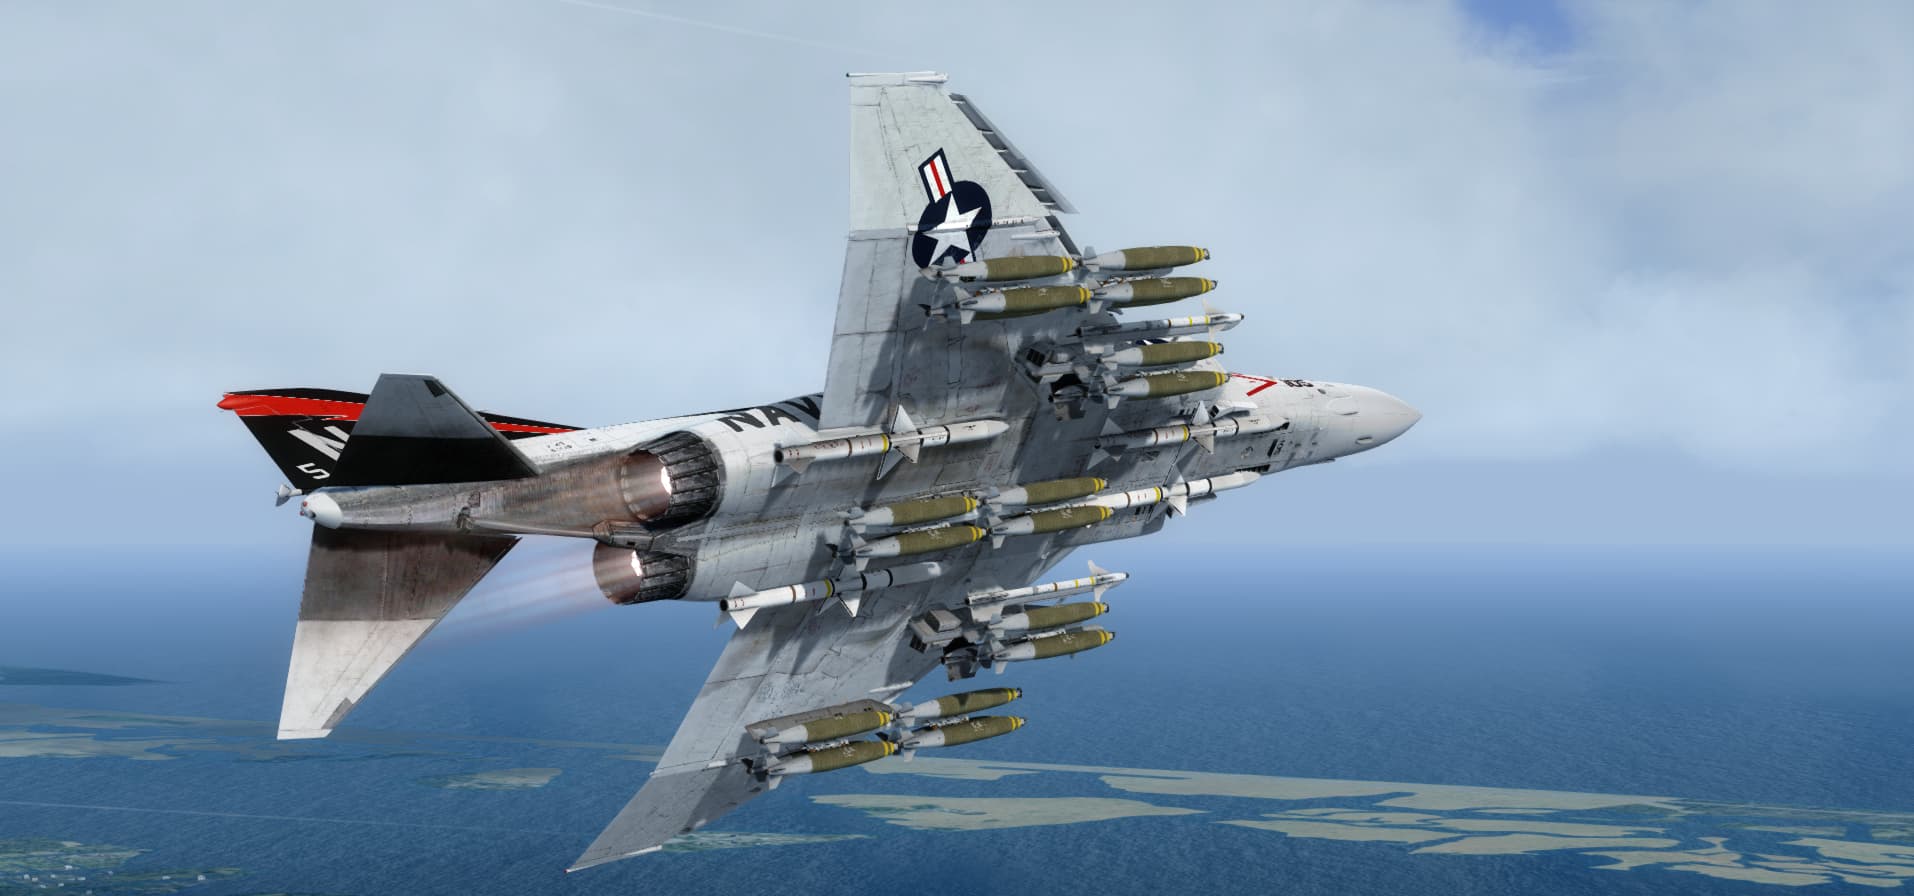
Very nice metal work. F-4s were called “old smokey” for a very good reason. They left a faint, but noticeable trail of smoke. The center picture’s, area closest to the nozzles, looks like what I remember the nozzles and that area looked like, maybe just a little lighter, dull and smokey. The under sides of the elevators were dull. I have never been able to get it right. I’m going try to explain it a little better. The metal was dull and flat looking, almost a light grey color, but still looked like metal. Maybe like a dull car muffler color. Over this was the smokey black from the exhaust. The soot was kind of medium, not too light, but not too heavy. Good luck.

1 Like

Maybe something like this? Though this is a museum bird.

Gary

1 Like

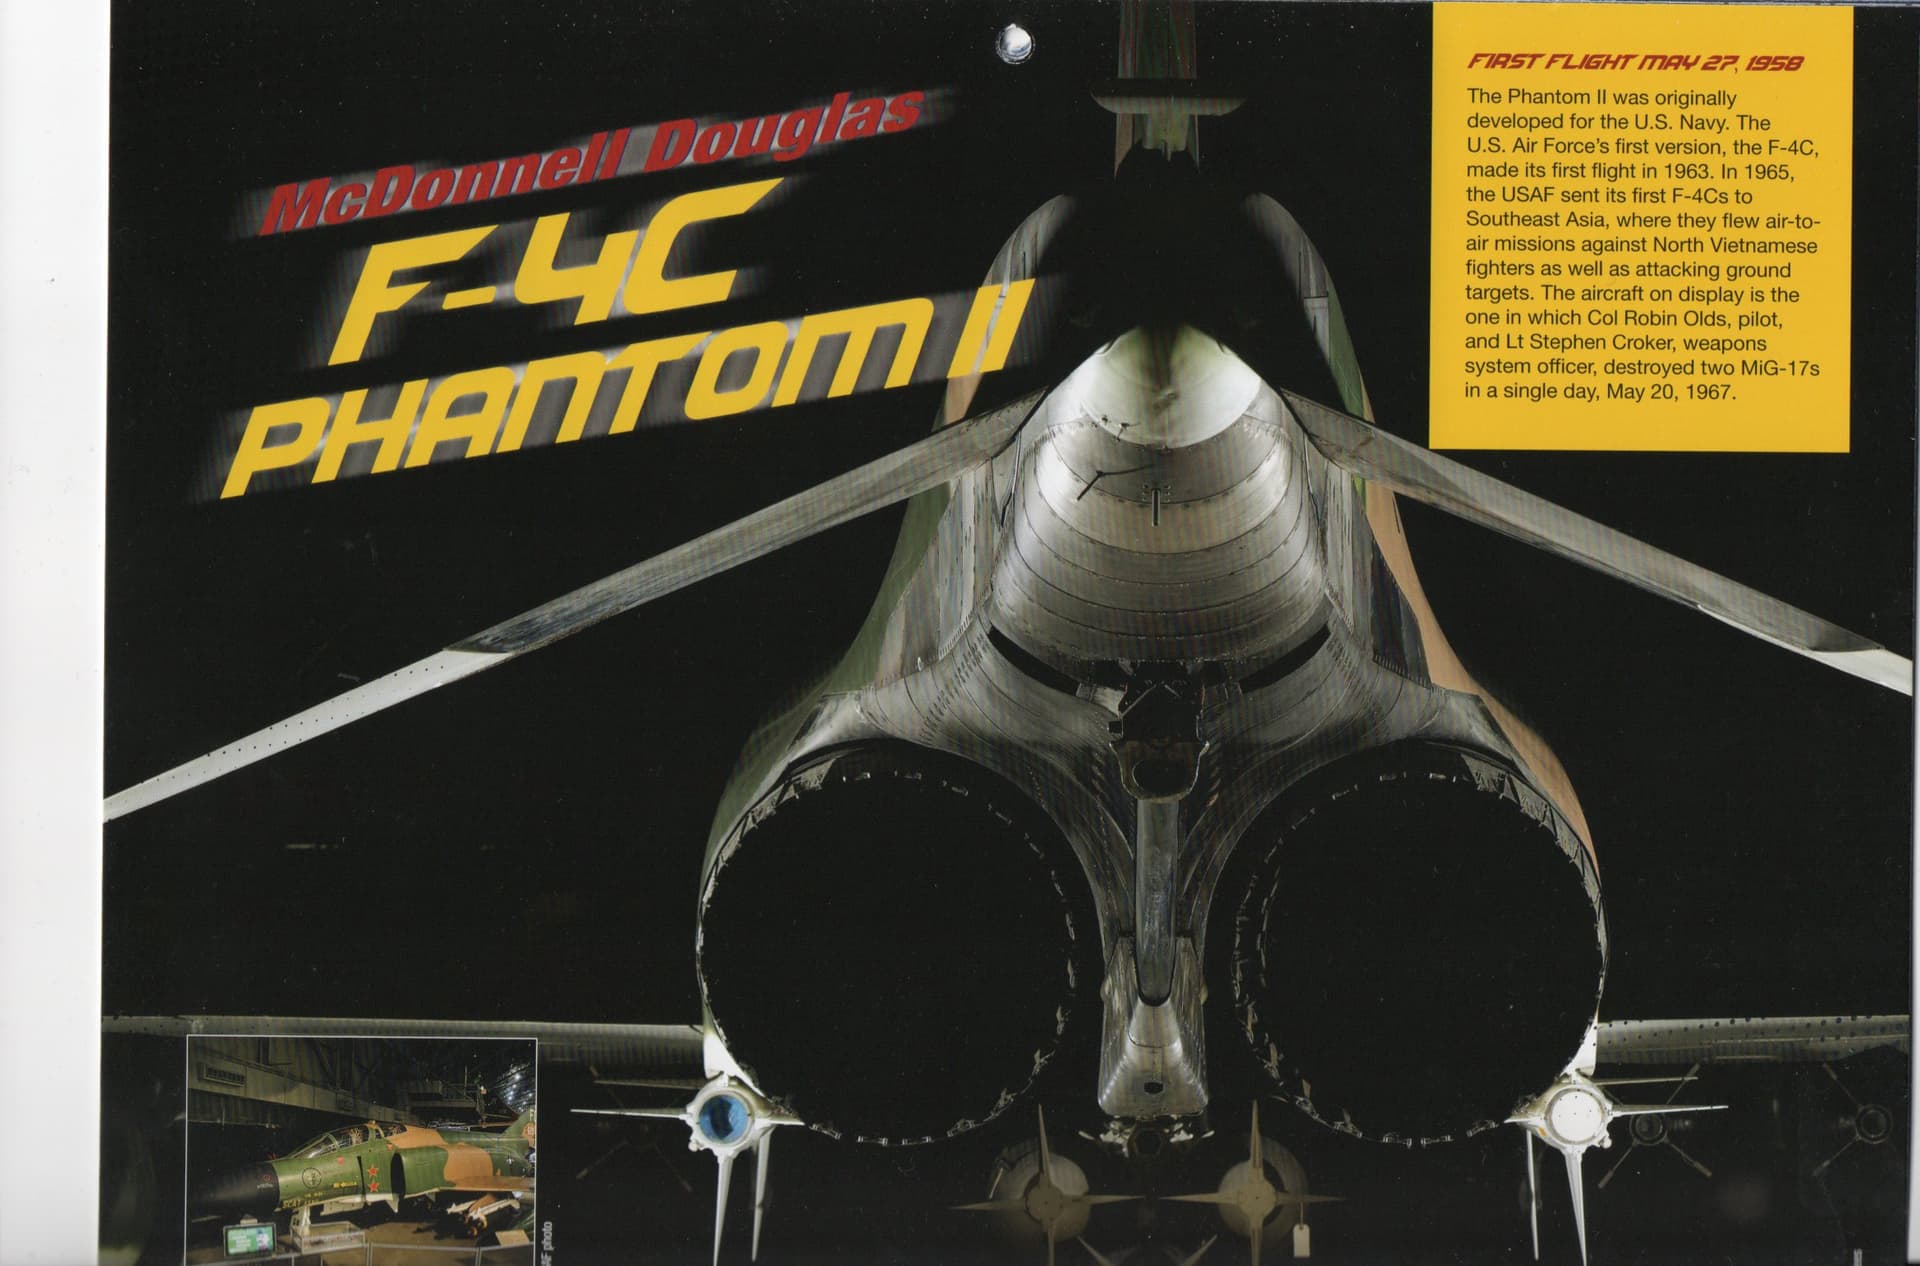
That is pretty close to what I remember. Here are three pictures that I found, that are the closest to what I remember (from 50 plus years ago). The first picture might be a model. The second is a real Navy Phantom. The last picture is from the 2026 Calendar of the National Museum of the United States Air Force. As you can see, there is some variation. I personally like the last one. Good luck and please share what you come up with. Happy Modelling!!!


2 Likes

Hey gang, just a quick proof of life post to show that progress is being made on my Phantom. First, thanks for the comments and feedback. I appreciate your input. Also, thanks for the reference photos. They’ll come in handy during final assembly.

The airframe is painted and decaled. I didn’t use too many decals on this build. Just a few stencils here and there, the serial on the tail, and the national insignias. After 15 years, I didn’t feel like spending a lot of time with the gazillion Phantom stencils.

Anyway, I got the ordnance painted and built up.

The Navy style inboard pylons and TER were molded together. I don’t know where they came from, but they’re molded with raised detail. I’m guessing a Revellogram kit of old? The MER is also from the spares box. Also of unknown origin. The other TERs, I think, are from Hase. The gun pods are resin. I’m guessing…True Details? Everything was assembled with wire pins and CA. All this stuff was in the box. It was all shelved 15 years ago, so I really don’t remember where it came from. I’m sure I could’ve replaced all this stuff with better options, but I decided to just use what I had.

I also decided to make some FOD covers like the ones in the original photo. As a proof of concept, I used some (very) diluted white glue over some paper towel. I know my experiment shows the texture of the towel, but the final product won’t. Again, this was just to test my process. I’m happy with the way it turned out.

So this one is rounding the bend and heading for the home stretch. Comments, questions, and criticisms are always welcome. Feel free to drop your two cents into the bucket on your way out. Stay tuned for the finale! I’ll post more when there’s more to post. Until then…

Happy modeling!
-O

5 Likes

Hey FSM, I’m here with what is likely the penultimate post for this build. Next should be the big reveal. Until then, let me show you where I’m at with my Phantom.

I didn’t like the kit’s burner cans…

So, I used a set that was in the box. I have no idea where they came from, but I think they look better than Hasegawa’s offering.

And here they are painted up…

And installed.

I also started getting the landing gear prepped. I’ll be using a set of resin wheels that was in the box. By the looks of them, I think they’re a True Details set. First, I needed to strengthen the gear’s attachment point. I simply drilled into the leg and bay to accept a small bit of stiff wire. That gives me more than just a simple butt joint to work with.

Also, I got the FOD covers done. I used tissue soaked in diluted white glue and carefully shaped with a brush.

I never glued on the intake splitter plates because I wanted to be able to paint and varnish the area behind them. That worked to my advantage because once the glue on the FOD covers what dry, it was still enough to allow me to pull off the splitter plates and maintain the shape and integrity of the covers.

I was then able to paint them and press them back into place. I only had to use a few dabs of white glue to get the corners to stay down.

I’m really happy with the way they turned out.

Anyway, my Phantom is almost done. Like I said, the next installment should be the big reveal. As usual, comments, questions, and criticisms are welcome. Feel free to drop your two cents into the bucket on your way out. Keep your eyes open for the final post.

Now…back to my wicked of Omars…
-O

6 Likes

Good job on the FOD covers! Looking forward to your completed work!

The project is 15 years old, so I don’t remember a lot of the details, but it’s (finally) doneI know that it’s Hasegawa’s F-4C. I don’t know where the resin seats came from. Nor do I know where the Navy style inboard pylons came from. The burner cans, outboard TERs, and the centerline MER are also of unknown origin. I think the wheels and gun pods are from True Details. The (limited) decals are from my spares drawer. The FOD covers are made from white glue soaked tissue paper. It’s painted with AK Real Colors, shot freehand through my .2 Sotar and Alclad metalizers.

It’s not perfect, but I’m happy finishing an effort that I started 15 years ago. I think I’d like to build another one of these using a modern F-4 and modern aftermarket goodies. I learned a lot finishing up this project, and I hope to use the experience to build a better F-4 in the future.

Thanks for following along! I appreciate your feedback and comments. Of course, comments, questions, and criticisms are welcome. Feel free to drop your two cents into the bucket on your way out. I’m going to move forward on a gaggle of F-18s that I’m working on and maybe, just maybe, I’ll crack open something else to build along with them.

Now…back to my Omars…
-O

6 Likes

It looks really good Omar, nice work!

Super nice finish! I admire your perseverance, and resourcefulness in pulling this one across the finish line.

The FOD covers look just right too! Thanks for posting your progress.

Congratulations on finishing this 15 year project! You’ve done a great job, and I especially like the FOD covers. Scratch building at it’s finest!

Gary