Grumman Cats - Build Log COMPLETE 21-October-2025

I am kicking off my next project today. This will be a tri-subject build in 1/72 scale of three of Grumman’s “cats” - the Wildcat, the Hellcat, and the Tigercat.

The Arma Hobby kit will be my first from this manufacturer. This will also be the first time I’ve built either a Wildcat or a Hellcat in this scale. I have built the Tigercat previously, as a kid, but this Tigercat build will not be completely out of the box. I acquired a set from Starfighter of resin wheel wells intended for this old Monogram kit. I will also be scratch-building a cockpit. When I complete these builds, I will take a 1/72nd family photo of these 3 with the two Monogram F8F Bearcats I built many years ago.

5 Likes

Here is my work bench surface, cleared of all the stuff left over from my previous build (Ju188A-2), cleaned up and organized for these new builds.

4 Likes

Wildcat and Hellcat sprues set up and ready for what is to come.

3 Likes

The first tangible progress is on the Tigercat. Yesterday, after cleaning the bench, I pulled everything out and was anxious to see how the resin wheel wells will fit into the ancient Tigercat kit. I was dismayed that the nacelles did not initially close around the resin, but after further inspection, I noted the mounting tab for the landing gear was the cause of that lack of fit.

This morning I ground the mounting tabs out of both nacelles and the fuselage for the nose gear bay. Fit looks like it will be good.

3 Likes

One last thing to mention - I don’t have all the paint I need for these builds. When I started pulling out the paints you see in my work bench photo, I realized I didn’t have the late war USN colors needed for the Hellcat and Tigercat. I also didn’t have light gull grey for the Wildcat. Grrrr. So I have some of that on order. But that doesn’t keep me from getting started. I can do everything up to priming these models before the shipment of paint will put up the stop sign.

Good progress today while watching the Kentucky - UGA football game, most on the Tigercat.

My source of truth for painting today: https://www.ipmsstockholm.se/home/interior-colours-of-us-aircraft-1941-45-part-iii/

Wildcat - painted interior cockpit surfaces AK Interactive Real Colors Bronze Green.

Hellcat - painted interior cockpit surfaces AK Interactive Real Colors Interior Green

Tigercat - painted interior cockpit surfaces AK Interactive Real Colors Interior Green, and used a black marker to “paint” the areas above the consoles black. Once I get the canopy into position (a one piece that I will not attempt to cut into its constituent parts), I doubt much of this is visible. But the majority of the work I did on the Tigercat was in fitting the resin nose gear well into position while scratch building a basic cockpit. Monogram kits of this era (1960s) were very good kits but were notorious for essentially no detailing in areas like cockpits or wheel wells.

I started by cutting a floorboard the same width as the rear of the nose gear bay piece. Then I used the Hellcat’s seat as a reference in putting together a seat for the Tigercat (I previously checked my spares box to see if I happened to have a 72nd scale seat, but nope, just a bunch of props and ordinance). I added a piece of styrene rod for the control column, and cut out another piece of sheet styrene for the rear bulkhead, a seat mount to go on the bulkhead, and a starboard side panel.

I don’t have a lot of good photo references for the Tigercat, but I do have an old AMT/Ertl 1/48th kit in the stash that I used to determine what should be in a Tigercat cockpit. I opted not to replicate any side wall panels beyond the side console, as none of that would be visible through the canopy.

That’s it for today. Must root for a team later that I will be rooting against next Saturday, the Florida Gators (who play that team out west who’s name is not worthy of me typing out before playing the Aggies next weekend). Then tonight the Aggies play Mississippi State.

3 Likes

Good progress. I like the project - finished mine last year.

I know, I know… the tigercat comes before the bearcat. I switched them just didn’t update the pic :slight_smile:

And I’m sooooo happy we’re back in college football season!

4 Likes

I find your reference link to be most useful, thanks for that. Great start on your trio of cats. Keep the updates coming.

After yesterday of traveling for a football game (the Aggies beat Florida, so it was a great trip), and not getting home until really late, and sleeping in today thereby missing church, I figured today was a good day for nothing other than time at the bench.

I made significant progress on all Cats. But I will say that I don’t anticipate tackling any more 1/72 WWII fighters. They are just too small for my eyes and dexterity.

I have both the Wildcat and Hellcat built up and ready for paint. The cockpits and installed, the cowlings are built but not attached, and each has a nice P&W engine replica ready for putting into position.

On the Wildcat, I got ahead of myself rather than following the instructions. After installing the wheel well bulkhead and a couple of landing gear actuators, I buttoned up the fuselage when I should have put the engine mount brackets onto the engine firewall and attached that to one side of the fuselage. But I was able to get everything into position with no issues.

On the Hellcat, I found out a bit later that I also didn’t follow the instructions as close as I should have. I neglected to open the mounting hole for the belly tank. I didn’t figure out this omission until after I’d built the tank. Oh well, my tiny Hellcat will simply not have a belly tank.

On the Tigercat, I had already built up the entire fuselage. Today I focused on the nacelles with the resin wheel wells. Fit was terrible. I was able to get the resin into position and I was able to get the nacelles closed around those parts - just barely. I will need to close up a couple of wide open seams with sheet styrene pieces and putty. I built the wings and attached the wings and stabilizers.

My strategy with where I left off is to be able to efficiently tackle the paint schemes. The Wildcat will get a blue-gray top with light gull gray bottom. The Hellcat will get the standard tri-color scheme of dark sea blue, intermediate blue, and insignia white. The Tigercat will be dark sea blue overall. This is why I left the wings and stabilizers off the earlier cats so that painting will be more easily accomplished. In a bigger scale, I probably wouldn’t do this, but in this scale, I feel like this will make the job a little easier to complete.

3 Likes

No belly tank for the Hellcat? He’ll run out of gas somewhere over Kwajalein! :blush:

Your doing a fine job on all 3. I’ll follow along.

Gary

Wow those are tiny. I do 1/72 for bigger twin engine stuff. They do look cool though. Aggies looking good this year.

Never fear, there will be a US sub to pick him up as in the case of a future US President. :grin:

1 Like

Yeah, this is atypical for me. I have built 72nd single engine fighters before, but it’s been a while. In my advancing age, the eyes just don’t work as well as they used to, and I’m noticing some minor loss of dexterity.

Yes, the Aggies look pretty stout currently. Their win at Notre Dame was an all-timer. But, there is a thing that goes among overly passionate Aggies that we call “Battered Aggie Syndrome”, which basically translates to “whatever can go wrong will go wrong”. Last season is a great example. 7-1 overall, sole possession of first place in the SEC after having throttled LSU - and then face planted in the mud losing 4 out of the last 5 games they played. As a result, I have been looking at them with a “prove it” mentality rather than just blindly thinking they would do well. Now it’s on to Fayetteville to play the “pig people”, otherwise known as Arkansas. The Razorbacks nearly always play A&M tough, so I half expect a loss this Saturday. We’ll see.

And one final thing on the Aggies. They have not accomplished anything of significance since Adolf Hitler was getting ready to conquer the world, winning their last national title in 1939. I seriously need that statement to be retired.

You know, a 1/48 scale Gato would be impressive! :smiley:

Gary

1 Like

What an incredible model! I can’t imagine what it took to make this a reality. Is there any information you can share as to how this was built? This inquiring mind has to know!

Today’s progress. Before work I sprayed the undersides of the Wildcat light gull gray and the Hellcat insignia white. After work I sprayed the Wildcat topside M-485 blue gray and the Hellcat intermediate blue (with dark sea blue still to come for the wing tops and upper portions of the fuselage).

For the Tigercat, I closed up small gaps along the wing and stabilizer roots. Even though I loaded the nose and forward portion of the belly tank with weight, I think this bird might still be a tail sitter. To hopefully mitigate that, I am going to load up both engine nacelles with as much weight as I can squeeze in there. (And then probably watch the flimsy gear not support all that weight).

1 Like

Early morning time at the bench to finish the basic exterior paint work. Masked the Hellcat fuselage for the dark sea blue. I should have primed the Tigercat before painting as that dark blue plastic made it difficult to see if I missed anything.

I have good lighting at my bench, but the photo of the Hellcat wing looks like I might need to add a bit more dark sea blue to the inner portion of the starboard wing. I have a little touchup work to do on the Wildcat where the putty I used slipped out of position. Speaking of the Wildcat, that blue grey looks too bright right out of the bottle. The weathering to come will probably knock that brightness down some.

2 Likes

With the wife out for most of today, I had plenty of time at the bench while watching Vanderbilt beat LSU and waiting for the A&M game to kick off.

I started the day by re-painting the Wildcat’s upper surfaces. The AK Interactive paint for M-485 blue grey looks far more like a sky blue. I had some old paint in my stash by Color of Eagles (haven’t seen this brand in years) that I had bought to do all the 350th scale aircraft on a build of the USS Lexington). So I masked the underside and repainted, and am happier with the color for my Wildcat.

I then turned my attention to the Hellcat, where the dark sea blue on the port side of the fuselage was a bit too wavy as compared to the starboard side. So out came the masking so that I could straighten out the border a bit.

I felt like I spent a long time painting things like tires or building the real fragile Wildcat landing gear, all while allowing a gloss coat to cure.

I spent the last two hours doing the decals for all three. I elected to not bother with any of the tiny stencils other than the prop manufacturer markings (which were difficult in this scale).

They are starting to take shape. It’s always the markings that get me to this state. Now just a few finishing touches, which will include some exhaust staining, washes, chipping, and a flat coat. I will paint the canopy framing by hand. And I still have to figure out how to mount the landing gear on the Tigercat - using the resin wells required removing the mounting slots for the gear.

2 Likes

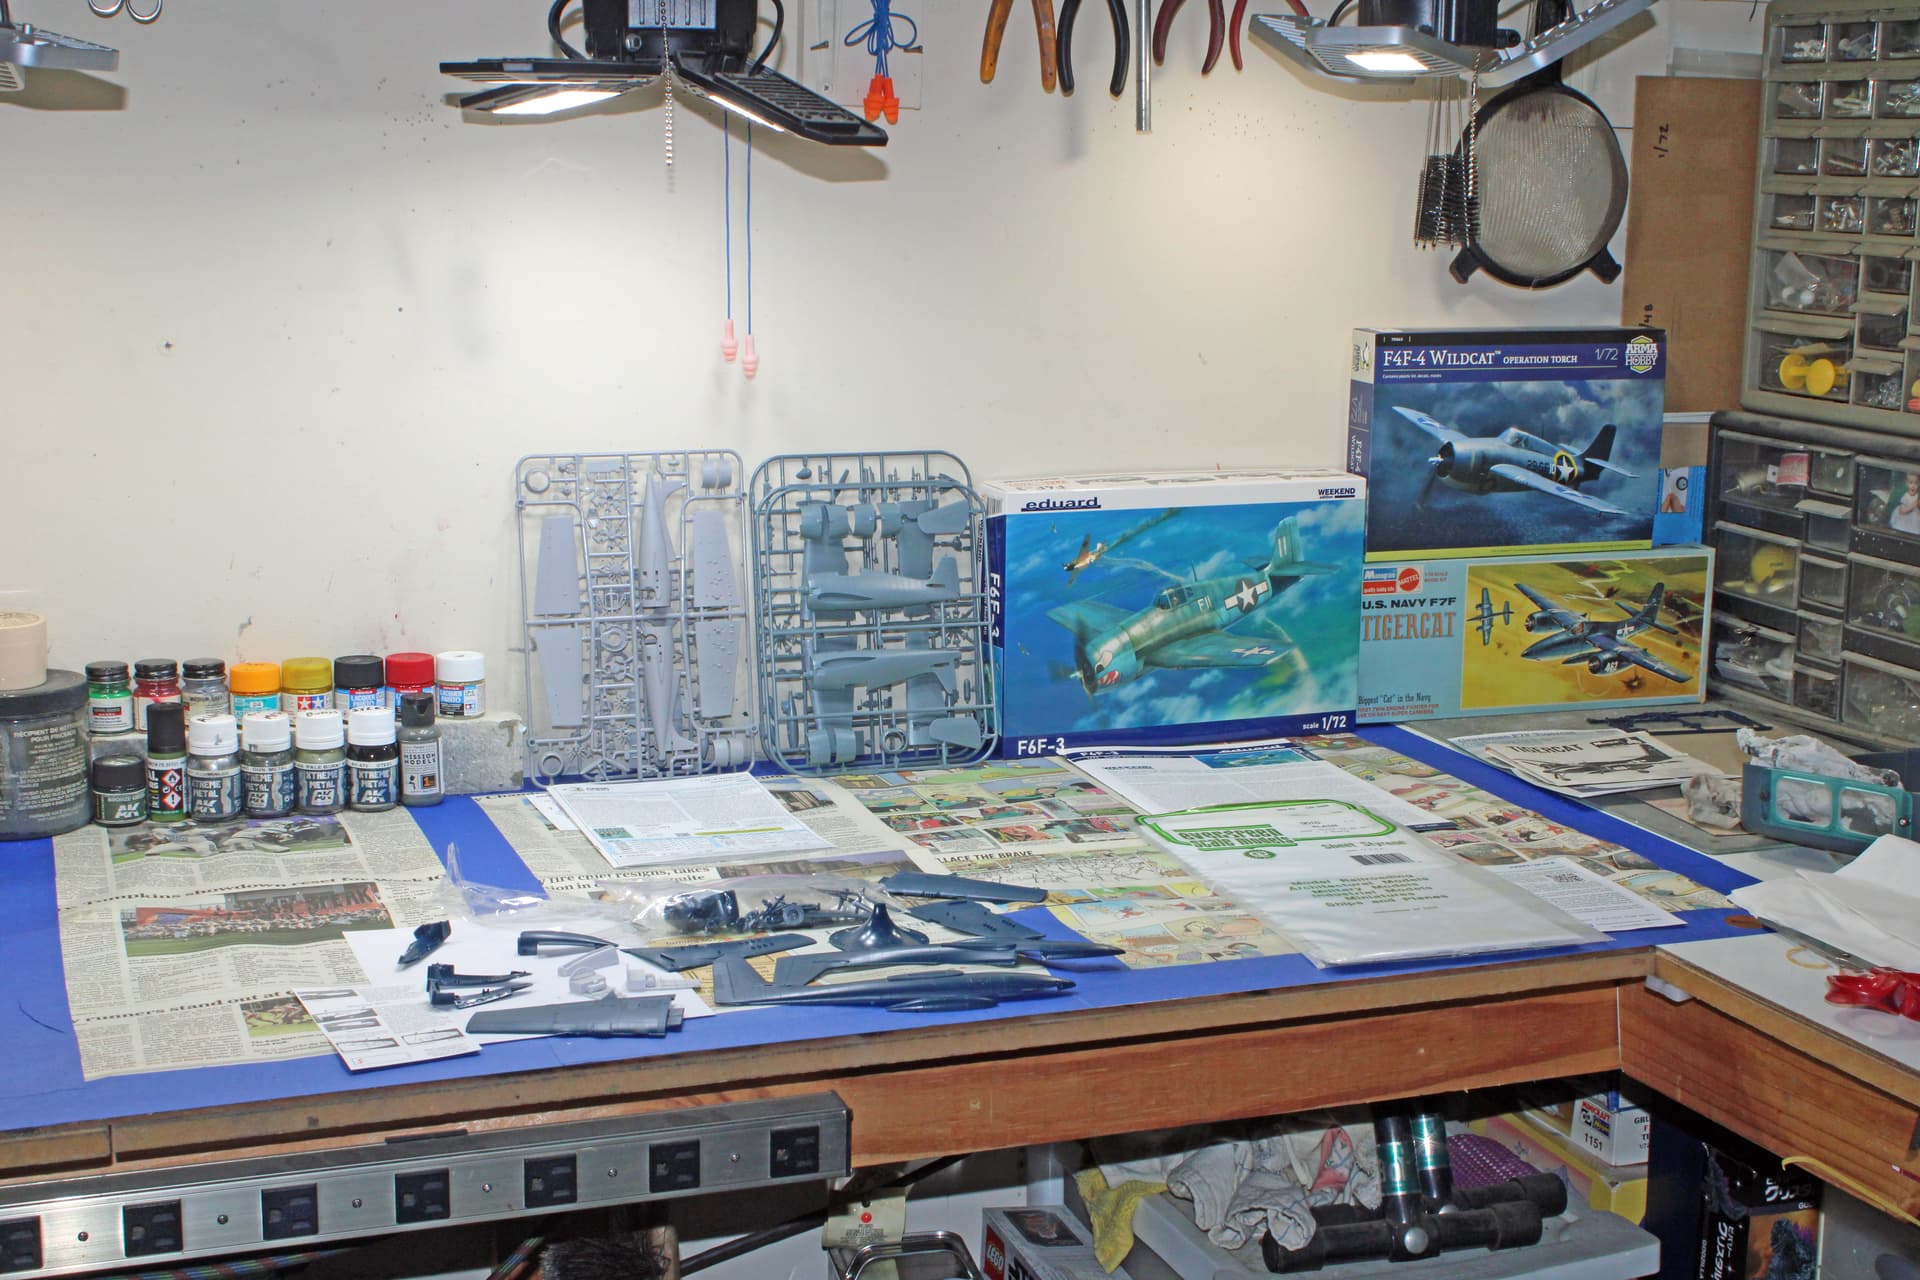
I completed my Grumman Cats build very early this morning. I skipped lunch to take photographs.

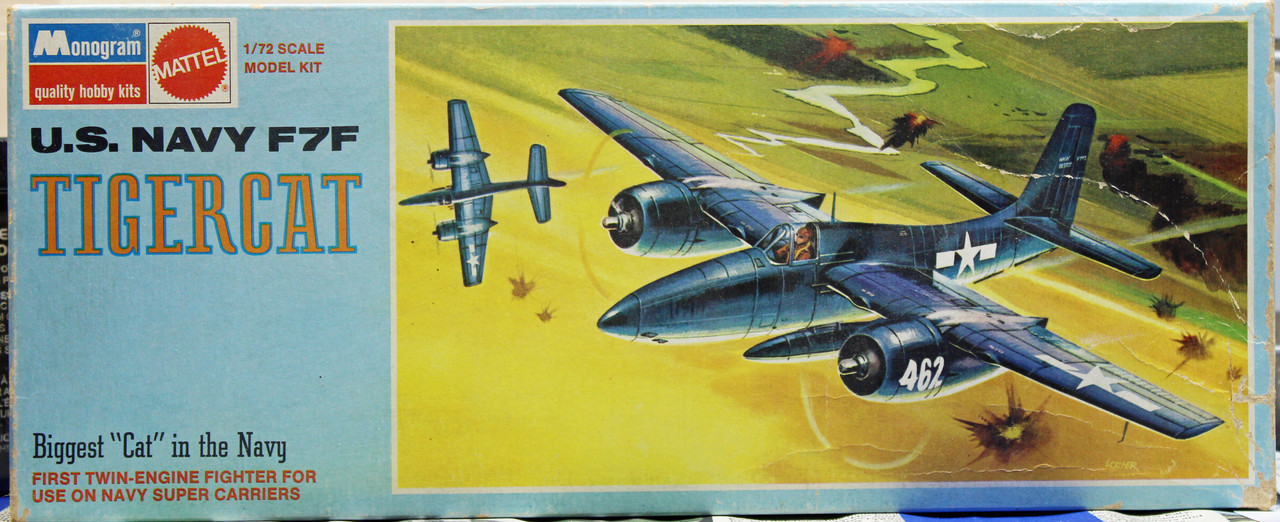
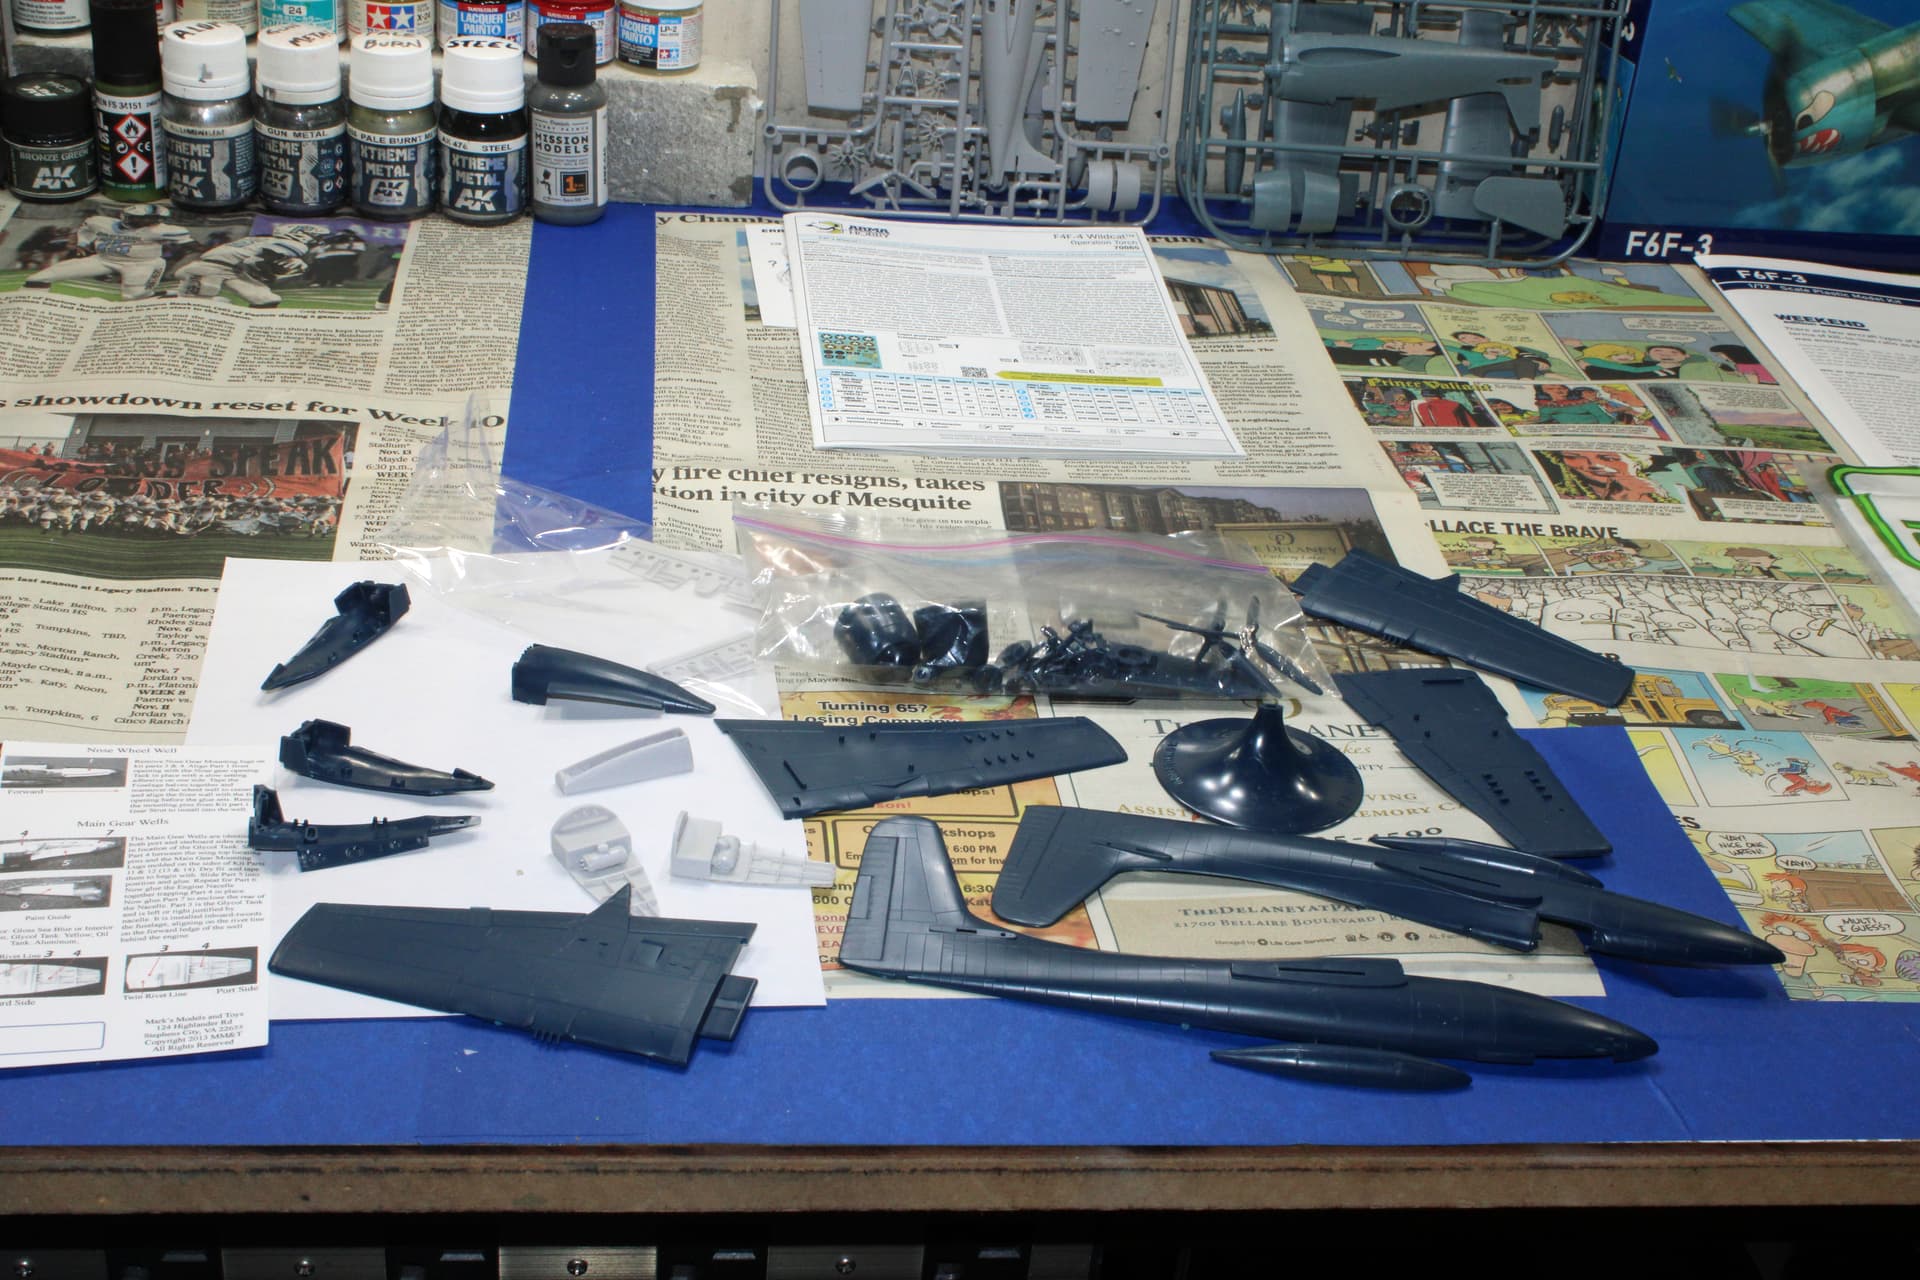
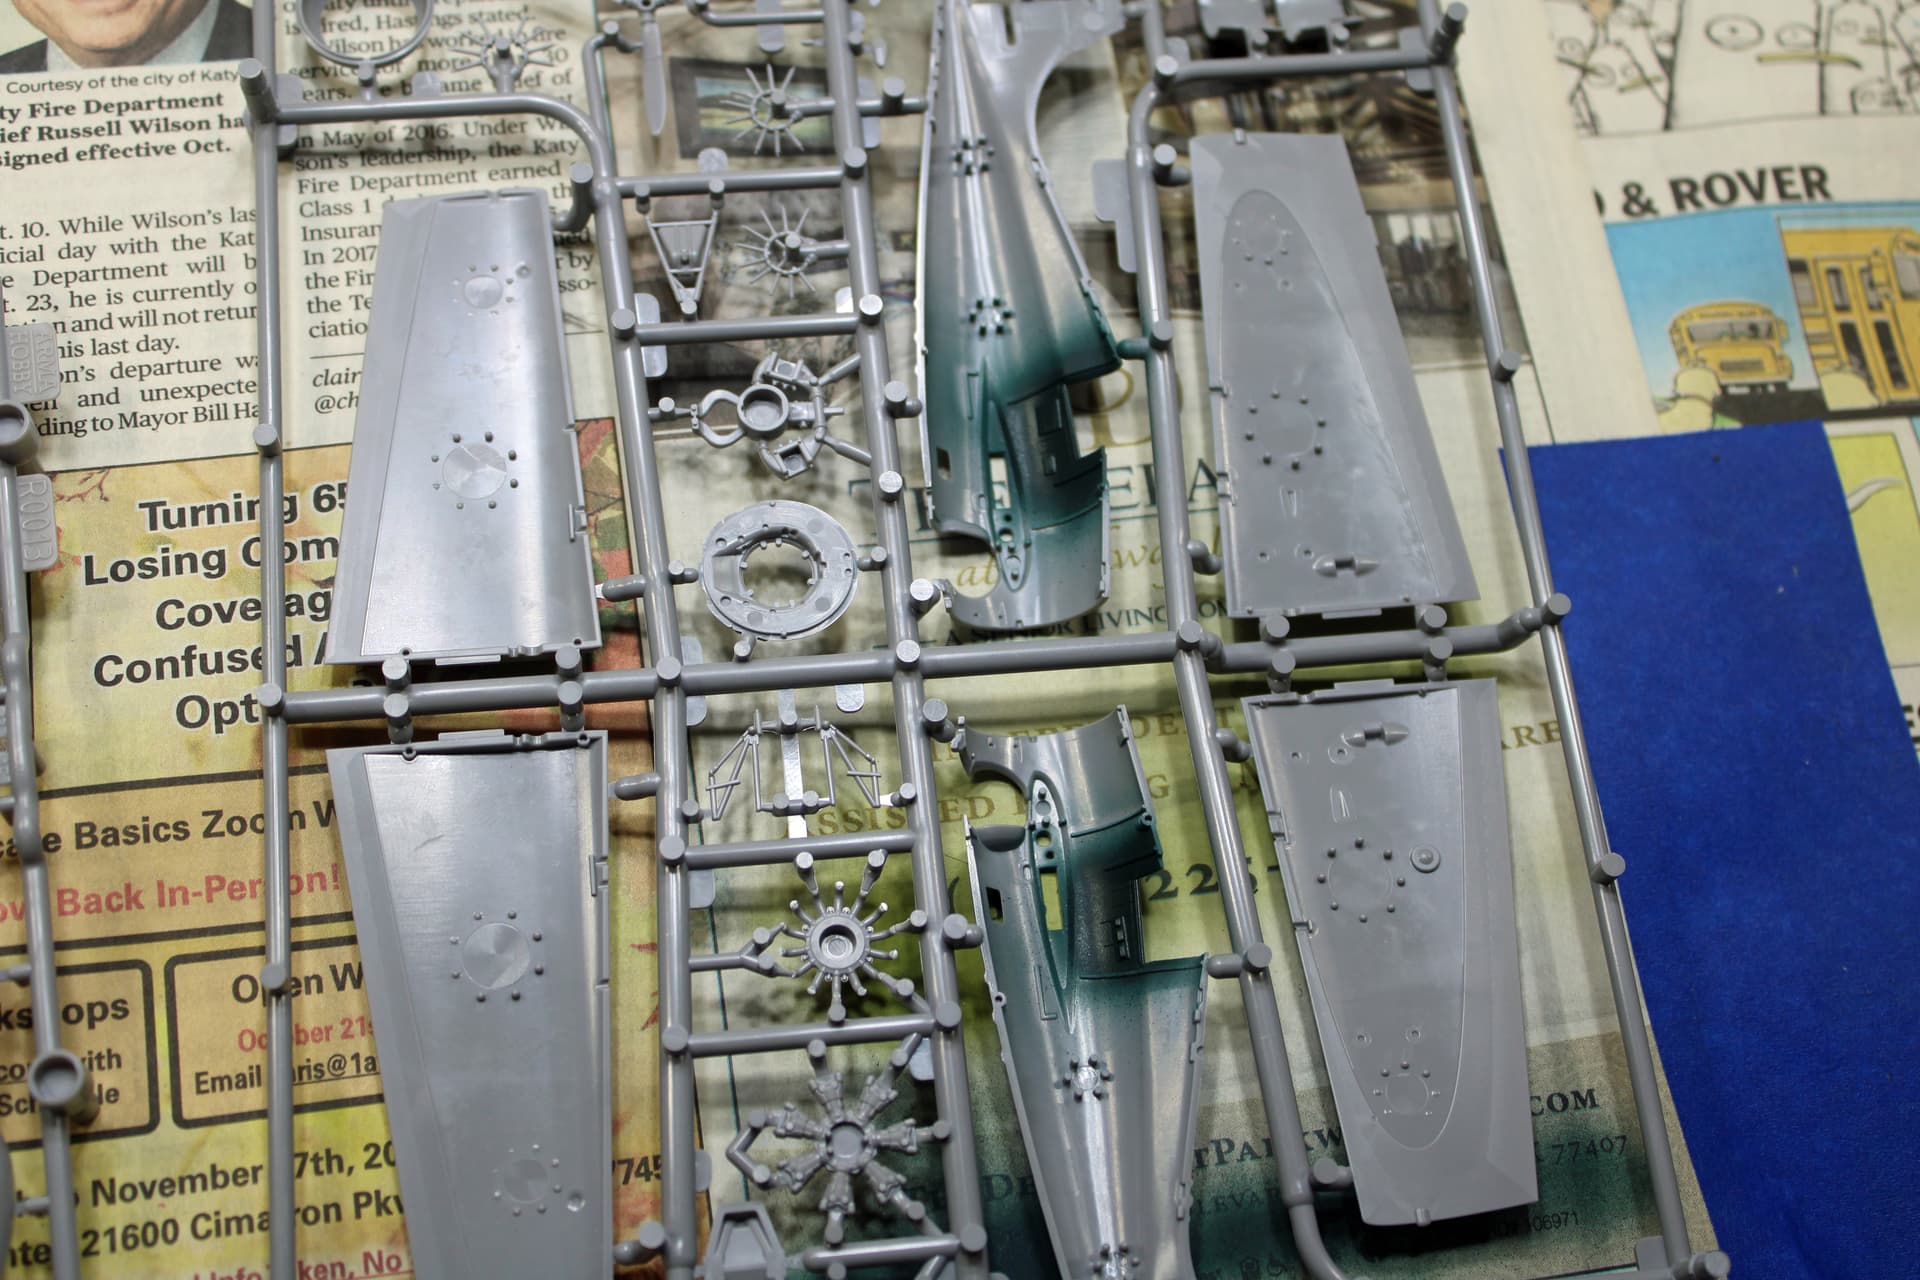
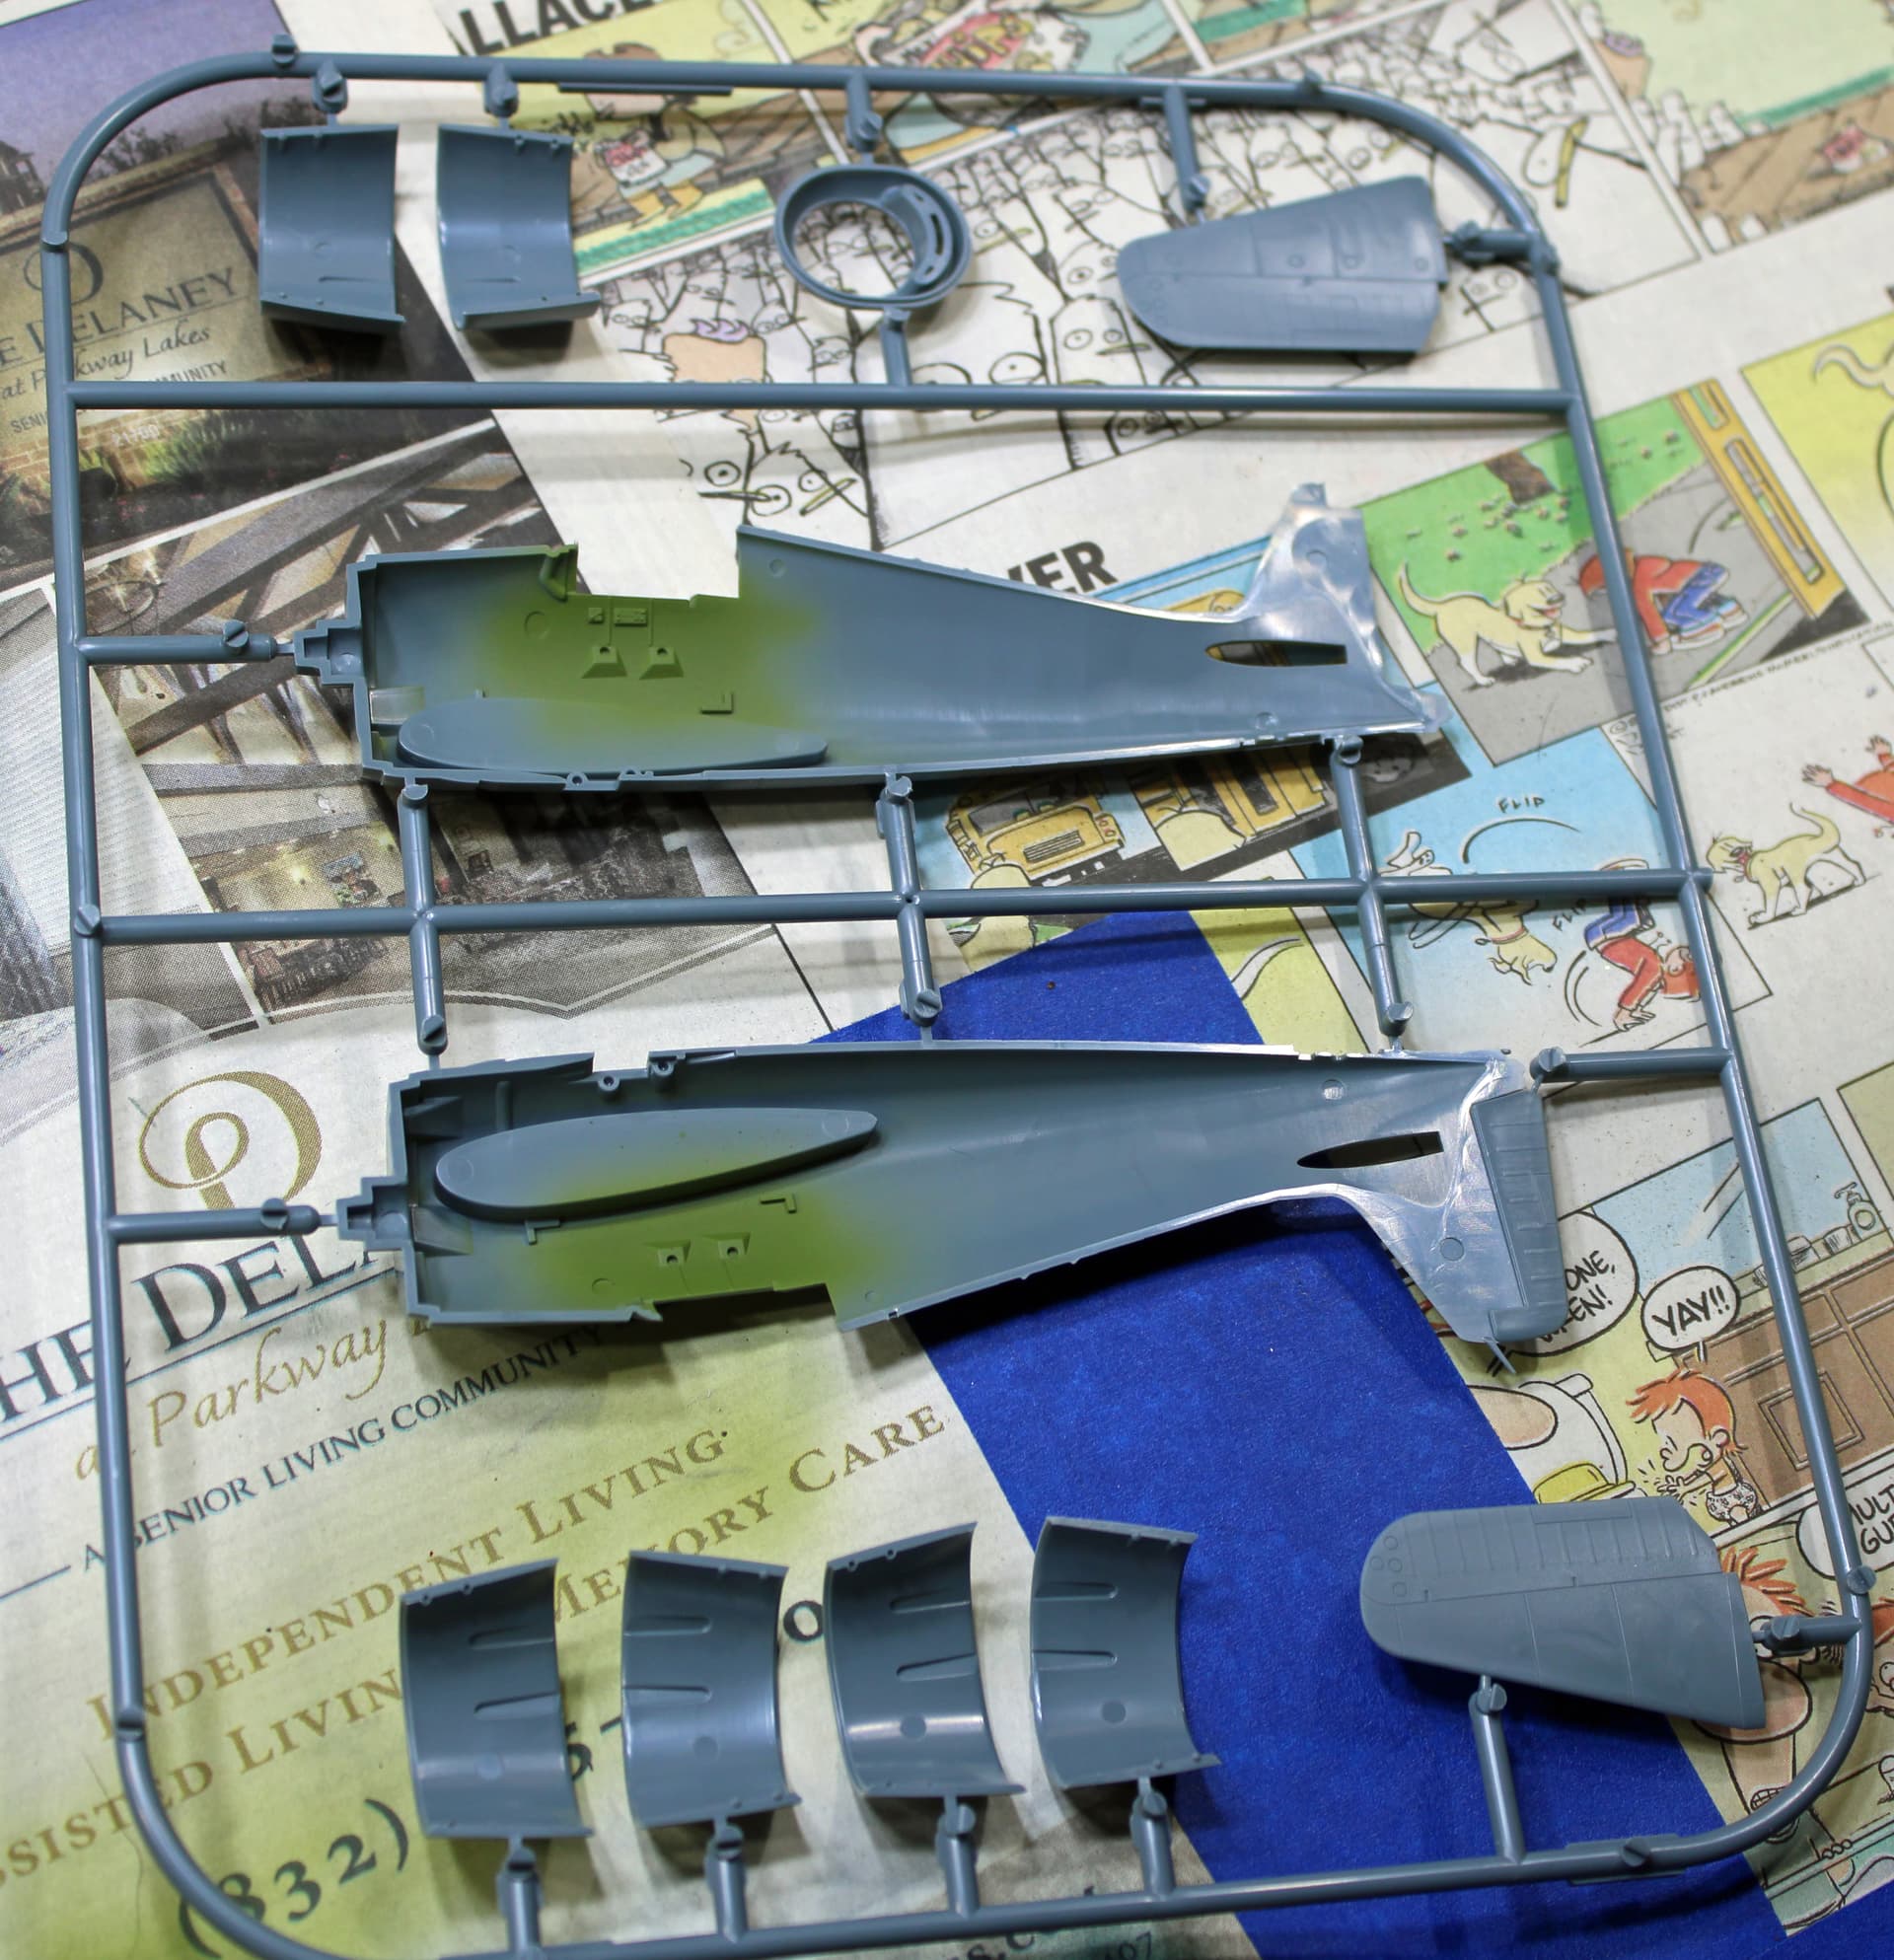
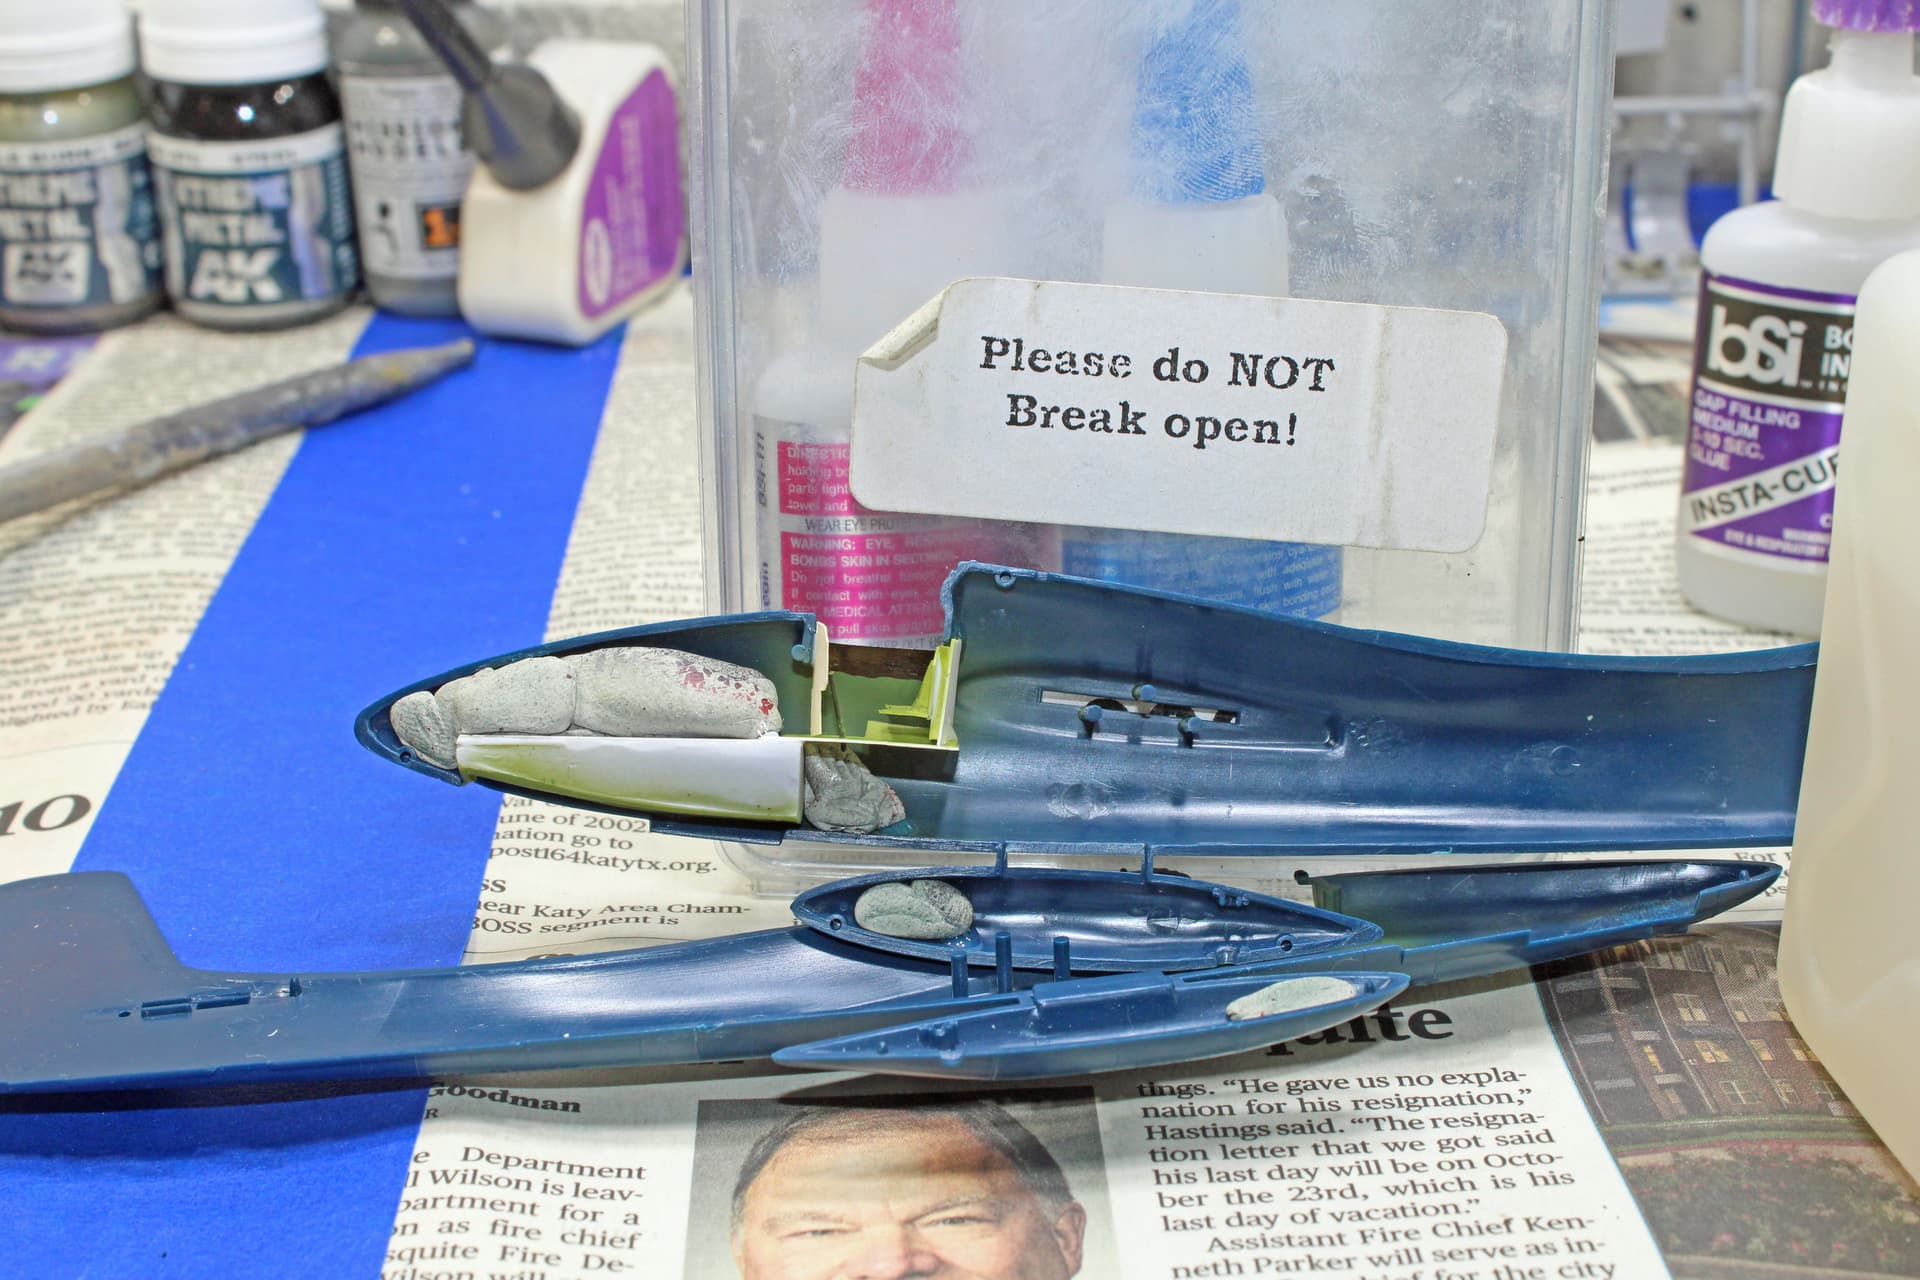
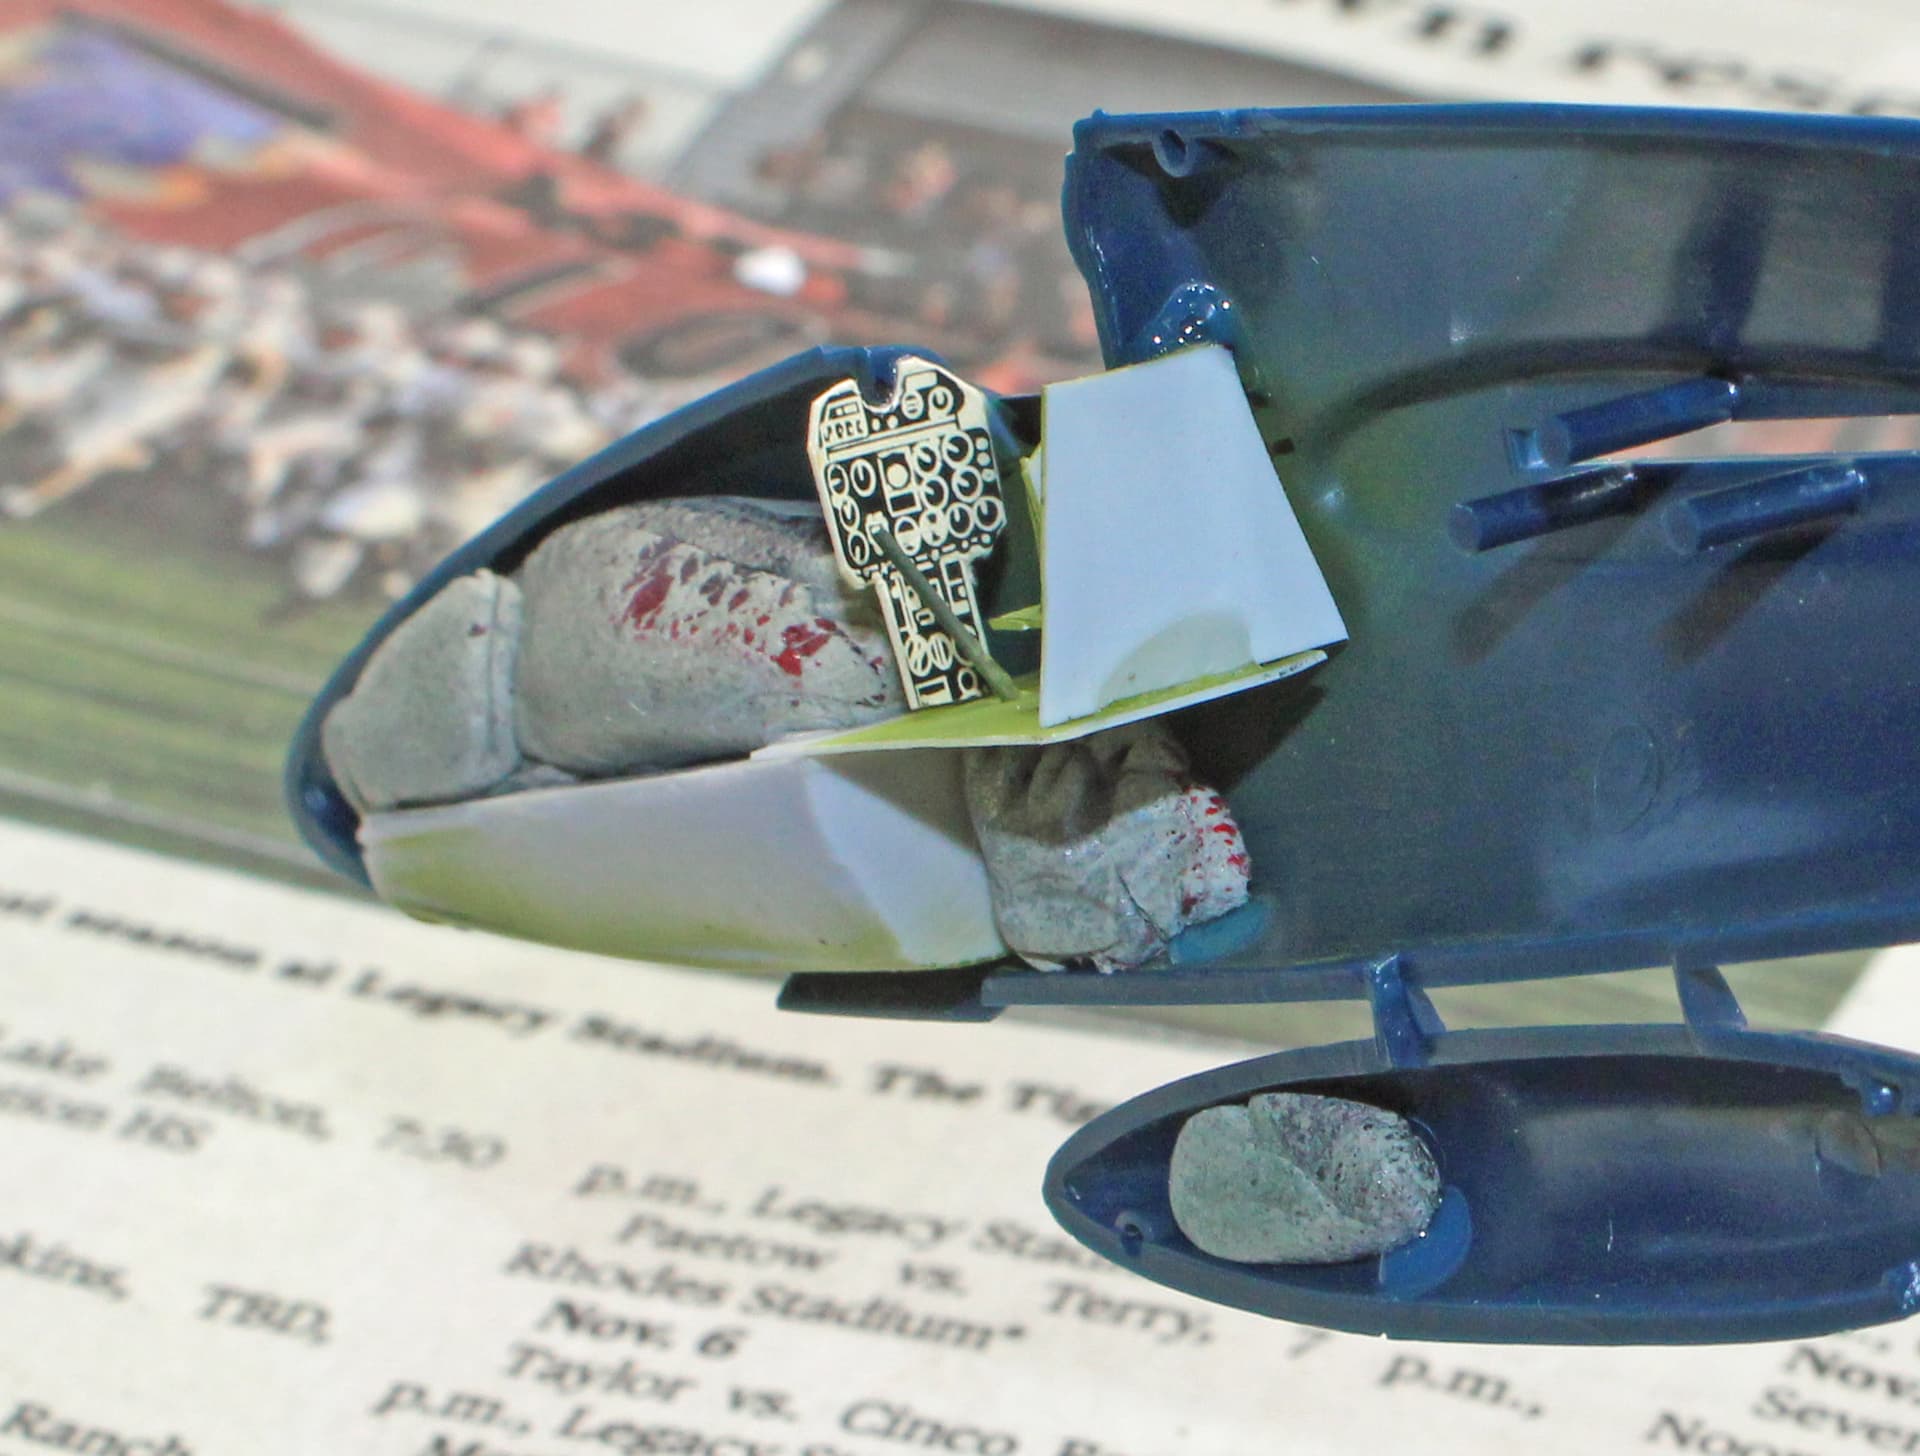
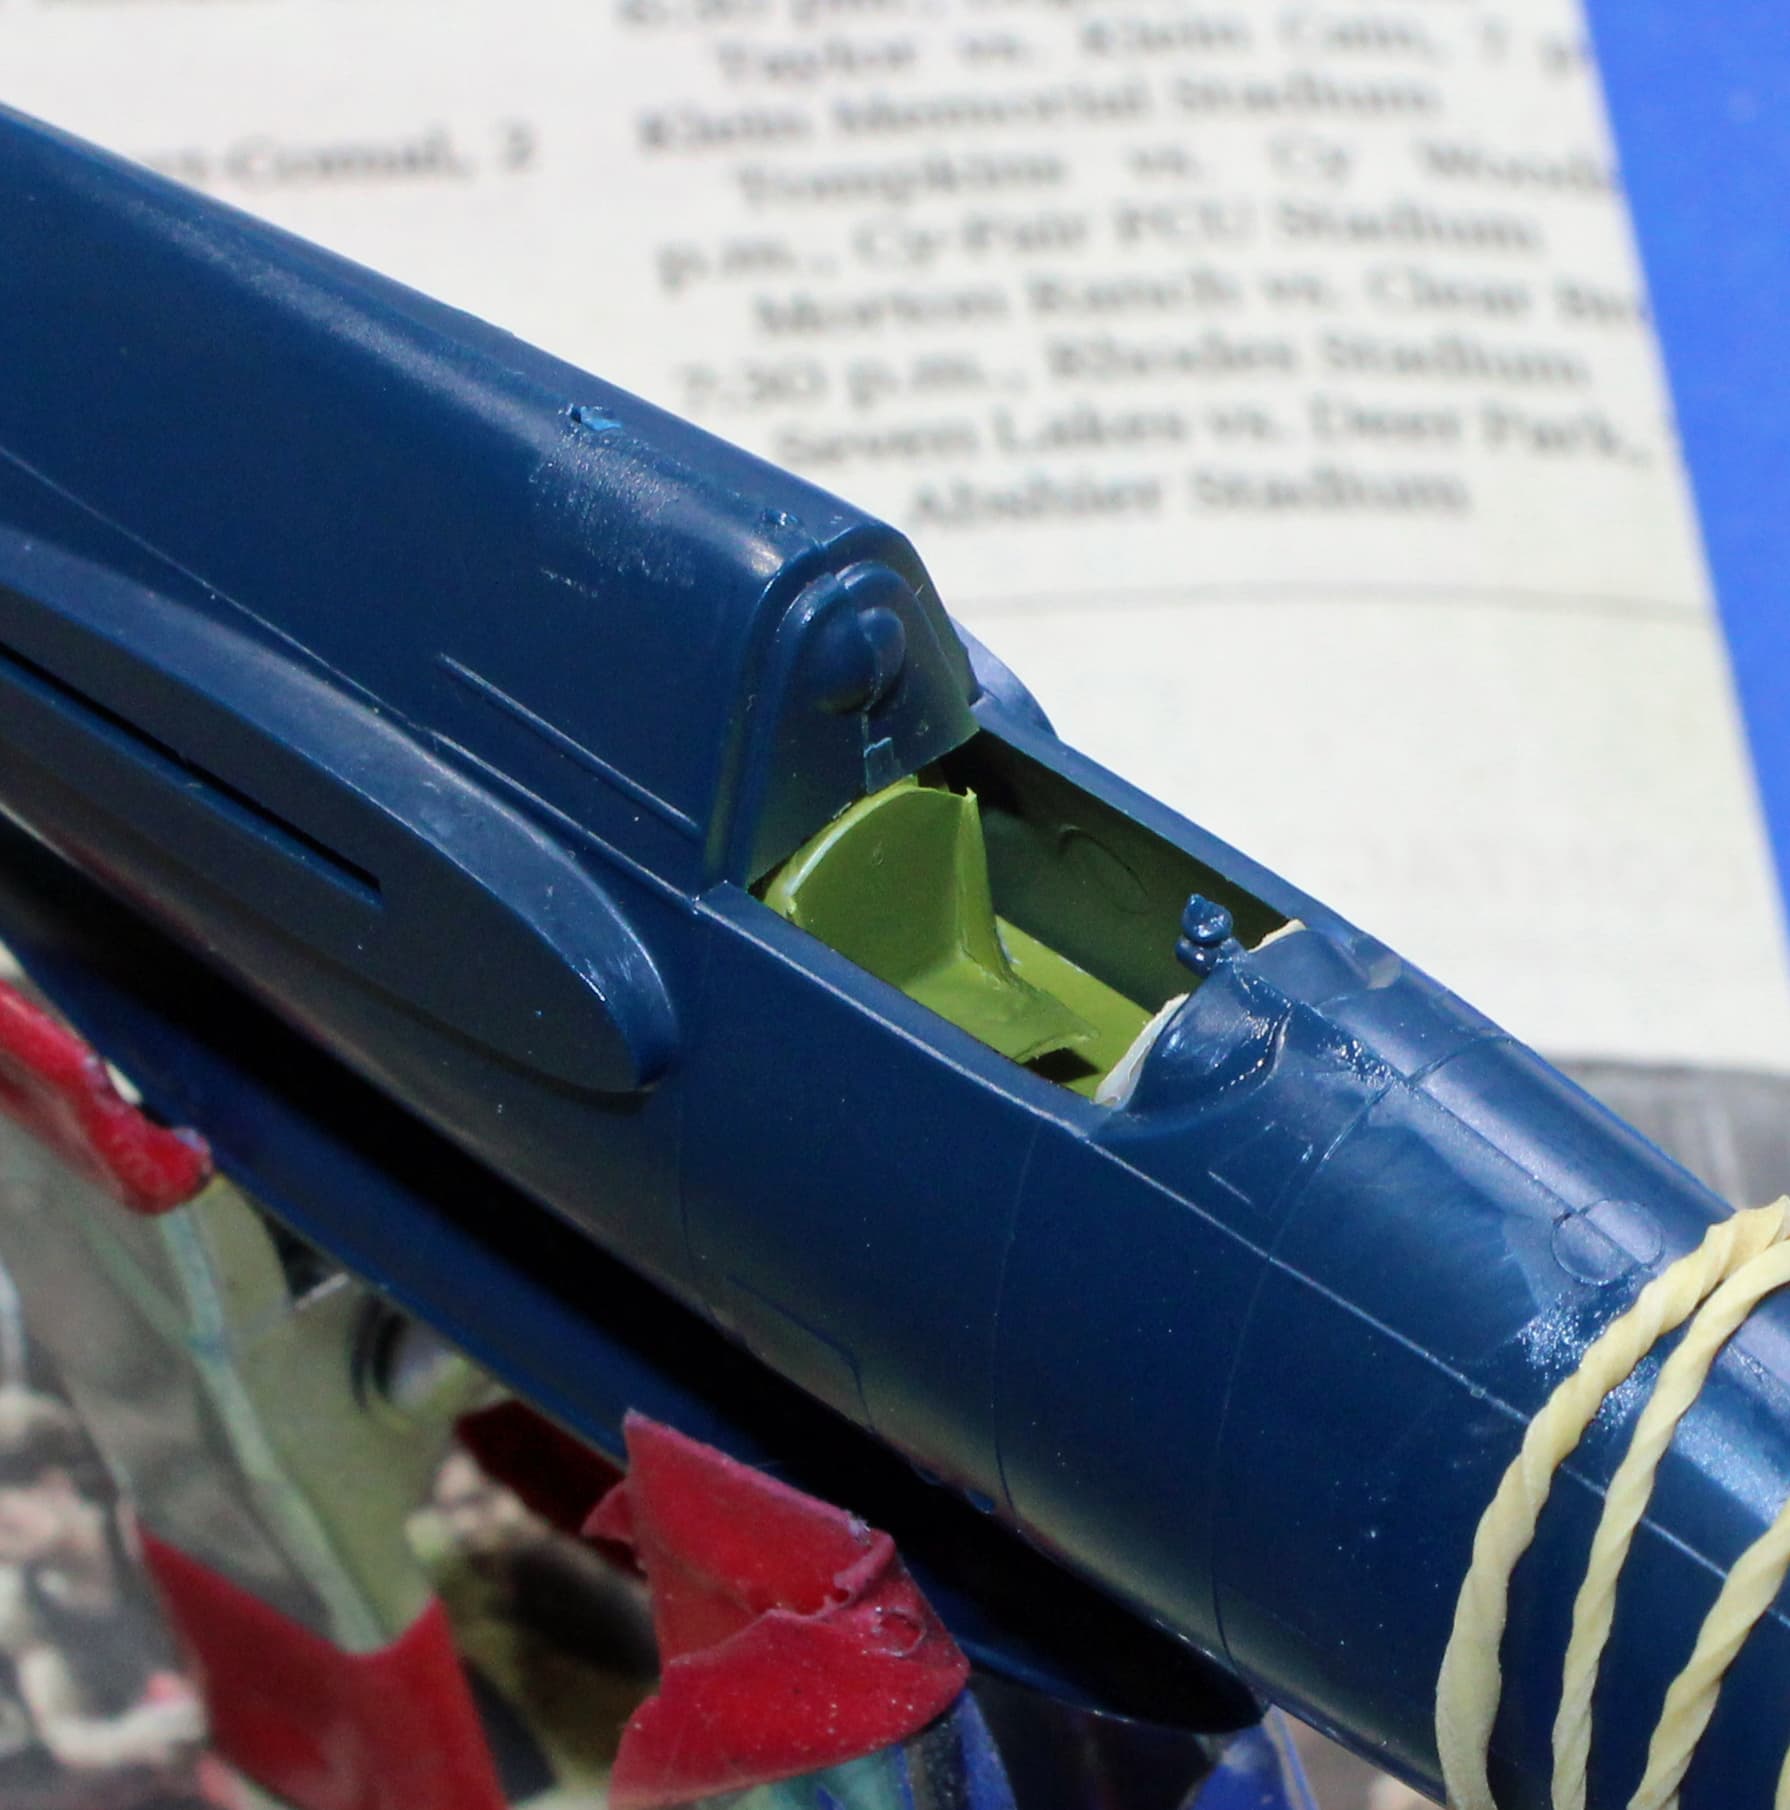
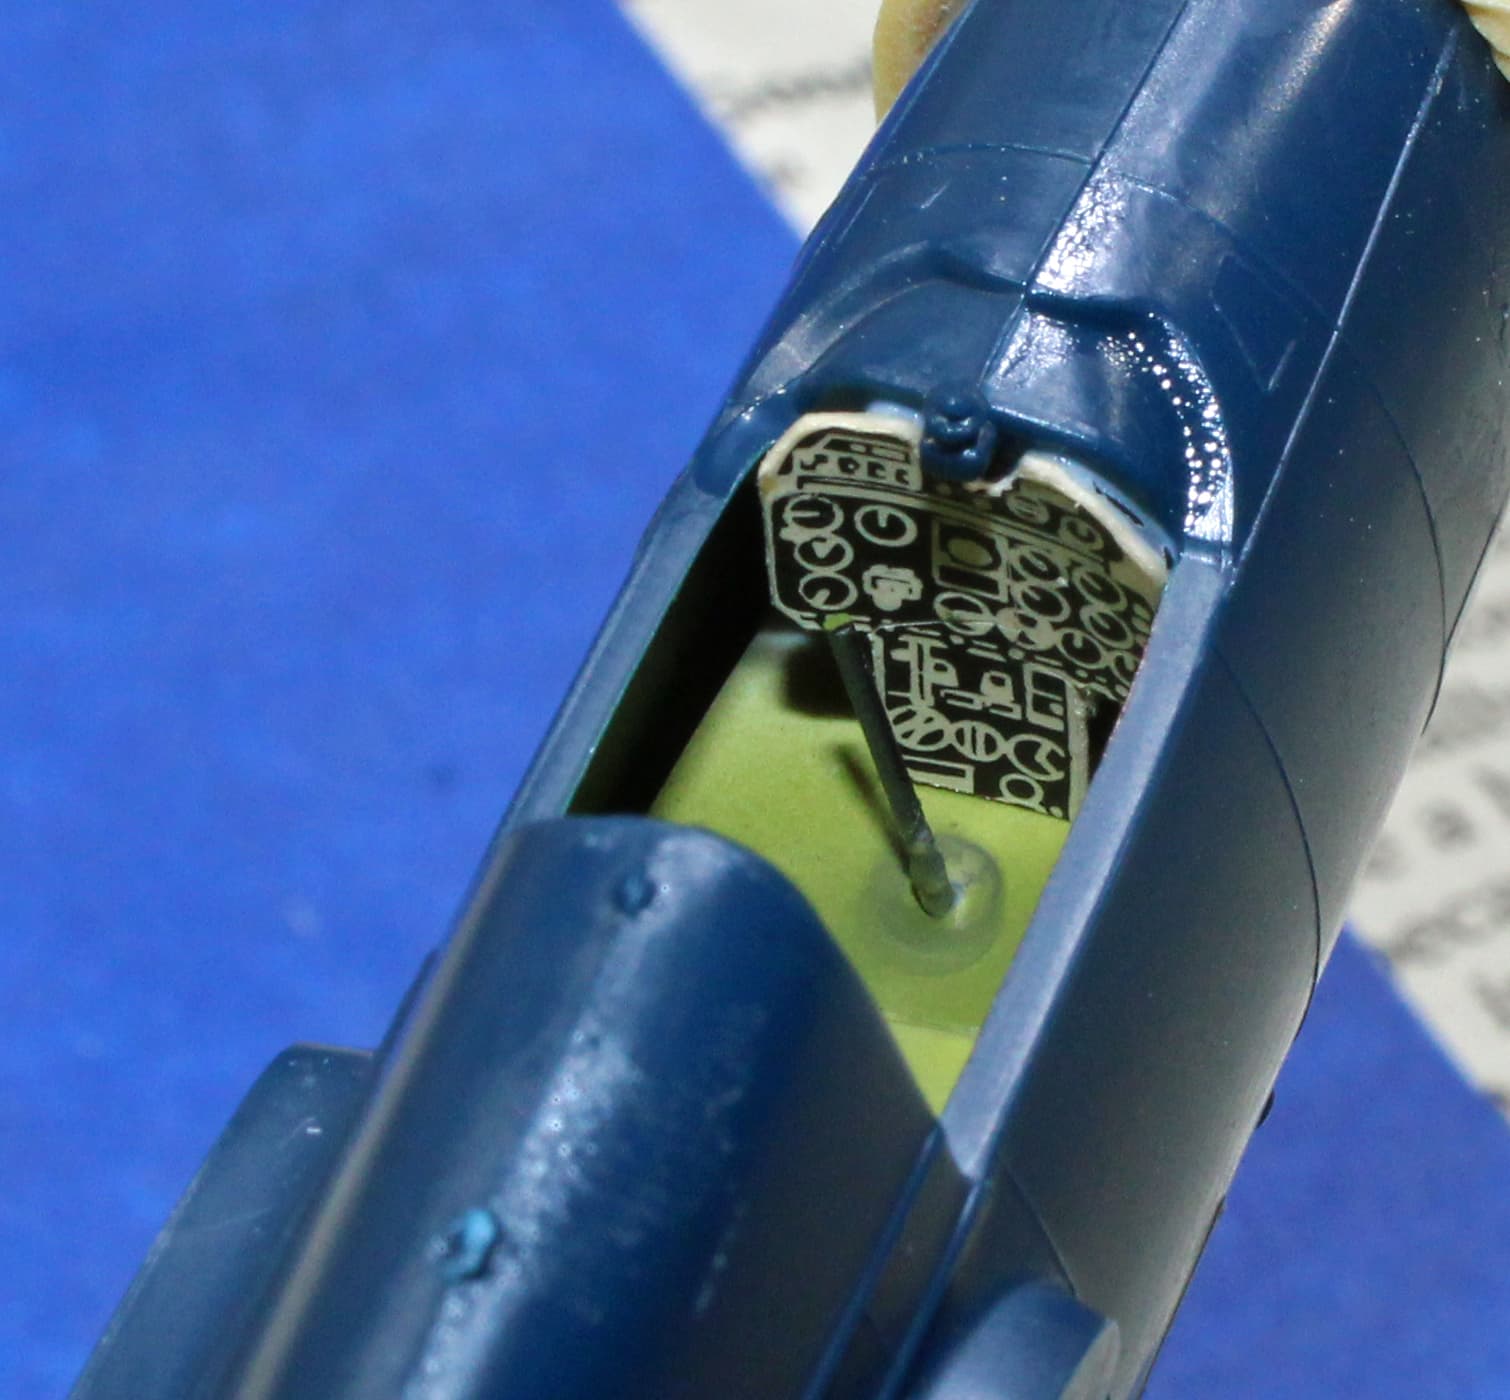
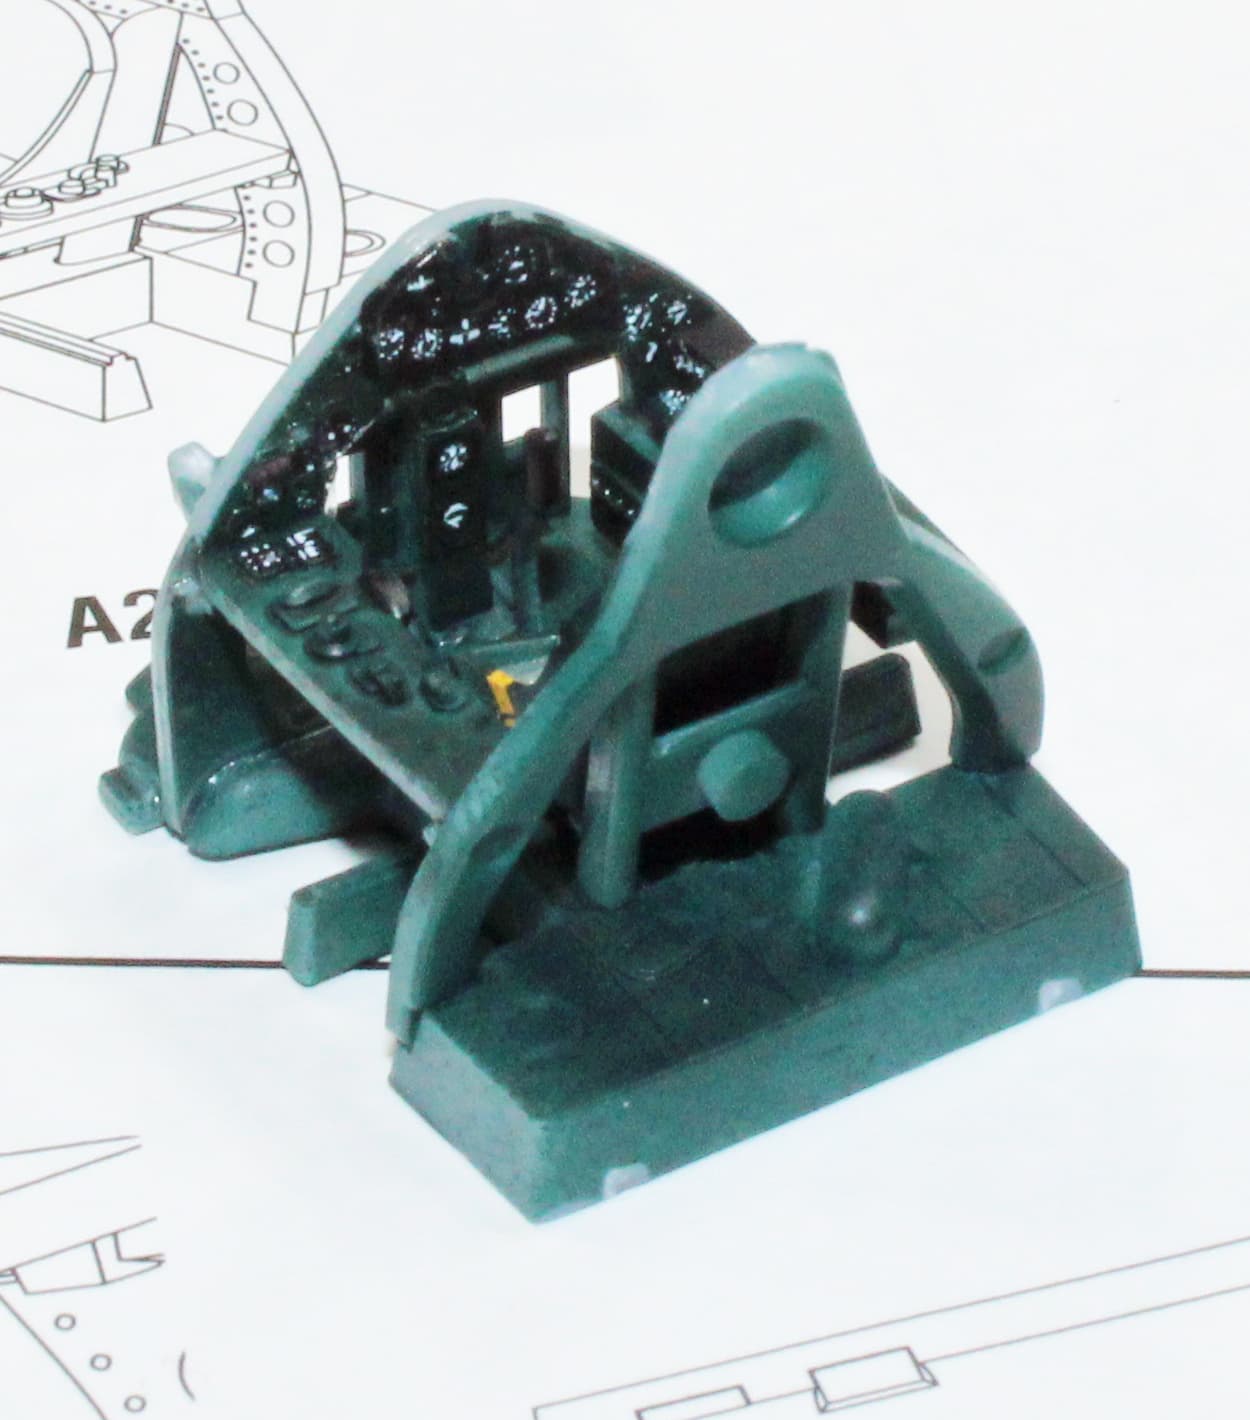
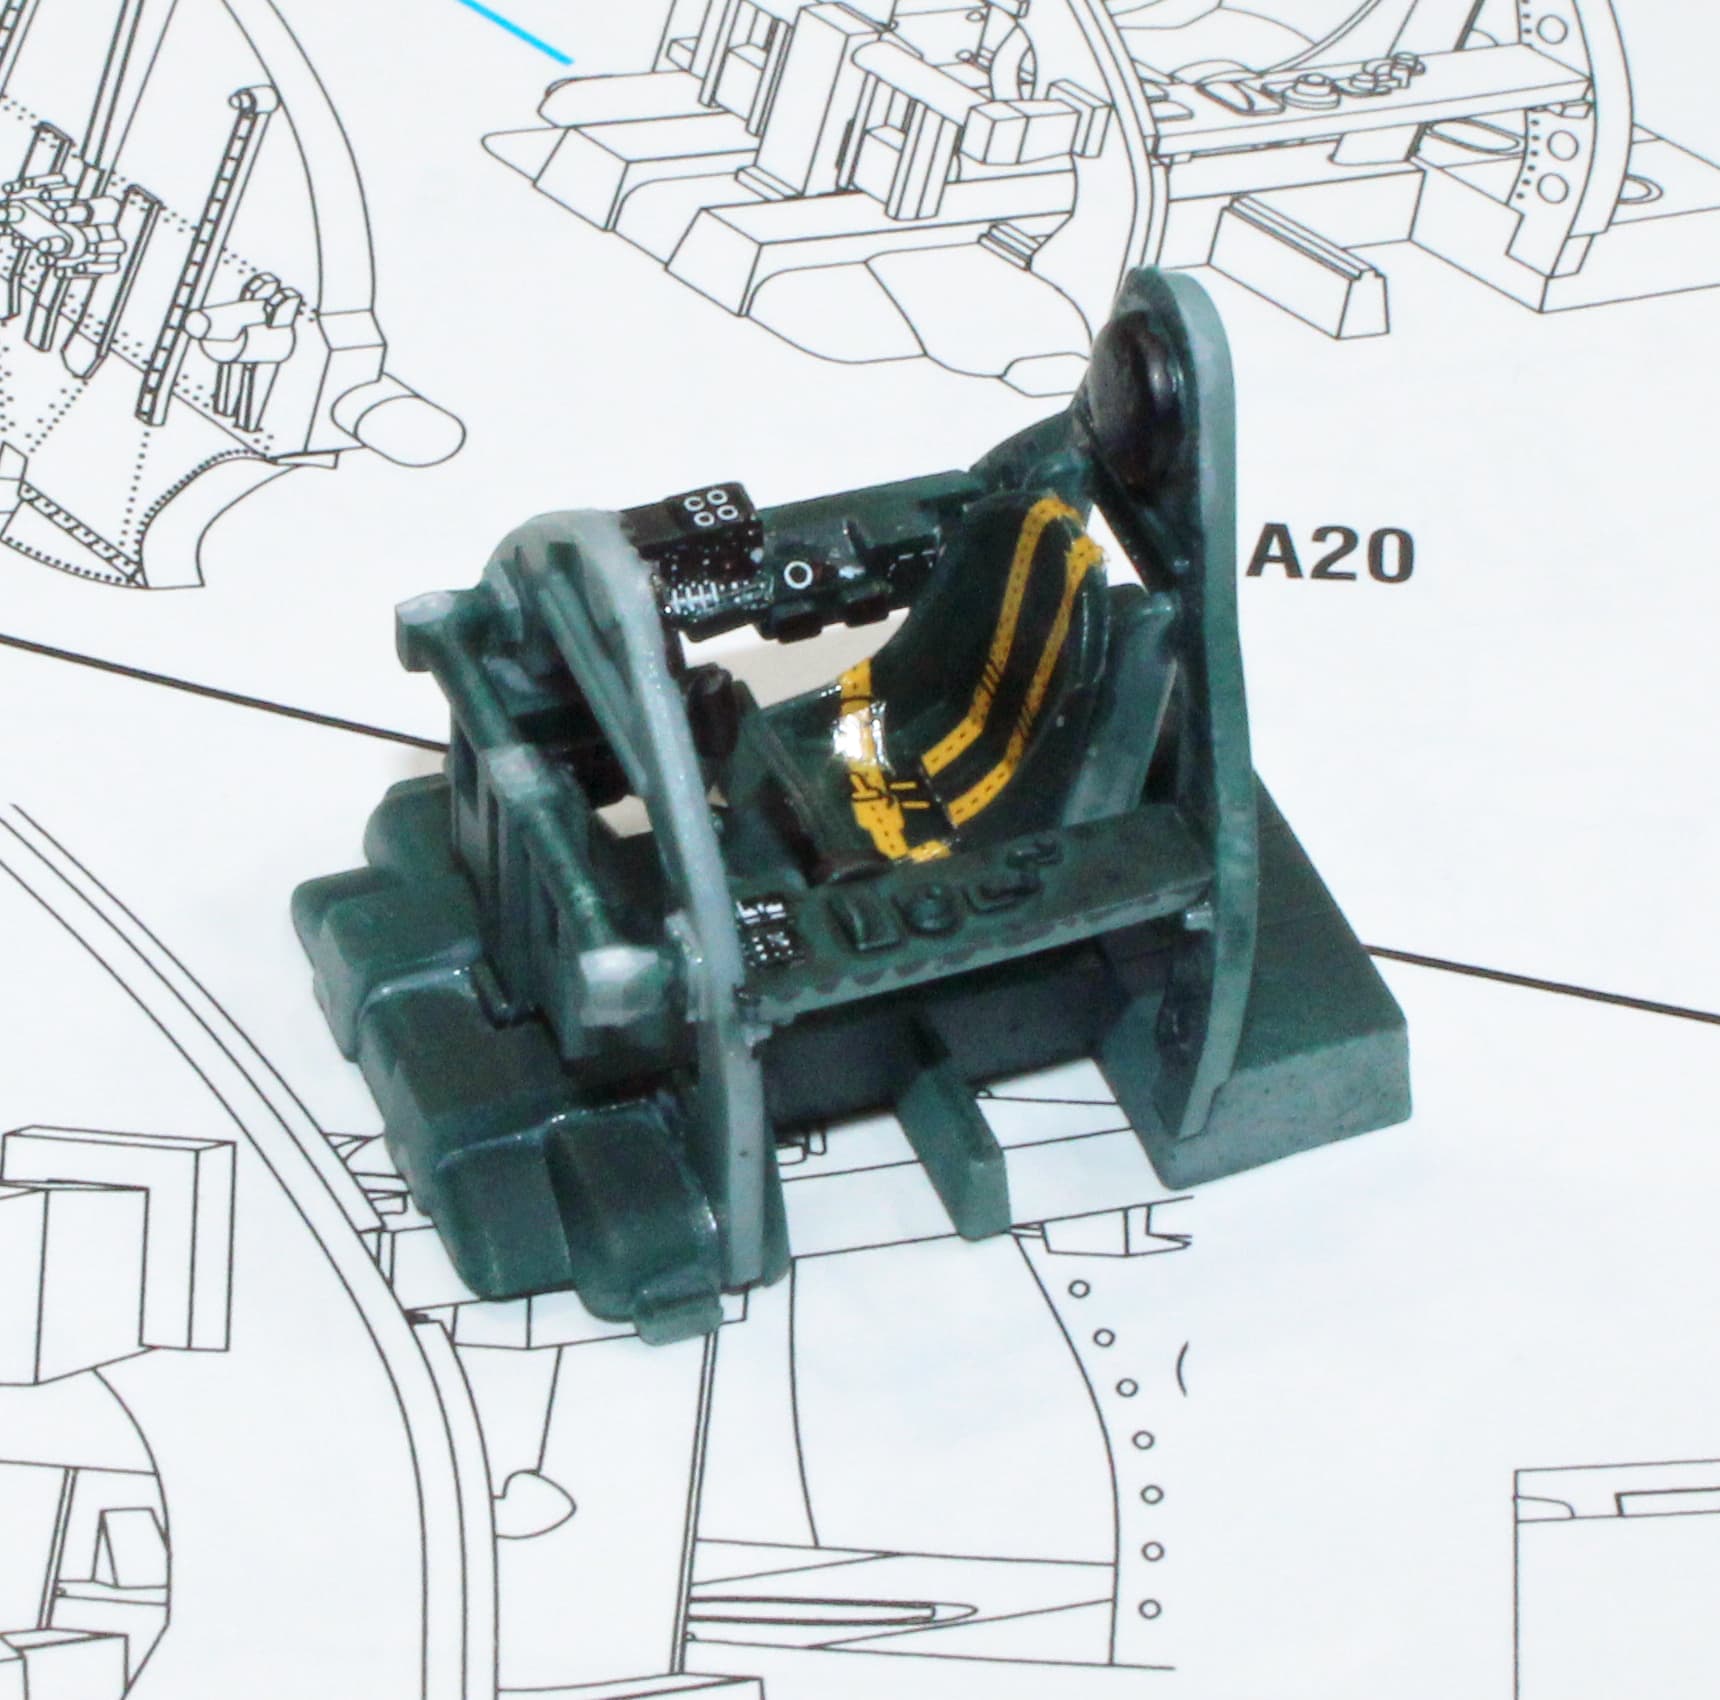
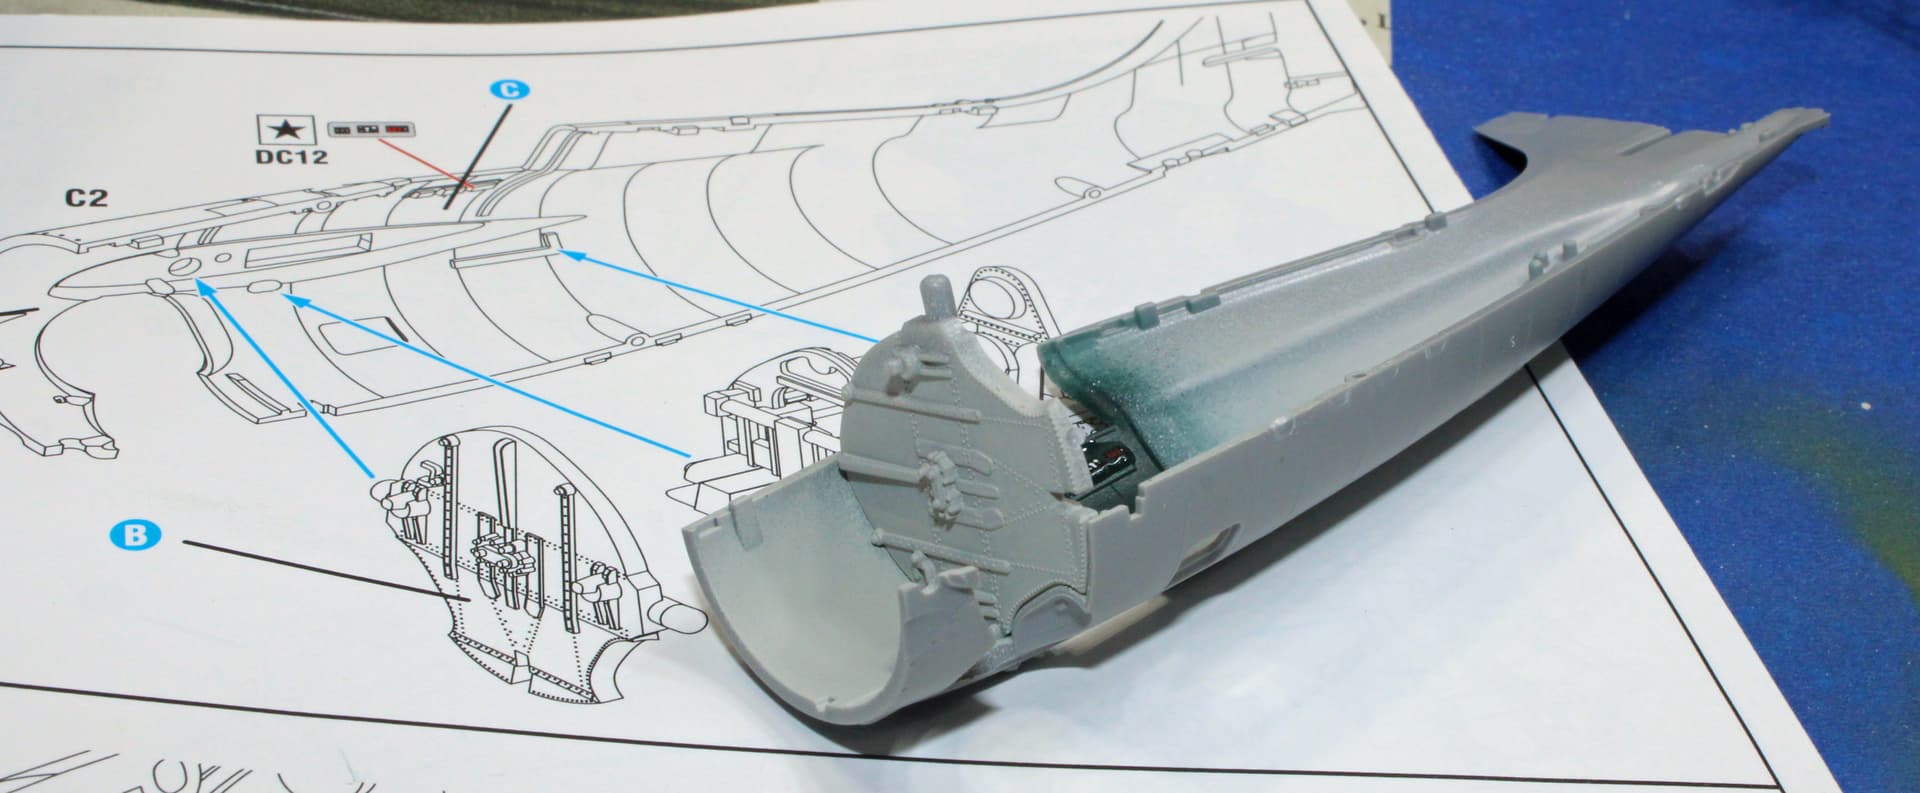
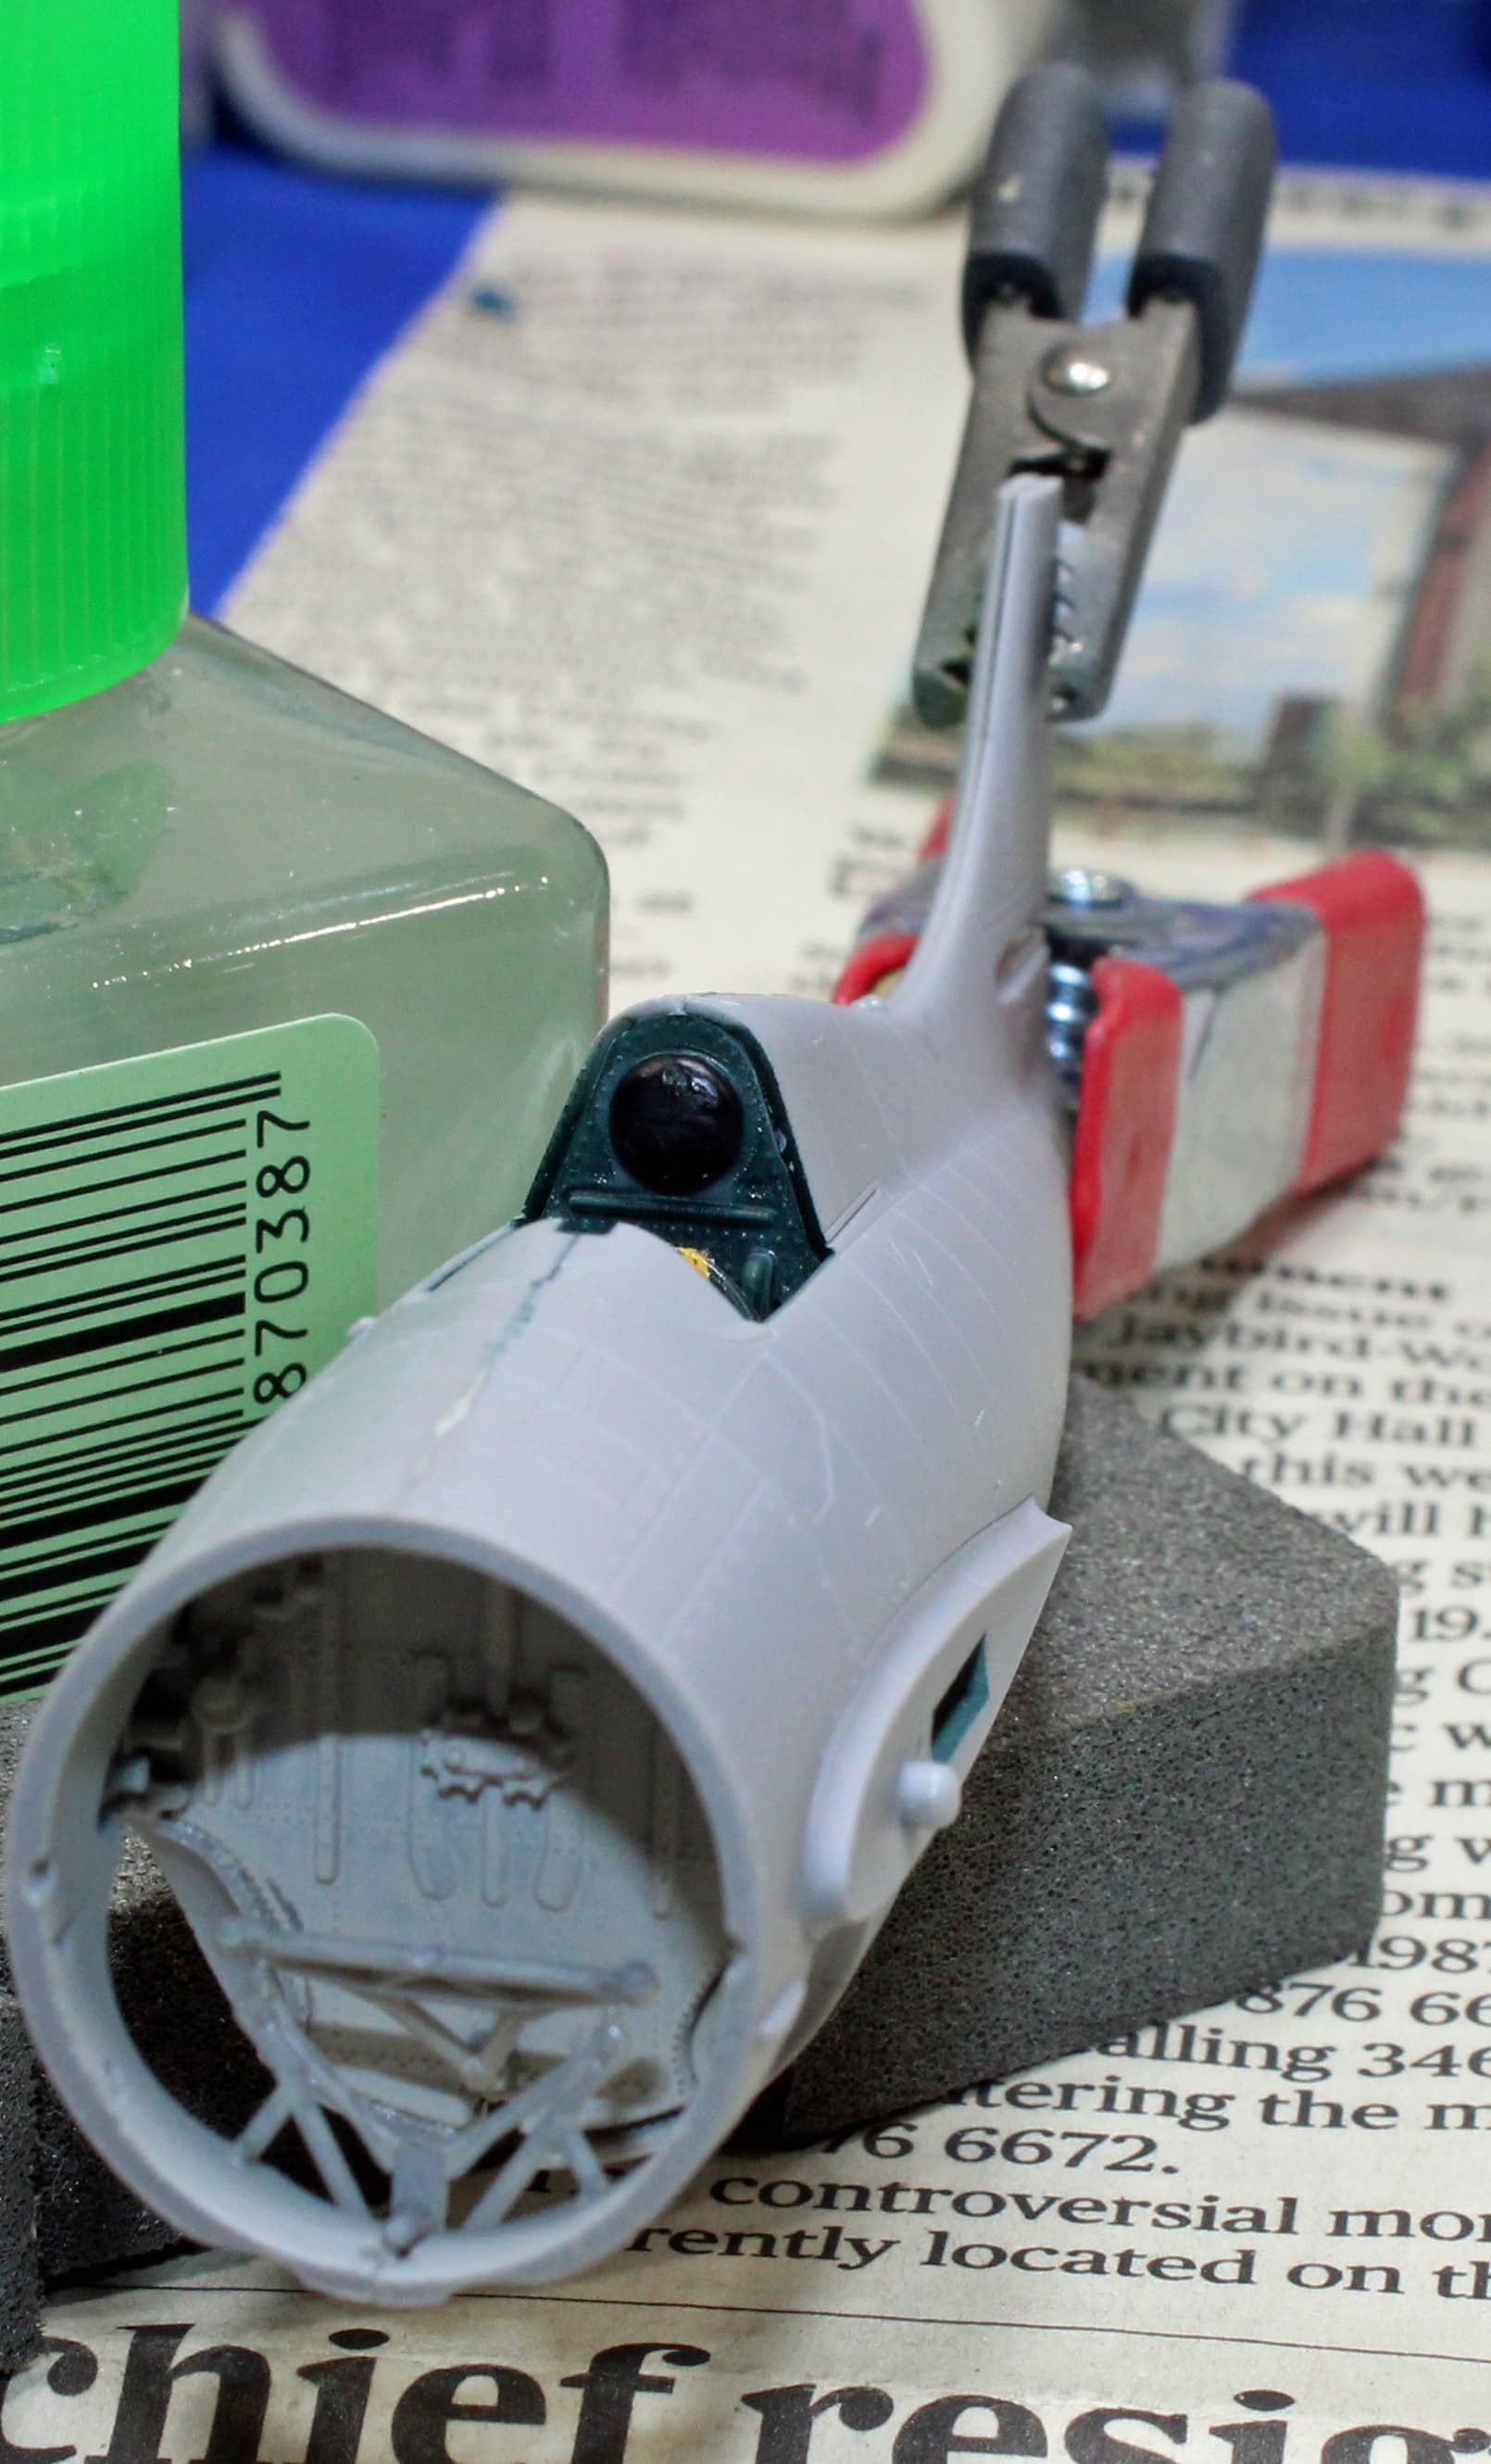
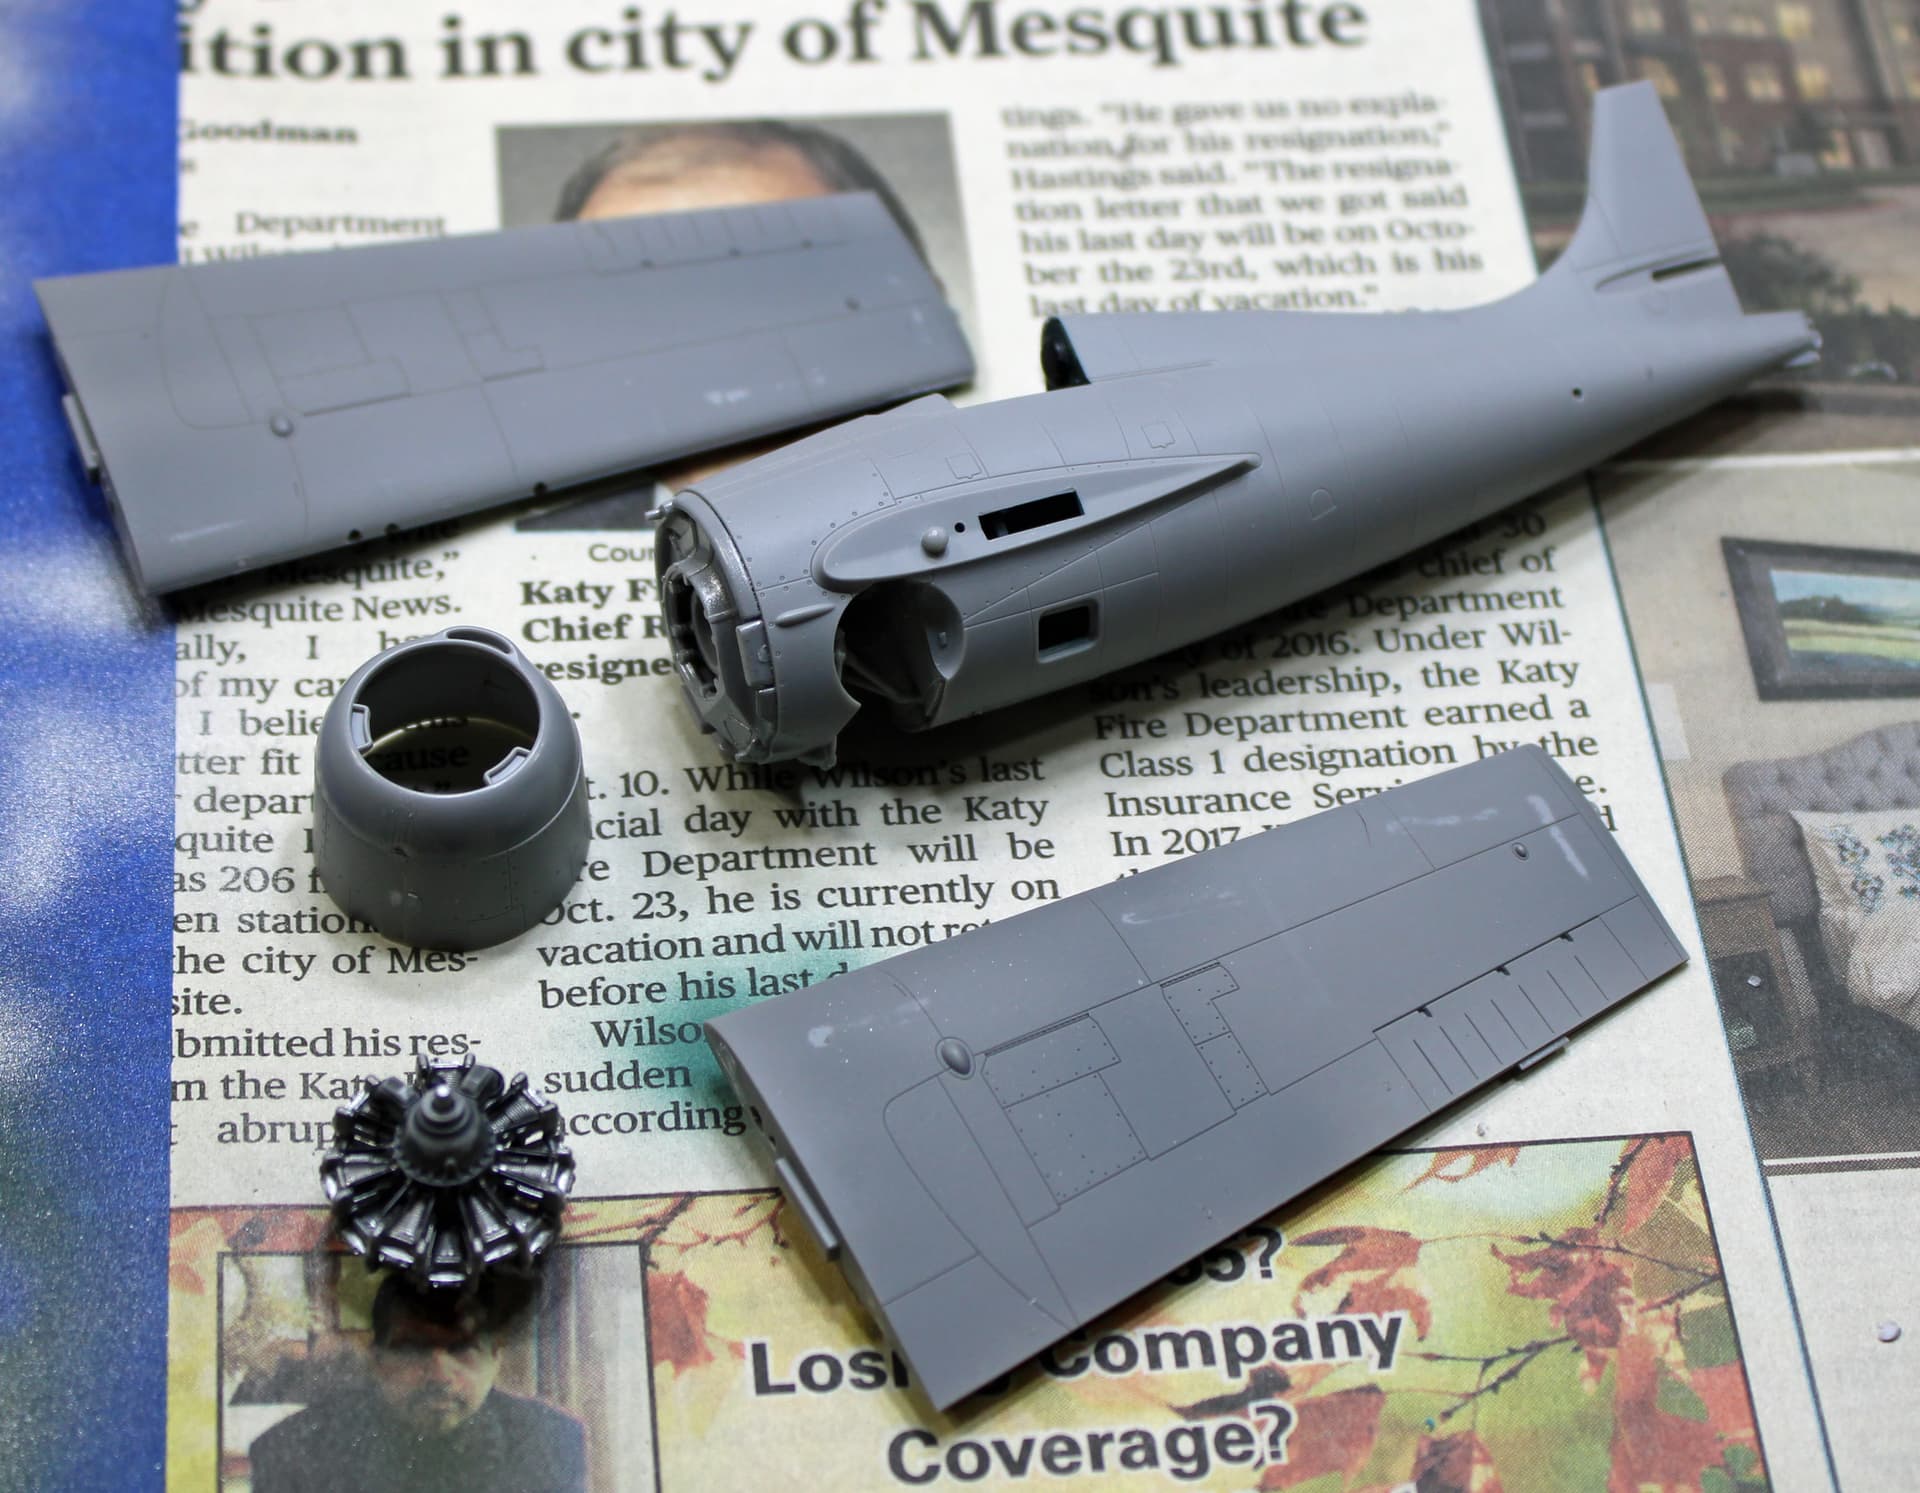
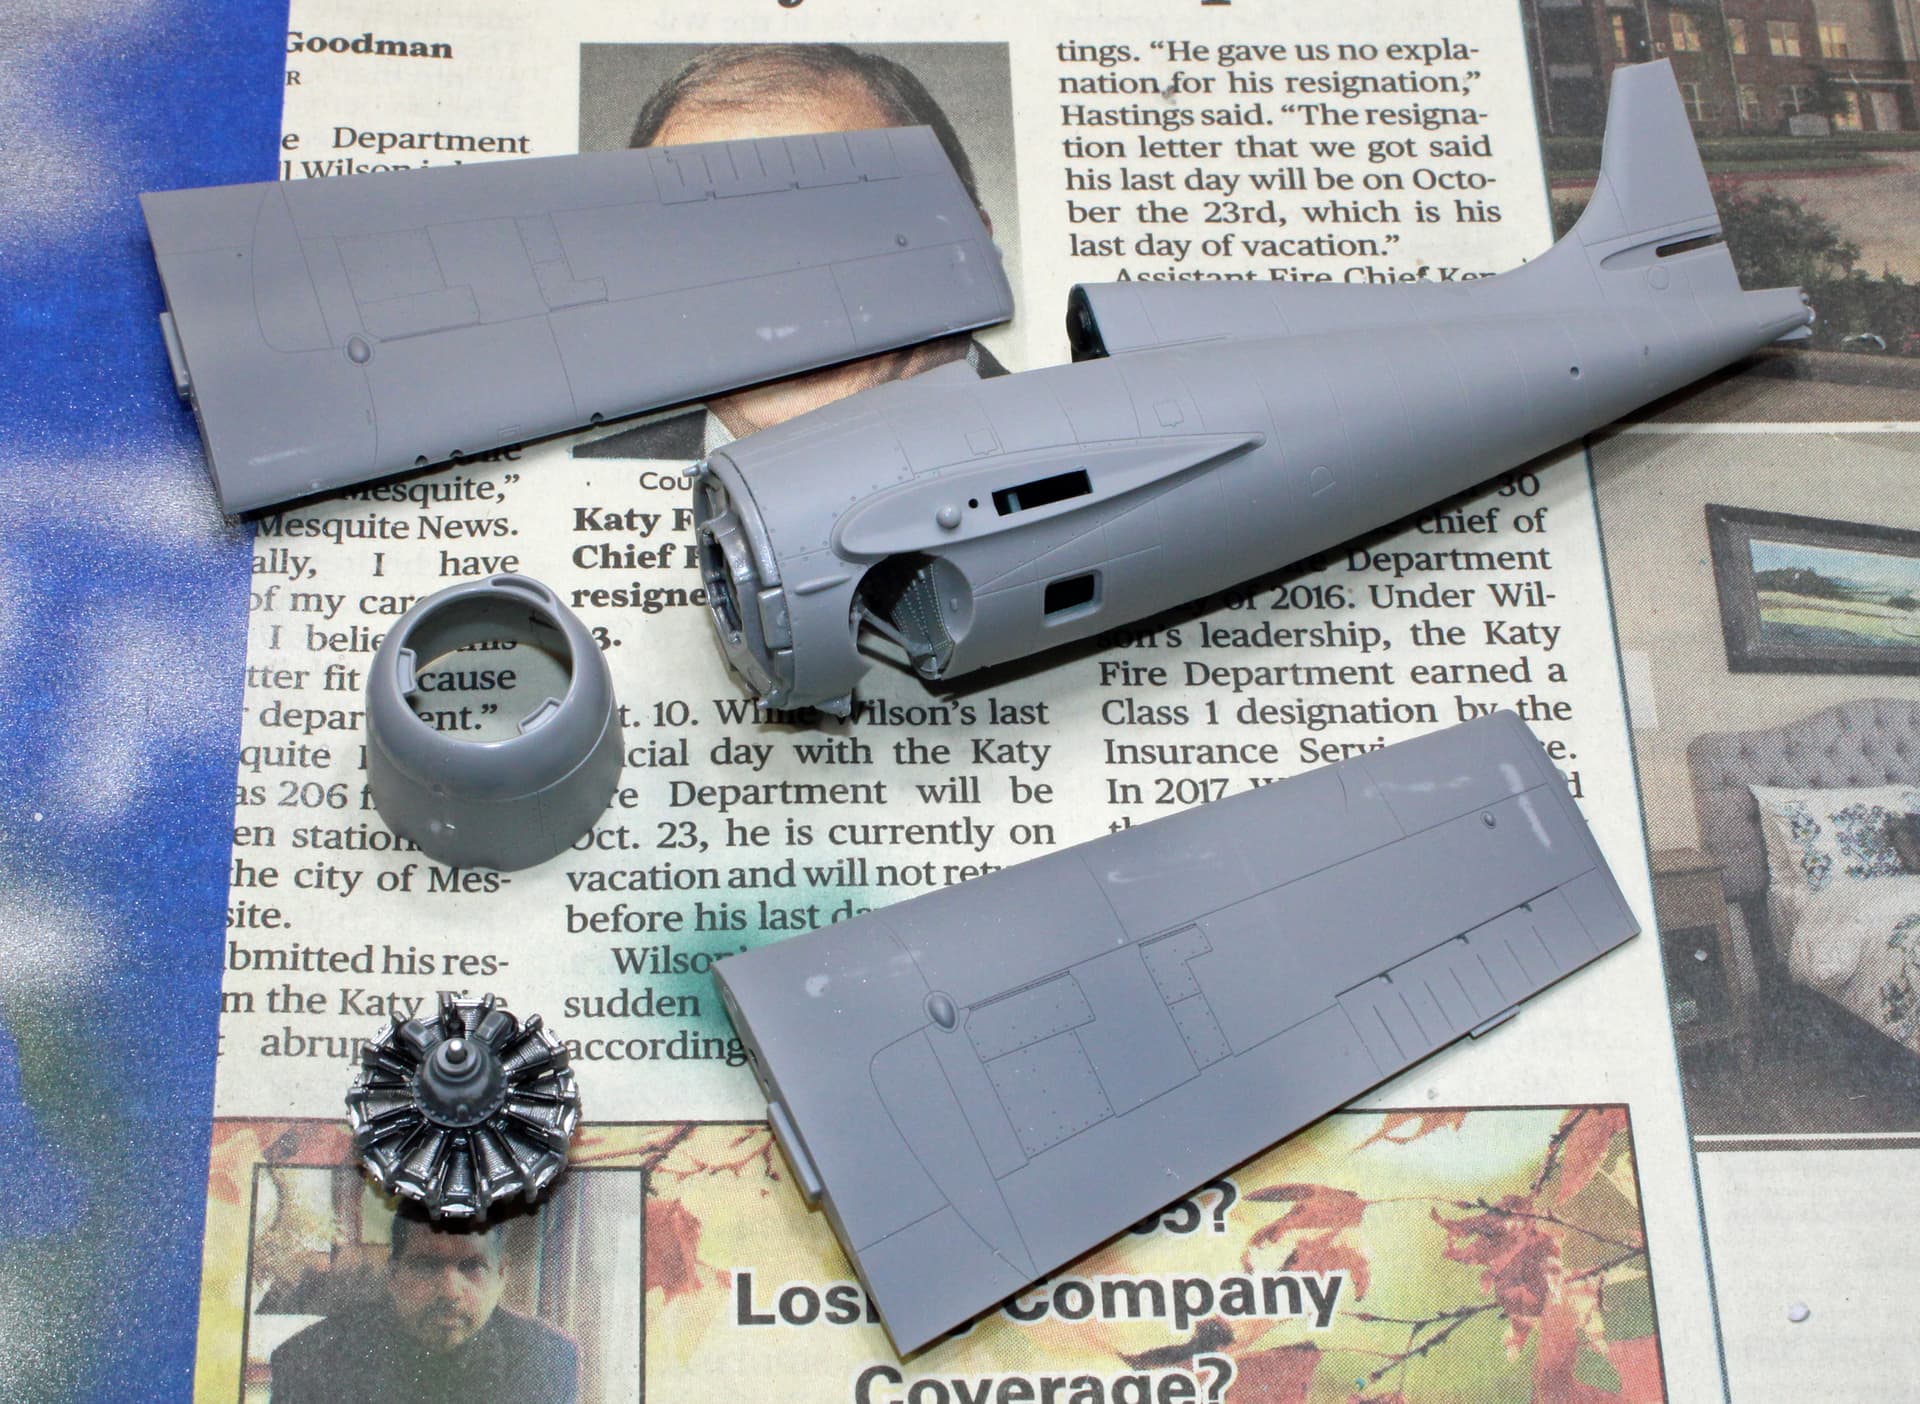
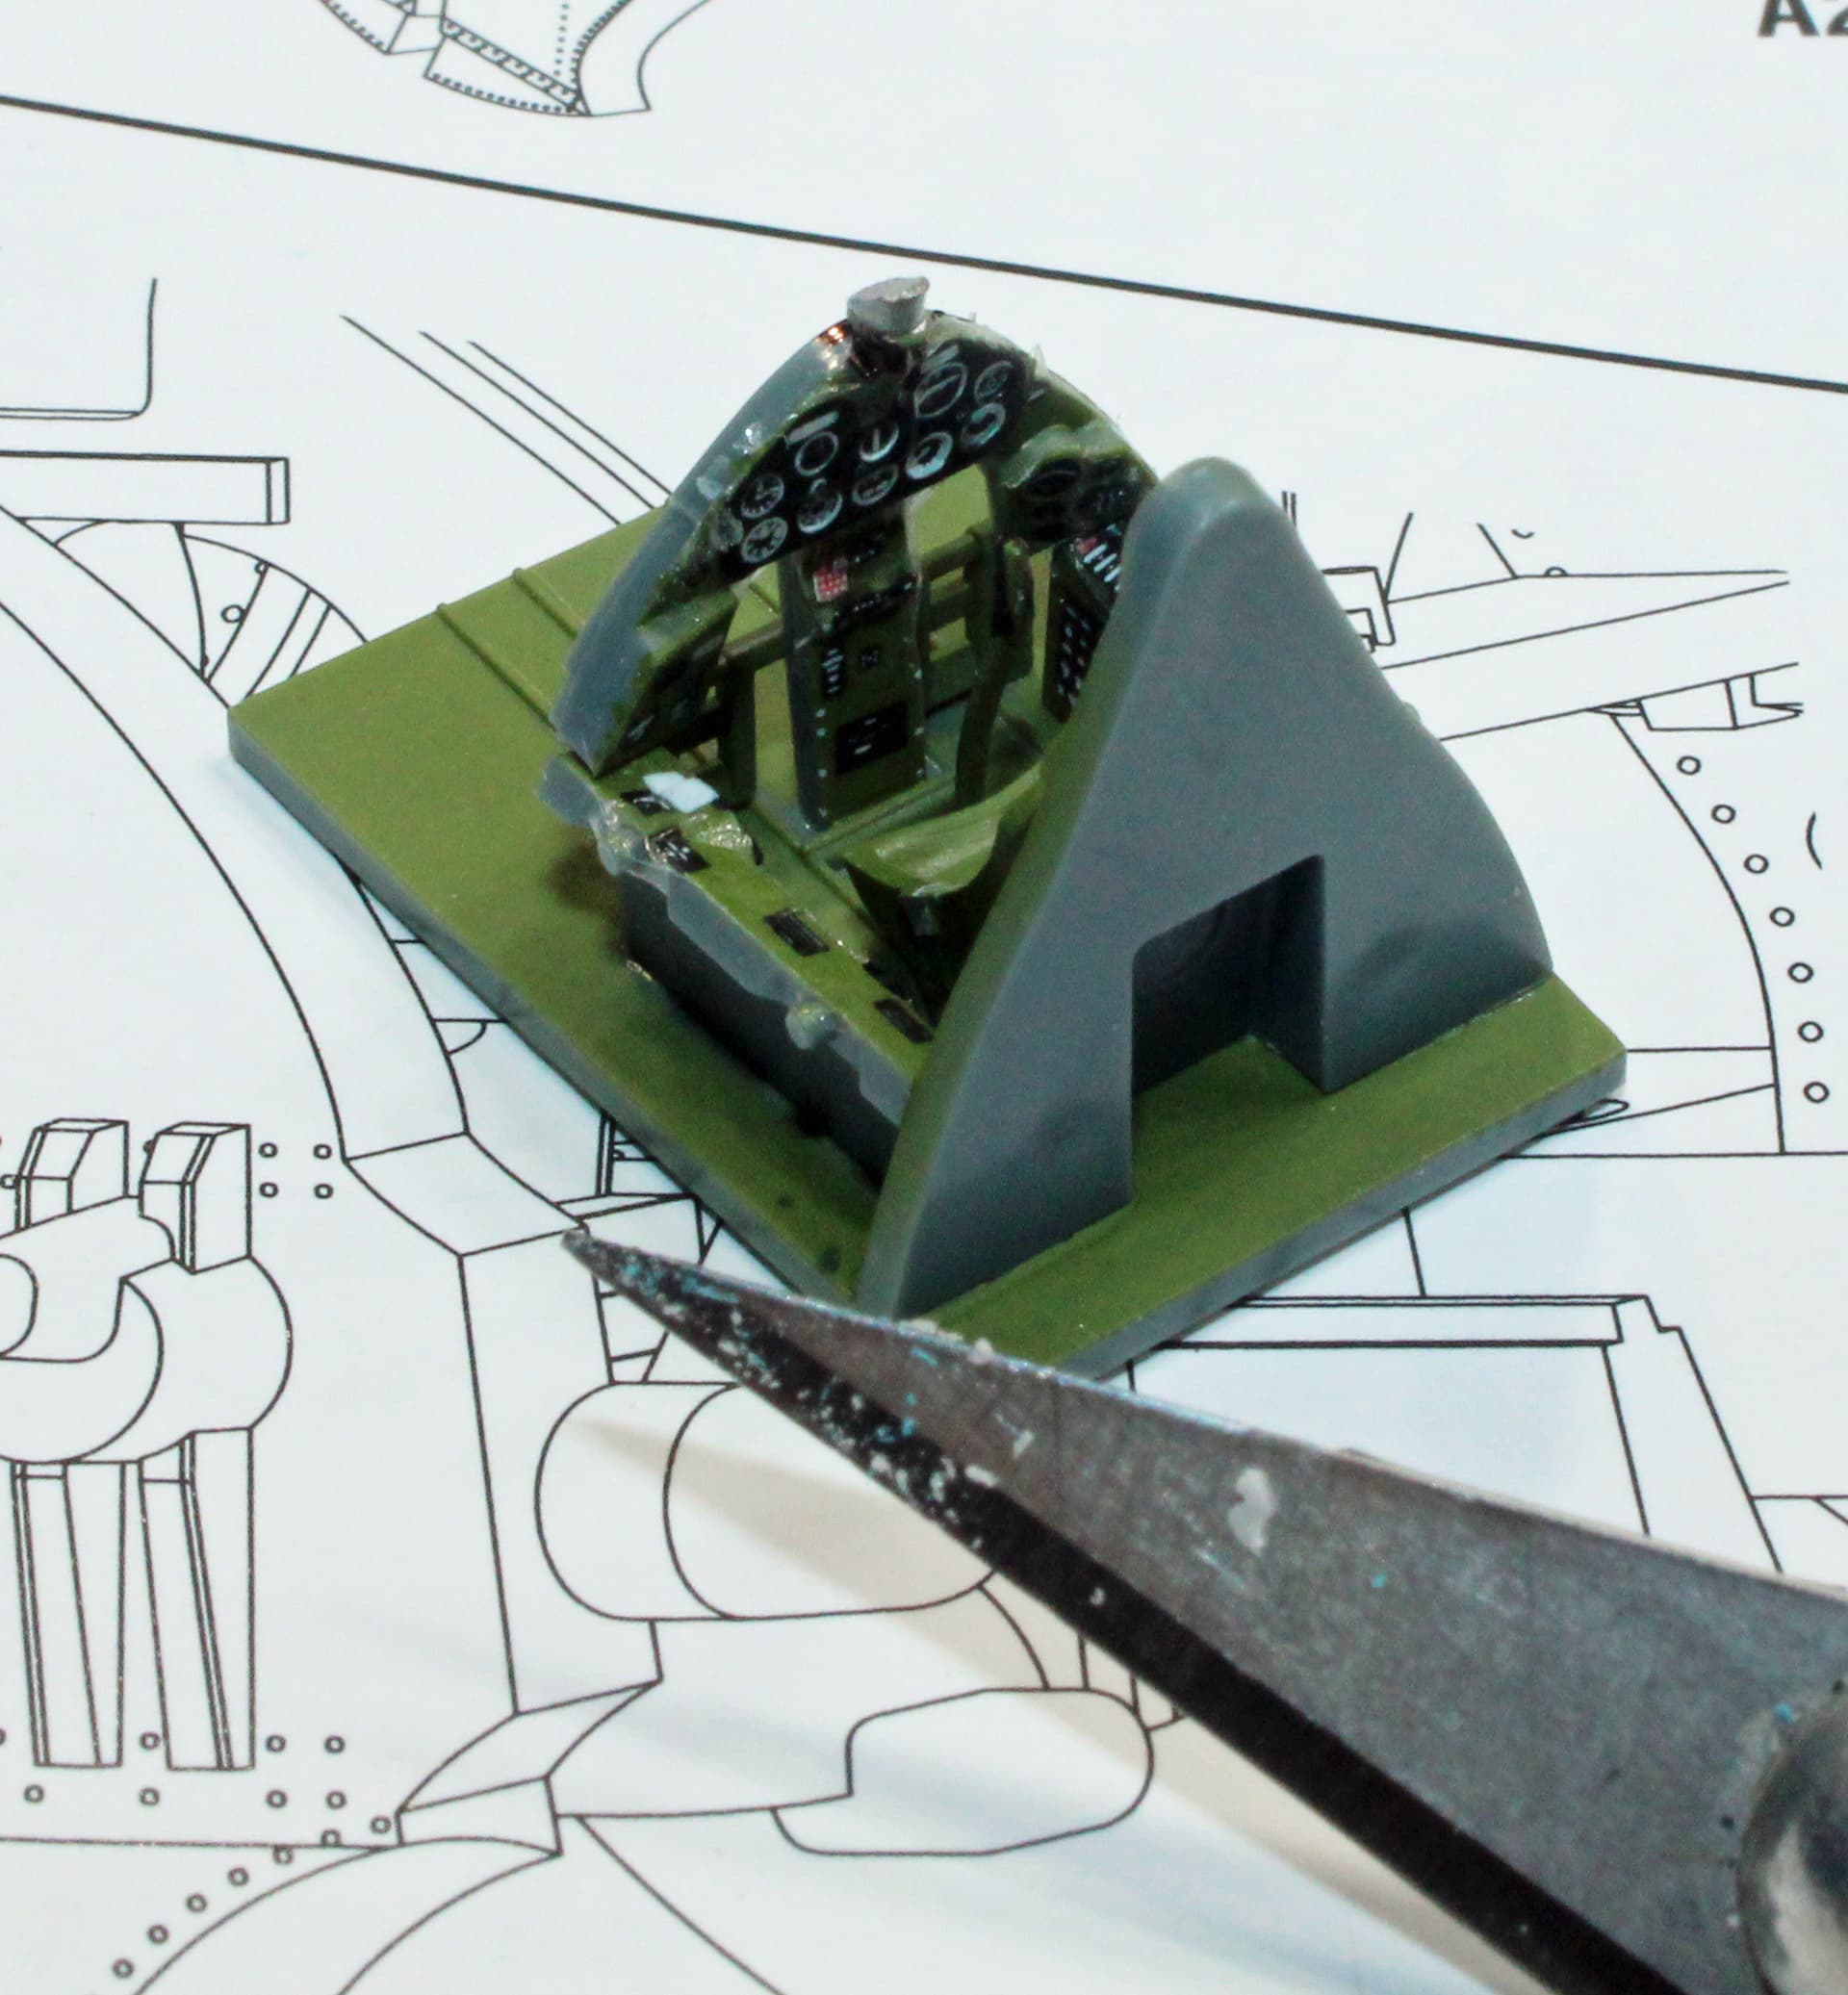
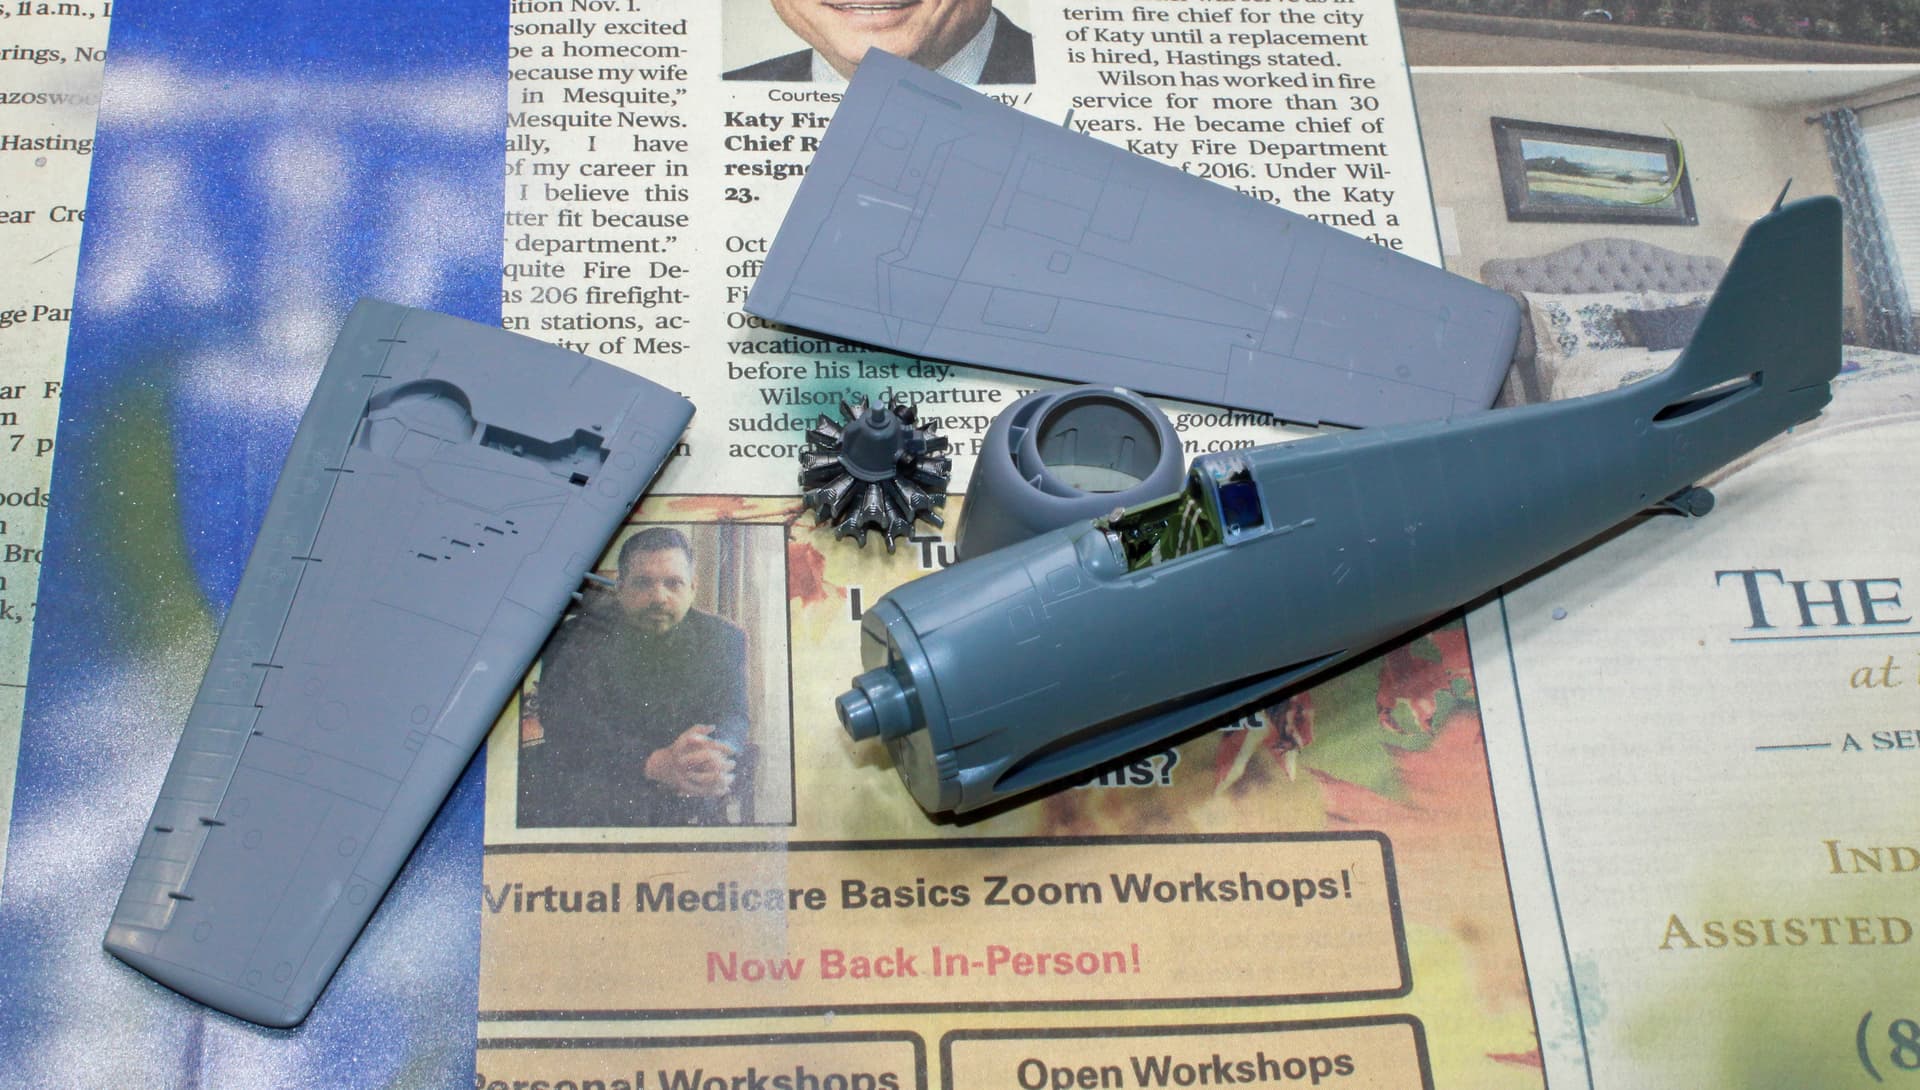
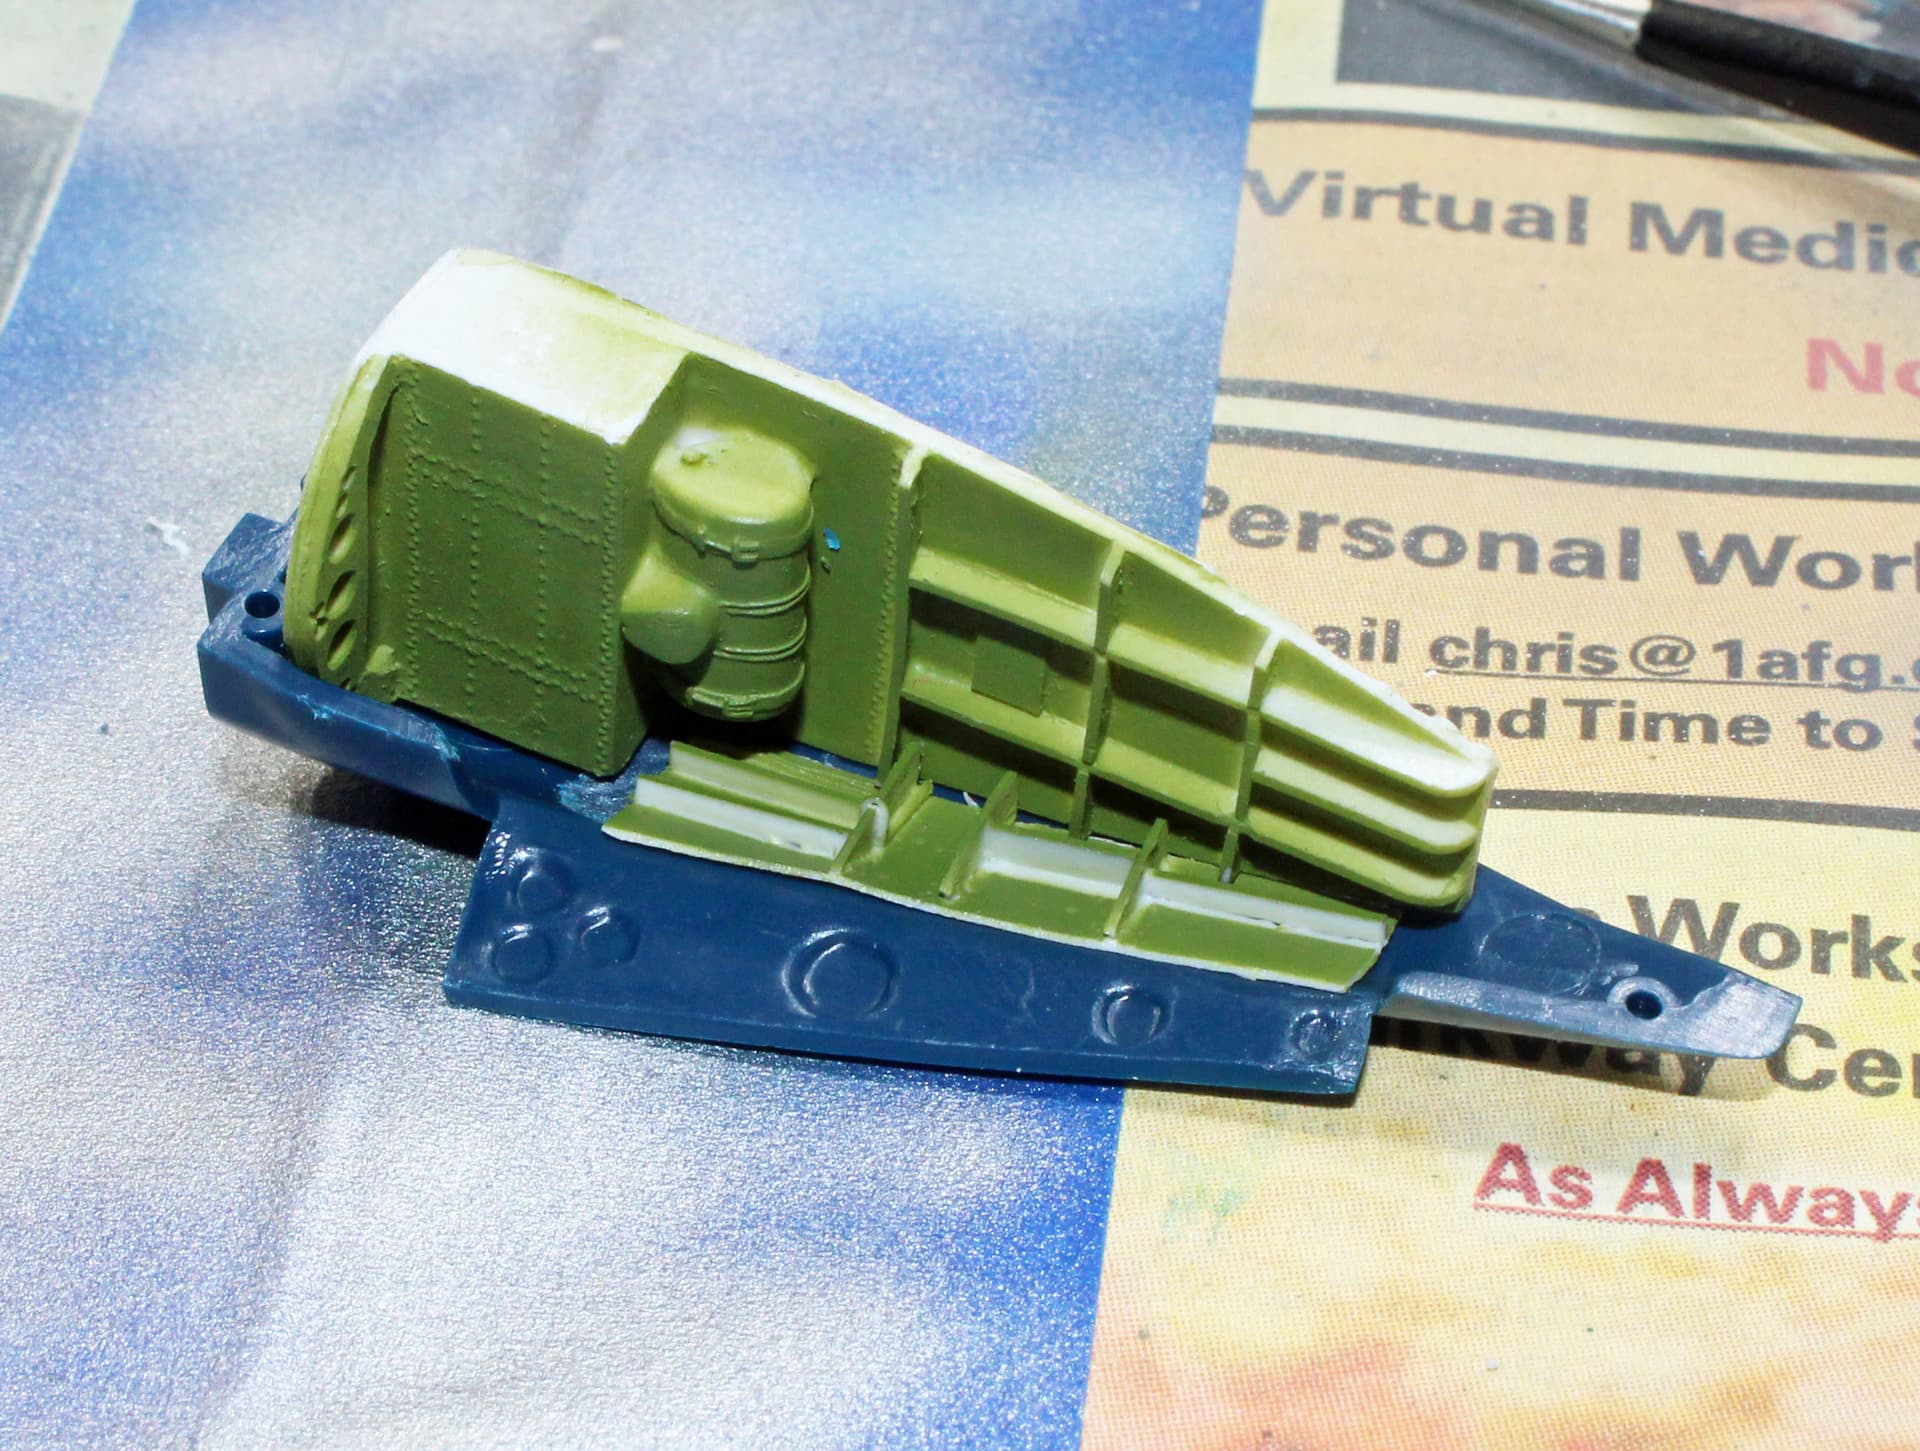
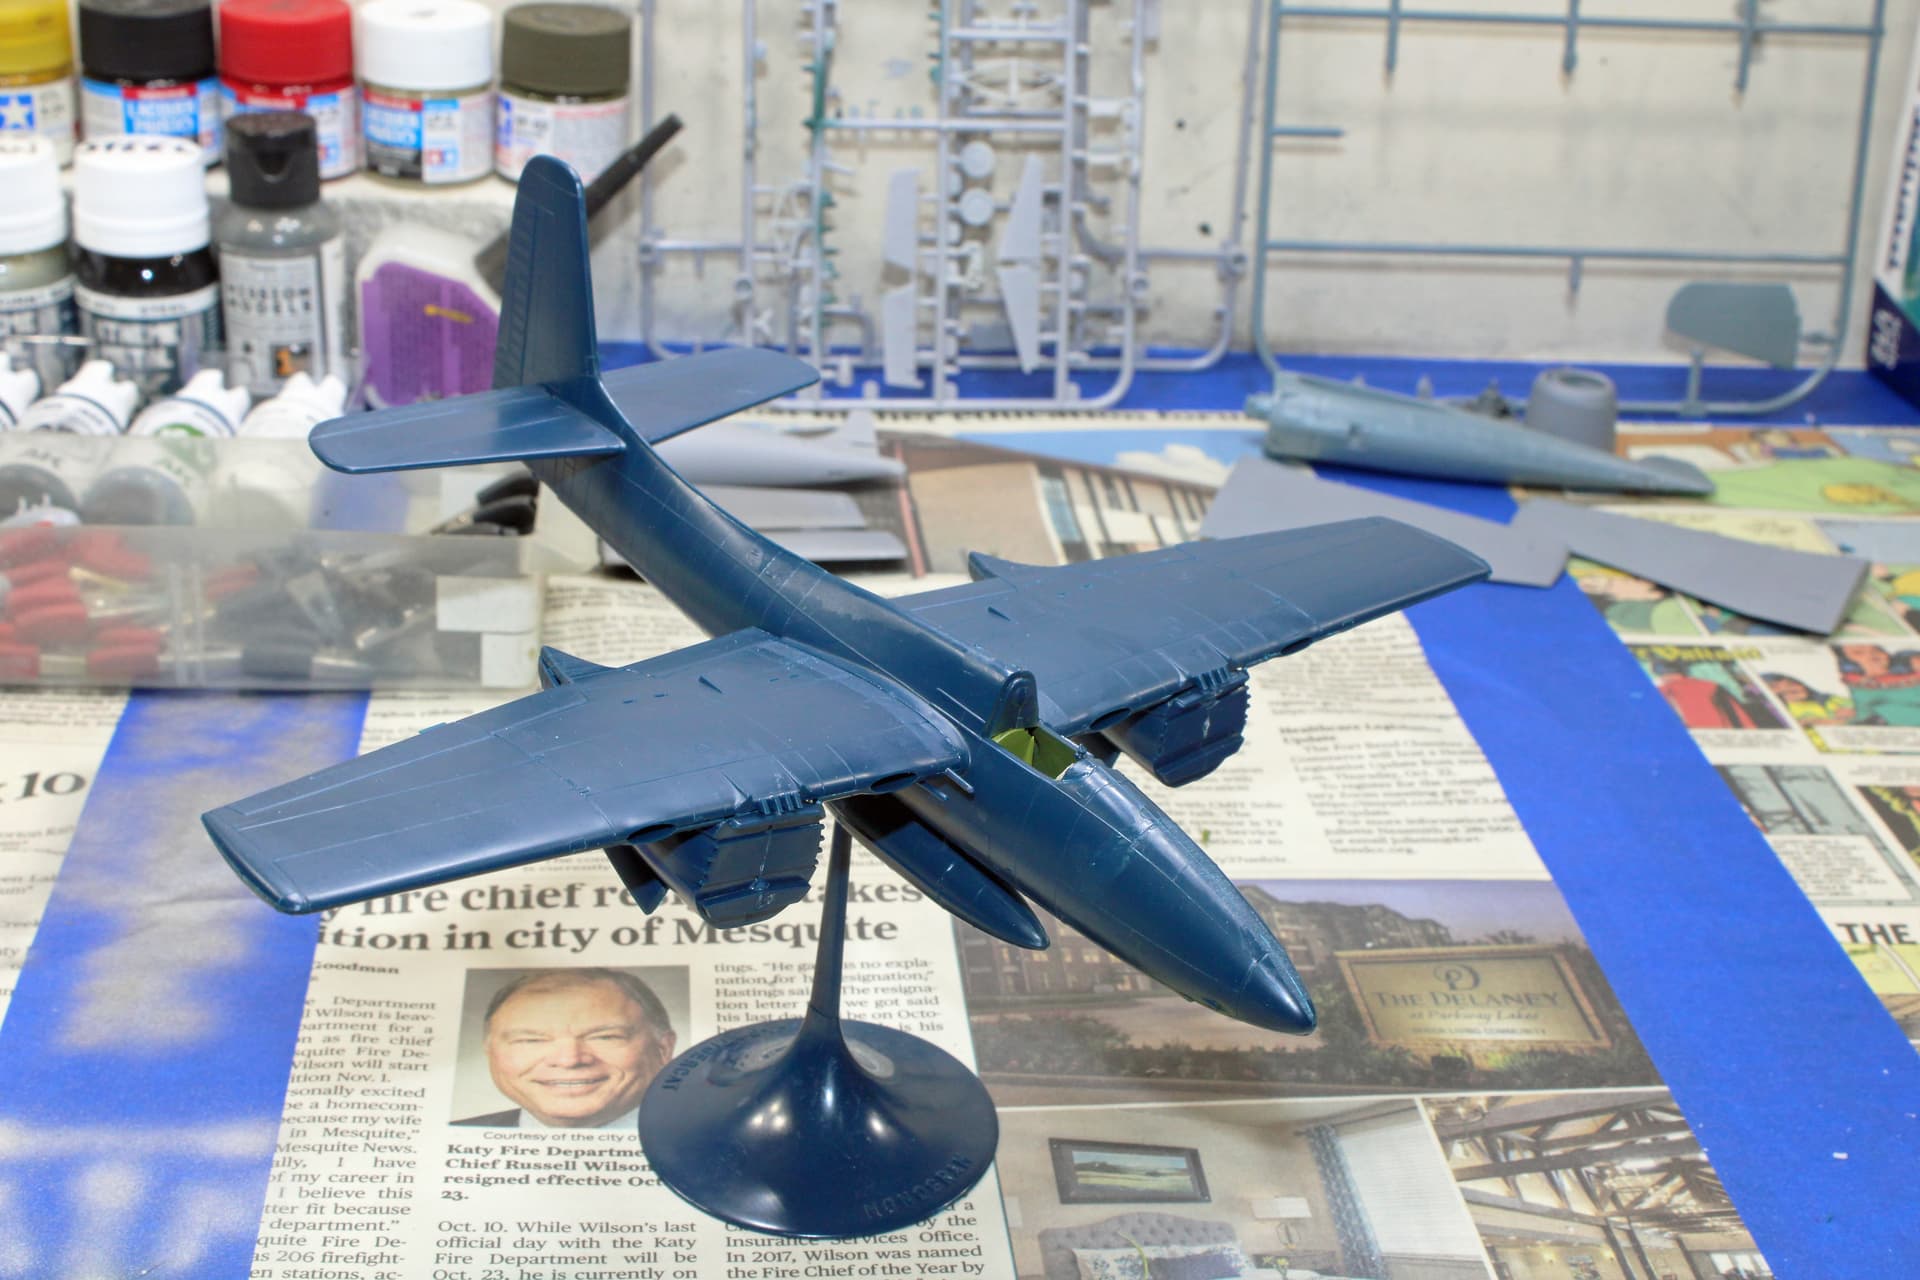
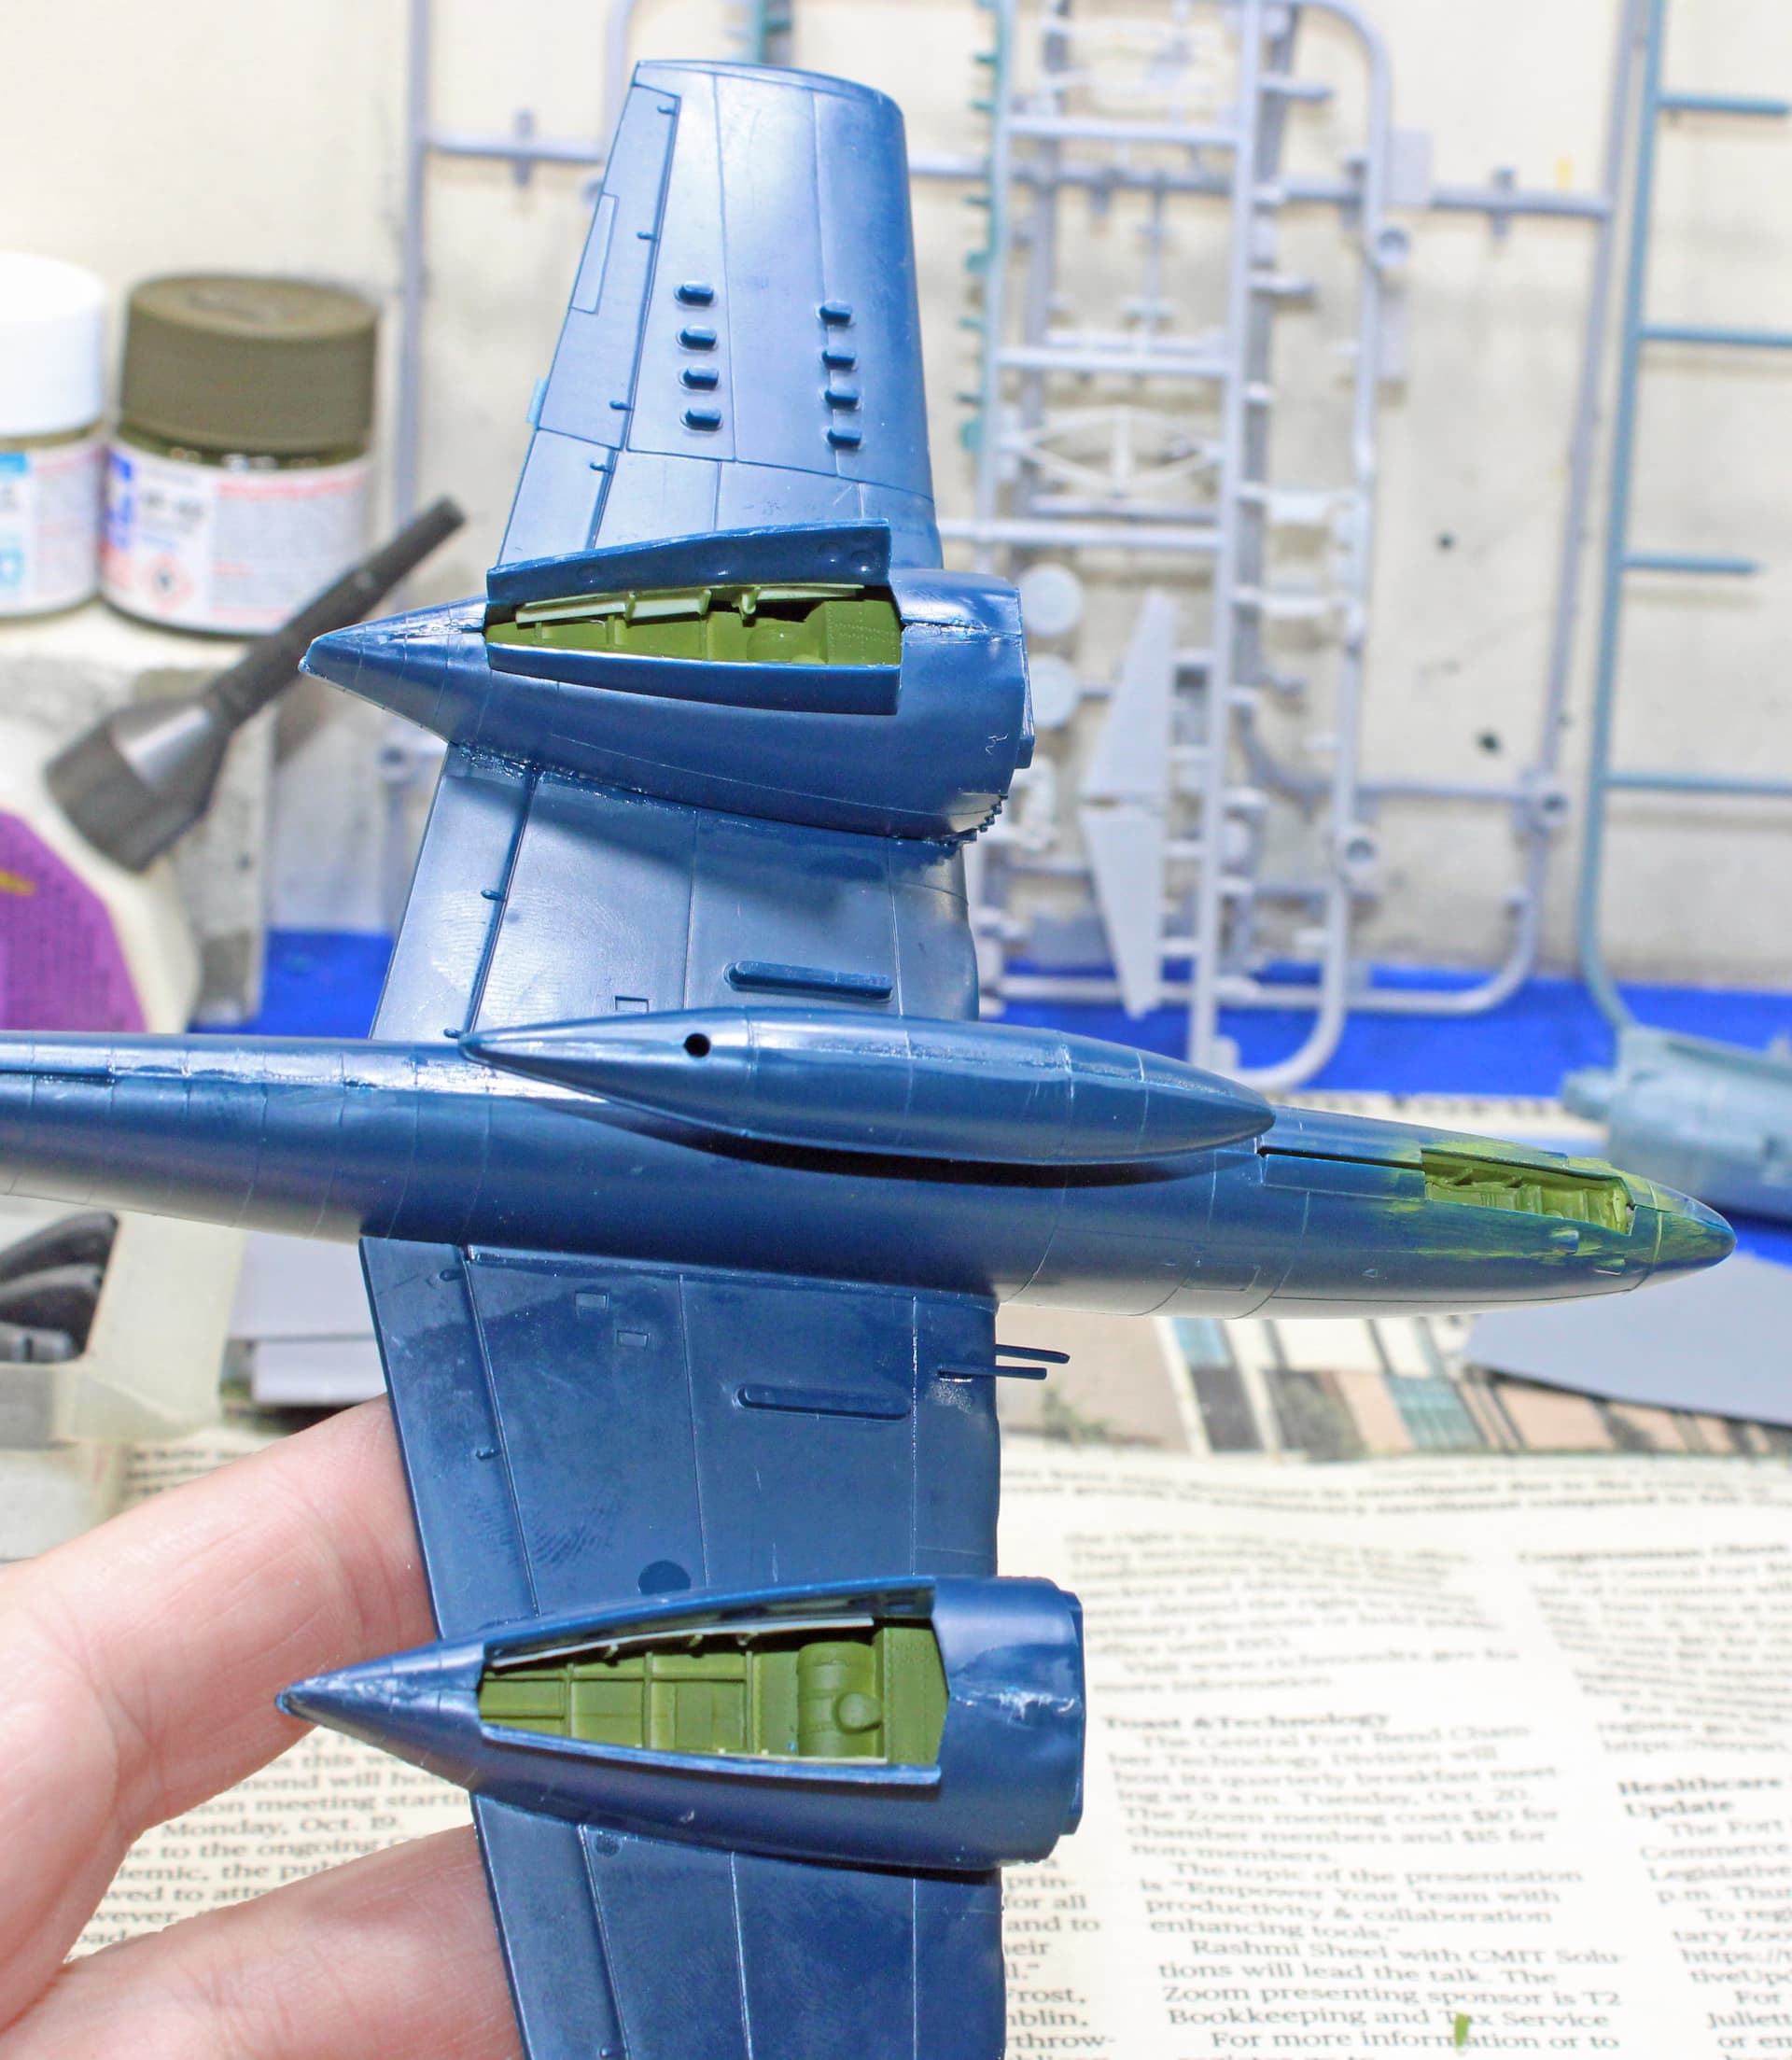
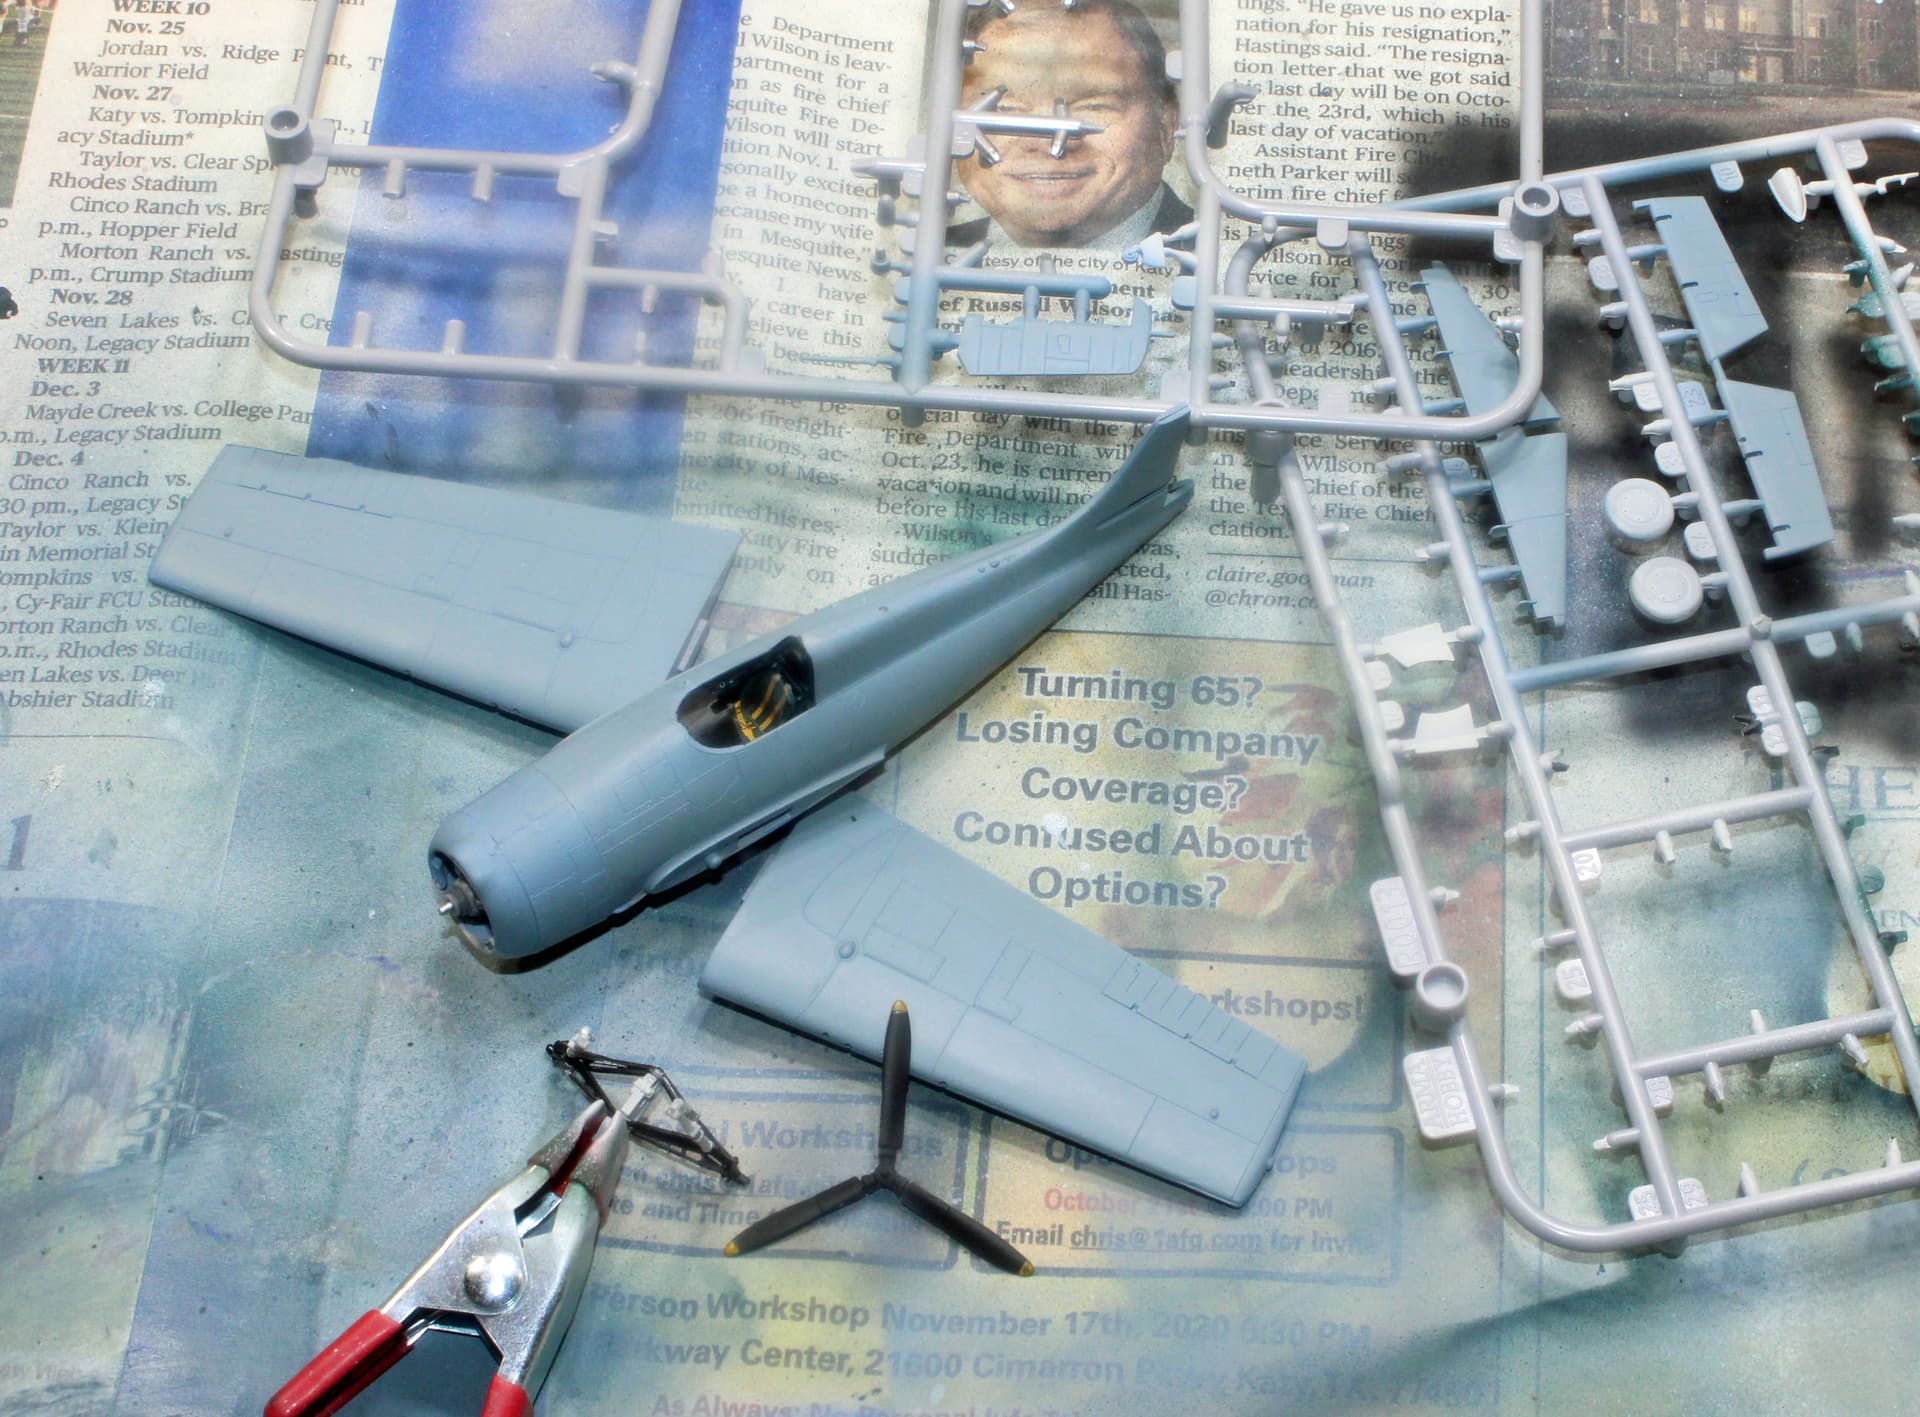
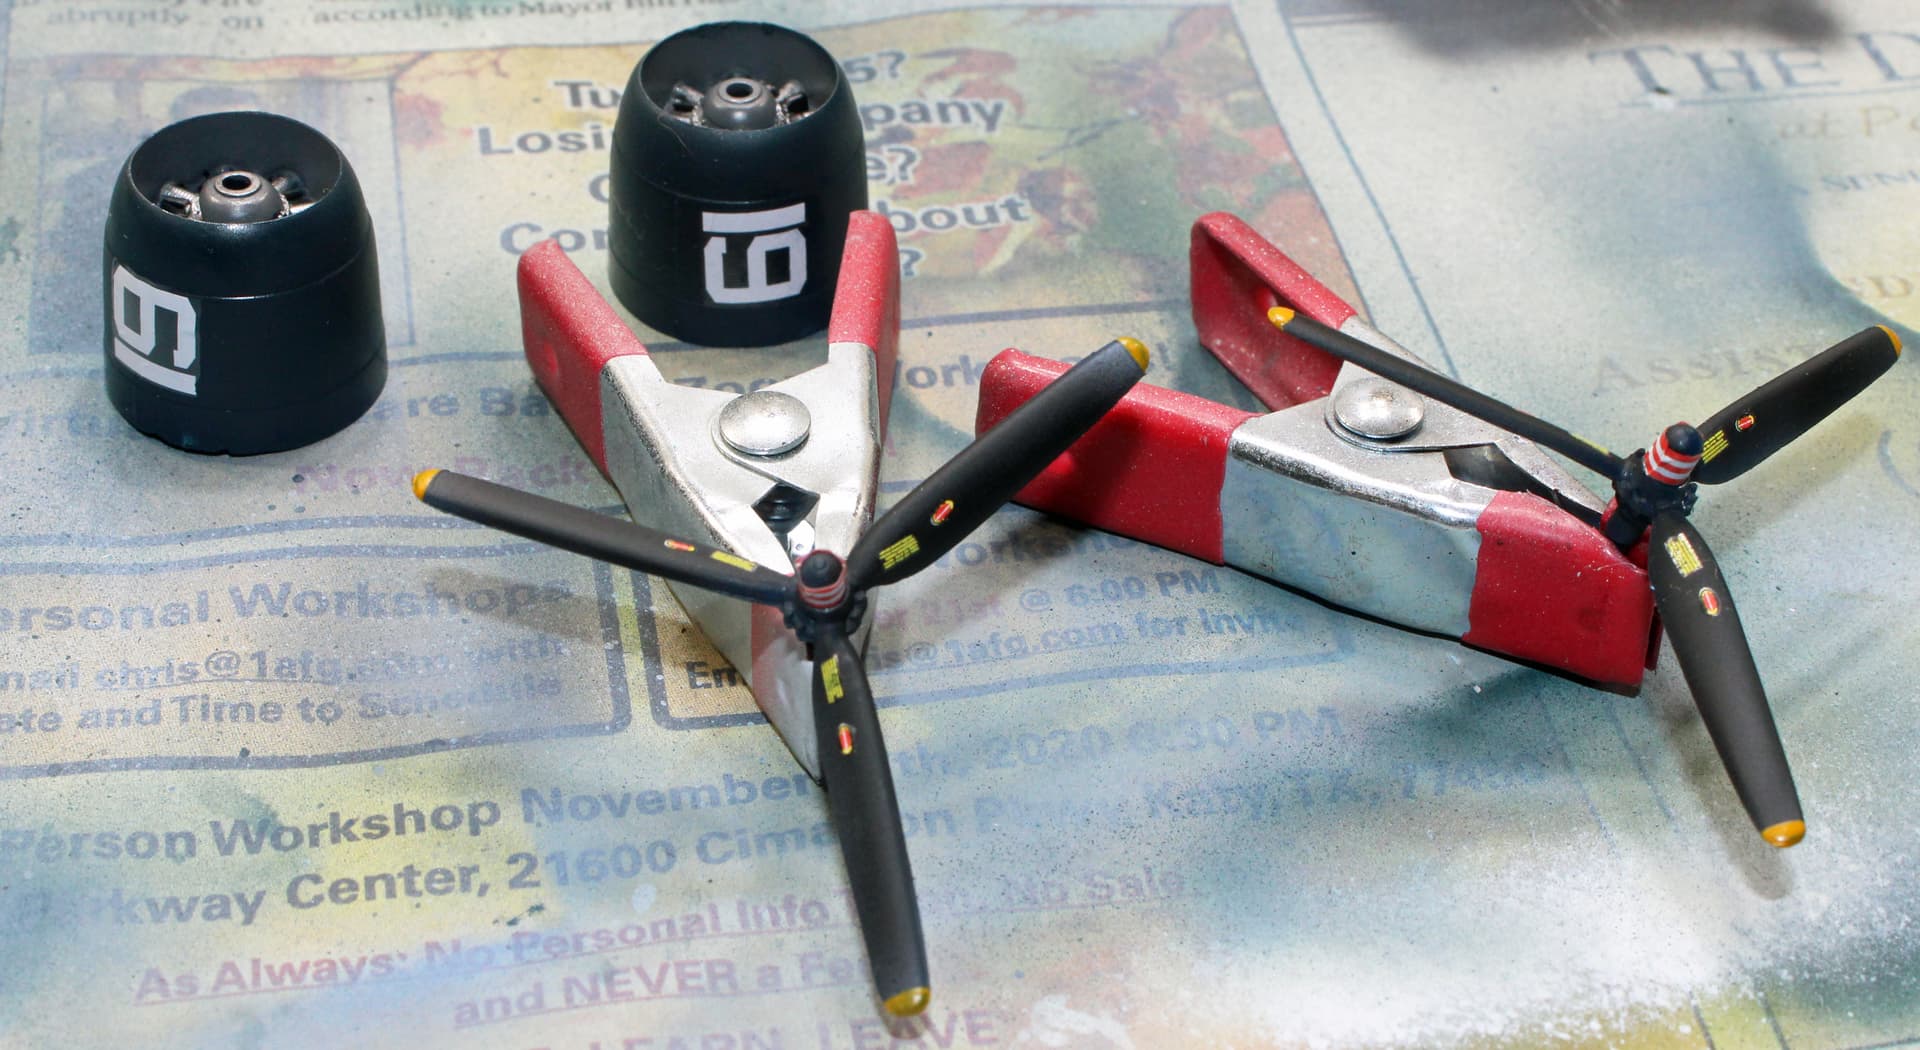
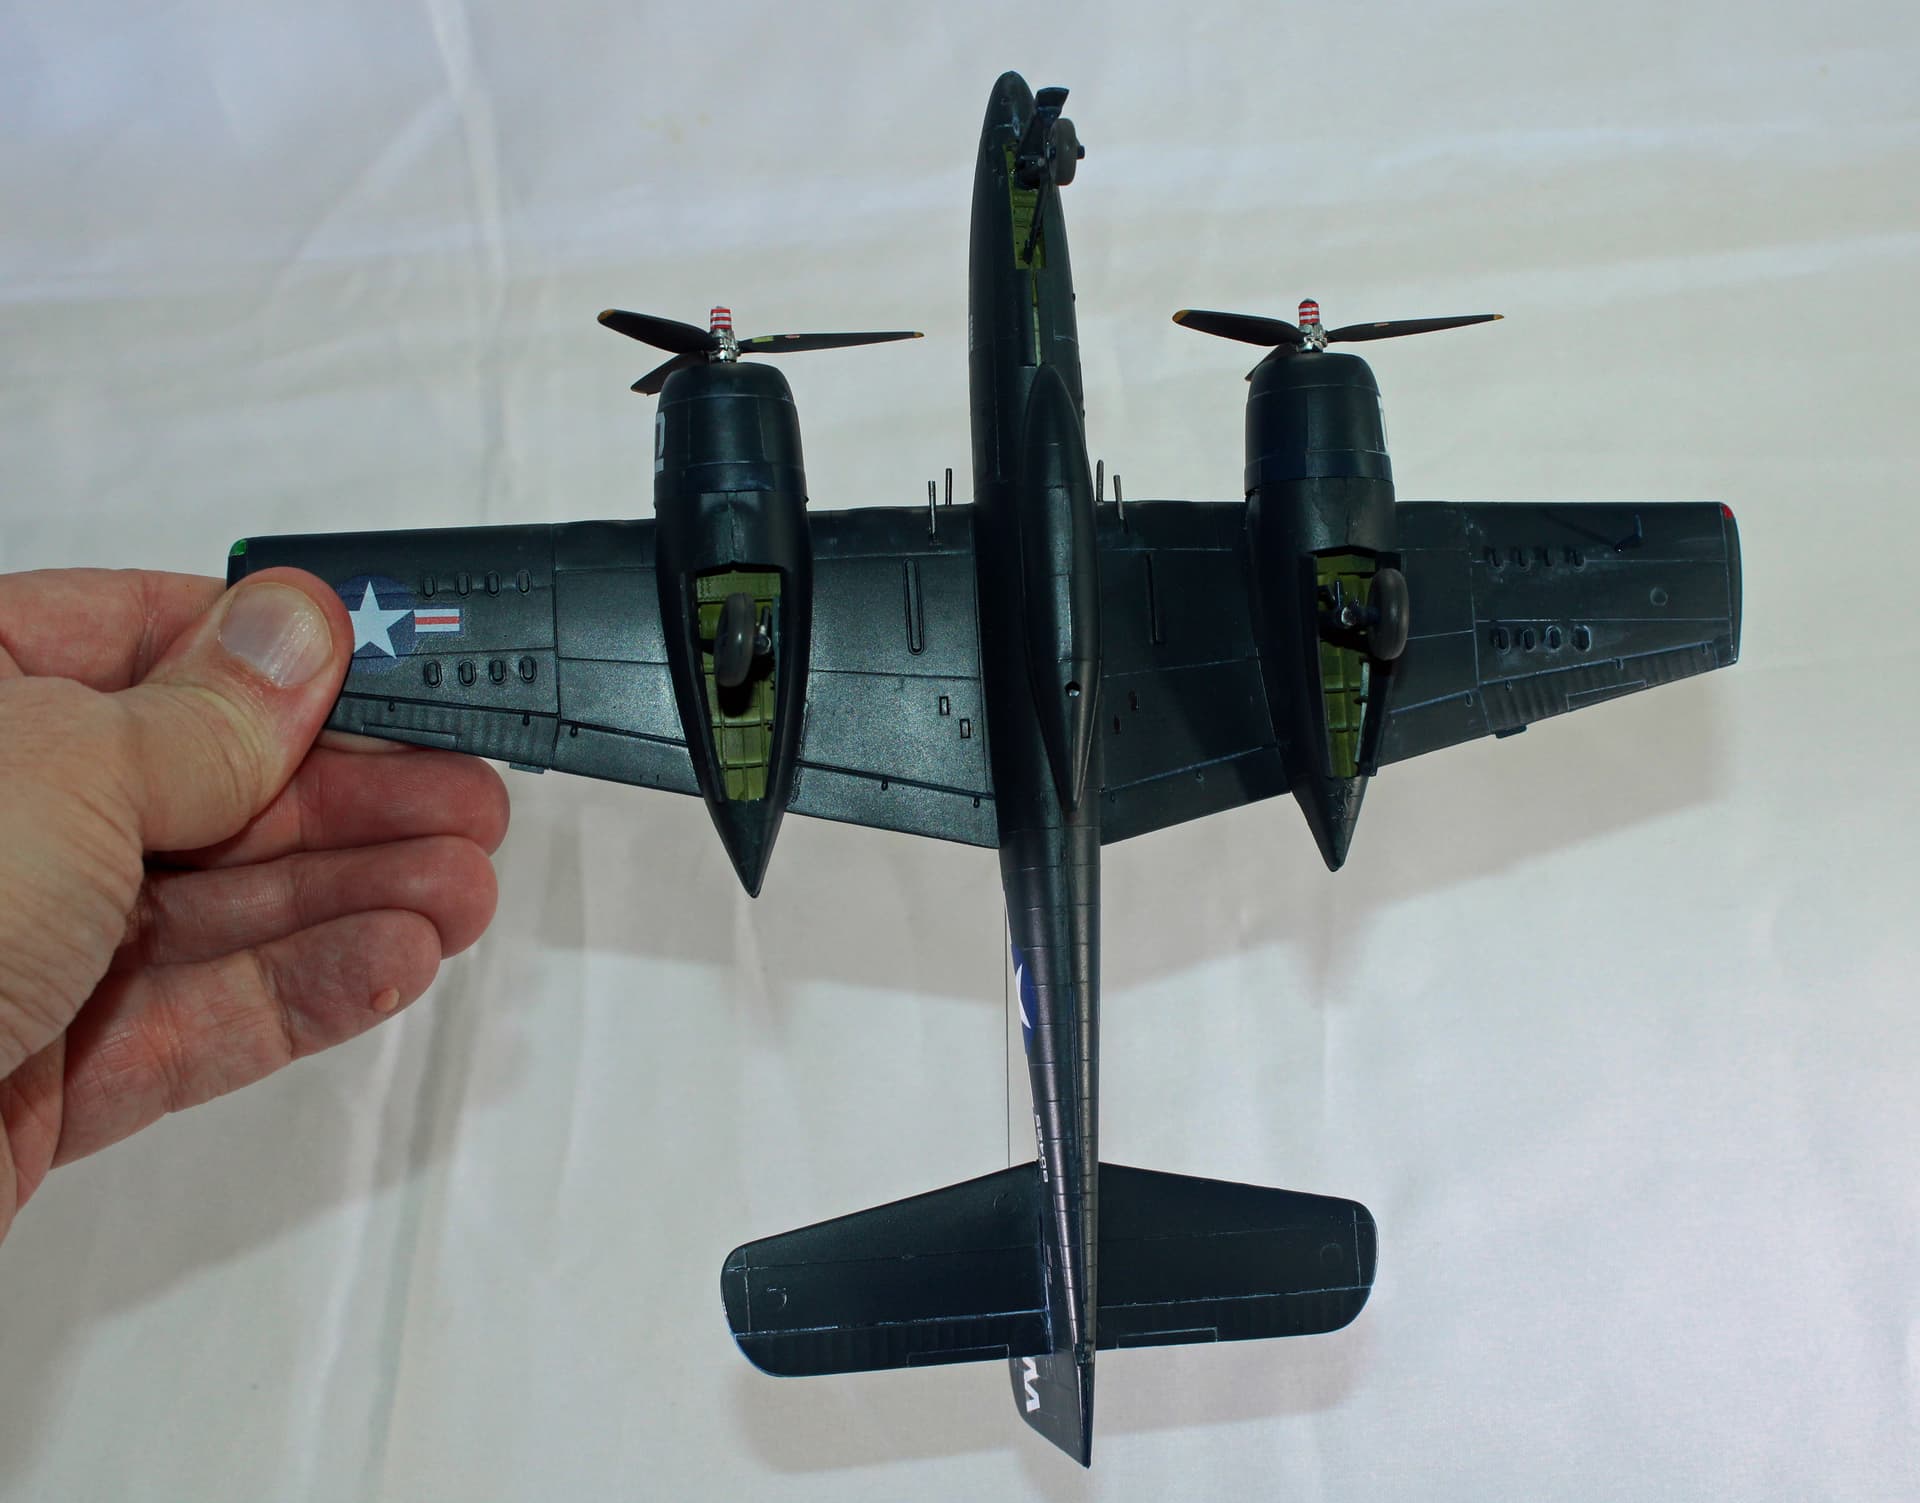
So in review, all of these kits are top notch - yes, even the ancient Monogram. The Tigercat lacks in detail, which was often a hallmark of their releases from that era, but for a 60 year old kit, it builds just about issue free. Anyone considering one of these old Monogram kits could look at them as a blank canvas (almost), with all kinds of opportunities to upgrade via aftermarket detail sets and/or scratch-building. I took both approaches due mostly to cost. The wheel well set was roughly $10, but there was an Aires detail set that included the wells, the cockpit, and even complete engines that was considerably more whenever I looked at it. For such a cheap starting canvas, the cost was not worth the bang.

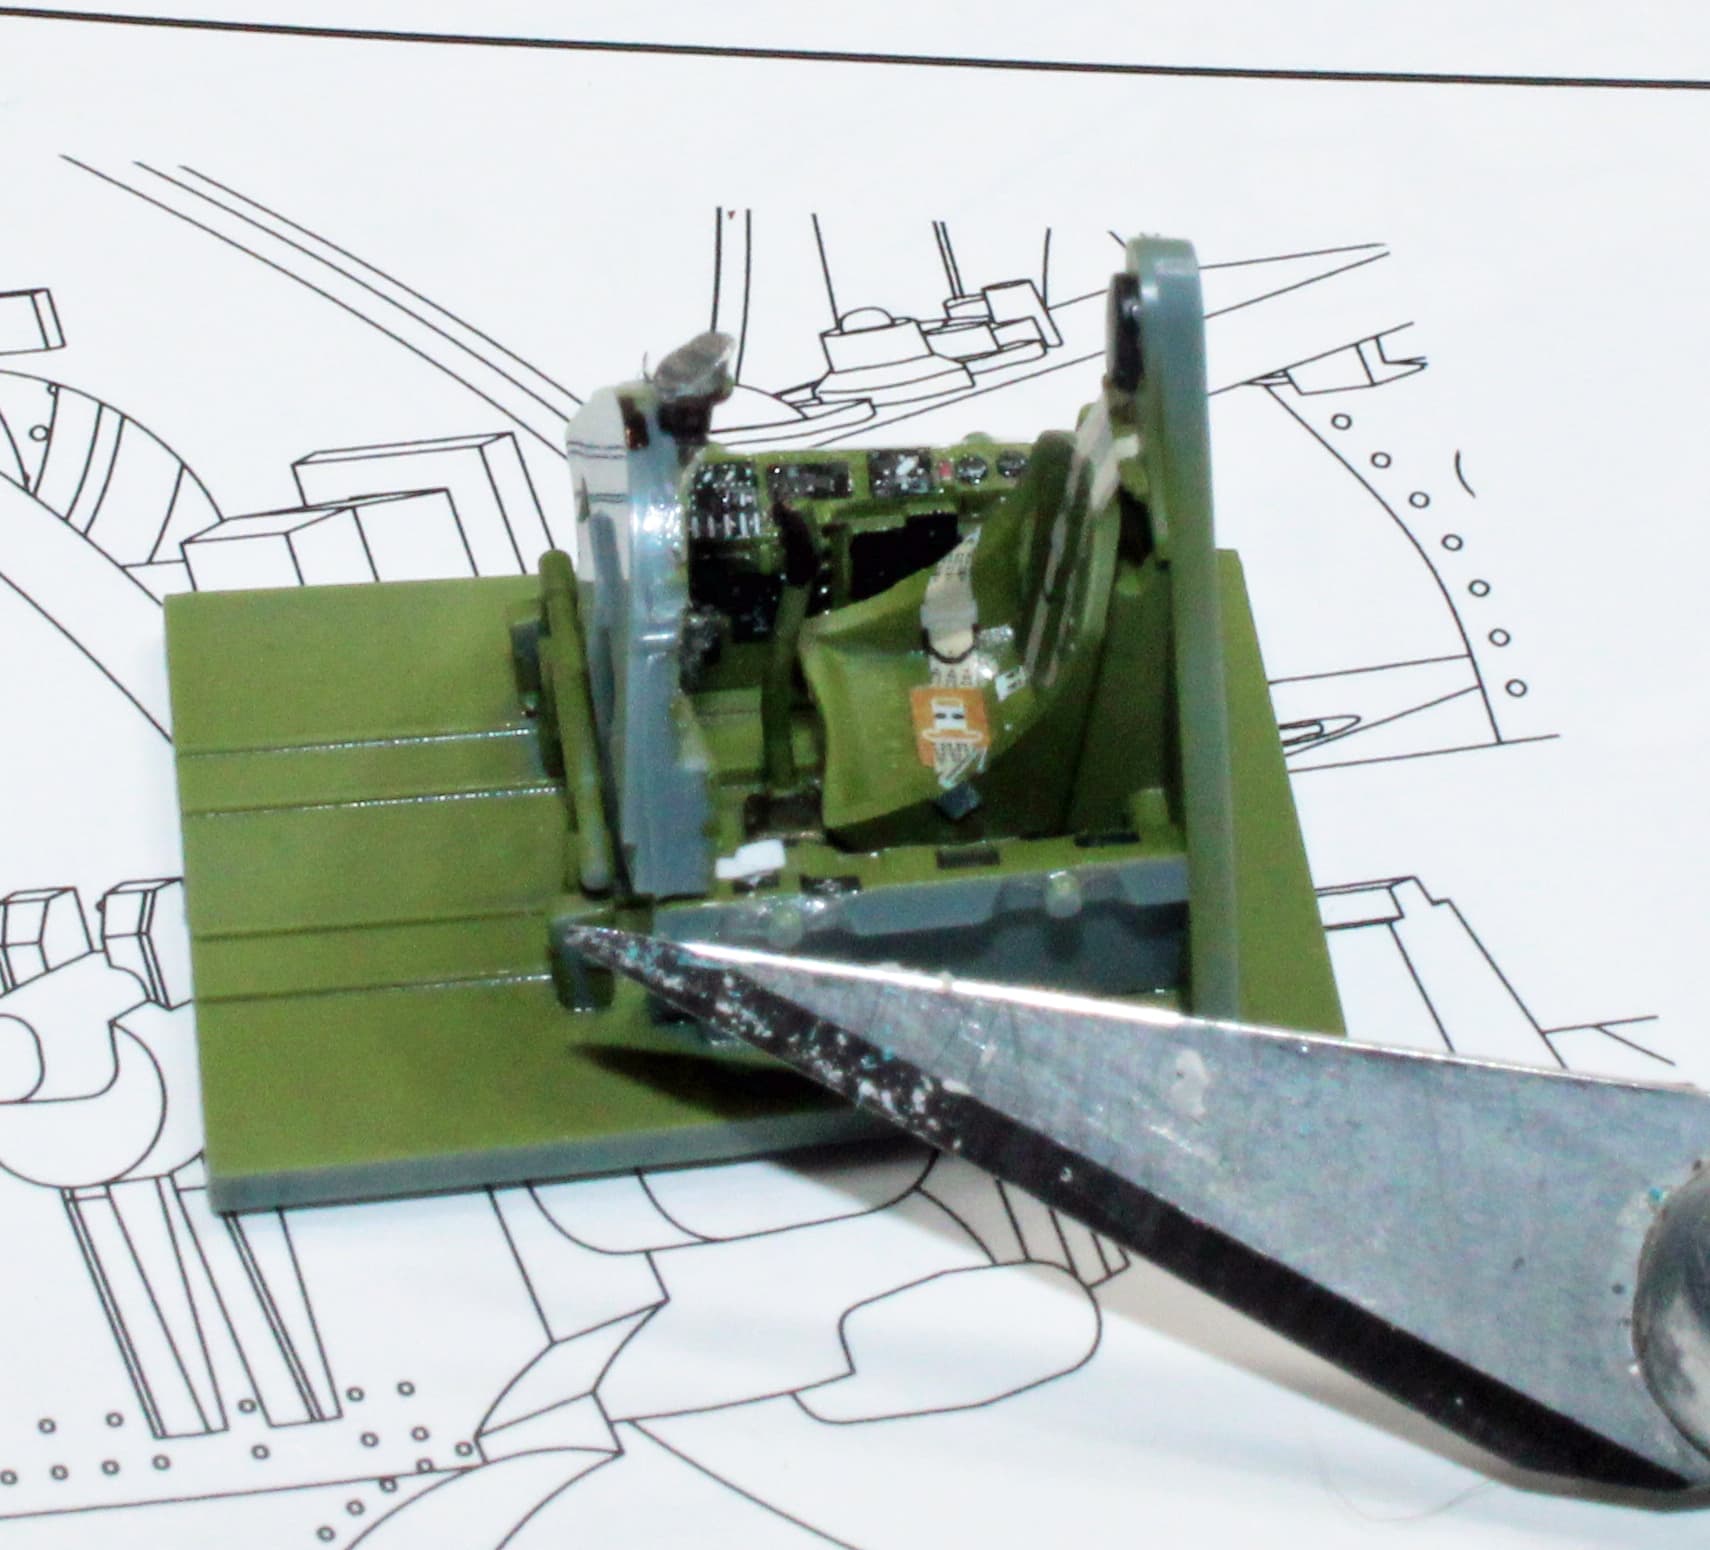
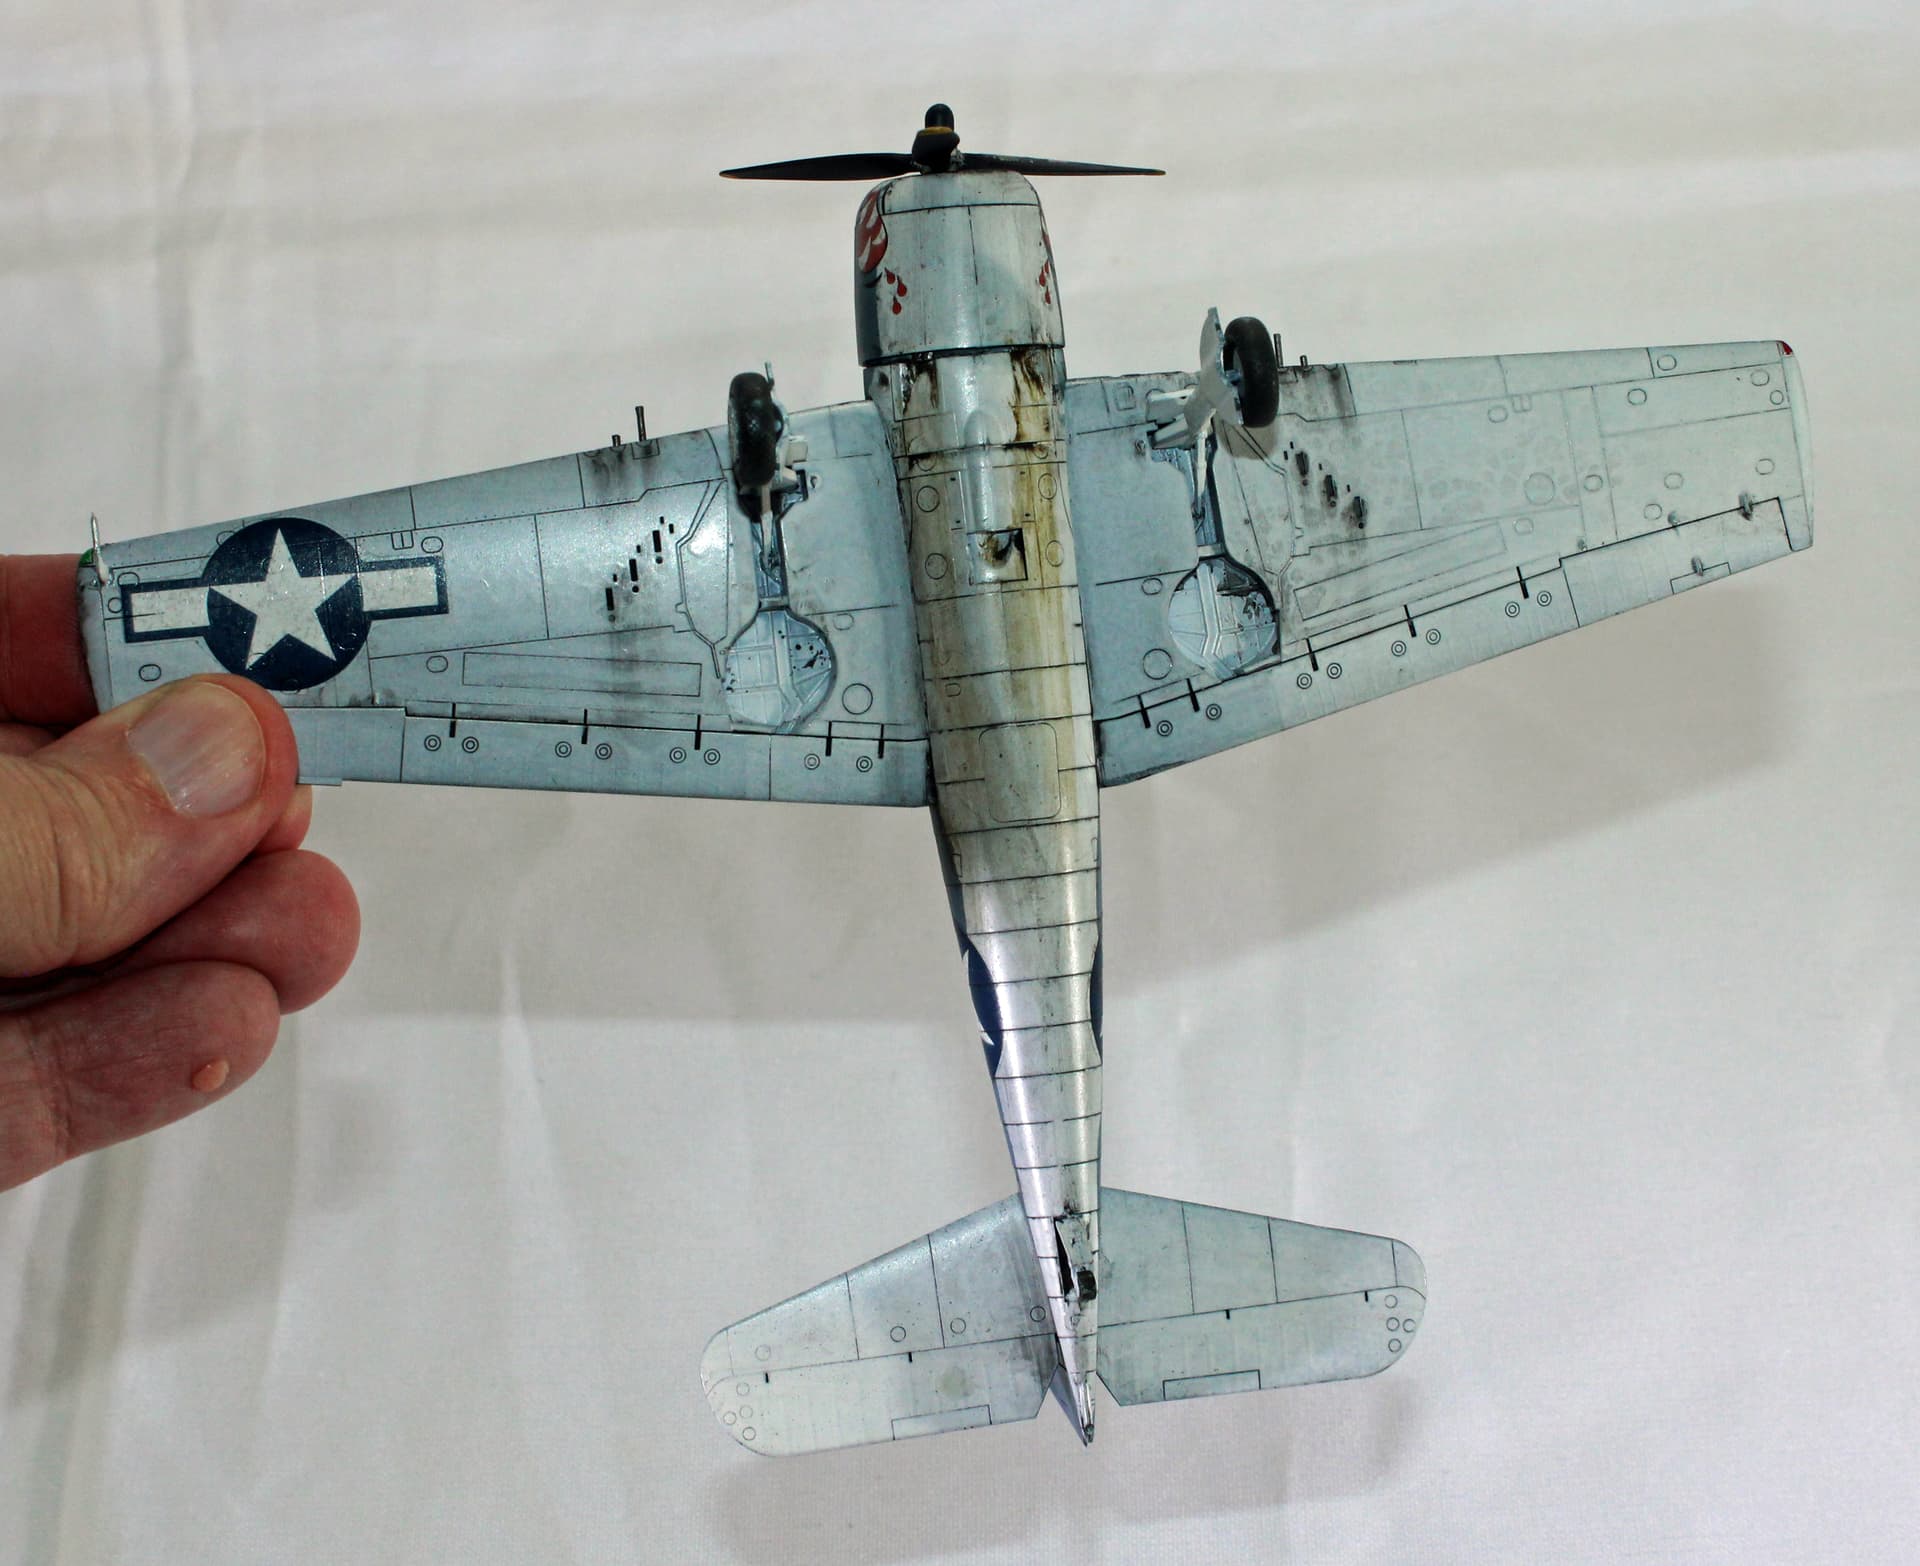
With the canopy closed up, none of the scratch-building I did in there aside from the seat is visible. The wheel wells are visible and are certainly worth spending a few bucks on to upgrade this kit.

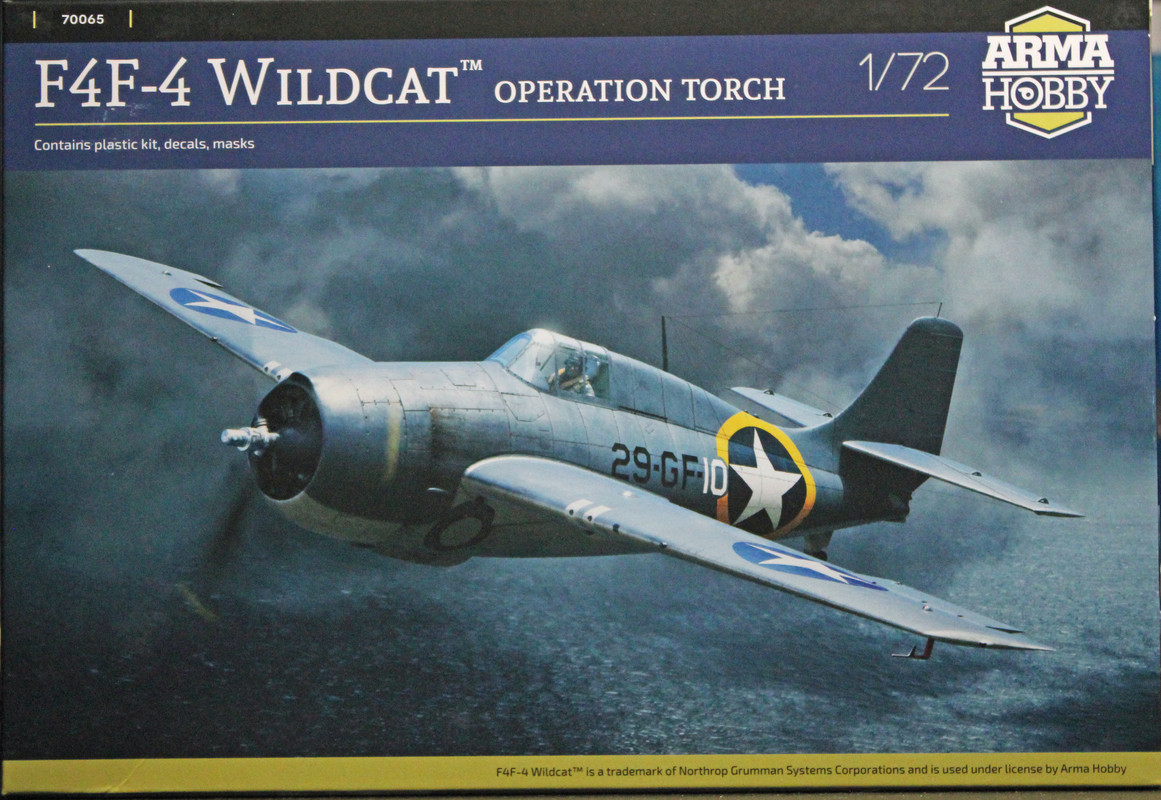
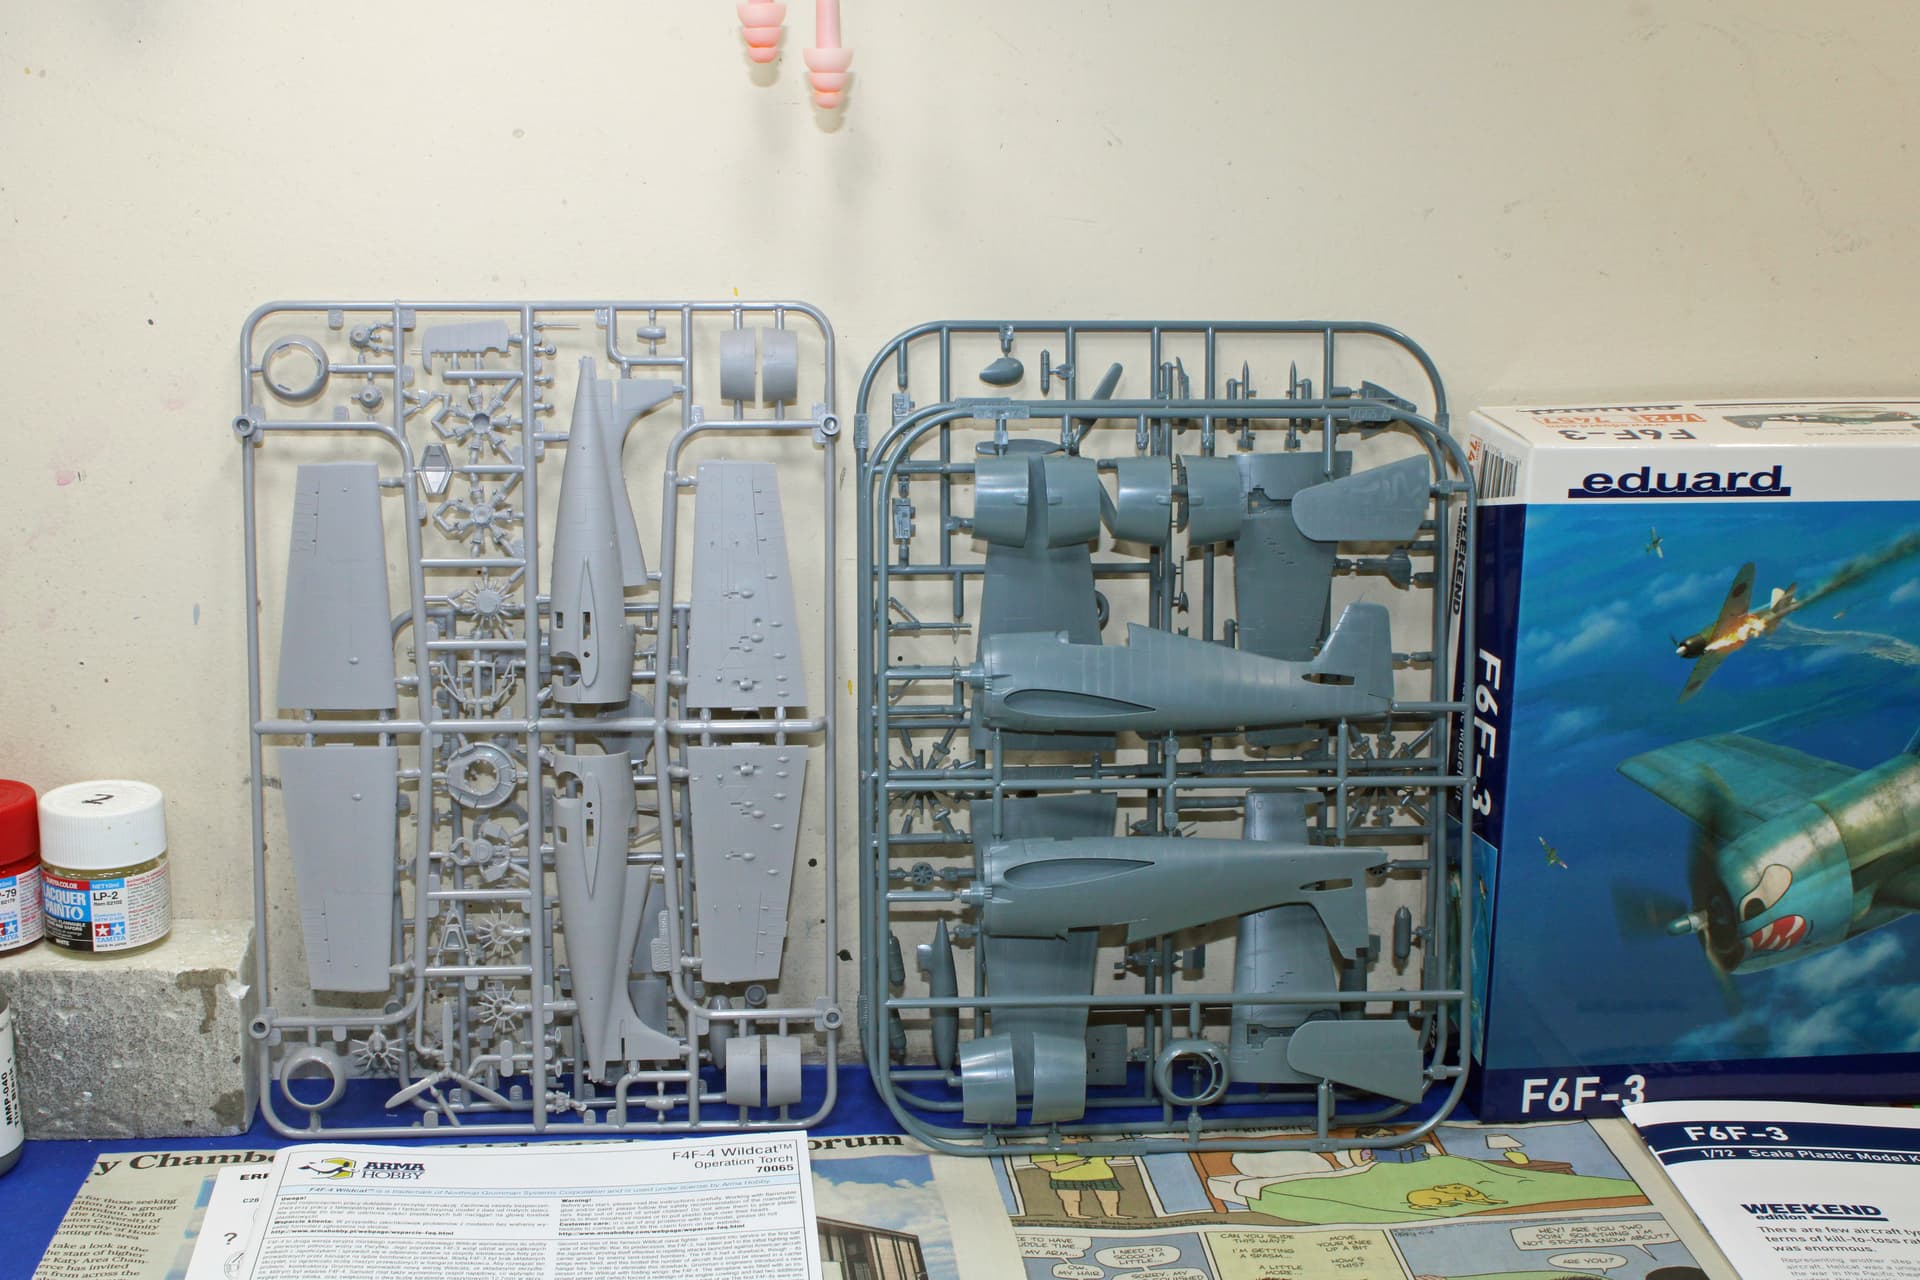
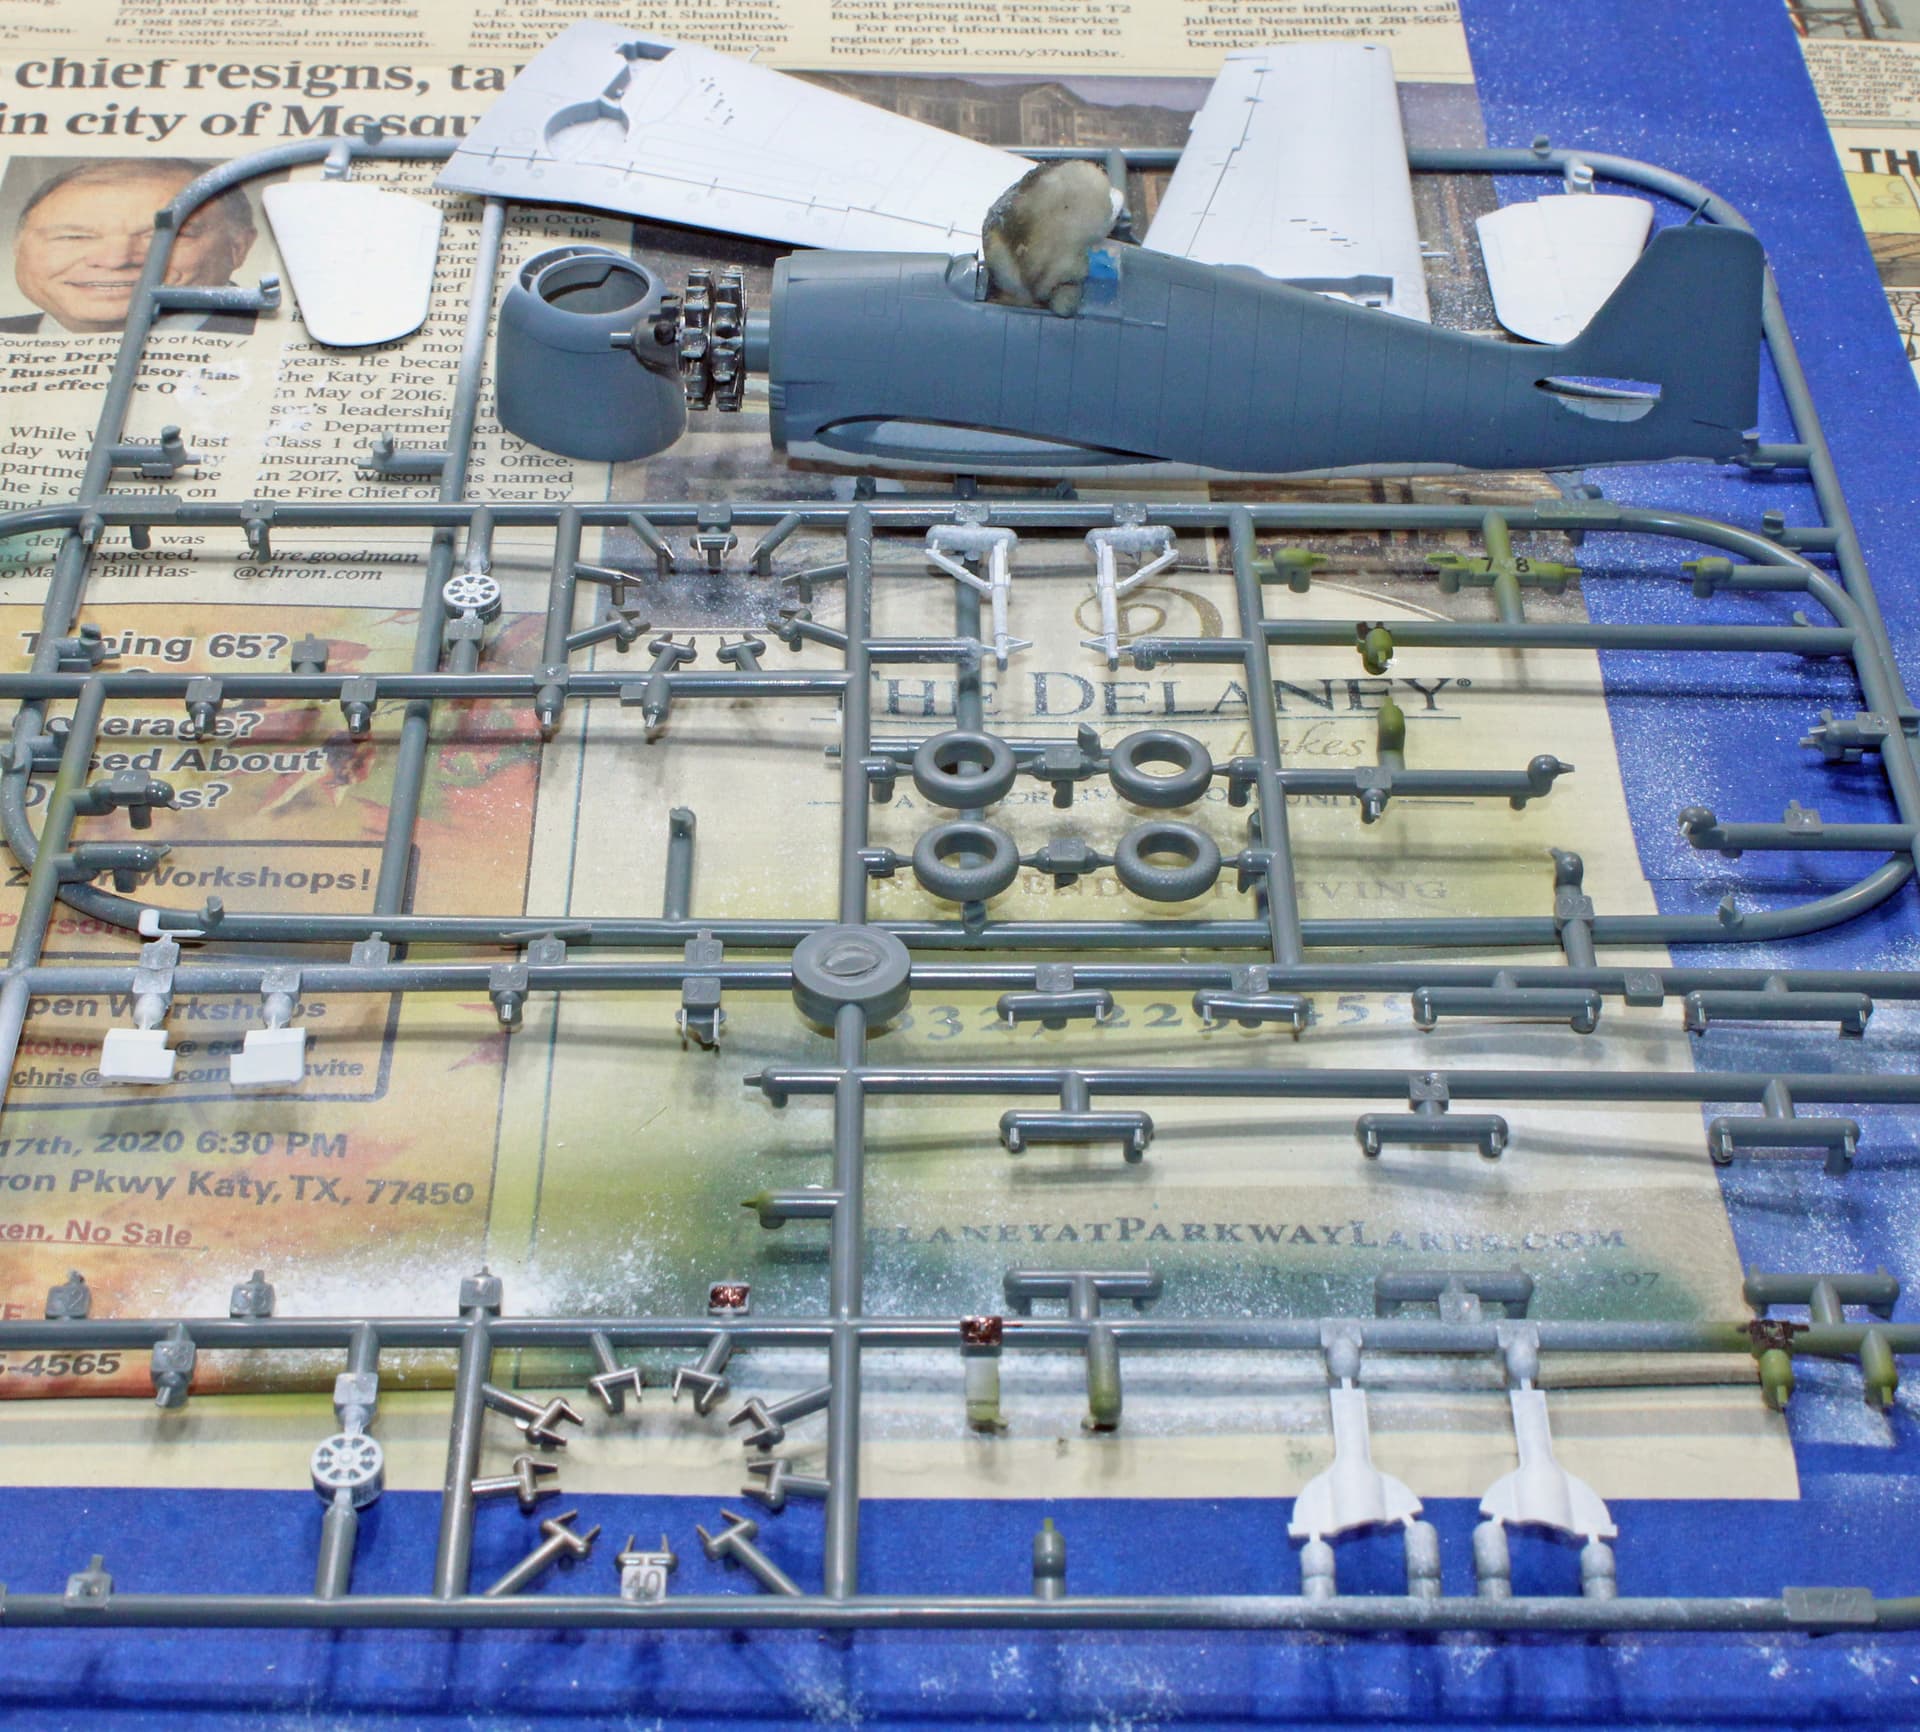
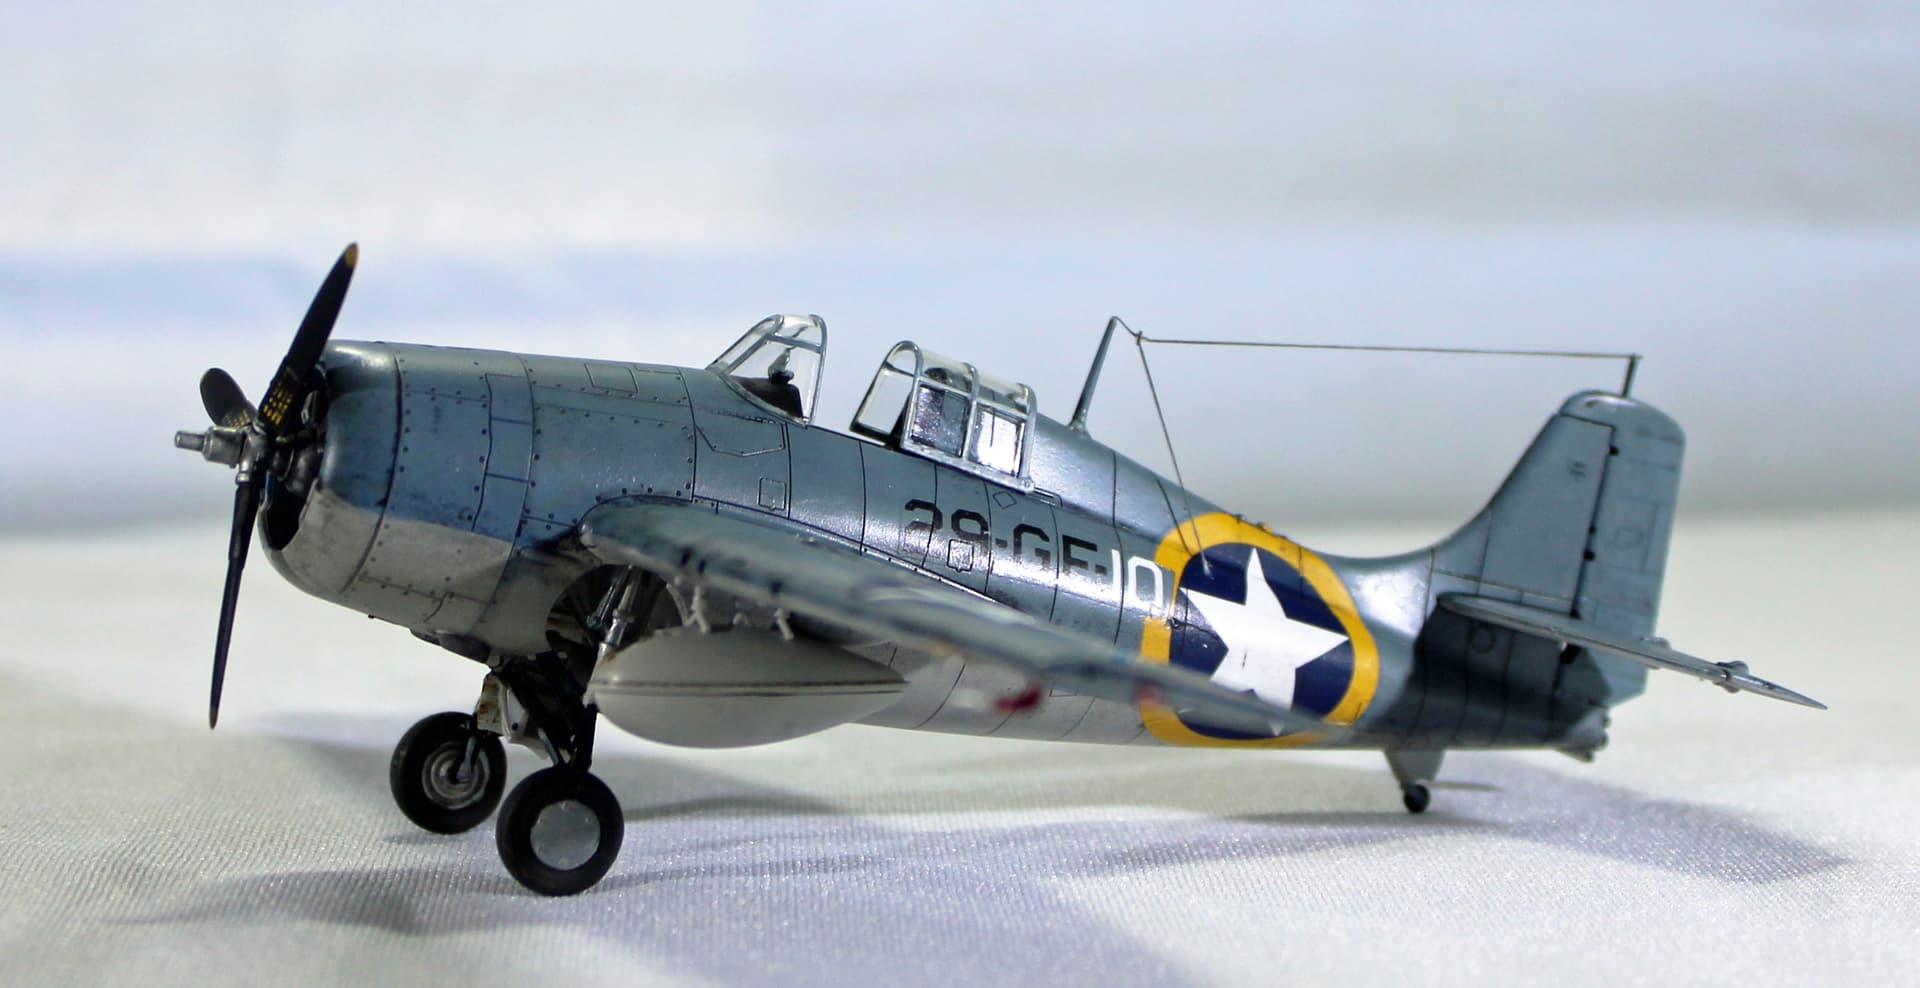
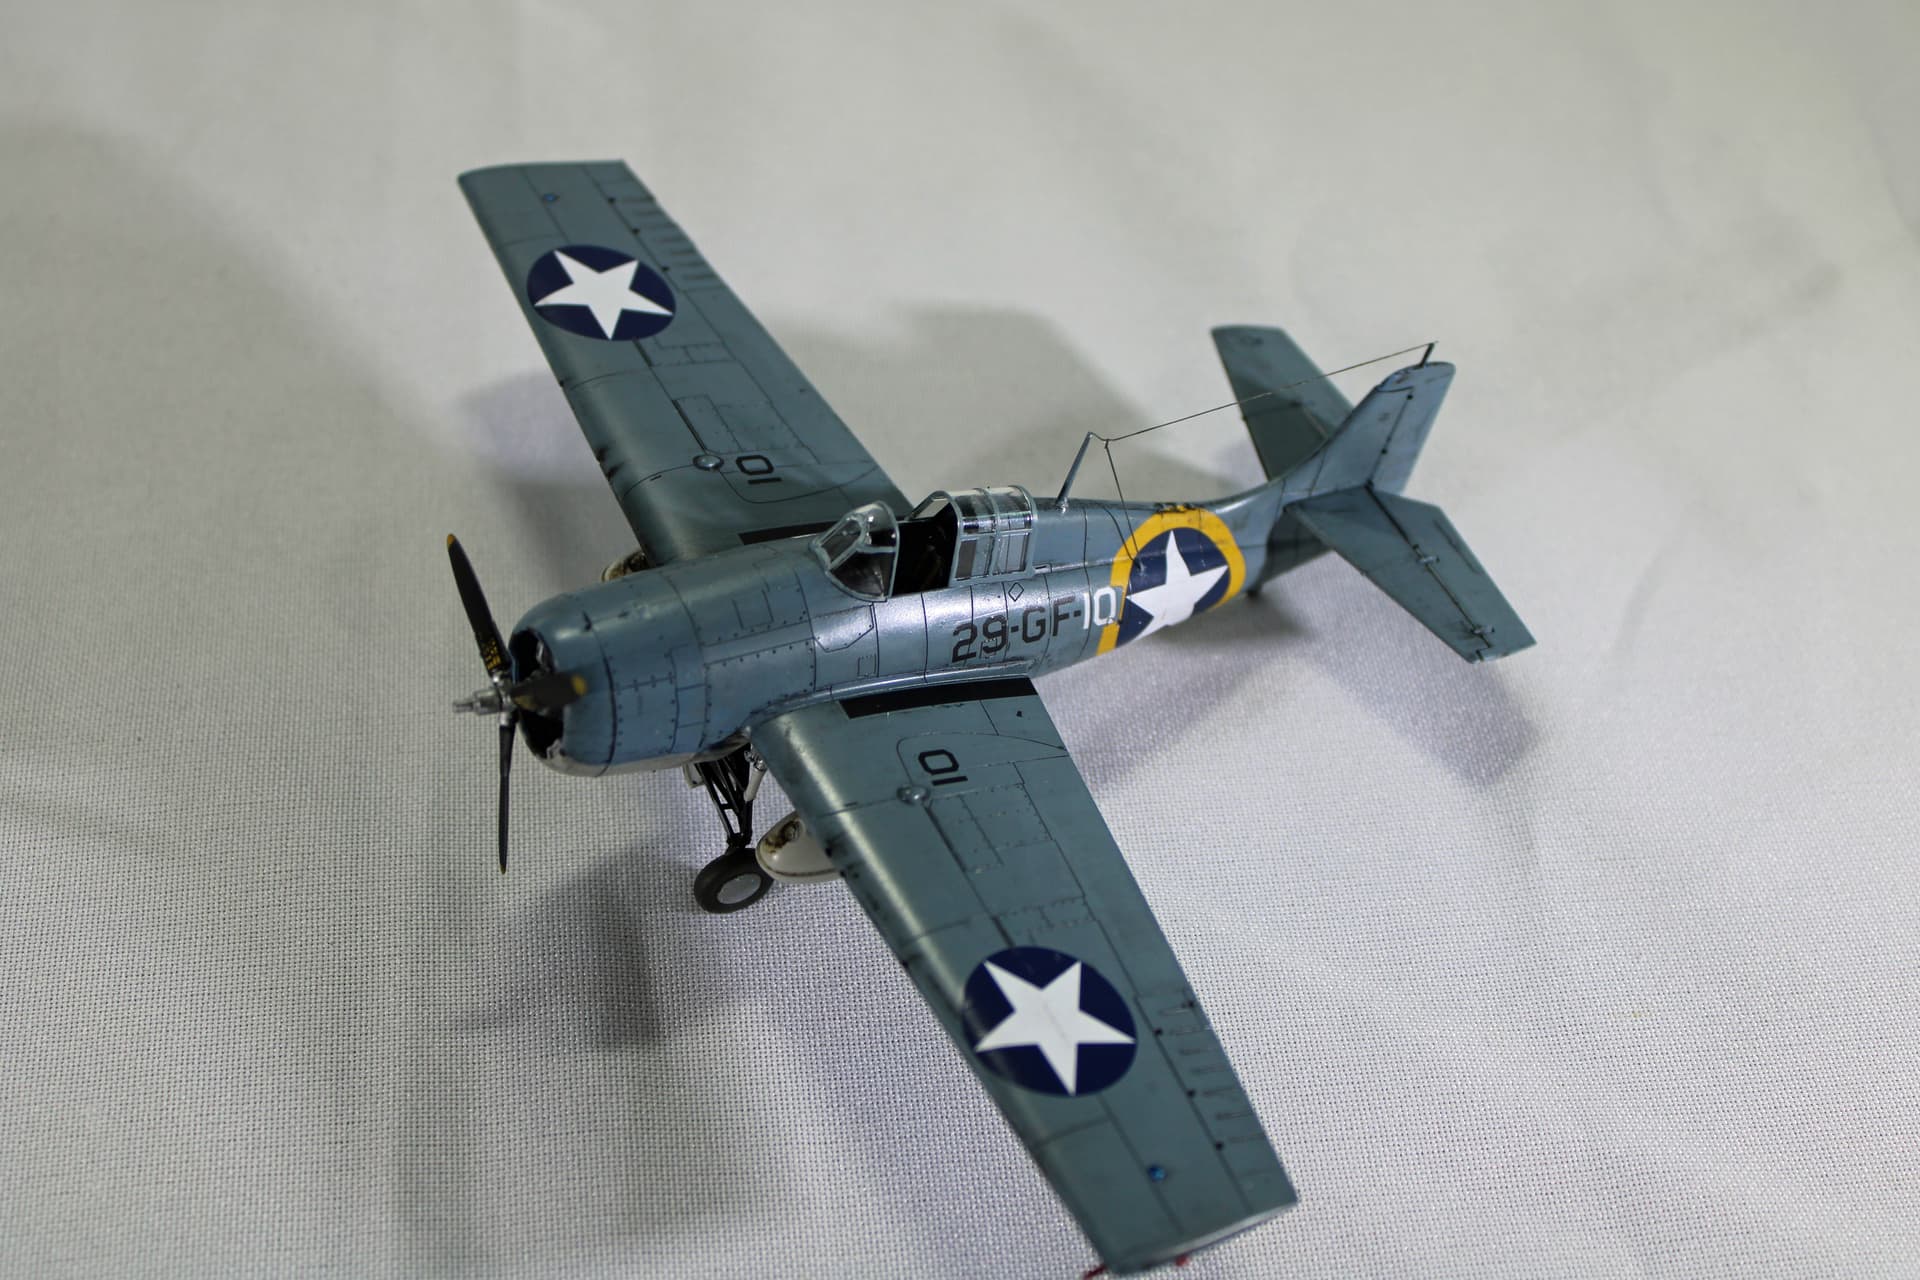
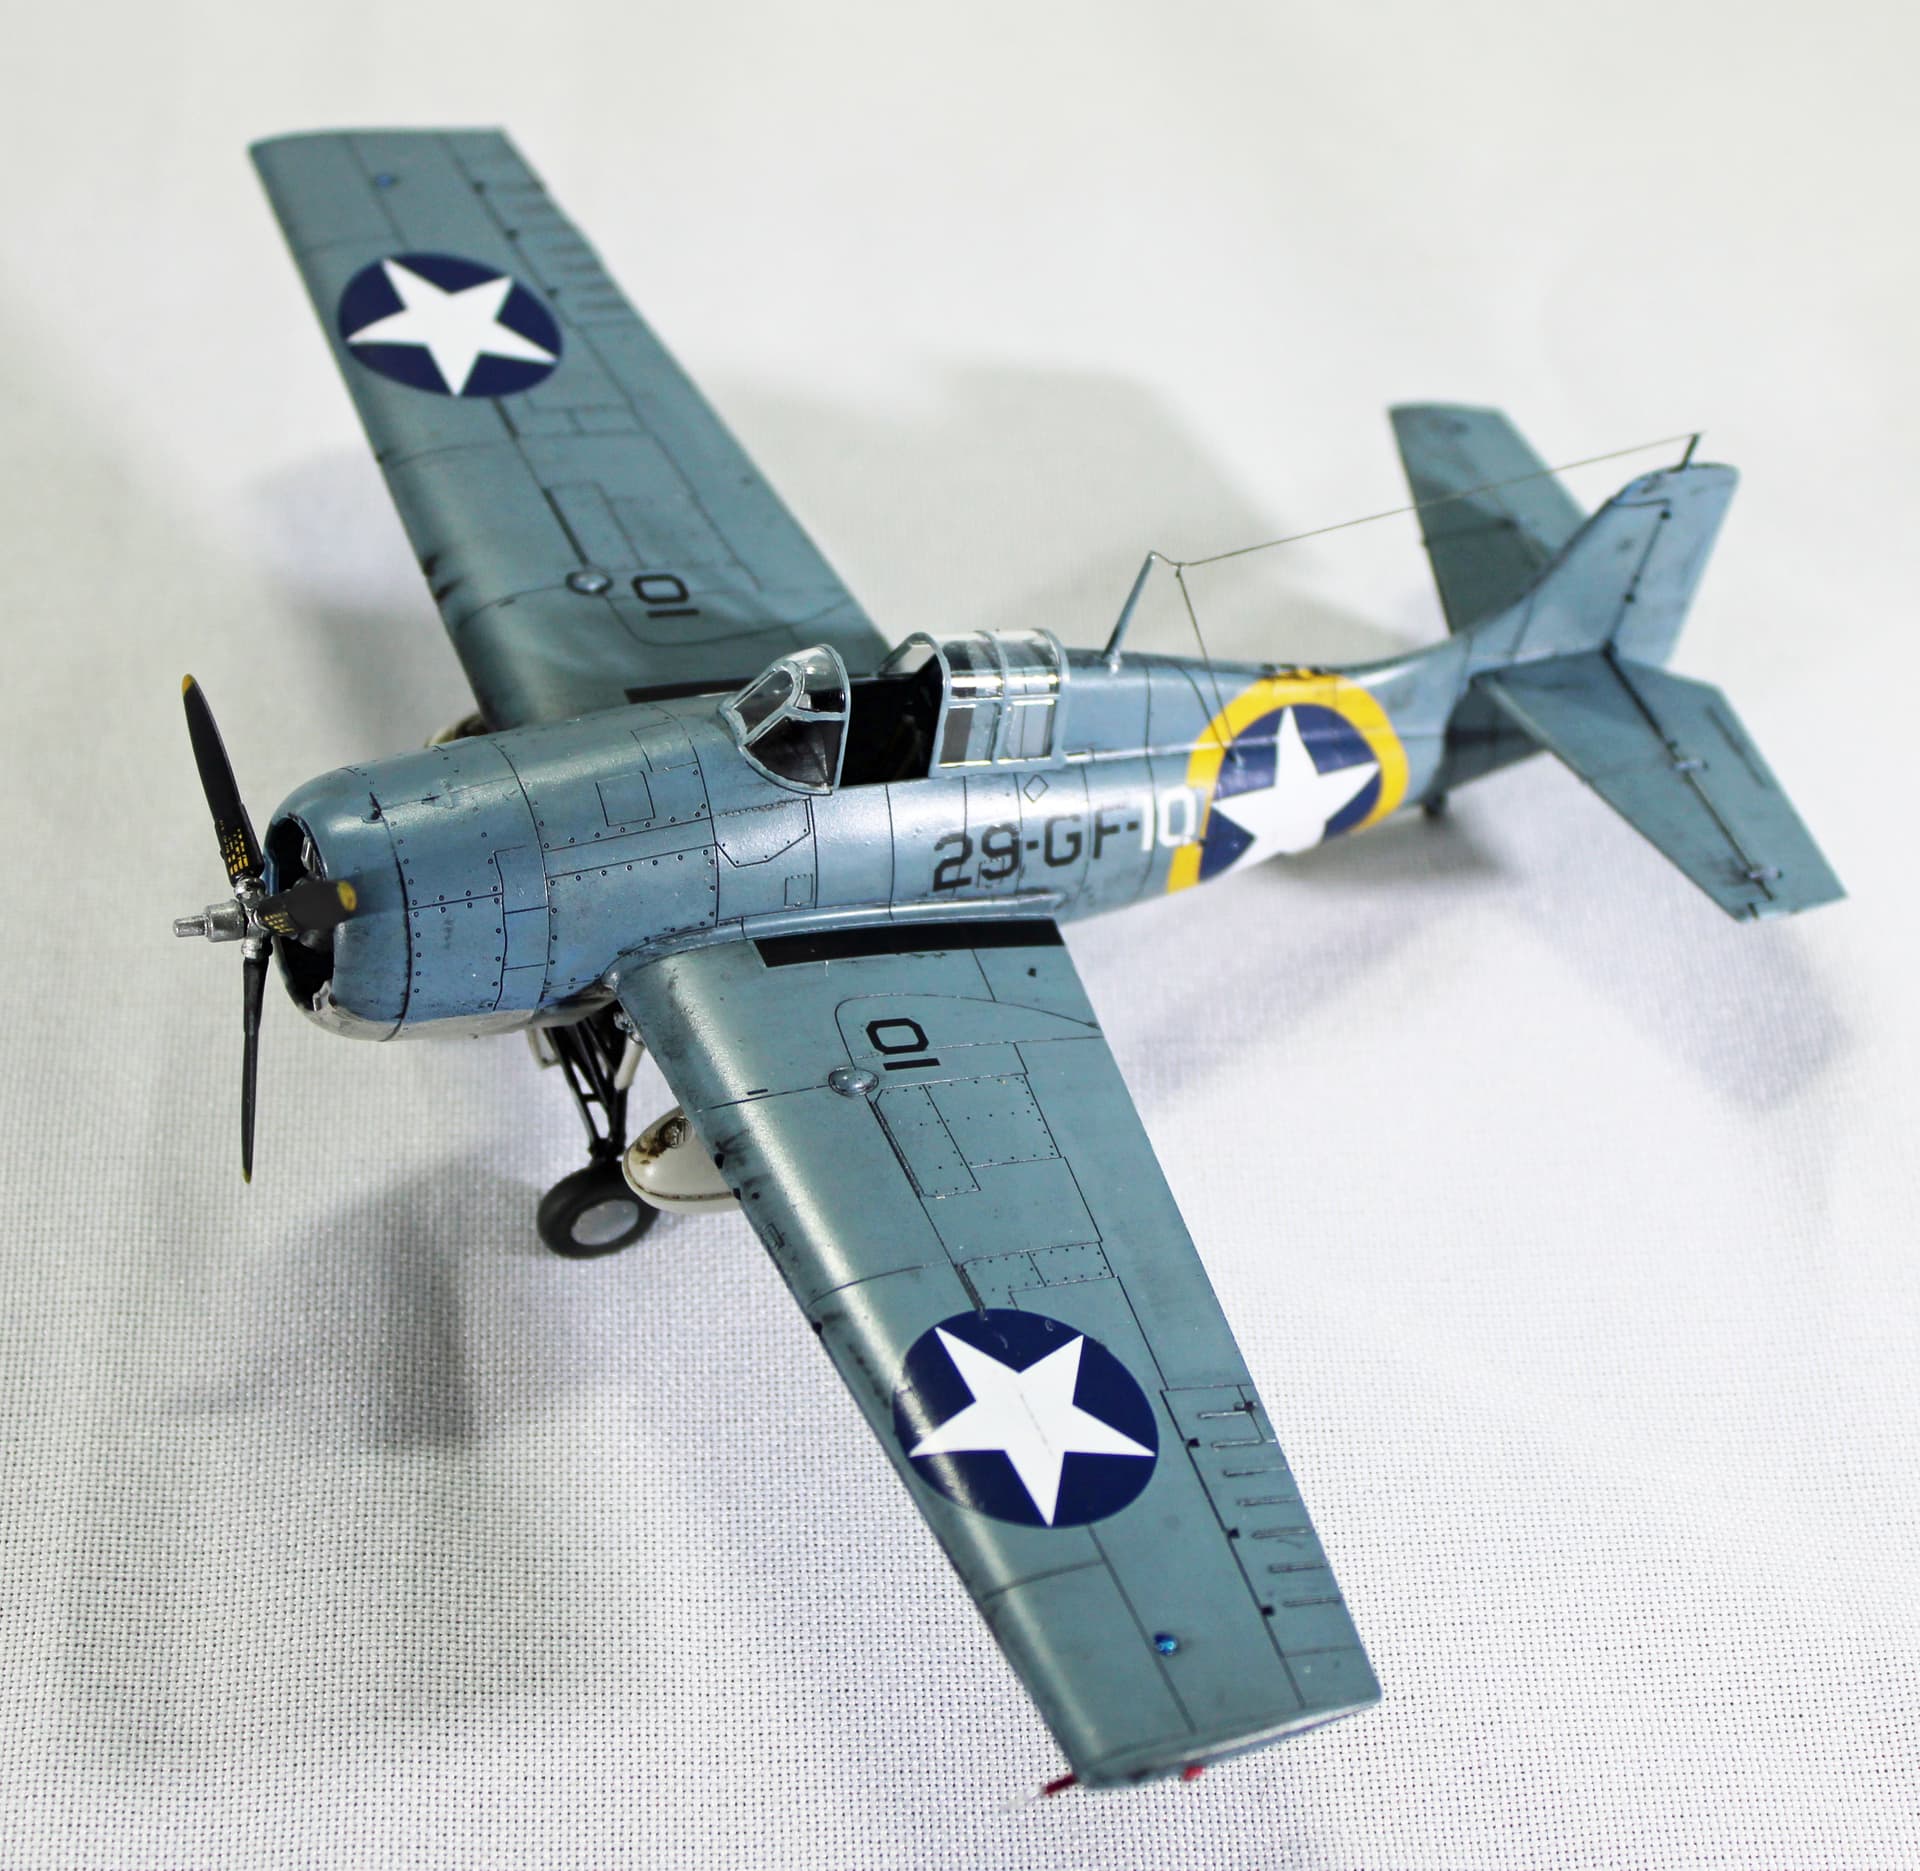
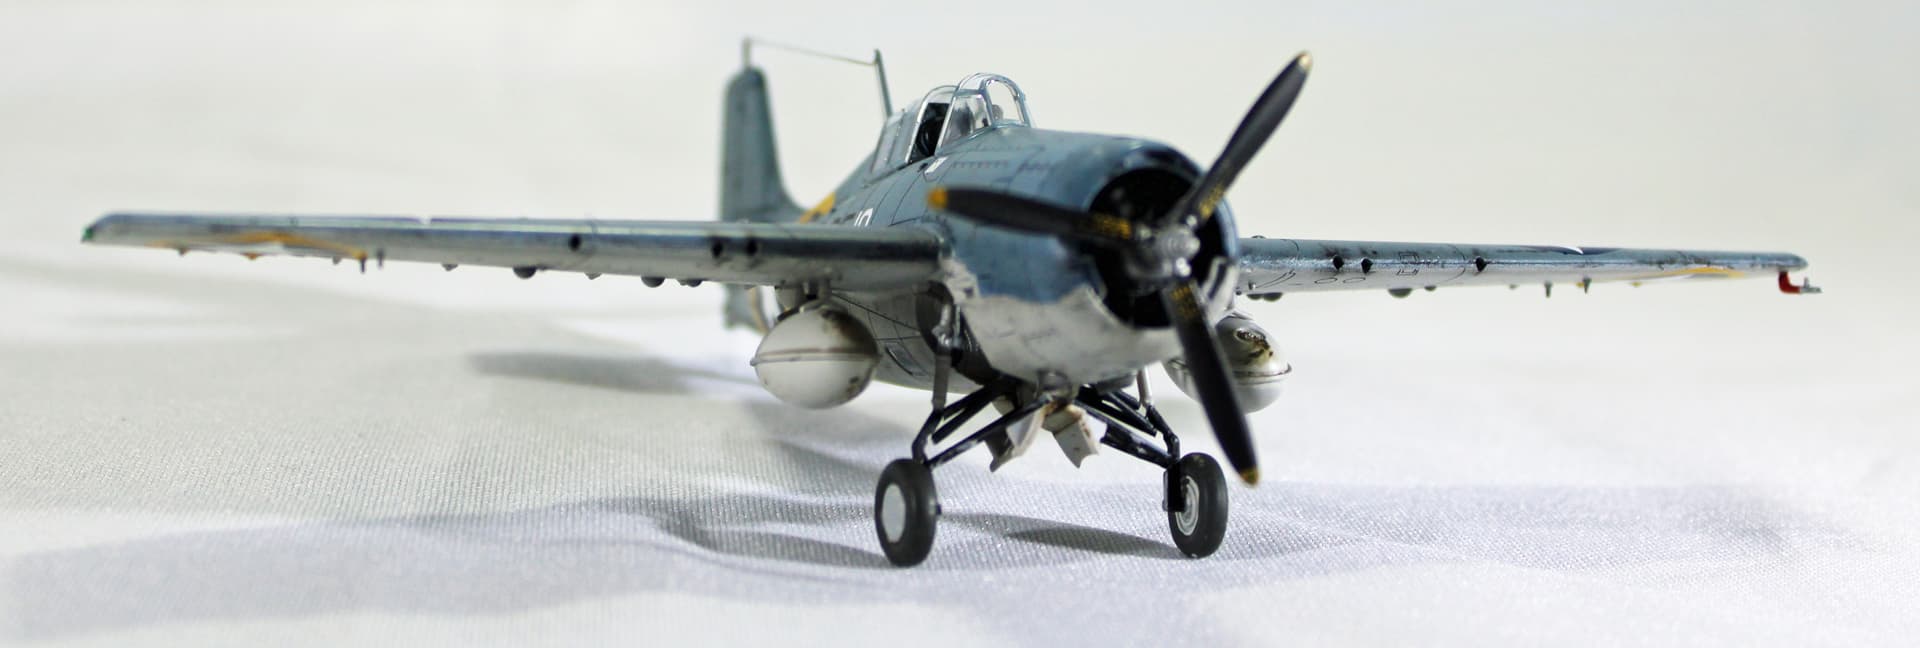
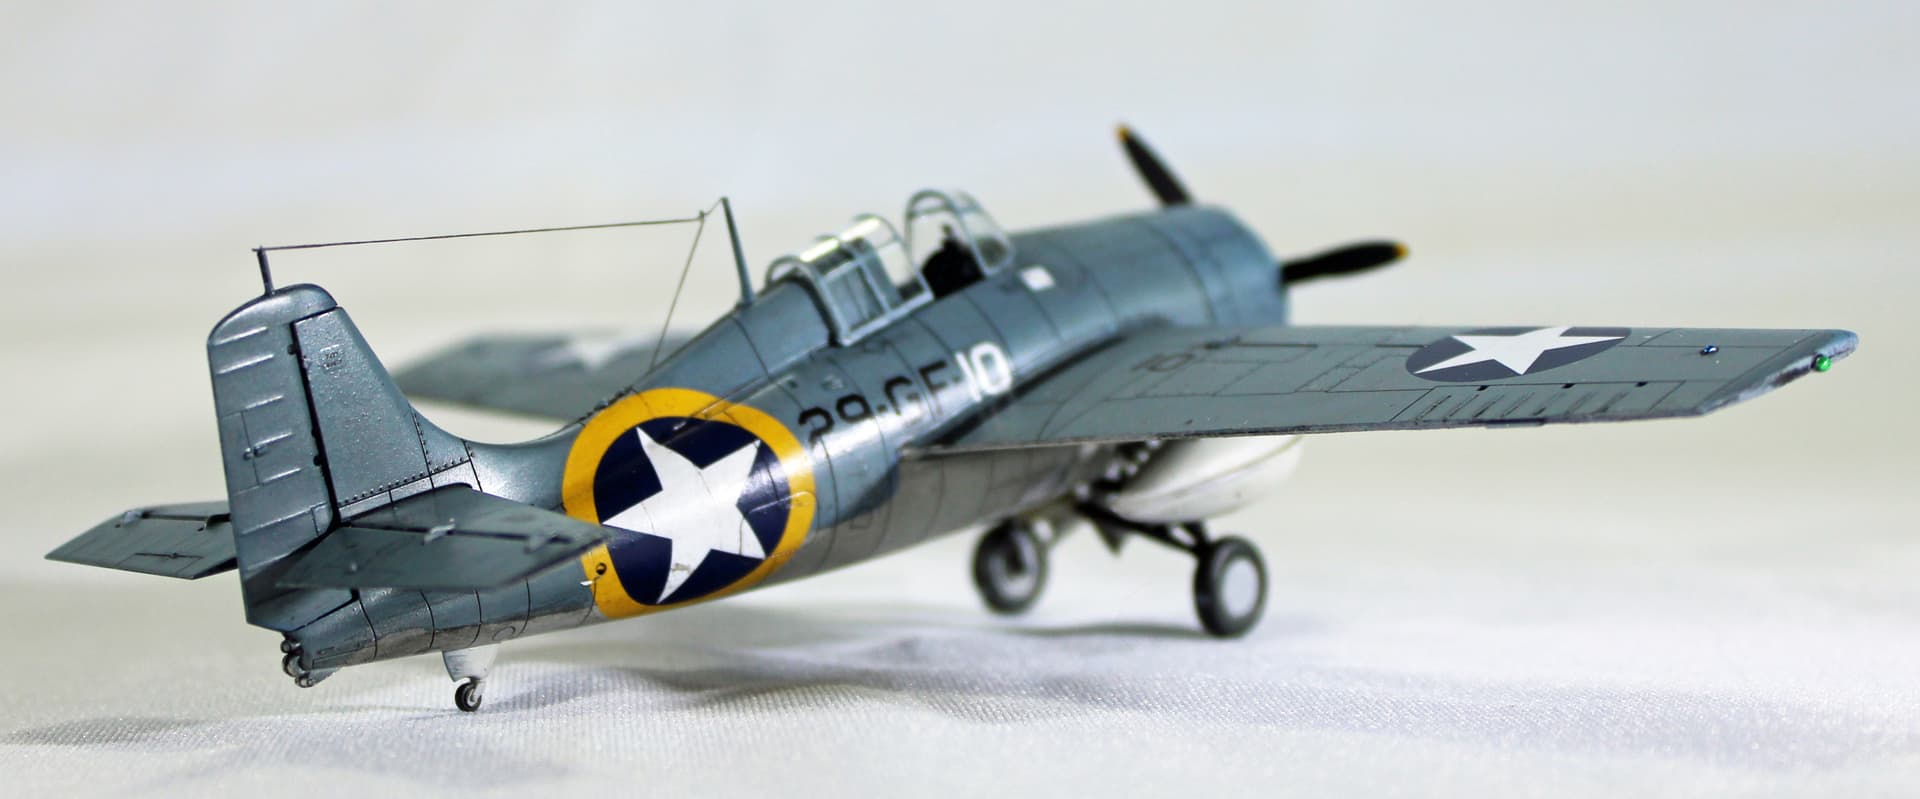
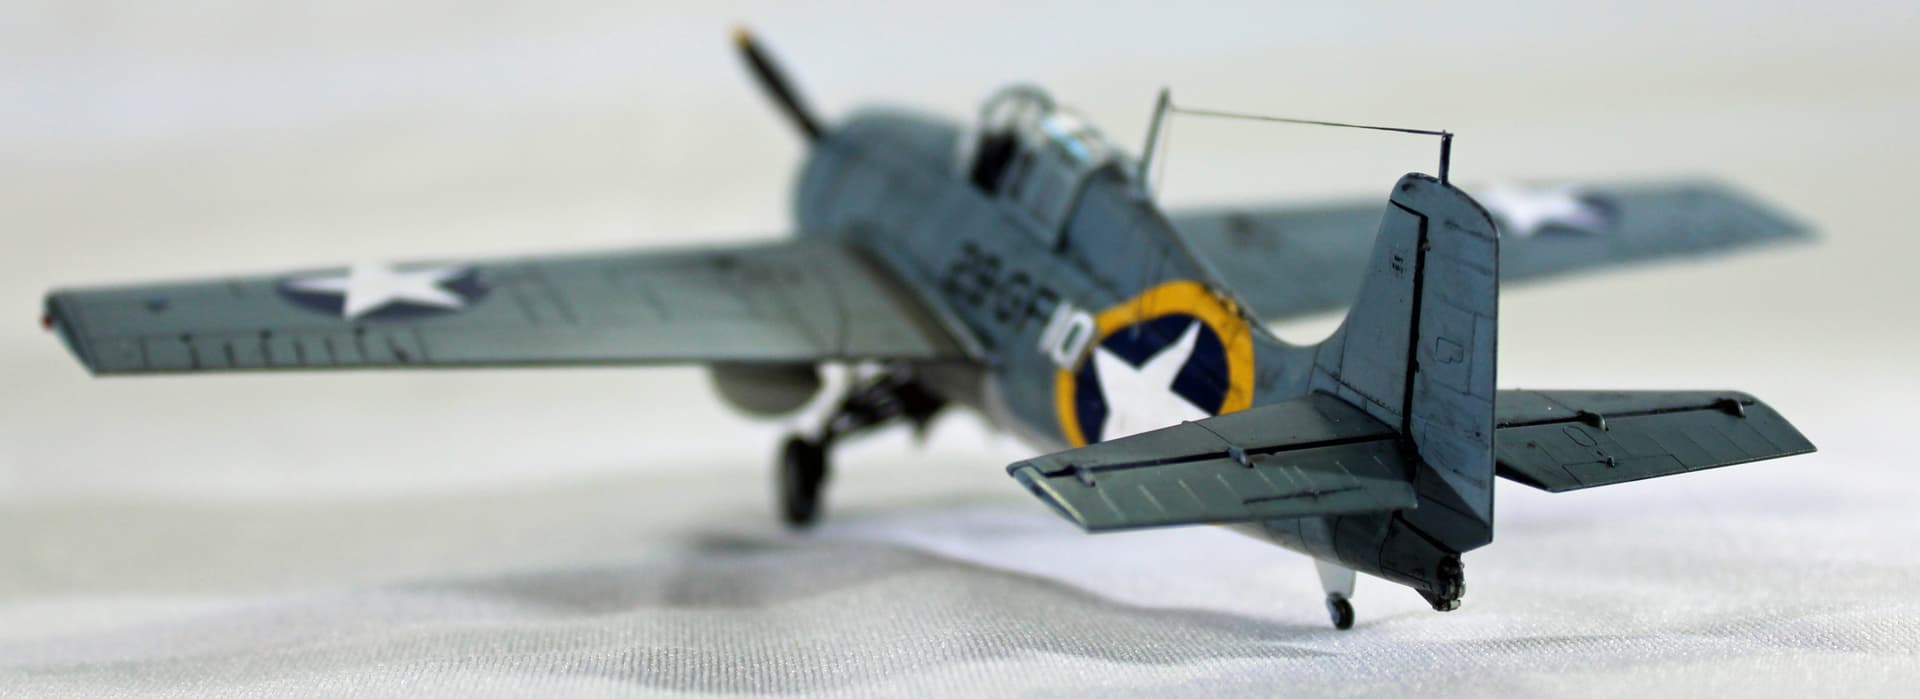
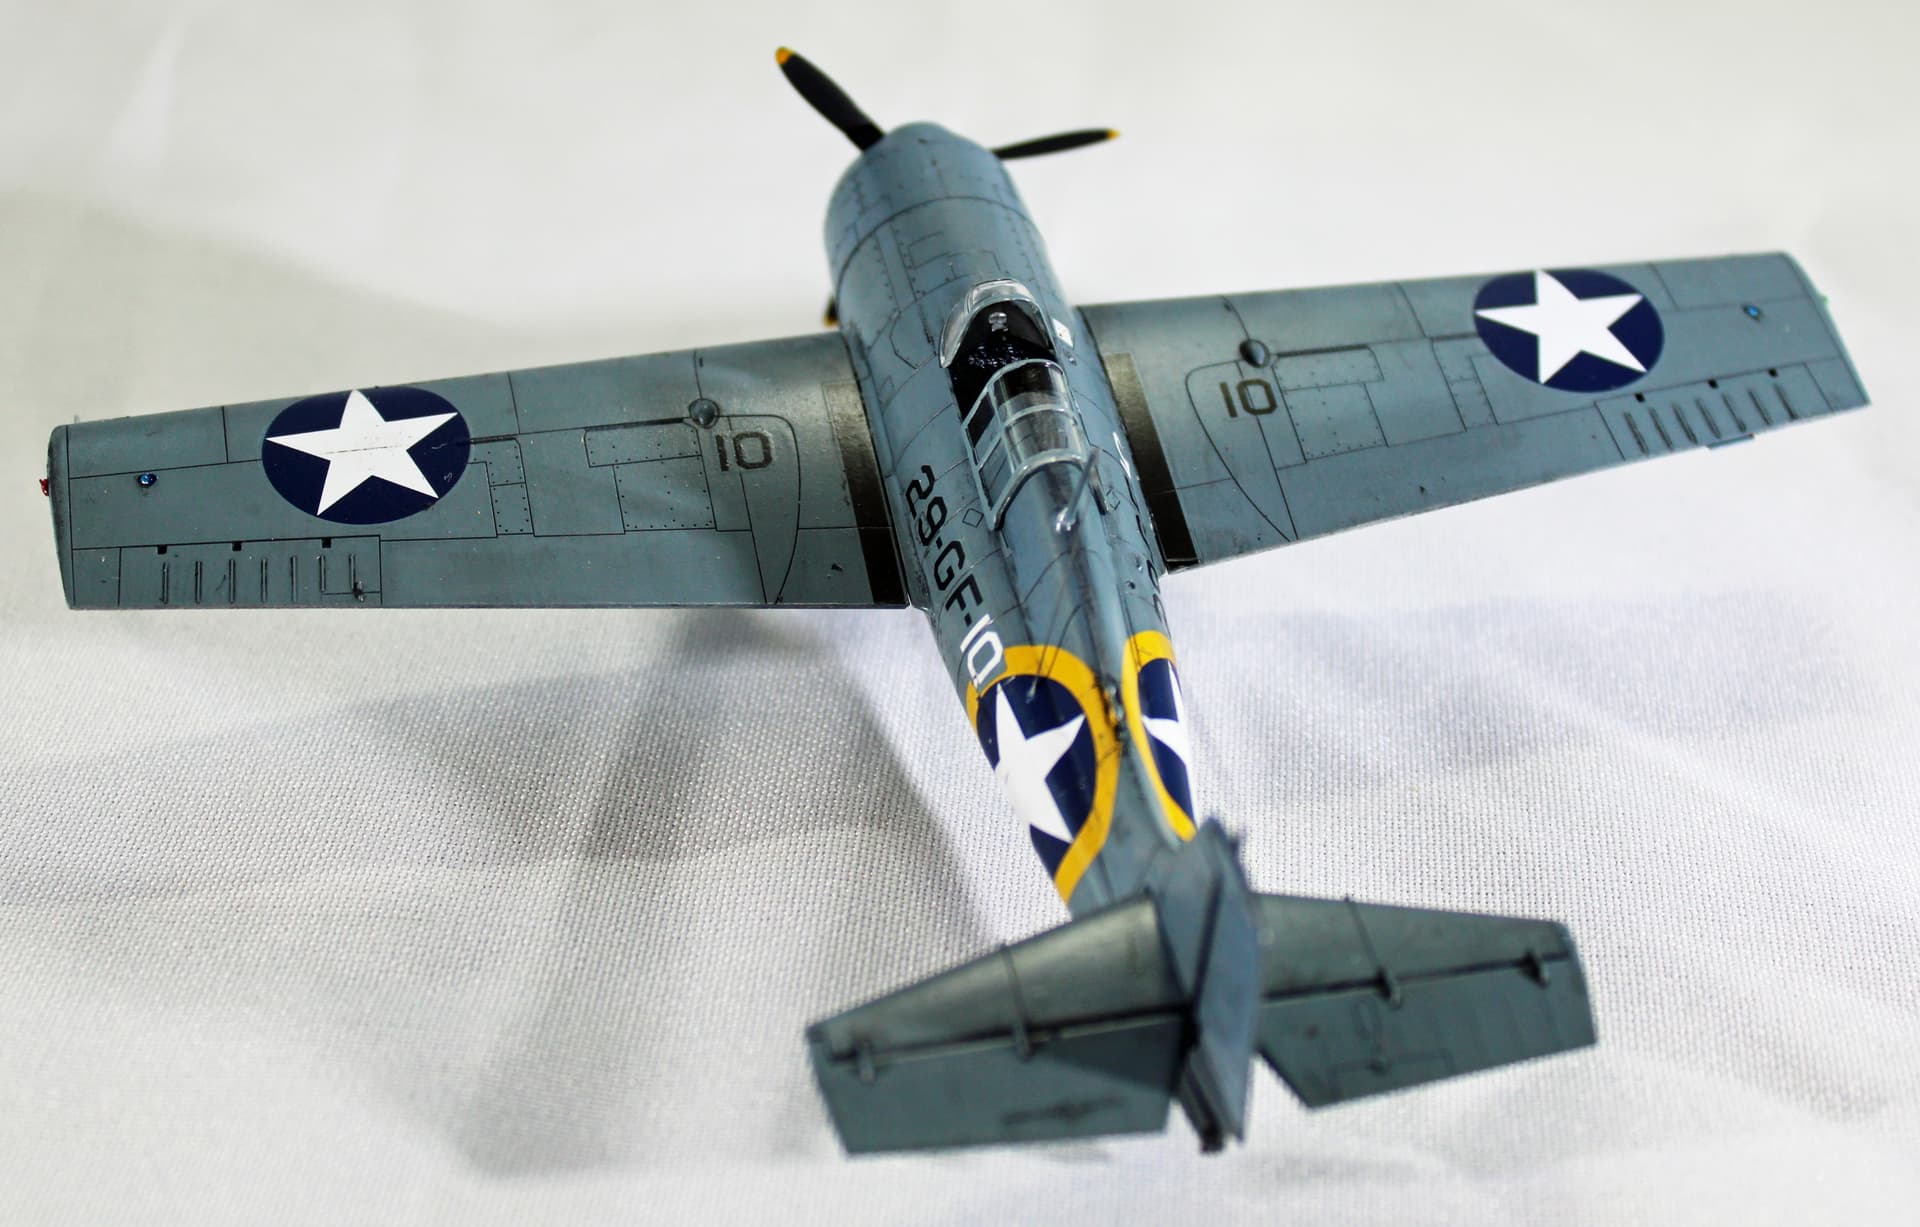
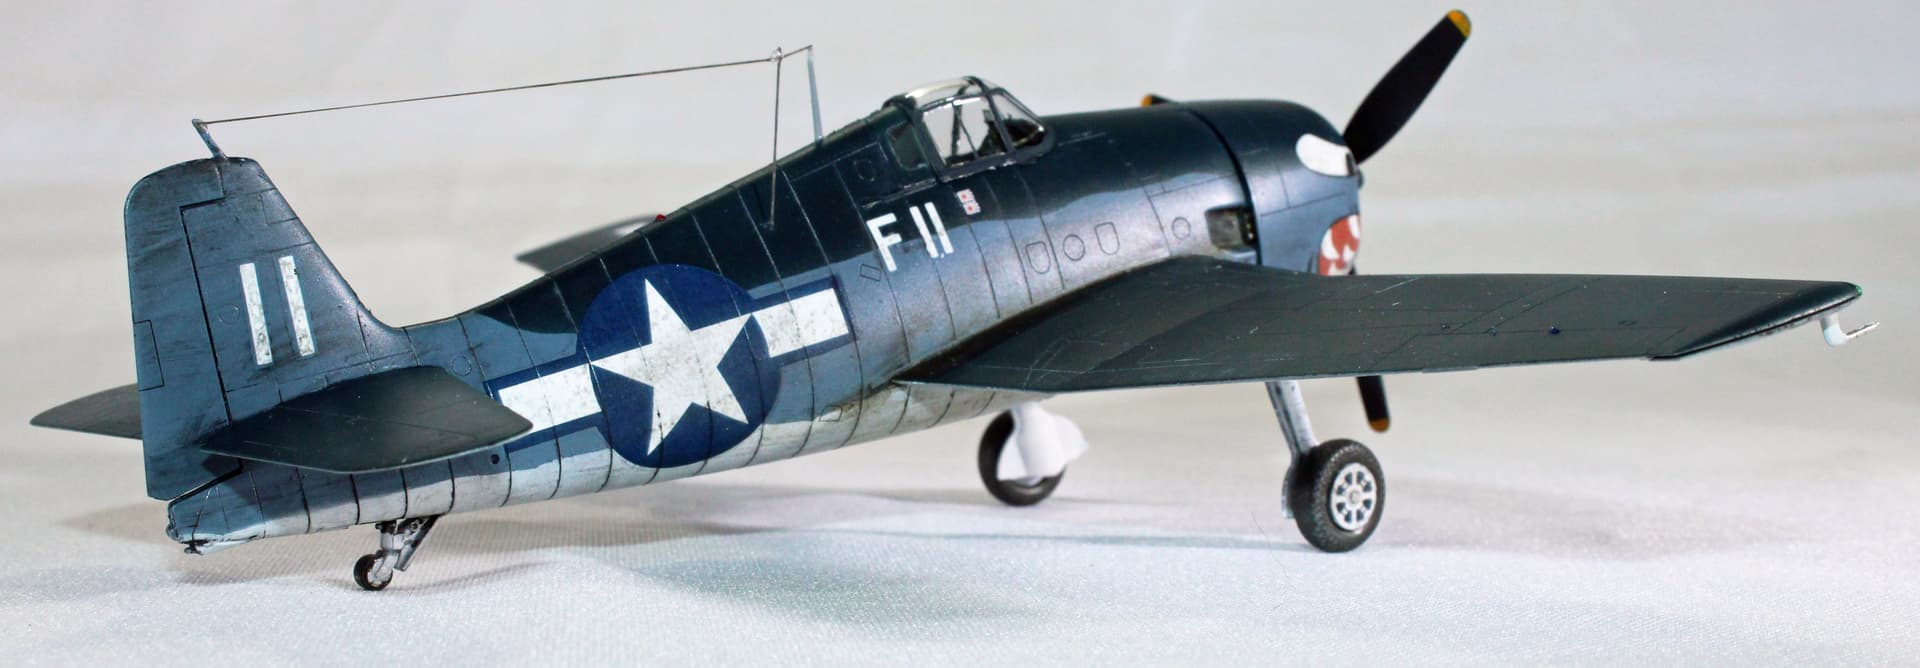
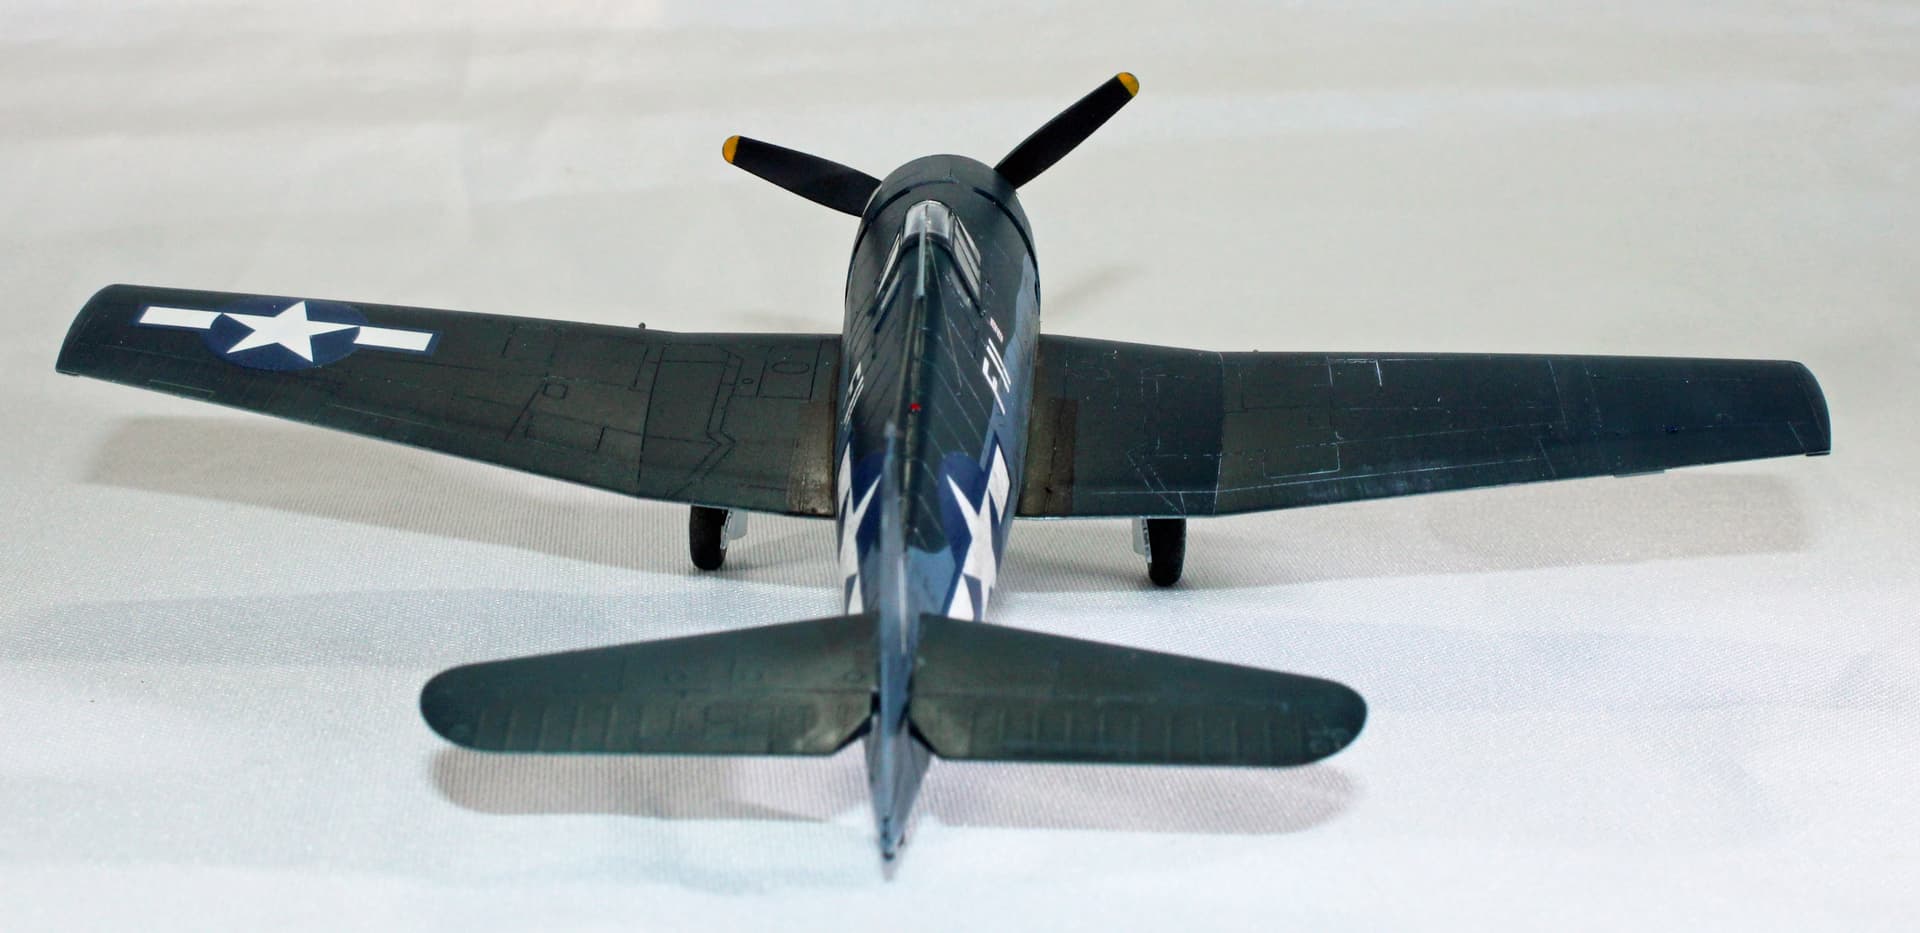
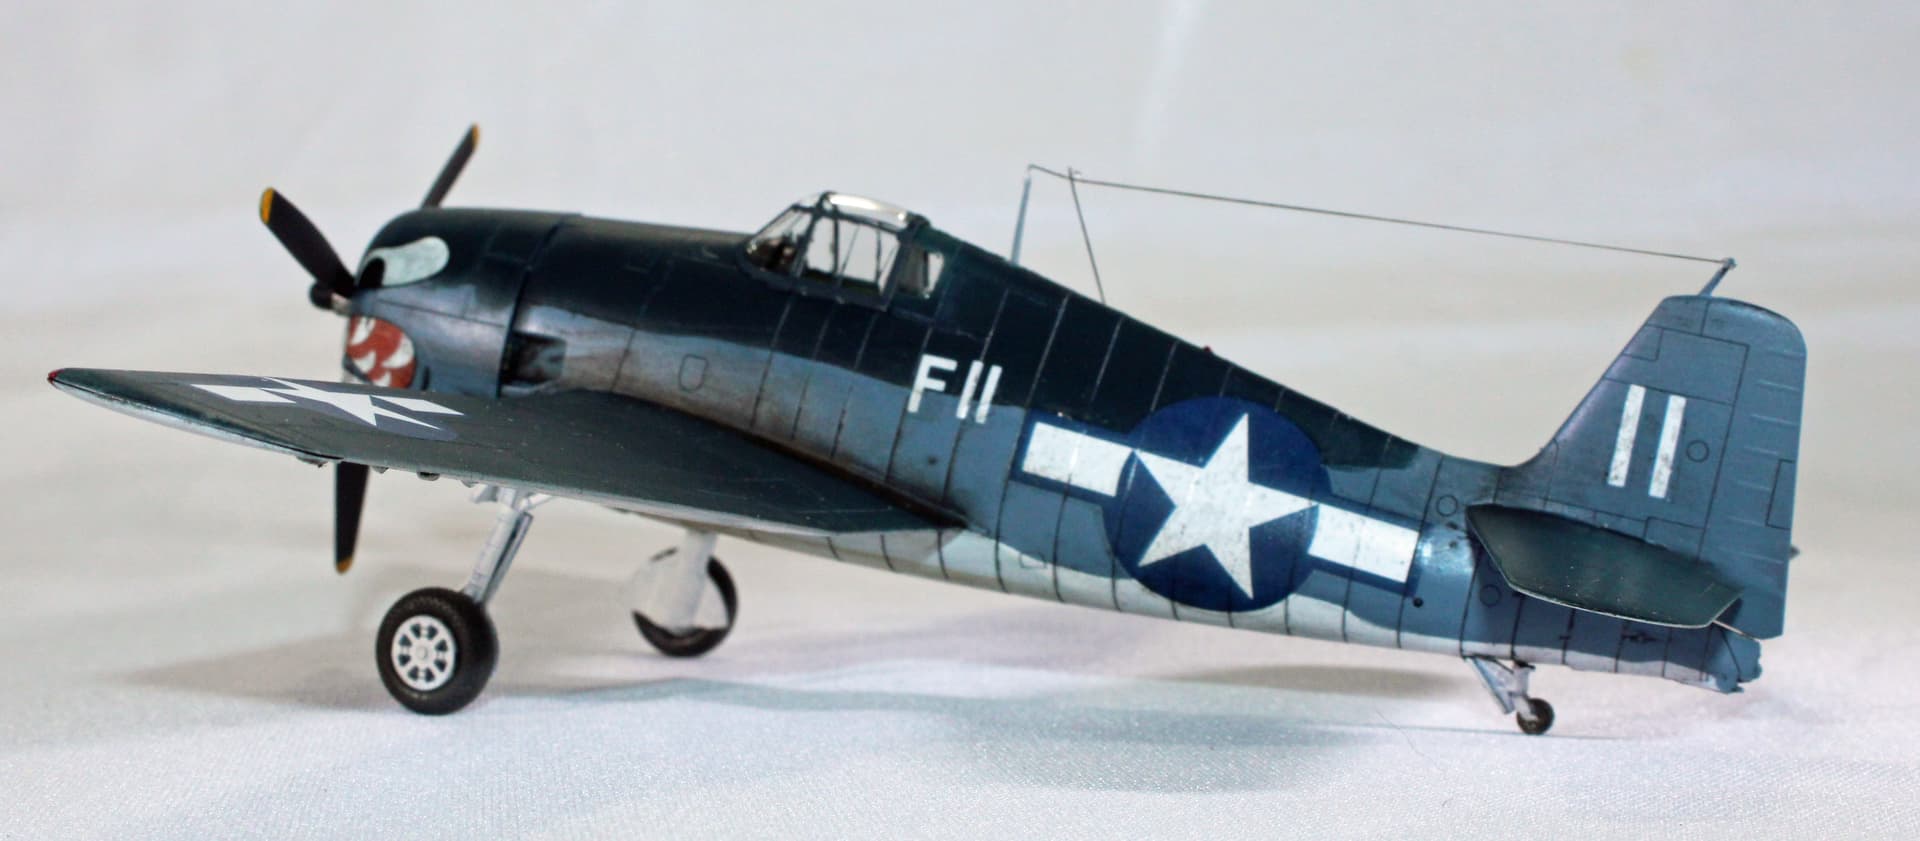
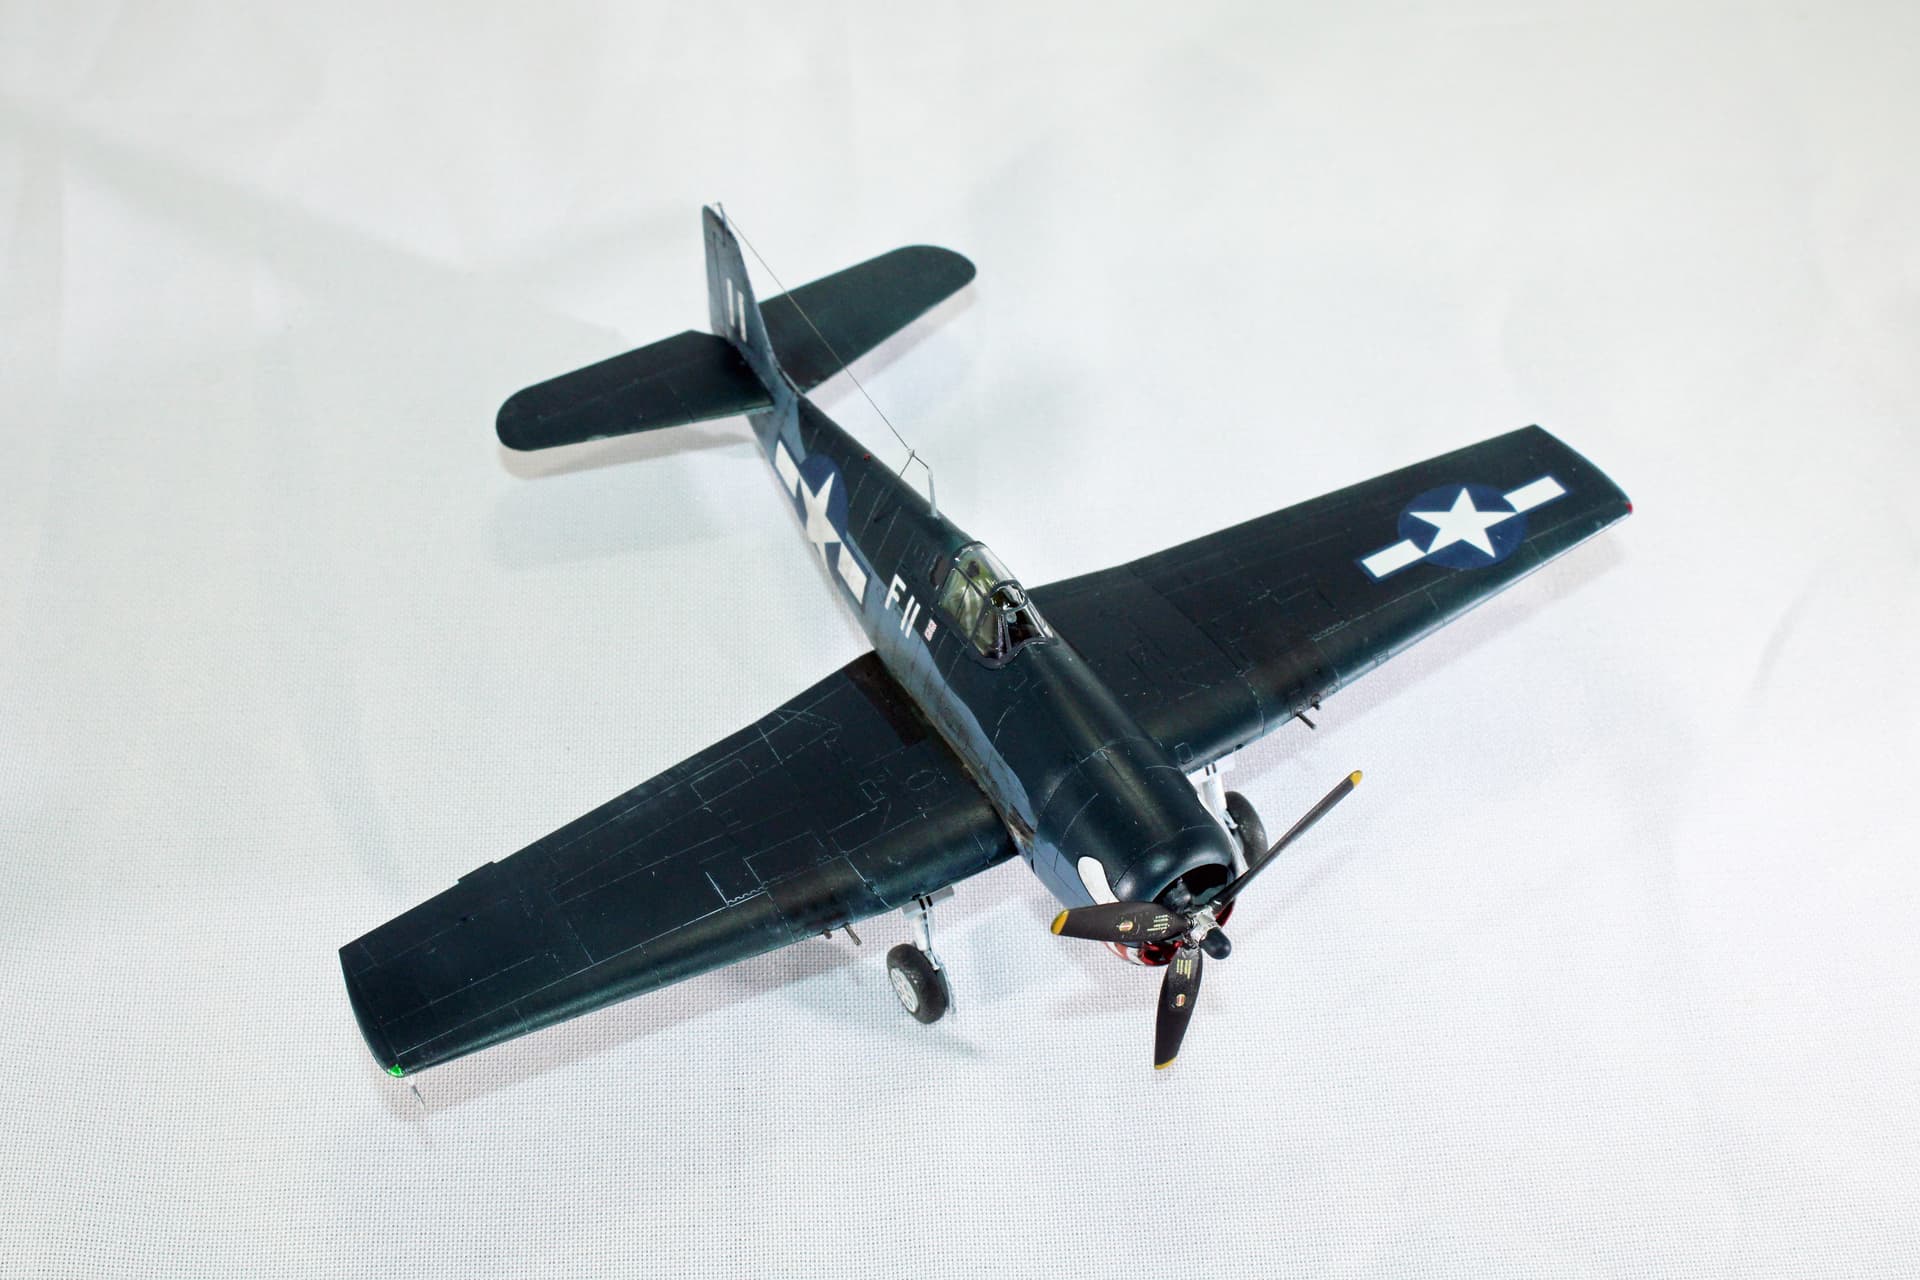
The Wildcat is a great (tiny) kit. It wants to be a Tamiya kit in terms of the detail OOB and the fit. The only fit problem I had was in inserting the landing gear construction into a tiny slot astern of the well opening; I had to apply brute force to get it to snap into place. There is no glue holding it in place, as it was that tight.

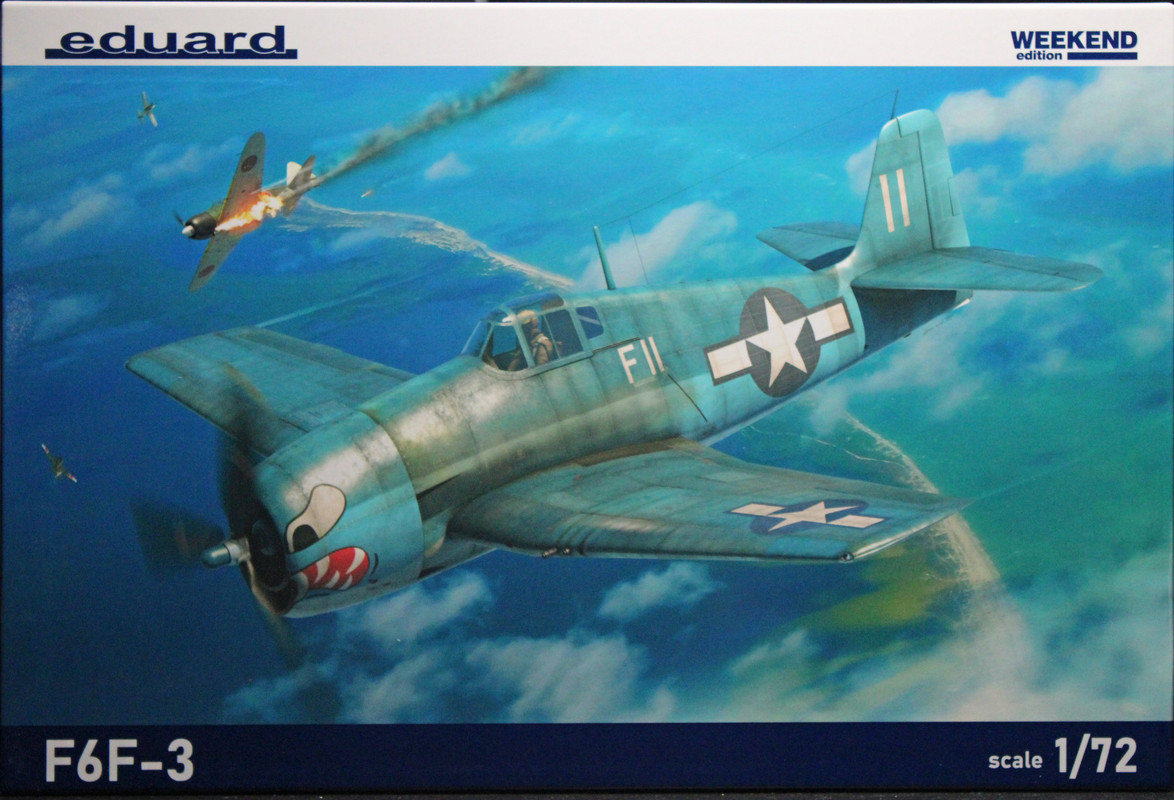
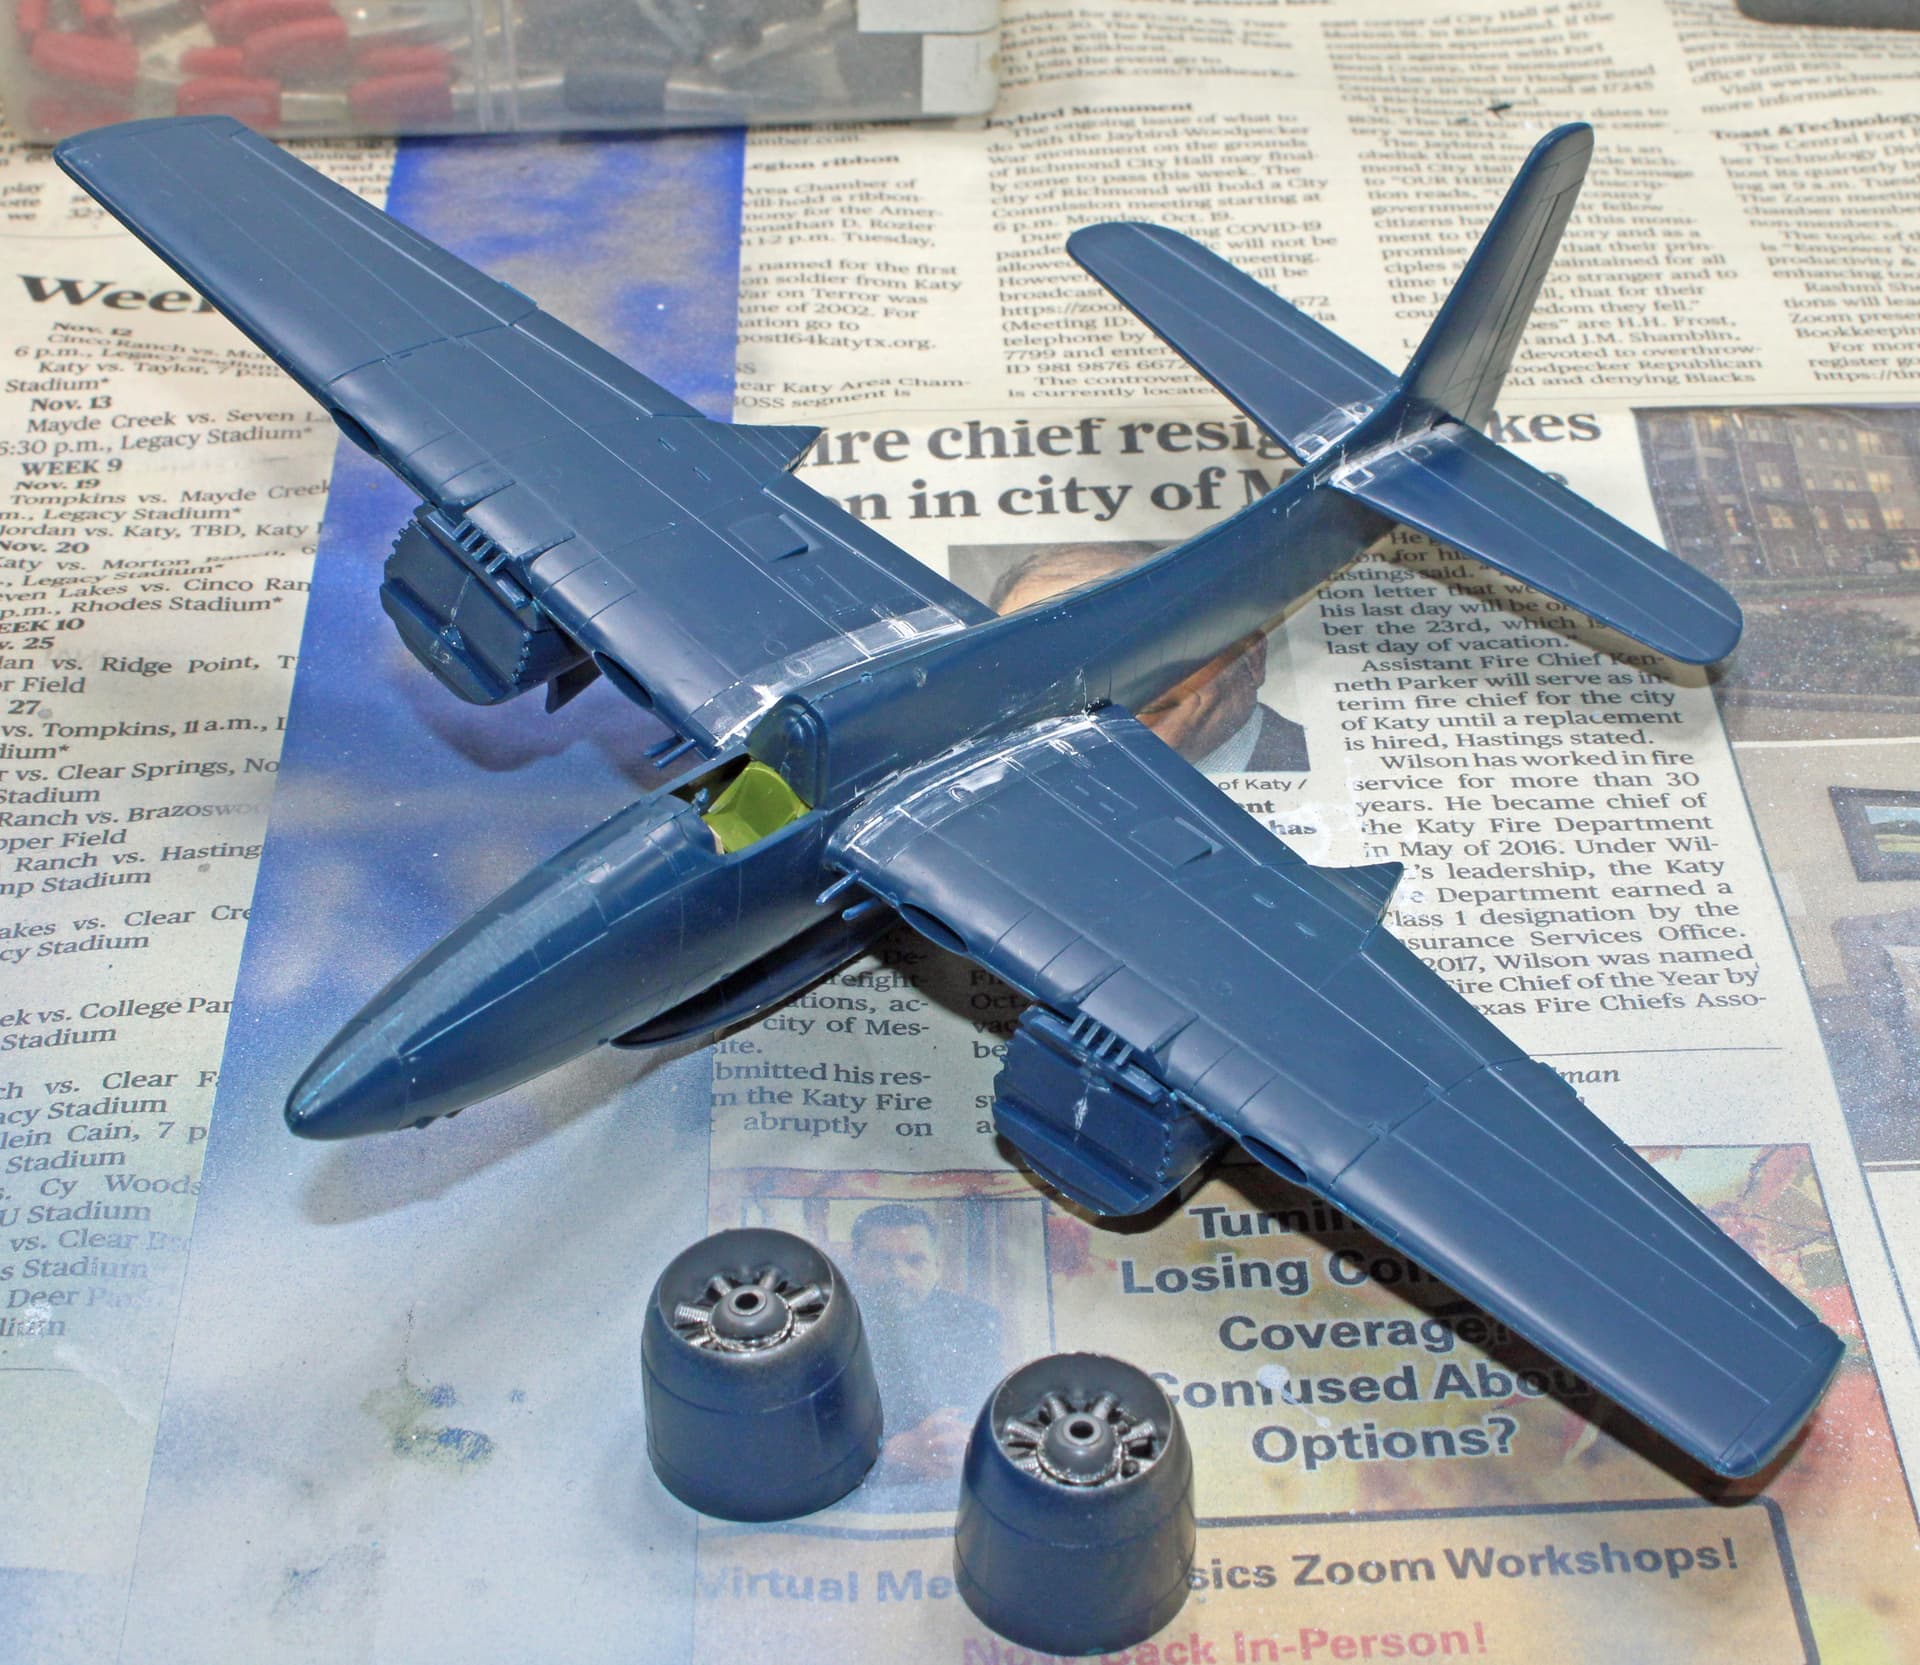
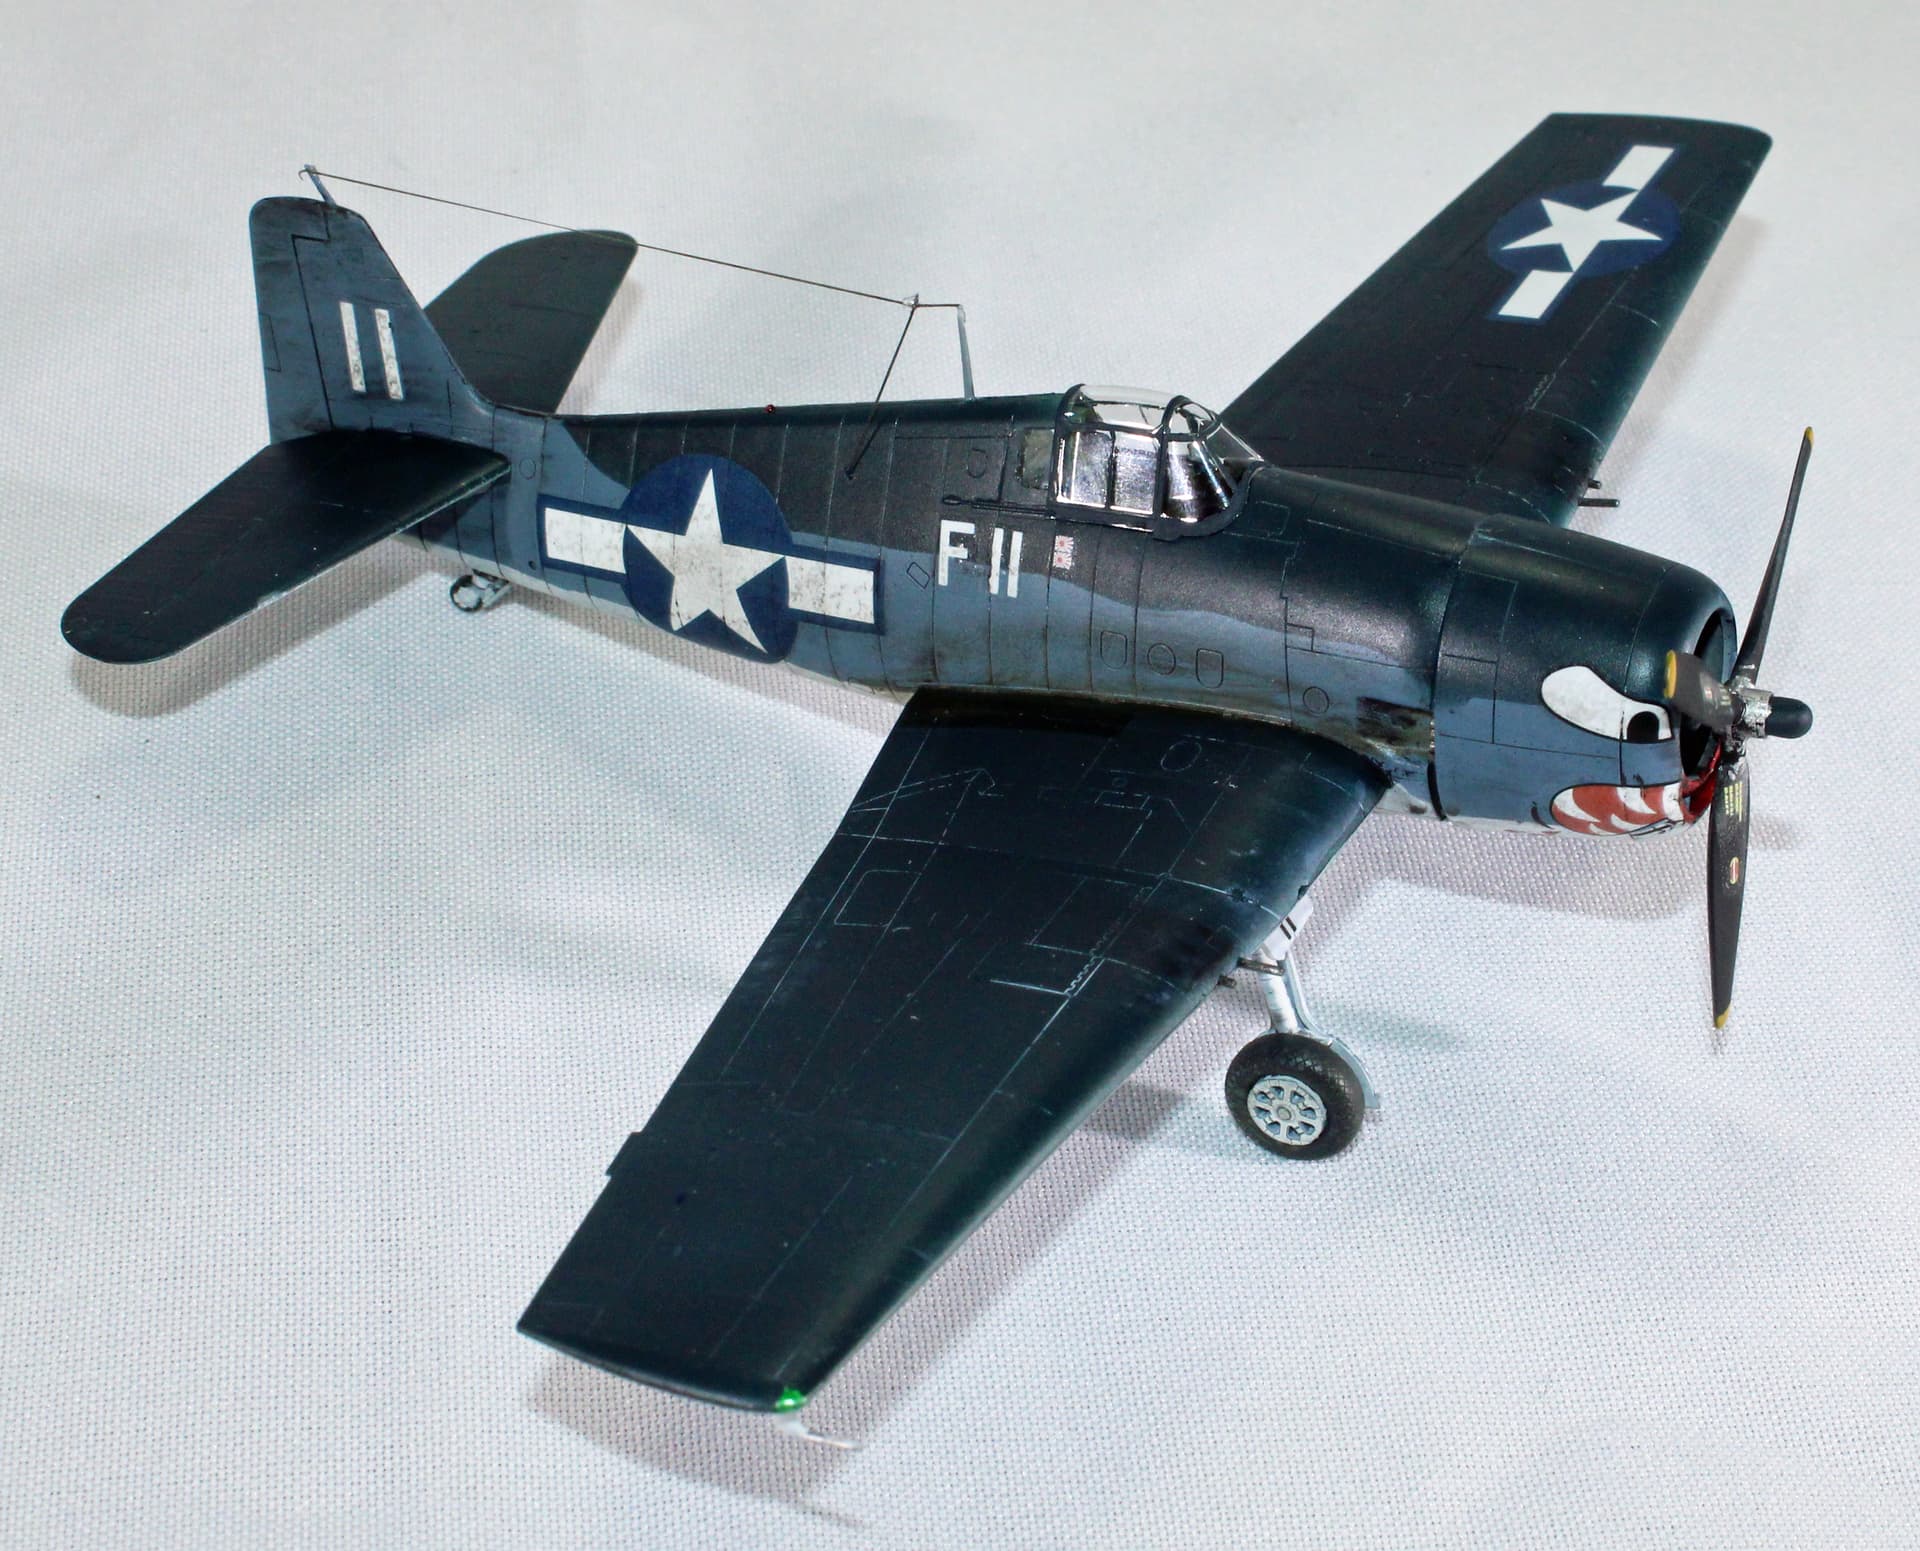
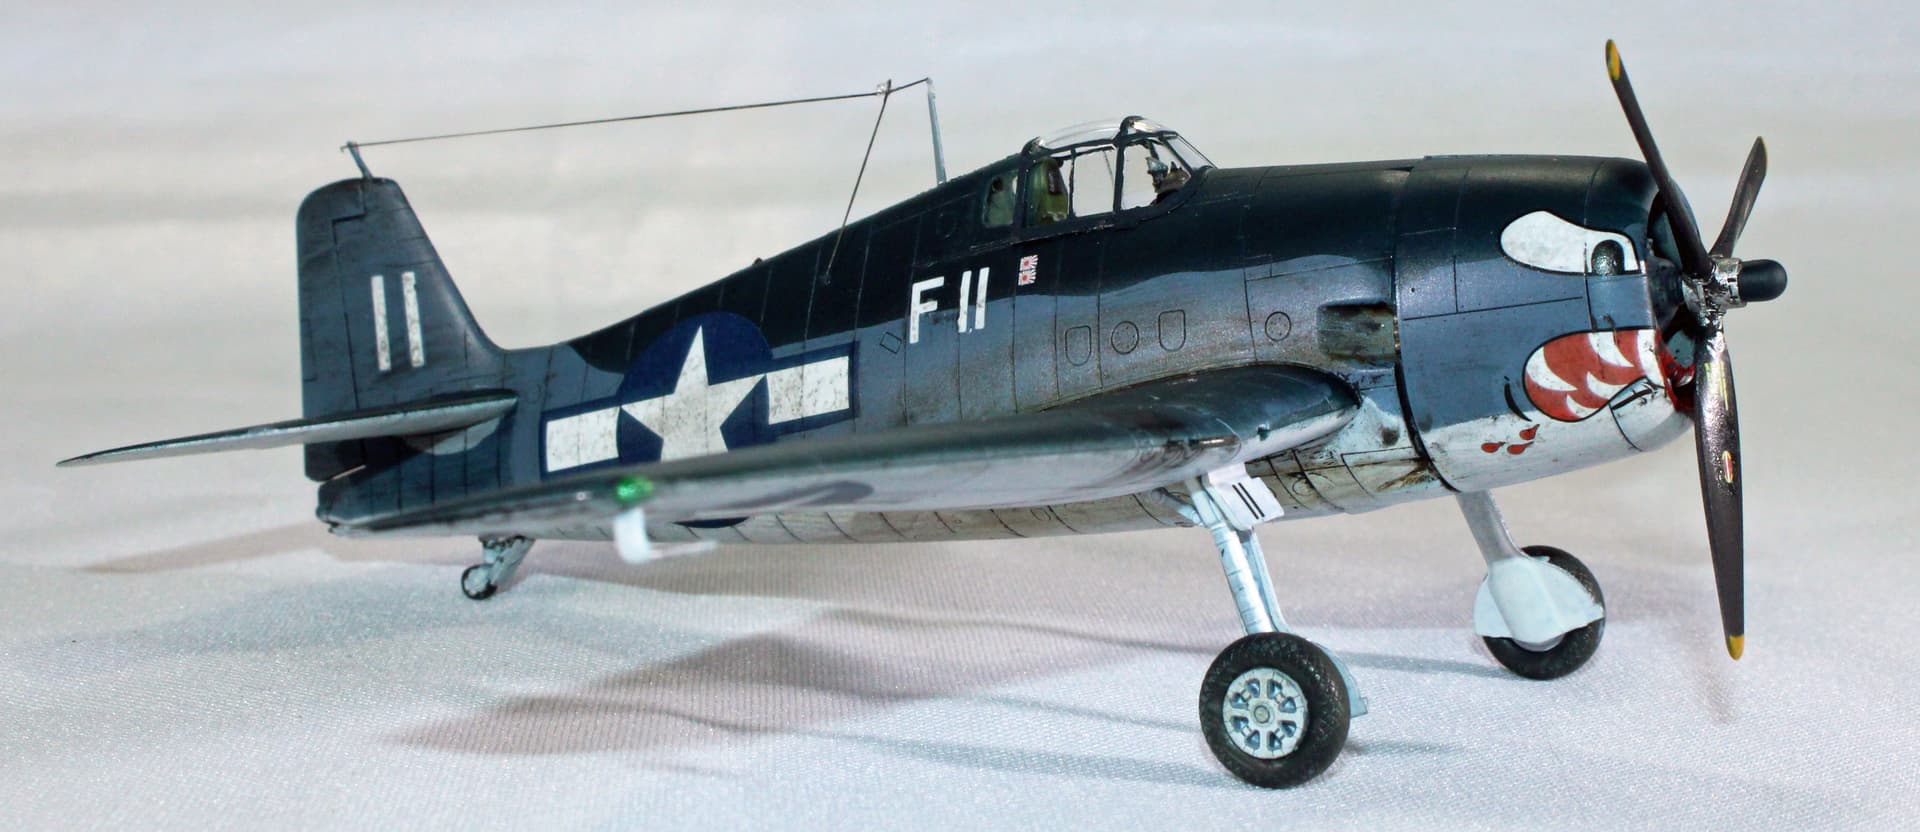
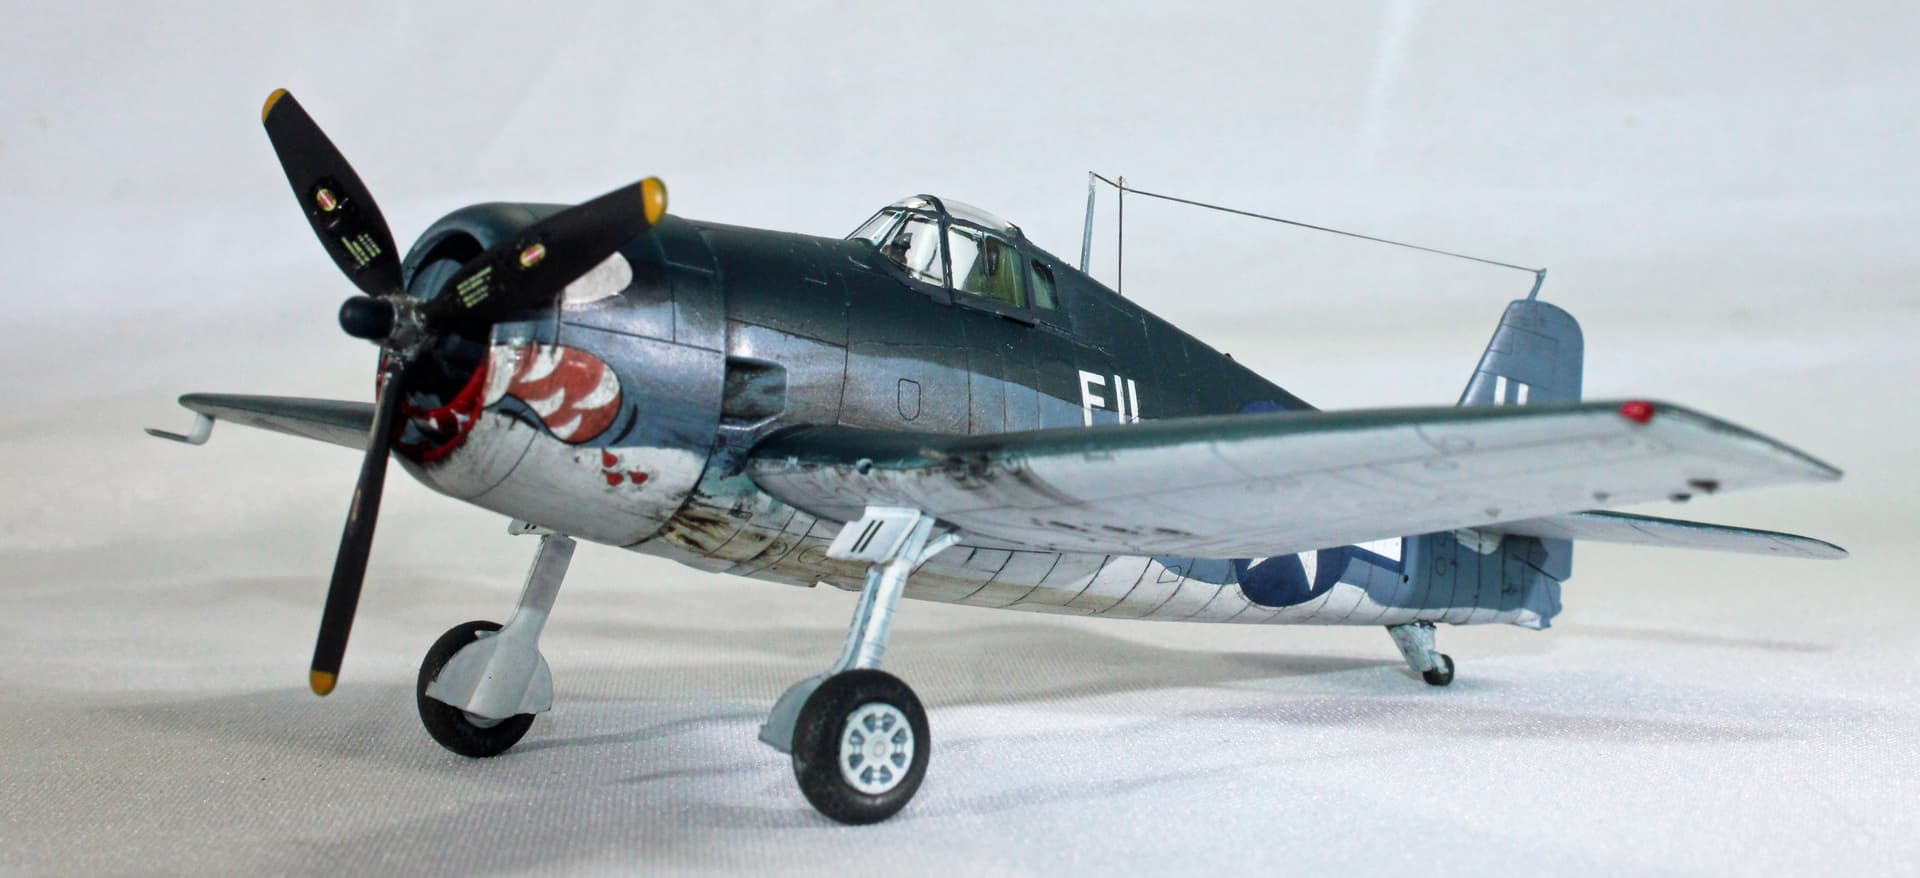
The Hellcat is also a fine kit. Good level of detail OOB, not quite at the level of the Wildcat, but adding any aftermarket stuff would probably not add much to the overall build. The wings were a bit of a tight fit into the slots they go into, but once they are in, they are in.

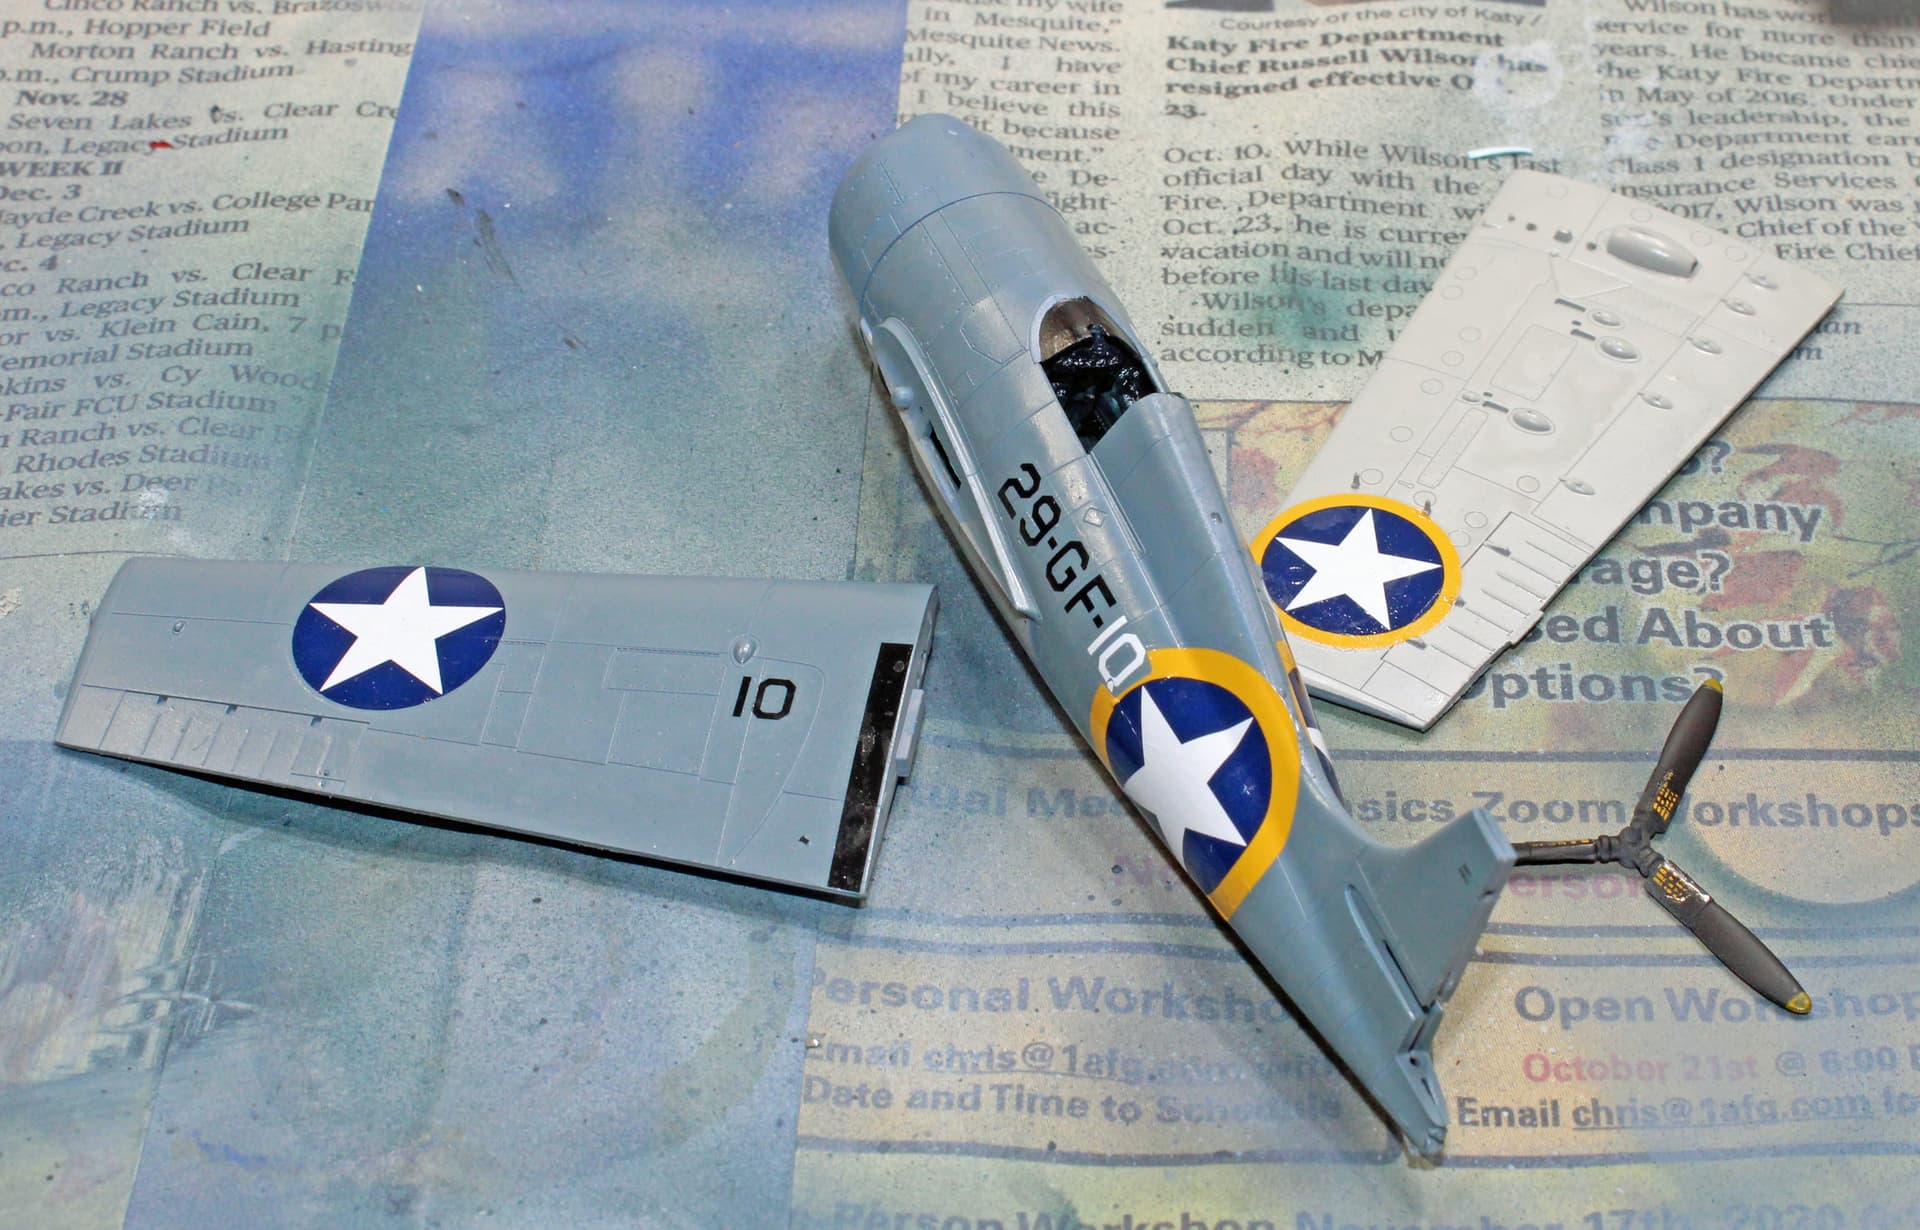
Wildcat - Squadron VGF-29, USS Santee, pilot Ensign Joseph M. Gallano, Operation Torch, 8-November-1942

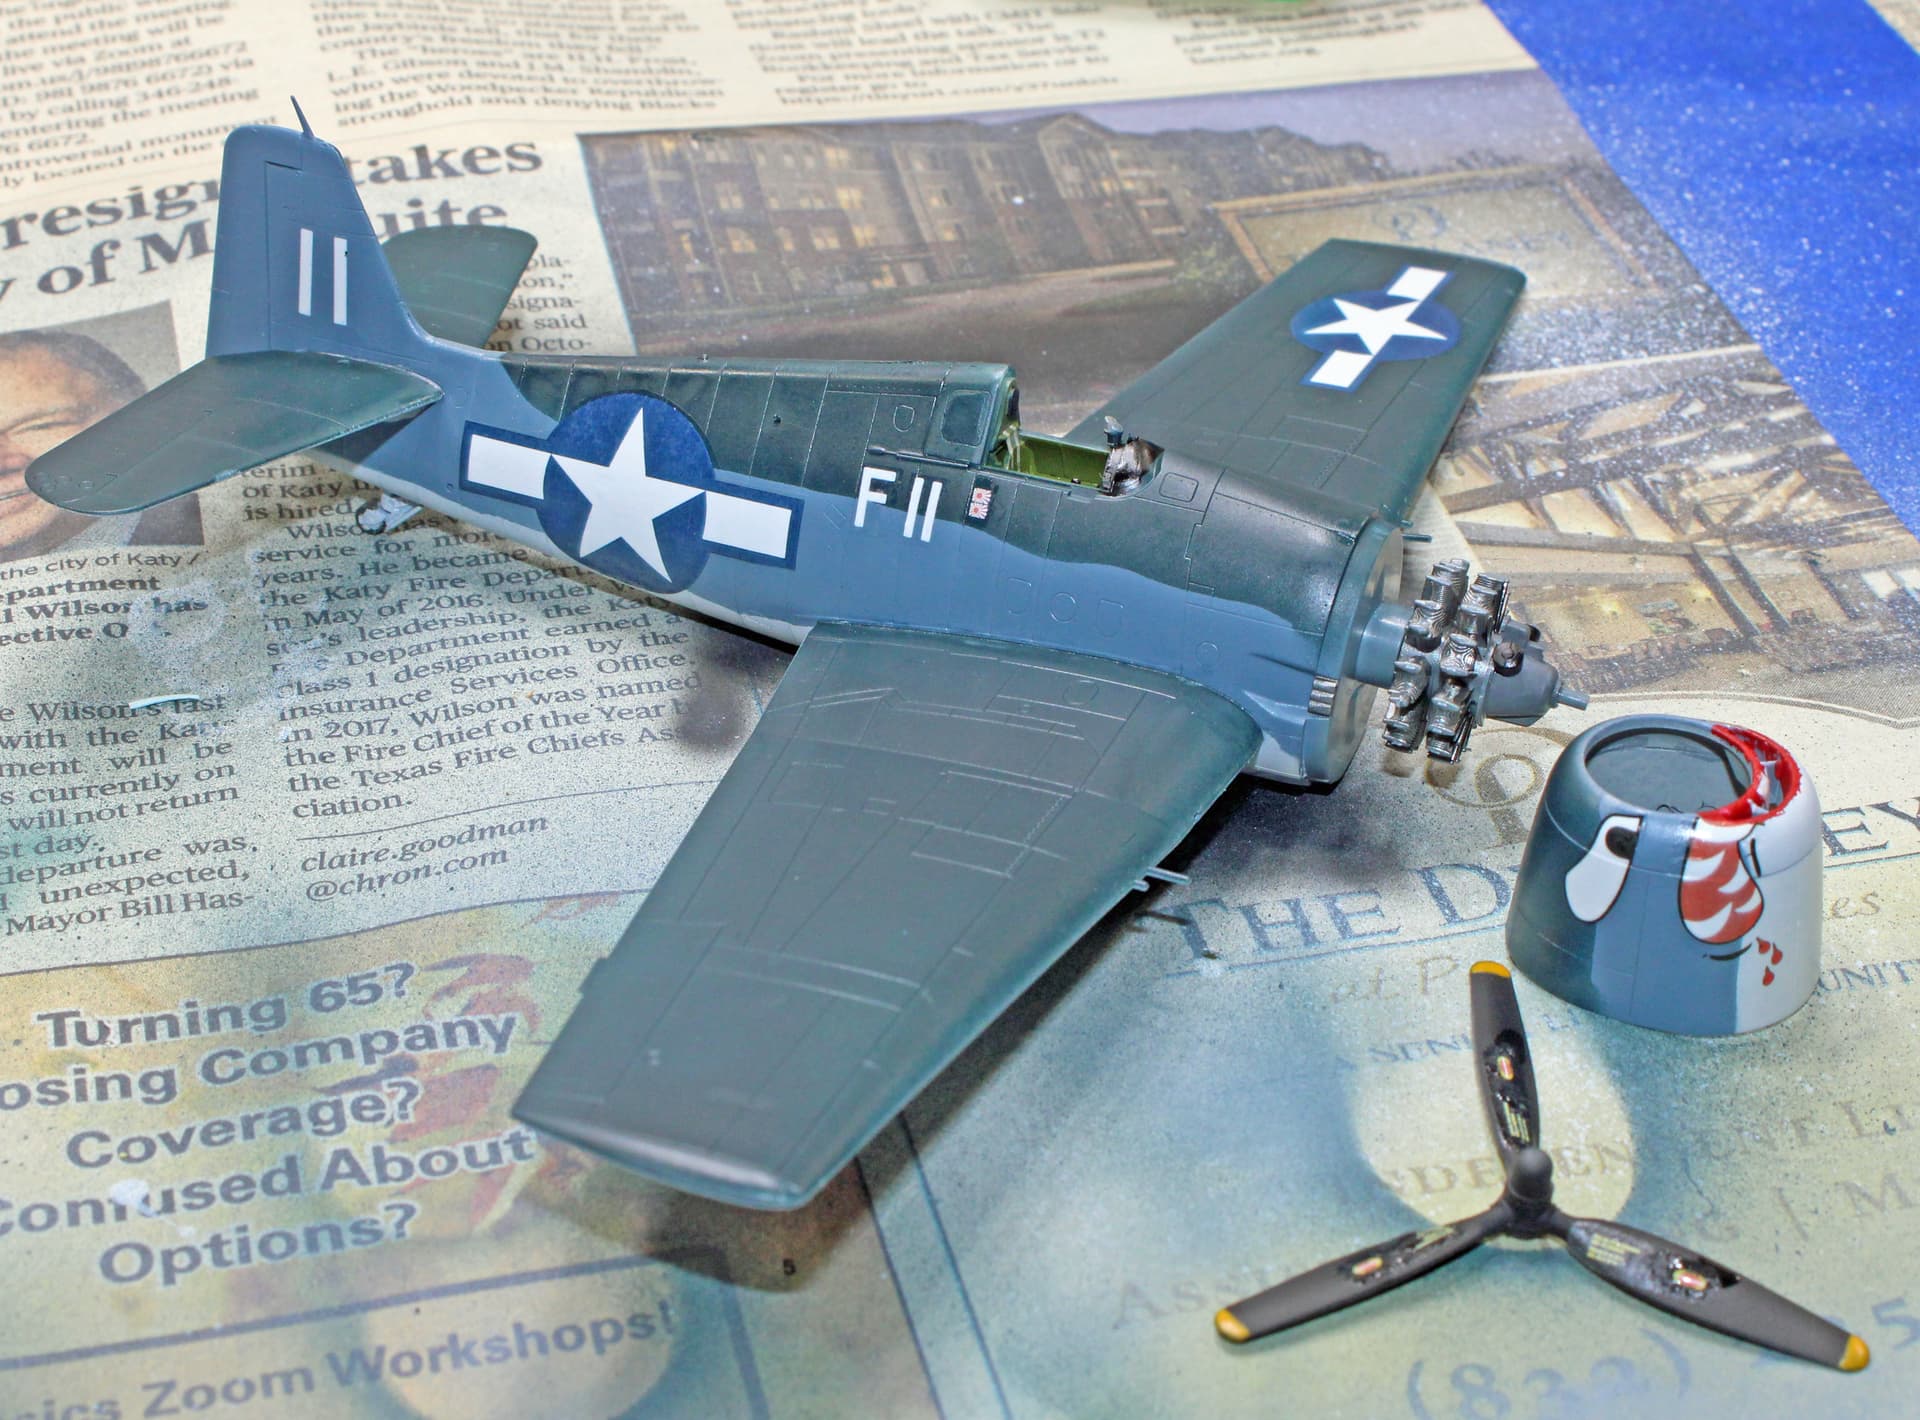
Hellcat - VF-27, USS Princeton, pilot Robert Burnell, October 1944

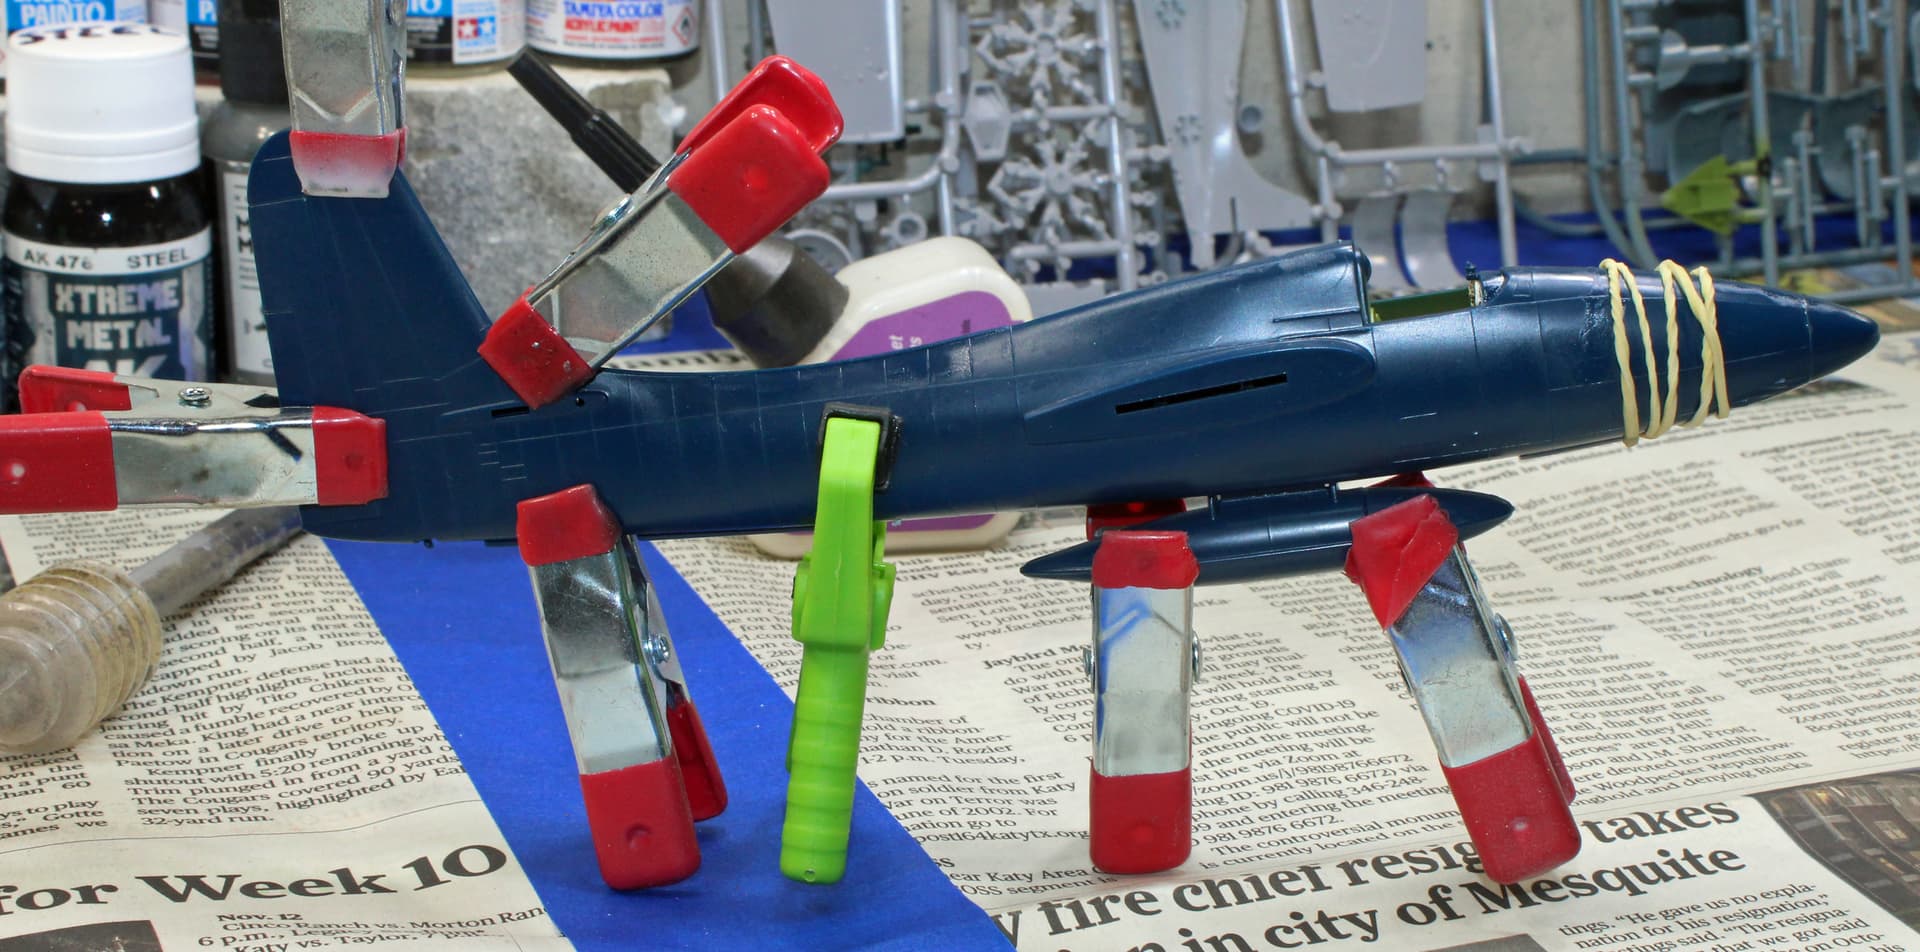
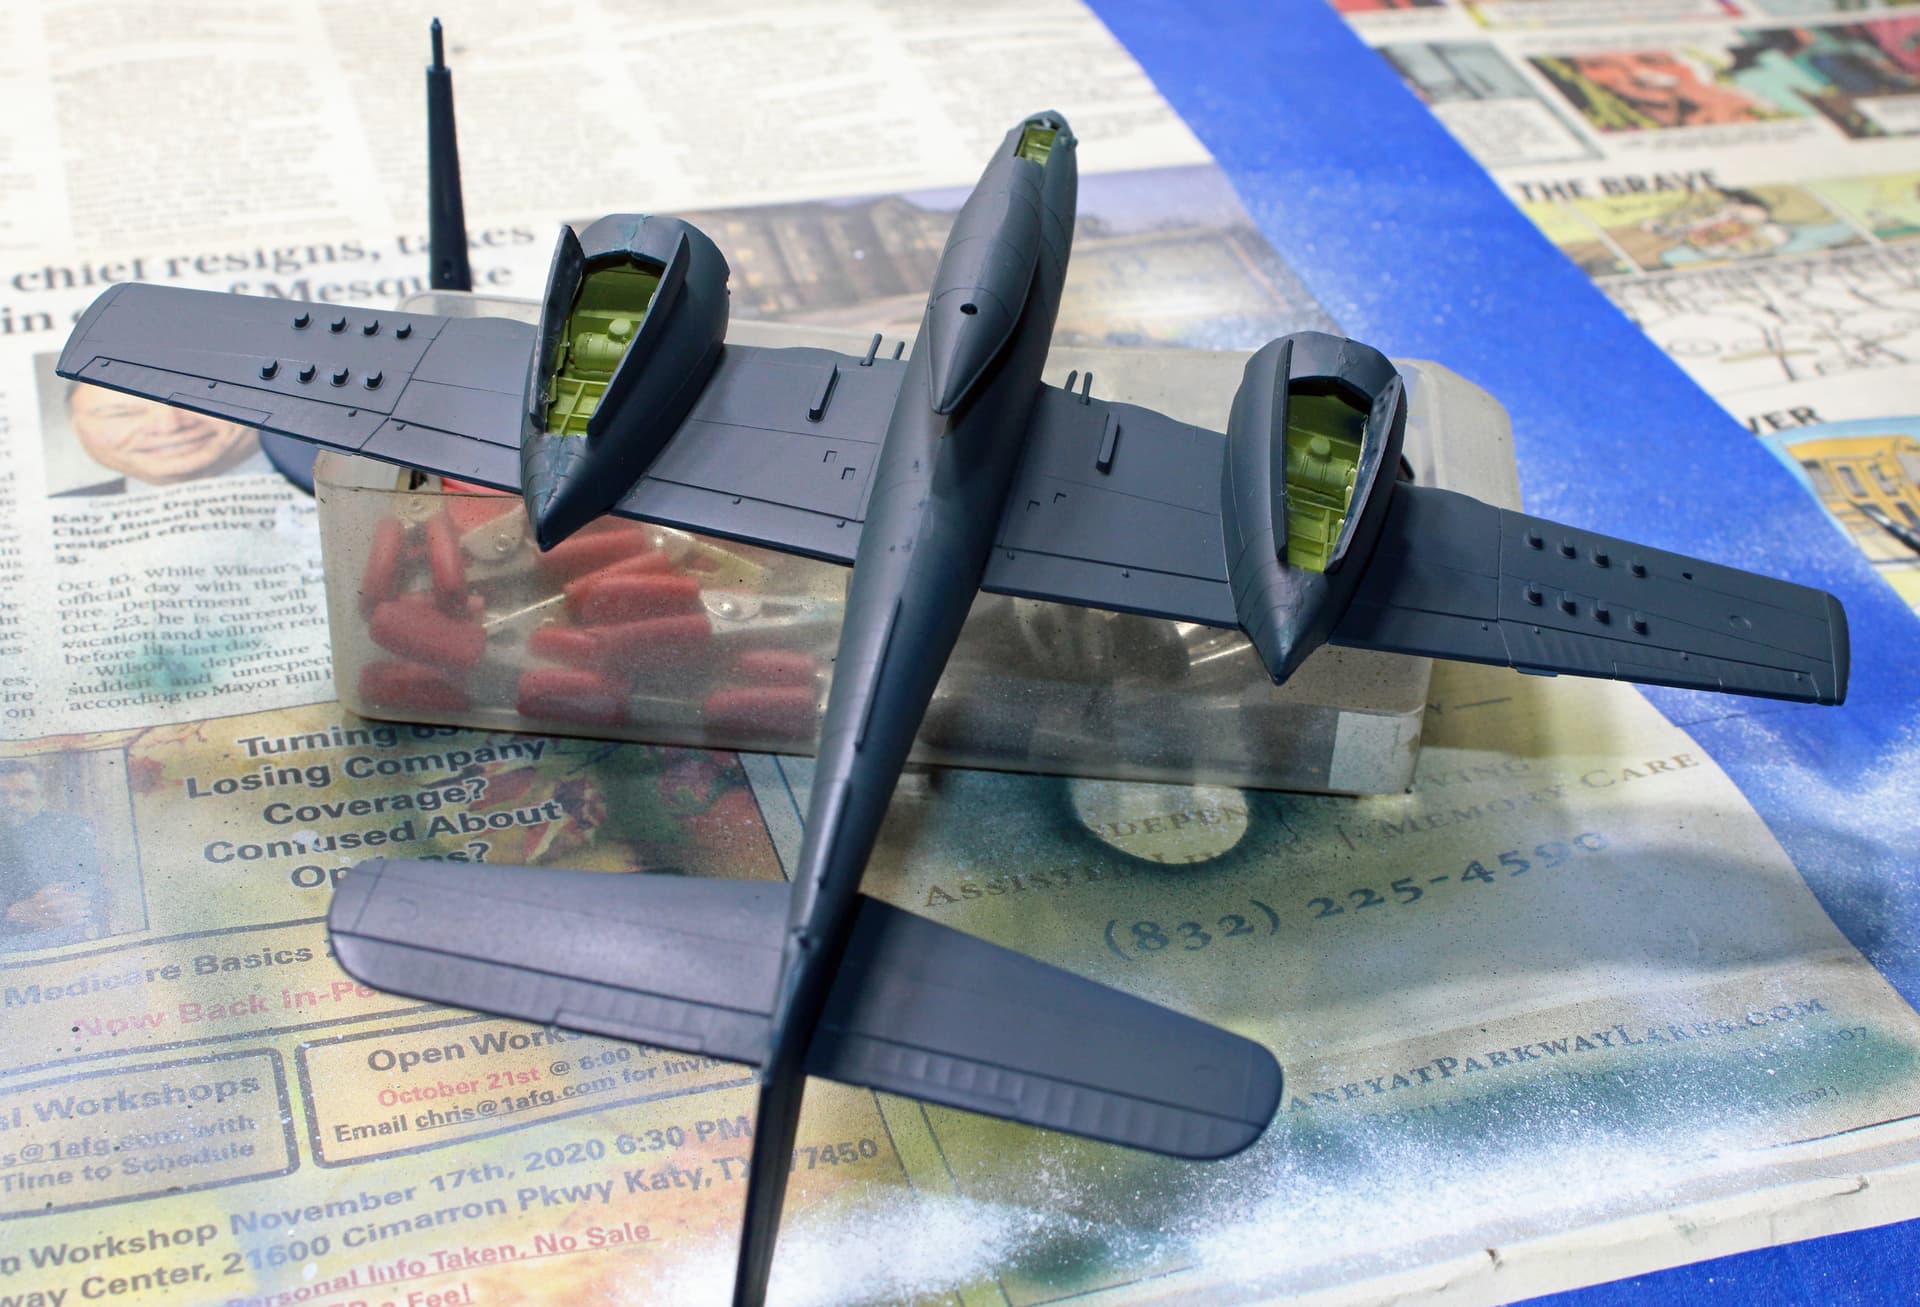
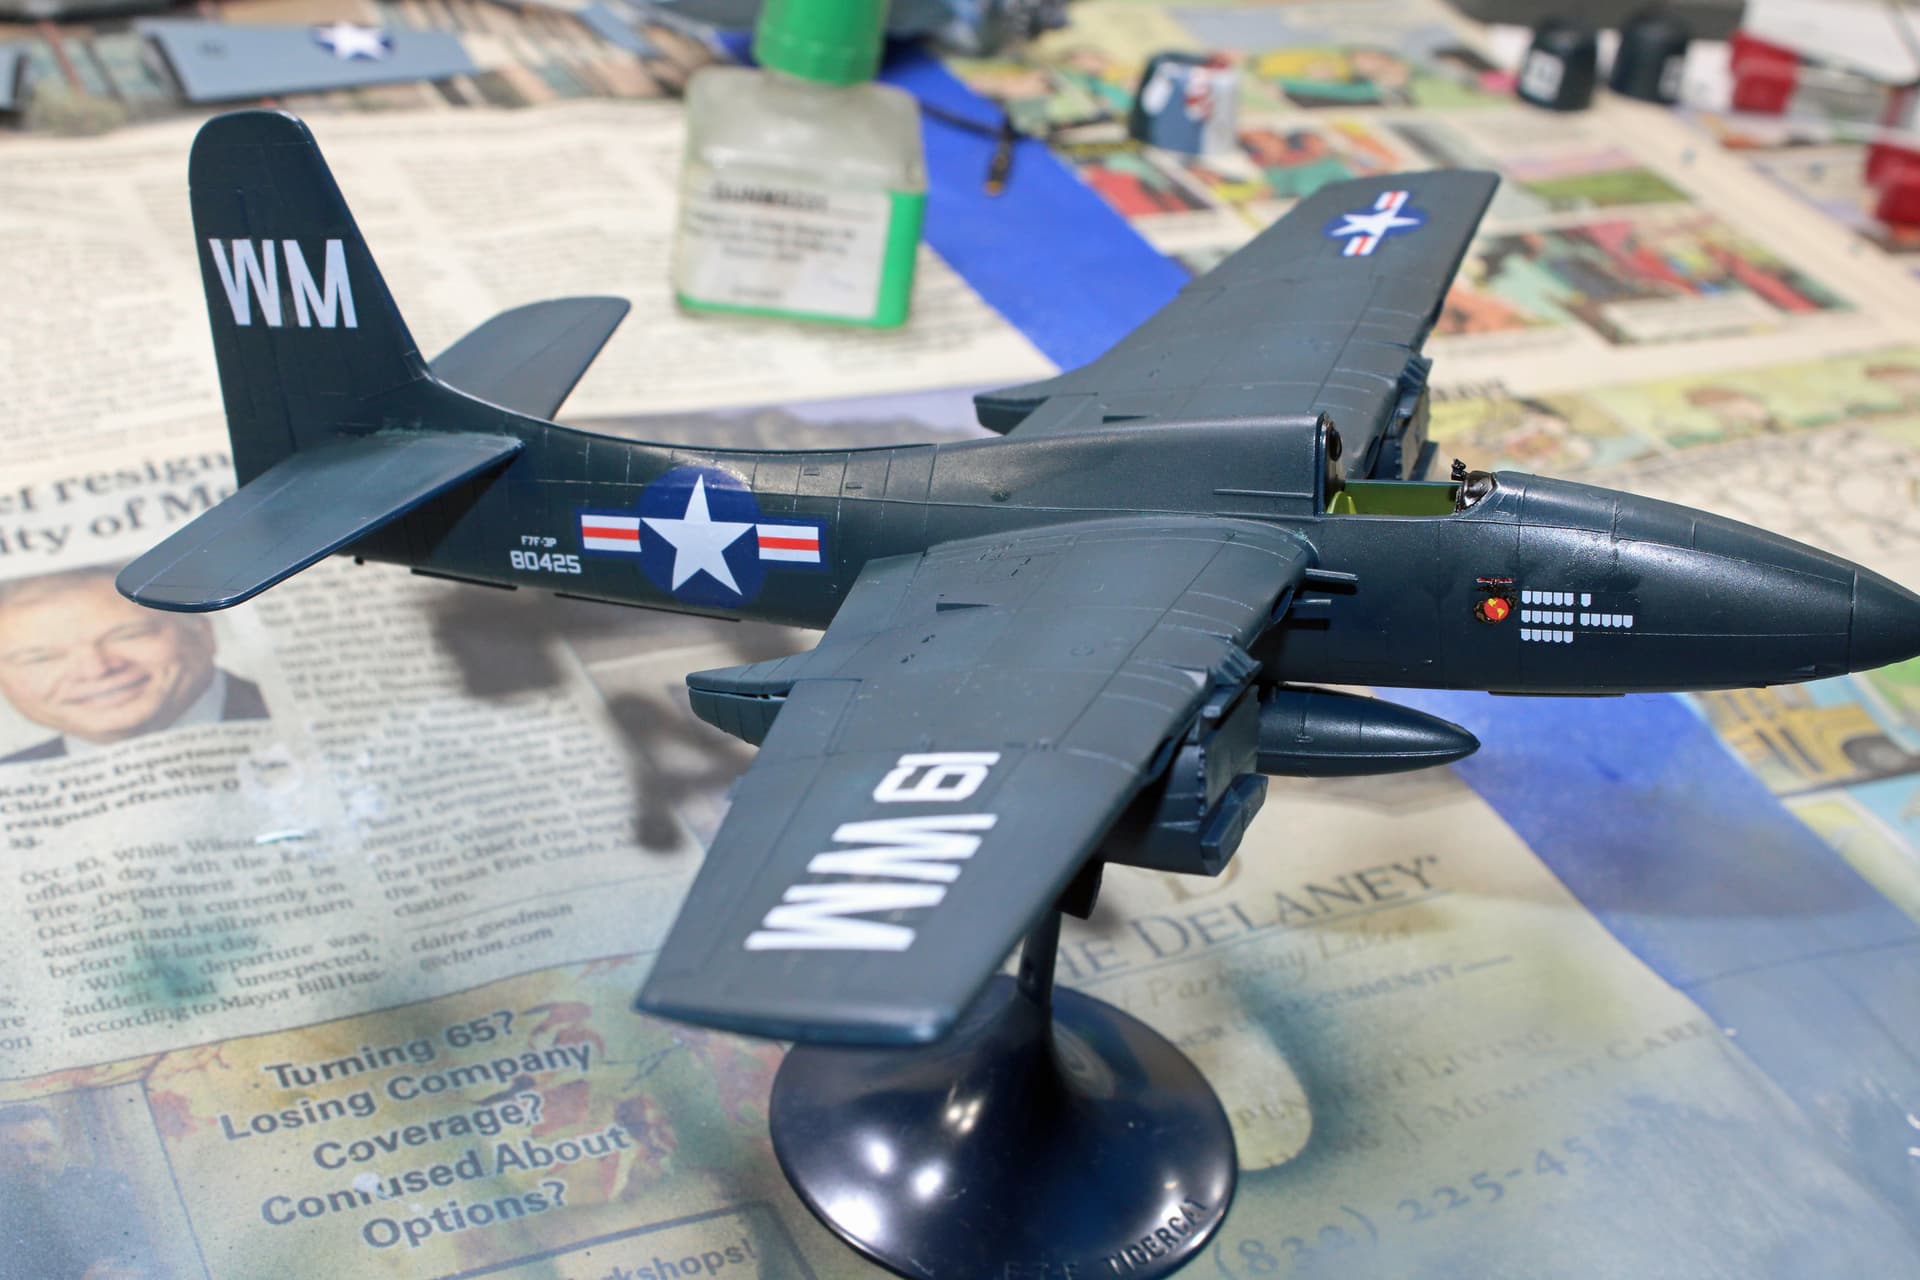
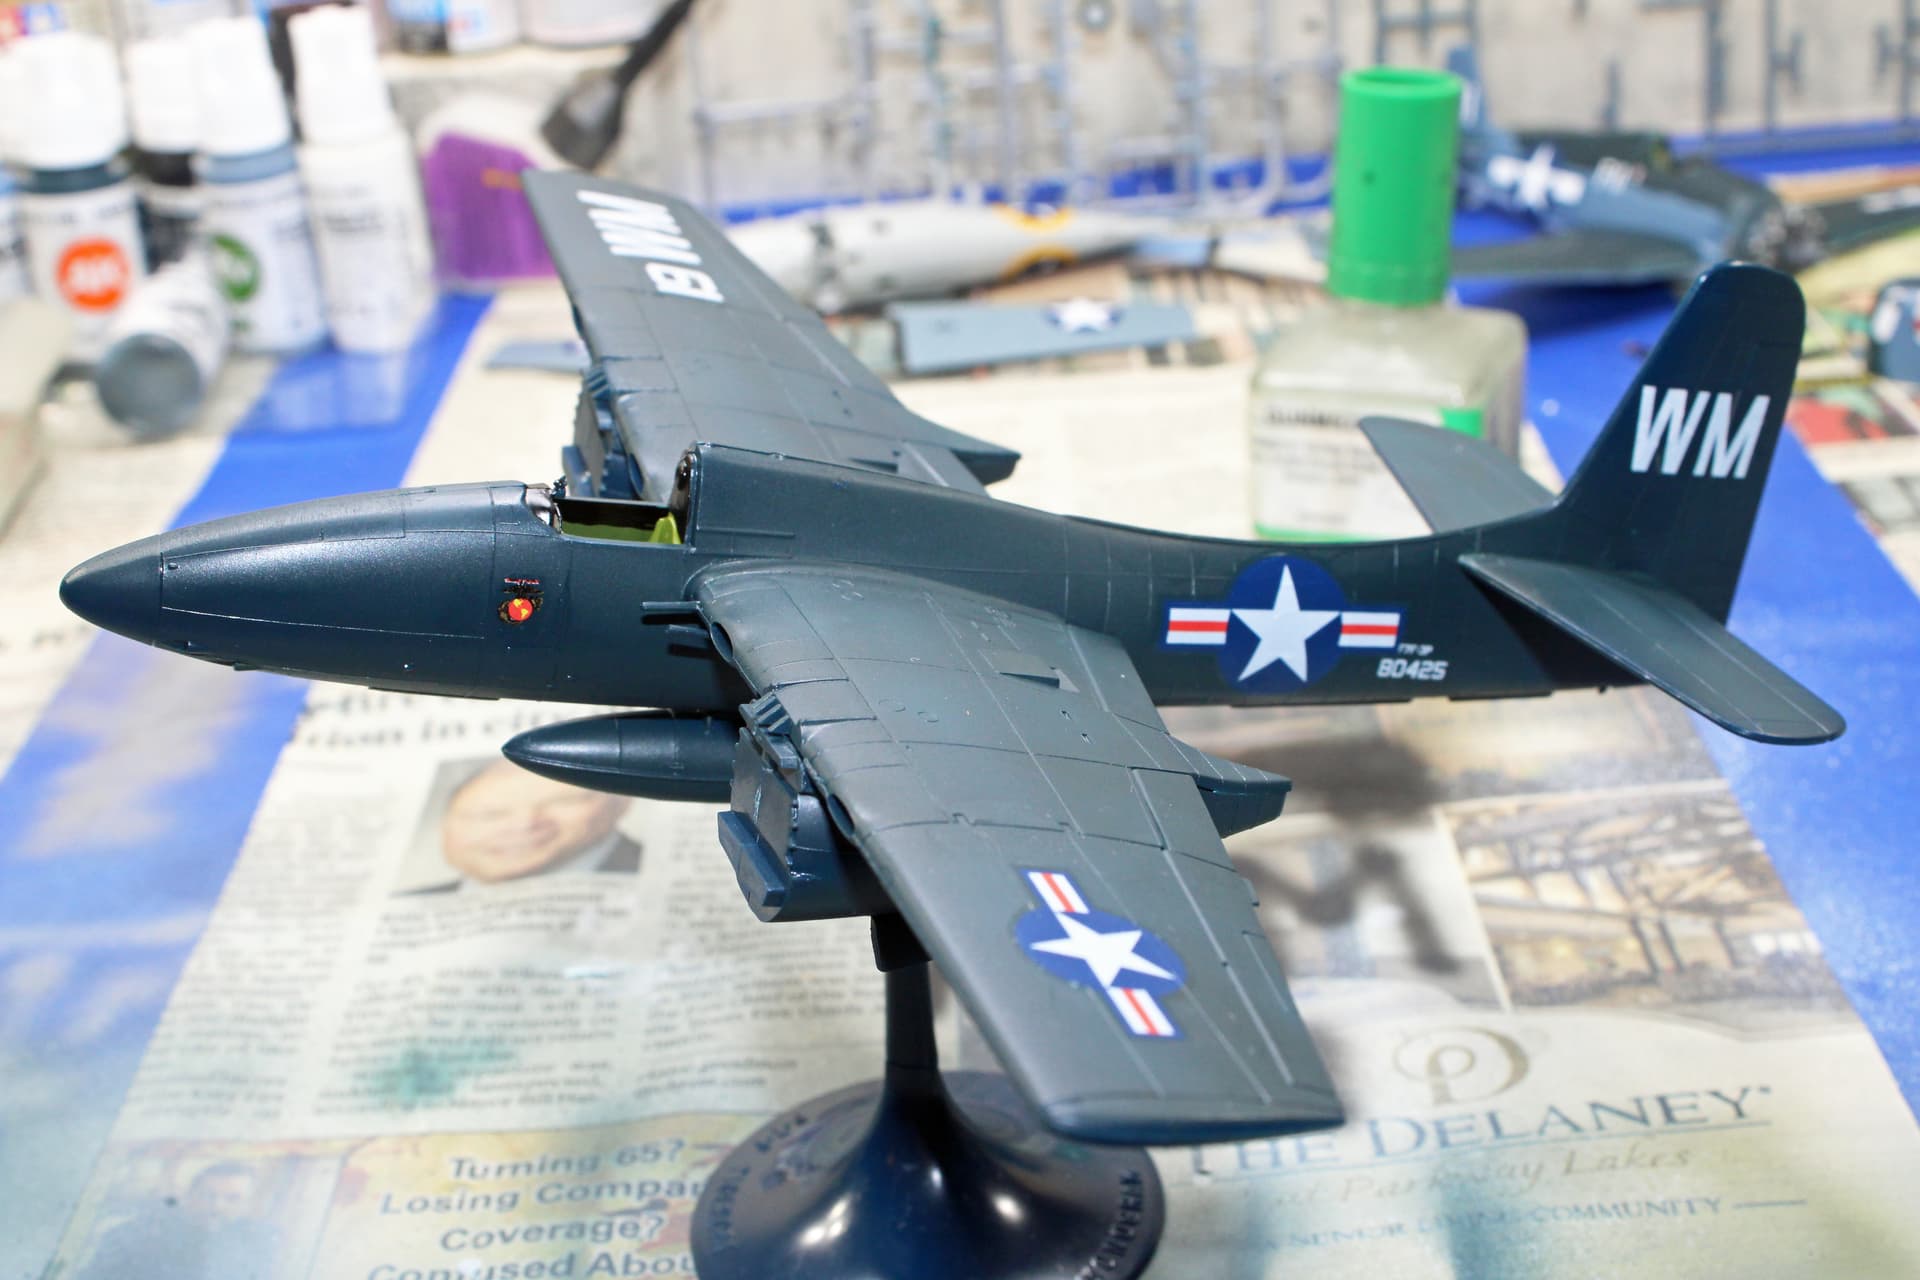
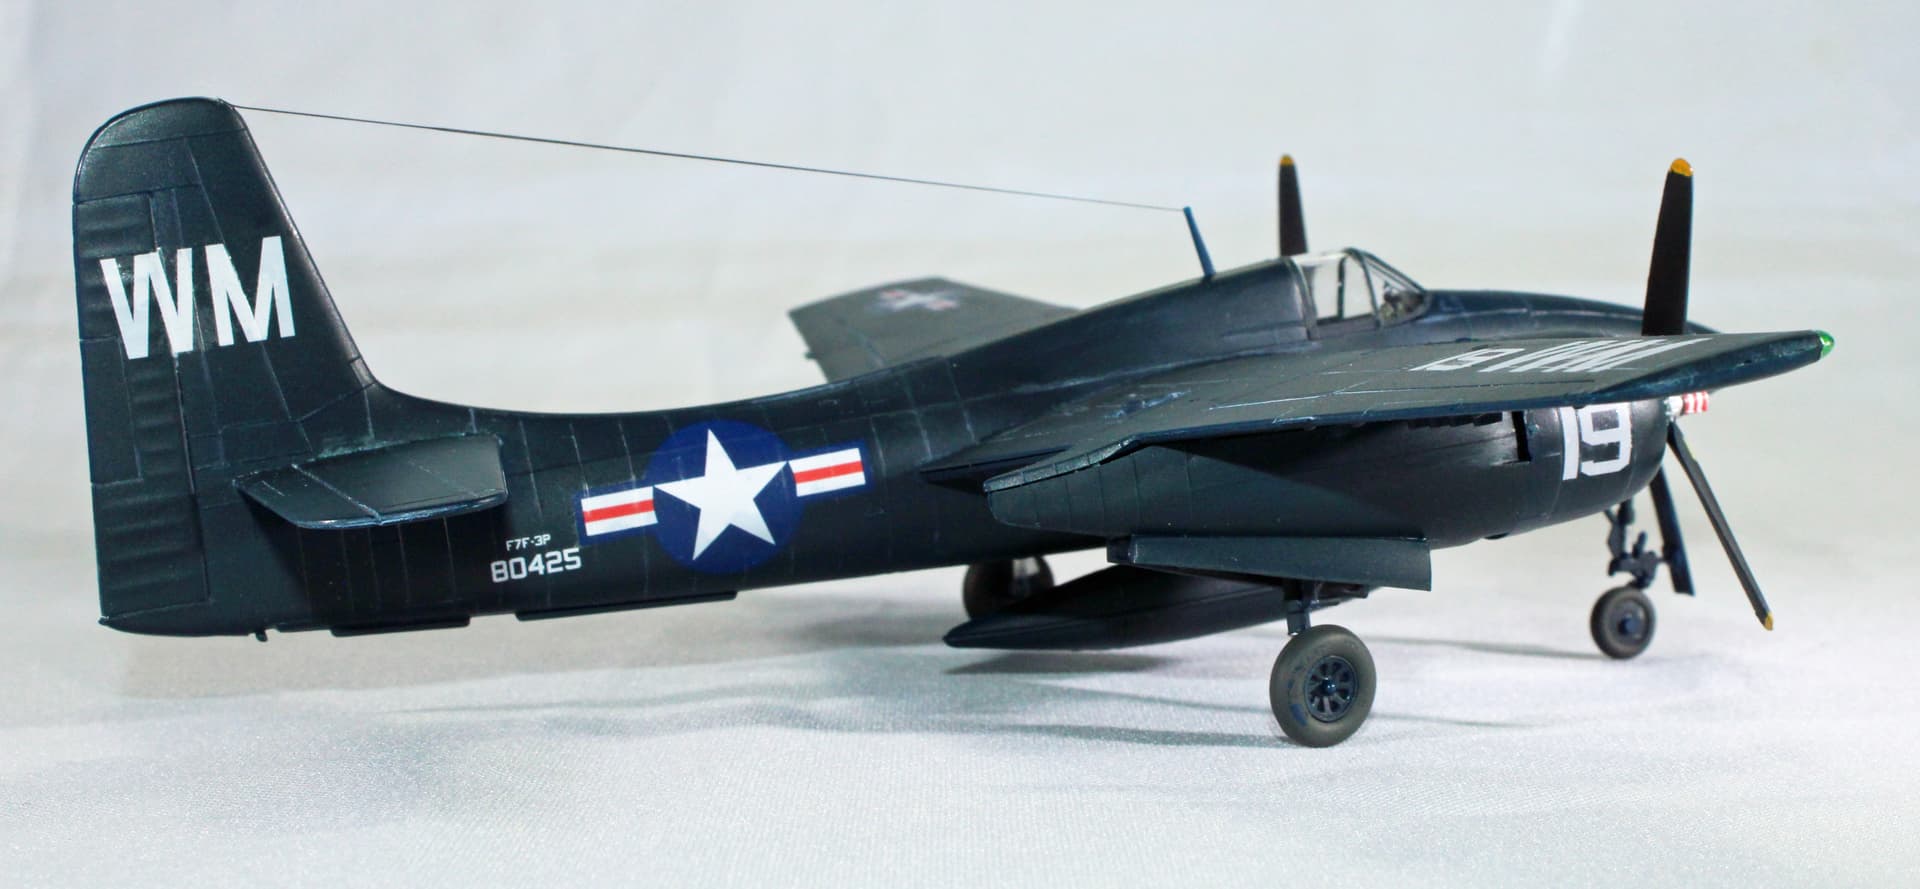
Tigercat - MAG-33, USMC, Pohang, Korea 1953

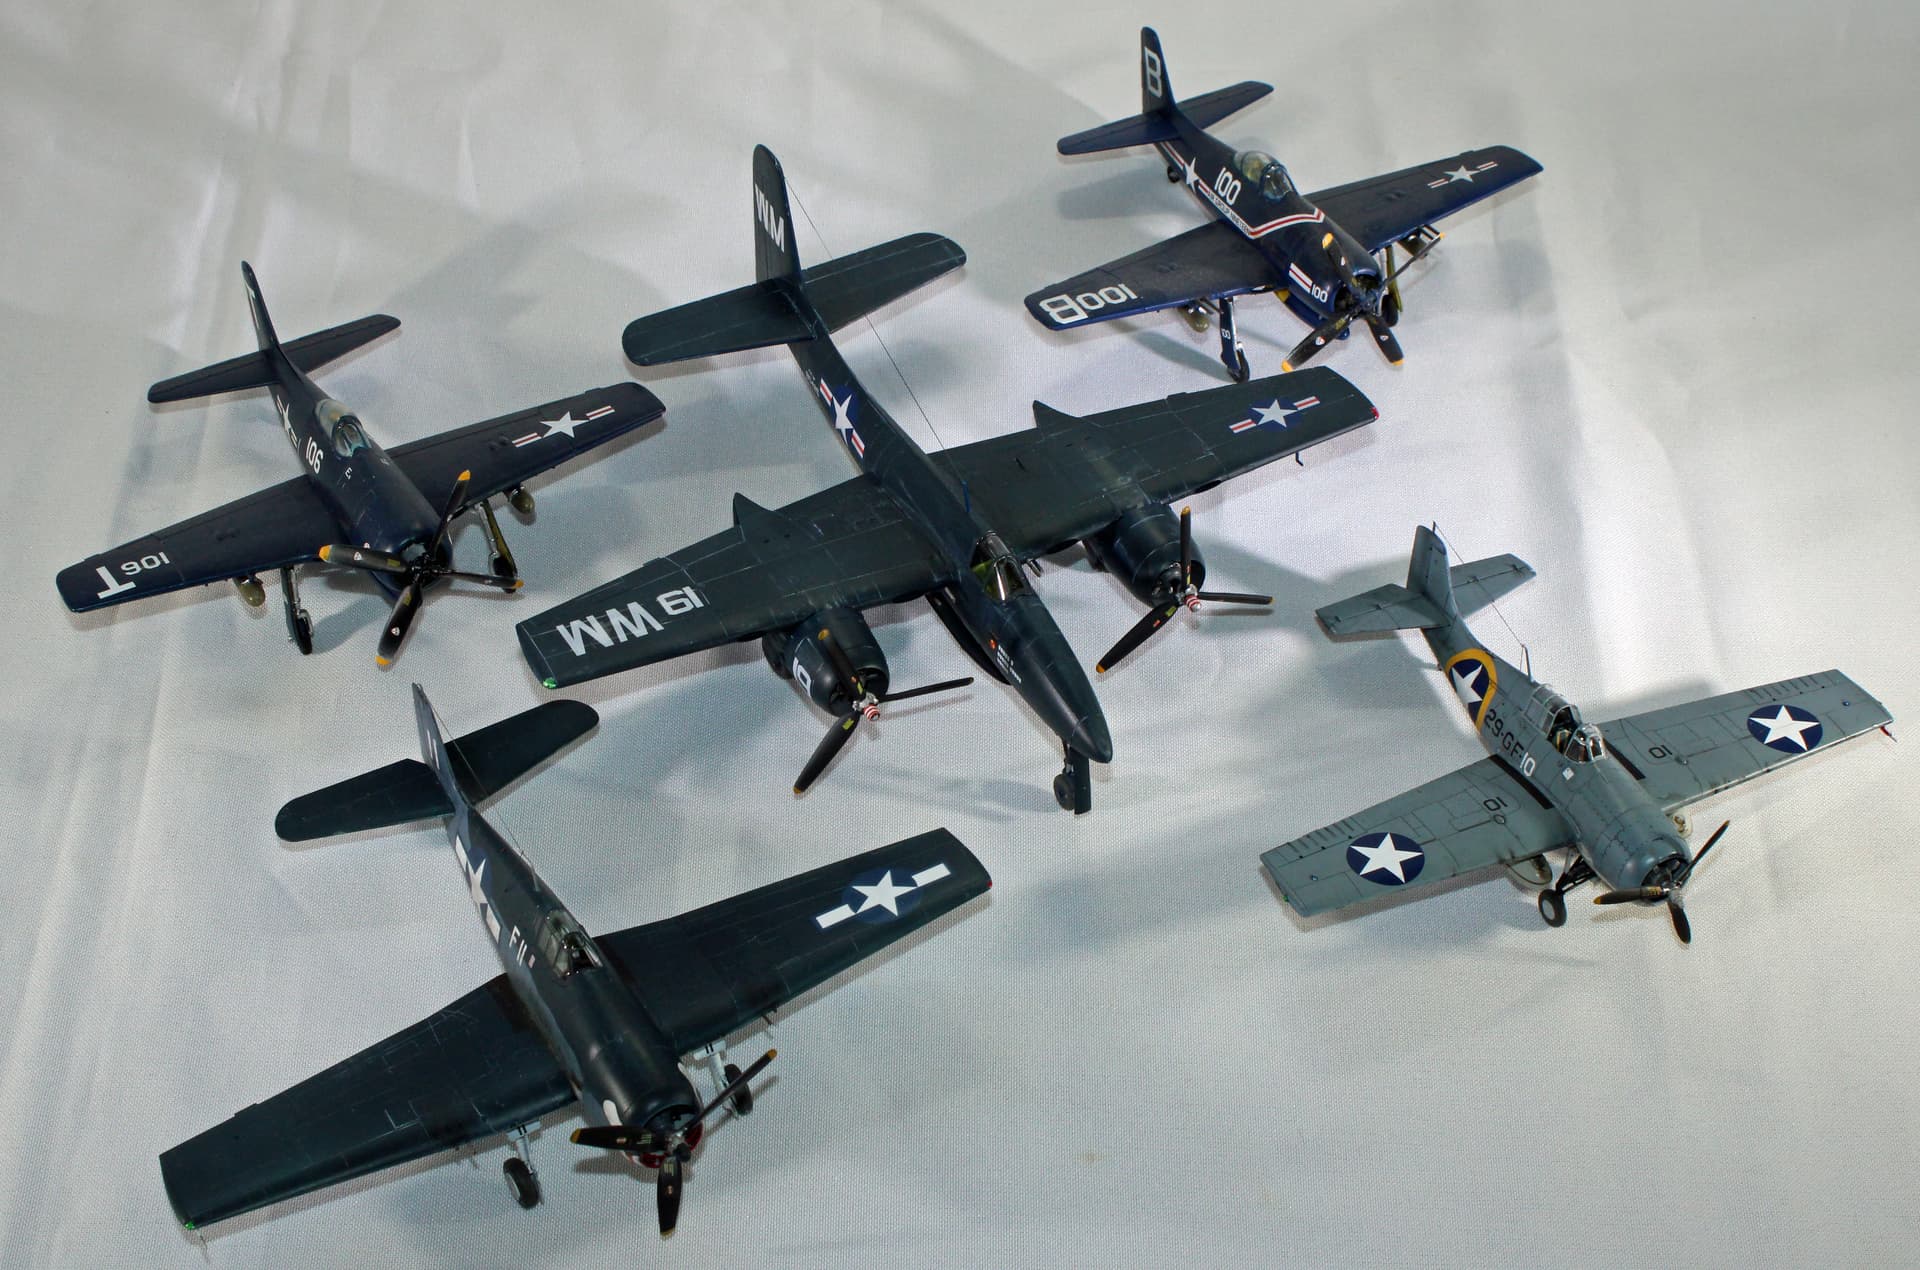
A family portrait of the WWII Grumman Cats (although technically, neither the Tigercat nor the Bearcat saw any action). The Bearcats were built roughly a decade ago.

I built these in 18 days, which included a trip to College Station for a football game where I lost a day at the bench. But the next planned build will not come off my bench with such a quick turn-around. It will be another dual kit build, same subject but different manufacturer - the Consolidated B-24J Liberator in 48th scale. Before you say that’s insane, I’ve done even bigger dual birds recently, two of Monogram’s B-29A Superfortresses, so I have a bit of experience on how to maximize my work space to accommodate such big kits.

This B-24 build will be an original boxing of Monogram’s venerable kit (which I have built several times since it first came out in 1976) and Hobby Boss’ new molding.

5 Likes

Beautifully done! Thank you for the great pictures.