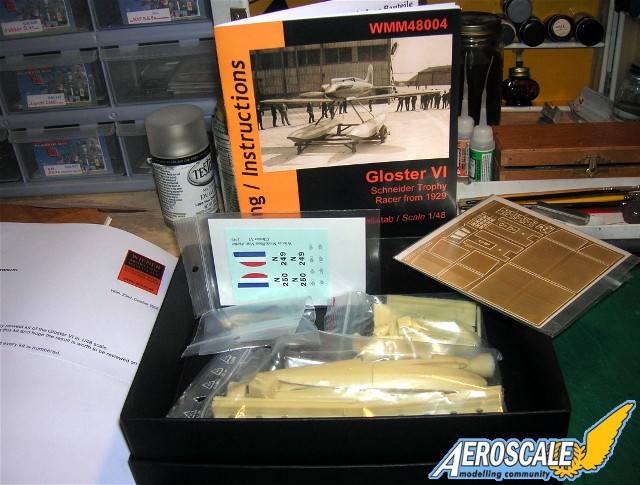
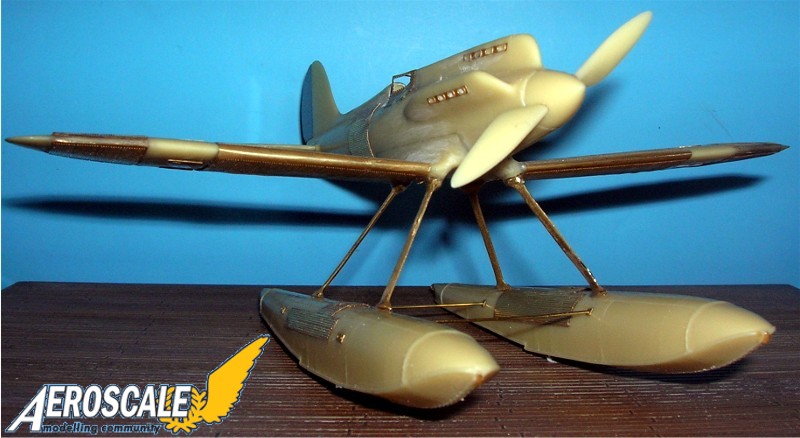
Two Gloster aircraft (in the 1929 air race) were registered with RAF numbers N249 & N250. They showed promise and high speed, but also had significant problems with fuel supply when banking that led to engine cut-outs. For such a risky business as low-altitude air-racing, this was an unacceptable risk and the aircraft were withdrawn from competition in the 1929 Schneider Trophy, leaving the way clear for the Supermarine S.6 to win. . . Now in the Austrian Aviation birthplace from Wiener Modellbau Manufactur we are given an excellent kit. My review example came with no warp in the resin. Definately a high quality kit. The float / pontoon struts are poured brass instead of typical white metal found in other kits. This is a great boon as it will add strength and longevity to the over-all build.
The build has been underway for a few days now.
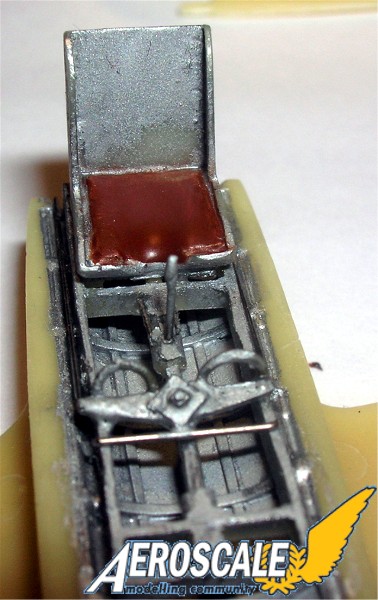
Here I added some bits to the cockpit. Not having much to go on for the cockpit I have to admit to some gizmology.

The Sutton Farm Pilot Harness was developed late in WWI and under a series of modifications served well into WWII on British aircraft. Here I am including an Eduard prepainted PE fret.
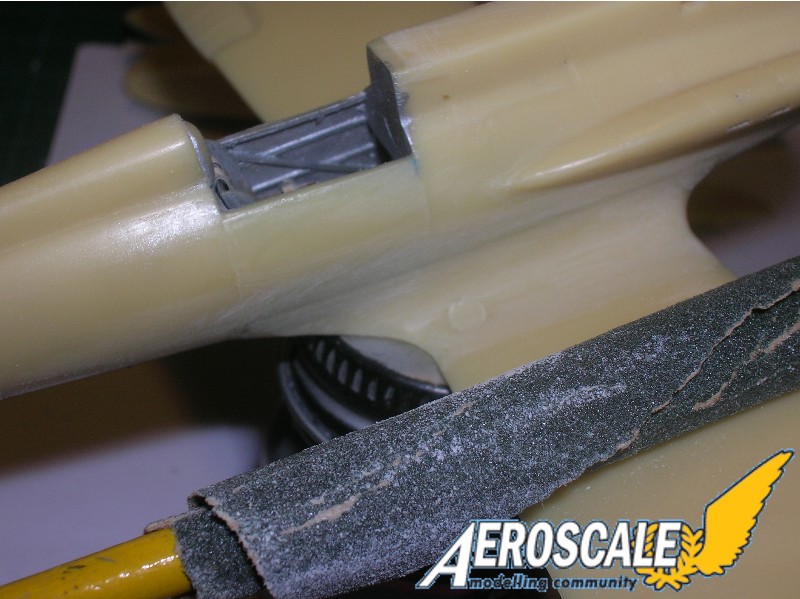
Here is the pilot’s right side fuselage joint. It reminds me of the moldings of the Pfalz D.III / IIIa types.
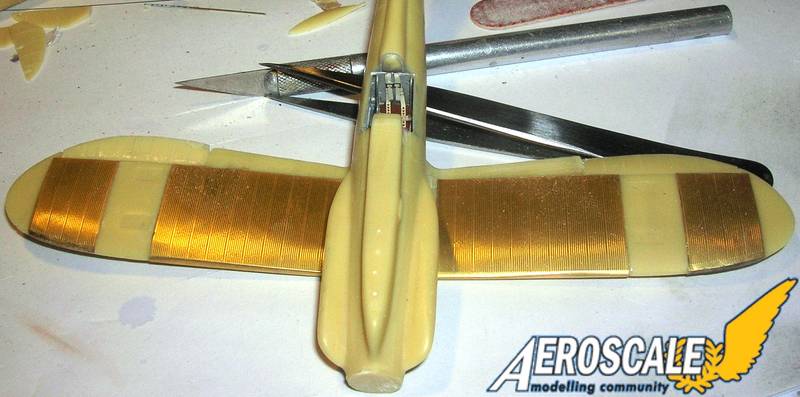
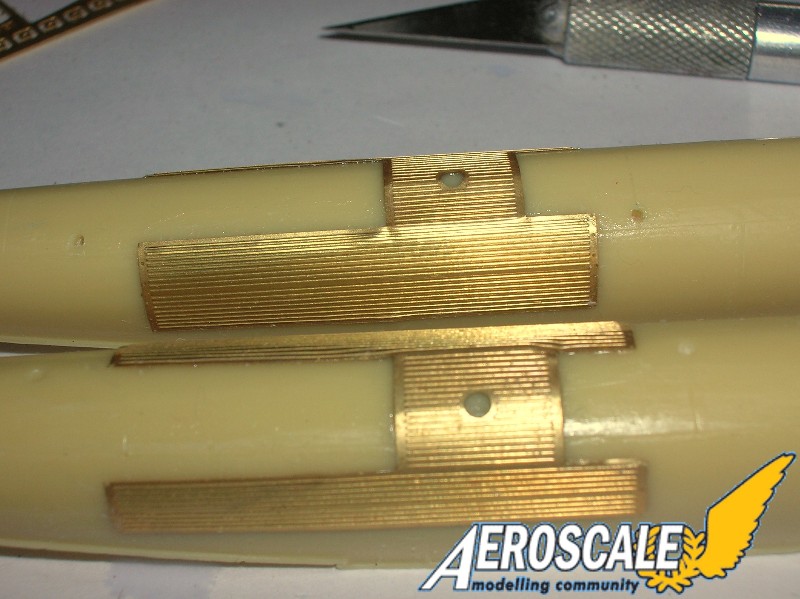
Here are the PE pieces representing the wing mounted (upper and lower surfaces)radiator. The trick here is to anchor the PE parallel to the aileron and work it like laying wall to wall carpeting. Work carefully to wrap it around the wing leading edge.
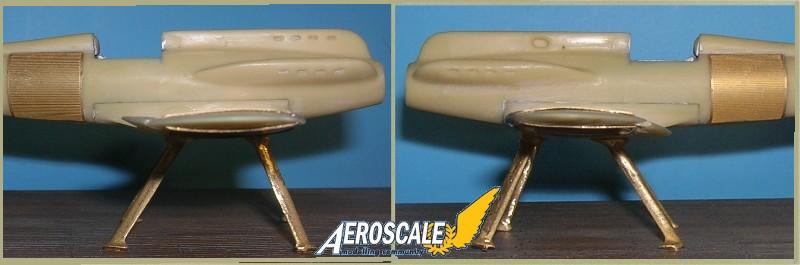
Here are the float radiator applications.
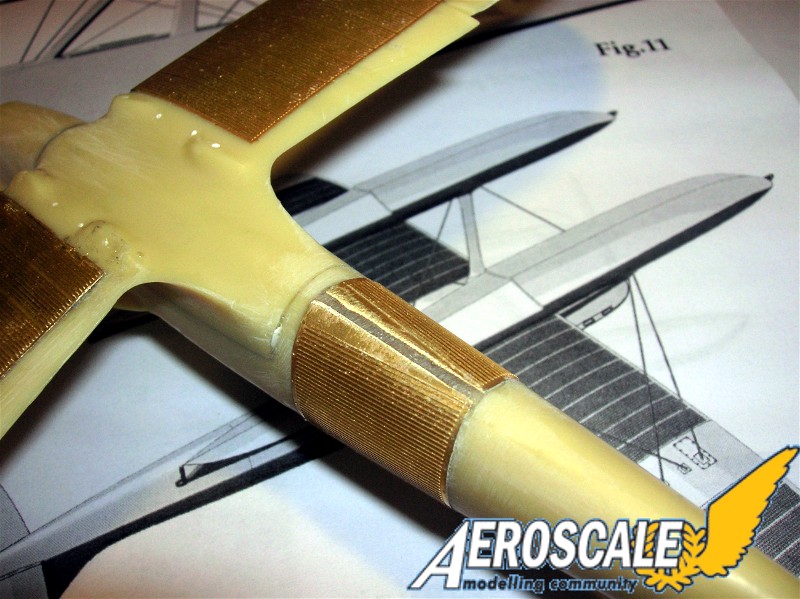
This is a shot of the underbelly and the lower sections of the fuselage mounted radiators.
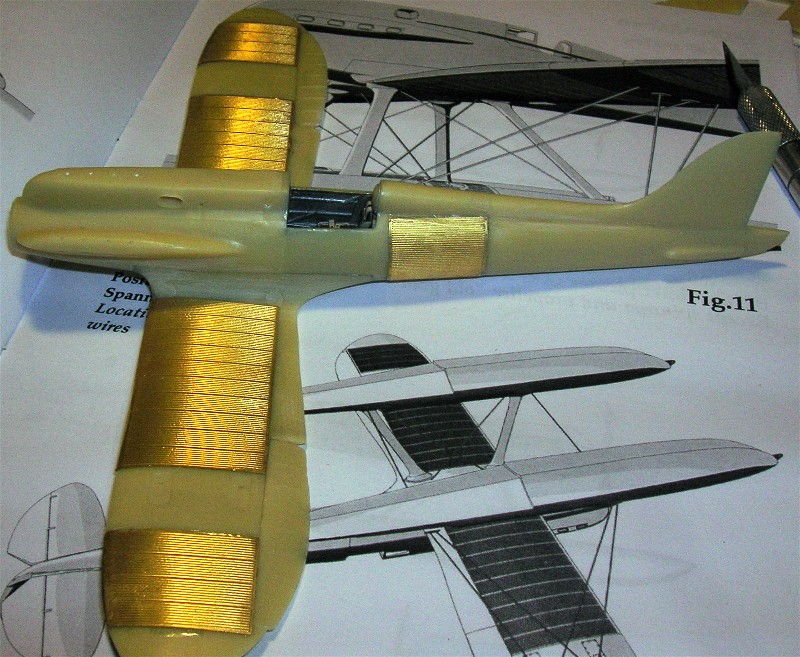
The fuselage and wing radiators are in place.
AS we continue here.
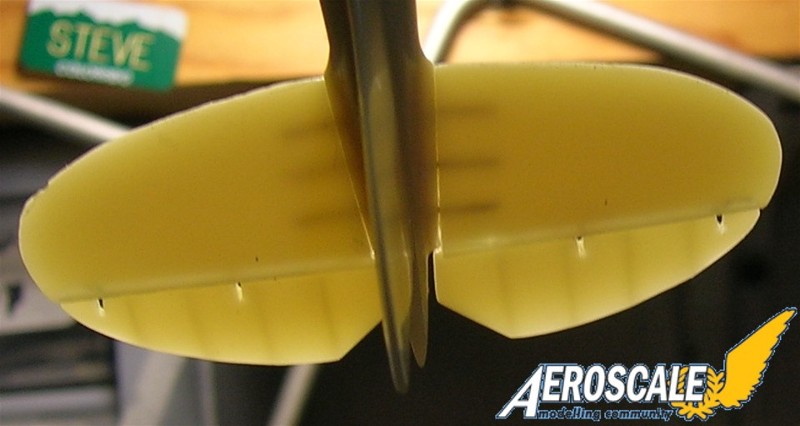
A bit of pine the tail on the Gloster. Brass pins only folks. Never any white metal or steel.
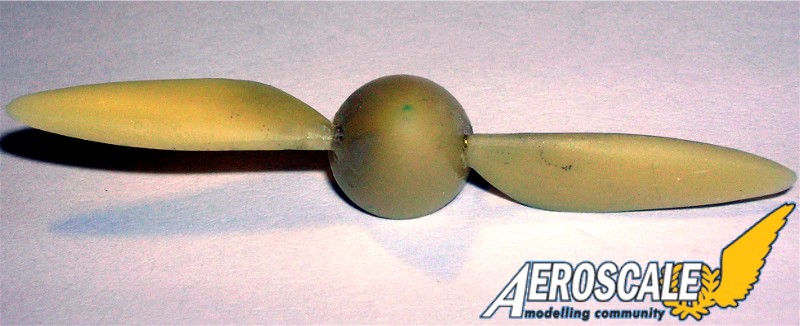
The propeller is 3 pieces and pinned together as well.
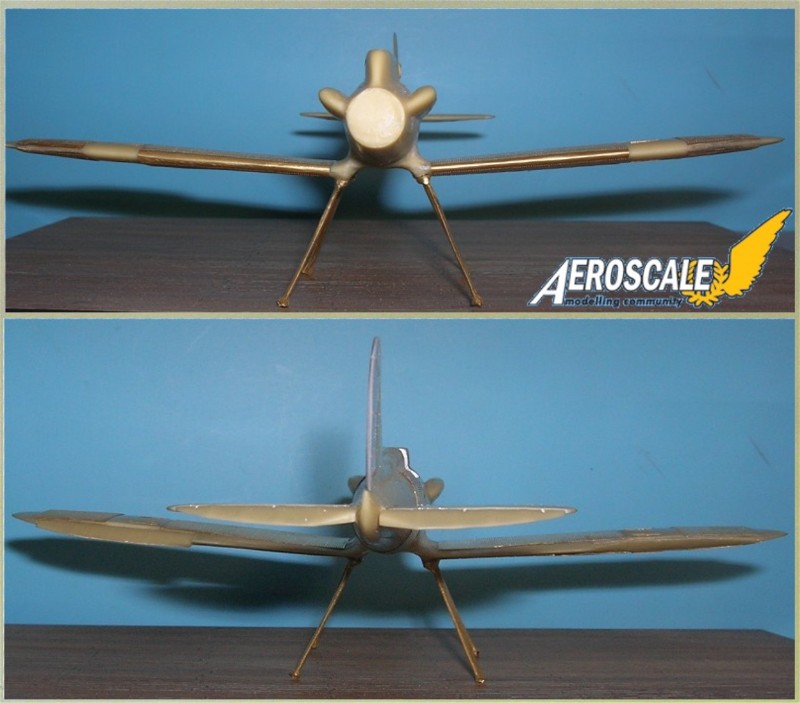
Getting everything level concerning the landing gear legs is critical.
Side views.
Looks like a very nice kit, Stephen. 1/48 scale?
Nice work so far, as usual.
I can never tell what you have next up your sleeve, Stephen. This one comes as a total suprise, and it’s a doozy! Really nice work so far. I swear you could do a clinic on how to attach PE. Keep us posted!
Jeaton and Ruddratt Thank you for the kind words. Next I add the floats and prep for the finish.
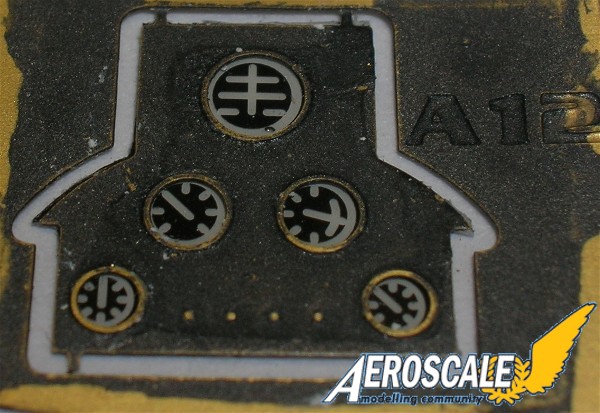
Here is that instrument panel.
With the floats attached.
Here is where the leveling pays off.
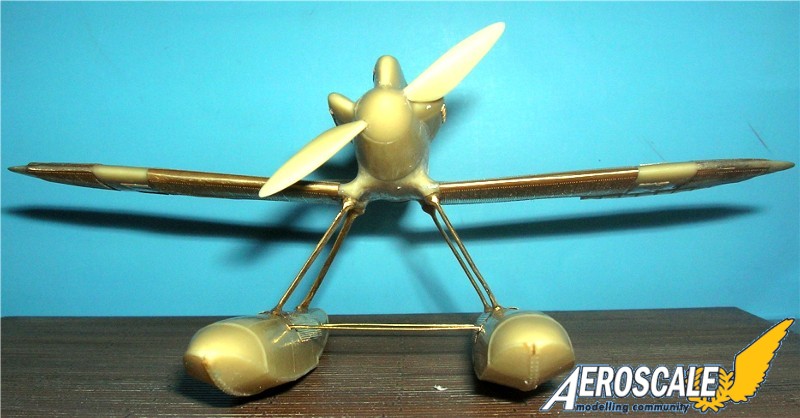
head on.
After masking I begin the priming.
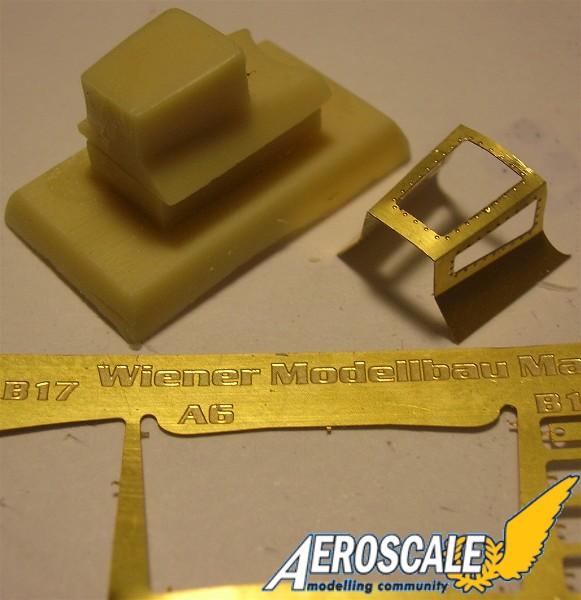
This is the brass etch canopy and the resin block you need to form it.
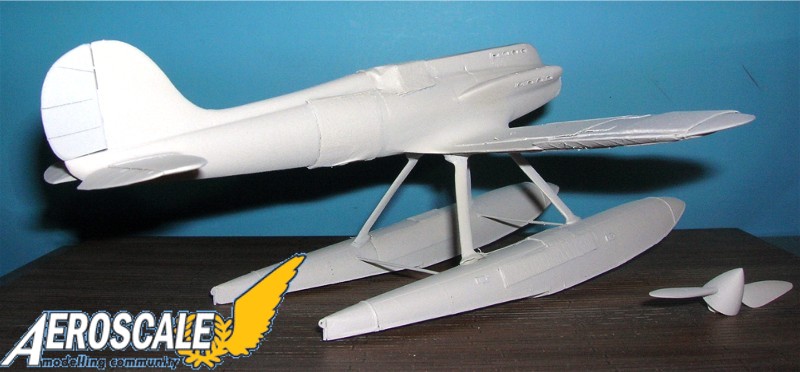
Primed for the finish.
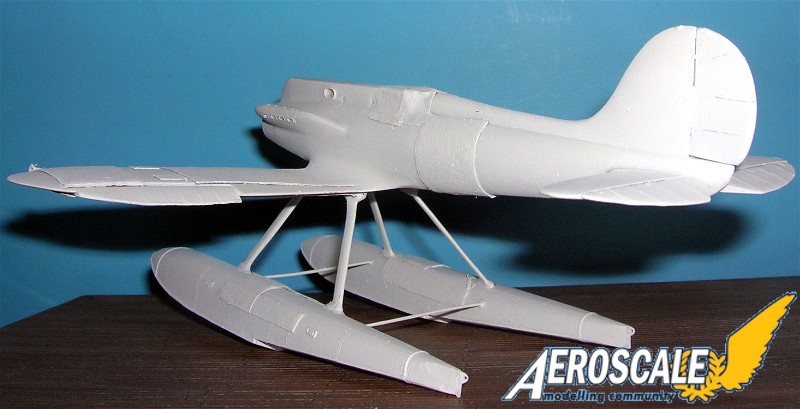
Note the prop & spinner get their prime coat too.
Very impressive work. Your skill with PE is way beyond me.
Regards, Rick
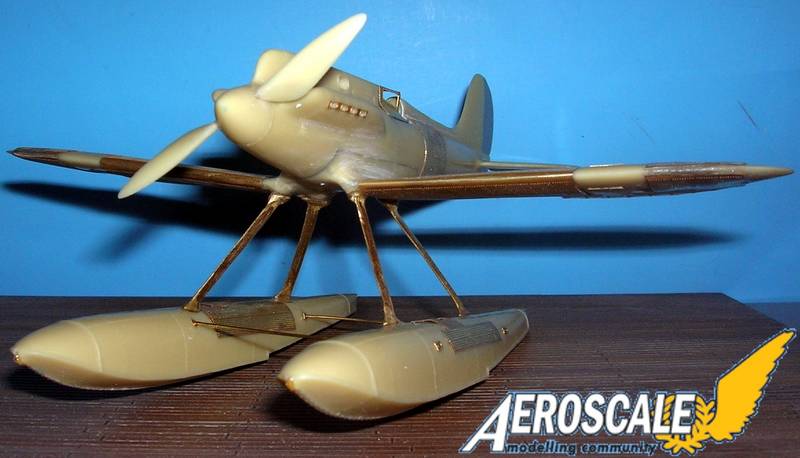
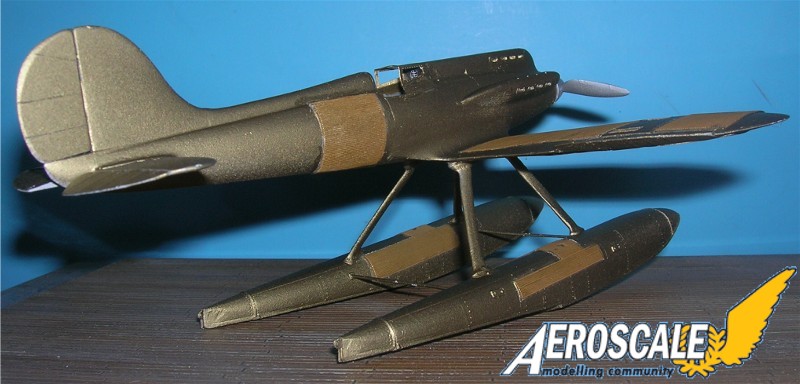
Thanks Rick its always a pleasure to hear from you. Here is the build in a coat of old gold.
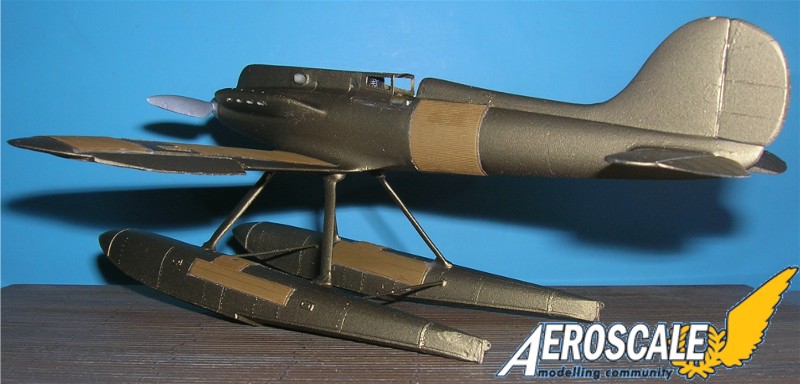
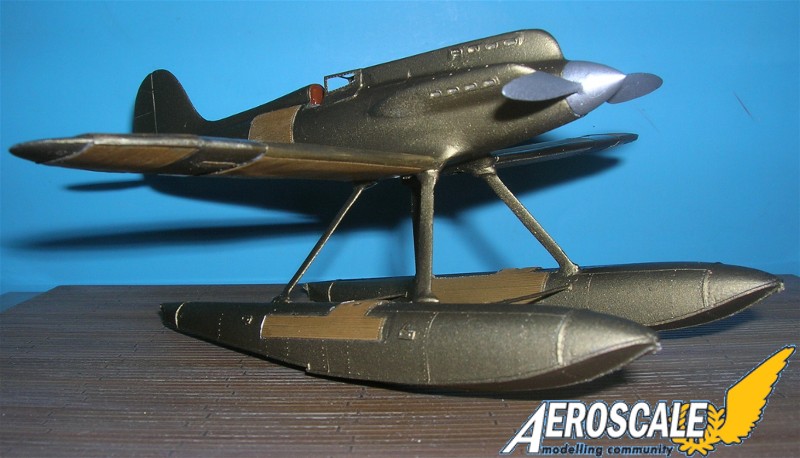
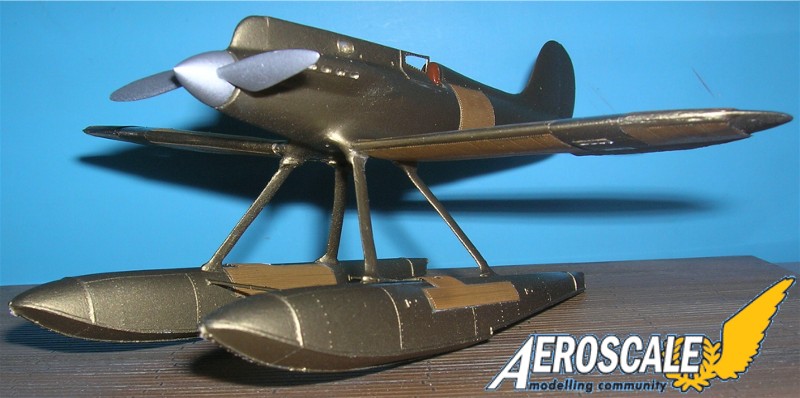
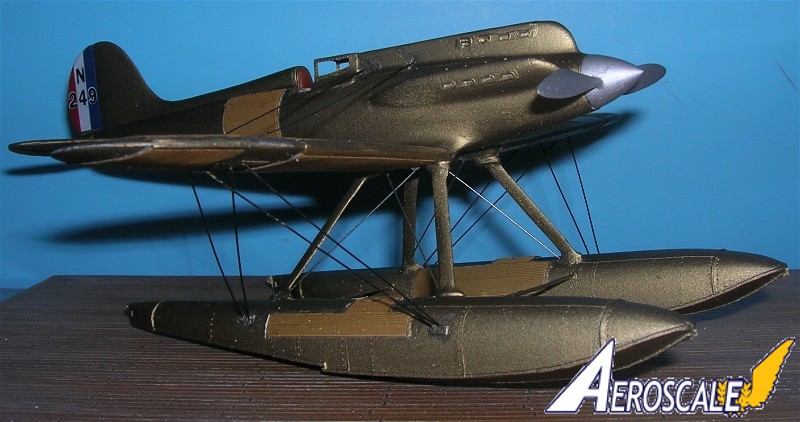
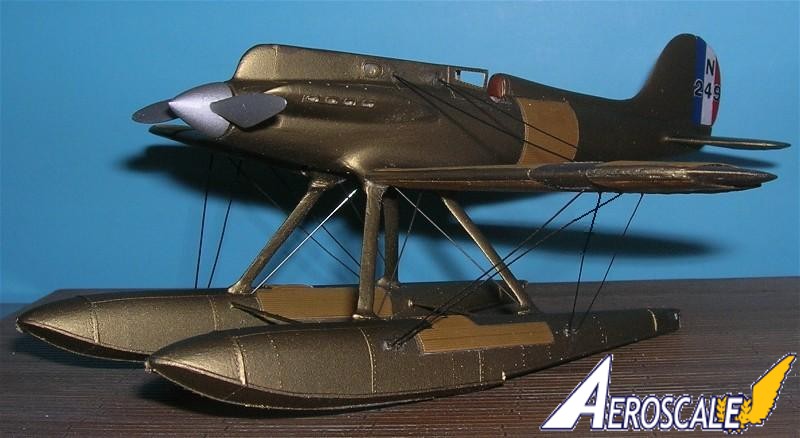
Well folks it is almost done. The rigging is completed and the decals are on. One note for anyone building this kit. Spray coat the decals with a clear gloss and let dry. Then cut each individual decal out with a sharp Xacto blade. The rudder and serial number decals are commendably thin but will tear badly without a gloss coat over them.
Here is the build is completed.


Once again my sincere thanks to Aeroscale member - owner operator of WMM, Mr. Peter Plattner for providing the kit for review.