Thanks Eric. You can’t see it in this picture but there are scrapes of paint chipped off here and there to reveal the aluminum skin of the access panel. I painted them silver first and then applied the paint on the tops and bottoms of the panels. Still have to tint the panels darker. Perhaps a light wash will bring things to light a bit.
I think I can see a bit of the silver shining in the pics! Is there a piece of bare styrene sitting in the lower part of the cowl there? What part is that? I dont recall anything going there on my A8, maybe some extra support?
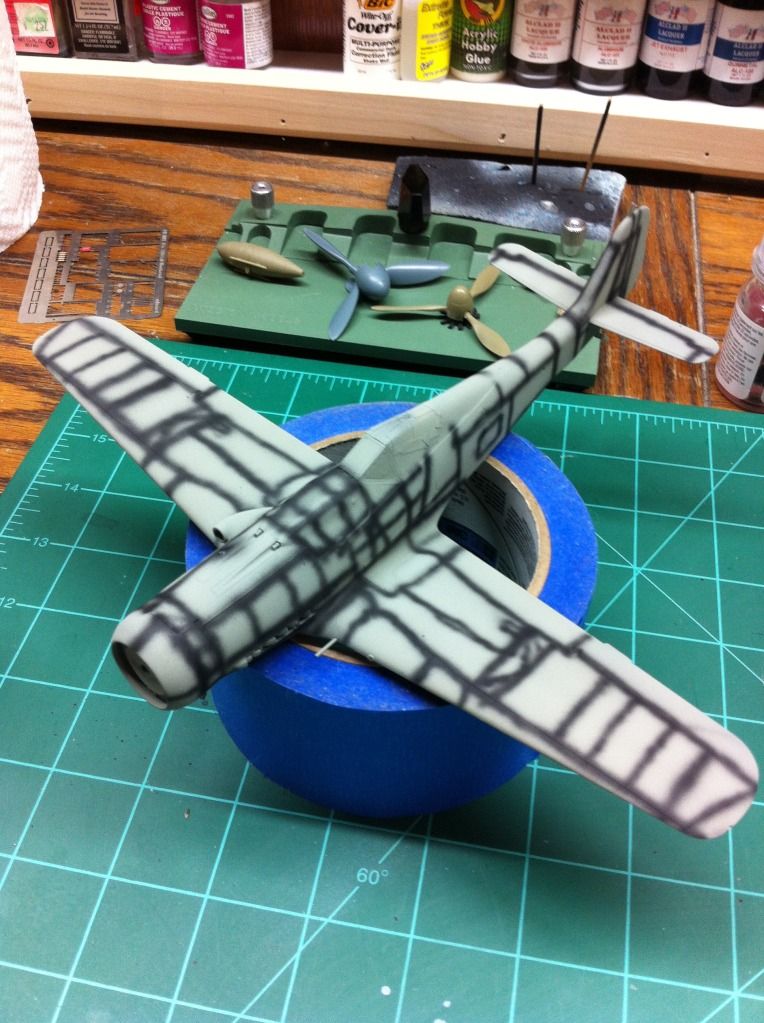
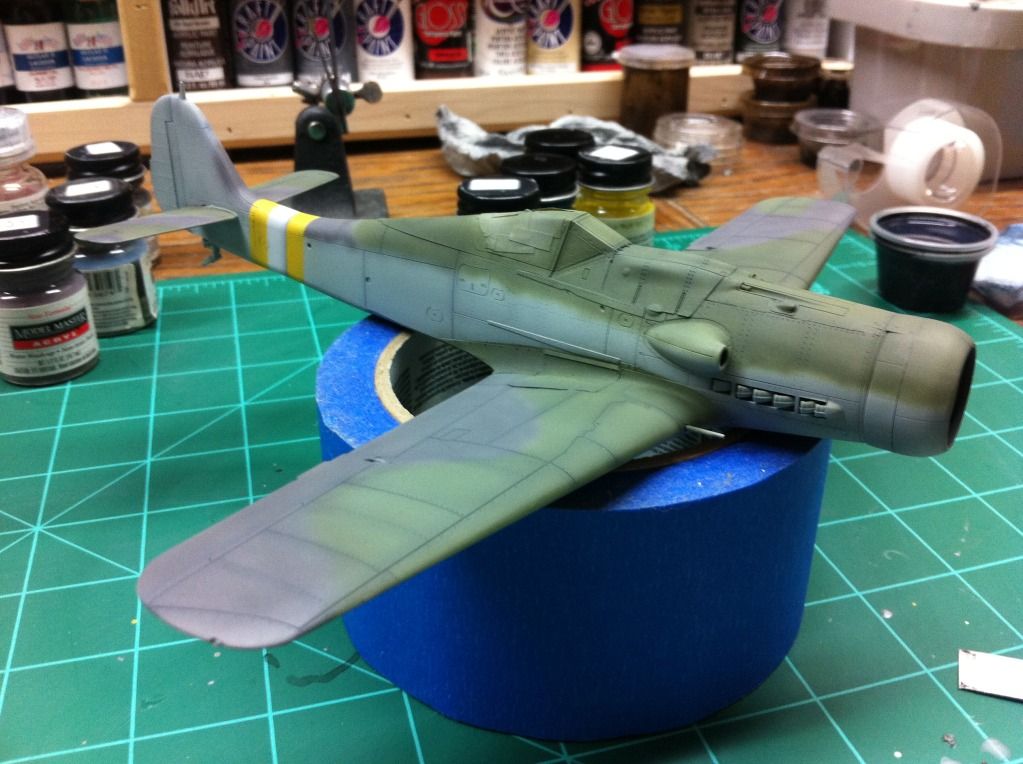
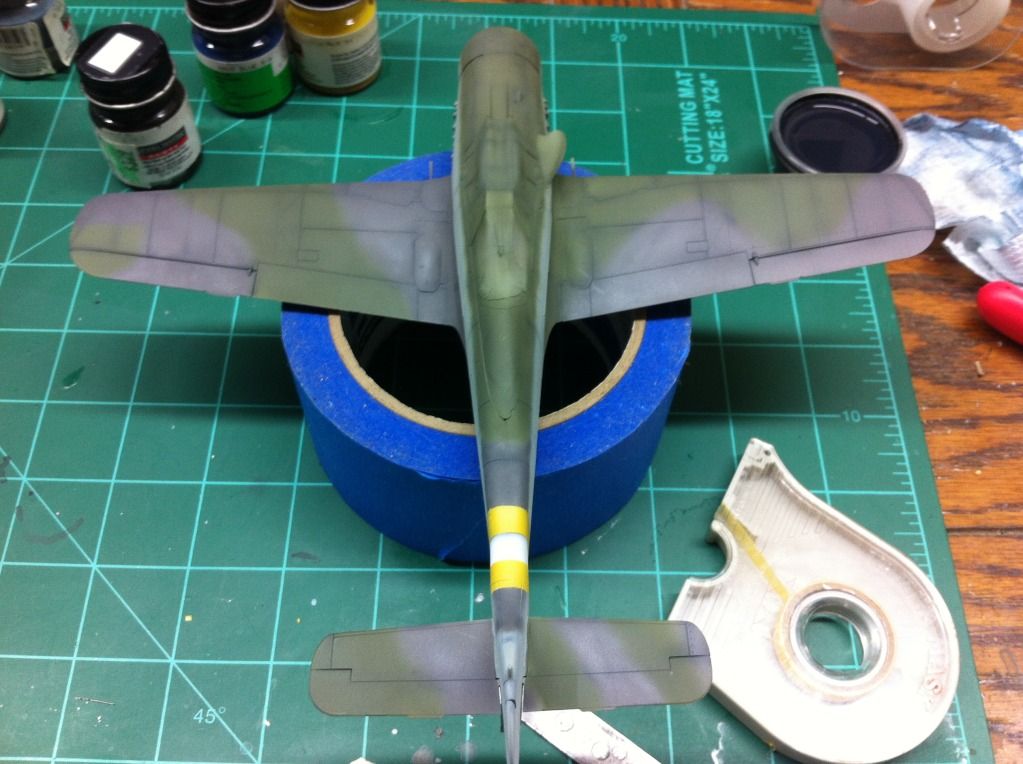
Update on the Dora, got the major painting done. I am going to go ahead with decals next and then do the mottle on the tail as some of it covered the light ‘41’ on the rudder on this bird. I think I am going to mix up some lightened 75/83 and hit some panels with it a tad. Pretty pleased with how it came out so far.
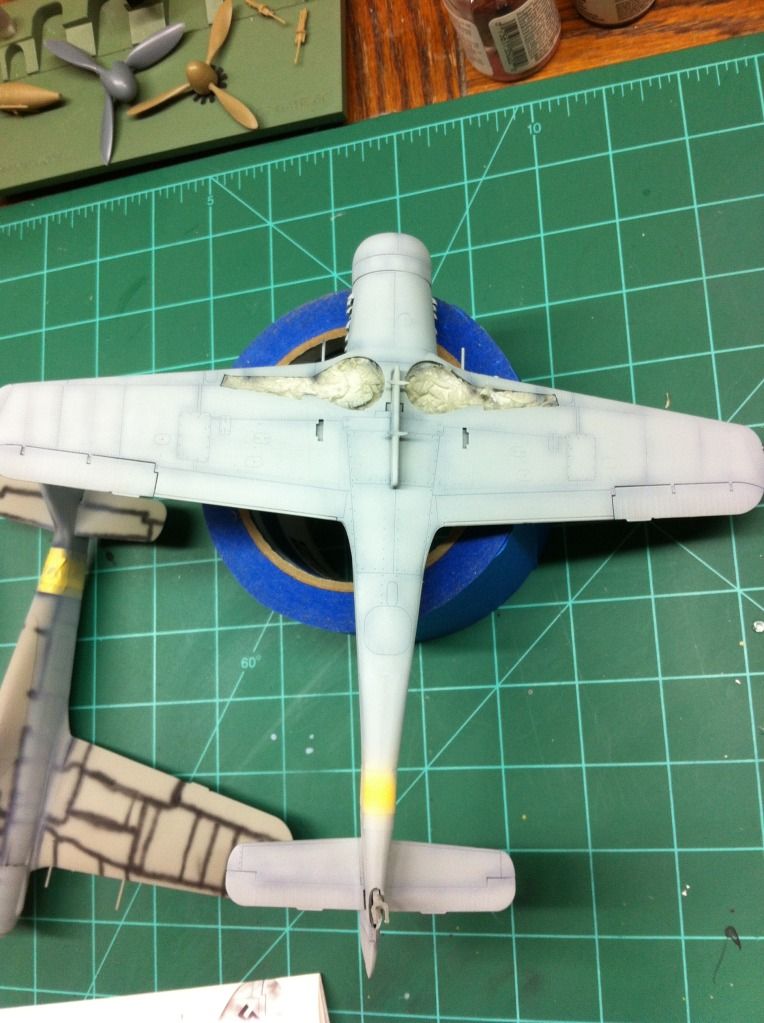
Preshading was done over light sea grey enamel primer.
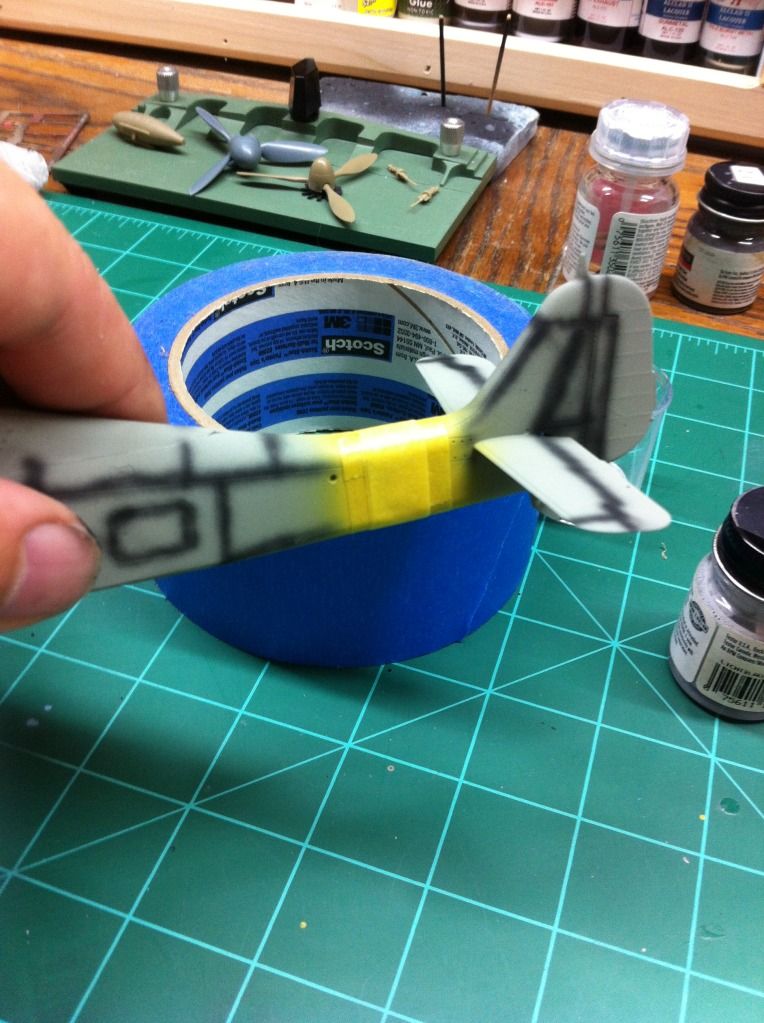
Then the white band was painted and masked followed by the yellow outer bands.
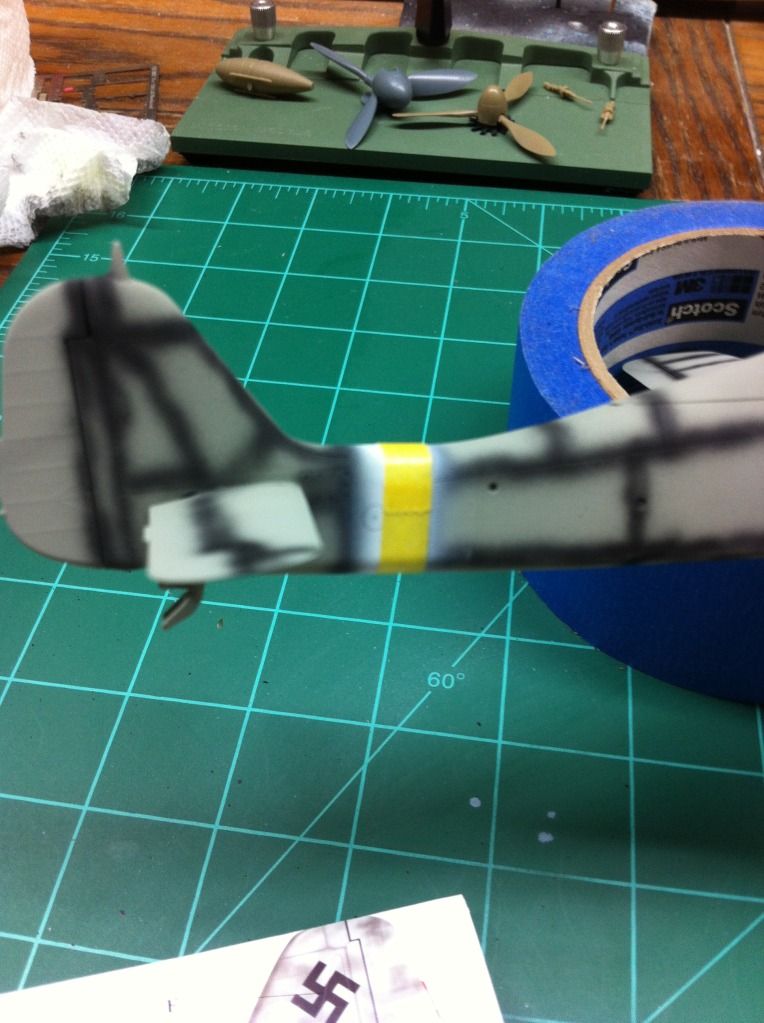
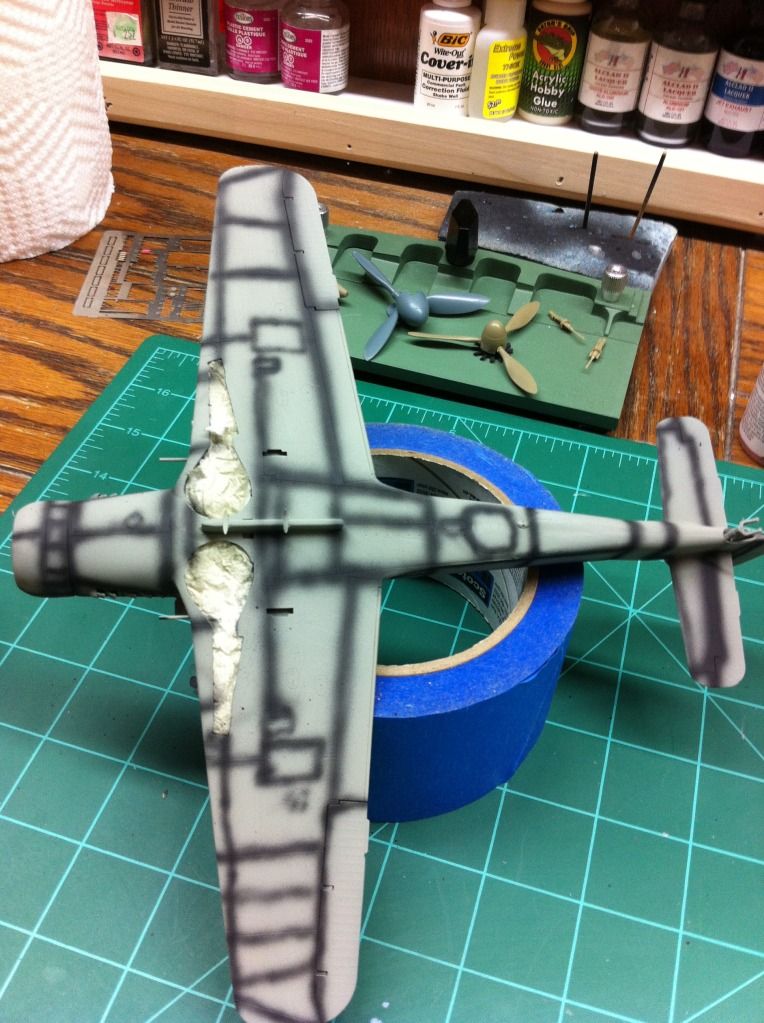
Then came the 76 on the belly and sides.
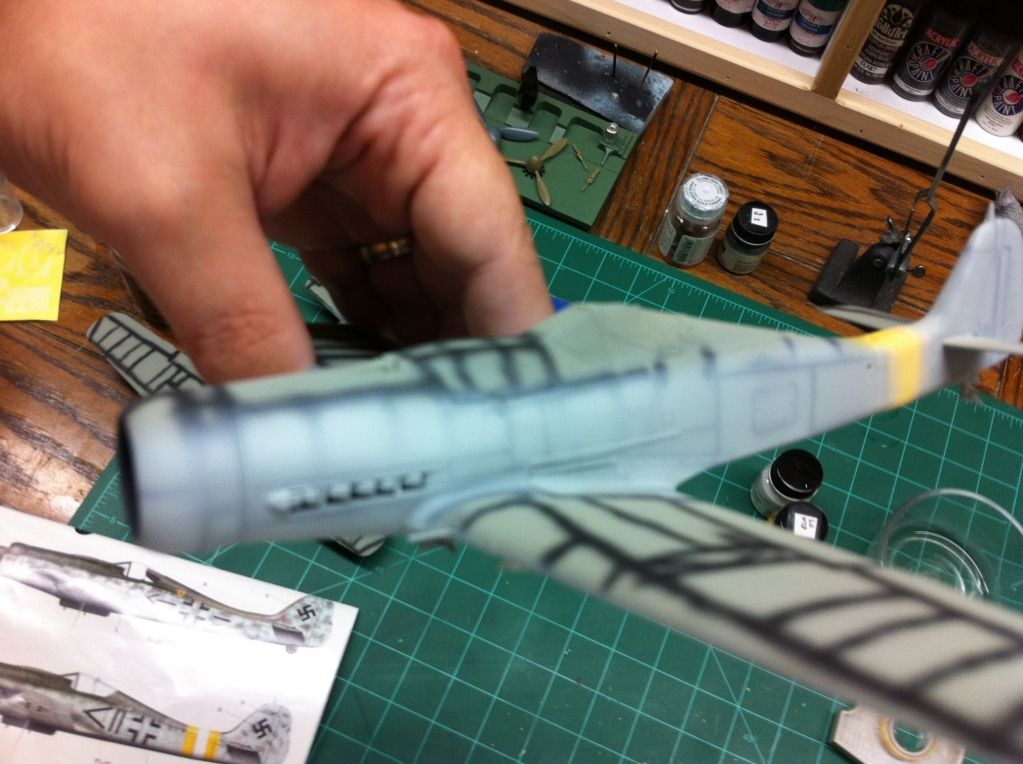
(sorry for this very poor out of focus pic)
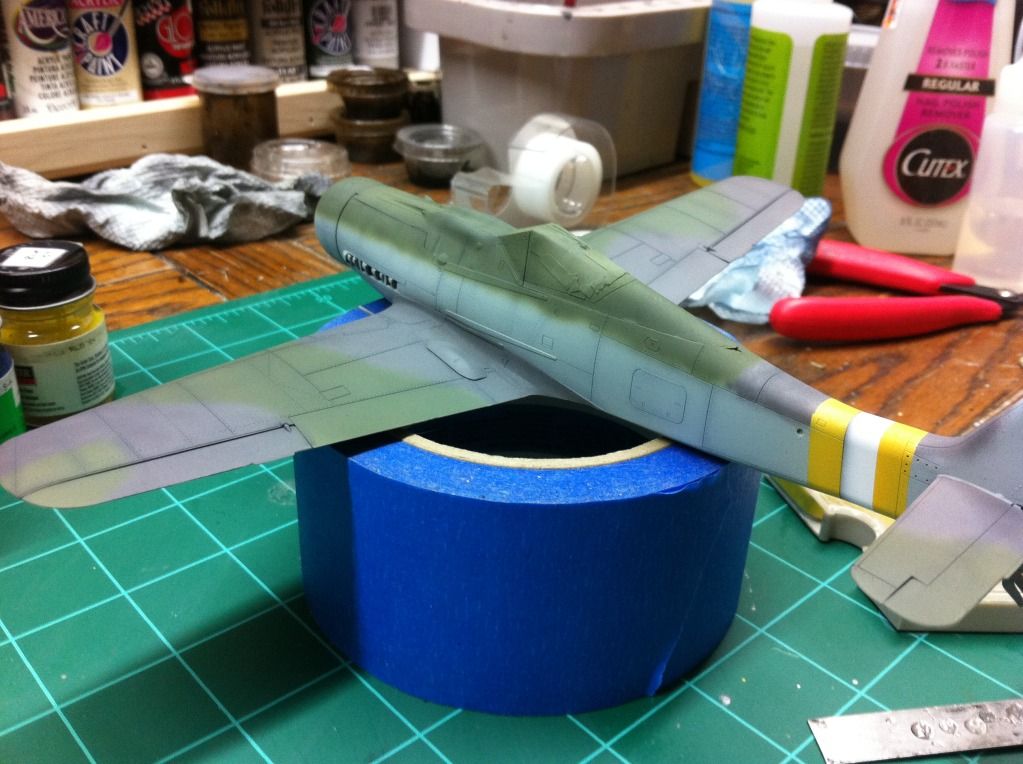
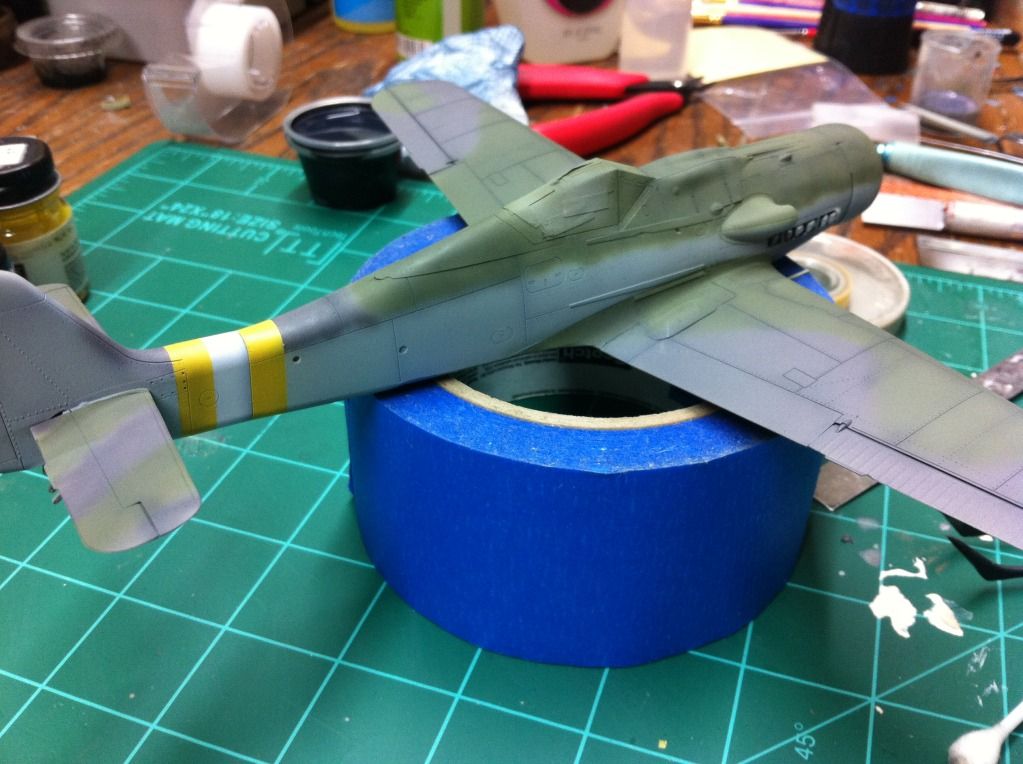
Then came the main top colors of 75/83. At this point I am DYING to pull of that masking tape!!!
Going to set this one aside and get started on the A8 colors 74/75 this evening hopefully as I already have the 76, the yellow underside of the cowl, and the blue tail band laid down.
Will look at your pics at home where I can view them. That is half of the rocket tube for engine support. Still working that issue. Just don’t want to nick the propeller after its built and knock the engine loose from those bipod mounts! Those mounts are really all that holding that engine in place.
Ahh, I see what you are saying, good idea! I was very worried about those 3 tiny attachment points supporting all that plastic that is the engine, but I was fortunate enough that the rear engine bracket that attaches to them had a very positive attachment point to the top of the wheel well cover. Lots of liquid cement later and that puppy isnt going anywhere!!!
When I build one I usually build it with getting moved around in mind. I take no chances.
Eric, Joe: Your 190s are looking extremely awesome! I really like the look of them!
Joe: I can spot some of the silver paint on the pics. It’s looking great. The rest of your bird is awesome as well.
Eric: What can I say? That’s an awesome paint job you did there!
I can’t wait to see more from you!
Now to my progress: There is not much to say… I’m still in the sanding phase and progress is really slow, as I have to get those 2 Thunderbolts finished 'till August. I want to assemble them completely before concentrating on my 190 again.
One of the Jugs will get a natural metal finish, so that will take some time. Here’s the stuff I have to do to paint it like that:
- Apply gray primer: I’ll let it dry for 24 hours, just to make sure…
- Sand everything with 2000-grit sand paper
- Spray first coat of gloss black: again 24 hours drying time
- Spray second coat of gloss black: 48 hours drying time for this one
- Sand any surface imperfections with 2000, then 4000-grit sand paper
- Polish the whole model untill it’s all shiny
- Spray everything in Alclad Airframe Aluminium
- Pick out some panels with Aluminium, Duraluminium and Dark Aluminium
I have a lot of time between most of the steps, so I should have plenty of time to work on my Butcher Bird as soon as I start painting the first Thunderbolt…
Heya Clemens. Have you entered those Jugs in the P-47 GB? That thread could use a kick in the pants. DoogsATX who is running that forum sticks his head in from time to time still. There are some bad A builds in there as well.
Joe - I believe you have done a fine job of detailing the gun bays. I’m just glad to see some progress and oics from you. Keep it coming as it’s really good for you and us.
Eric - Beautifully applied paint job as usual. Your pre-shading really works well.
Thanks guys!! I am happy with my pre-shading, need to work on cutting my colors a bit though.
That P-47 Group Biuld is still running? I thought it ended a while ago! I’d love to participate in that one! I have a big Thunderbolt (32nd scale, not started) entered in the NMF GB. I could do a crossover when I start working on it…
To answer your question, Joe: Nope, I’m not in that GB.
One is in the First Time GB/Longest Day GB (crossover) That is Tamiya’s Bubbletop kit. I am building William Kepner’s transport-Thunderbolt with full invasion stripes as it might’ve looked on D-Day… (I’m pretty sure that Kepner flew around at that time…) More info about that one is here.
The 2nd one is going to be something “special”. It is entered in the REich defenders GB. Yes, you heard right. I managed to get a Thunderbolt in a GB exclusively for German ground-attack planes! If ya wanna know how i did that, just click here (the WIP pics are here).
Cheers, Clemens
Eric… As always guy, beautiful work! You too Joe, always enjoy your WIP.
You know Clemens, yes the “Big Beautiful Jugs” GB is still open. It was kind of left open ended after Doogs ATX departed (not entirely). So, those of us that were left hanging around just sort of agreed to leave it open as there were some folks finishing up and still getting into it. There has not been much activity there in quite some time. Although, whenever i finally get around to resurrecting “Eight Nifties” I’ll post there. Figured since I started it there I might as well finish it there and at least earn the badge.
Eight Nifties? Ah, I remember it. We had a conversation about that Jug earlier! I’ll build the same bird in 1/32! I actually got my inspiration for building that particular aircraft when reading your posts in that GB!
Thanks for the comments guys. Last night I assembled the upper instrument panel and cowl fairing over the IP. This morning I installed the IP assy onto the aircraft. This was no easy trick! I managed though. I also masked the inside and outside of the windscreen and am ready to paint that.
That upper ip installation is always fun isnt it?
Simply awesome to hear your at the bench Joe. Good for you, good for the soul, better for us. Keep moving forward my brother.
It definitely feels better to be back at the bench again in full swing. Eric you are soooooo right. That assy just really sucks to install but got through it ok. A minor correction in progress here. I just got through painting the windscreen. It’ll be ready for the tape to come off tonight.
Good news, Joe! Yes, that part of the assembly is really bad. I still don’t know if i got it right… (at least it looks like i did)
Hey, great idea [^o)]. That’s a mistake I’ll never make again [8o|].
Great work Eric and Joe! Once again gentleman, I am humbled by your skills and artistry. I am truly in the presence of greatness. Well, either that or I just need to get me an airbrush. Love your work guys!
I am almost completely done with my bird. Today I am releasing some pics from a week ago or so showing some of my masking and painting steps. I wanted to make sure I was happy with my results before I showed how I did it (sneaky, huh?). Remember that I’m a rattle can sprayer, so . . . . .


Here in the gear bays I scratched my own gun barrels using half round sprue.

My aluminum tubing wing guns with heatshrink tubing for details

I decided to just use kit gun barrels for the fuselage guns

Next 2 pics show before and after of gun hood cowling alignment fix. I had to break them off and sand spots on both hoods to get a proper fit. I’m happy with it now.


Well, only a couple of nit pickin details and I’ll be finished, boys. Keep in my mind that my canopy and windscreen are temporarily taped on til I get my new ones from Hasegawa. Should be posting finished pics later today.
Nice work Bill!! Def not bad rattle can finish there. You should definitely pick up an ab if the opportunity presents itself. They surely have a learning curve, but you wont regret it. Nice save on the cowl alignment too!!