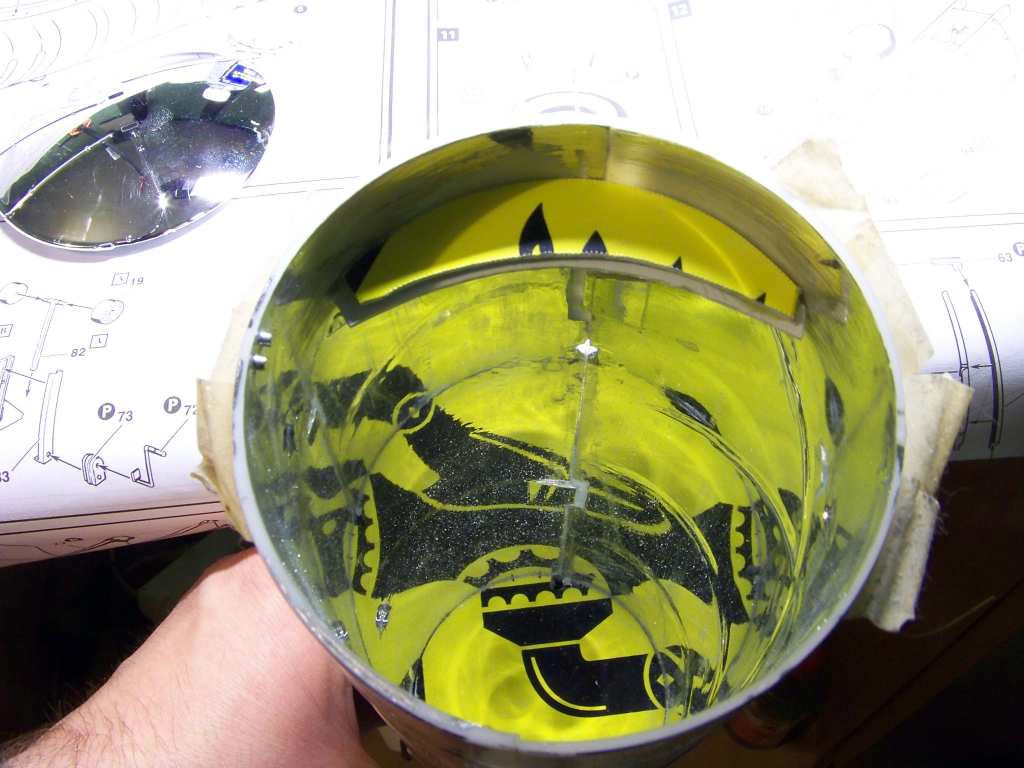
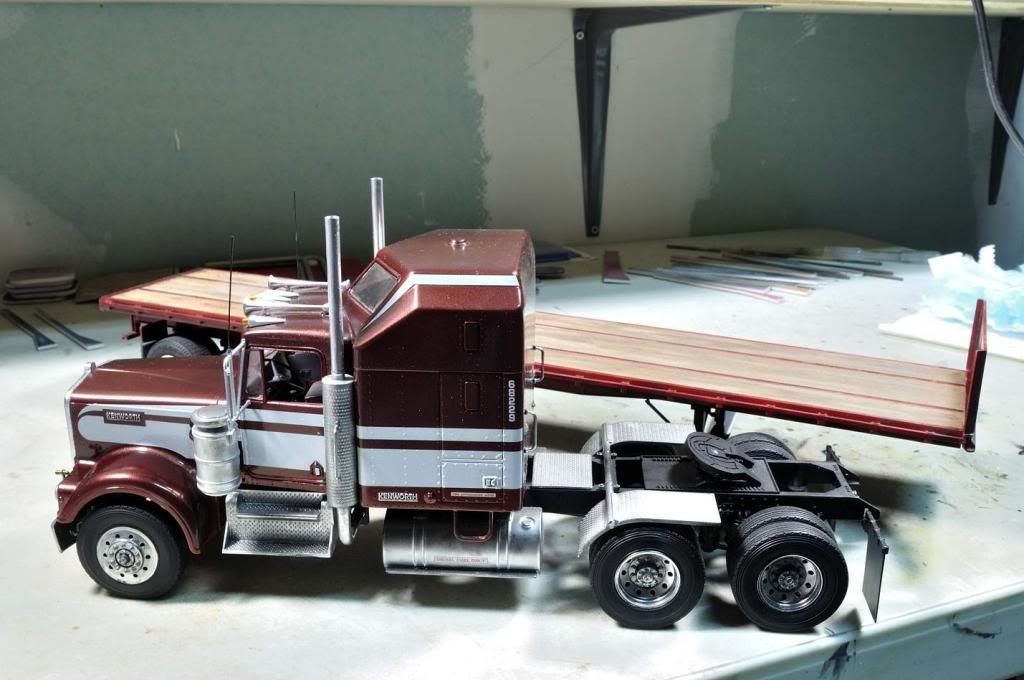
To go with my Mack RW Superliner (here’s the link to the build thread) I decided to build a trailer. I chose the old AMT kit, AMT 684 Fruehauf Plated Tanker. First thing you notice, when you open the box, are those enormous tank halves - biggest model parts I ever glued, they are 0,5 meter long! To glue them right I decided to put in a bulkhead in the middle, and two spars at the ends. Those were made out of two layers of a plastic sign for cheapness [:D] Here’s how the tank looks like now:
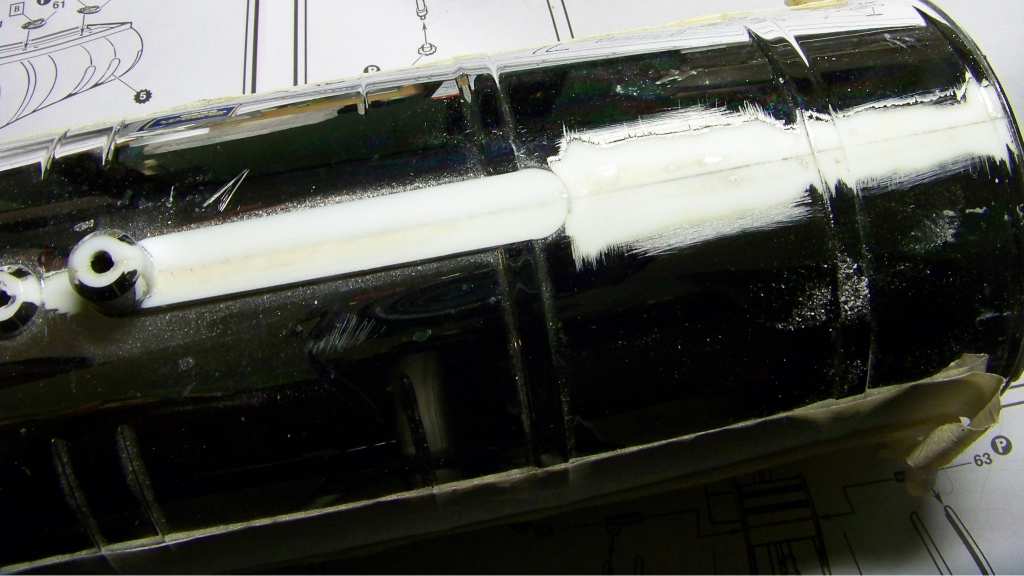
The seams of the tank are placed quite smartly, the top one will be covered by the manholes frame, the bottom one will be between the frame rails. I decided to fill that bottom seam:
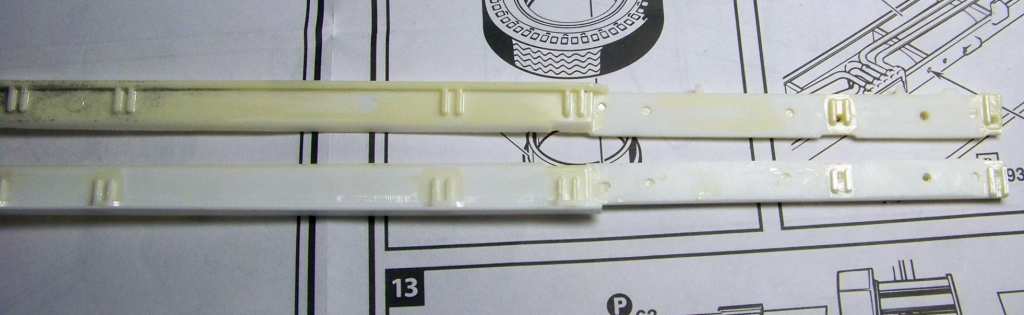
As for the frame rails - they come plated, too. Ain’t that a funny idea. I stripped the chrome with drain cleaner - sodium hydroxide - started cleaning them up, and came up wit an idea to make a better, thinner flange for those frame rails by removing the old flange and glueing a long plastic strip instead. Those are “before&after” photos, the lower rail is after the operation:
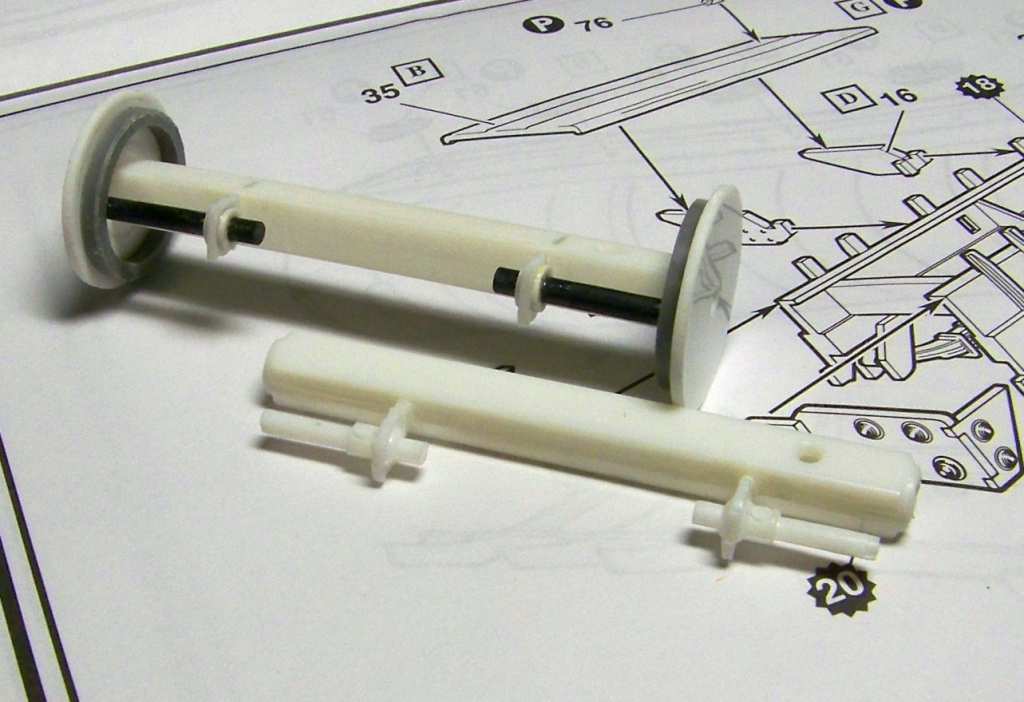
I also started building the axles. As the truck is 1:24, and the trailer is 1:25, the track of the trailer is some 5mm narrower than that of the truck. I’ll try widening it a bit - that’s why I decided to add brake drum backing plates to the axles. Here’s another “before&after” photo, with one axle just glued together, and the other one rebuilt:
That would be it for now, thanks for reading and have a nice day
I built the AMT flatbed a year or two ago; didn’t have to deal with the lengthy seam that you are working with. Are you planning to strip the kit chrome and re-paint yourself?
I just stripped the chrome from the frame rails - it didn’t fit for me there. Besides, the crossmembers would have to be painted anyhow, so I want to have the whole frame same colour, I figure it will look better this way. The kit chrome is hard to beat, as long as there’s no nasty seam or sink mark to spoil it. Do you have any photos of your trailer? Thanks again, have a nice day
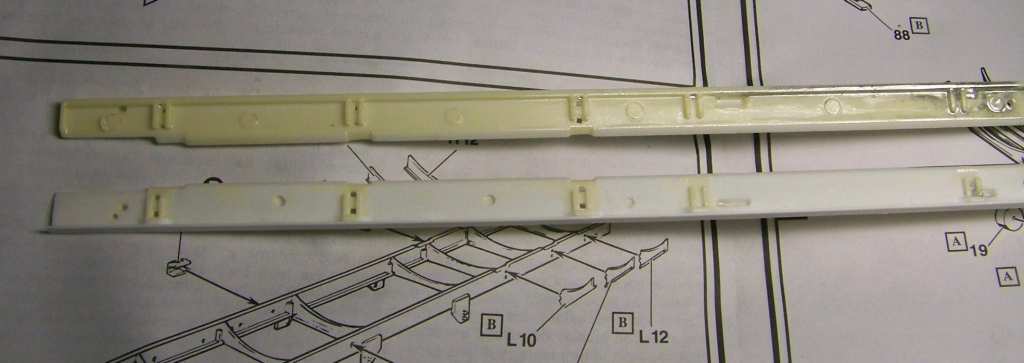
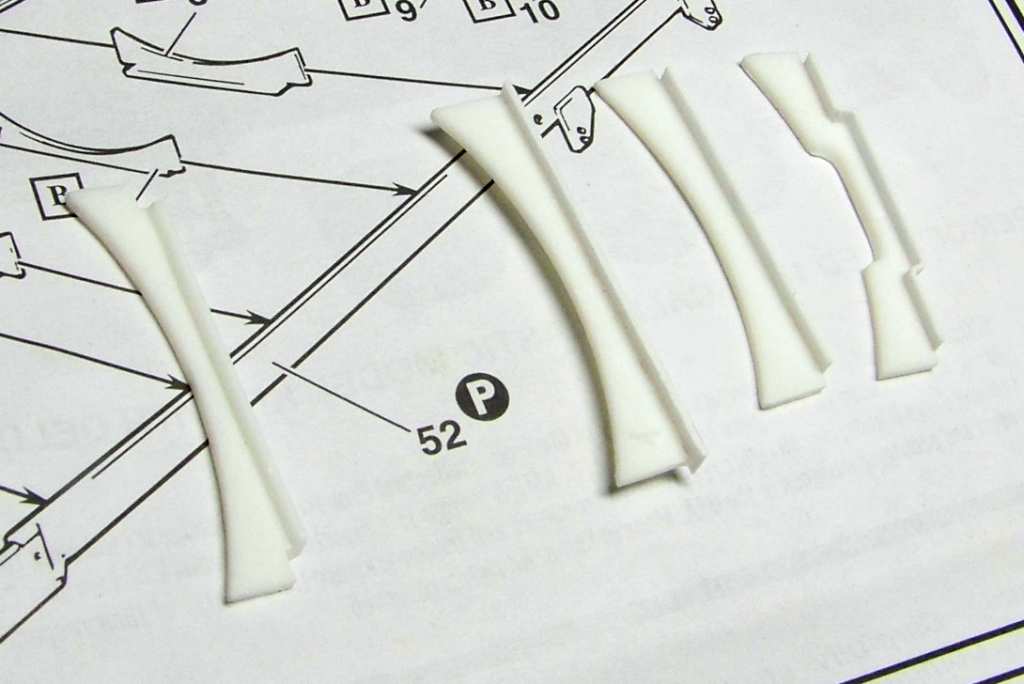
Here’s another update. I went on with the frame - after improving the rails, I went on to redo the crossmembers. I cut off the old flange and installed a new one, made of styrene strip 0,5mm thick and 3mm wide. On the photo below you can see a crossmember before the operation (on the left side), and three crossmembers already rebuilt - on the right side:
The photo doesn’t show the difference too well, but I like the effect, and it wasn’t so much additional work on parts that needed a heavy sanding anyhow.
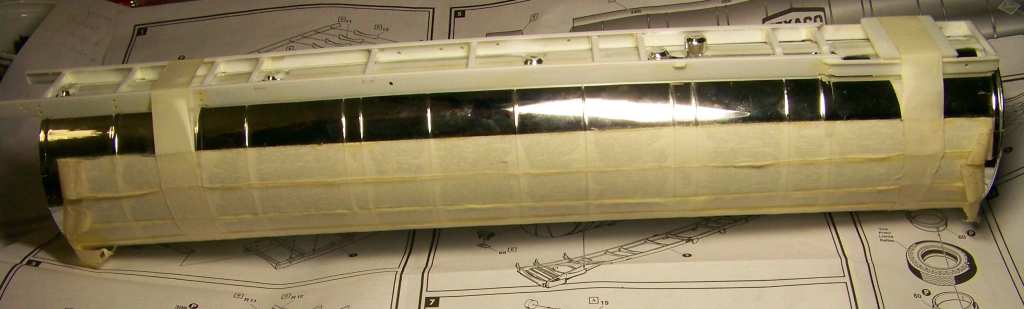
After the crossmembers were done - all 12 of them - I put the frame together and taped it to the tank, to make sure the frame is as straight as it needs to be to conform to the tank. By the way - the photo I made has some distortion, in reality the tank isn’t as “banana-shaped” as the photo shows it:
Next, I plan to paint the tank bottom, between the frame rails.
The change to the cross members is dynamic, in the comparison photo. I don’t think I would have thought of doing that. It most certainly makes a clean looking part.
Steve - Thanks for your comment, glad you like my solution! Well, now I don’t know how to put it politically correct… What do I have against bananas? They are not straight!! [:D][:D]
Don - Thanks a lot for your comment and for your kind words, please stay tuned!
Pawel, I spend far too much time in too slow traffic–which includes a number of tanker trailers.
Been trying to snag a photo of a Freuhauf tanker. The Heil tankers have an interesting detail–the upper maker lights at the rear, are powered by a cable which is clipped around the back end of the tank, from about the 5 o’clock to 12 o’clock 9as you look at the tannk end) up to the marker light carrier.
Ir’s a double cable, too, one thick and one thinner (like 20mm and 15mm).
So, other makers do something similar–just have not spotted a Fruehauf to see how they do it.
Also, the old-school habit of having a chain or strap to bleed static electricity dangling off the back rail seems to be passé, too.
CapnMac - It would be really cool, if you could snap a picture of the real deal for me. The back end is pretty important for this model, so that would be a great help. It’s actually a very cool idea with the chain - I don’t mind an old-school touch on that rig. Thanks a lot for your comment!
Mike - I thank you for your comment and for your kind words!
Pawel, I asked my old college buddy–who is in the wholesale end of retail fuels, about the straps. Seems that the driver has a static dissipation cord that gets plugged in when the hoses are pulled out for the delivery, and is clipped off to a fitting near where the tank fillers are located.
Should you wish to see the side marker/reflector requirements, here is a quick overview with illustrations at the bottom of the page, for the USA and Canada.
Thanks a lot for the links! You’re right, I’d manage an european truck without problems, lots of reference is rolling just around my backyard. But I’d like to picture an American rig, so your references are very valuable. Thanks again and have a nice day!
Turns out the dispatchers don’t much care who the tanker OEM was, so much as whether the trailer is a 4, or 4+1 compartment, and whether it’s “on side” (driver’s) or “off side” delivery.
The delivery side is important for making for better access to a given station’s tanks. It’s also important in lining up the tankers to be filled.
The days of the three-compartment trailer were eclipsed in the '80s when US retailers started offering “auto diesel” next to the no-lead gasoline varieties. The 4 = ! trailers have become necessary for carrying ethanol to get the fuels up to their legally-mandated levels.
Oh, and you need a commercial 5-gallon bucket hanging from the delivery “tree.” The bucket is used for mixing in any additives the “name brand” fuels use.
CapnMac82 - Thanks a lot for the info, it’s very interesting!
Here in Europe we also have multi-compartment tankers, funny thing is they always seem to carry similar kind of fuel - you can see it by looking on the orange dangerous materials codes (ADR). So they always have all compartments loaded with diesel (30-1202) or gas (33-1203). Guess they are afraid of the inevitable mismatches…