Now that I’ve finished my sub I’can move on to my little Fokker. It’s an E. III kit but I’ll be doing a color scheme form and E. I just cuz I like it.
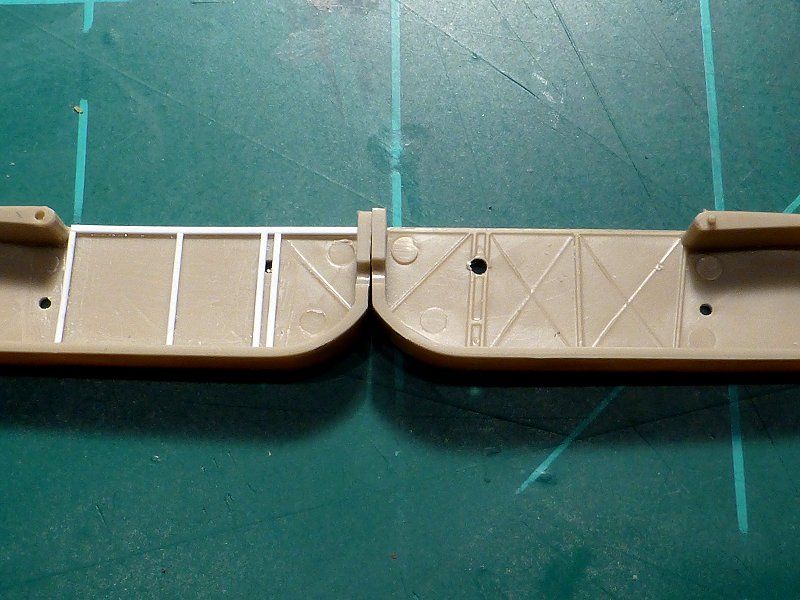
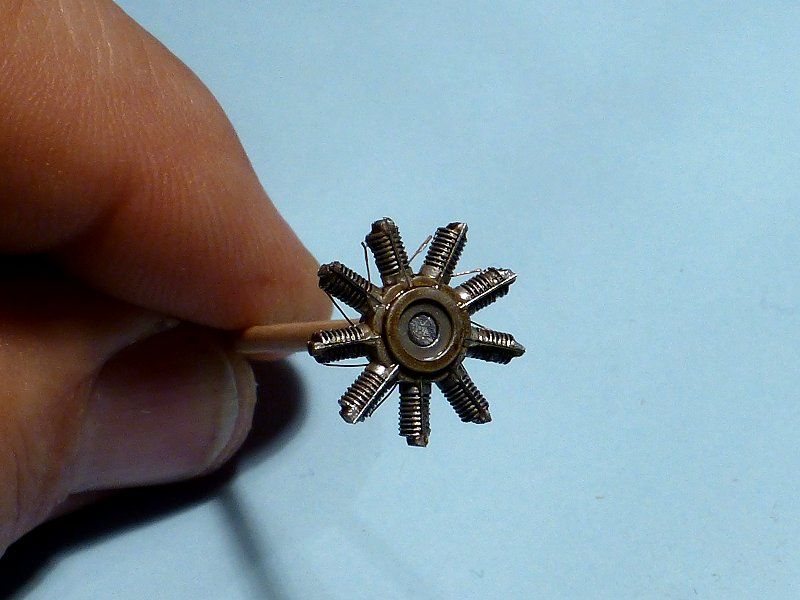
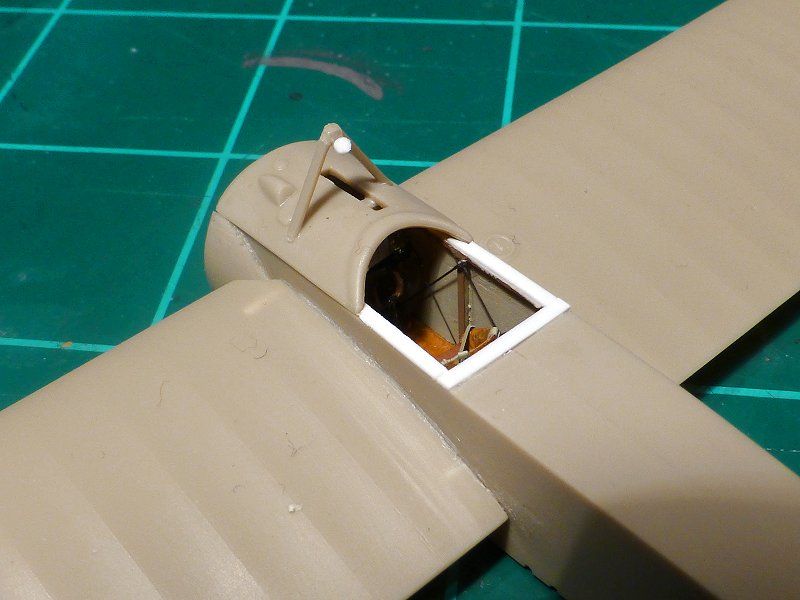
Got the engine wired and with some cockpit farming added. Starting with the painting. A few tiny little scratched etailsi nthe cockpit that I have no idea hot to photograph.
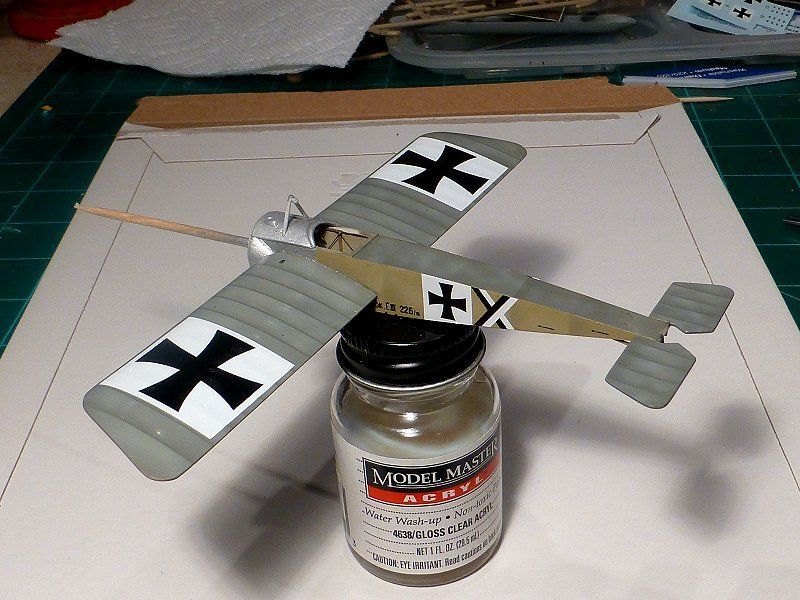
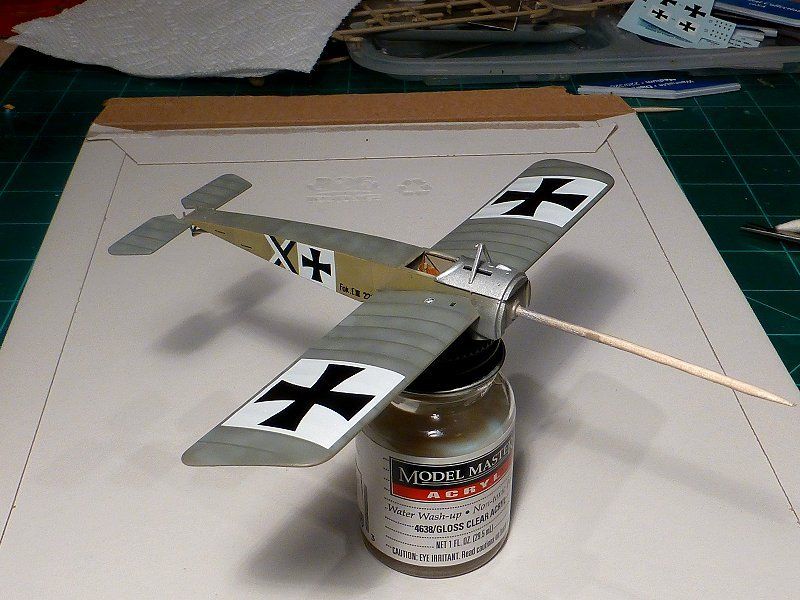
I never would have believed you if you said how tedious it was going to b masking this Fokker.
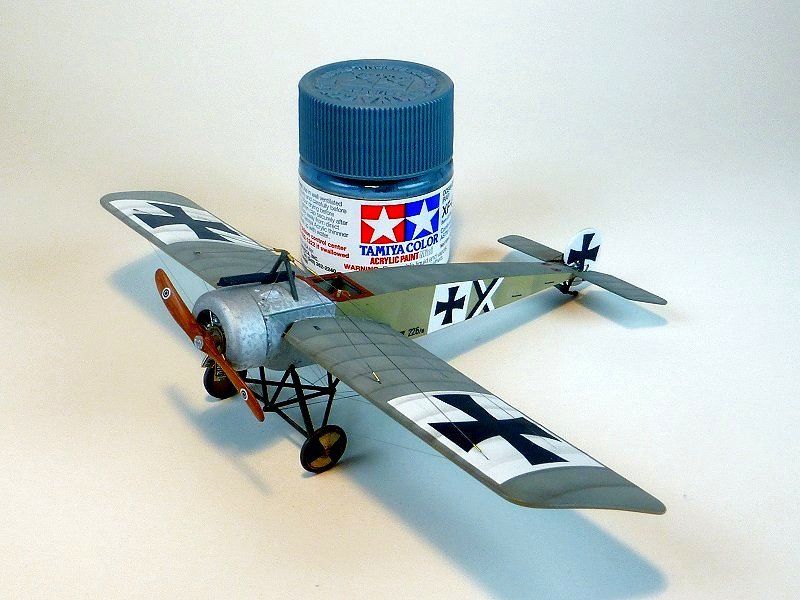
But it did get masked and painted. Decanted Tamiya gloss from a rattle can I think is my new favorite. Scheme and marking is a mash up. At first I thought the kit was an E.I when in fact it is an E. III and the marking are from that decal sheet. The color scheme however is an E.I that I found on the Wingnut Wings site and I liked it. So I hereby invoke the “What If Protocol”
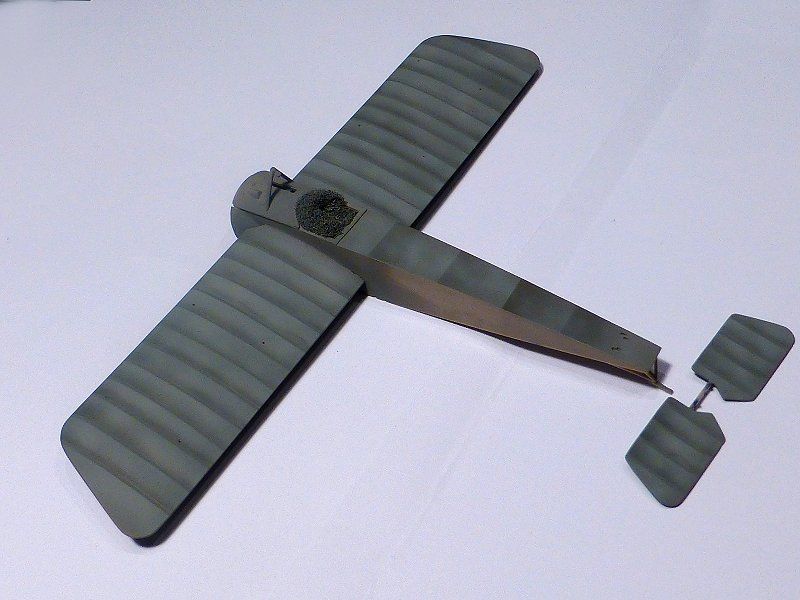
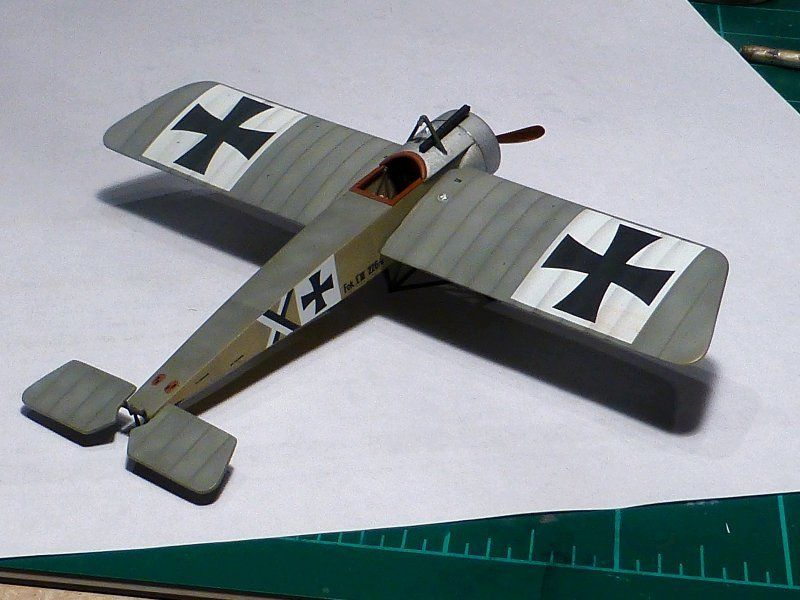
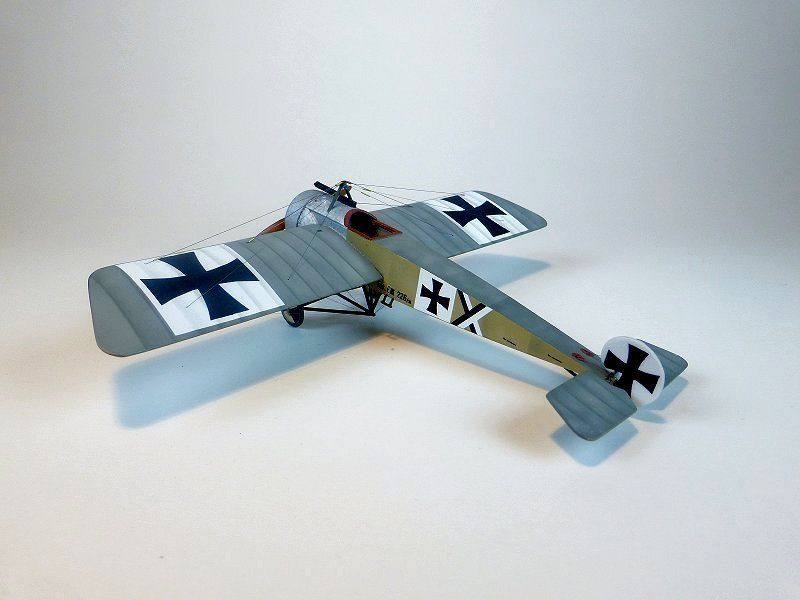
Made good use of the snow day. Flat coat and a mock up before rigging. Can’t add the tail until I get the elevators rigged. Need some room to work [whstl]
Wow Marc! I’ve seen what you can do in 32nd now here you are duplicating it in 72nd. Amazing paintwork and perfect weathering. Looks right on for this small Fokker.
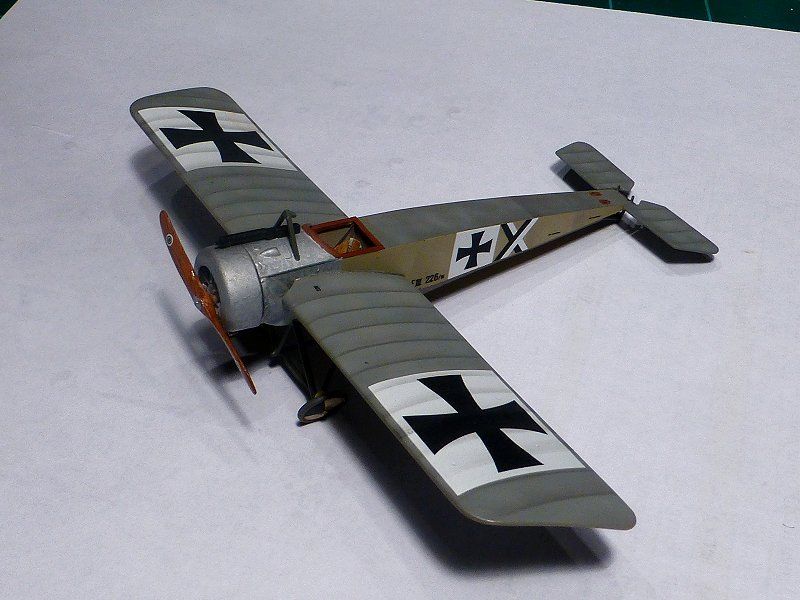
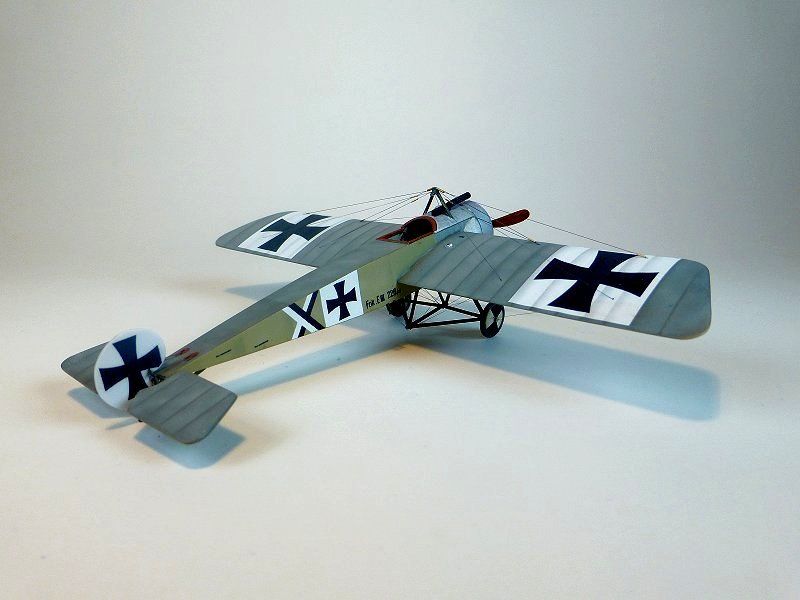
Finished up the Fokker last night. Rigging was tedious but not as bad as I thought it would be. [whstl] Using the stripped down EZ Line was the perfect choice. The 2 things that made it go smoothly was making a teeny tiny hook from real thin wire to reach between the lines to pull a through to where I needed it to go and little pieces of tape as a 3rd hand. Fortunately there’s not a lot. A 1/72 DH.2 would likely push one to the edge of insanity.
The tough part was getting the turnbuckles on the line. .3mm OD brass tubing was used. For those of us that see “MM” and think of something that “melts in your mouth, not in your hand” that .012" OD with a .005" ID. A #80 drill bit is .0135 for comparison.
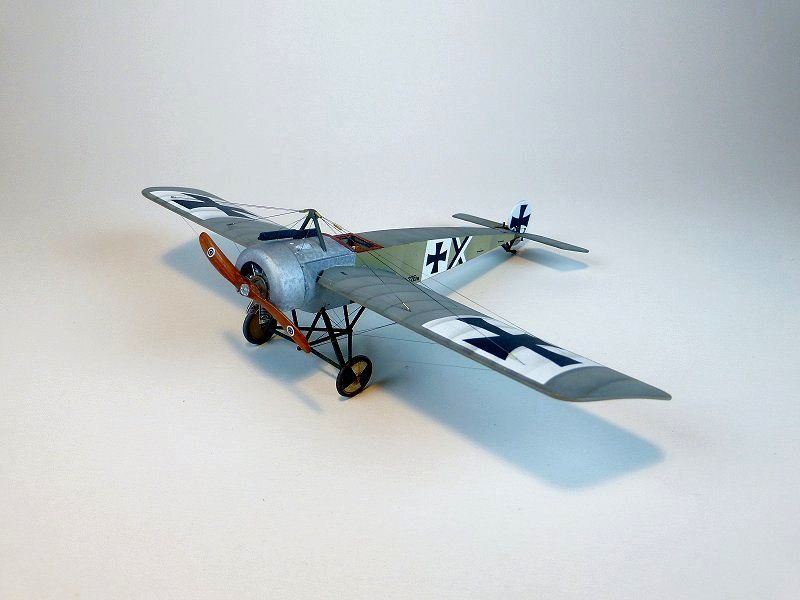
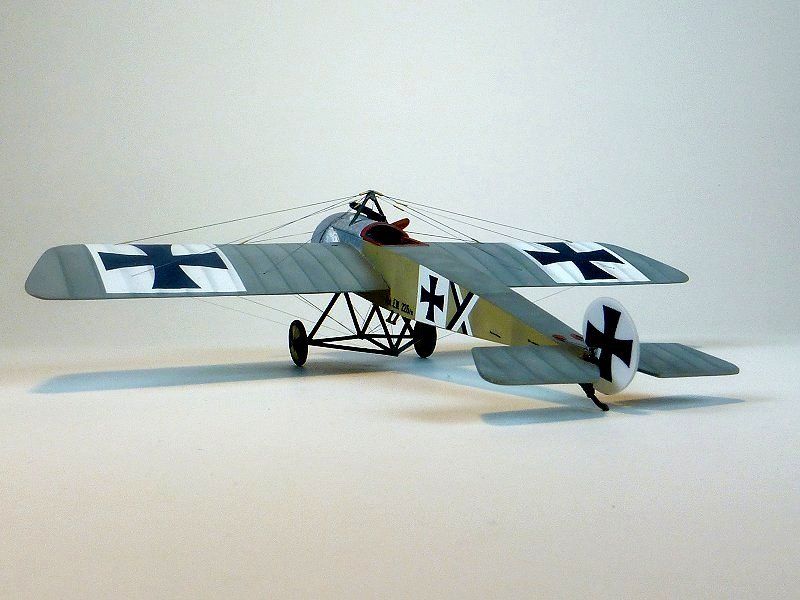
I’ve prattle don long enough… Here’s the completed Fokker E.III in 1/72 with a WIF scheme.
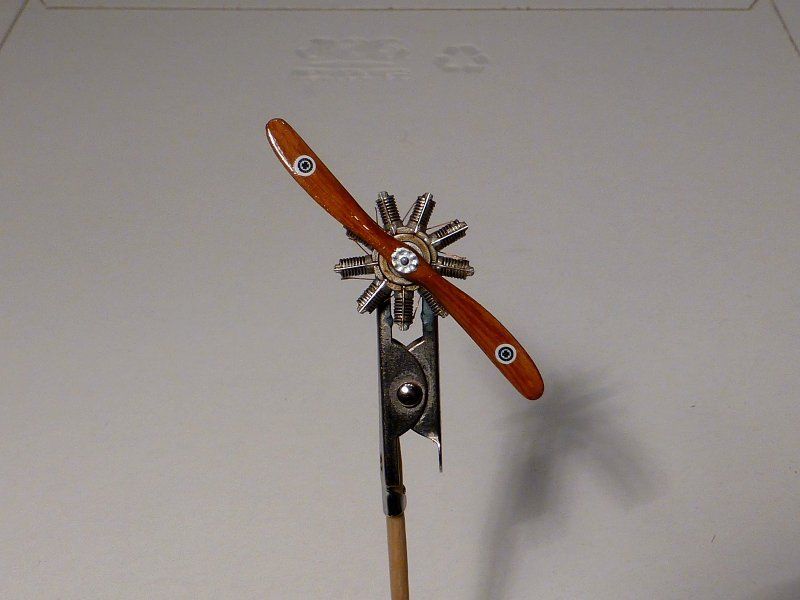
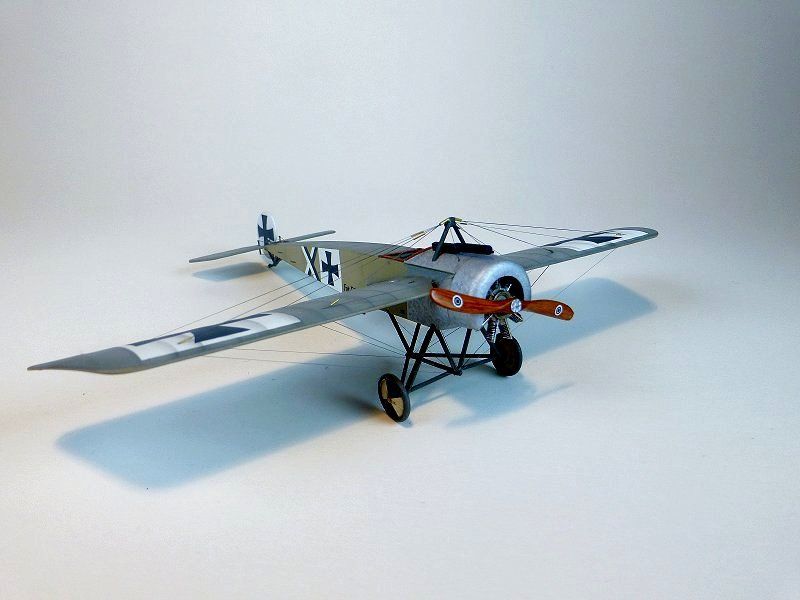
Sorry I didn’t notice this one sooner. Love the look of this, great work on the bare metal and that prop is really well done. It could easily be one of the WnW kits.