Floats and Boats: Amphibious Aircraft Group Build

Hi guys,

I am new to the forum (already posted a welcome in the appropriate section on here). I would like to participate in this group build. I do not know what I will build, but I am actually a paper modeler…if that would be alright.

Best regards,

RunwayOneSixRight.

I started work on the F1M2 and this kit is very parts heavy. Look at step one for the cockpit.

YIKES !!

These are just the parts for the cockpit. OOF! ! My head is already spinning. I shall endevour to persivere.

BK

Now thats some pit. Good to see this off and running.

I spent a couple of hours cleaning up all those bits and then I began to assemble some of it; at least what could be assembled before I must add paint. Now that I have some of it together I can see how it all falls together. I thought my head was gonna exploid when I first tried to desipher those instructions.

BK

Real G - Wow! That molding is just… I don’t have the words. However, when it’s all closed up, it will definitely play the part and probably not be noticeable.

BrandonK - I remember pulling off a huge swing and a miss whiff when I tried to build that Kingfisher as a kid. I tried putting the PE on with solvent glue, and it went downhill from there. I still have bits and pieces of it in the spares box, but no clue what happened to the main components. I look forward to seeing yours, and all that aftermarket tossed in on it.

-BD-

Ok, my Lublin R.XIIIter Hydro will be my first build of 2016 (well, at least the first one I’m starting. I may build another simultaneously).

So far, it’s a lot of PE madness. I glued the wing together. It’s four parts, and just like the real thing, Mirage molded this single wing as left and right halves. So I have a bit of seam cleanup ahead, but I was pleasantly surprised at how well the parts fit.
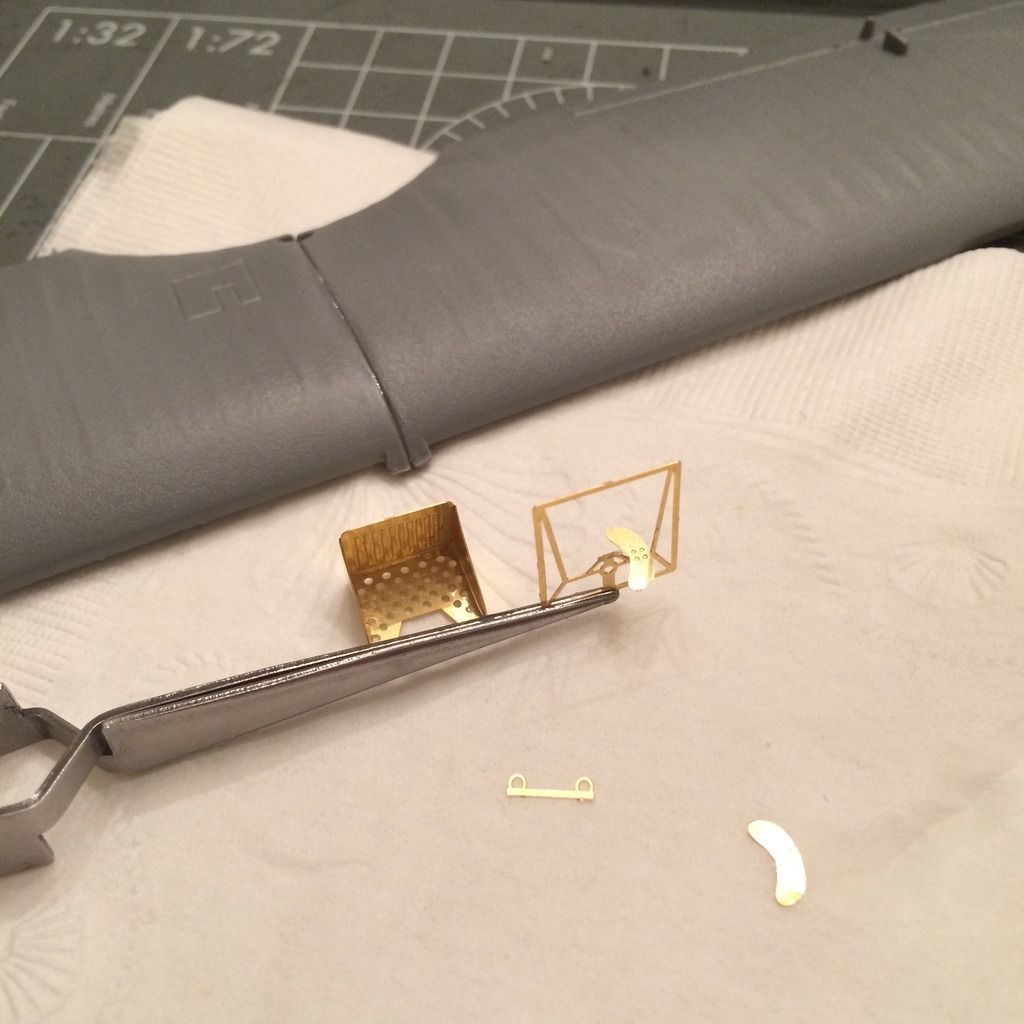
The floats went together well for the most part, but will need some seam cleanup. More importantly, it looks like Mirage molded deep panel lines where there should be a smooth surface with rivets. All my reference photos show a slick surface, so I plan on filling all the lines, sanding them smooth and then hitting them with my new rivet tool.

The kit cockpits basically include two seats mounted to bulkheads, and instrument panel with little detail and a control stick that just goes into the floor. Some framework is molded on the insides of the fuselage.
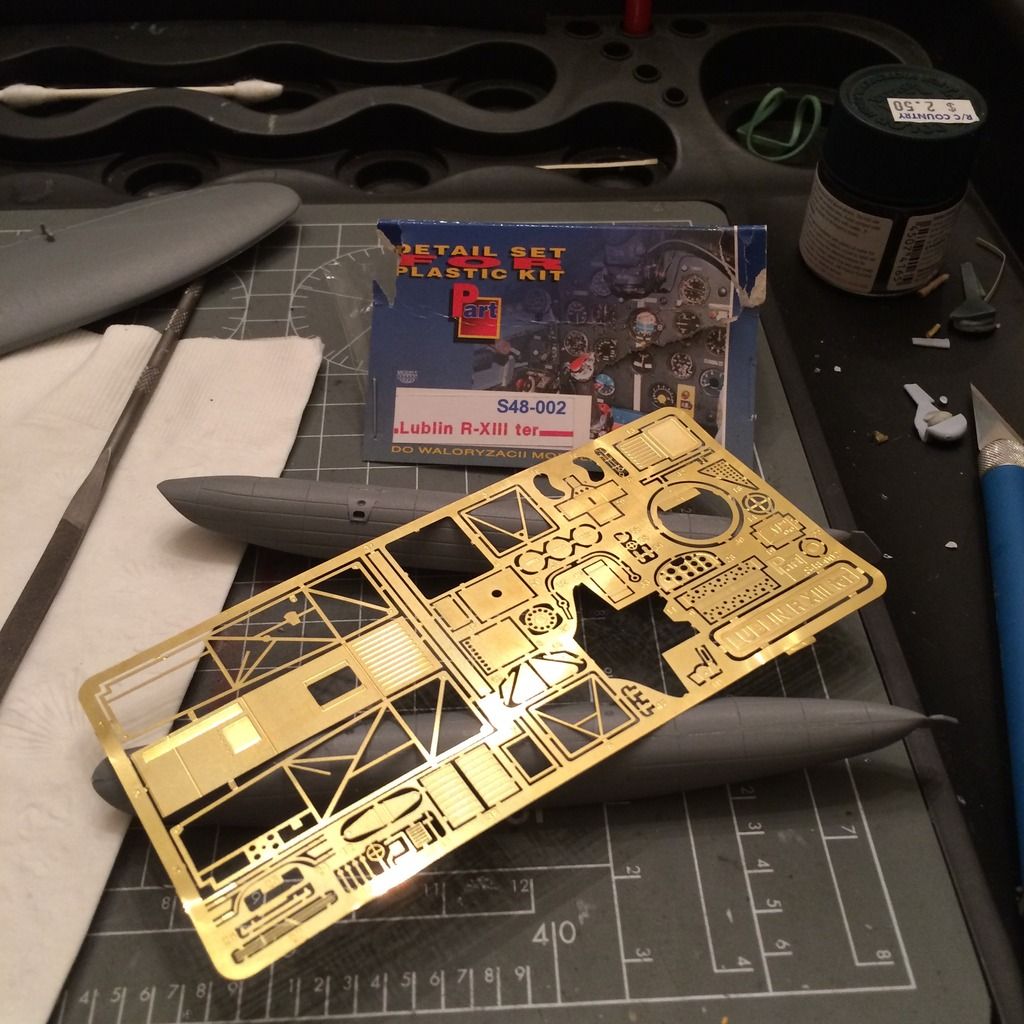
In short, I’m glad I ordered the Part PE set, even though its instructions are rather vague.
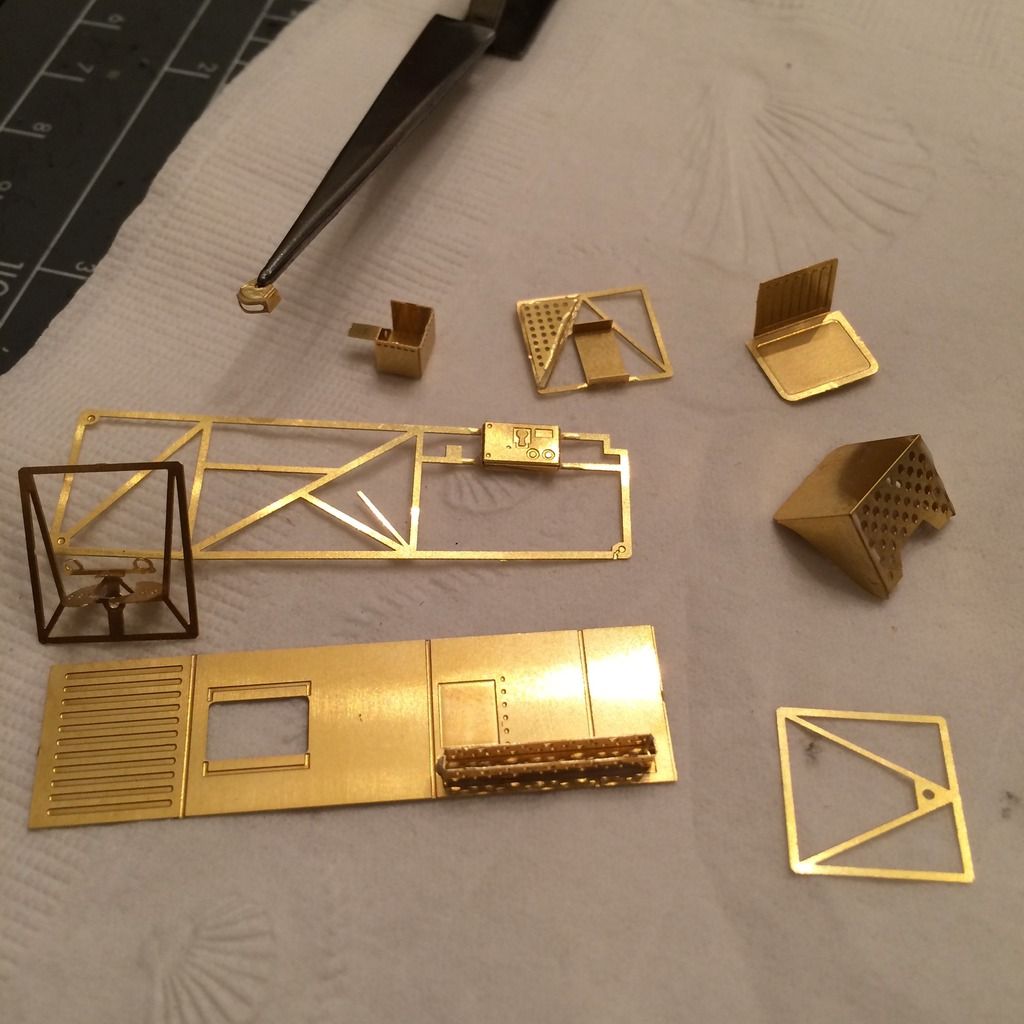
The only part of the kit cockpit I will be using is the control stick, as the PE set comes with the control wheel. When the Polish Navy ordered the last of its R.XIII hydros (numbers 714-719), they ordered them with standard control columns. As I’ll be building 714, I grafted the kit column onto the PE linkage.

That’s all for now, but I am already liking this subject, and this group build. I think it is always fun to get away from 109s, 190s, P-51s and Spitfires and build the less-storied planes. Floaters tend to fit the bill nicely.

-BD-

BrandonD, that PE is already looking really nice. That should be one nice pit when complete.

BK

I opened the box and looked at everything I got in order to start this build. I have another two builds planned ahead of this one but may start on it sooner than expected because it looks like too much fun to wait for. It does look like a nice kit based on the reviews I have read. I have had plans to put it in a diorama setting, such as it moored dockside. Dog might be optional.

Bradon, nice work on the PE. Looking good

I think I am just as excited as you on this one. It is a great subject and I can’t wait to see it build up.

BK

It’s my turn, I will be building the 1/48 Hasegawa A6M2-N Type 2 Rufe OOB.

My thought here is to display it tied to a beach similar to this photo using resin which will be a new technique for me.

This should be a pretty quick build. I will also be trying AK Interactive Worn Effects for the weathering for the first time.

So with that being said, here I go. I just have the office completed.

Steve

Off to a great start Steve. I will be watching this one as i want to do the same theme with my Jake and have never modeled water.

Me too. I’ve been thinking about a beach scene for my kits also. We’ll see what happens.

Nice work on the pit, Steve. Are you planning a chipped scheme?

BK

Guys, good looking starts, and some very ambitious projects projected too.

For making I water, I found this site quite helpful:

http://www.finewaterline.com/pages/tips&tricks/tips&tricks.htm

regards,

Jack

RW16R

Brandon is the host, I’m just the co-host so I’ll ask, but he has the final word, but personally I’m OK with it.
I know you are an airline guy, so which one are you leaning toward?

Thanks Jack for that link. I had it at one time and lost it at some point. The watercolor paper method has never worked for me, although the guys that can make it work really do well.

Ye, off to a nice start Steve, and i wil be wathcing this as well. I won’t be doing anything like this with the Dornier, but i recently got the BV 222 and would not mind having it going into water. So i hope you will be posting plenty of pics.

BK,

Yes, I do plan on making the weathering similar to the photo.

Bish,

I will be posting plenty of pics. I also have a WIP thread in the AC section.

If we are talking about a paper float or boat, sure, that’d be pretty epic. Heck, even if you made one out of iron as long as the build fits the floats or boats theme. It’s all good here.

BK

Thanks for the kind words, guys. The PE stuff has become a lot less frustrating since I started using Micro Krystal Klear as an adhesive (ditched super glue).

Steve - that looks like a fun build, and that’s a great inspirational photo for it. Can’t wait to see it come along.

-BD-