i am working on a 1/48 Revell level 2 P-51D and want to put the flapos down. ive never put flaps down before. do you just cut the flaps and glue them at an angle?? how do you do it? any help would be greatly appreciated. thanks!!
sam [C):-)]
i am working on a 1/48 Revell level 2 P-51D and want to put the flapos down. ive never put flaps down before. do you just cut the flaps and glue them at an angle?? how do you do it? any help would be greatly appreciated. thanks!!
sam [C):-)]
I used a box cutter with a very very sharp blade, and took several passes at cutting out the flap from each wing half by tracing around the flap and with each pass try to apply slightly more pressure. I didnt want to slip and put a nice groove in the rest of the wing. Once they were cut out, I glued the two flap halves together and let that dry. You will have to fill the gap from the top of the flap to the wing(for the flap extension) and I used a long piece of spru and then sanded it to shape and size. You may also have a gap from the top of the flap to the end of the bottom of the flap that goes under the wing root of the fuselage. That will most likely have to be filled also.
i was thinking of something like that, but i have already got the fusalageand wings put together. does that matter? or does that just recquire more cutting?[xx(]
[#dots]
If you already have the wings and fuselage joined, then you’re better off leaving well enough alone. At this point, you risk doing more damage than if you had removed them prior to joining the wings and fuselage.
Live, learn and drop the flaps on the next P-51 you build. Good luck! [tup][:D]
[#ditto] It is easier to cut out the flaps before you glue the two wing halves together, but you can try it on your Mustang with the understanding ahead of time that you might make a mess. Is it more important to you to keep the model in pristine condition or get experience of cutting out the flaps? your choice.
Darwin, O.F. [alien]
I have cut a flap off this kit after I glued the wings together. It took some effort, and that little bit of wing underneath next to the intake snapped off. You have to be careful of that, but it can be done. I used an #11 xacto.
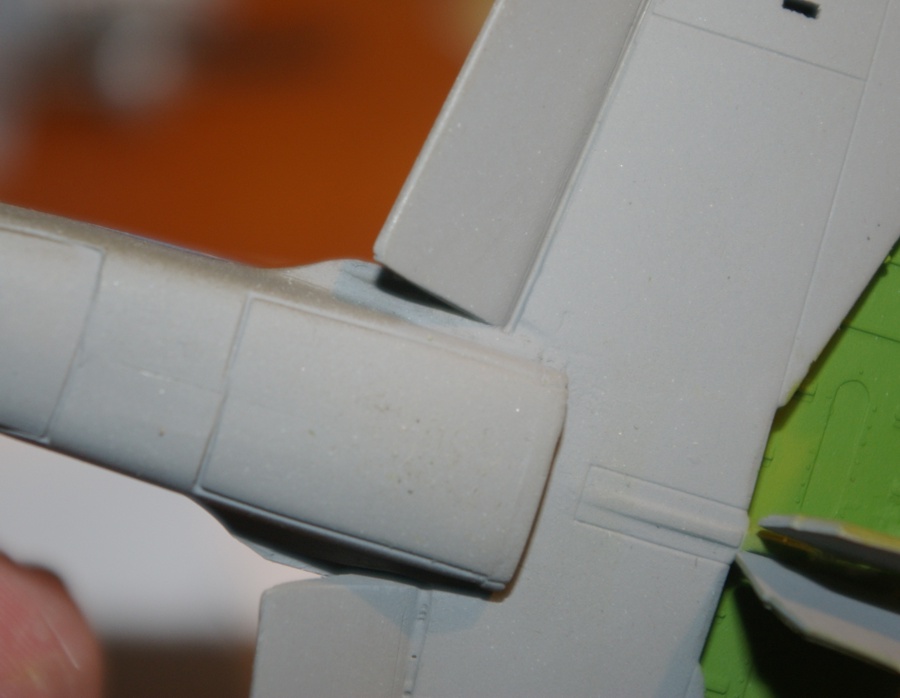
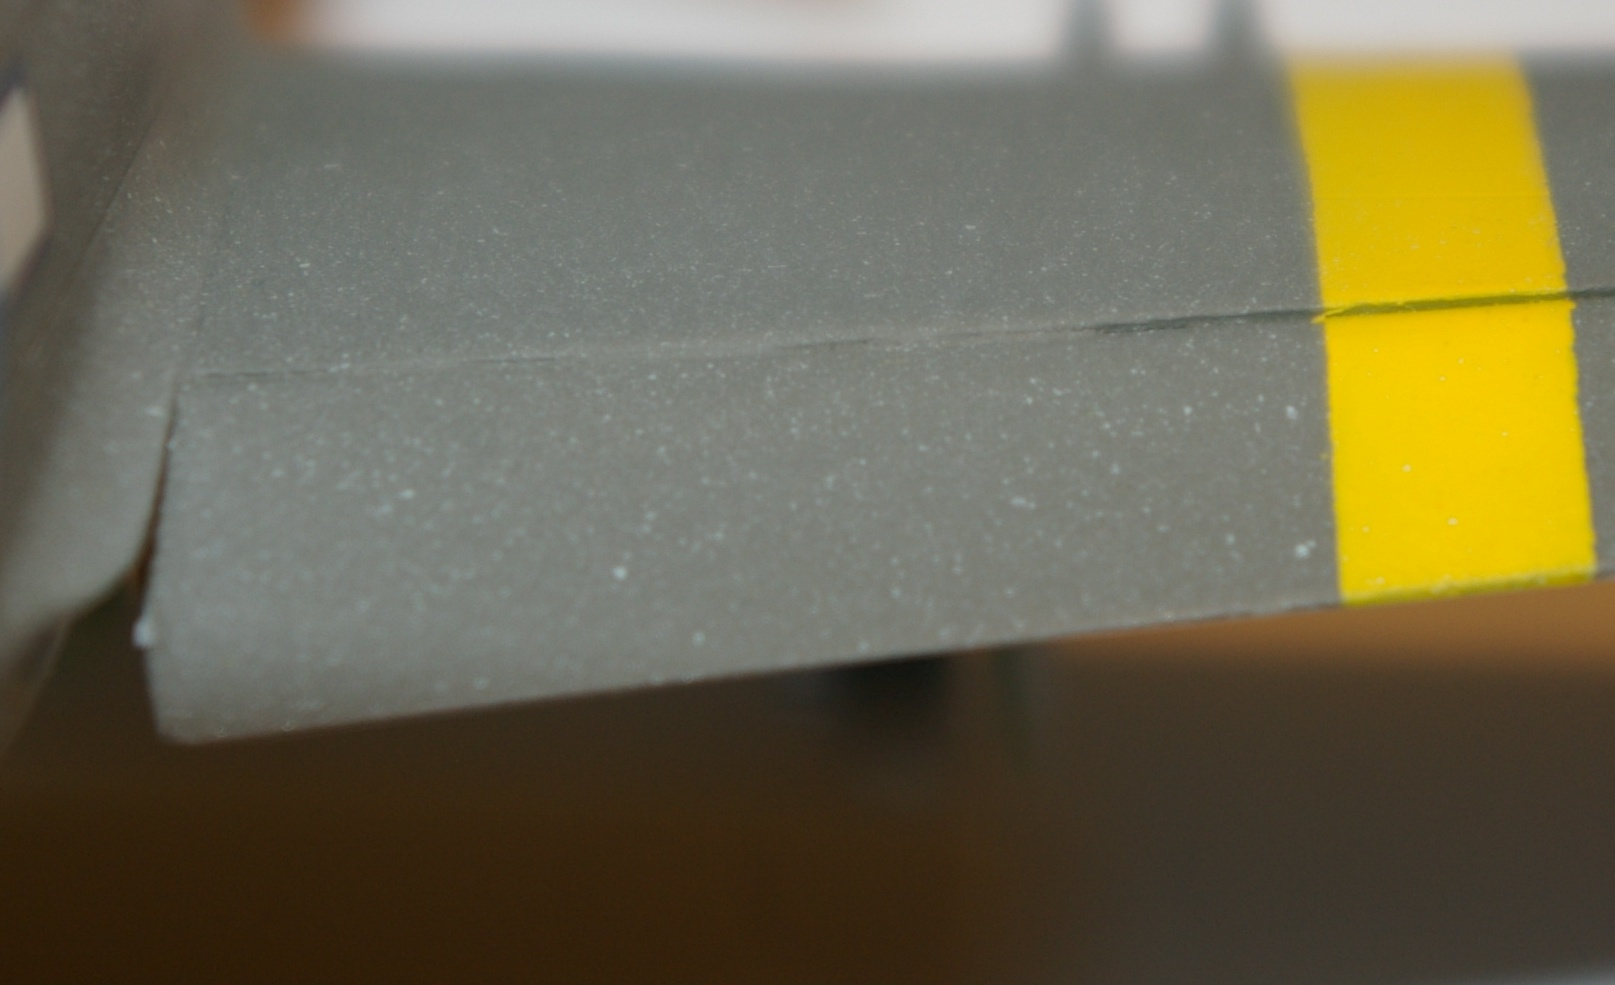
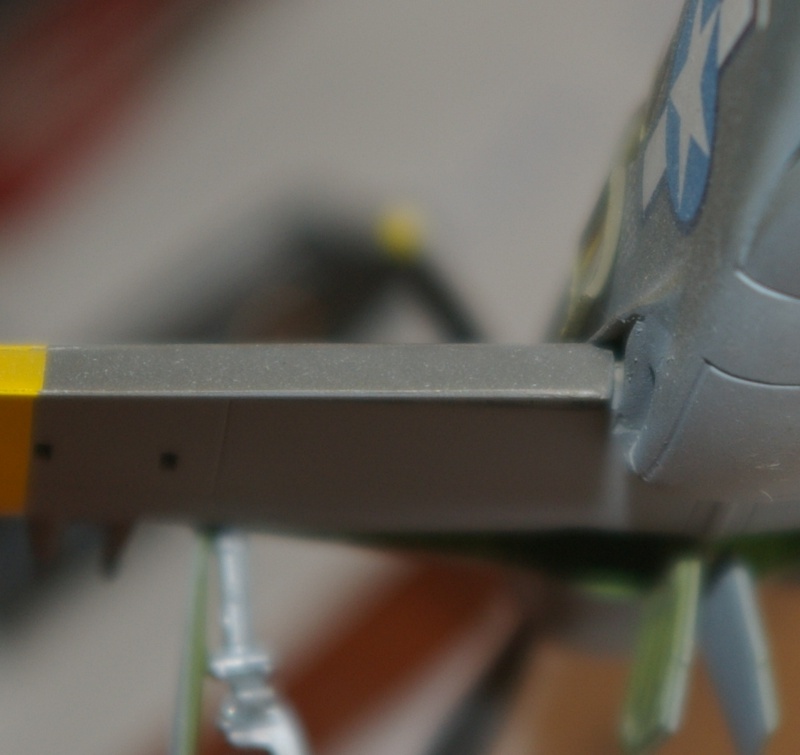
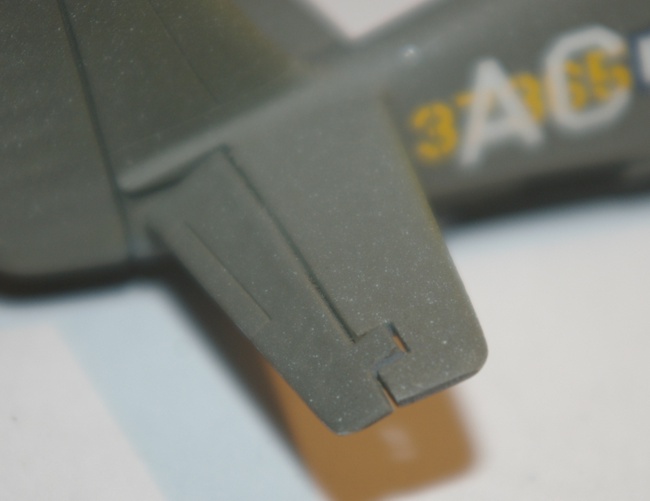
I just did the flaps down thing on an Italeri 1/72 P-51A, since all P-51 types had the same flaps here are some pictures. Never mind the grey specks, when I was trying to put a final coat on the model to fade the OD the grey I mixed into the clear came out “badly”! Oh well, it was never going to be anything but a practice model.
If you look at the flap where it is nearest the fuselage, you can see that it fits up underneath the fairing, so you have to extend the flap at the root so it will do this. You will also have to thin down the underside of the fairing, and most likely fill in a hole in the fuselage opposite the end of the flap as well as fill the bottom of the fairing. I also thinned down the upper surface of the wing so it will allow the repositioned flap to fit up against it with only a very small gap. The leading edge of the flap should be a rounded shape, I used sprue to shape. This leading edge was stainless steel and should be natural metal, not painted like on my model. The natural metal is only visible when the flap is down.
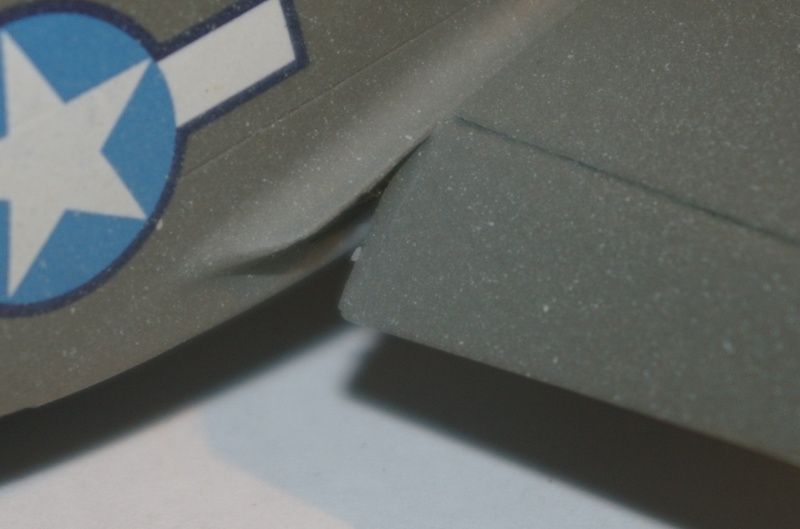
I also dropped the elevators on this model, the picture shows the counterweights sticking above the stabilizer.