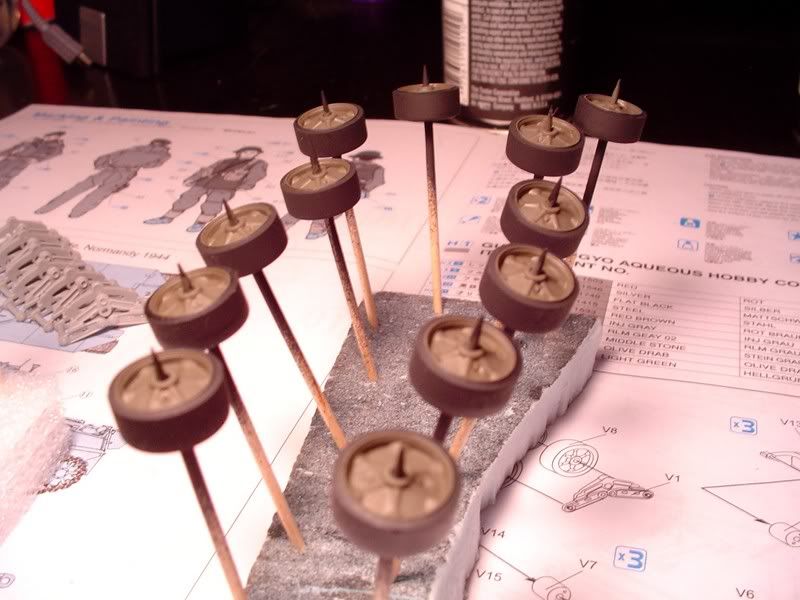
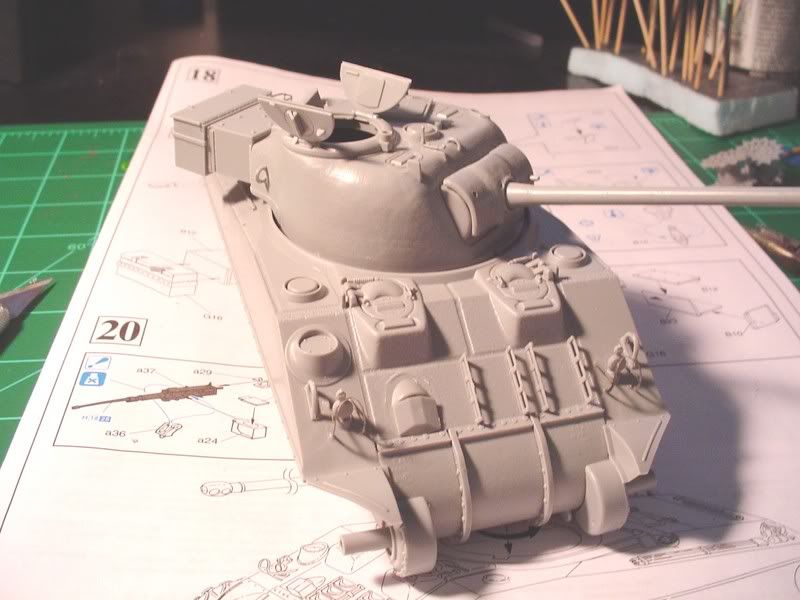
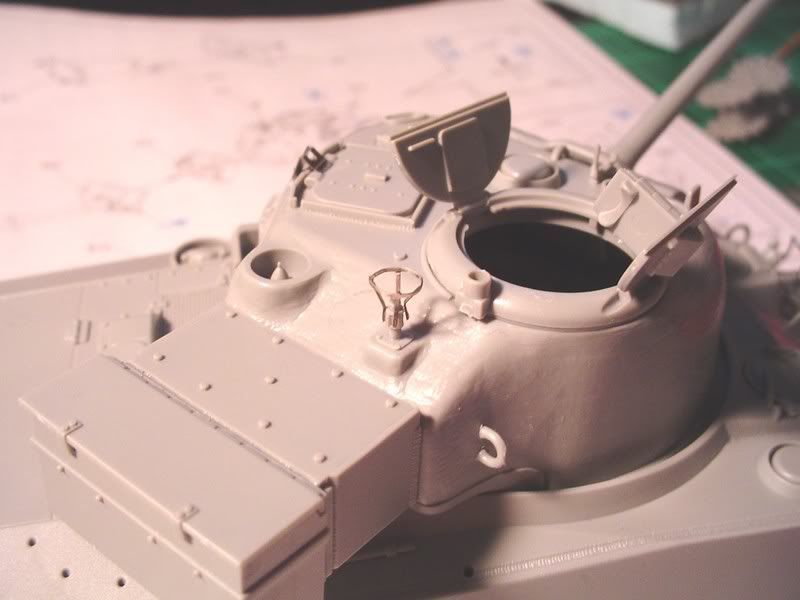
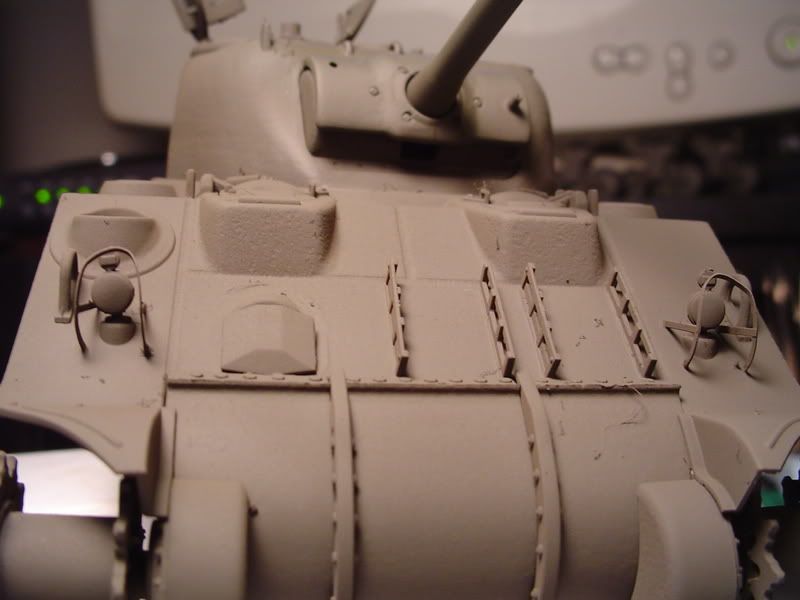
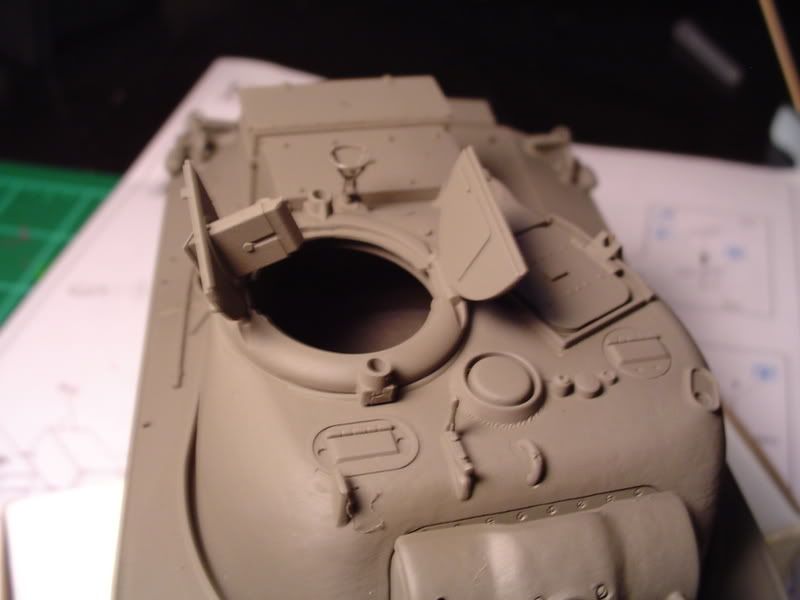
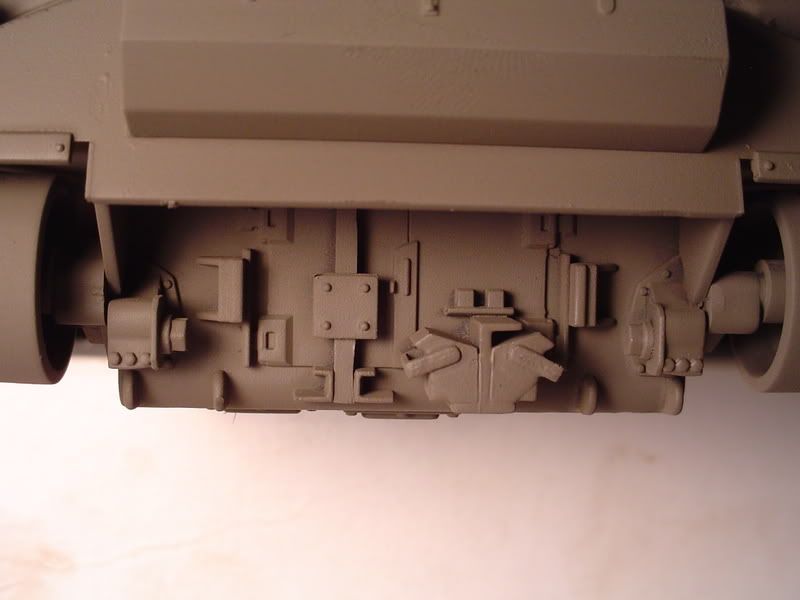
Well, here goes my first armor build. Im usually a wings and props kinda guy but for some reason I felt the urge so here it is. I have had fun with this thing but as it has been said, the instructions really [censored]. Getting ready to paint this thing and then tackle those god awful tracks. Going to try the kit tracks though as from what I have seen and read they look really good. Anywho, here are some pics. Let me have it, but be gentle[swg]
BTW the PE in that last photo has been fixed, that thing was a reall booger to get bent to shape!!!
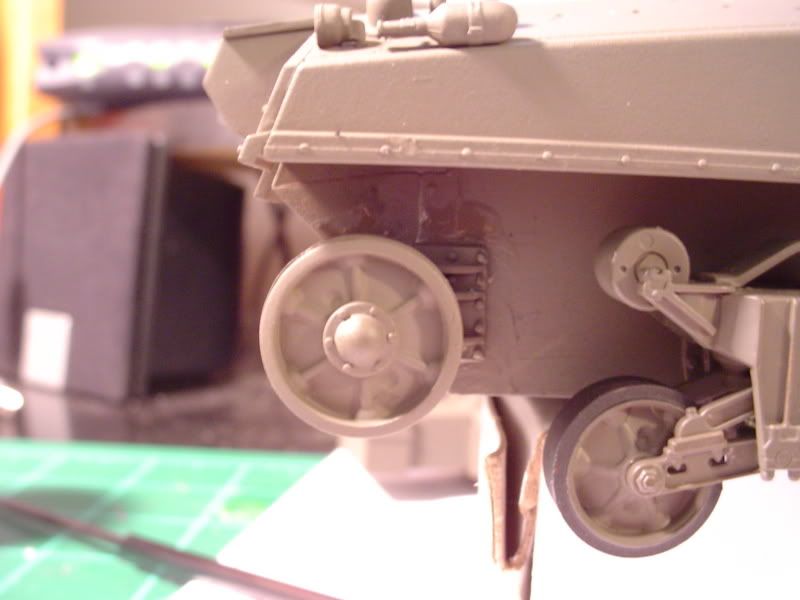
Looks good so far except the one thing I see, is a rather nasty looking seam that needs attention at the rear of the hull, where the top and bottom fit together.
Wow, I cant believe I missed that one[:I]!! Well, got it sanded off and it looks much better now. Primed it up with a black and covered it with its first coat! Not too bad I dont think. The pics make it look ALOT lighter than it really is though. As always, comments welcome. Feel free to point out my mistakes, I have Dragon’s PzKpfw IV Ausf E. 3n1[party] and I really want to get better before I get to that one!
the lifting lugs on the engine deck corners show a seam where they were glued to the deck attachment points. Maybe fill those seams?
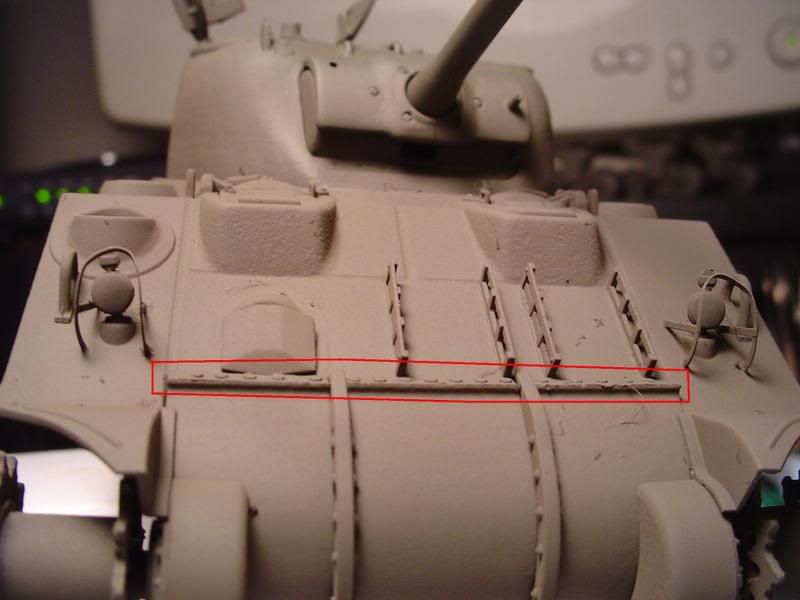
(and a harder correction at this point): the bolt strip at the top of your nose/transmission cover – the front lip should be flush with the top of the trans.
Thanks everyone for your comments and suggestions. Will work on the lugs for the engine deck. As for that darn bolt strip, I’m afraid I have been duped by the poor instructions that plague this kit. I guess I should have really done more research on it and maybe I would have caught it. I have seen alot of these kits built that way due to the instructions.
Looking good Jester, with all the little fixes you’ve done. How did it go together? I had to do a lot of puttying and sanding to get my transmission cover to fit properly. I started on the tracks, but eventually gave up and ordered resin aftermarket tracks from Accurate Armor.
Thanks! Overall it went together very well. Only fit problems I had were like you said at the tranny cover. Lots of fitting, adjusting, fitting adjusting. Finally got it to sit fairly well but still wound up putting that bolt strip on backwards. Also, I just found out that the rear idlers are waaay to high. An easy remedy for this is to swap sides on the parts that the rear idlers attach to. For anyone who is thinking about building this kit, I highly highly recommend you research other folks builds before you even open the bags and learn about all the shortcomings of the instructions!
I hope I can stay with it on the tracks, darn sure gonna try!!
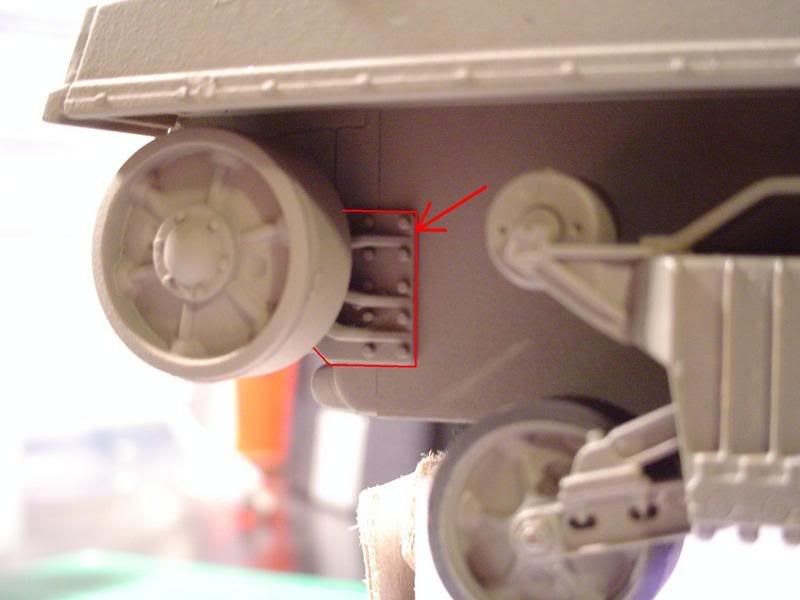
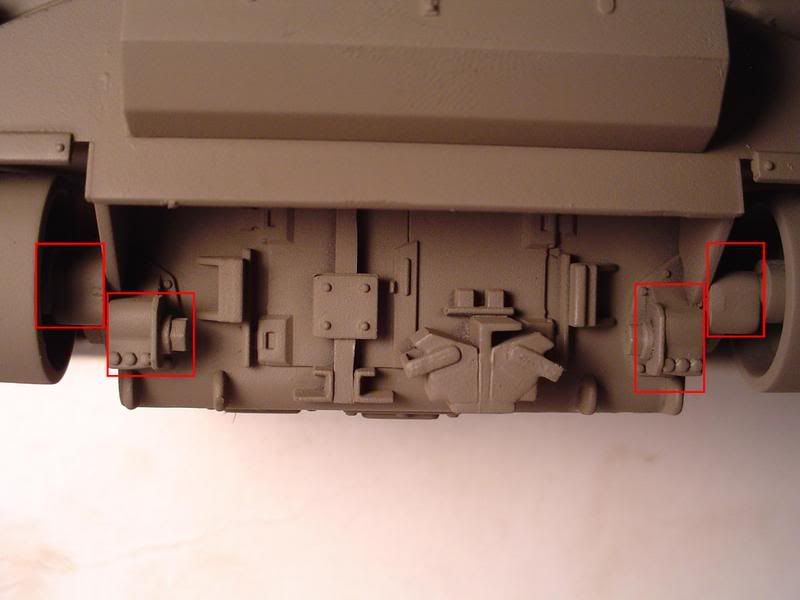
OK, I need some advice here. Earlier I mention that due to a bad instructions sheet, that my idlers are now waaay to high as seen in the pic below…
Now, what I have to figure out is how to remove the highlighted plate in the picture below without damaging it or the idlers and swap sides.
Any advice on this one?? I used Testor’s Liquid Cement on this thing. I would really hate to screw this thing up just trying to remove these two parts.
If you put the idler mount on the hull then ran the liquid cement around the outside of the idler mount, then try running more cement along the joint. Give it a second or two to start to melt the joint, and try to gently pry it off the hull.
Woohoo, it worked!! I added a bit more solvent, waited a sec, then gently slid my xacto blade underneath each edge of the plate and eventually it popped right off! Will post some pics of the corrected area once the glue dries a bit and I get it repainted.
Are all DML Shermans problematic like this kit?I won one of these kits on Ebay.Do you have any advice on avoiding some of the problems you’ve had with it?I’ll take any advice anyone can offer.
The recent DML Shermans are much better than some of their initial efforts. Which kit # do you have?
The Sherman III , Tarawa M4A2, M4A1 76 BOB, M4A2 76W and M4A3E8 Thunderbolt are very solid. The others require TLC – but such is the life of the Sherman modeller…
Not sure about the rest of the Shermans, but I have read about problems with all of Dragons Firefly’s. Dont get me wrong, mine is actually a good kit and the only fit problems I had was with the tranny cover but even it wasn’t that bad. The problem with my kit (#6182) was the instructions. Omissions of some parts in some steps, misnumbering of some parts, and as in the case with my idlers, putting the wrong parts on the wrong sides. I think if I had researched a little bit more before I started this thing I could have avoided this problem.
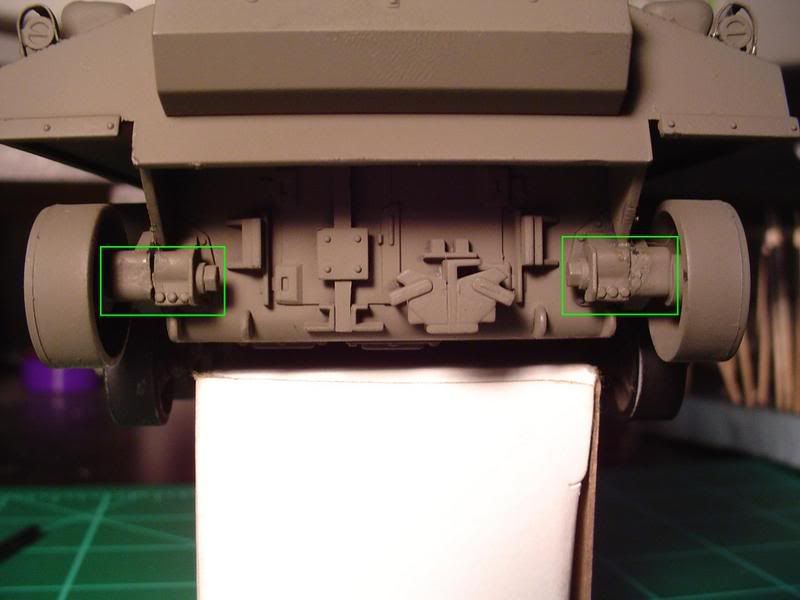
Ok, well definietly look out for the part that the idlers mount too. In the instructions they are labled H1 and H2 but they show them going on the wrong sides, swap sides. They should look like the pic above and you can really tell if they are right by looking at the rear and seeing if the line up adjustment bolts on the rear. The first pic below is how it looks when it is wrong and the second is the right way…
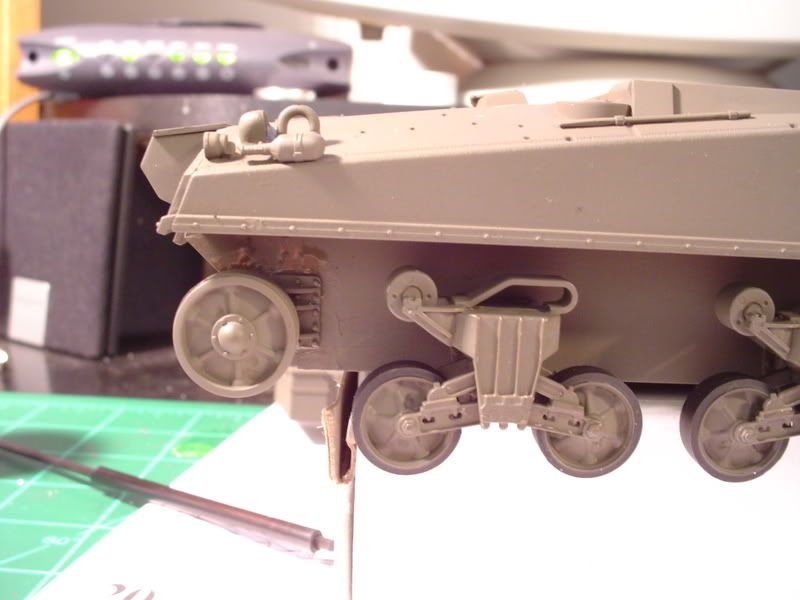
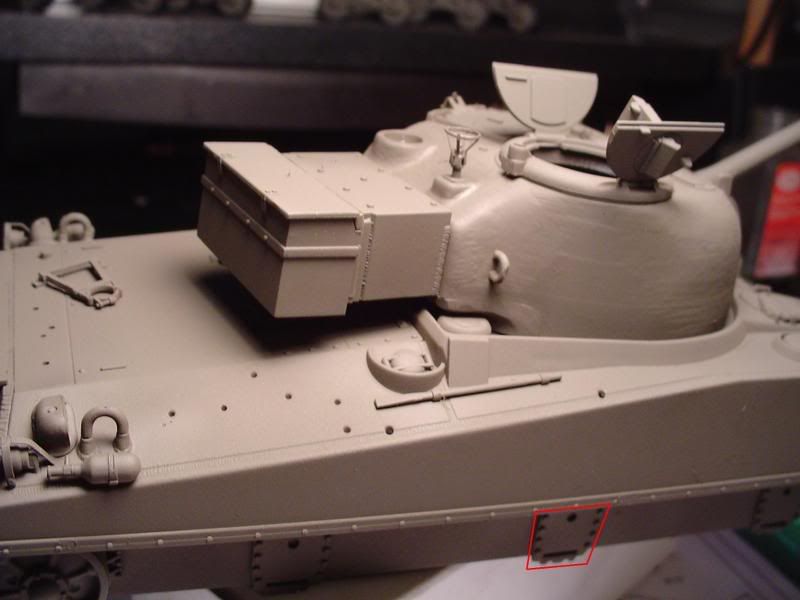
Also in the kit instructions, it doesnt show a small plate with bolts running along the outsides that mounts to the hull before the bogeys. Here is a pic of the “missing” plate…
And, the instructions tell you to put a small bolt strip where the top hull and tranny cover meets upside down. When you follow the instructions, it looks like a step like this…
…it should be a smooth transition from one piece to another, not a step.
The instructions also called for me to mount the storage box on the front of the hull and its even painted on the box art that way however there are no provisions to mount it there and it is suppose to be on the rear.
Oh, one more thing. The shaft for the drive sprockets is way to long and will leave them sticking out beyond the fenders if you dont cut it down. I cut about 1/8 to 3/16 inch off of mine to get them back under the fenders.
I “think” thats about all that I ran into. I haven’t started with the tracks yet and I have heard that they are a nightmare but Im going to try and stick with them.
BTW, my kit number was 6182. I think Dragon has released more than one Firefly so make sure yours is the same as mine. Hope that helps!!
Edit: One more thing, there is a mix up in the numbering of some parts on the sprues. Anything that is numbered in the instructions as a high “C” number is not on the C sprue but on the V sprue with the bogey parts.