First Annual USAF Vietnam Group Build

Hi Dave,

Trust me, I think everyone here has made goofs. I myself have had to start over with new pieces several times after destroying the originals.

Here are a few links to others who have built the O-2 Skymaster. It might help seeing and reading some of their experiences:

http://www.arcair.com/Gal9/8601-8700/gal8647-Cessna-Reysio-Cruz/00.shtm

http://www.aircraftresourcecenter.com/Gal12/11701-11800/gal11754-Skymaster-Conrady/00.shtm

http://www.arcair.com/Gal11/10201-10300/gal10278-Skymaster-Dinh/00.shtm

http://www.cc.gatech.edu/~tpilsch/AirOps/O2.html

Ken

I’ll second that, Ken! [:D] As the resident goof master, I’ve been there, done that. If you cut the window too large, make the cut larger by about 3 mm all the way around and square it up, then cut out a piece of sheet styrene to fit the new hole. Then you can cut out the actual size window in the new piece (or pieces if the wing is not solid) and glue it in place.

Good luck!

Russ

Great tip there Russ! Thank you for sharing that! [:)]

Ken

You’re welcome, Ken! You and probably everyone else knows that but hey - it makes me feel like I’m contributing something [:D]. BTW, I made the same goof with a top window on my B-52 and had to repair it that way.

Russ

Thanks for the links, Ken! I hadn’t seen any of those before. The last one is especially interesting! Thanks again for your help!

TAD

Hey Russ, thanks for the idea! I’ll get back to work on it some time this week.

No problem TAD. My pleasure to assist! [:)]

Ken

You’re welcome, Dave!

Hi Everyone,

I updated the front page listing of USAF aircraft used during the Vietnam War. The new aircraft is the RB-57F.

Here is a description from the National USAF Museum web site:

“The RB-57F design incorporated many major changes. The first was the greatly enlarged wing. The wing had a span of more than 122 feet, which was 14 feet more than the RB-57D and nearly double that of a B-57B. The second obvious change was the replacement of the Wright J65 turbojets with Pratt & Whitney TF33 turbofan engines. The TF33s gave the aircraft more than double the thrust of the B model.”

The wings had four hard points where the cameras were mounted.

There was only 2 used a very short while, one in 1965 and the other in 1966. Here is a description from the Wikipedia website.

“Later in August 1965, a single RB-57F would be deployed to Udon, RTAB in an attempt to gather information about North Vietnamese SAM sites, first under project Greek God and then under project Mad King. In December another RB-57F would be deployed for this purpose, under project Sky Wave. Neither project garnered useful results and they were terminated in October 1965 and February 1966 respectively.”

Ken

Great pictures, Ken! I love that configuration of the B-57. It was the forerunner of the U2. I wonder why their flights over Vietnam were unsuccessful. Maybe because of the persistent clouds or the lack of resolution of the early cameras.

Russ

That is a good guess Russ. I have researched it but cannot find the reason anywhere. In fact, there is barely a mention of them even being used in Vietnam. It would be great to find out for sure. I will try to mention it to Don in our next IPMS meeting to see if he has any recollection of it.

Ken

Also it could be they were threatened by newer SAMs - they couldn’t fly as high as a U2. The A12 was about to make it’s debut about that time so I imagine the Air Force decided not to take a chance on having an RB-57 getting shot down.

Russ

Hi Everyone,

I just can’t believe that I missed this date; March 2, 1965. Oh well, better late than never.

Anyway, “Operation Rolling Thunder” began on March 2, 1965. Here is an excerpt from Wikipedia that gives a pretty good overview:

"Operation Rolling Thunder was the title of a gradual and sustained US 2nd Air Division (later Seventh Air Force), US Navy, and Republic of Vietnam Air Force (VNAF) aerial bombardment campaign conducted against the Democratic Republic of Vietnam (North Vietnam) from 2 March 1965 until 2 November 1968, during the Vietnam War.

The four objectives of the operation (which evolved over time) were to boost the sagging morale of the Saigon regime in the Republic of Vietnam, to persuade North Vietnam to cease its support for the communist insurgency in South Vietnam without actually taking any ground forces into communist North Vietnam, to destroy North Vietnam’s transportation system, industrial base, and air defenses, and to cease the flow of men and materiel into South Vietnam. Attainment of these objectives was made difficult by both the restraints imposed upon the U.S and its allies by Cold War exigencies and by the military aid and assistance received by North Vietnam from its communist allies, the Soviet Union and the People’s Republic of China (PRC).

The operation became the most intense air/ground battle waged during the Cold War period; indeed, it was the most difficult such campaign fought by the U.S. Air Force since the aerial bombardment of Germany during World War II. Supported by communist allies, North Vietnam fielded a potent mixture of sophisticated air-to-air and ground-to-air weapons that created one of the most effective air defenses ever faced by American military aviators."

Ken

Hi Ken,

I’d like to join this group build. I am building Academy’s 1/48 F-4C that was flown by COL Robin Olds during Operation Bolo…plus it’s Mustache Madness month and even though I am Army, I’m growing one anyway. Mustache Madness is consider a legacy of COL Olds. The only aftermarket I am using on the kit is Edward’s ejection seat upgrade…since the kit’s ejection seats are actually nice, but sterile in detail.

Tal Afar Dave? Interesting name. I’ve been to that place.

You have my condolences!! LOL…It was quite the garden spot in the summer of 2005! I was there as an advisor to the Iraqi Army. Good times!

Welcome aboard Beckyhead! [snWcm] I will update the front page right now.

Very cool build! I would have to say that Col. Robin Olds is one of my favorite pilots.

Here are some pictures of his plane that is exhibited at the National USAF Museum that I took. Some of them have Berny in them (the person that this group build is dedicated to):

Ken

Hi Everyone!

This day in history: It was 41 years ago today that all South Korean troops left South Vietnam for good.

Ken

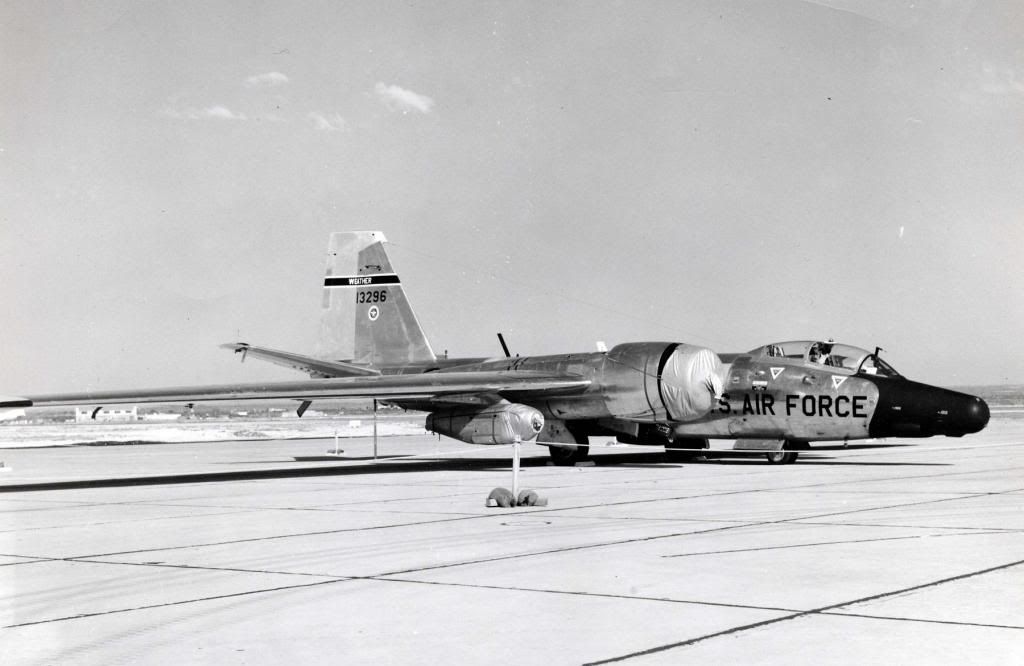
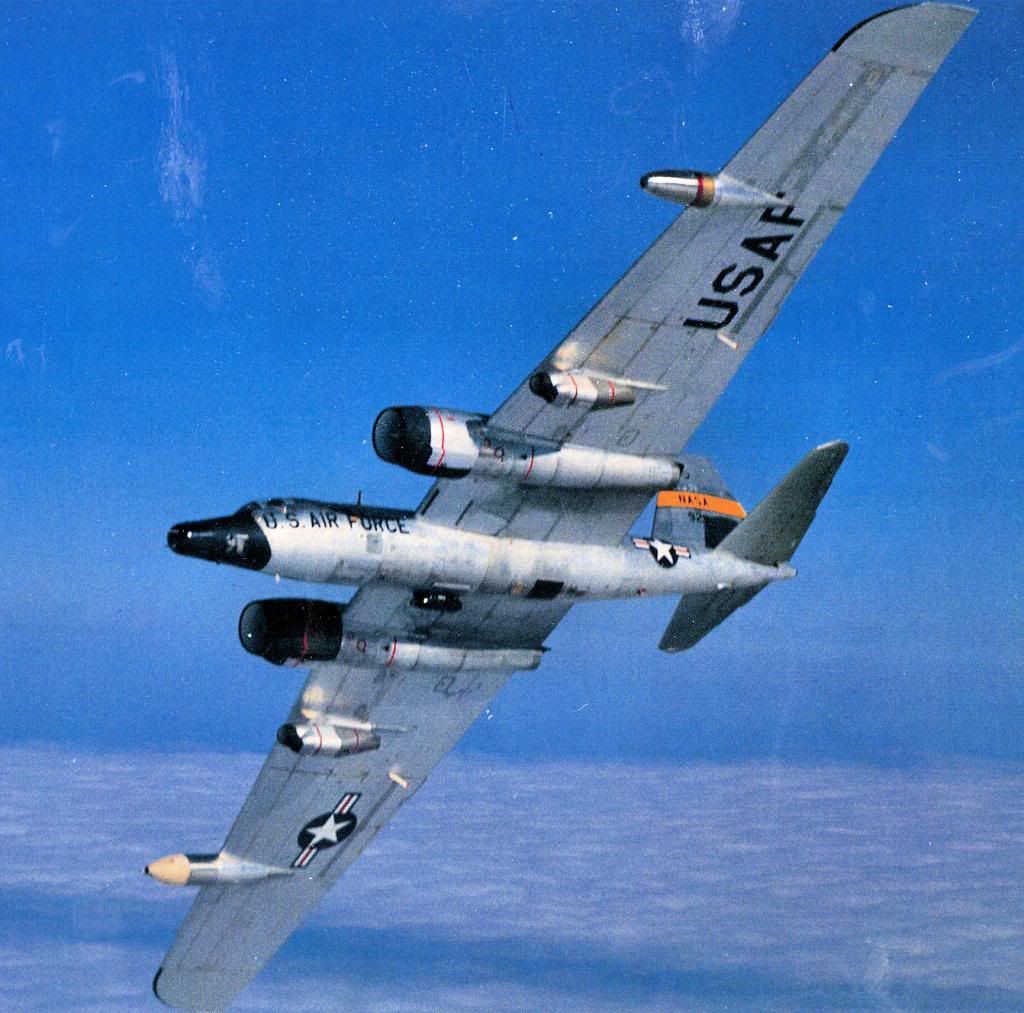
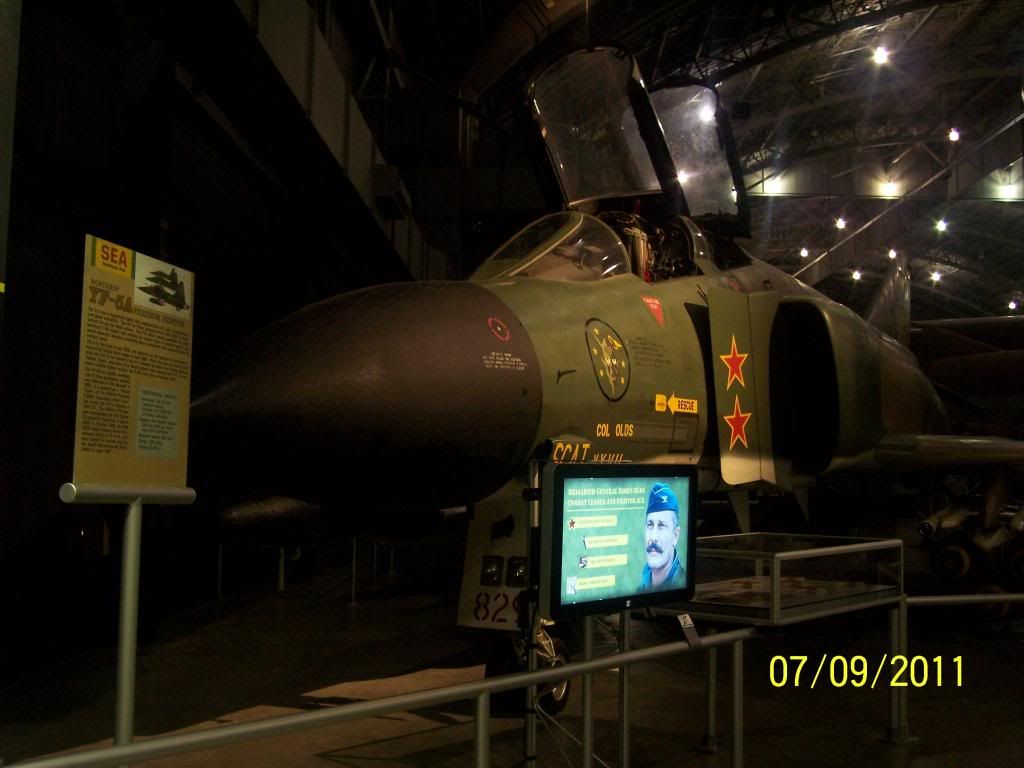
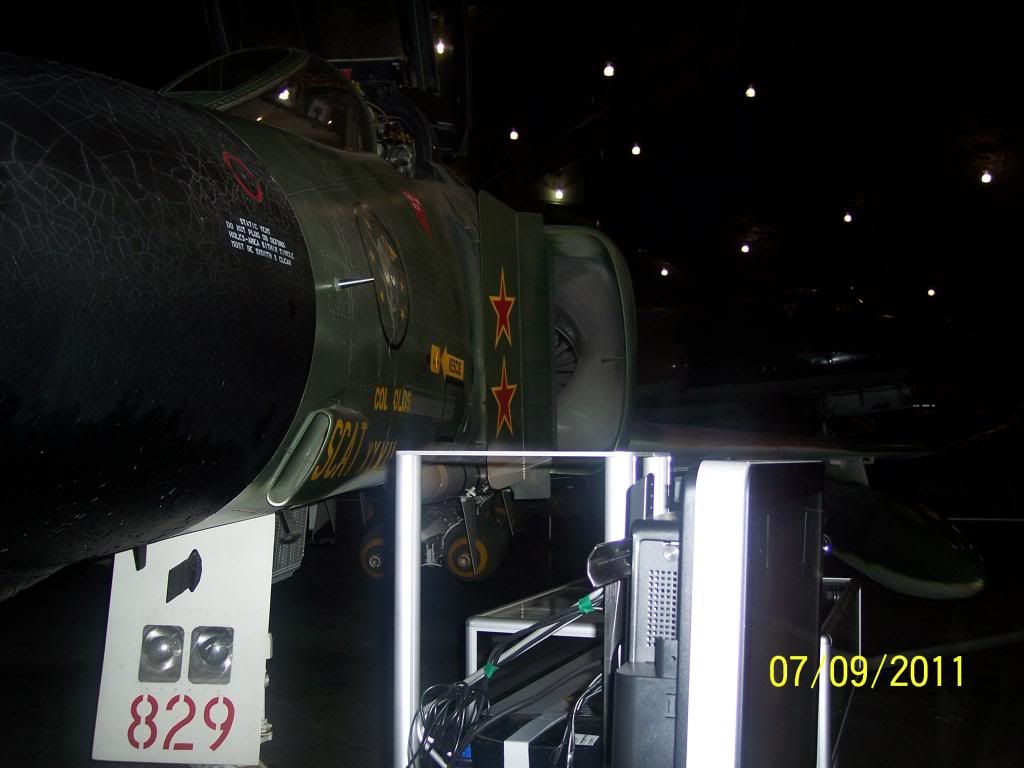
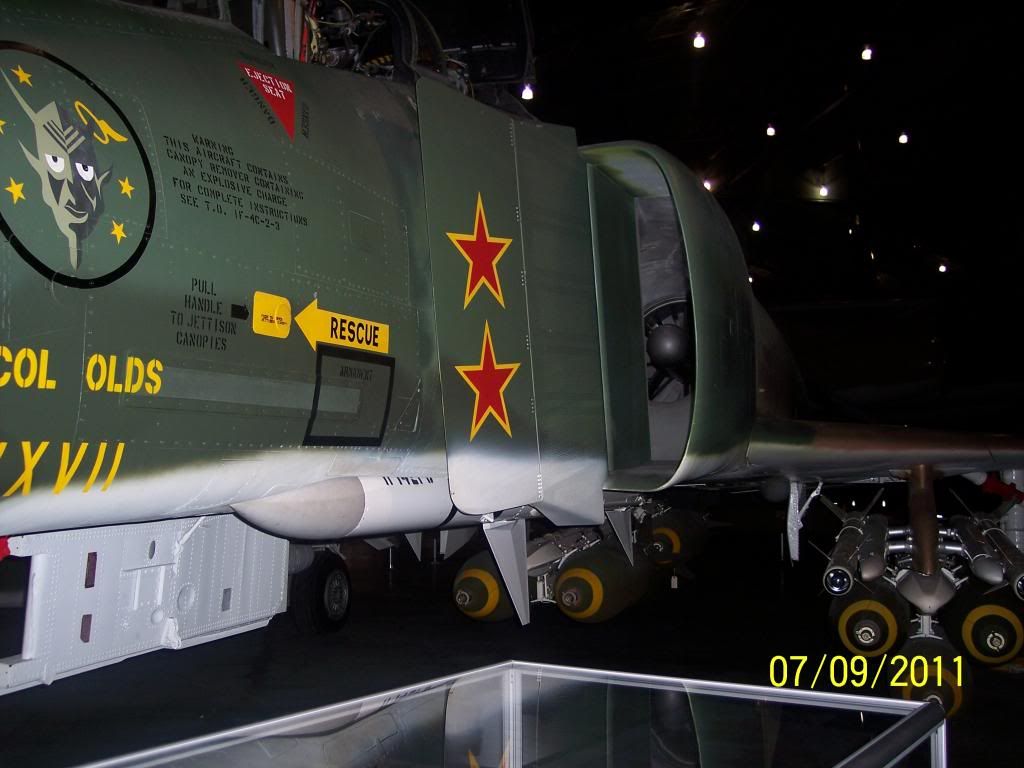
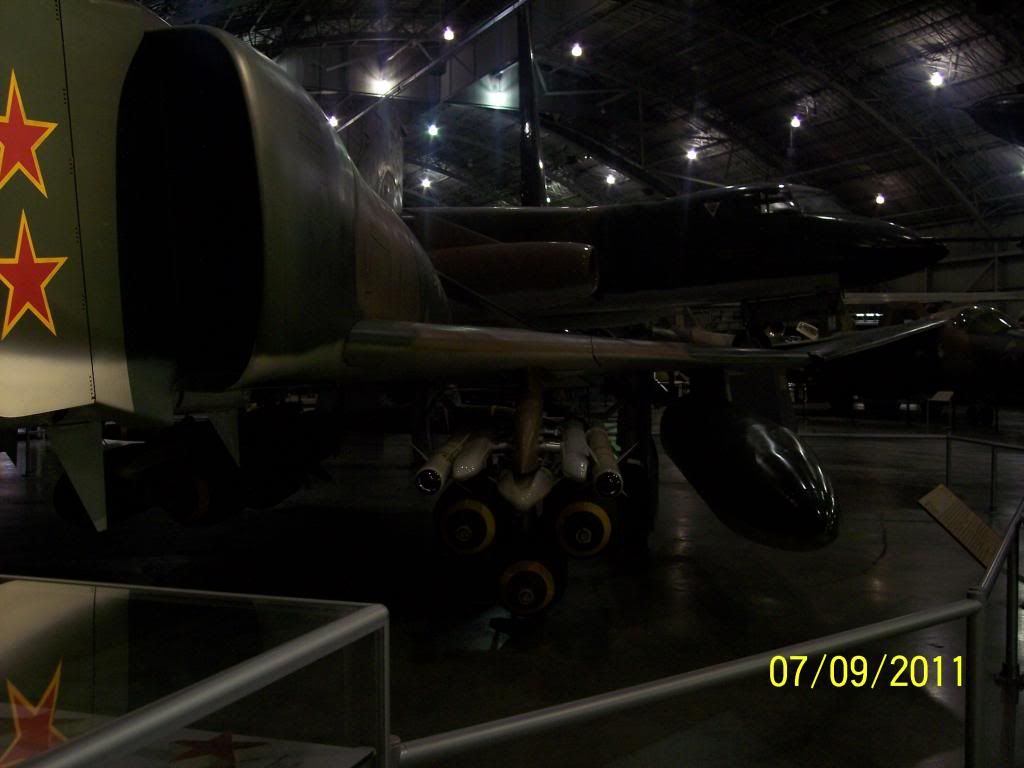
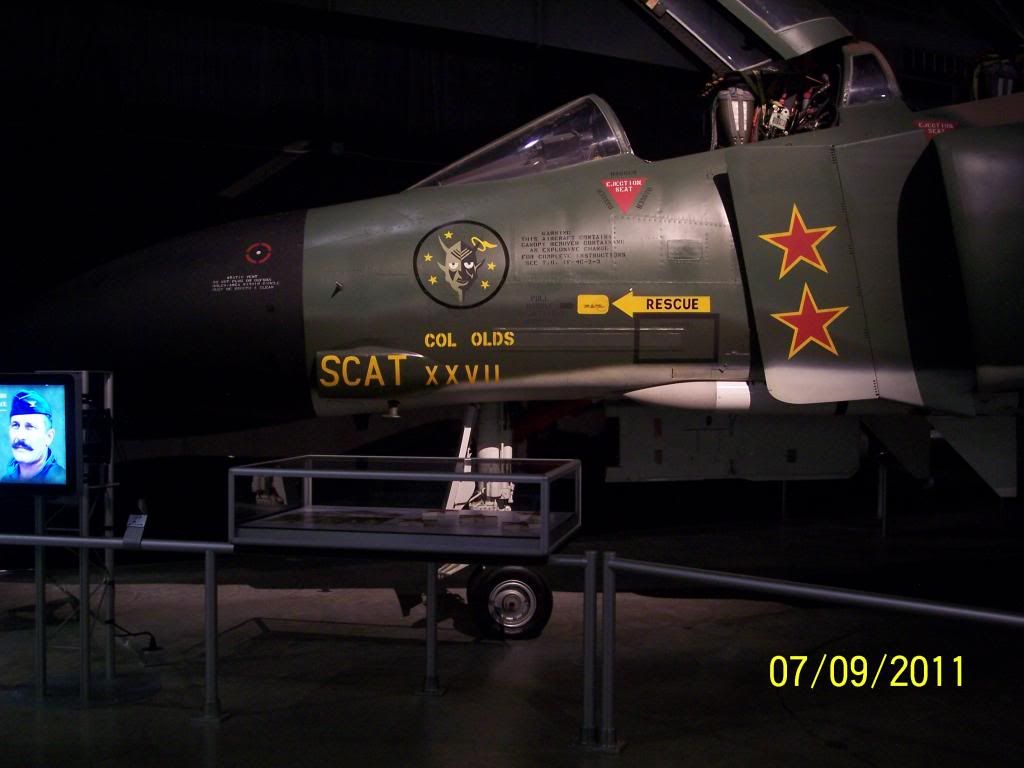
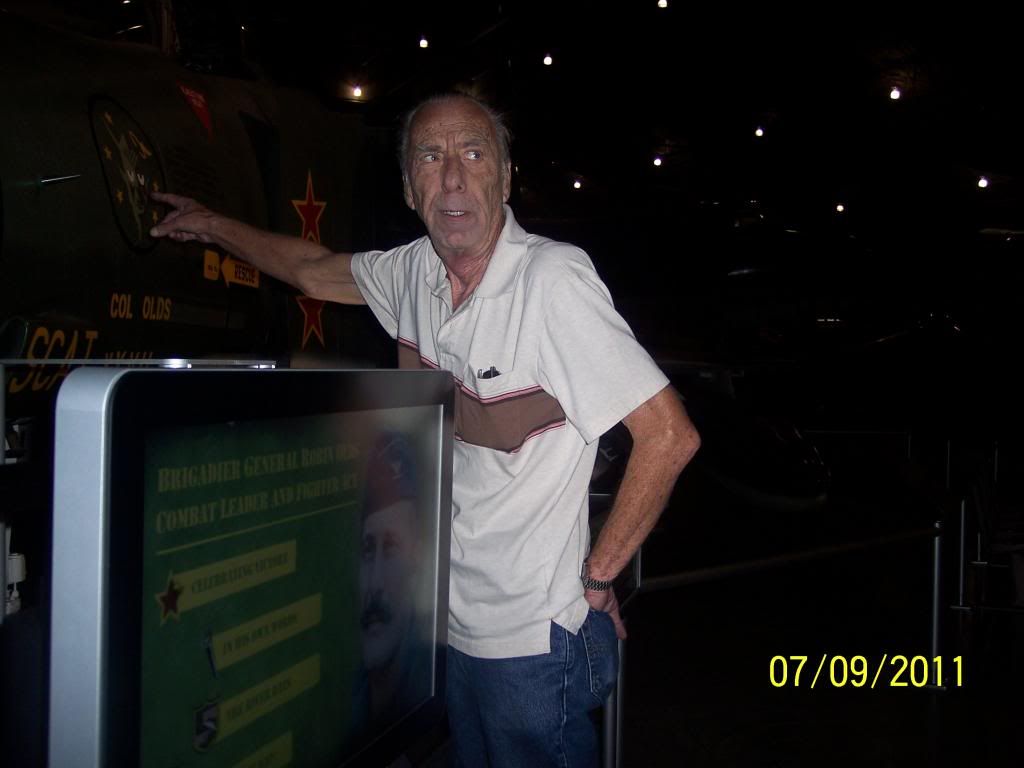
Great pics of Scat XXVII! Thank you for sharing:

On to my progress: I was able to complete most of the cockpit tub this weekend to include the tubs, seat, Eduard ad-ons and the side panels. I’ve complete the front instrument panel, but I am still working the rear instrument panel.

I tried a different technique for highlighting the dark panels by using a dry brushing method that build up the color gradually while keeping the edges sharp. The seats were painted with a combination of acrylics and oils to build highlights and shadows, and make the seats and parachute feel like they are made of a fabric. The overall tub, panels and seats still need to sealed with a flat coat.

The front instrument panel was also drybrushed. I also used decal fragments and left over instrument panel decals punched out with a Waldron punch for instrument faces. The radar of the front panel was simply a disck punched out from a sheet of bare metal foil, then colored with Tamiya Clear Orange. I still need to seal the front panel with a flat coat. Rear panel needs more work, and I will also build up the reat of the panel with punched disks for the cableing and plastivard for more detail. I could use some help figuring out the color of the rear panels radar. Any takers?

Even thought the Academy kits has great instrument and side panel details, the panel walls were completely barren. I could not let this go. Now, aftermarket would have been a great solution, but I’m tired of dealing with fit issues and the crazy sanding and cutting that has to be done to make them look right (I’m looking at your Aries!) So, for the first time, I decided to scratchbuild the sidepanels. This actually turned out to be more fun than I thought!

Drew and outline of the panel of a very thin sheet of Evergreen card stock. For references, I used an older kits, and some online resources to build up the details of all the panels.

Rear panel complete.

Sorry about the poor photography! Panels complete…painting is next. However, I really enjoyed doing this, so I went ahead an began to add some other details to the cockpit.

I added this document…thingee over the right panel/pilot seat. This was based on my references, and looked easy enough to replicate. Well, that is all I have for now…I hope you like what you see so far.

Looking good! [Y] [Y]