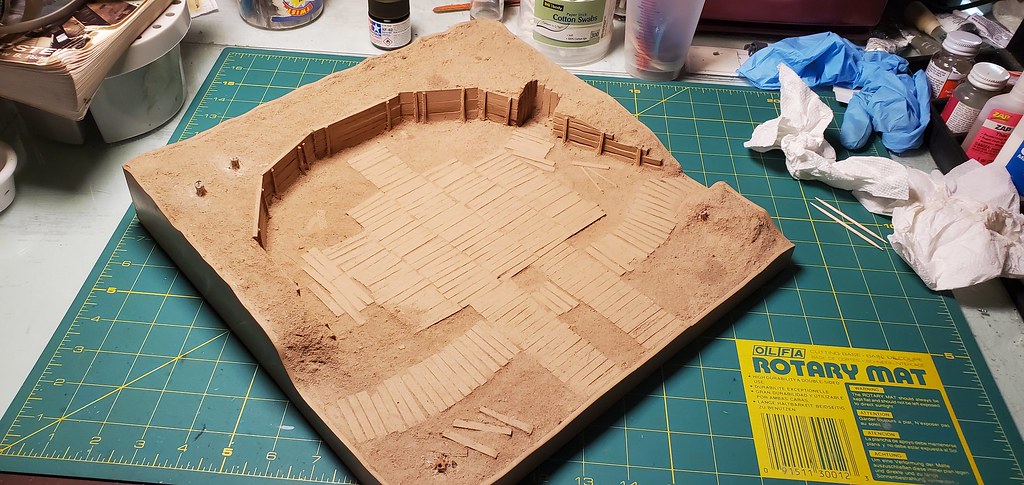
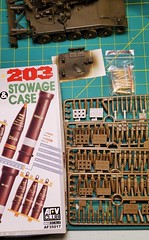
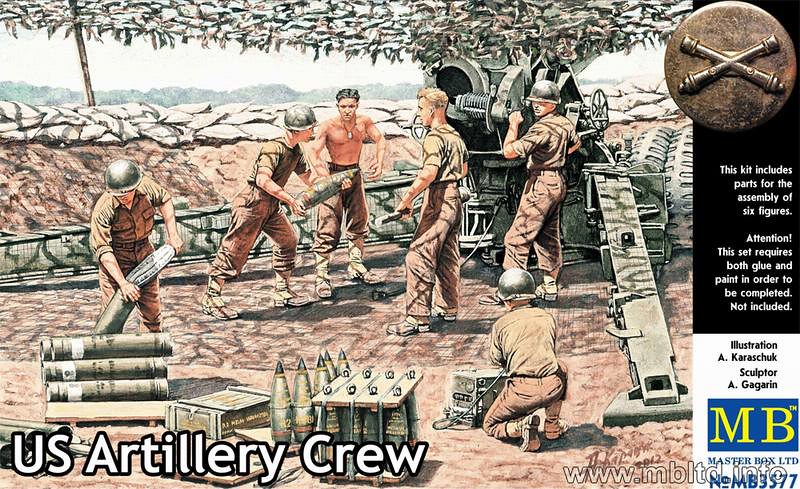
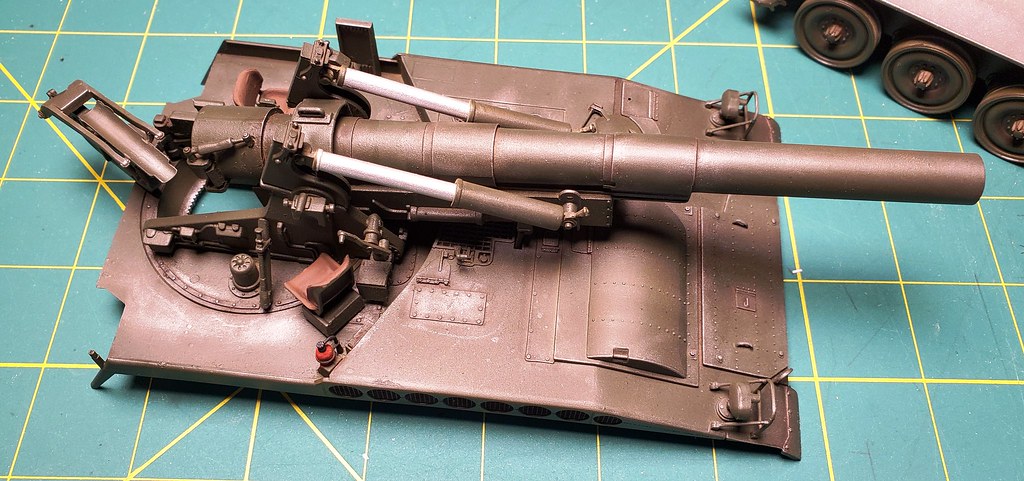
I’m starting my next diorama which I’m calling ‘Firebase’. I’ll be using Italeri’s M110 8in. SP howitzer and a resin base which I don’t recall who made it. Along with a gun crew from MasterBox, ammo by AFV Club and other assorted goodies. Here is just the start.
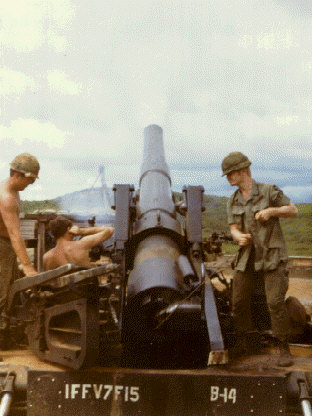
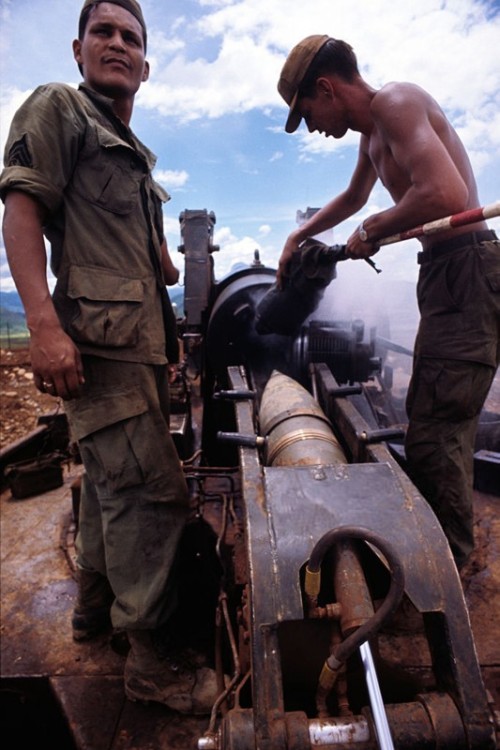
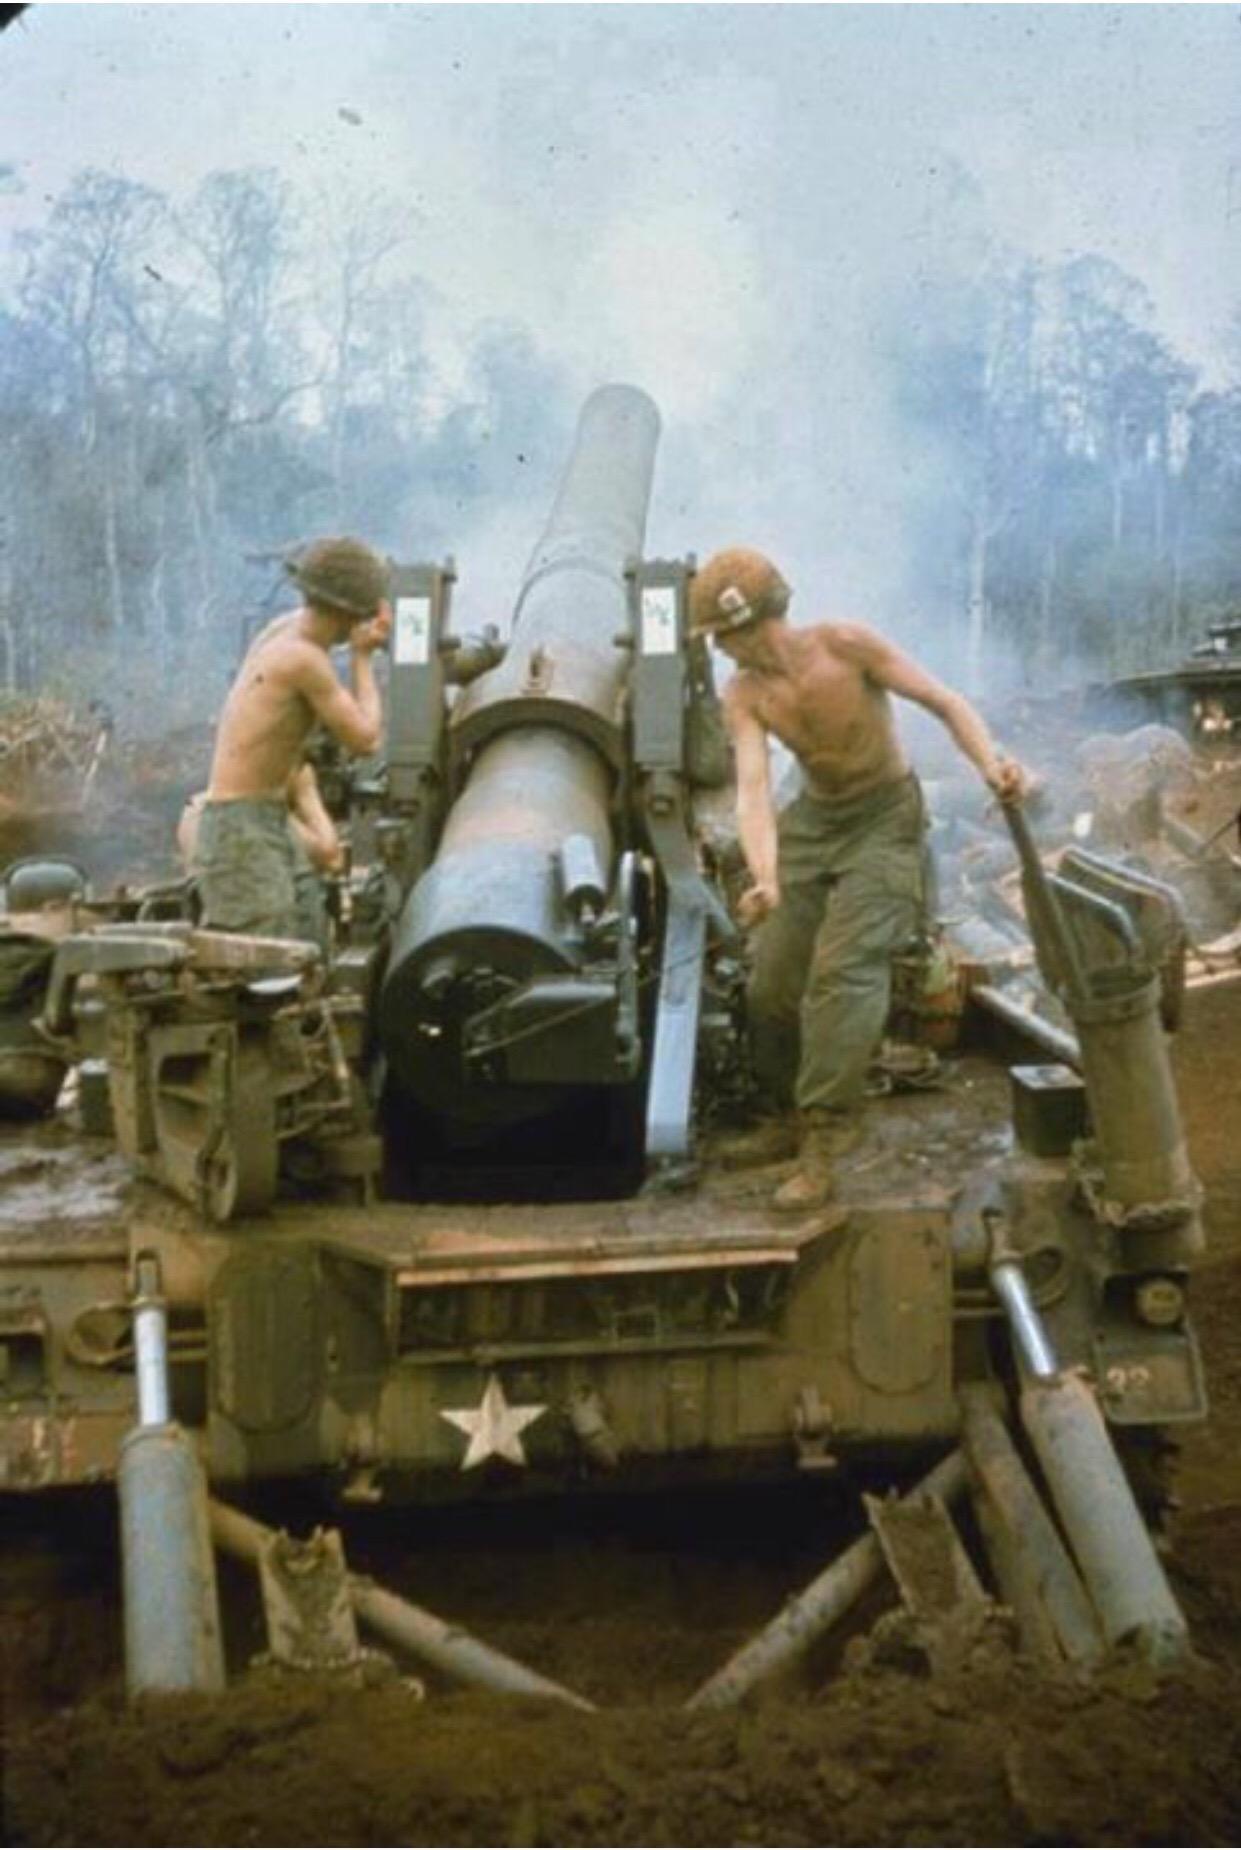
This one should be nice. Are you going to modify/update the figures? They are WWII figures and the M110 was not fielded until 1963 and heavily used in Vietnam. The uniforms on the figures are not right for post WWII (Vietnam or later).
I saw that the arty figures were wearing boot legging/gaiters so I might have to kitbash them, but I didnt see much of a problem with their upper uniform sateen shirts and helmets. IMHO those figures should work fine.
You also need to add cargo pockets on the pants and extend the shirts below the belt line and add the lower pockets. In Vietnam, the uniforms were not the OG-107 w/tucked in shirts. Vietnam uniforms were Jungle Fatigues which were lighter and worn untucked. All helmets had camo covers too.
It is disappointing that there are no plastic Vietnam era gun crews out there. Tamiya missed the chance when they reboxed Italeri’s M107. They just tossed in their M577 command crew set from the 1970s. Instead of new, relevant crew figures and new tracks, we got some folded cots.
To paraphrase Deadpool “That’s just lazy repackaging!”
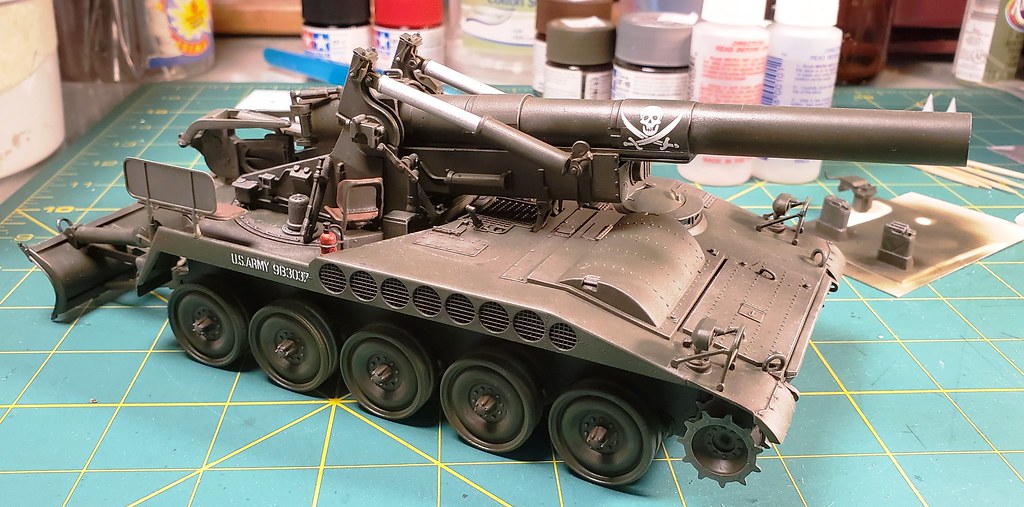
Some WIP pics. I weathered the M110 with oils and added the decals and a “Jolly Roger” from Archer Fine Transfers. There will be some more weathering and tweaking as I progress with this project.
I’ve added a couple of new decals to the howitzer and I’ve attached the vinyl tracks. I’m not happy with how they don’t sag onto the road wheels. But I will attend to that. As for the rounds the one on the left is the plastic version which came with the kit while the other 3 are the heavier AM copper ones already primed for painting. Also the wooden racks, rounds and powder bag containers are primed and ready and waiting for their colors and construction.
It’s a shame that there’s about nuttin’ in the post-korea to pre-vietnam era. My Checkpoint Charlie dio died for a lack of interest in converting all of those figures.
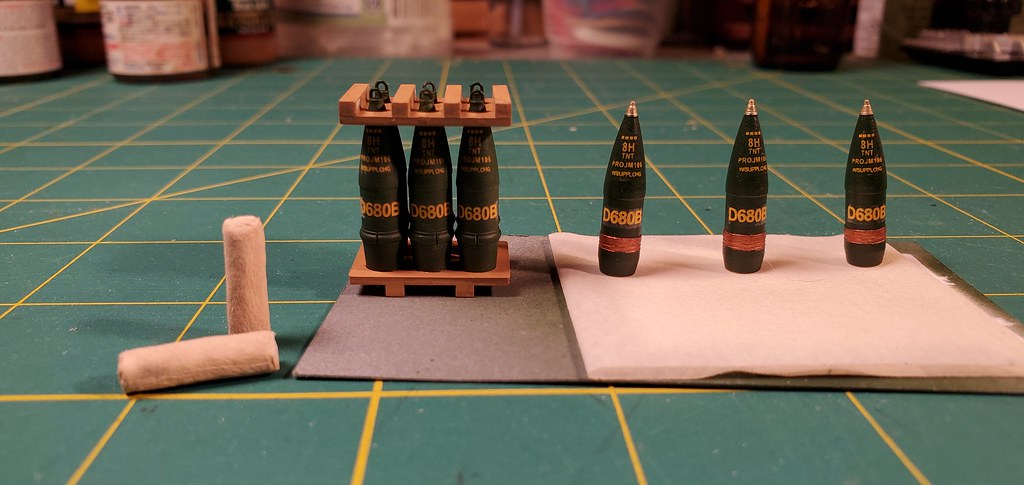
Thanks Gino for link on the indi-link metal tracks. But I’ll make these work for now. Here are some pics of the AM 8in rounds. Instead of a flat olive drab color I went with a deep green color instead. The copper rounds just need to be decaled and then I’ll weather them a little bit.
The rounds and powder cans are looking good. I wouldn’t weather them too much though. They didn’t sit around that long once they reached the guns, especially the fuzed ones. Where did you get the powder bags, they look good? Of note, the rear of the powder charge should be red. It is the igniter pad and always goes to the rear when loaded.
Thanks for the comment Gino. The powder bags were a scratch build. Also thanks for the tip on the powder charge rear. Sometimes reference pics don’t give you everything. This is what happens when you’re attached only to 105mm arty batteries.