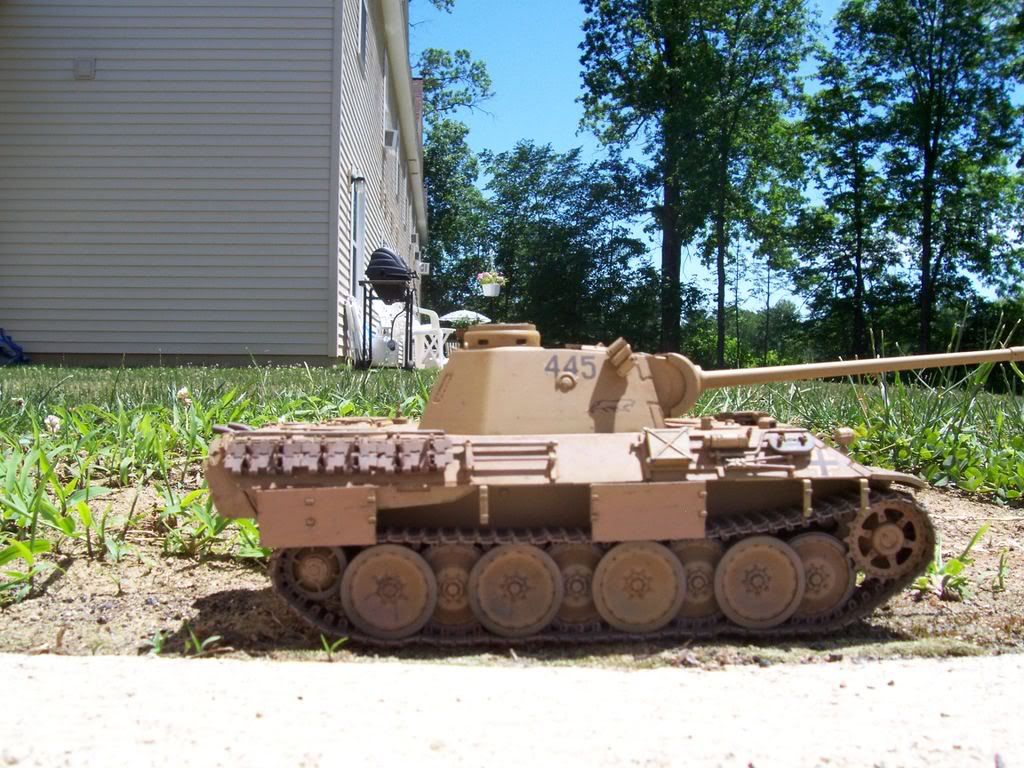
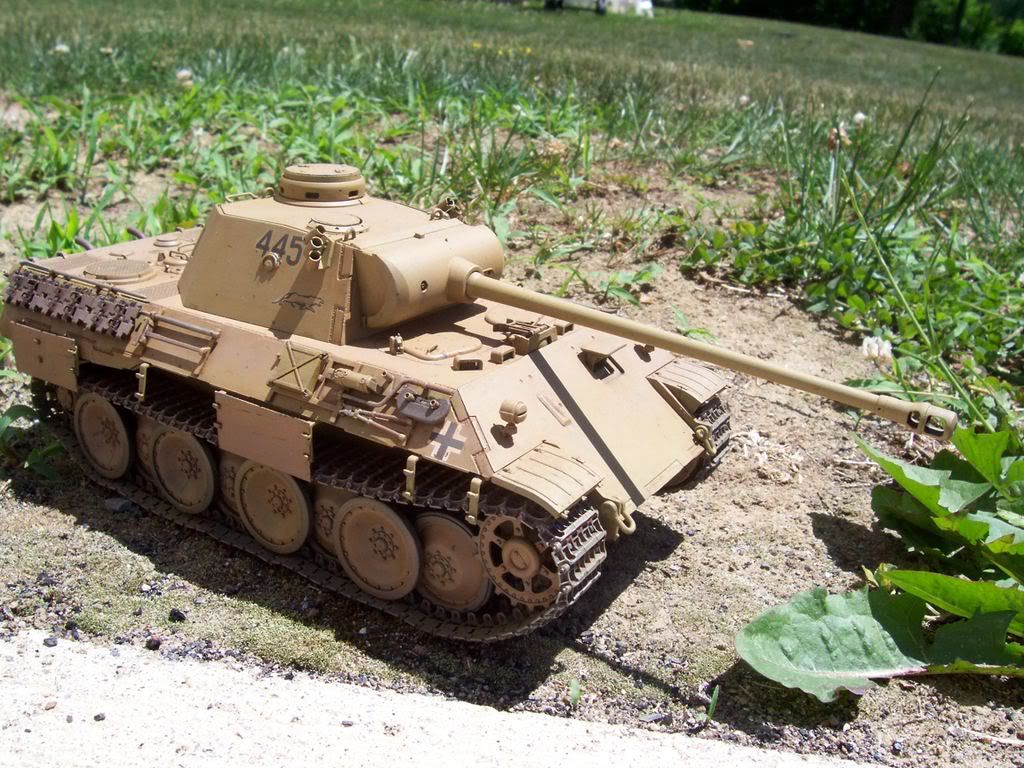
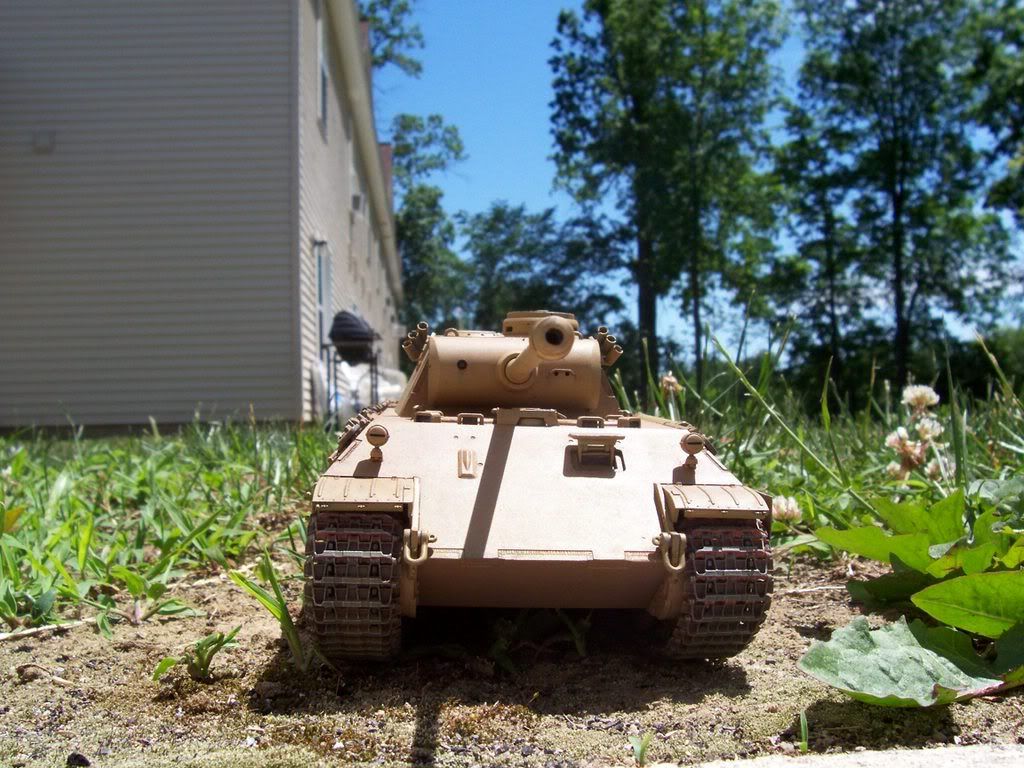
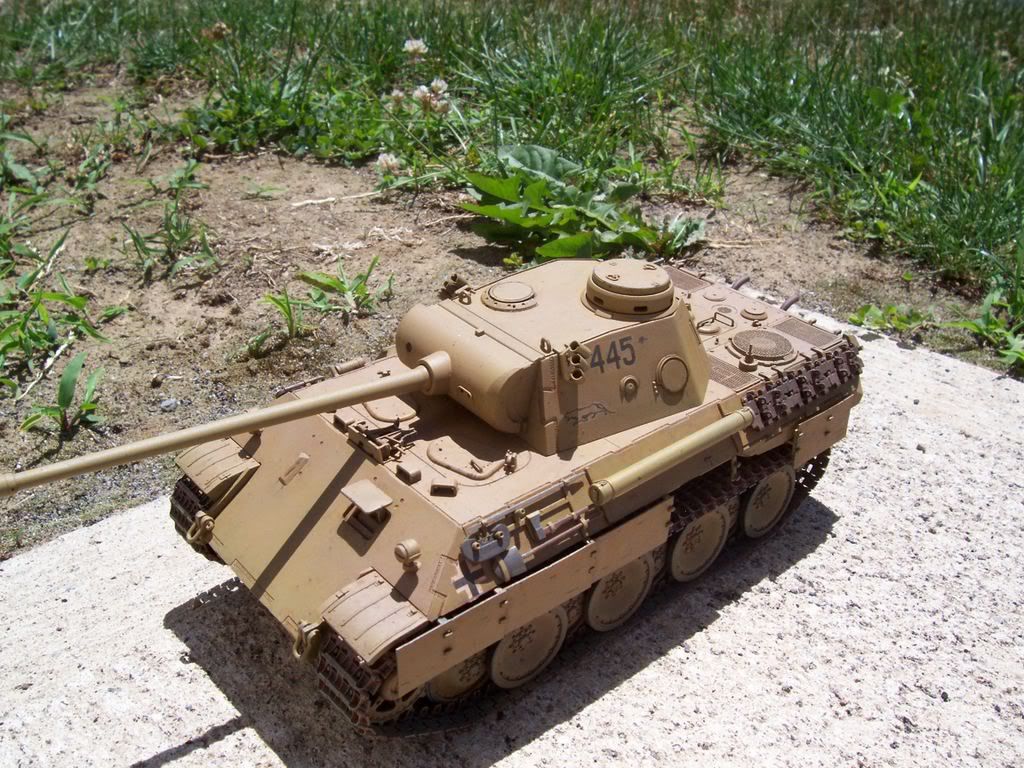
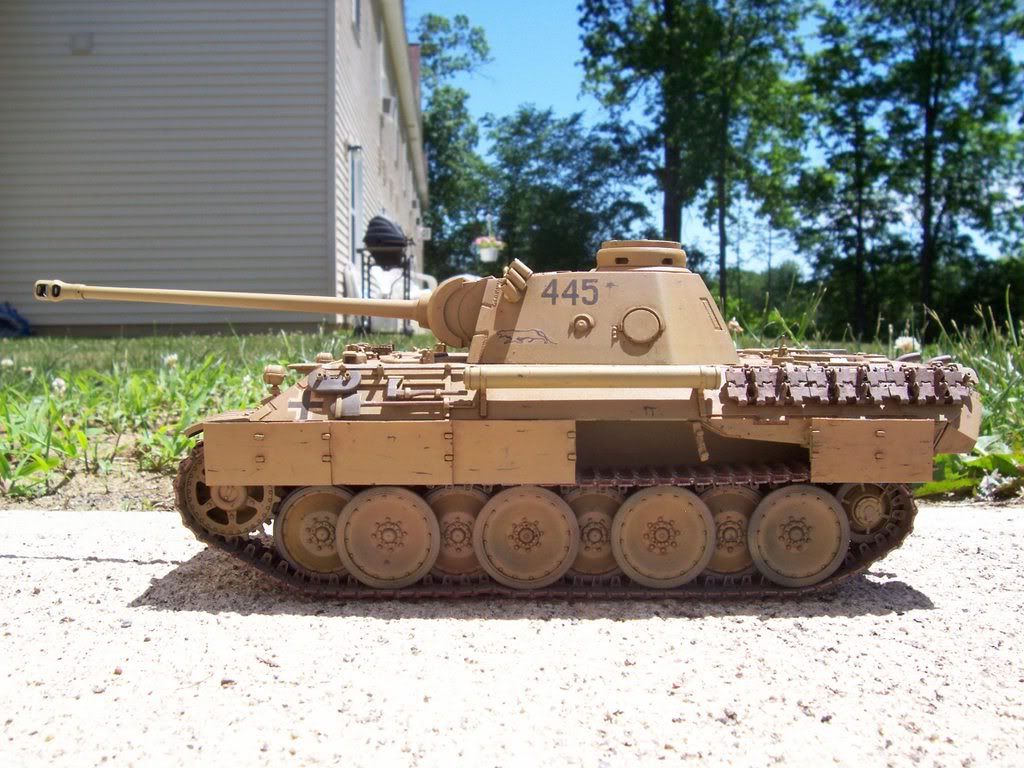
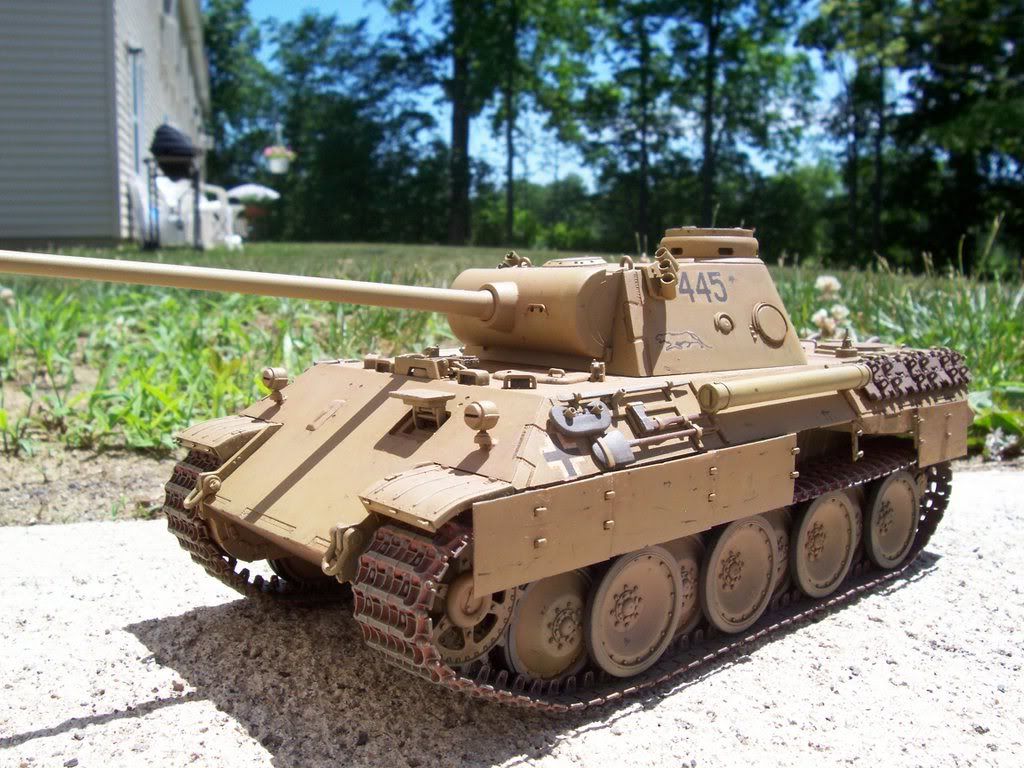
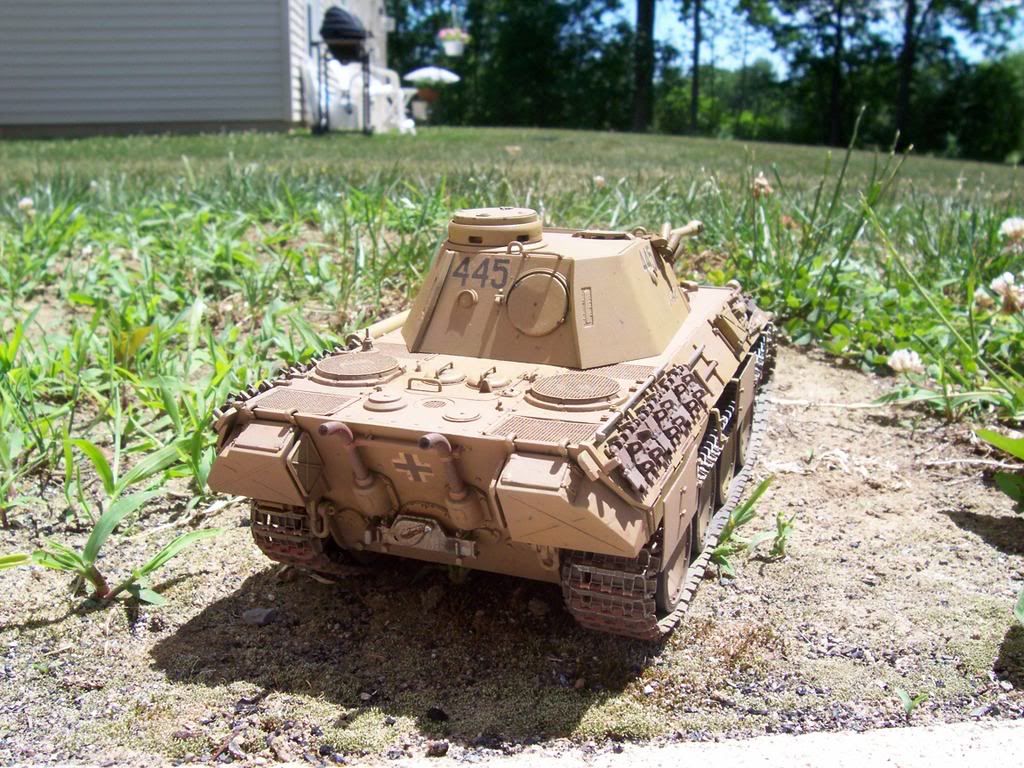
Here’s my Panther D that I finished recently. It’s the old Dragon kit, not the nice new one with all the bells and whistles. I used WWII am resin workable tracks and Voyager deck grills, the rest is stock out of the box. I’m still considering maybe one more wash, we’ll see.
The model looks well done the suggestions above i would agree with, a little weathering would give it a nice boost but i still like it as is, your lawn on the other hand looks about on par with mine, if it wernt for weeds i wouldnt have one heh [(-D]
First off thanks everyone for taking the time to look and the constructive criticsm. To answer a few of the comments, the roadwheels along with the whole tank are oversprayed with tamiya’s flat earth, obviously more on the road wheels and lower part and rear of the tank,and the tank IS weathered(chips, scratches,streaks,stains)although not heavily, BUT it is there.The sun was quite bright when the pics were taken, maybe that washed out the detail to a certain extent. I knew about the decals silvering, I had a heck of a time gotting tnem to where they are now. Any suggestions on how to fix them now without putting new ones on or is it too late? Thanks again.
Use Solvaset decal setting solution, and lay it on heavy, let it sit for a few minutes, and then take a soft, wide brush–soak it in water, and rrrrrrrrooollllllllll it across the decal from left to right, applying pressure on the outside bristles with your fingers, tamping down the decal. You might have to reapply some Solvaset a second time to soften the decal, but this is the way I do it EVERY time, and never need “Future” or even a gloss coat underneath, It works like a charm!
I bet if your wife was watching you lay out there in the yard (in the dirt?) on your belly taking those pictures, she might just be wondering if she could have made a mistake…
By the way, I’ve done it too… but (thank god), no wife.
For tastes, I think it looks pretty good. From the way it looks in the photos, my initial thought was that it was actually more weathered than it appeared in the photos.
It is a pity about the silvering. Aised from that, I think the build is excellent. And maybe they don’t look as noticable in regualr light. For fixing them, you’re basically committed to the the method suggested by The Doog. Hopefully, you can fix them a bit.
For future builds, another way to deal with decals is the old standyby method of gloss coating. Prior to applying the decals, you can gloss the tank using Future Acrylic Floor Finish. After it cures, then apply the decals using decal setting solution or decal solvent, depending on the complexity of the surface. After the decals are well dried, use a moist towel to wash of any dried setting solution residue, and apply more gloss over the decals to even out the finish. Finally spray a flat coat.
Recently Doog and I had a bit of a discussion/debate on this topic in another thread. His method works well for him, and mine does for me. Take your pick.
Thanks again everbody for your input and taking the time to look. No wife yet, just a girlfriend, but i usually take the pictures when she’s not around to avoid that situation. But the neighbors on the other hand, I’m not sure about what they think, a grown man with a little tank rolling around on the ground with a camera, I can only imagine[(-D]. I’m gonna give fixing the decals another whirl, we’ll see what happens.
 Overall I think it looks and is constructed very good, however I believe you’re going to need that extra wash… or two.
 I see some silvering on the decals and the harshness of the (noon?) sun seems to ,well, glare out the finish.
 Just my two cents to try and help.
 I just got to thinkin’ about it.
 watching you lay out there in the yard (in the dirt?) on your belly taking those pictures,
  she might just be wondering if she could have made a mistake…
 By the way, I’ve done it too… but (thank god), no wife.
 I figure the neighbors think I’m nuts though.