Finished: 1/48 Tamiya He-162 Salamander

This is Tamiya’s 1/48 He-162 Salamander, or Spatz, which is cool since that’s my mom’s maiden name.

Anyway, this kit is typical Tamiya awesomeness, and the few problems I’ve run into are entirely of my doing.

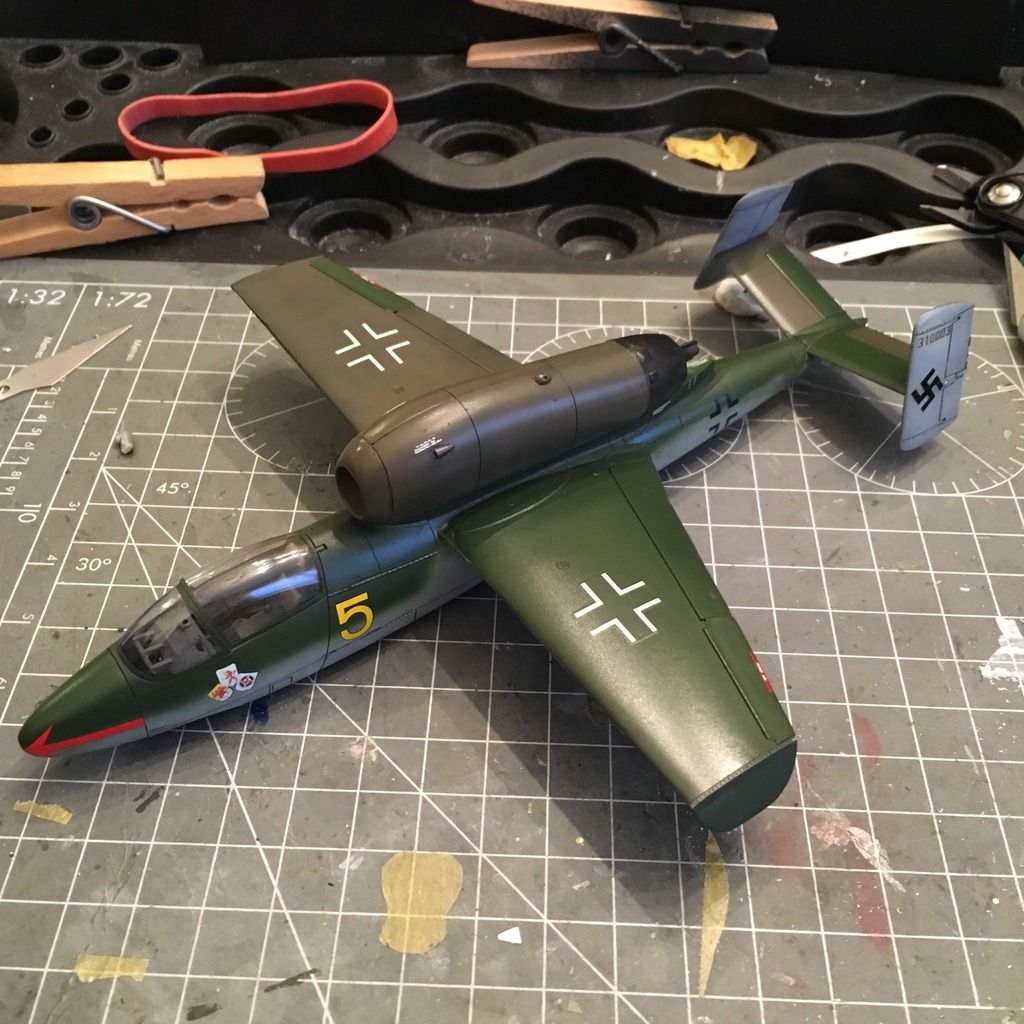
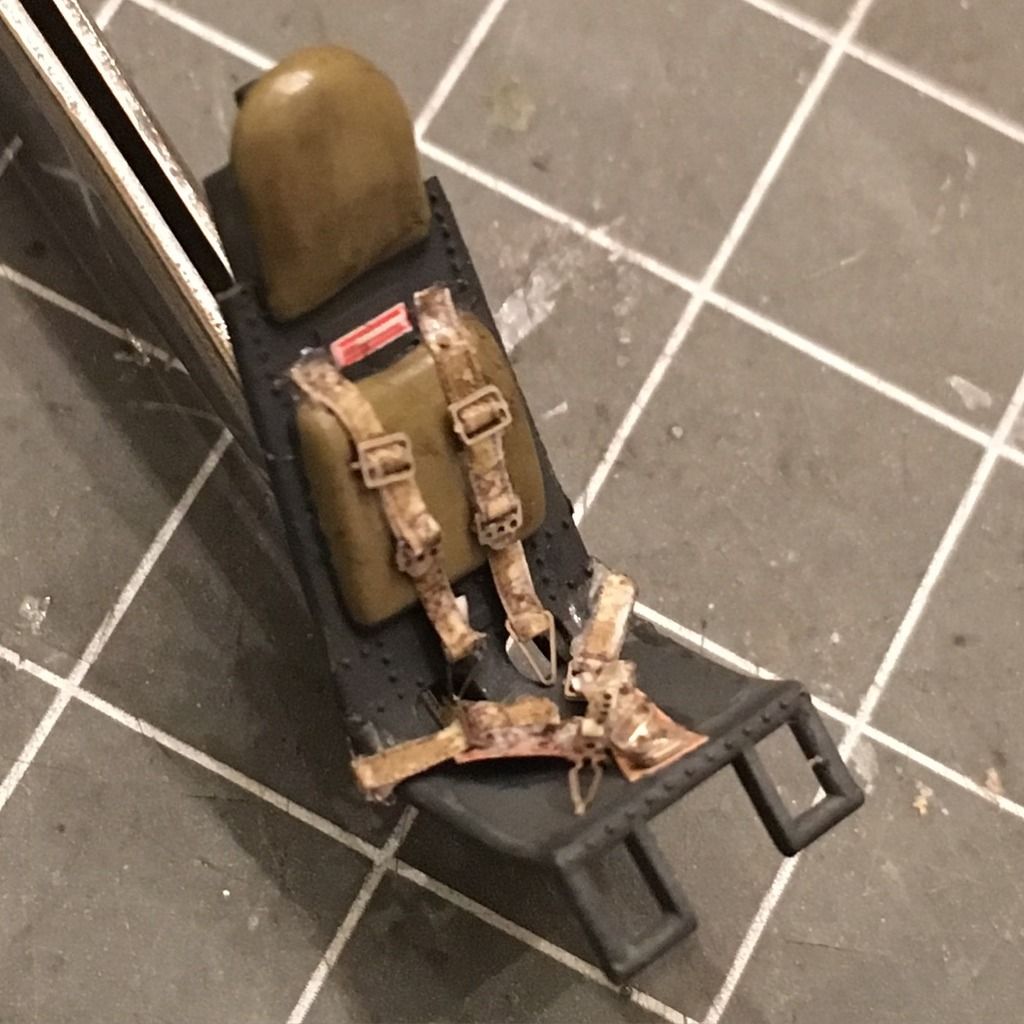
This plane was a sort of last-ditch effort that had a dorsal-mounted jet engine with a metal body and wooden wings. It also had an ejection seat (you had to eject PAST the jet intake!) It’s small – the wingspan is about 2/3 of a MiG-3, which is itself pretty small, and I think it is just a cool-looking airplane. Plus I got to see a surviving one at Planes of Fame a couple of months ago. I will be building this one with a fairly fresh paint job because many of them weren’t fully painted in real life (bare metal and putty dominating). But I think if the war had continued, they would have been painting them.

Here is the fuselage. I installed the gear bay and most of the cockpit on one side before closing it up. Bay is Model Master RLM 02 and the pit is Tamiya German Grey.

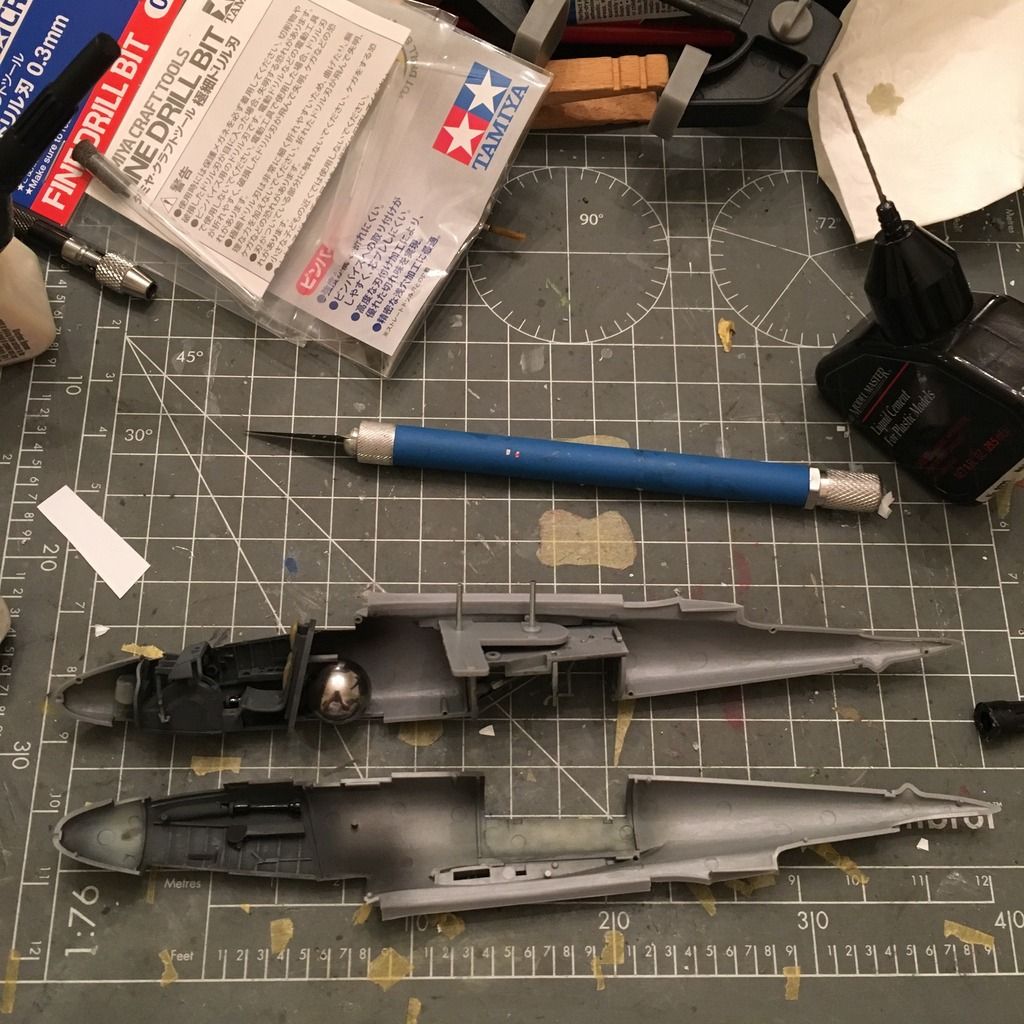
Tamiya included the weight, which I always appreciate, and plastic tabs keep it in place so it doesn’t roll around.

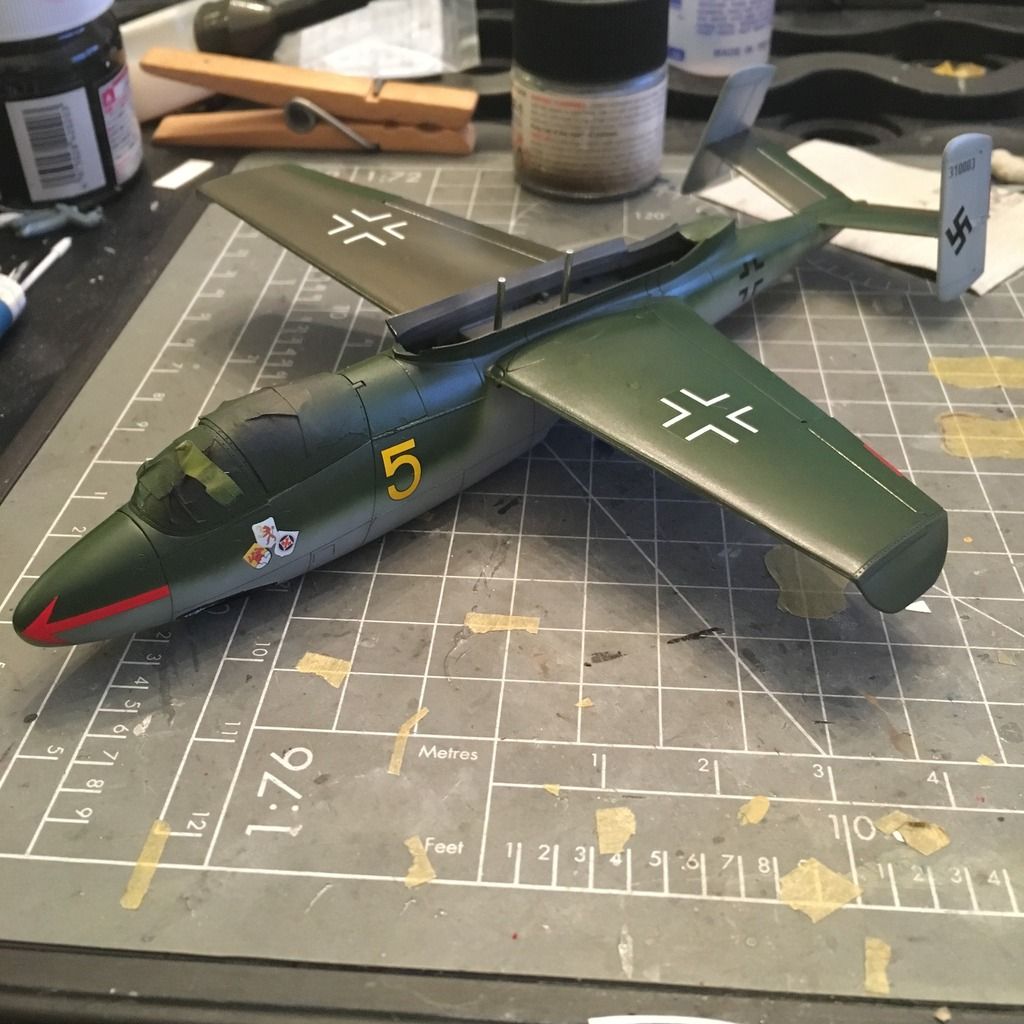
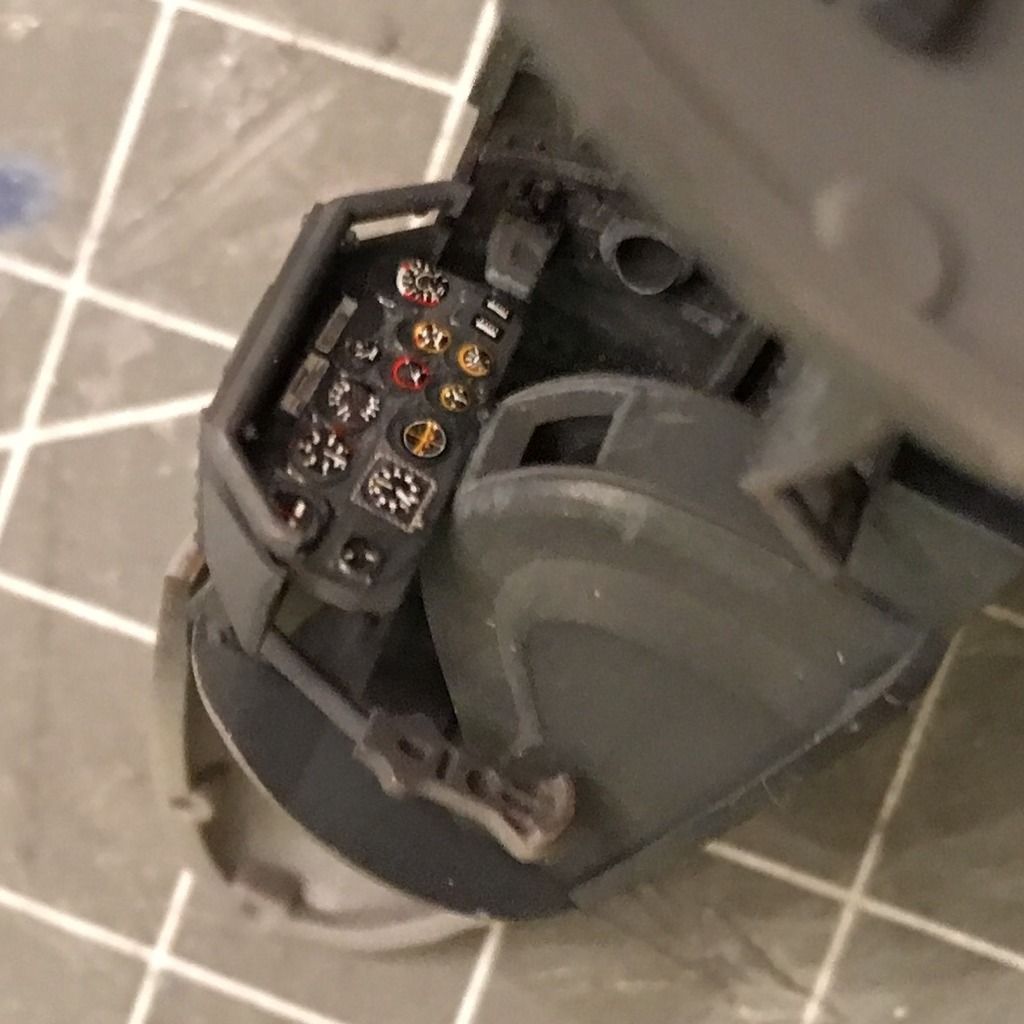
Here is the IP, which is a decal included in the kit. For the markings, I have a Kagero book with Cartograf-printed decals, which I’m looking forward to using.

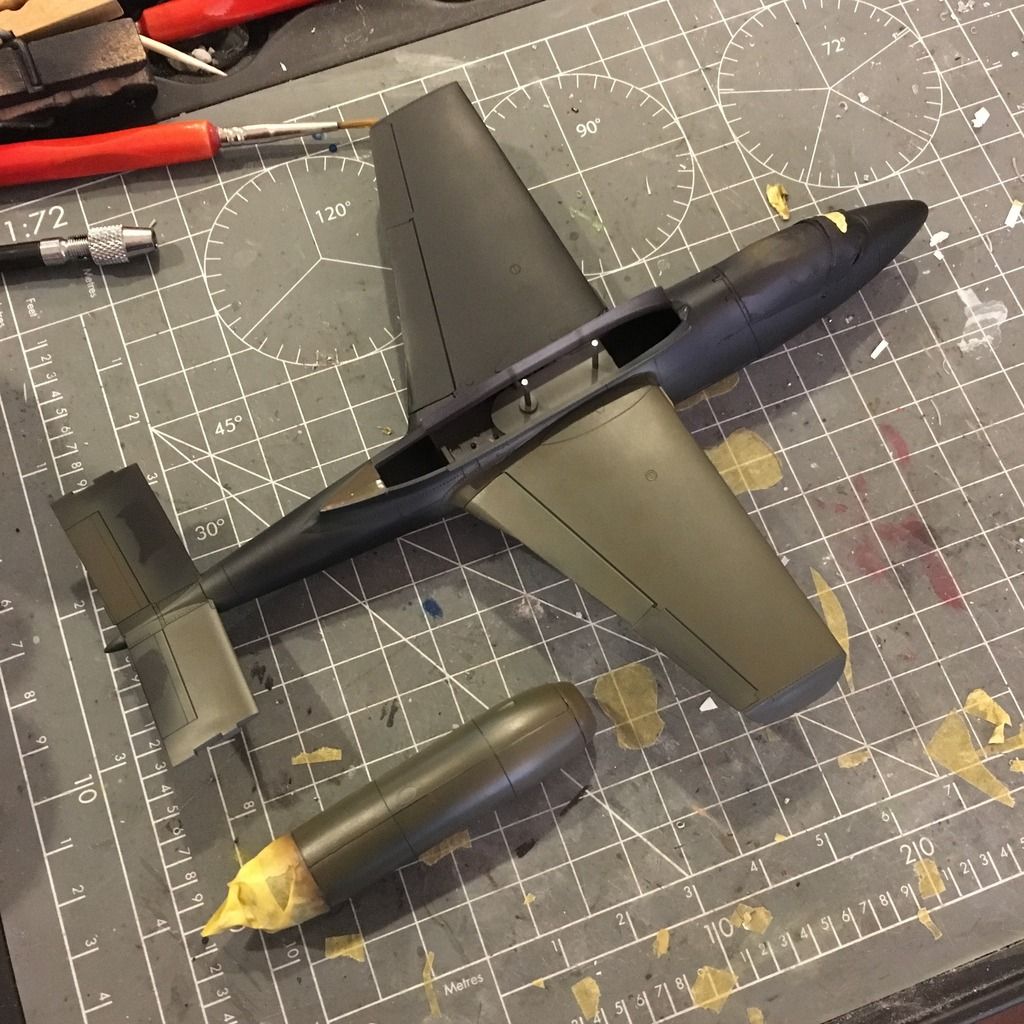
This is really a quick-building kit. In the photo below, I have done some seam work, and masked for primer to verify they are ok. The rear end of the jet mount is actually visible, and I fortunately realized it before installing the engine. So the putty is drying as I type.

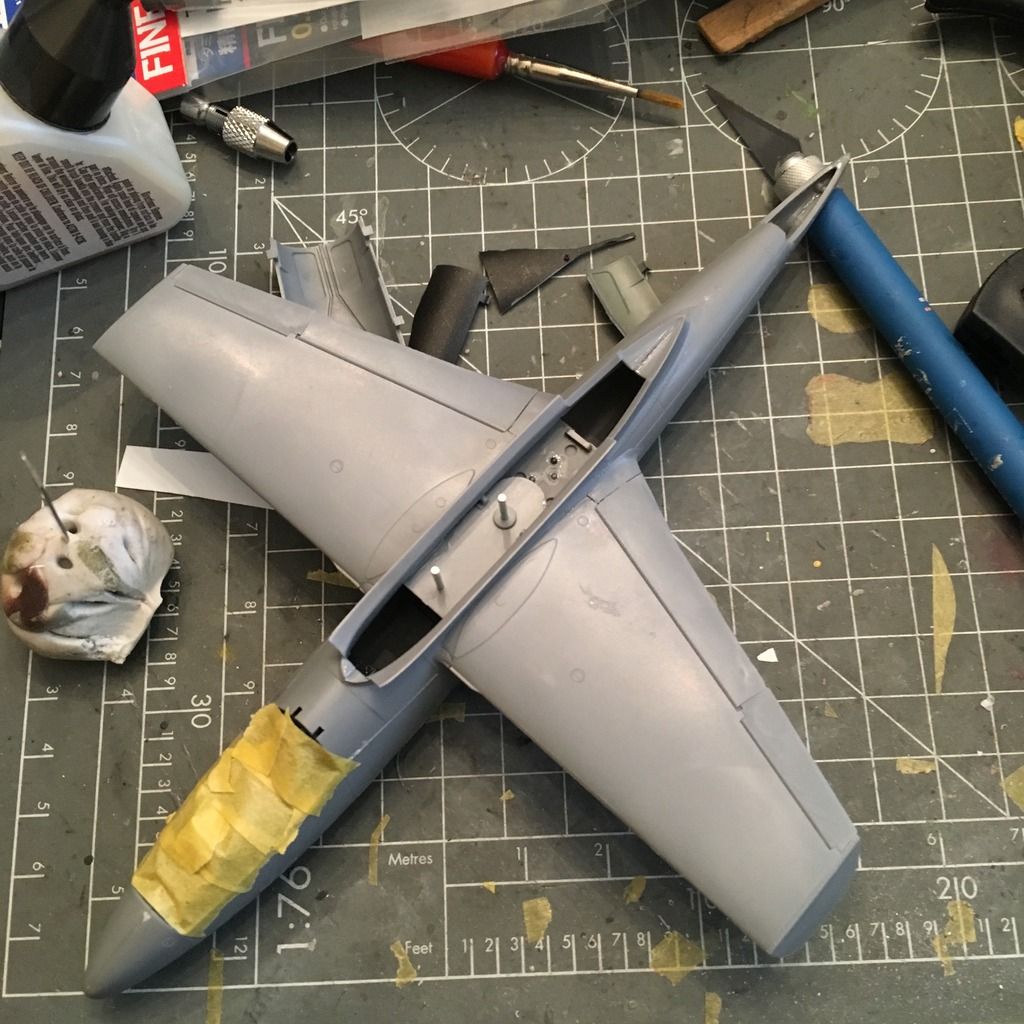
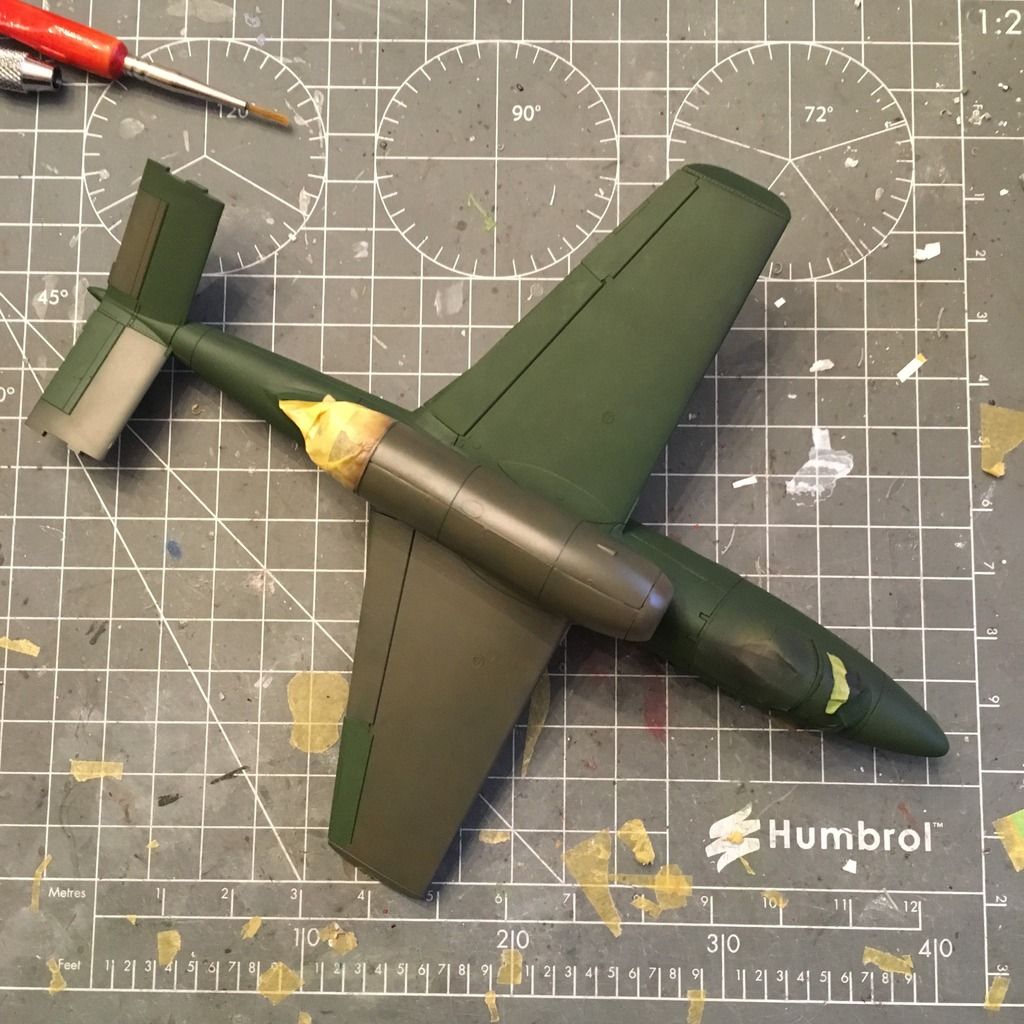
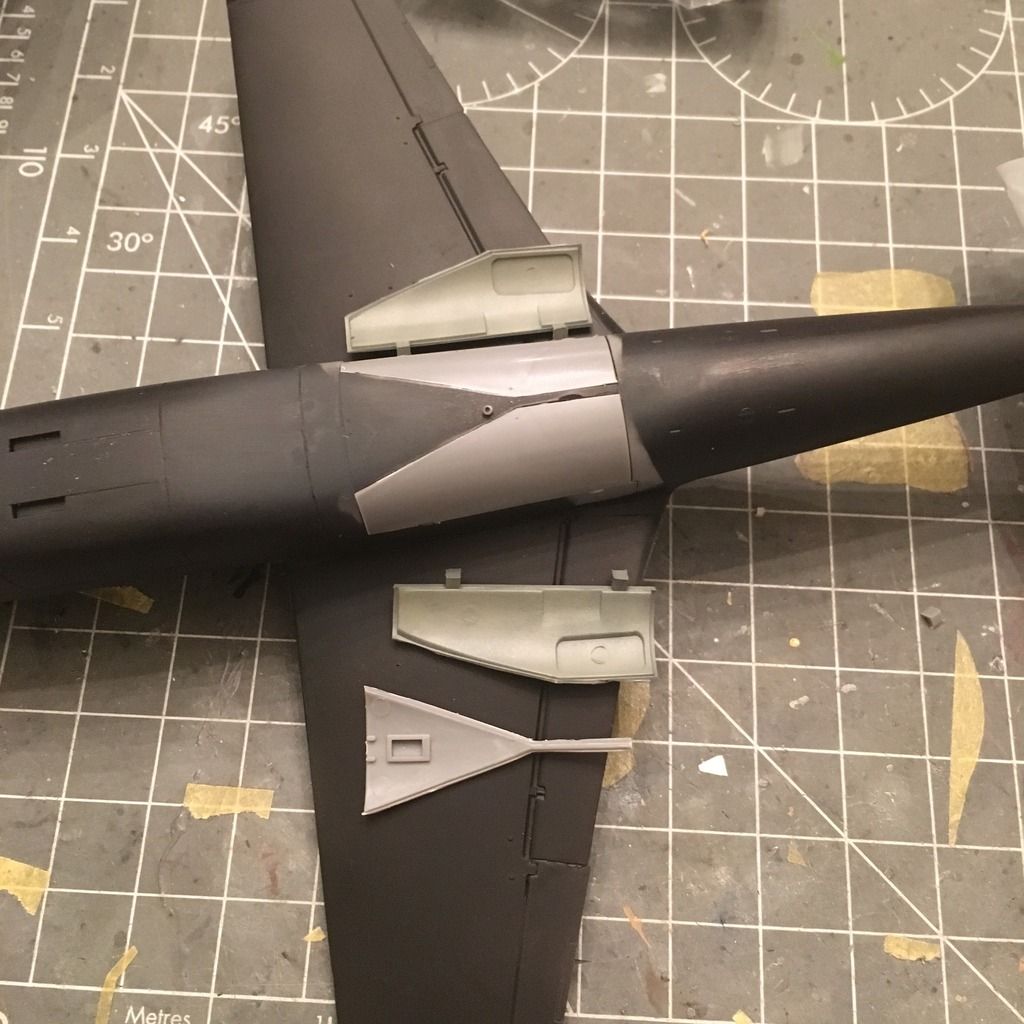
I sprayed primer and fixed theunderside seams. Tamiya has two duplicate prues in this kit, which is nice because I messed up the engine cover with some really bad seam work, so I was able to replace it. It also comes with two sets of gear doors, and each are one piece. So I was able to cut both sets apart and use the extra one as masks. The central (black) part is fixed, and the doors open outward. This just makes masking super easy, and as you see, I’ve got the spares off it, as the locator tabs prevent them from being installed in the closed position.

I’m hoping to get a final primer coat on it tonight and start painting this weekend.

-BD-

Looking really good BD! That IP looks great! Looking forward to seeing paint on her.

I love watching your WIP, it’s always very meticulous and very impressive.

Toshi

Thanks, Rooster and Toshi! I think I’m going to add an HGW textile harness to this one. I Normally leave the canopy open, but might go closed on this one since the lines of the plane are so nice. But it shows a lot, and it needs a harness, and I don’t care for the decal one the kit came with.

-BD-

Ok, I got some time at lunch the past few days to do some work on my He-162.

Construction of this thing was easy. It basically fell together, and fixing the seams was pretty painless, even by my whiny standards.

I primed the whole model in Mr. Surfacer 1500 Black, and I shot the RLM 81 parts with Mr. Paint (not Mr. Color/Mr. Hobby/Gunze) RLM 81. If you haven’t used these paints, you’re missing out. They’re crylic and prethinned for airbrush use, and I love them. They provide some colors that tend to be missing in a lot of ranges, like the MiG cockpit turquoise, Soviet AMT colors and RAF Extra Dark Sea Gray, for example.

Anyway, I got the RLM 81 on, then masked for the RLM 82, which is just Tamiya XF-5 Green. I’m using a color profile in Kagero’s book on the Me-163, Me-262 and He-162, which came with nice Cartograf decals. While I like the scheme with the bare metal parts, I decided to go ahead and do one fully painted, since I imagine had the war gone on, they would have painted them to give more protection against strafing attacks while they were parked.

Next up is masking for the RLM 76 on theunderside, and then it’s on to decals.

I have to say, I’m not a fan of the schemes on these and thought about varying, but I decided to keep it pretty much as it appeared in 1945, under the assumption that they wouldn’t have made drastic changes going into '46.

-BD-

I like the direction you’re taking this build. It’s very exciting to see it’s transformation! Great job sir!

Toshi

Nice work on a subject we dont often see here. I really like the luft instrument panels, they always looked the part to me. Great work.

BK

Thank you, Toshi and Brandon!

I was hoping to get the RLM 76 down before leaving on vacation, but it doesn’t appear that will happen. Oh well, fun for when I get back.

-BD-

Ok, I have been on vacation, but was able to make some progress when I got back.

Here she is as she sits now. I shot the light blue on and freehanded the demarcation line, which meant I had to come back with the green and fix a few booboos, but then it was off to clear coat and decals. I have a Kagero set of Cartograf decals which are excellent, but they didn’t include national insignia or stencils, so I used the thickr Tamiya ones, and fortunately they worked out ok.

Next up is a panel line wash and attaching the engine. Hopefully I can get it on without messing up the paint job. Probably should have attached it earlier…

Thanks for looking!

-BD-

Nice build BD. Interesting scheme with the two different color wings

Thanks, Johnny. Yeah it’s an interesting scheme, buta bit boring in my opinion. Most of it is overall light green, but the engine cover and intake, right wing, left stabilizer and right elevator are brown violet. The ailerons are both light green upper and lower. I prefer the cool splinter camo or some mottling, but the 163 didn’t really have much of that, and I didn’t feel like reproducing the bare metal and putty finish that is admittedly more interesting to look at.

-BD-

That looks stunning Brandon…

Thank you!

Just a small update for now. I got the engine mounted. Tamiya engineered this very well to be held in place with poly caps and metal rails, but since I broke the interior structure of the engine, I had to glue mine. No big deal, and I managed to glue it without messing up the paint job, which might be a new thing for me.

I also realized I left out half the cockpit when I built this - control stick, gunsight, harness and the window into the nose wheel well. No big deal, as I planned to show it with an open canopy, but I think I love the lines so much with it closed that I will add the aforementioned parts and close it up again. It just looks too cool like this, and it’s big enough and clear enough to still see inside what is really kind ofa boring cockpit anyway.

-BD-

Very cool Brandon. =] I’ve been staring at that kit for a while now wondering how it would build up. Thanks for the WIP. Looks like you’re almost done! Fantastic job so far.

That’s a really sweet kit, and a dang nice paintjob you’ve got on it! I really like this, Brandon. Well done so far. :slight_smile:

Thanks, Britt and Mike!

The kit builds up really easily. I like the little touches like the windscreen being molded with part of the cowling for ease of gluing and lack of a seam line around the windscreen. The included nose weight is nice, and since it’s newer Tamiya, everything just fits together so well. It also includes a second engine and display stand, which I probably won’t build because I don’t want to add wiring and such, but it’s cool nonetheless.

-BD-

One place the kit falls flat, like with so many Tamiya (and other) kits, is the harness. I really don’t like a decal harness, since they look so lifeless in the seat much of the time. Of course, carefully cutting it and NOT removing it from the backing paper is always an option, but I like the depth given with PE buckles and microtextile. I took the bang seat out of the cockpit and built the HGW harness for it last night (about 1.5 hours with 22 pieces). Also added the decal and a wash to it. I may drybrush it to highlight some of the raised detail.

-BD-

Absolutely nailed the seat, Brandon. My objective in modeling (not that I make it all the time or ever) is to have that model or part of it look realistic in a photo. You did that in spades!! This one’s in my stash too and I am glad it looks like a quick builder.

Again–outstanding work!

Freem - thank you! I don’t know it’s worth all that praise, but I appreciate it [:D]

-BD-