Hi guys. Here’s an F/A-18C that I just finished for the Hornet’s Nest group build (thanks for hosting it Daywalker).
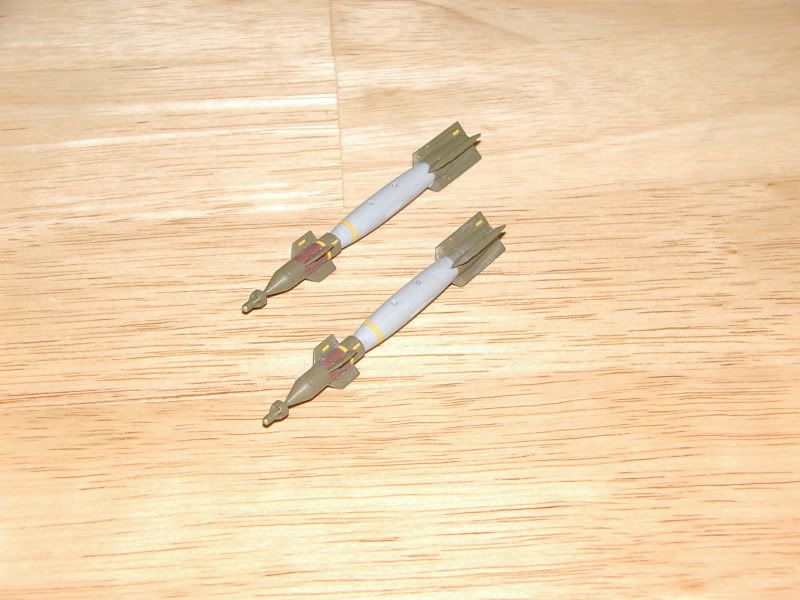
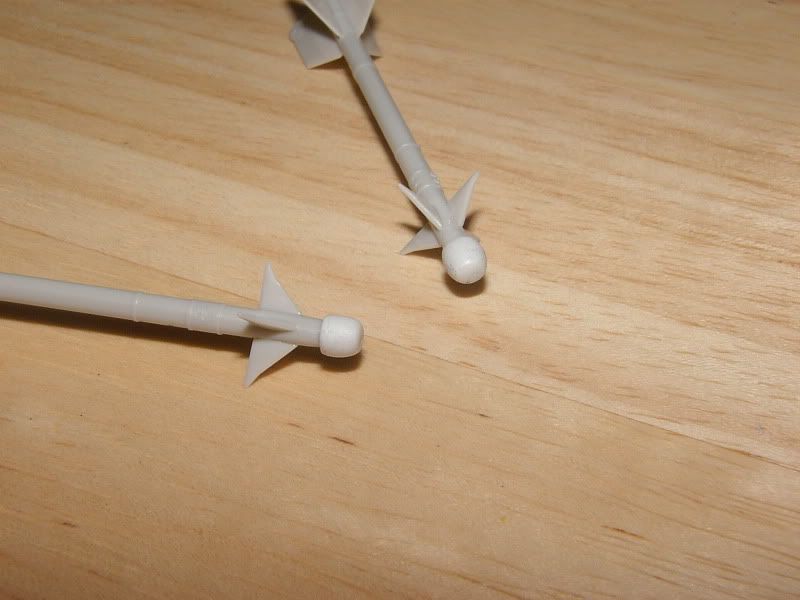
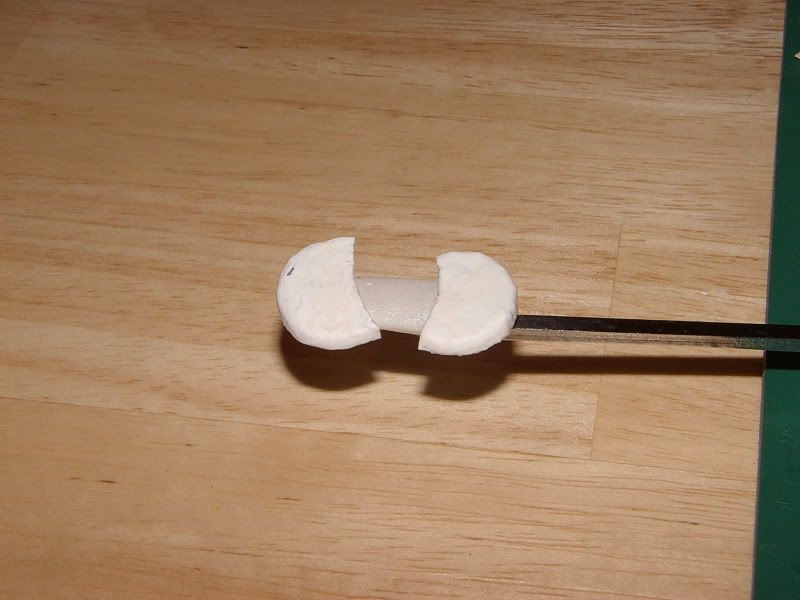
I used Eduard photo etch detail sets for the cockpit and landing gear bays/doors. The folding wingtips are resin from Wolfpack. The GBU-12s are from the Hasegawa Weapons set D and the GBU-38s are resin from Shull24.com. The AIM-9 seeker head covers and the exhaust covers were scratch built from Aves Apoxie Sculpt while the intake covers were a combination of Apoxie and metal foil tape. The slime lights are glow-in-the-dark acrylic paint. The “Remove Before Flight” flags are from Swanny’s site.
For the seeker heads I just rolled up a small ball of Apoxie Sculpt and gently mashed it over the seeker head and then gently shaped it. After it dried I cut out small styrene rectangles and glued them on with CA glue. The holes were drilled out with a pin vise.
Here are the resin folding wing tips (I broke off the vertical part on one of the wingtips and had to fix it with a piece of styrene):
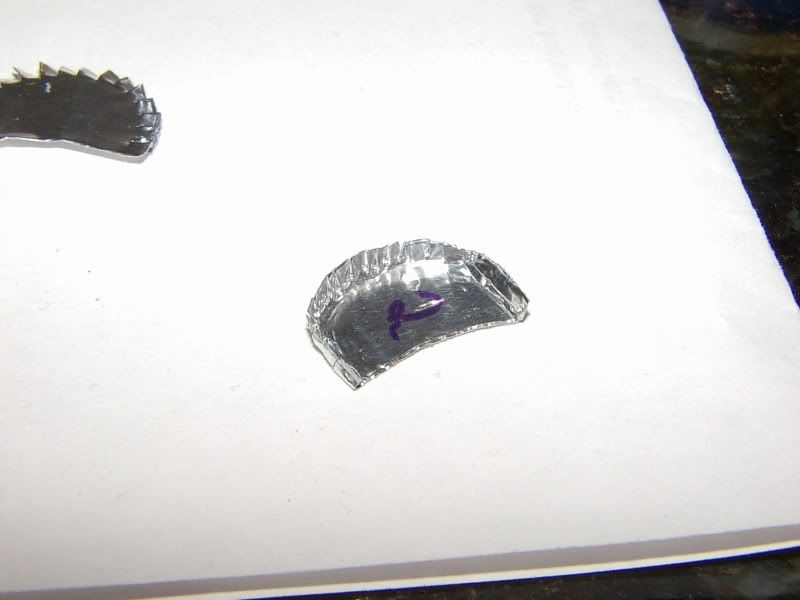
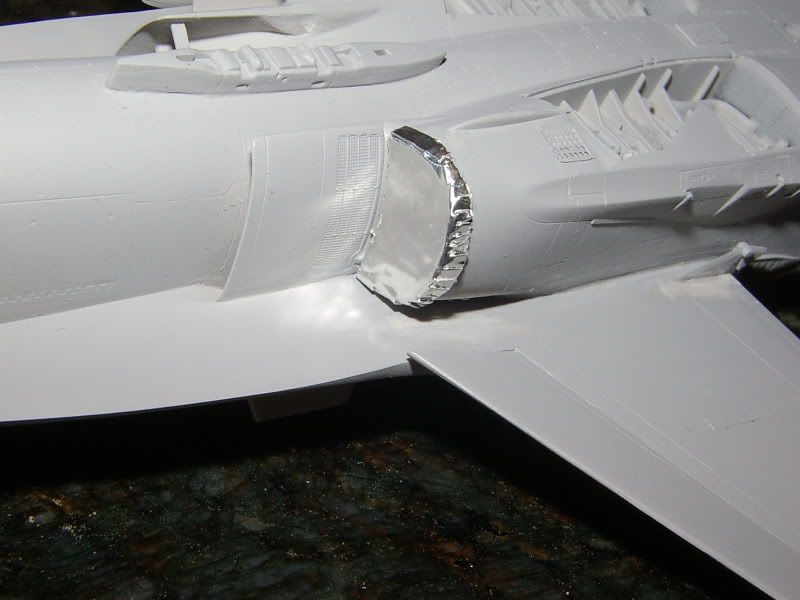
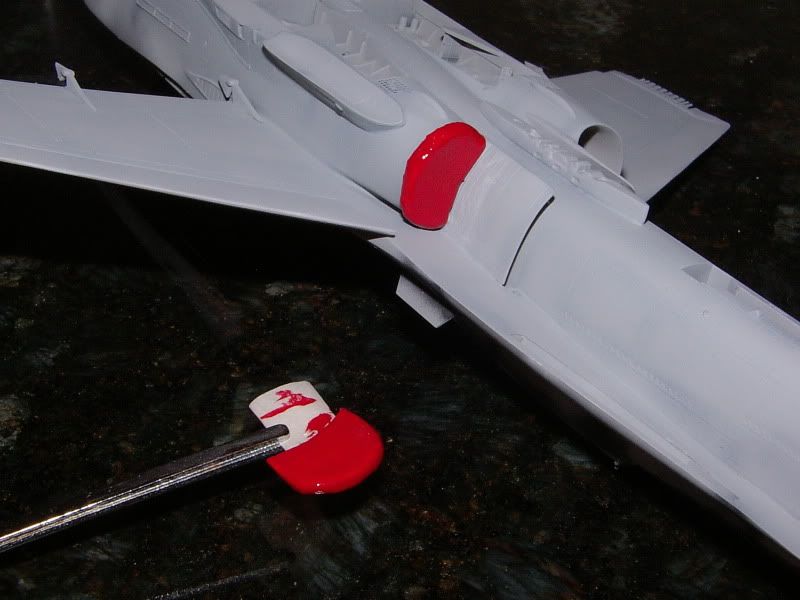
The intake covers were pretty easy to do. First I used card paper to cut out the shape of the intake mouth. Then I folded some metal foil tape over itself and cut out a piece that was just slightly larger than the card paper template. Then I went around the round part of the foil piece and made a bunch of little cuts so the folding them back would be easier.
Then I covered the pieces with Mr. Surfacer dissolved putty. After that I painted them red (Tamiya X-7)
The exhausts were easy, too. I just covered the hole with masking tape and made the cover with a thin layer of Apoxie Sculpt. I like the way they turned out but next time I need to make them a little less thick. The should be on there like a wet T-shirt.
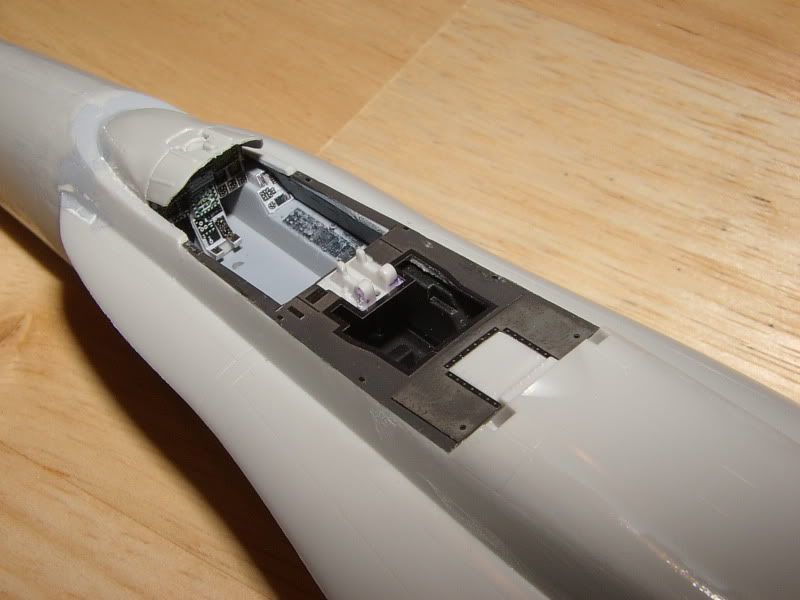
Here’s the ejection seat and some of the cockpit detail:
Slick looking build my friend…!! I especially like the attention to the details… The FOD and burner covers look great!! When I did my 32nd scale F-16, I vacu fromed my FOD & burner covers as well as for the 120 protection covers for the nose tips… They turned out just as good…
With your slime lights, wont the paint eventually loose it’s glow effect? You also used this method on a Tomcat right?
Yeah, I did this on an F-14A that I finished about 8 months ago.
The slime lights only glow brightly for a few seconds and then they fade out after 2 or 3 minutes. They last for years, though. My first attempt on an AV-8B that I made over 2 years ago still glows as well as this F/A-18. One nice thing about them is that the color of the paint is almost a near perfect match to the color in real life…that faded puke green color.
Medicman, the paint was from a company called Prism or Palmer. I don’t know which. The package had those two names on it and the title just said “Acrylic Glow in the Dark Paint.” I got it at a local hobby store by the fabrics. I think its intended for shirts. Be warned, though, that it has a little bit of texture to it. It isn’t like regular acrylic paint that dries flush with the model. It will end up being just a tad bit thick. It has to or it wouldn’t glow. I hand brushed it on over a mask and cut the edges to get a good shape. I also mixed it with a little Future to make it stick to the model a little better.
IBuild, this cover technique would work out perfect on an S-3. It wasn’t difficult on the F/A-18 but for the S-3 you just cut out two big circles. That’s about as easy as it will get.