Finished: 1/48 Eduard Fw-190D-9

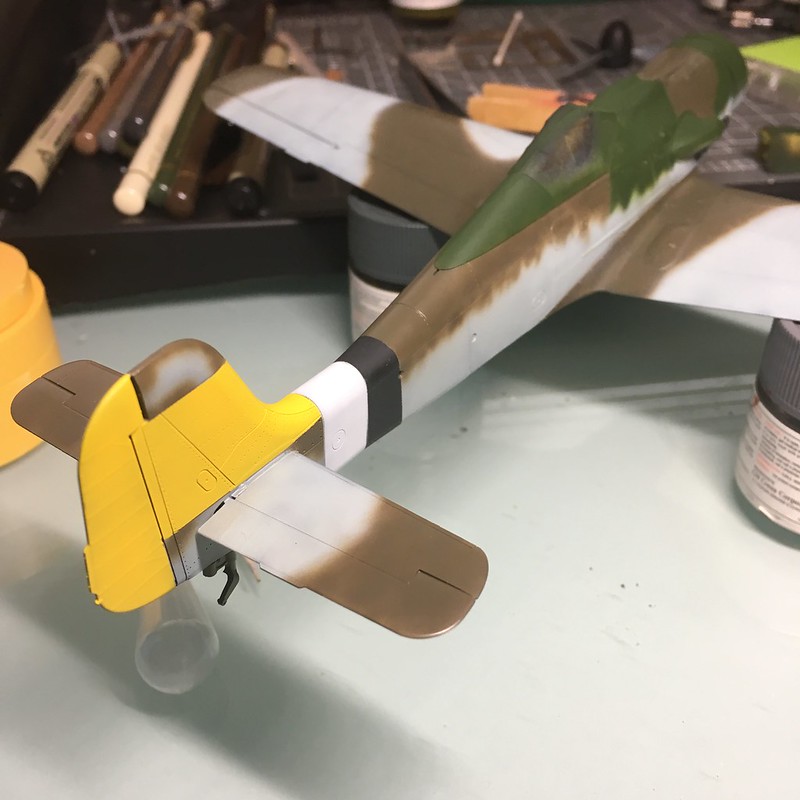
Ok, I am nearing the end of my Condor Legion 109, so I decided to crack open an Eduard Fw-190 D9 in 1/48. Deep breath.

Another deep breath.

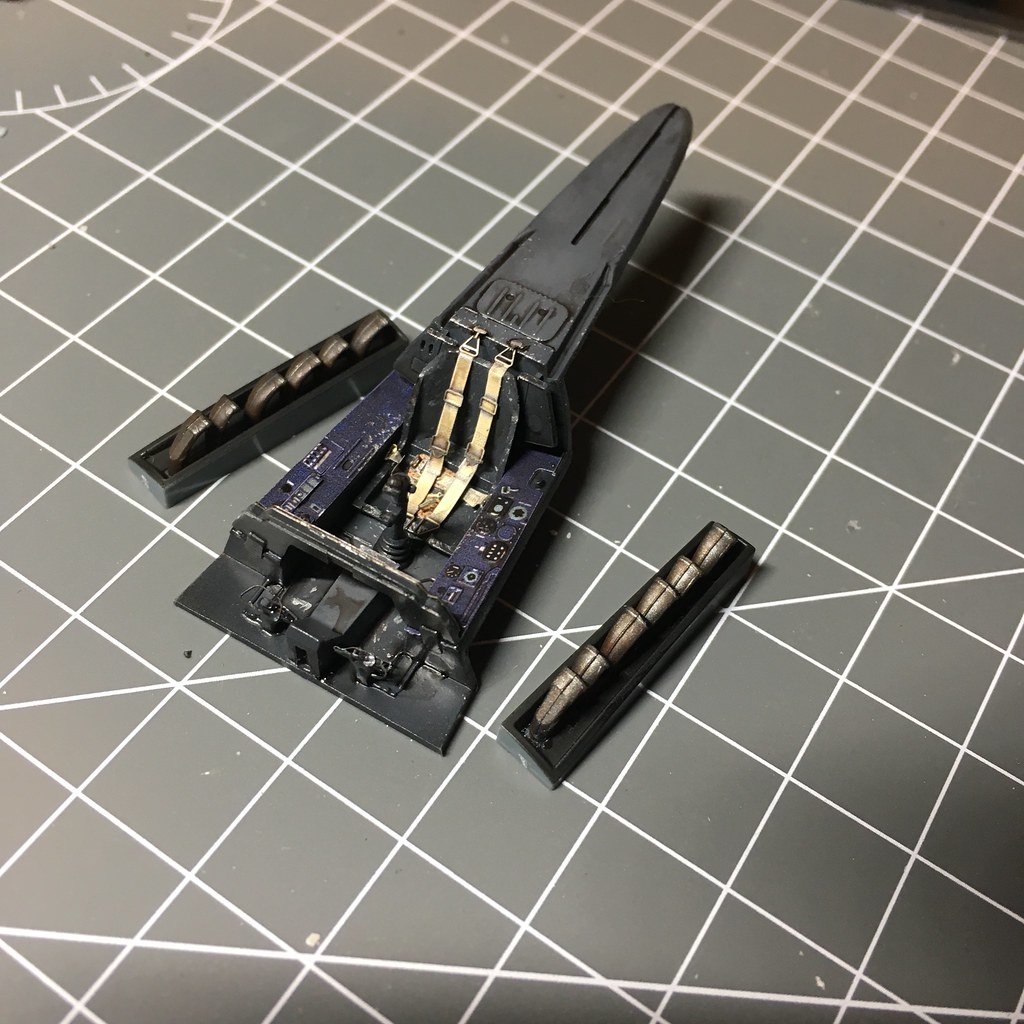
I thought I’d be cute and do the thing closed up and ignore all the innards forward of the firewall, behind the engine.

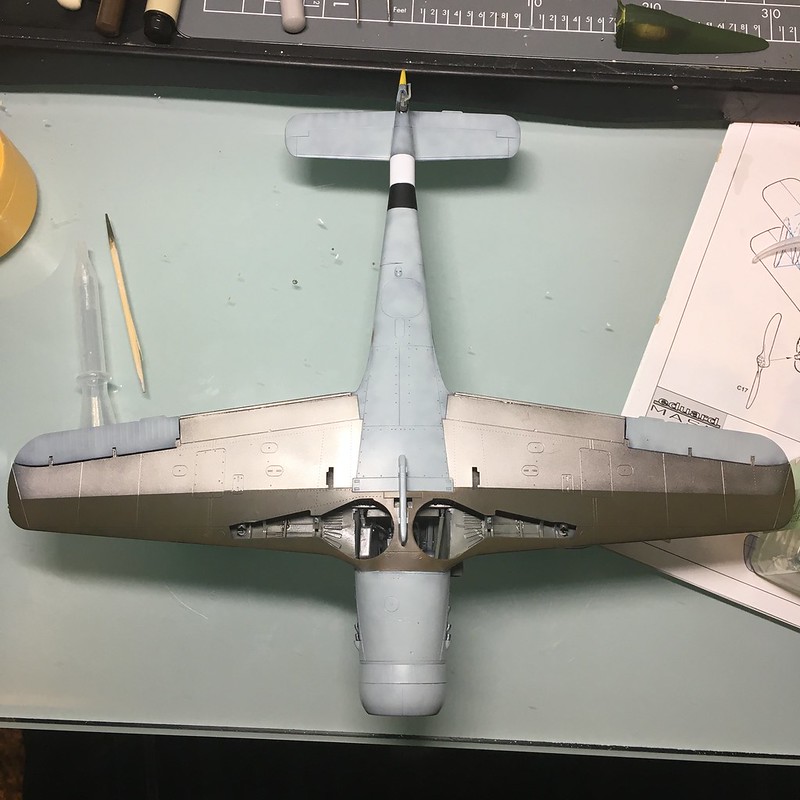
But I realized that the landing gear bay on this one doesn’t have the normal cover (it’s a late model), and you can see all those innards from the bottom. D’oh! So I built it up and will paint the underside bits so there’s something to look at should any jerk ever shine a light up there.

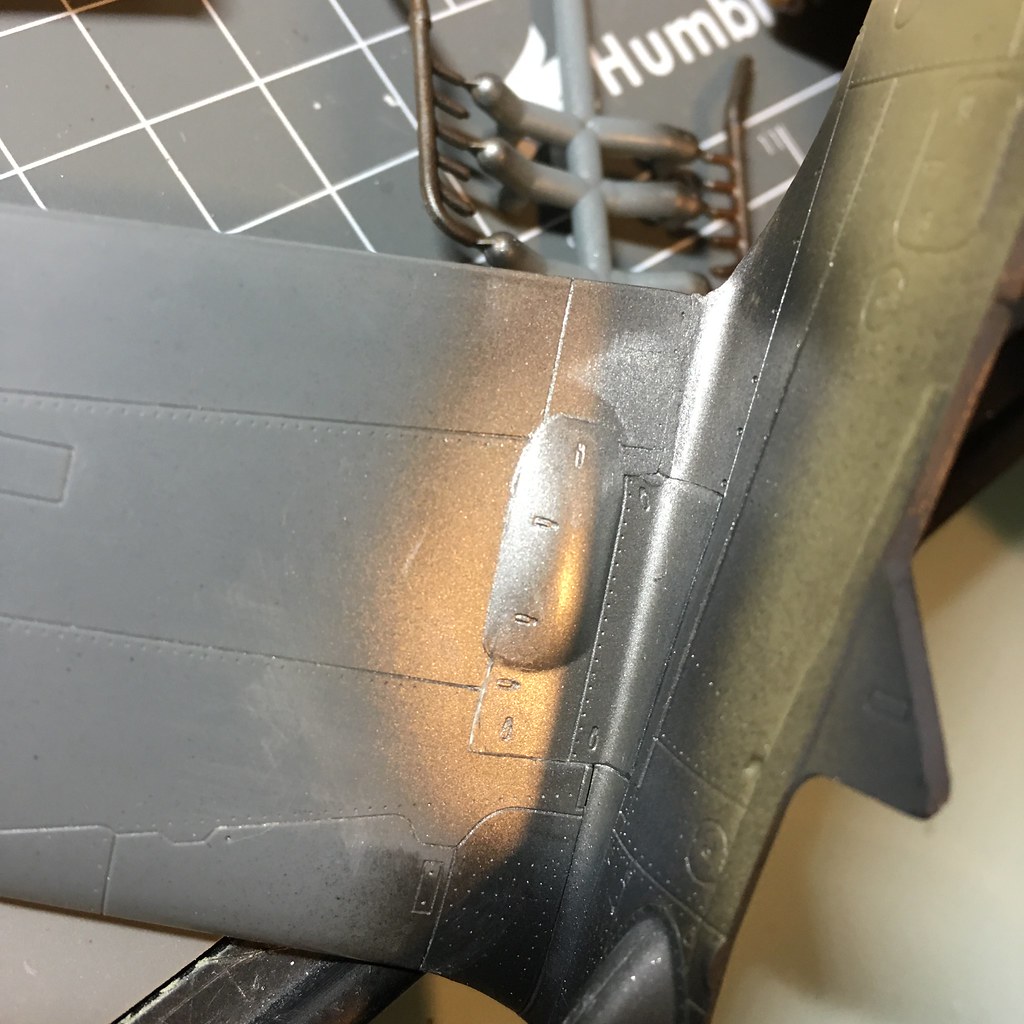
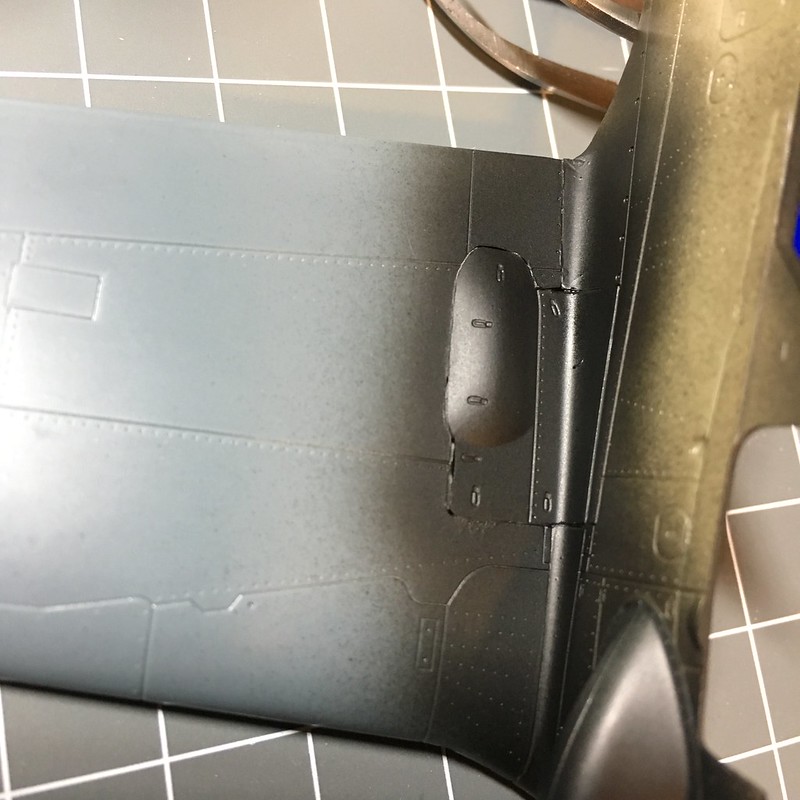
My biggest concern is the wing root cannon bay fit. In short, it’s a terrible engineering decision, but Eduard knows that, so I won’t rake them over the coals here.

How I dealt with it:

Well, I could open them, but I don’t want to. So barring that, I added the cannon bay doors to the fuselage and glued them down, holding the wing in place to ensure proper alignment, if not perfect fit.

Next step was to add the upper portion of the wing to the fuselage. I’ve never built a plane this way before, but Eduard provided a pretty hefty connecting tab that actually makes this not so awful. I began by gluing only the front portion of the wing in place after cutting away all the parts where the cannon bay door will cover. I did not elect to use the supplied internal parts, as I saw no way that they would help.

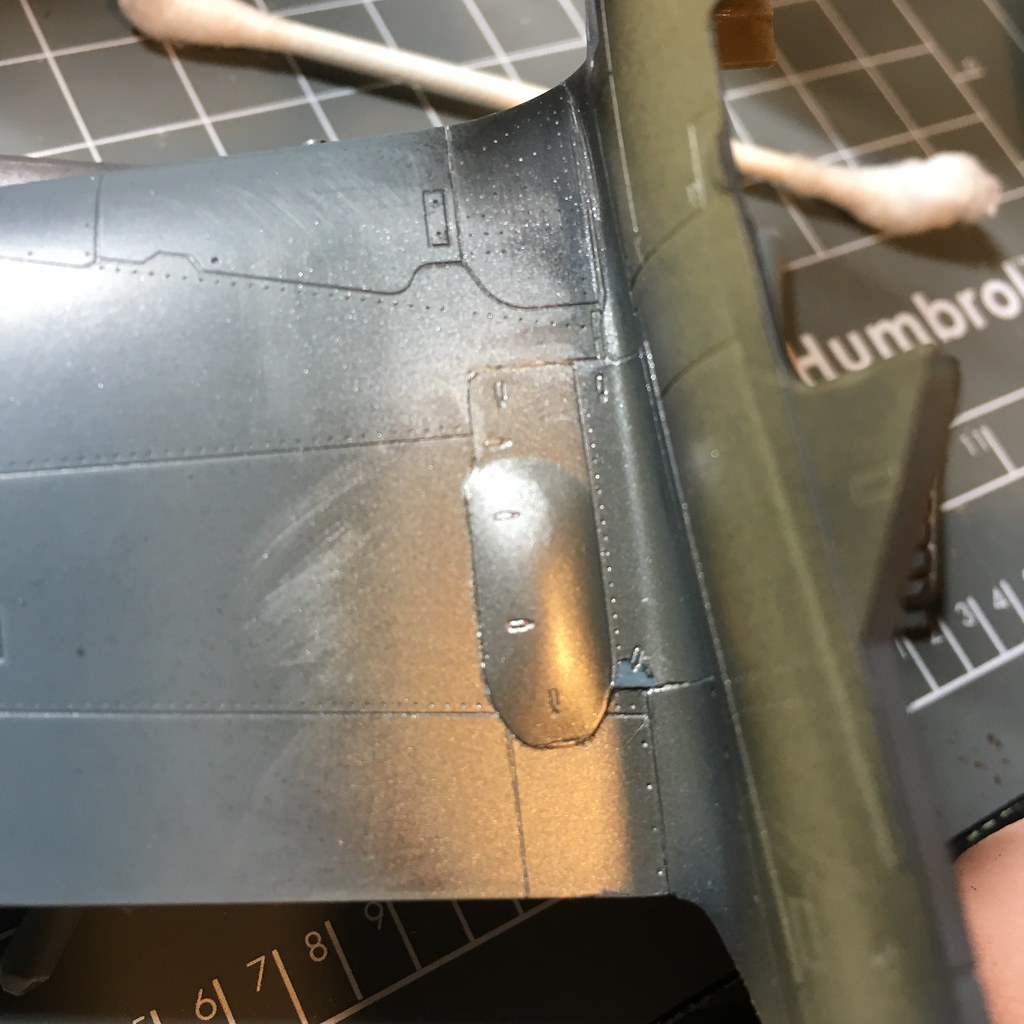
Once dry, I glued the cannon bay cover to the wing at the forward-most joint, then got it as level as I could. After that, I worked my way down the wing, eventually gluing all but the rearmost part of the cannon bay cover.

Finally, I glued the rear portion of the wing to the fuselage.

Next, I added some sheet strene to the bottom of the cannon bay door from inside. This is just so the putty I will force into any remaining gaps will have something to push up against and not just fall inside the wing and annoy me.

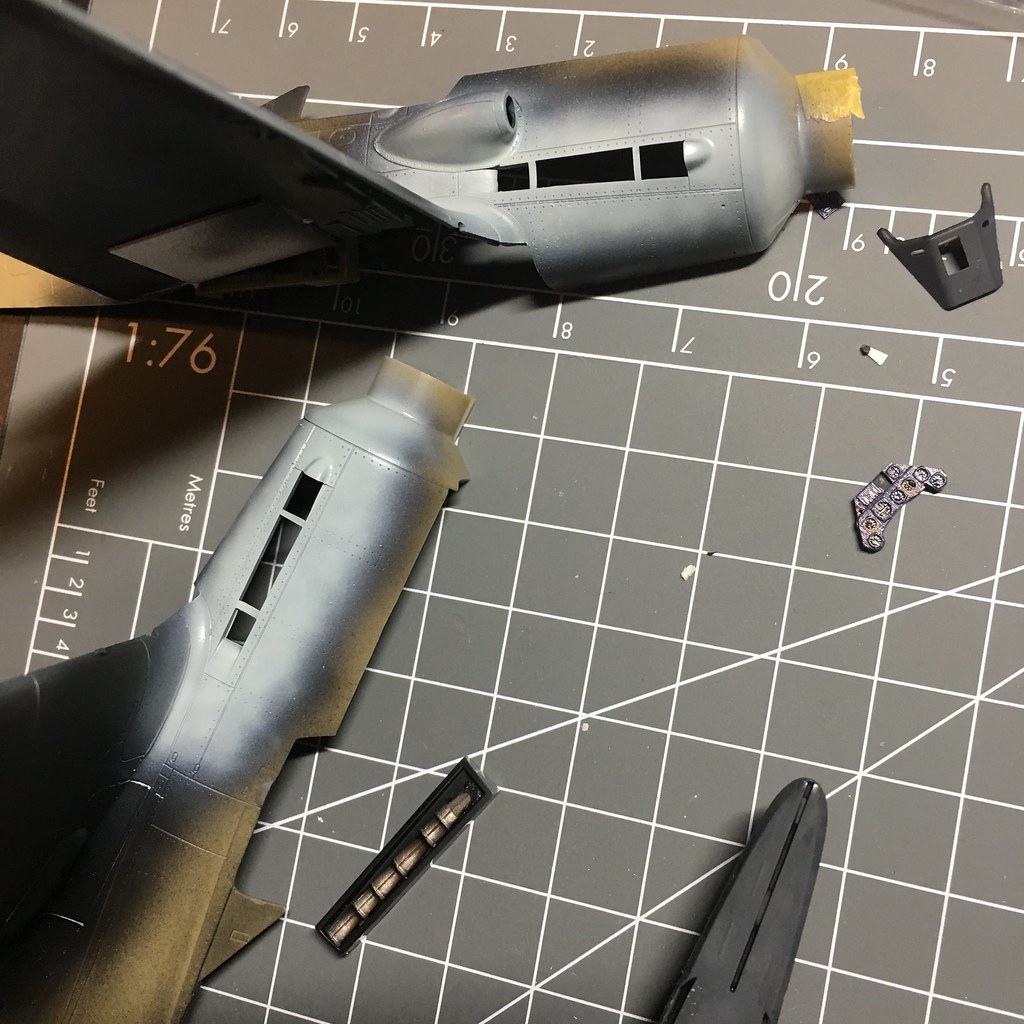
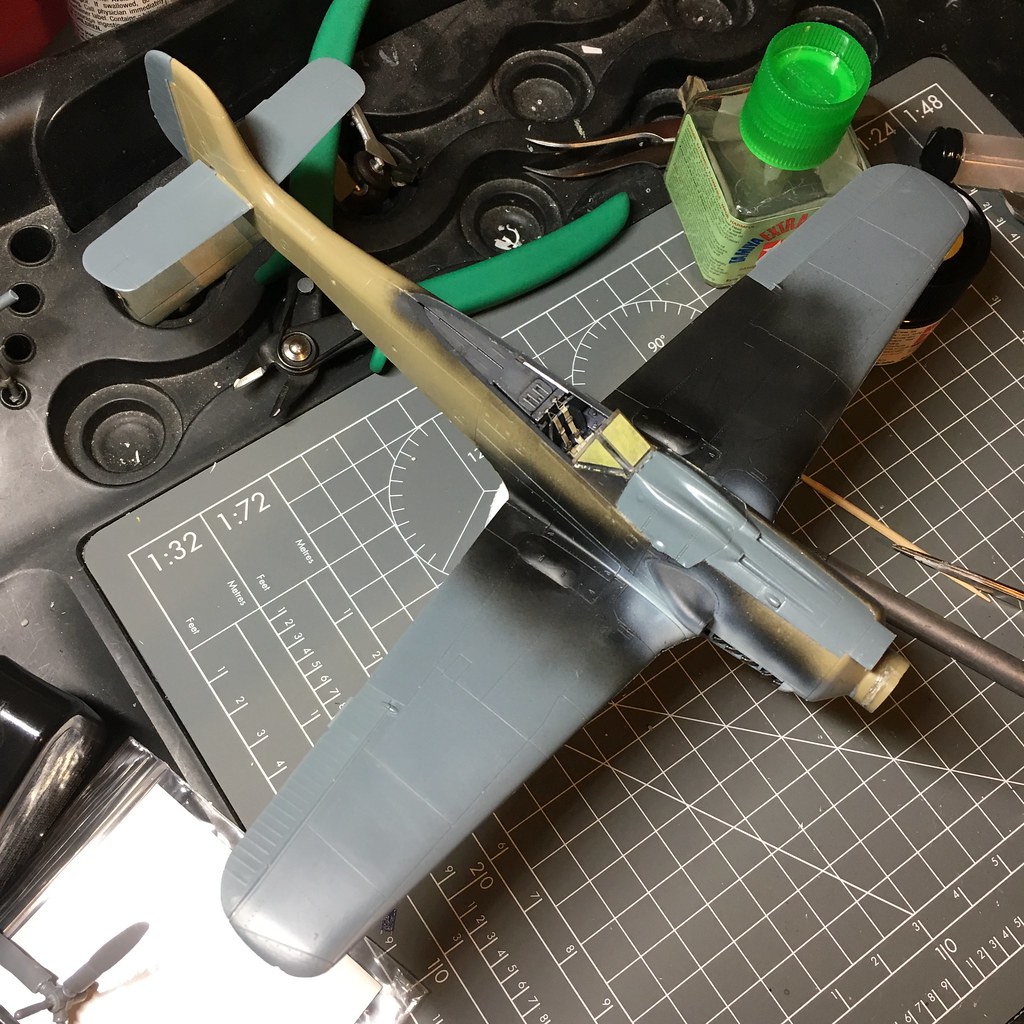
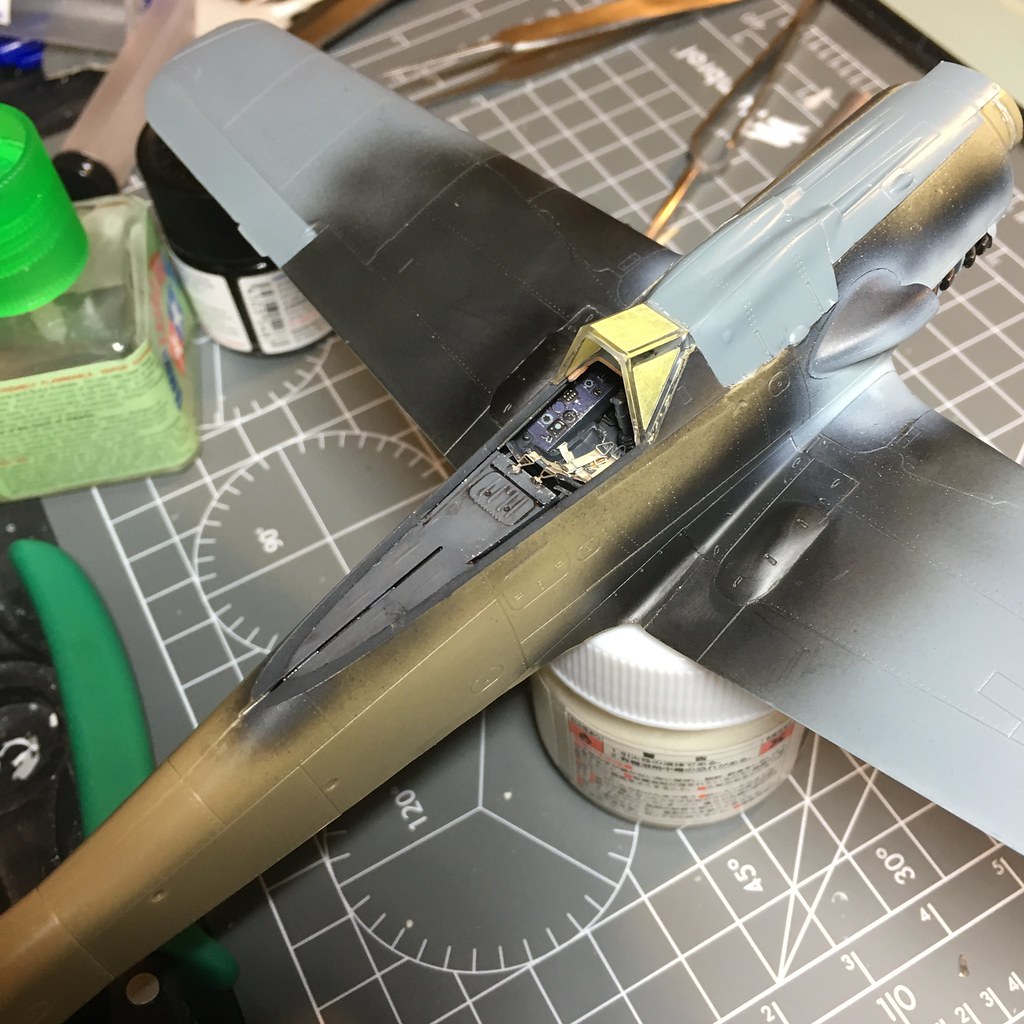
So here we have my current progress, coated with a quick spray of Mr. Surfacing Primer 1500 Black.

Untitled

Untitled

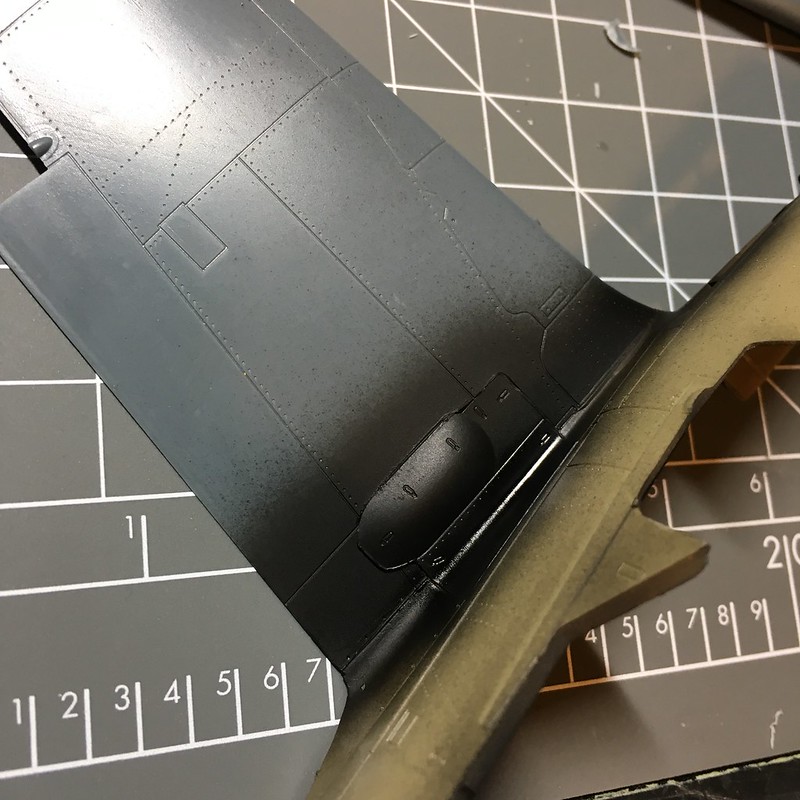
As you can see, there is some work to do, but it shouldn’t be insurmountable.

If it is, I’ll fly it right to the trash can and buy a Tamiya Dora, even though I think the Dora is one ugly aircraft (especially compared to the awesomeness of the Antons).

-BD-

Looks like you’ve got a good handle on this here. I’ll be watching with interest!

You think the Doras are ugly, huh? To me, they look more elegant and athletic, while the Antons look more stout and rugged. Both good looking machines, but beauty is in the eye of the beholder, right?

How do the Tamiya kits stack up in terms of shape? I’m curious because I’ve got an Eduard in the stash I want to have opened up, but if it’s cheaper and the outline is just as good with Tamiya, why not go that route?

Agreed…I thing the Dora is ugly too. Nice work on those cannon covers. I had issues with fit on mine. I look forward to your progress.

I can’t speak for the Tamiya Doras, as I’ve never owned one or built it up. For that matter, I don’t have a good enough eye for the shape of them to say whether the Eduard kit looks like a Dora other than that it’s ugly :wink:

But I’m being a bit unfair on them - they look like stretched-out airplanes in part because they are (extra panel on the fuselage to compensate for the longer nose). I’d fly one in a heartbeat if someone gave me the opportunity.

As for price, I almost bought a Tamiya because there was one on ebay for, like, $22 shipped that had Eduard photoetch and canopy masks, but I decided to just proceed with the Eduard and not be too whiny about having to fit the cannon covers.

And I agree - the Antons look stout and rugged. Almost like a boxer you just floored with a baseball bat to the face, but who got up and is ready to pound you.

-BD-

The Tamiya Dora is a total bust. Terrible shape and completely fictitious decals. Didn’t they even forget the engine detail underneath? The Eduard kit is worth the fight. Looks like you have the hang of it. In the old fw-190 group build, me and Mustang posted a bunch of pics and tutorials on the pitfalls of the Eduard kit if you fancy a look.

You took care of buisness and it looks fantastic!

your friend, Toshi

Nathan - good to hear. I know Tamiya is usually spot-on for fit, but Eduard usually, in 1/48 at least, has the better surface detail (riveting, etc.). Glad to hear this one is the one that looks the part.

Toshi - thanks, bud!

-BD-

A little work with Perfect Plastic Putty and Mr. Dissolved Putty got the wing gun bays sorted. I may fix the rescribe line on the one if it still bothers me when I get home tonight.

I got the cockpit and wheel bays built up, painted and washed, but will shoot a photo after I give them flat clear coats tonight.

The Mr. Paint Steel color on the wings is just to check seams, since metal coats show them so much better.

Untitled

Untitled

Thanks for looking!

-BD-

Nathan - I fond the 190 group build, but looks like a lot of it got hit hard with the Photobucket malarkey. Hopefully the gun bays are the biggest pitfall in this one, and they’re 95 percent dealt with at this point at least, haha.

-BD-

Got a lot done on the Dora over the weekend.

Turns out I’m a jerk to myself. I went to pull the PE harness off the fret in my kit, and it’s missing. I looked over at my almost-finished Tamiya Fw-190A-3 and remembered robbing it to put in there, thinking I’d buy a fabric harness when it came time to do the Dora.

So, since I didn’t want to wait, I went to my stash and grabbed my Eduard Fw-190A-9 to rob the harness out of it…and it was gone because I used it in a Bf-109 at some point. So I just took the next step and robbed a harness from another 109 I have in the stash, and when I go to build it, the cycle will certainly continue.

Anyway, I got the cockpit done, painted with Tamiya German Grey, then washed with The Detailer and flat cleared it.

Untitled

I painted the area around the exhaust pipes before installing them, since I don’t want to mess around with masking them, and I’ll blend it together with the rest of the paint job when I get to painting the whole thing. Exhaust were painted Mr. Paint Steel, then washed with a Vallejo Rust Streaks wash and then hit with a mist coat of Steel to tone them back. I’ll use some black pigments on the tips later on.

Untitled

Next up, I got the innards installed, which were painted with Mr. Paint RLM 02, Tamiya Dark Iron and Testors Silver for the rear of the engine parts and gear bays.

I ran into fit issues with the wings and spent about 45 minutes installing the lower wing, gluing it, holding itin place until it set and moving on. Tamiya Extra Thin Cement was really good to me, and I only have a couple of minor steps on the leading edges of the wings where it will be easy to sand smooth.

The top panels didn’t fit amazingly, but I got them where they need to be, and the windscreen fit was perfect.

Next step is to sand the seams, all of which are hopefully not going to require filler, and then finish up the headrest assembly, mask the canopy and install it. I’m hoping to get it into primer tonight or tomorrow.

Untitled

Untitled

Looks like I need to paint the control stick handle, too.

-BD-

My Dad used to call that robbing from Peter to pay Paul, lol. Hubby did that when he bought a truck, robbed some parts from the old truck for the new one. Then told me I could drive the old one around. Well guess who had to go to the junkyard to replace the missing parts…Me. Lol. Looking good!

Thanks! And haha on the truck thing. Hope it worked out.

-BD-

i’ve done that…lol. I started making notations on the kit boxes so I know what I stole. Looking good Brandon.

Quick update on the Dora:

I got major components together and in primer, when I took the below shot. Since then, I’ve painted the black and white JG26 fuselage band as well as the yellow tail, painted a base coat of Alclad Polished Aluminum on the wing roots for future chipping, and managed to get some of the RLM76 down on the right side, but didn’t take a pic yet.

Untitled

So, it’s coming along, and I am actually liking the shape of this one a bit now, especially with the Ta-152 tail. It looks so janky it’s almost cute.

-BD-

Nice! I still think the Dora was ugly compared to the Anton…lol. Indeed lanky.

Err…janky

Thanks, Joe. While building this has softenemed my heart on them…it hasn’t made me a convert.

-BD-

Ok, so I got paint on my Dora.

This one is a late-war bird with the Ta-152 tail and was part of JG26 for the Defense of the Reich.

Paints are Mr. Color RLM 76 for the sides and underside of the fuselage as well as the tops of the wings and ailerons, Mr. Paint RLM 81 for the brown violet (which color I had to do a triple-take on to make sure it’s right, but it seems it is), and Tamiya Green for the other camo color. Tail is Tamiya Yellow, and the bare metal on the underside of the wings is Alclad Airframe Aluminum sprayed over basic Mr. Surfacing FInisher 1500 Black (NOT gloss black, as I don’t want it very shiny).

Prop and hub just got a coat of Tamiya Black Green, and once they are dry, I’ll apply the spinner spiral decal and attach them to the cowling so I can glue it on (it’s just pressed in place at the moment).

Untitled

Untitled

Untitled

Untitled

-BD-

Whoops, just noticed those black spots on the left side of the fuselage under the cockpit - those are chipping fluid mistakes, and I need to fix that now.

-BD-

On the other hand, I find the Dora very attractive and sleek. Looking great so far!