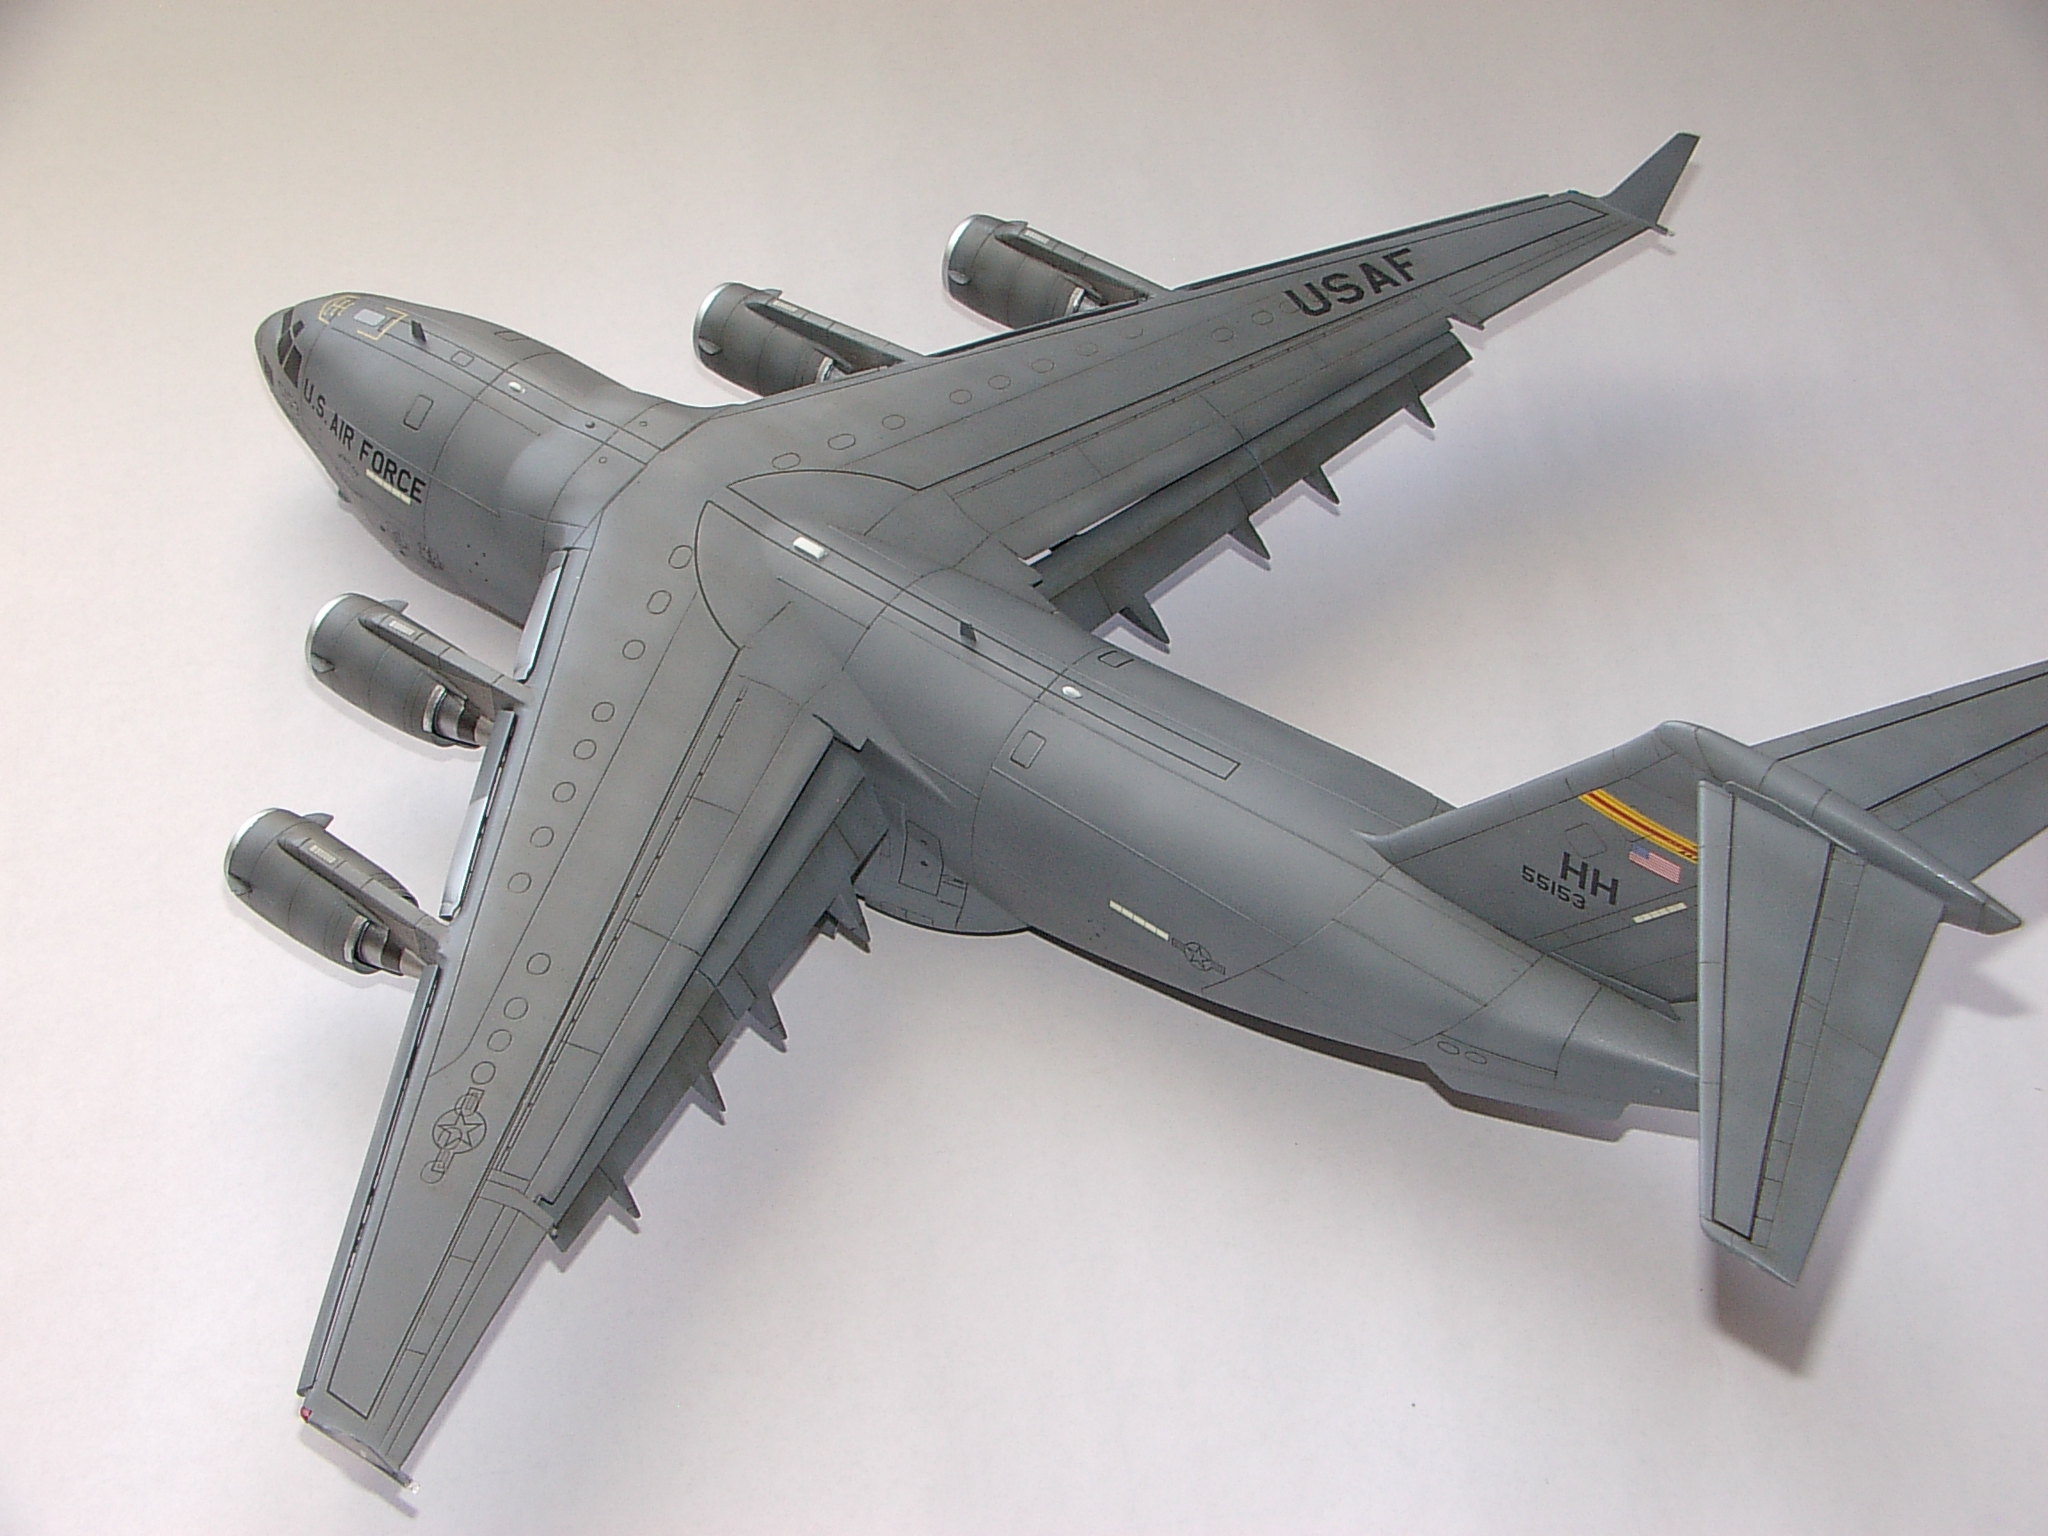
Hi guys. Here’s my latest build, the Revel 1/144 C-17A Globemaster III. I started this build for the Mighty Mini’s group build but I came way short on the completion time. If you are interested in seeing some WIP pics be sure to check it out!
I added the Wolfpack resin flaps and slats, used the Hickam AFB decals from Xtradecals and general markings/windshield decals from Draw Decals. All the USAF decals are from the kit:
As you can see I’ve added some weathering to this build. Those of you who have followed my last few builds know that I like to weather my models…even a bit unrealistically. I just think it makes them much more interesting to look at. In real life these C-17s are fairly pristine. Some reference pics show some planes with uniquely dirty areas. I combined them into this one build.
Most of the weathering is simply post shading and tonal variations. I did use the Tamiya Weathering Master powders under the wings. I also tried a new (to me) product. I used the Ammo of Mig Deep Grey enamel panel line wash. I am very happy with the results.
No, I don’t really have any good detail shot because I’m not that good of a photographer. I end up taking these pics on my kitchen counter and the lighting isn’t very good. I’d like to get better at photography at some point though.
This is sort of ironic since my wife is a professional photographer.[:S]
Thank you Patrick! Check out my F-22 WIP if you’re interested.
I use Mr. Color paints almost exclusively for the main colors. The overall color was C13 Neutral Grey. BUT…I don’t usually paint straight from the bottle. I usually add various amounts of white or black to the paint to achieve the different tones and fading. This one took an entire bottle of C13, BTW!
The metal areas were painted with Alclad II Aluminum.
I used Humbrol Gloss Clear for the gloss coat before decaling and AK Interactive Satin for the final coat. This was the first time I used the AK Interactive Satin and I like the results.
This kit isn’t particularly large. It’s approximately 15 inches from nose to tail and 14 inches from wingtip to wingtip (I’m assuming you want US measurements). It seems to take up about as much space as some of my bigger 1/48 jet builds…like Hasegawa Superhornets and a Revell F-15E, if that helps.
Looks great! I have wanted to build one of those for a long time. I was still at McDonnell Douglas when they won that competition, and had a lot of interest in that bird. Just haven’t picked up the kit yet.
Thank you, cml! I’ve got the X-Wing brewing in the Sci-Fi GB and the F-22 so there’s more on the way! I’m gonna try all kinds of new a different techniques on the X-Wing so keep your fingers crossed for me.
No problem[Y]
Thanks alot, Don! This model has alot of potential. I built mine all closed up because I want to be able to hang it from the ceiling (I’m running out of shelf space). But, as I’m sure you know, this kit has all the interior parts so that you can build it with the cargo doors open. I’m sure that a pro such as yourself could really bring it to life. Plus, they sell these at Hobby Lobby so you can use a 40% off coupon to get it (that’s how I bought mine).
Thanks, Bish! That’s cool that you got to ride in one. Were you able to get any pics of the inside? That would come in real handy if you ever decided to get one of these and build it open!
Thank you, DevilDawg! Yes, I did have to put a little bit of weight up in the nose. The plane didn’t fall back on its tail but it did sit on the main wheels in such a way that the nose wheel was about 1/8 of an inch off the ground. I didn’t realize it until it dry fitted the wheels and let it sit on its own. The main gear is a bit flimsy and bends just ever so slightly when weight is on them.
I should mention that I was very careful attaching the landing gear to make sure that all the wheels would contact the surface. With weight in the nose all 14 wheels are contacting the ground.
If you check out the Mighty Mini’s GB I explained how I attached the gear in a way that assured me the wheels would all touch the ground and posted pics as well.