I currently have a dilemma, my Eduard albatros D III has no control horns for the elevator, being the semi perfectionist this bugs me, and since my Eduard D. V albatros does have them it bugs me even more. Any ideas on the best way to replicate these? they are about 1/16th of an inch wide and about 3/16 tall. [bnghead]
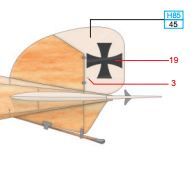
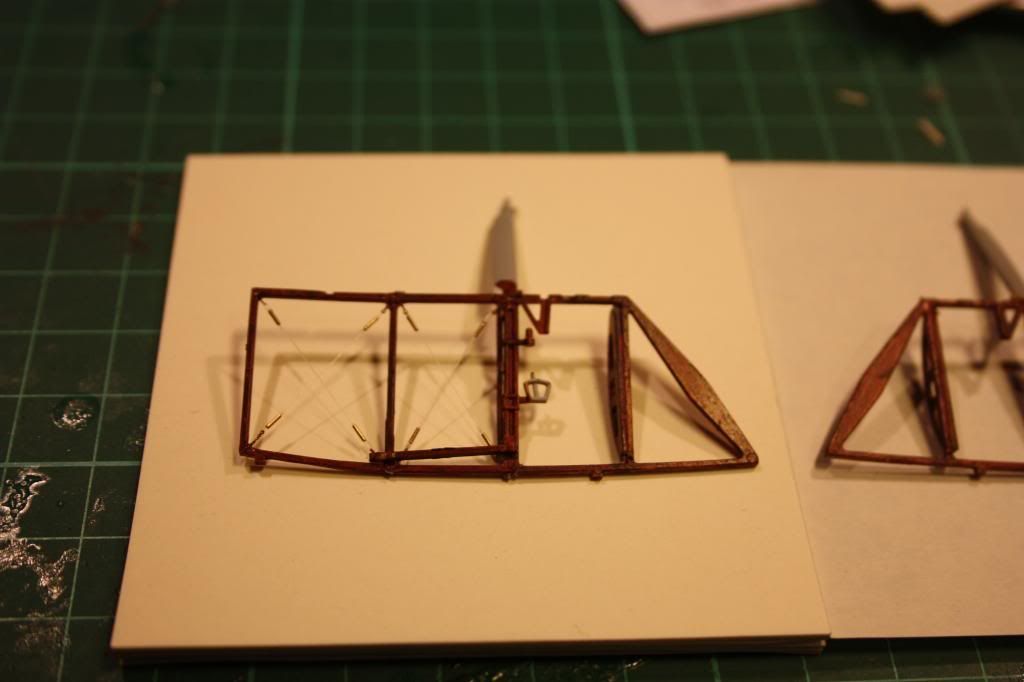
John, not sure which of the D. III kits you have but I think if you get close to what’s in the pic below you’ll be fine. 1st off… 1/16 by 3/13 scale up to 3" thick and 9" tall. While I don’t know exactly what size they are… they sure as heck ain’t that[;)] So I would make them just a bit smaller.
From the profile below you can see the top and bottom together make a more or less triangular shape. I would cut a triangle out of sheet plastic… metal would be better. Some brass fret from a PE set is great for this kind of thing. Once you have the triangle, file each side a tiny bit so it s a little concave. Make a little slot in the leading edge of the elevator and glue the triangle in the slot. Drill your holes for the rigging before gluing in place. You can likely make these in less time it took me to type and spell check this[:D]
thanks for the help. those dimensions I gave were just a guess, cuz I’m at work and the model is 60 miles away. [:O] I better get my tweezers and magnifying hood on.
I have the Albatros D. III OEFFAG 153 1/48 kit weekend edition
The link below is from the 153 Profipack that has the PE control horns. Check the last page before the color schemes and you can see the basic shape of one side.
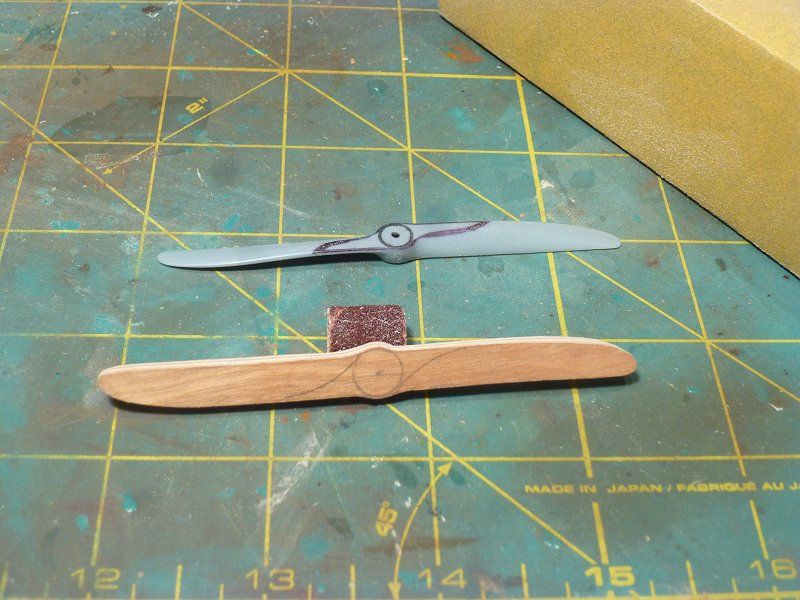
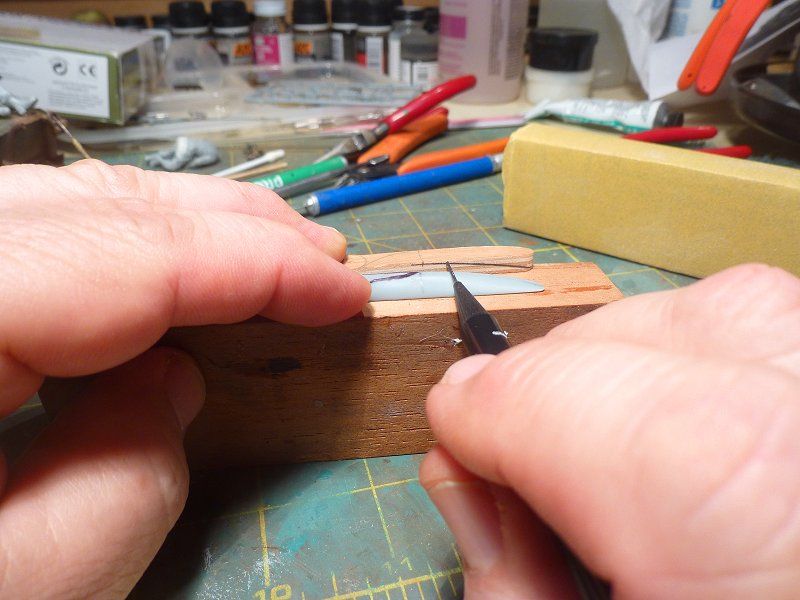
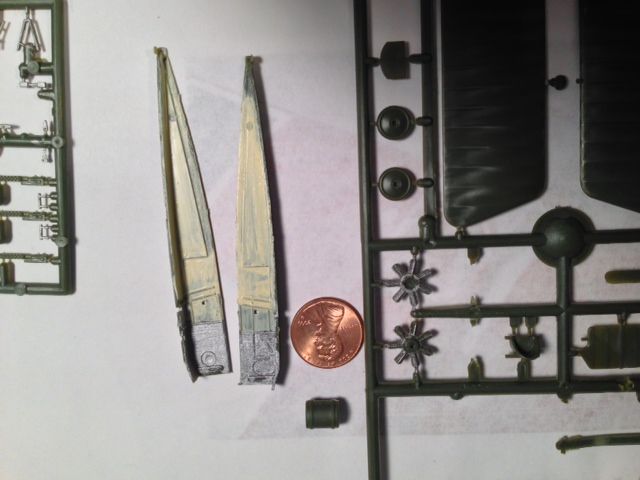
Getting very near the end of the Kingtiger. While I am waiting for the Milliput butt on one of the figures to harden I did a bit more on the prop. Part 2 of the SBS…
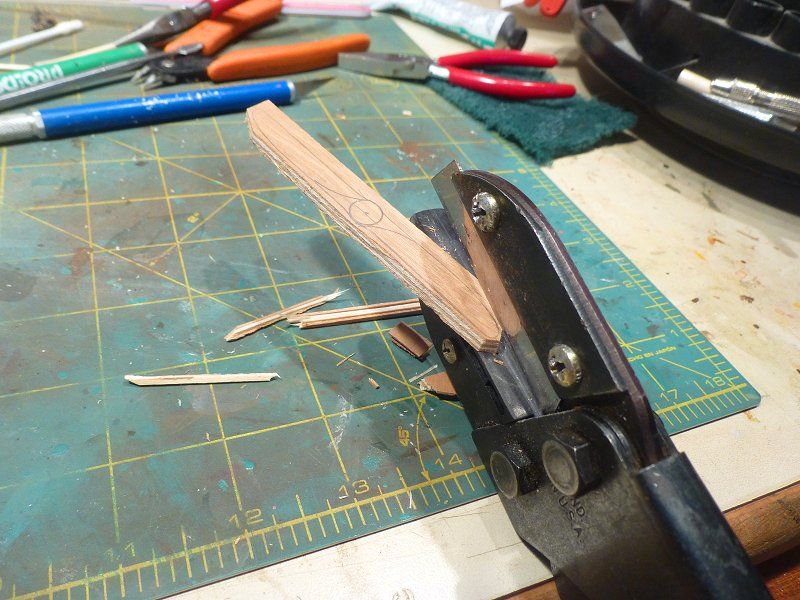
Cut away as much of the excess as you can. BTW if you don’t have a Sears Handi-Cut near the bench… get one. You’ll be surprised how often you use it. Cutting thicker plastic, soft metals, sanding twigs to name a few.
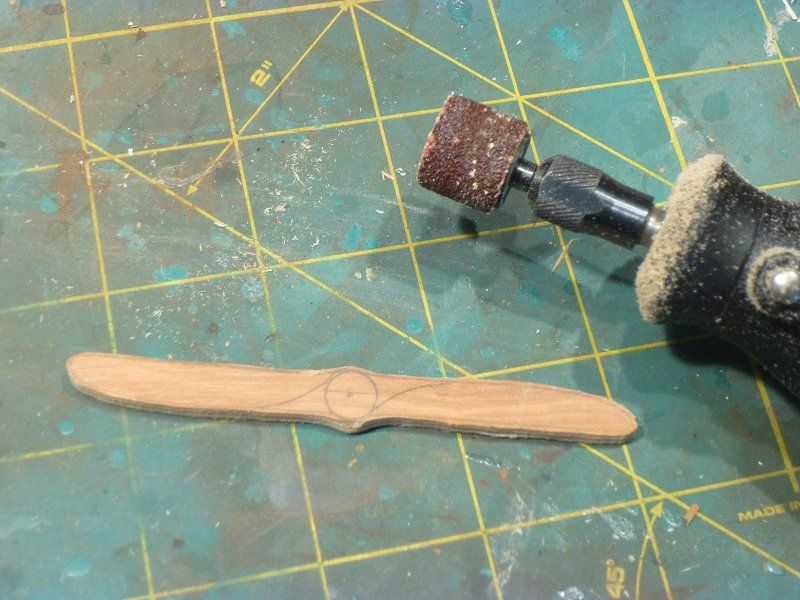
Get close to the line with a coarse sanding drum on the ol’ Dremel.
Finish off with a sanding block fr better control checking against the plastic prop as you go. If your just barely “take the line out” you should be just about right. I left the tiniest little edge for any adjustments that might be needed later.
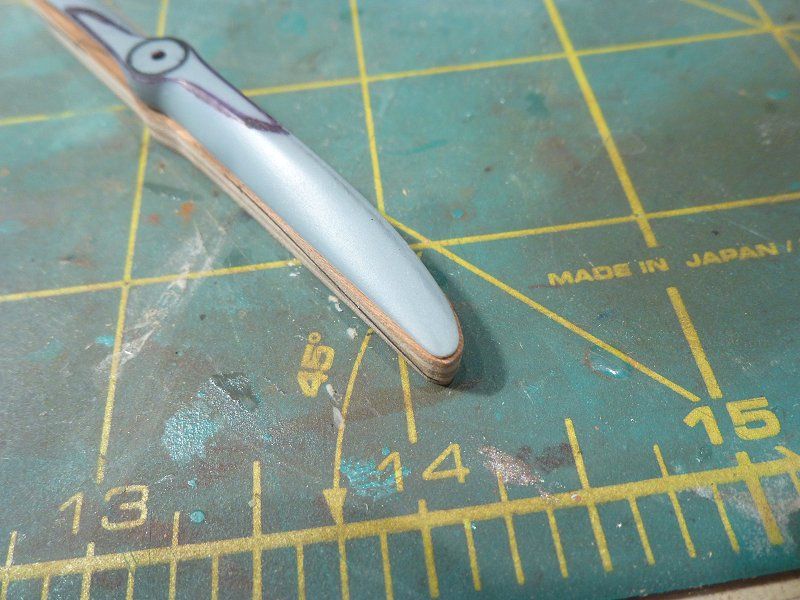
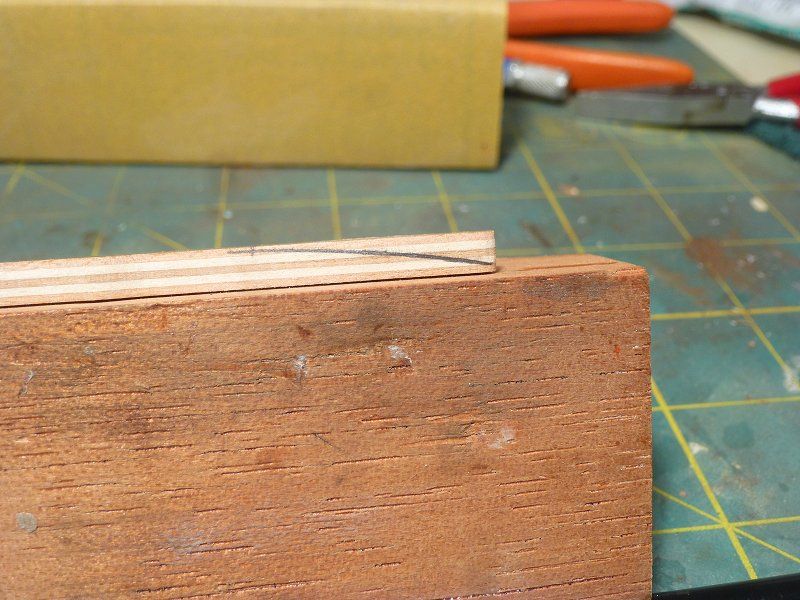
Next thing will be to sand the curve. As said before, one of the reasons to do this prop is all the curve is on one side. There is a bit of a flat area on the front so that need to be marked to see where to draw the reference line. Using a mechanical pencil with the lead extended a bit and holding it level, mark the curve from the mark to the tip.
Marc: Very cool! Don’t think I’ll be trying it considering how small the prop on my fighter is but if I ever build a 1/32nd kit I might give it a whirl.
Quick update: The D.VII’s cockpit is coming together. I jumped the gun and added the yoke to the control stick before drilling the holes for the control lines. I’m going to have to think about an alternative connecting method or a way to drill the holes without snapping the part.
Overall, I’d have to say this is a challenging build, but a ton of fun. I haven’t put the decals on the wings yet. We’ll see what sort of time I have tomorrow at the office.
Marc - You almost have me convinced to try this. I’ll have to see which prop is supposed to go on my build and assess my potential for totally screwing it up.
Ah yes the potential for totally screwing it up factor. A number or notion that is not quantifiable, undetermined, and undefined yet weighs heavily in the minds of modelers sometimes causing then to run screaming into the night. It have something to do with the relationship between the part count, number of tools on the bench and the number of fingers involved.
Good Friday to all of you World War I aeroplane fanatics! Aaron’s recovered from his ear ache and is getting back into the shop. It’s been a busy time here, but we are making steady progress. Here’s our latest vlog.
Have a great weekend everyone, and happy modeling!
freem - man, you ain’t kidding when you say small. That thing is microscopic! No way my fat fingers could attempt something that size. Looking forward to more pics!
Tim - another great vlog entry. I now find myself eagerly awaiting each new installment. The 'pit is looking real nice. These kits are such a joy to build! Looks like Aaron’s making some good progress too.
…and yep, the GB is really starting to pick up steam now…excellent!!
Mike, sorry i missed your post. That colour is looking spot on. I will bear that tip in mind. Not a lot of detail on the inside of this, but will get some pics posted before i close her up. Ashide from a bit of clean up, this should be a nice easy build, no worrying about PE or resin. My only concern is the rigging, but i have been giving it some thought and think i have a plan.
No worries Bish. I’m looking forward to your build, and I’m very curious to see how you handle the rigging on it. There are probably as many methods as there are modelers. Keep in mind though to work from the inside out - this way you don’t have to work around any rigging that’s already installed.
Been making steady progress on the E.III. All the 'pit components are primed and have their base colors on (except for the natural metal surfaces). Nothing photo-worthy yet, but a few more days and I’ll be posting some pics.
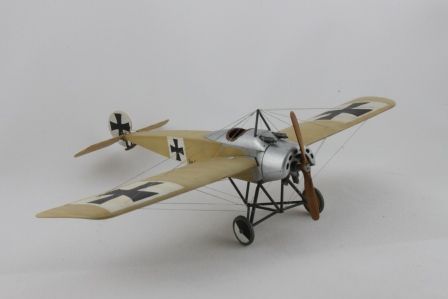
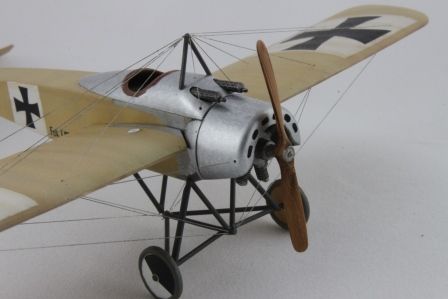
Hey, Freem - if I can do it, you can too. Picture is an Eduard 1/72 E.IV from a few years back. My first WW1 kit, 'cause…well, it’s easy right? There’s only one wing after all.
My F.1 build has been proceeding at a glacial pace. The picture at the end shows bits and pieces of the F.1, a Pfalz D.III and a 1/144 C-46 (how’d that get in there?..). Much sanding, trimming, fitting, etc. I did manage to remove the incorrectly located inspection panel on the top wing and replace it with .005" clear styrene. I would have included a picture, but it’s…well…clear, so’s ya can’t sees it. Great work, everyone…looking forward to more updates from the weekend!
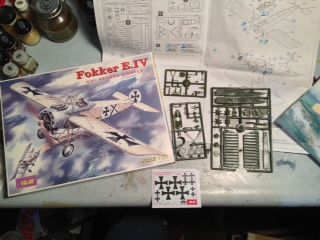
Chuck–NICE!!. Thanks for the inspiration. Now to bear down and get 'er done! I think the Eduard kit is better than the ICM so I’ll have the challenge of bringing it up to that standard. One wing–what could go wrong with only one wing???
Exactly…that’s what I was saying right before I pulled the last of the bracing wires and folded the gear up. Good luck with the ICM kit…I think you’re right, I had an easier time of it with Eduard.