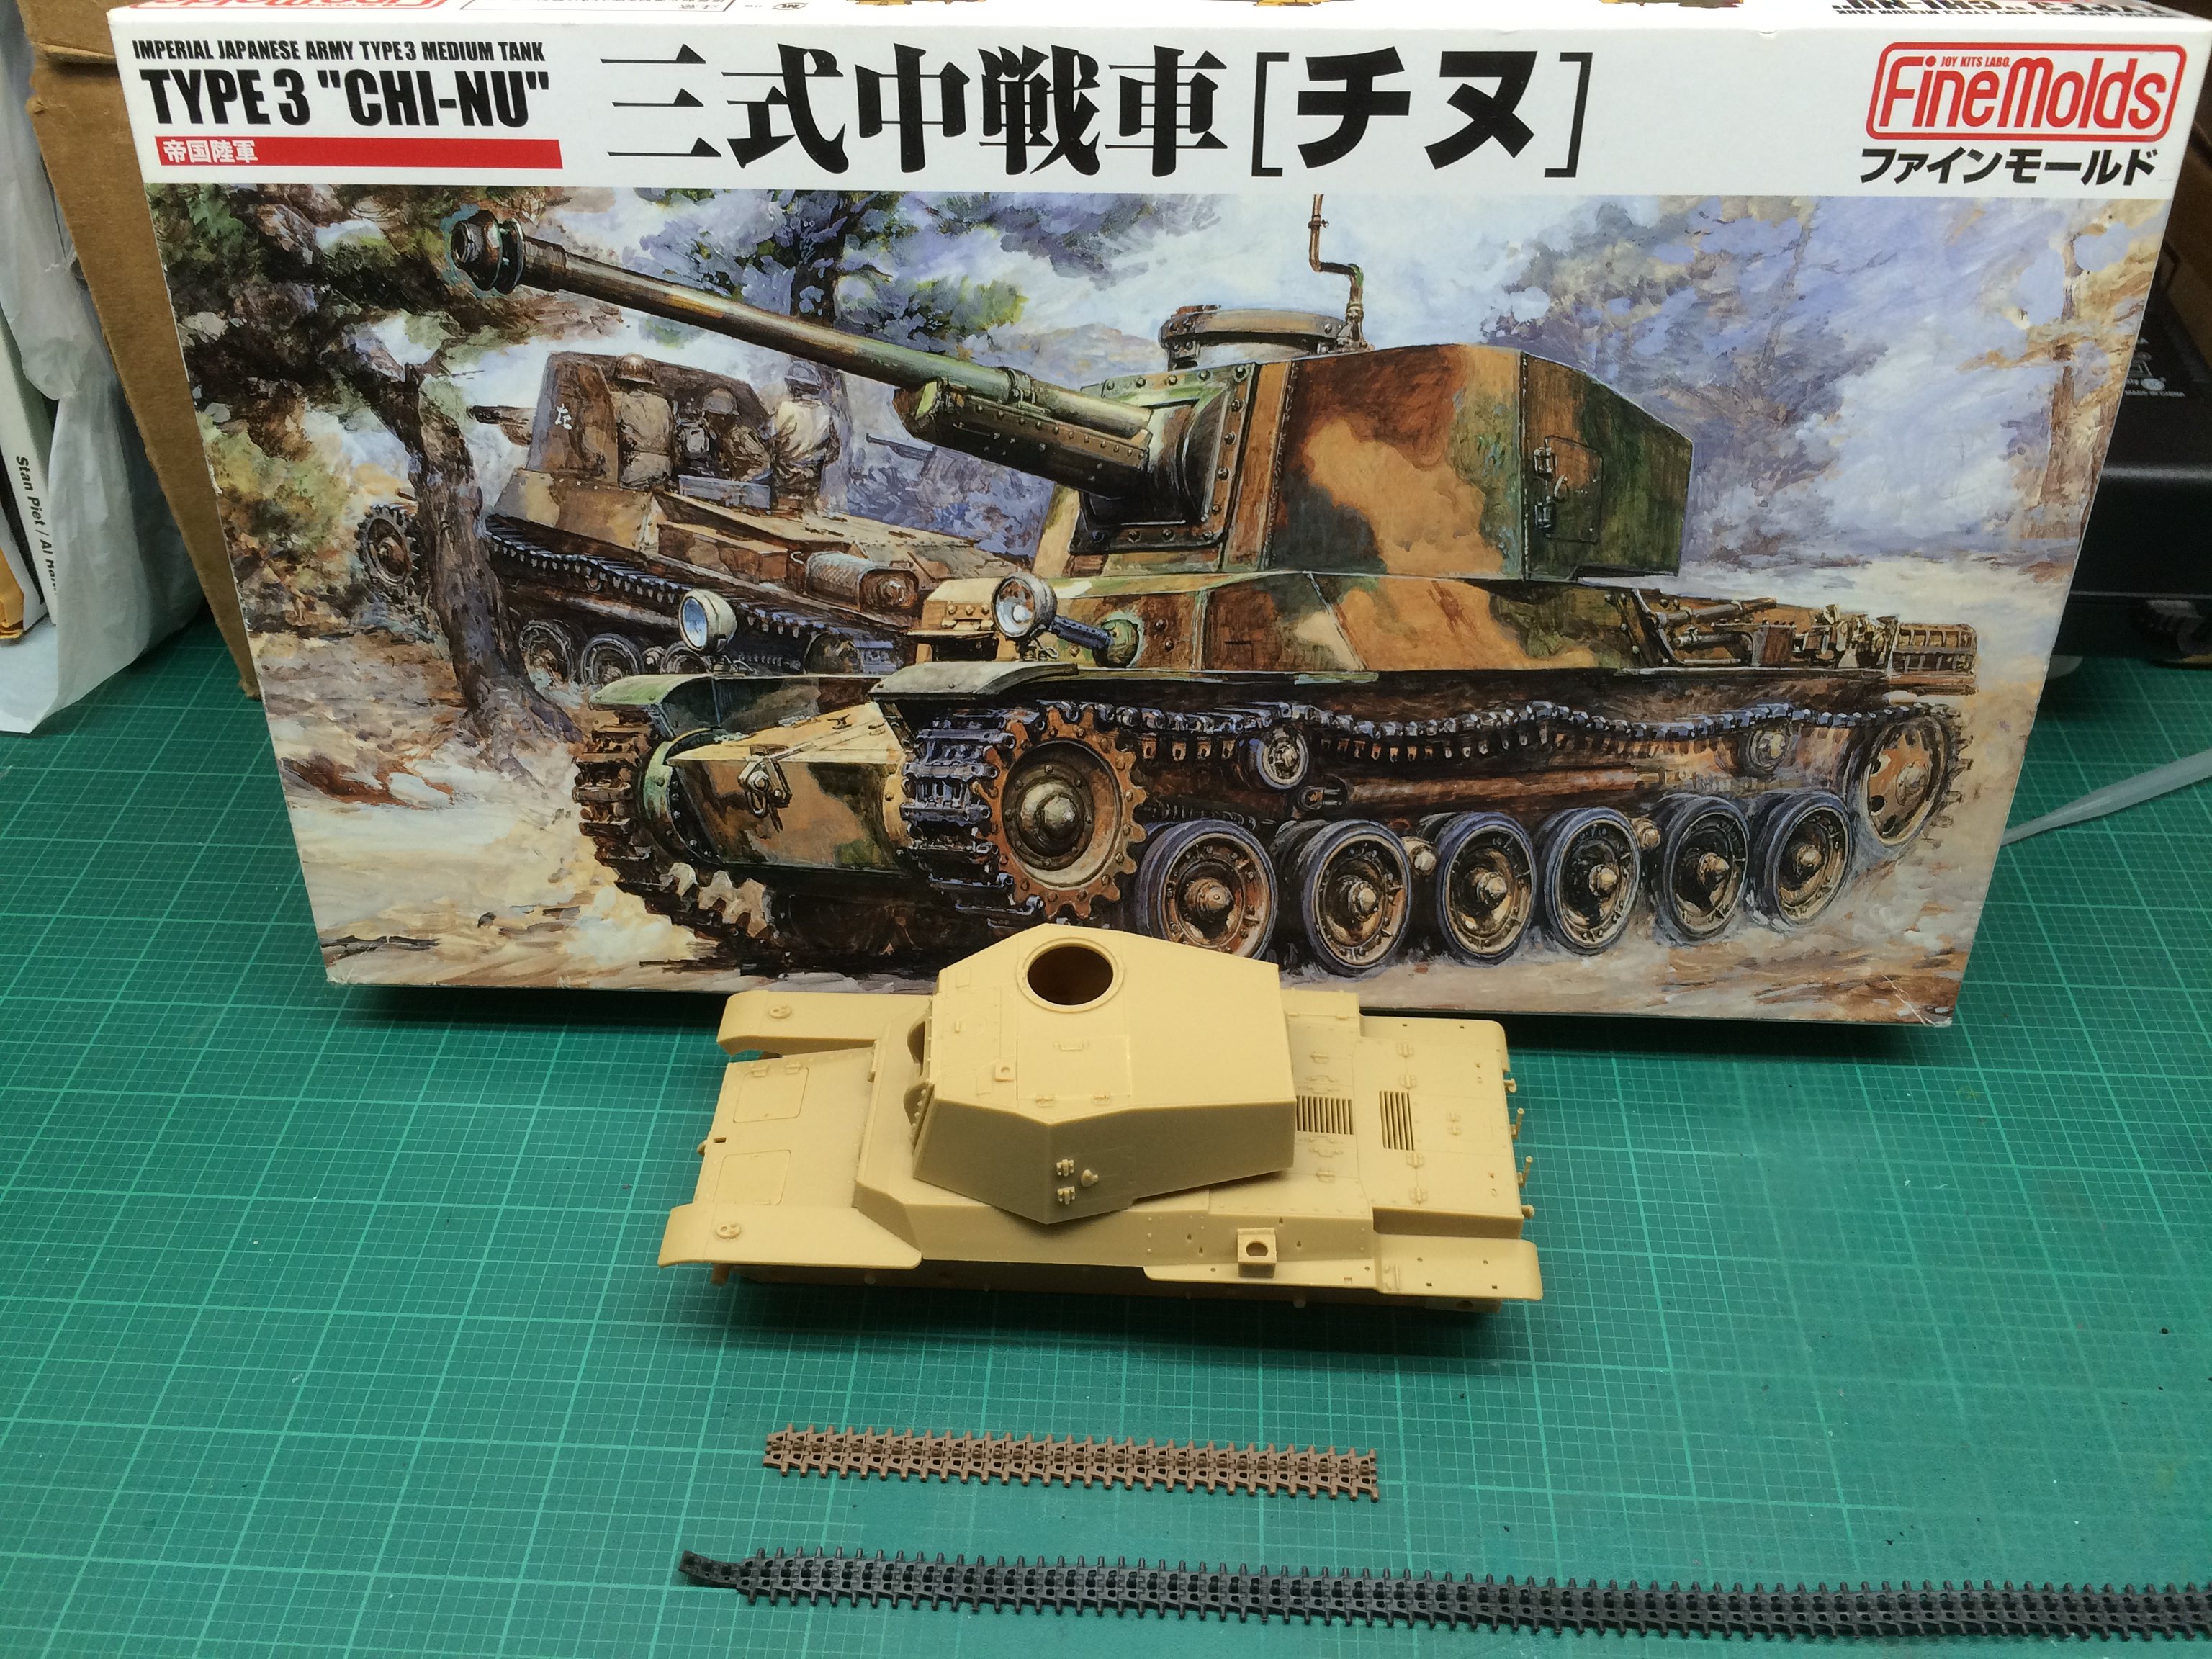
The Type 3 Chi-Nu was a late WW II IJA medium tank. It was fitted with a 75 mm main gun and had all-welded construction. It was intended to go up against the US M4 Sherman, but was held in reserve on the Japanese mainland in anticipation for an invasion that never came. Thus no Type 3’s ever saw combat.
So while I was trying to assemble the Mini Art aftermarket tracks for my Tamiya M3 Lee, I got frustrated and decided to build Modelkasten’s tracks for Fine Molds’ Type 3 tank as a “warm-up” exercise. Unlike the Mini Art set, the MK set went together smoothly and qucikly, so much so that I was able to get two full track runs with little fuss. So that begged the question of what to do next - the turret and hull had been assembled long ago, so why not push it along?
A quick recap:
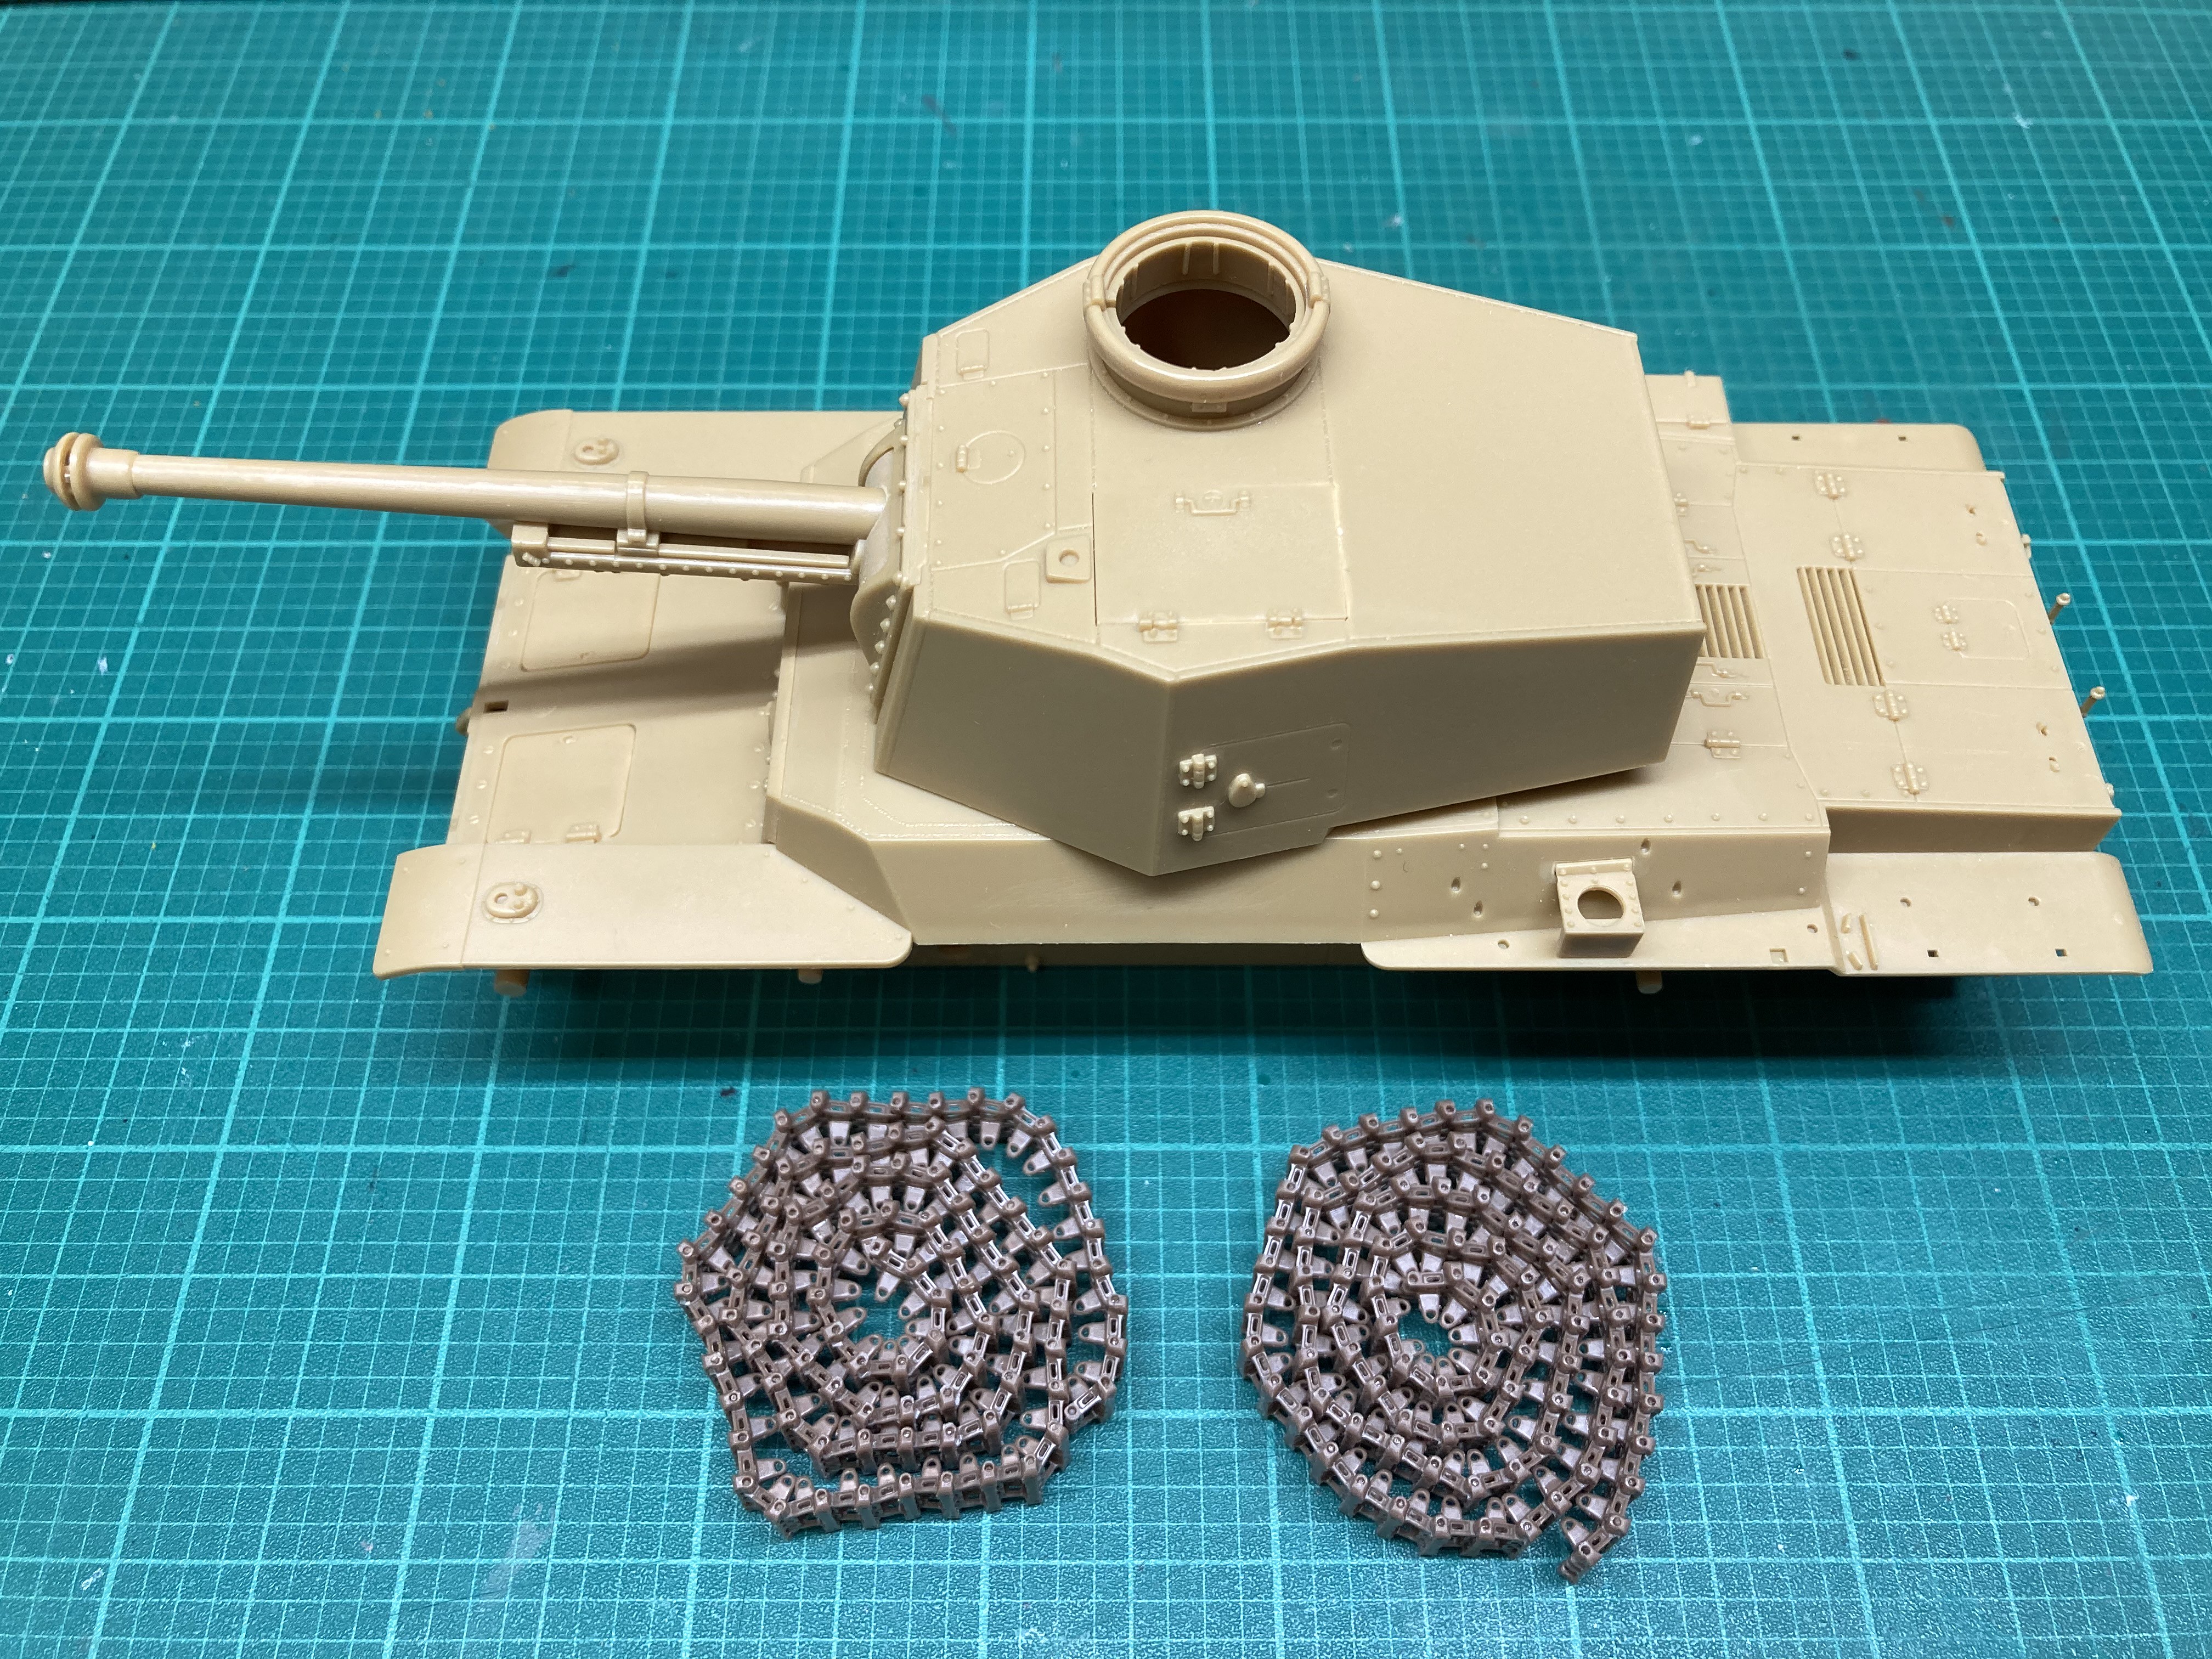
There were gaps at the front fenders, but slivers of sheet plastic took care of them:
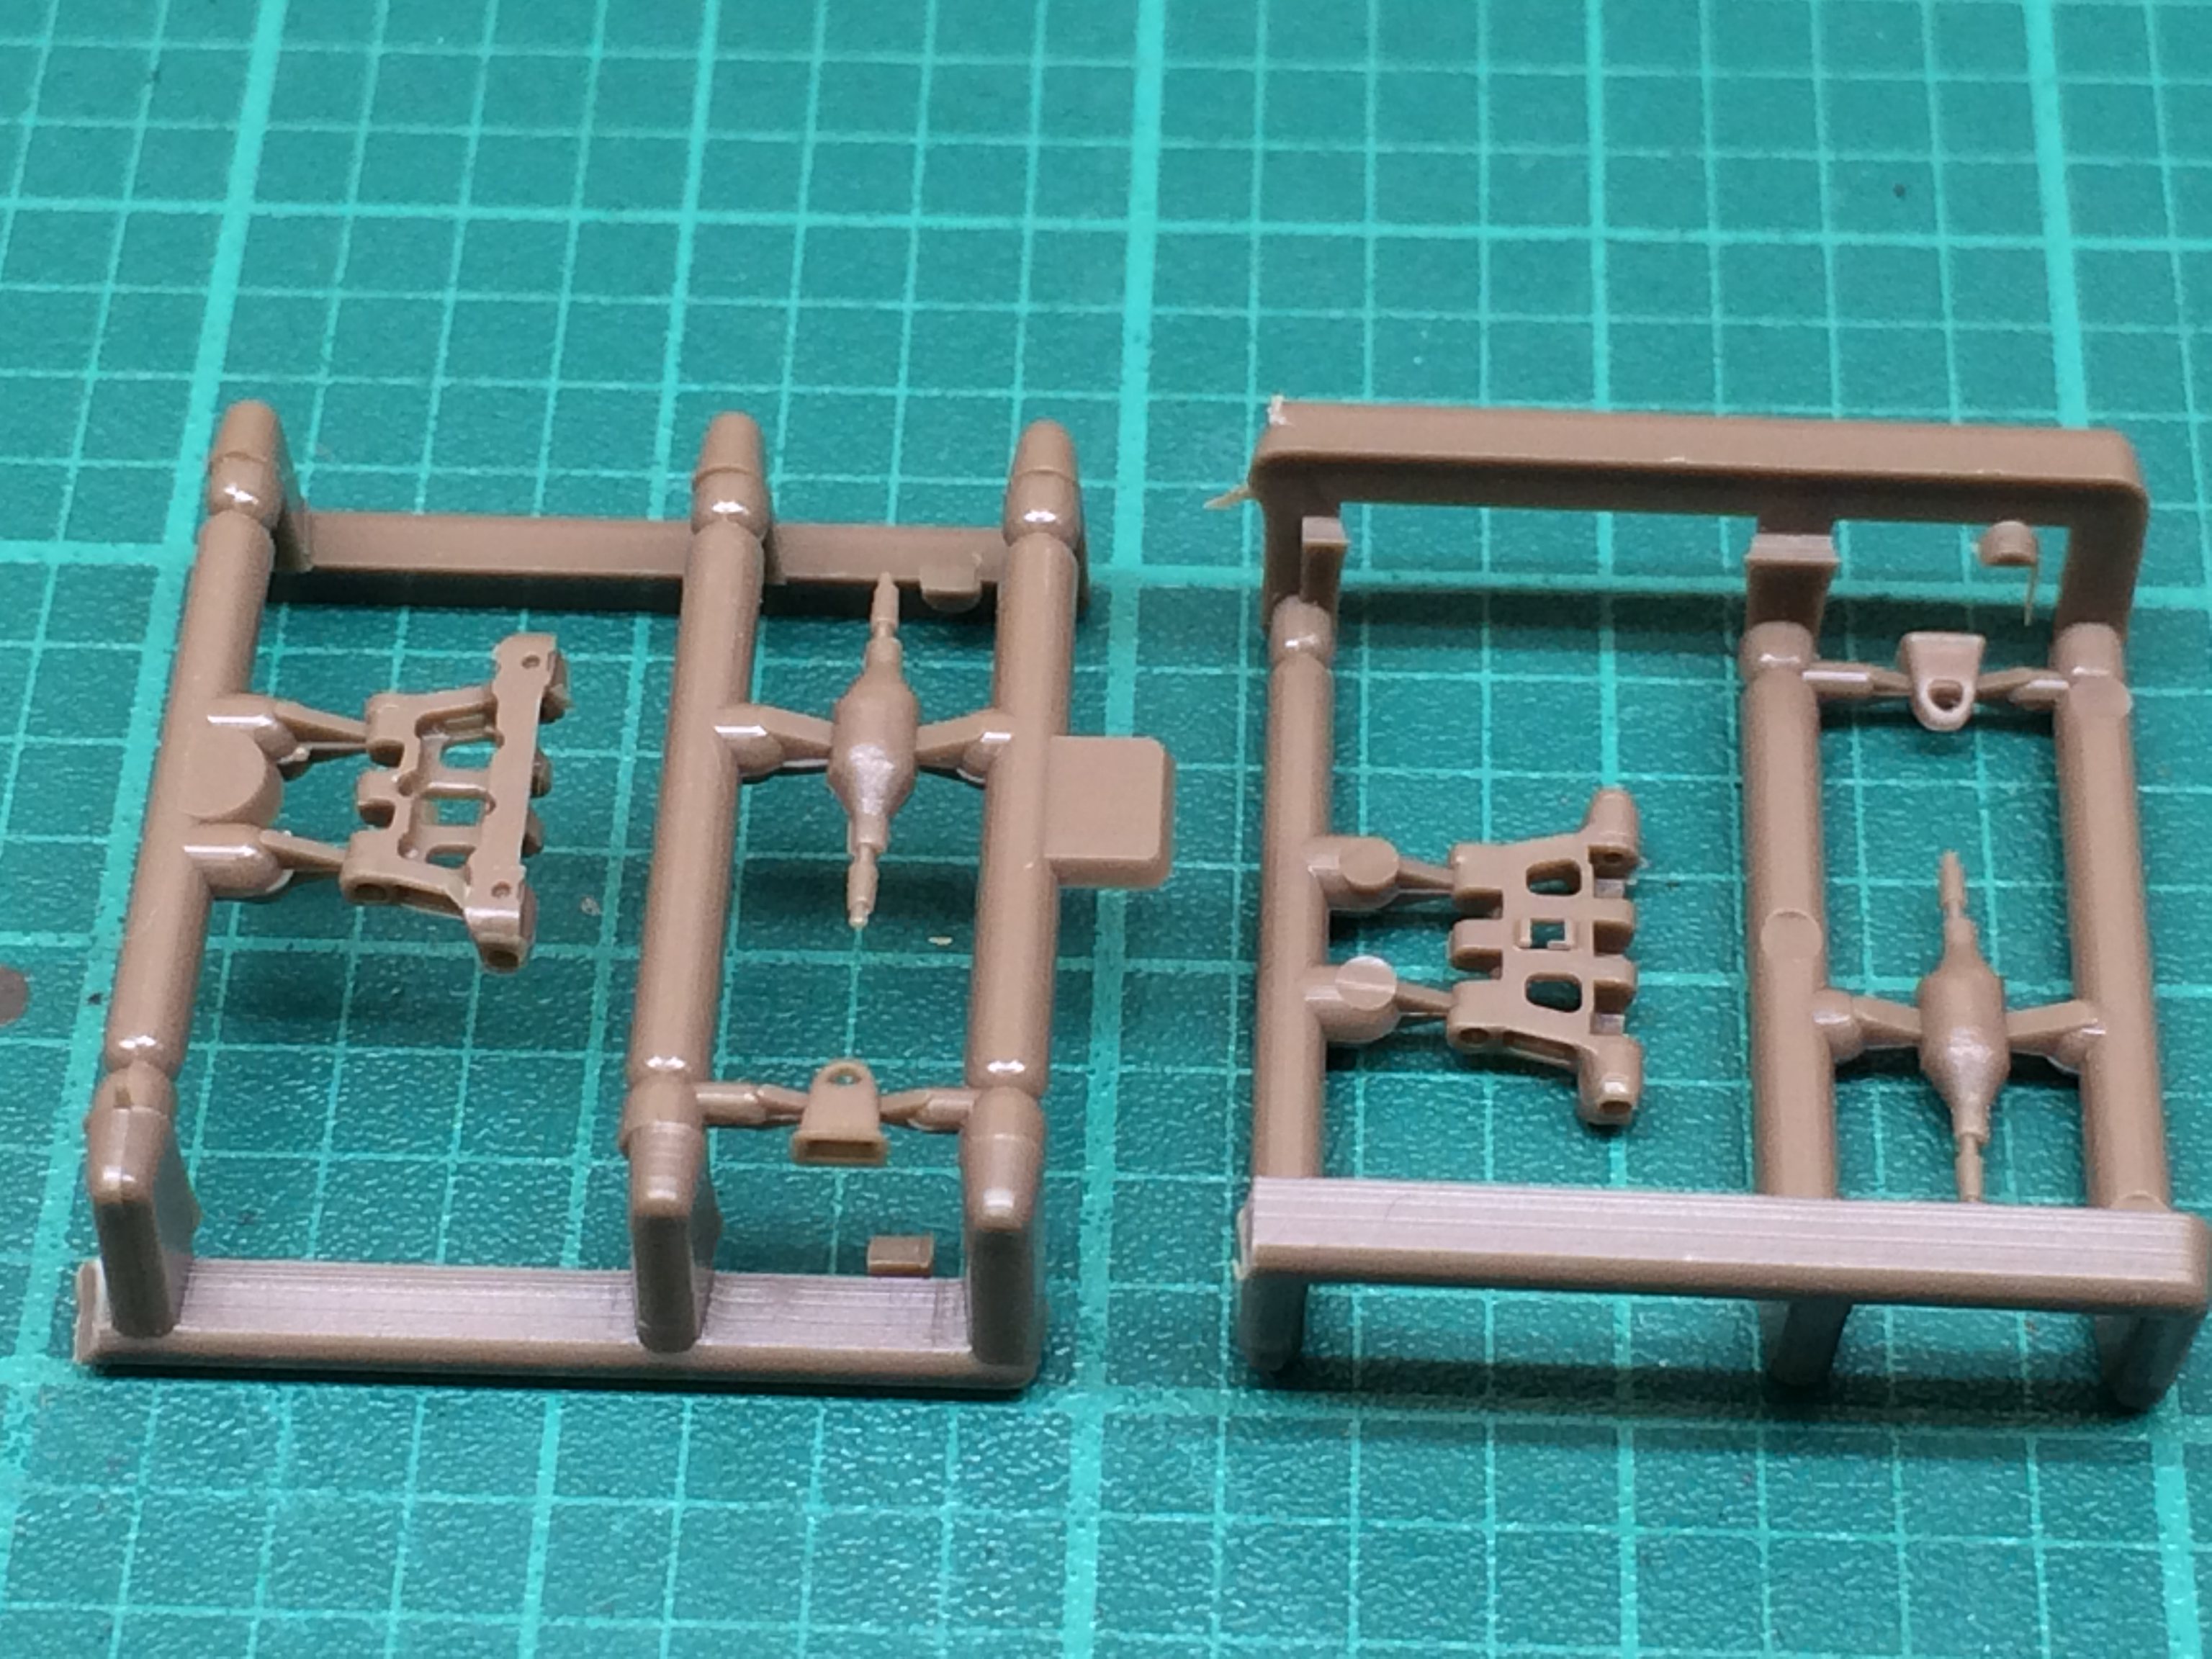
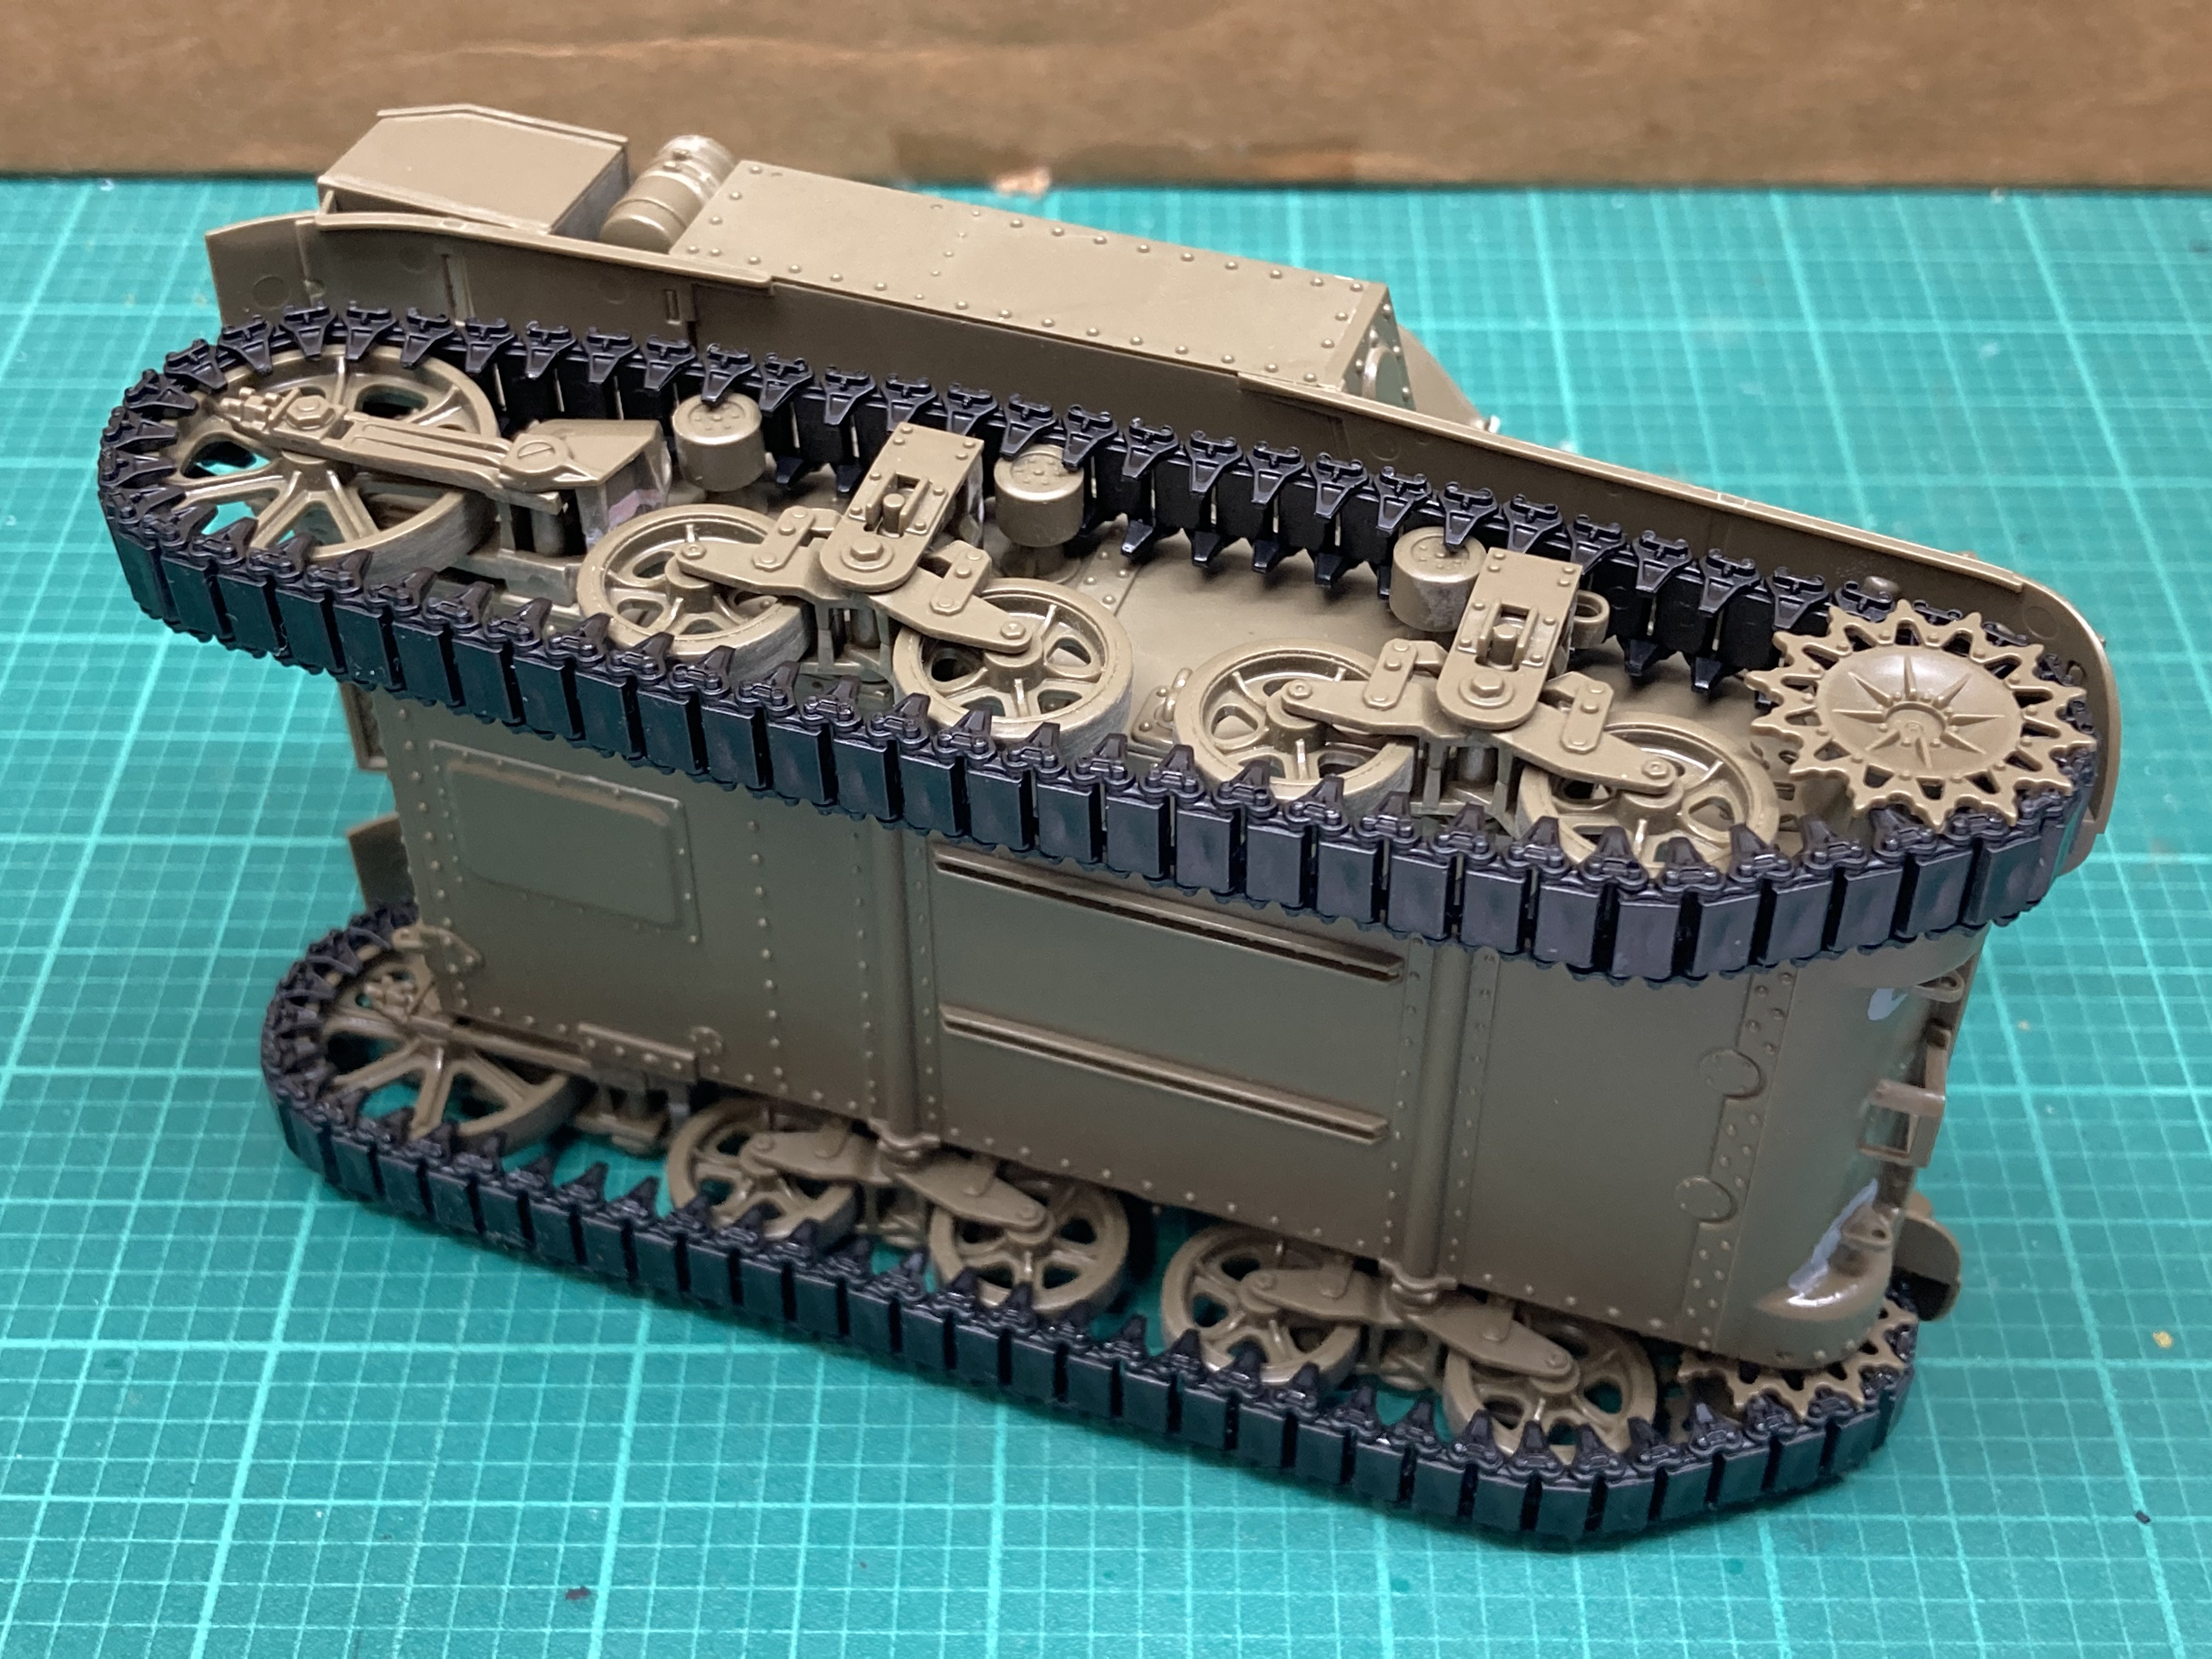
The Type 3 had a crazy-complicated suspension system:
I did a quick check to make sure all the road wheels touched ground before the cement set on the suspension arms.
Hope to see more work on her when you’re feeling better. Built one years ago, and it’s a great little kit. Not the most detail but everything fit really well. Only real work was the complex camo scheme.
Keavdog - Yeah, and with a max armor thickness of only 2 inches in front, and much less everywhere else, I think USMC M4s would have had them for lunch.
Gamera - I was mulling about how the camo scheme was applied on the real thing. Was it sprayed, brushed, or spat from cups of sake?
As I remember they were sprayed at the factory. I use Silly Putty as a mask.
Though I think you can just go with a solid coat of Parched Grass (I don’t remember the Japanese words for it- you’d probably know). It looks like a pale bleached version of US Olive Drab.
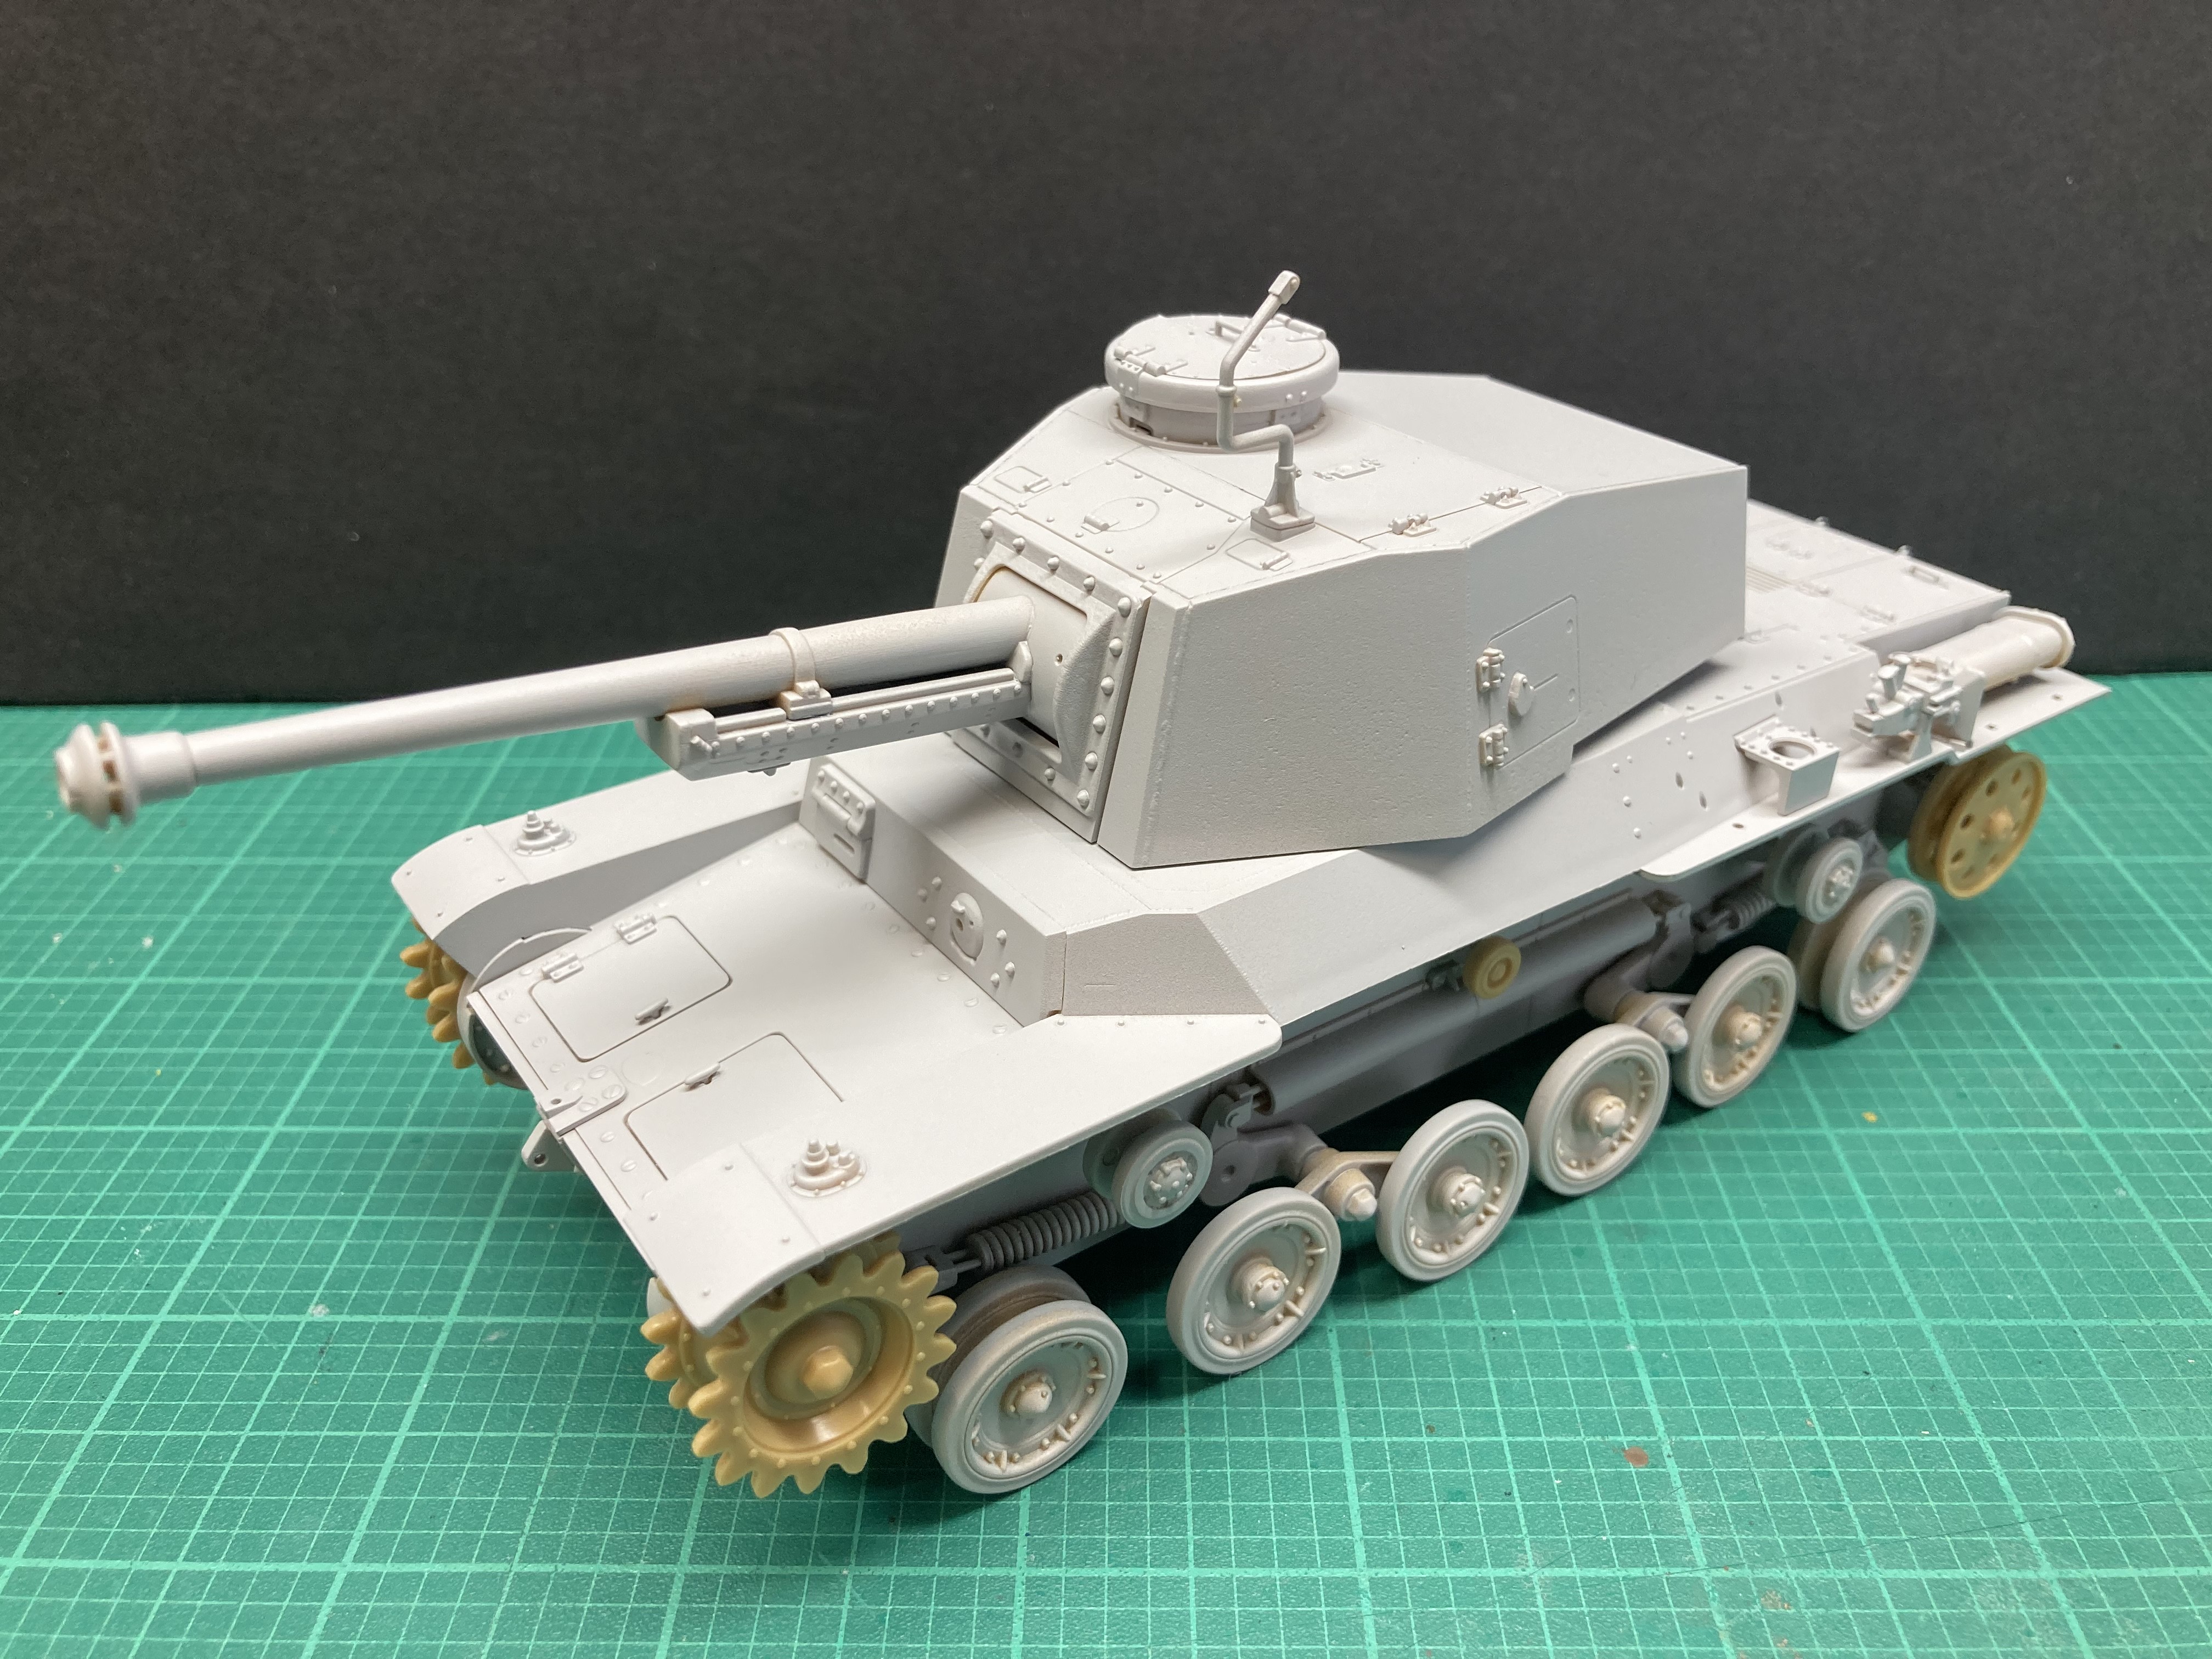
I like the 3-tone camo, so I’ll be going with that. I have to work today (drats), but I spritzed on some primer before heading out the door.
I’ll need to inspect the road wheels and detail areas to fill in blemishes and make sure everything is tidy. I’ll try to take out the Aerosan and start airbrushing both.
I’ve used those paints on most of my Japanese armour. Only weird thing about the paint is if it’s a little too thick it will spray this weird spider web type stuff- hard to describe but you’ll know it if you see it. If it does add more laquer thinner to it. In fact I found myself adding about two-three times as much thinner as I would with acrylic paint.
I have heard of that problem, but have not yet experienced it myself. The Gunze lacquer paints have a tendency to dry out in the bottle if left for a prolonged period of time. But I have a bottle of their “Replenishing Fluid”, which rejuvenates them. In fact, my paints had dried up to a goo, so I used the fluid to make them right again. The high thinner to paint ratio is probably due to the pigment density.
Good to know you’re on top of the situation. First time it happened to me I was staring at the model, "Is it that dirty? Where did the spider webs come from, I just washed the darn thing off!!!’ It wasn’t until later that I saw the paint making fiber threads coming off the airbrush that I figured out what was going on!
I’d not heard about the ‘Replenishing Fluid’ - I’m going to have to check that out- thanks!!!
I think the spider webs are in part caused by incompatible thinner. I had that problem spraying automovie paint. When I switched to a different thinner (I think it was acetone), it went away. I have airbrushed Gunze Mr Color paint before, but I use their thinner and have had no problems.
Maybe “Replenishing Fluid” is just Mr Color Thinner with a different label! [:O]
Actually this was using Mr. Colour Thinner. So I dunno. As I said the problem went away with a little more thinner. Don’t look at me, my degree was in biology but I didn’t take any more chemistry than I had to.
Hmmm, I’ll have to check around to see if the Replenishing Fluid is the same stuff.
I’m like the dog that gets distracted by squirrels out in the yard. Rather than working on stuff I should be working on, I decided to assemble the indie link tracks for my Tamiya M3 Stuart.
The track set is by AFV Club. The molding quality is much cleaner than Miniart’s tracks, so assembly went pretty fast, save for all the fumbling with the tiny pieces.
Although that being said, Modelkasten’s Type 3 tracks were super easy-peasy to build by comparison.
Unlike the Type 3’s tracks, I glued most of the links solid. I did leave a few links workable, to allow the assembled tracks to slide over the suspension and sprockets. It seemed to work well, so I will probably glue the Type 3’s tracks down too, to preserve the proper track sag. I built an Academy M3 Stuart with all of the indie link tracks still workable, but the tracks sometimes get out of shape when handling.
I get that way, especally after primary construction is complete. I’ve hated painting for years, but love to build. I’ve built more than a few of those Bandai Star Wars kits straight OOB.
The Stuart looks good. I’ve been meaning to get one, but I have too many Academy and AFV Stuarts to justify it.
Nice work there on the Staurt my friend! Hoping to see you get back to the Chu-Nu soonish!
I know what you guys mean, I tend to take a kit with me on vacation/holiday to have to work on while sitting around at night watching TV. Some holidays when I have to work I’ll take one with me. So I end up with a big backlog of stuff assembled that I need to finish up painting. I’m still working on several of the kits I posted in the ‘What Next’ thread I started… what a year and a half- two years ago??? [:$]