I must admit i like the look of the pucara. Its not my usual subject to build, but i might just be tempted to get one.
From the Special Hobby kits i have, i don’t think they re-box anyones kits. They certanly ain’t for the novice. Some if not all the ones i have don’t have locating tabs, at least on the wings. They would put them down as more of a limited run company rather than a mass production.
Hey gang, finally followed my trail of bread crumbs back to the GB thread! Bust busy busy with work & “summer stuff”. I think I may get some time on the Sea Harrier this weekend… (I took a few vacation days next week to turn it into an extra-long weekend!)
bsyamato - loving that SUE (which is my wife’s name, by the way!) Ditto to Azorean’s comment - the Airfix kit is almost the same, only missing the PE and resin pieces. I need to order some decals for mine before too much longer, I don’t have anything in the “spares” that will look right.
azorean - sand & prime, sand & prime!!! Hey, you’re getting there, it will be worth the extra prep time when you see that final coat of paint lay down nice & smooth!
bondoman - thanks (again) for the heads-up about the canopy-fuselage step. I need to go back through the posts, but I seem to recall an issue with the fuselage being rather narrow for the cockpit assembly… maybe shaving a little off the sides of that section will help - is there much room once that assembly is in place & fuselage sealed up??
I don’t know since I don’t have the Airfix kit. But if so, there’d be a lot of frustrated beginner modelers. It’s the type that doesn’t have numbers on the parts or the sprues, and the few locators provided get in the way of a good fit.
Vance, when I trial fit it all, narrowing the fusie did not seem an option. As it is, I had to bust the back seat loose once it was all buttoned up, and move it, just to get the canopy down onto the thing. I think the best plan would be to open the canopy, as pretty much the whole thing except the bug screen swings up. That will involve cutting it in two and scratching up a little bit of frame and struts. But as I type this, I am forming a plan!
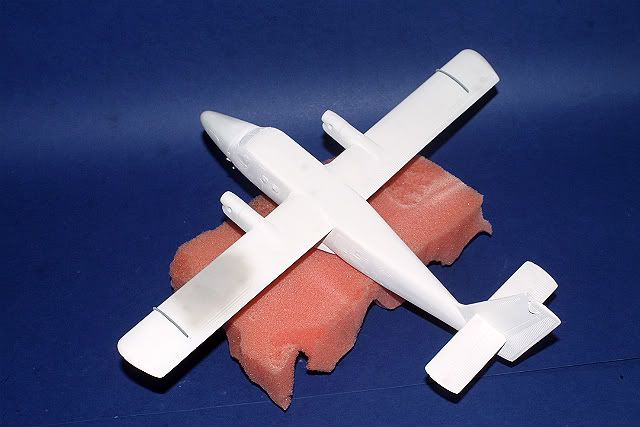
No. It’s set up like the old Heller airliner models- there are five parts- middle bottom, left bottom outboard of the engine, right bottom outboard of the engine, upper left and upper right. It all fit together really poorly- wing roots bigger on one side, sticking out a little further, stuff like that. I did do what I like to do on this type- glue the tops of the wings to the fusie first, get the joint all clean, then offer up the bottom halves.
You’d be surprised, when I bought mine a couple of months ago there was only about a $ 5 difference. I just looked at an -n-box review, it is the same kit except that AF has an extra sprue of plastic in lieu of the resin stuff in the SH kit. And, I haven’t tried them yet, but the SH decal sheet is a much better looking one.
Sometimes these kits can be a nice challenge. Its all to easy to stick to the kits that build themselves, but i find you can have alot of fun with a kit that takes a bit more work. And you get more satisfaction when you produce a good kit, and you learn a hell of alot you can put into other models.
I haven’t built any SH kits yet, but i bought the first one now more than 2 years agon and have been buying them ever since. Got a nice little selection of them and some sunbjects no one else does, and can’t wait to start building one.
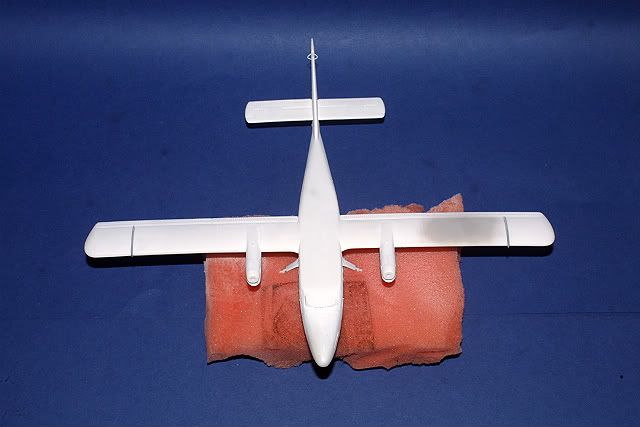
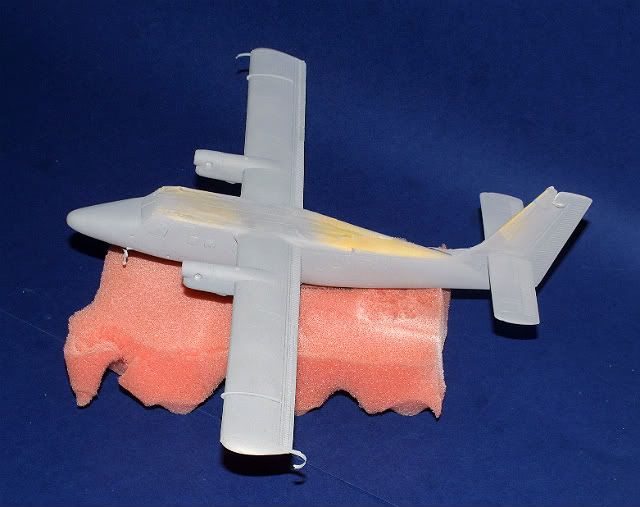
Do you mean the fuselage itself came apart… not heard that happening before. But it is looking very nice. I can’t see anything wrong on the first 4 photos, but on the list one i can see what looks like a line along the centre. You are certainly doing a great job despite the problems.
Sorry to read that you had some troubles with your build, but for the pictures it looks like you managed the problem just fine. I had the same problem once, I belive it happens when you sand putting a hard preseaure on the kit, I also have problems with the wings and tail.
That happens- the fuselage/ hull halves split also when you drill a hole on the center line and try to expand it by twisting a #11 blade tip in it, I found out.
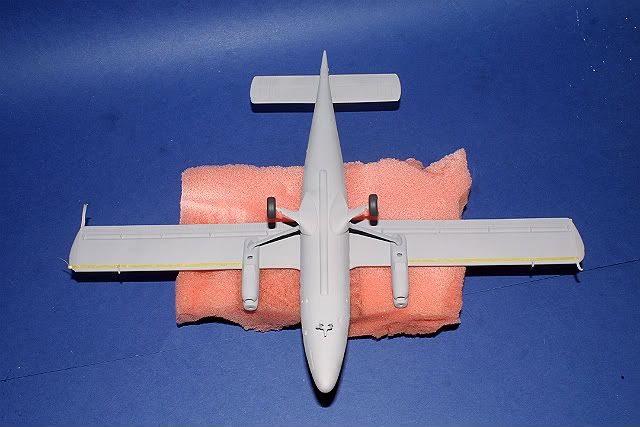
I’m looking forward to seeing the paint. Did the kit include all those nice looking flap actuators?
I just finished the third coat of future on Pucara- ready for decals. but wait, I took the instructions to work to blow them up for the camo pattern, and left them there! Tomorrow night I will put on the stickers.