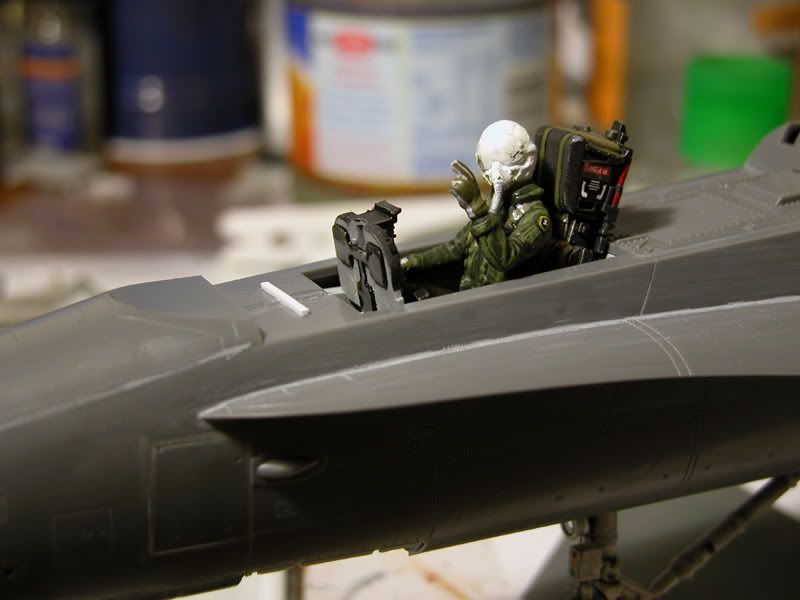
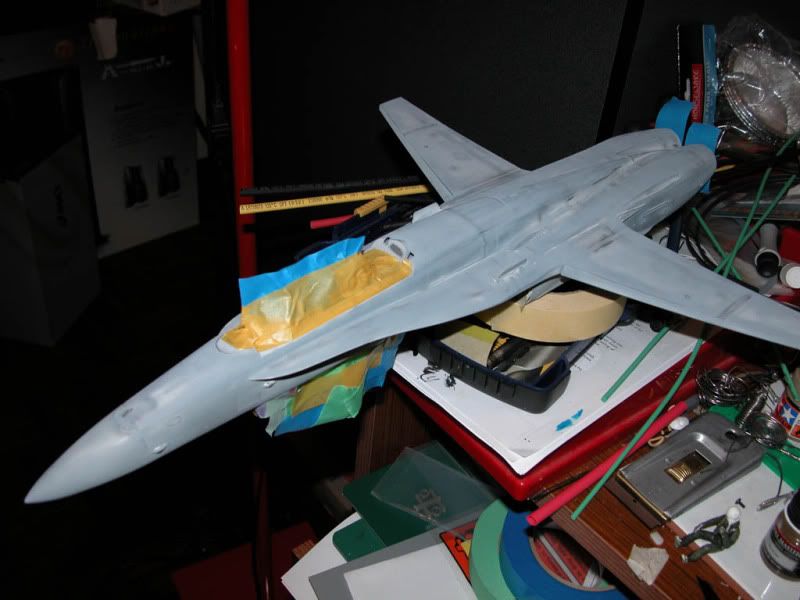
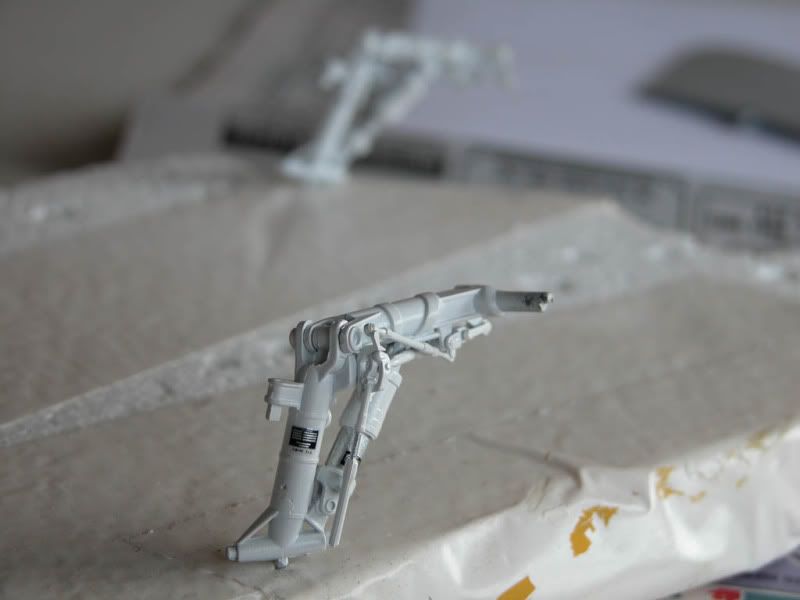
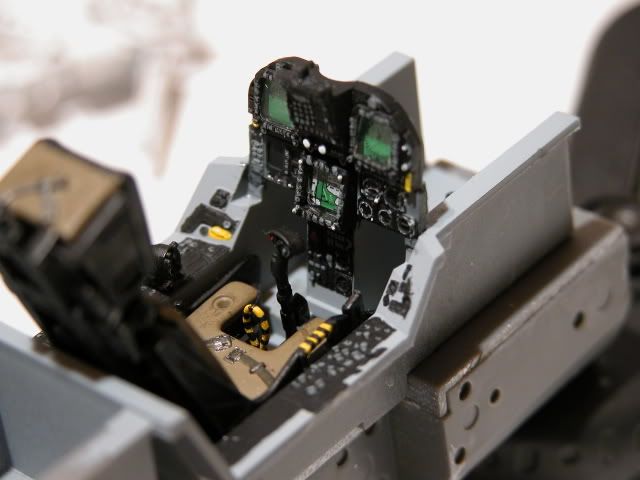
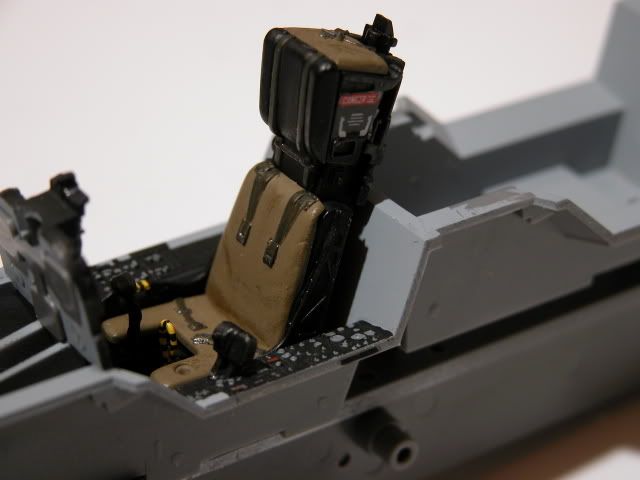
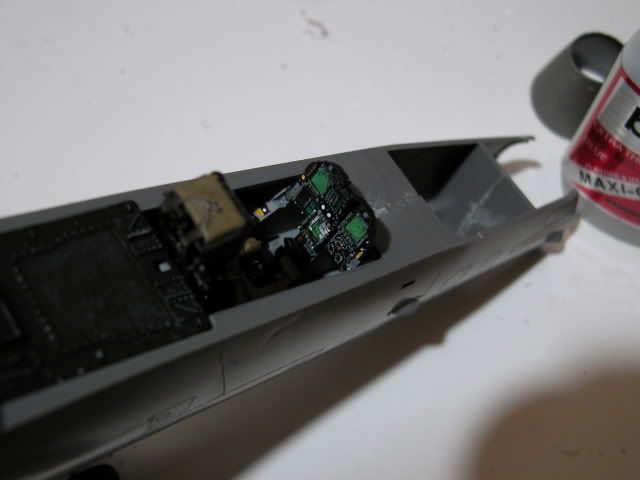
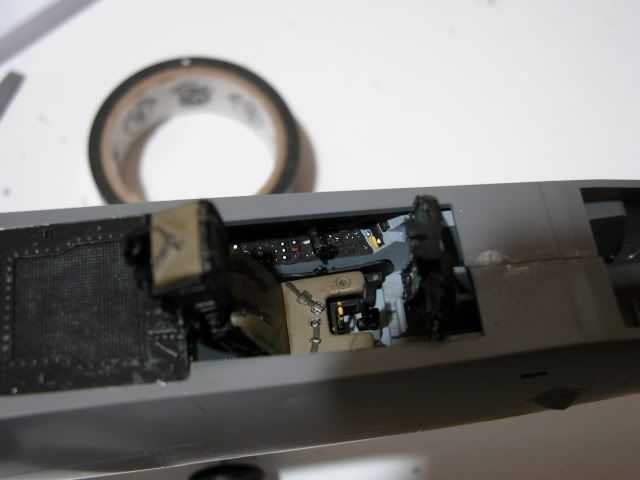
I’ve been working on Academy’s excellent F/A18C “Operation Iraqi Freedom” kit. It’s been a slow build but it’s taking shape. I’ve added some PE details which have improved some areas of the kit, mainly the front undercarriage and wheel well.
It would be great for anyone else working on this kit to post some progress shots in this thread, incidently. Feel free, I’d like to see how others are finding this kit.
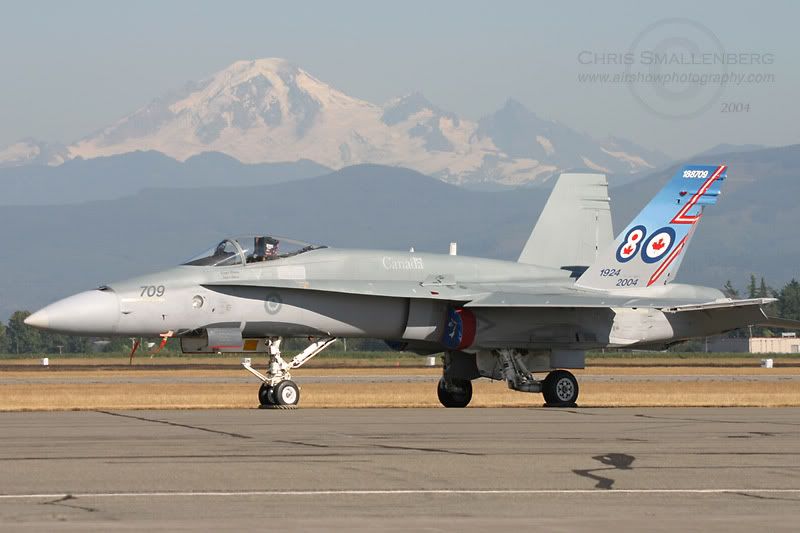
I’m planning to use the markings for the VFA-27 Royal Maces included in the kit. Hopefully, these images will work…
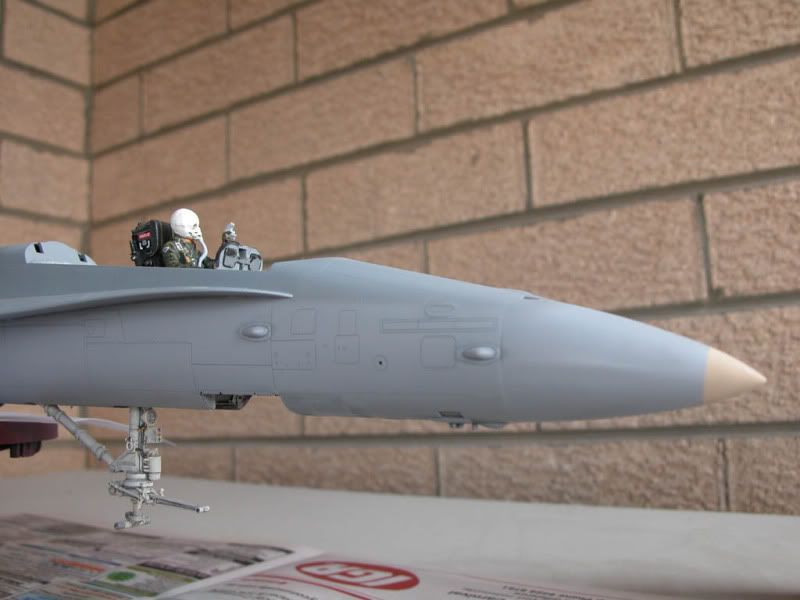
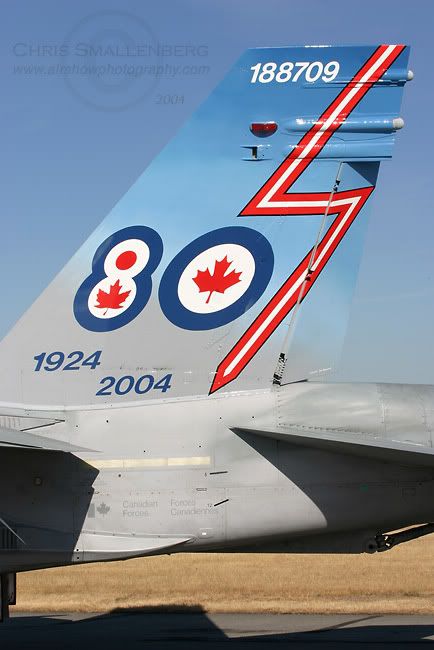
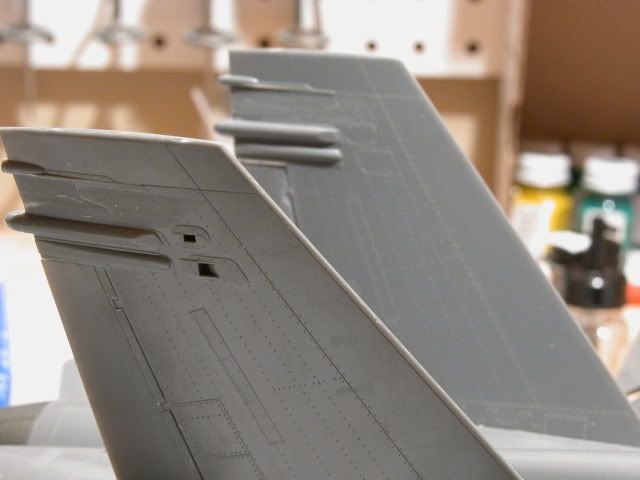
A big thank you to Curtis Remington who told me what to do to transform this F/A-18C Hornet into a CF-18 Hornet. I wouldn’t have notice the two missing bulges behind the cockpit and the missing fairing on the tail fins of the Canadian version.
Lloyd, I had problems fitting the side of the plane around the cockpit (step 6) there was a huge gap between both parts on the nose. It looks like the front part of the wheel well is too large. I’ve been able to glue it but not without resistance. Sorry I can’t post more pictures, my camera is being repaired right now. It’ll be back soon.
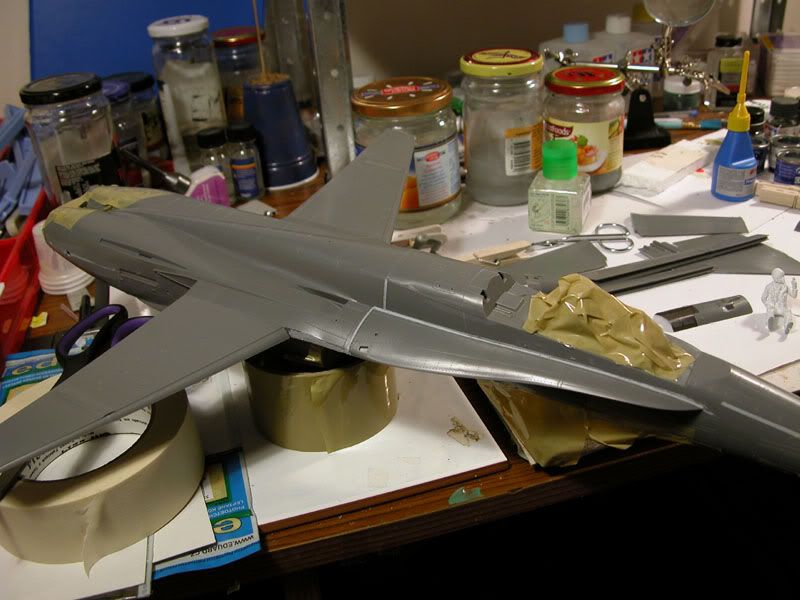
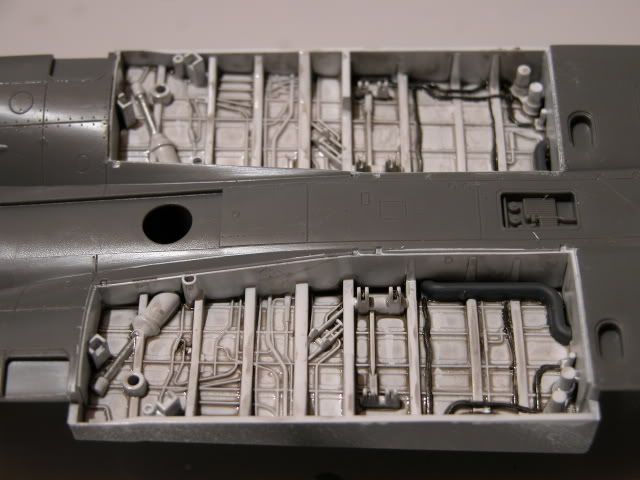
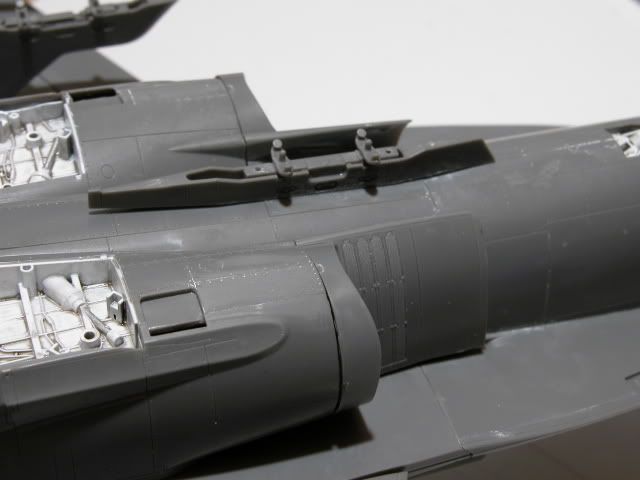
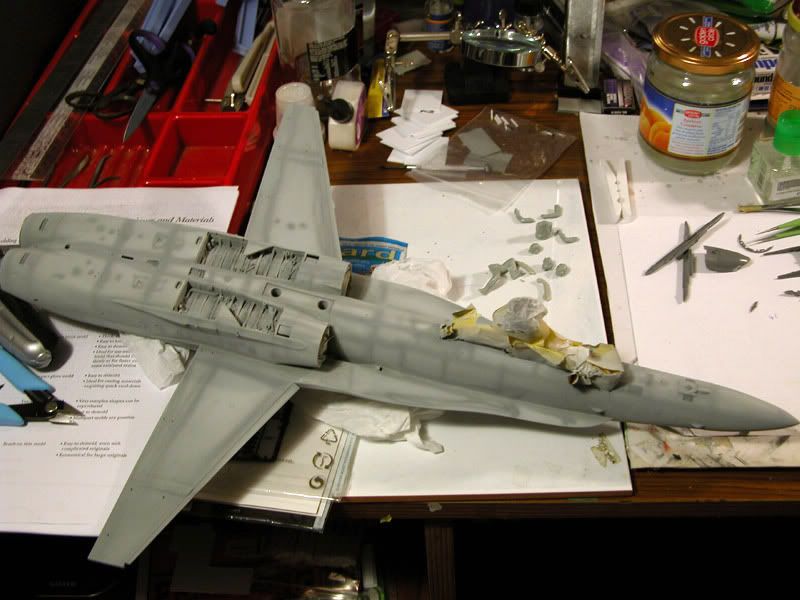
Yeah, I had some problems getting both those fuselage halves together. I used alot of super-glue to get them joined but even the a few joints came apart later on. I reinforced then two halve with some strips of styrene, visible in the shots.
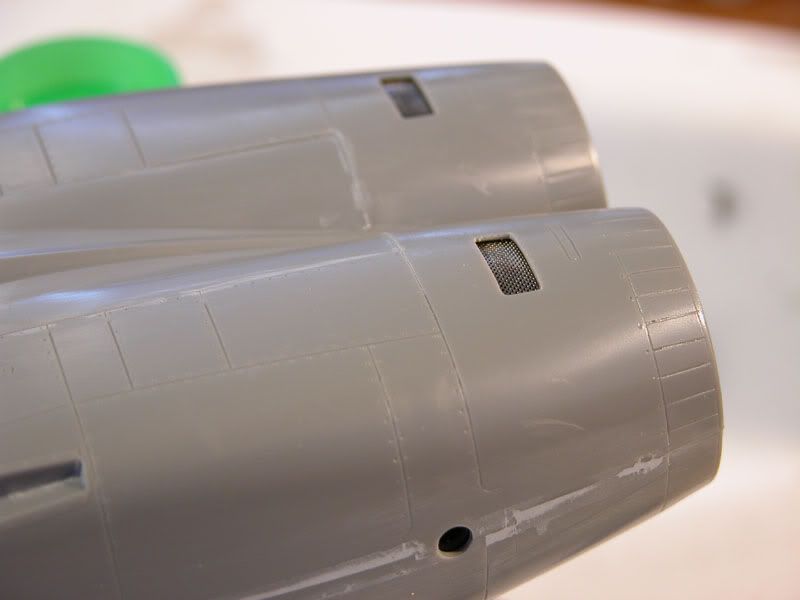
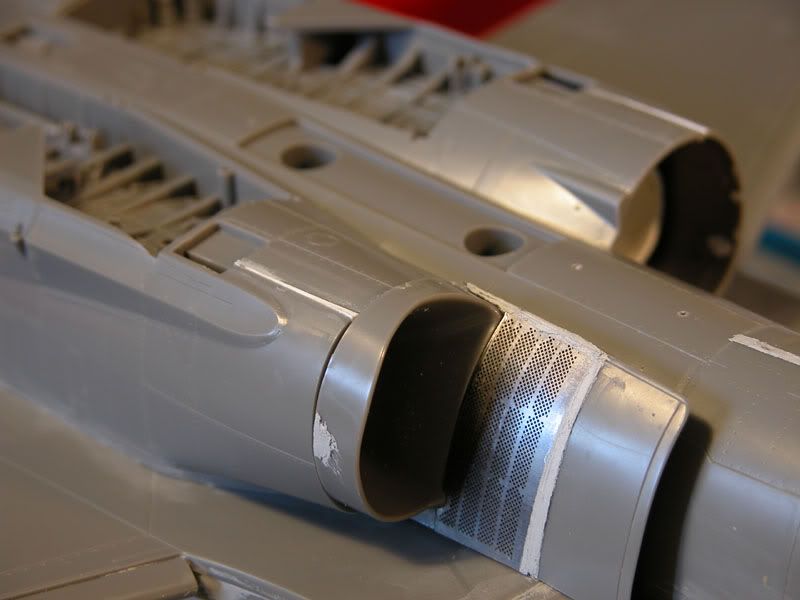
I’m having some problems with the fit of the intakes. I will probably have to file away some areas to get the fit right. Thats the only way I can see to fix the problem.
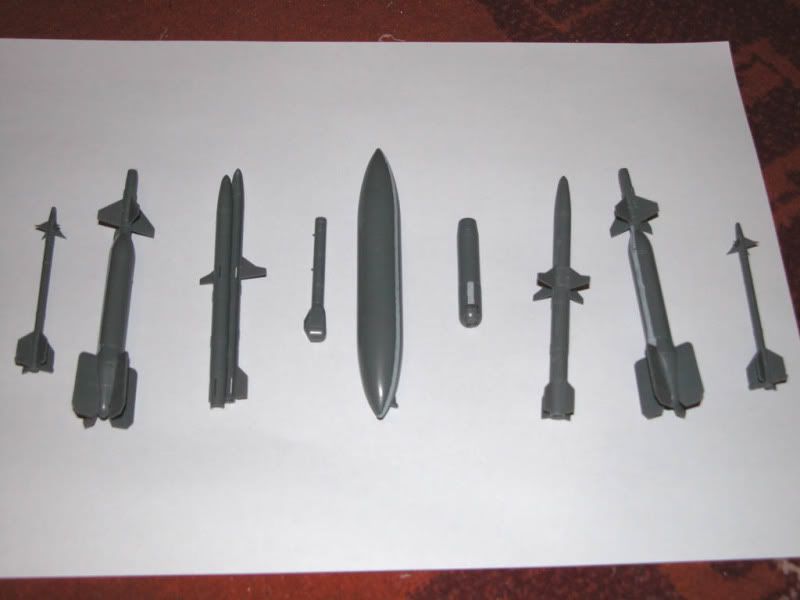
You were right Lloyd, the intakes exceeds on the side a little bit. That will need putty which I don’t have! I don’t have any hobby shop in my area and next time I go to the big city is in about two weeks. I might glue them in place anyway and continue the build. I have assemble all the weapons so far so I have a lot of sanding to do during those two weeks. Oouups! I just heard a “clac” while I’m writing this, sounds like a glued join that gave up.
I’d recommend tamiya putty, Ive found that to be quite easy to work with. I also use masking tape alot to preserve the detail when applying the putty. Makes it so much easier!
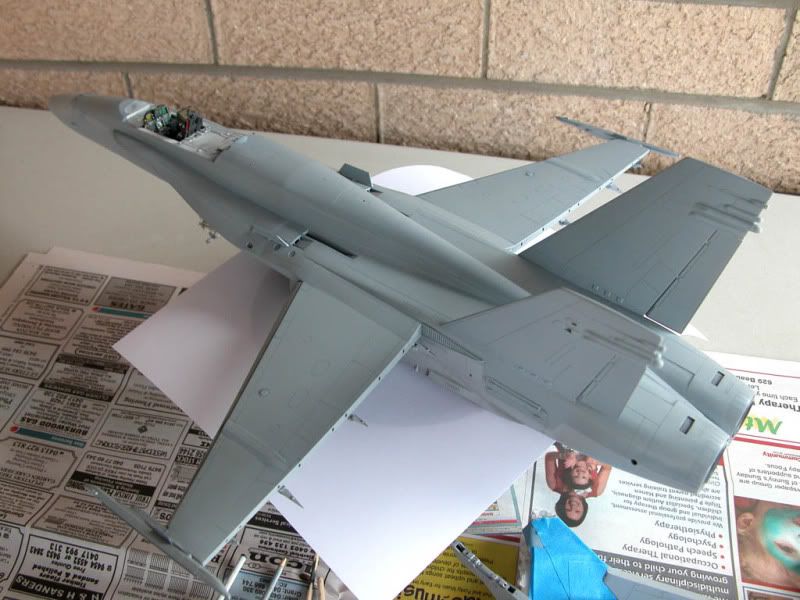
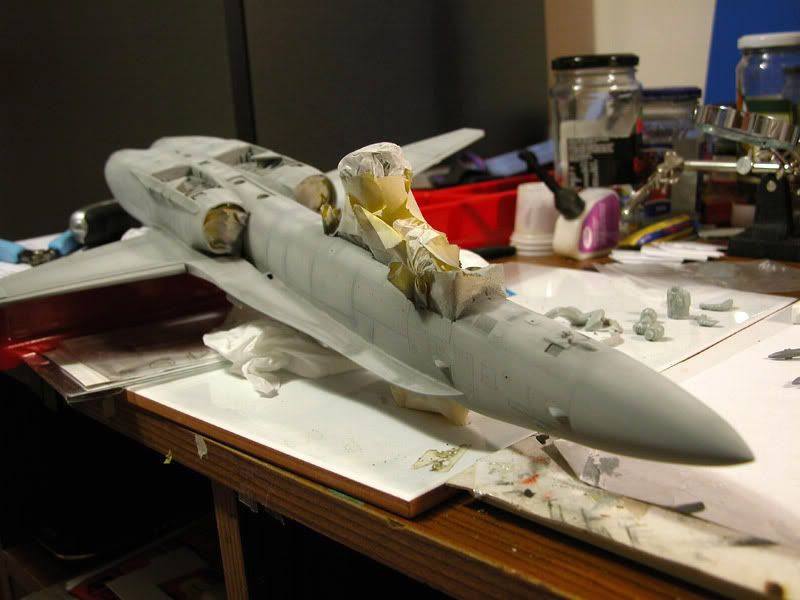
As for the intakes, well, I’m not sure if it was something I did wrong but the fit wasn’t very good. In the end, after some filing and modifications they sit in postion pretty well now. (the shot is just a test fit, they line up nearly perfectly now)
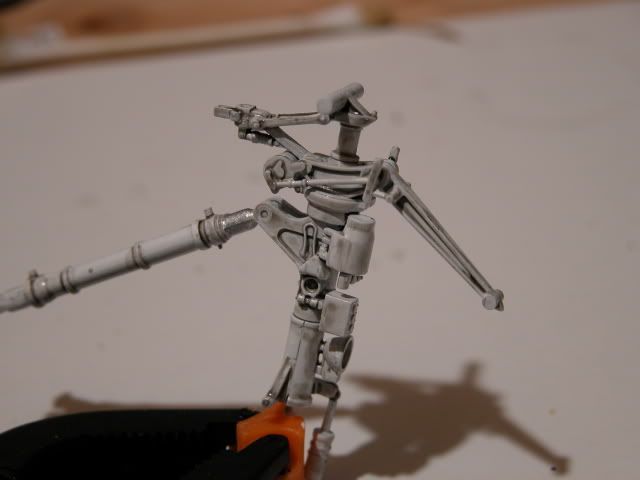
I’ll have it, but in about two weeks![xx(] Until then, I’m gonna work on the figures and weapons, there is also a lot of sanding to do so I think I have plenty of work for two weeks anyway, it’s just bad that there is no hobyy shop closer. I might get some models also, I’ll look for the 1/32 Trumpeter A-7E corsair or the Mig-29 Fulcrum and some Armor, I’d like to try it. Tamiya kits look pretty well detailed.
I’ve tried to eliminate the seam on the canopies, the result is not satisfying. The Future helped alot but sanding is still apparent. With a better sanding and polishing, it will completely disappear. I will soak it in Windex and do it again. I have sand the canopy with 2000 grain sandpaper but I can get better result by polishing it with some nail polisher or a coffee filter. I’ll let you know how it turned out and I’ll post some pictures when its done.
I don’t remember having too much trouble with my intakes. I had problems with the seam/joint when I joined the fuselage sections together. It still isn’t the greatest but it looks better. Good luck with your bird.
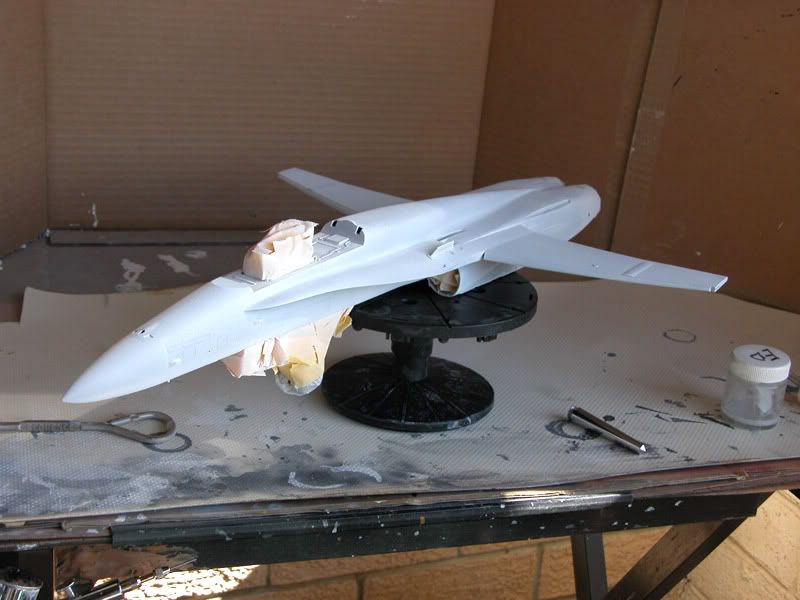
Looks like you did a good job getting the intakes to fit properly. I’ve got mine masked ready for priming, which I’ll do when I get some time[:(!]. I think I’ll spray the fins and intakes seperately and attach them on after, might make the airbrushing easier, I hope.
I’m having a hard time right now playing with putty. It is hard to work around the intakes with sand paper. I would need a decent sanding stick. Anyway, I will be ready to paint that plane real soon. I can’t wait to see the final result.
I’ve built my first armor while waiting for the putty to cure. You can have a look on the Light Armor Group Build. I liked it a lot. I’ll switch over to armor building when this CF-18 is finished.
No sign of that future Yann. I hope it’s not stuck in customs or anything![:(] Any progress on your bug?
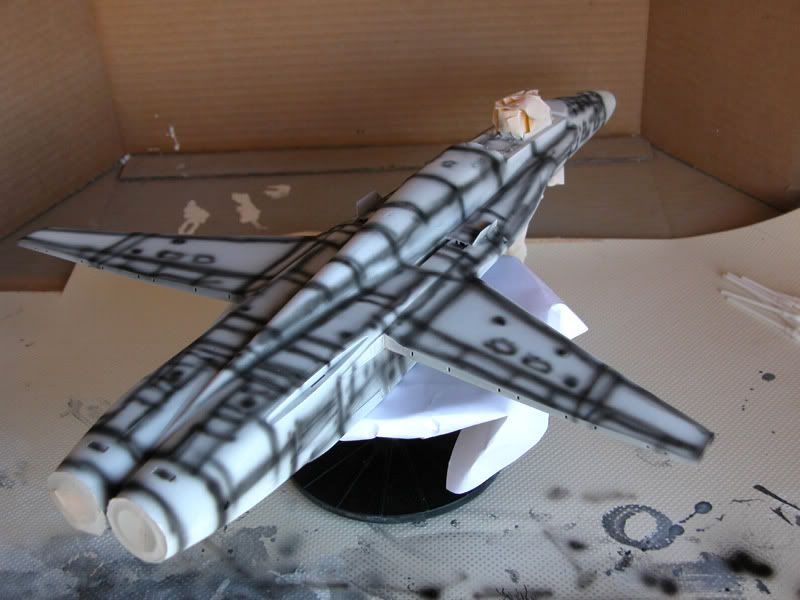
I had some problems with the spray job on the hornet. I airbrushed it with some model master (and humbrol for the primer coat) but the paint hasn’t really gone down very well. I found that I was getting dusty build-ups in certain areas, especially in and around the intakes and sides of the fuselage. Although I could wipe this dust build-up the final look isn’t very good or smooth. The paint almost looks “furry” and wiping and blowing away the dust leaves a cruddy, streaky finish.
I was wondering if any airbrush experts here could give me some advice on how to avoid this problem. I’m using a good quality aircompressor (with a moisture trap) and I’m getting the same problem with all four airbrushes I’ve tried out. I have the paint thinned with 60% thinners, and I try not to pull the trigger back to far and build the layers of paint up gradually, with the airbrush reasonably close to the surface. I get the impression the problem is worse when the airbrush isn’t at 90 degrees to the surface when spraying, but I still get the dusty layer regardless.
Is there anything I can mix into my paint perhaps? I’d spray with gloss (assuming that’s easier) but mixing the paint is a pain.
First let me say the pre-shading looks very good. That technique is always convincing on modern jet aircraft, and you nailed it. As far as your “dusty” problem…I suspect what’s happening is you’re getting dry bounce. When you spray the wing root, for example, the paint is bouncing up on the fuselage sides and drying. This is a common problem that many modelers experience, including myself. Anywhere on the model that two surfaces meet perpendicular to one another can cause this. To solve this in the future, move in close to the wingroot, and with low pressure,spray the inside corner first. Then angle the spray away from the fuselage out onto the wing so as to not let the overspray bounce back onto the horizontal surface. Then, repeat the process on the fuse. not letting the overspray hit the wing. You must move in close in these areas to keep the spray pattern narrow and wet. Make sense? If you do get some dry bounce, let the paint cure and sand the rough spots out. You’re going to add clear coats later anyway.
Hope this helps. Your Hornet is coming along very nicely. Can’t wait to see more.