Hey gents! Been procrastinating long enough on getting a WIP thread put up on this physically massive project.
Almost two years ago I decided I wanted to build a couple of navy jets for my brothers, both of whom served on the USS Carl Vinson in the 90’s. Picked up a couple of Revell kits - the F-14D for my oldest brother, Jim and the F/A-18E for my other brother, Murray. I didn’t say anything to either one, expecting to just build them and then surprise the brothers with the completed kits.
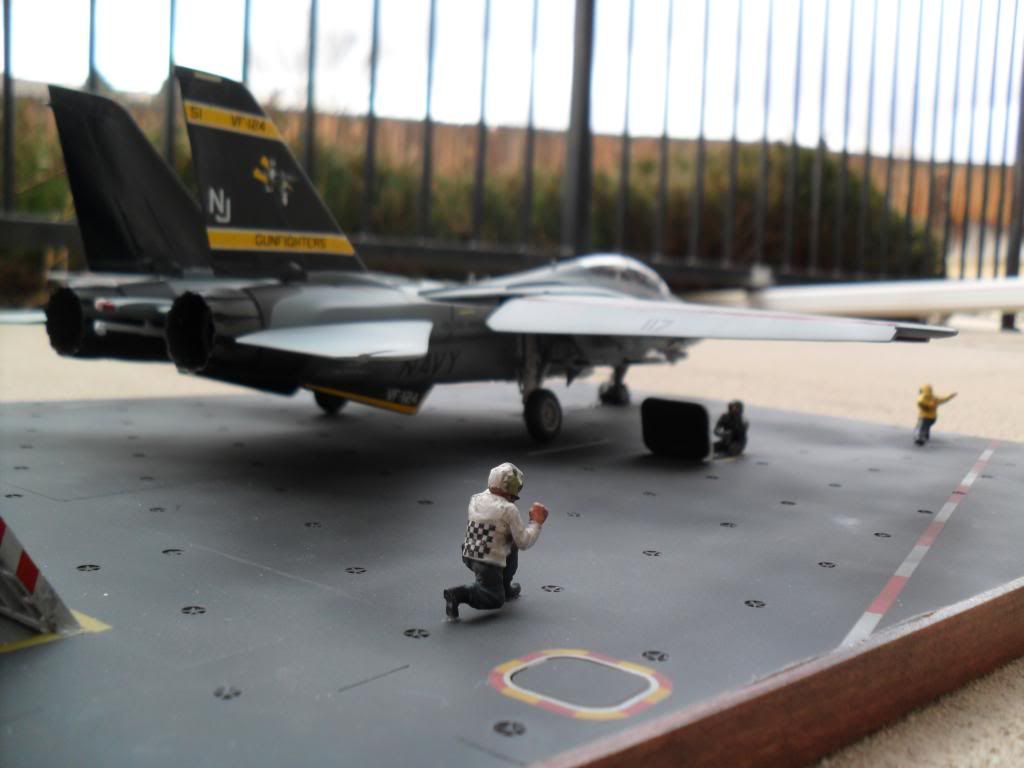
Some time later, after I had started the F-14 but shelved it temporarily, I got to talking to Murray about the models I build (particularly that Gee Bee I recently completed for my dad), and he mentioned how he would “kill to have an F-14”, with the VF-124 colors. They were his training sponsors (I guess that’s what it’s called) for his stint in the navy, and he had fond memories of that cat leaning on an F-14 and the name Gunfighters… so I told him about my plans to build those models for them, and we agreed on switching them around: The F-14 for Murray and the F-18 for Jim.
After a few weeks of talking, we narrowed down colors, numbers, details, etc etc that he wanted on his plane. It was going to be somewhat fictional, and he asked me to just take liberty with my artistic license on it. Jim, however, still doesn’t know about his kit - we are keeping him in the dark about his.
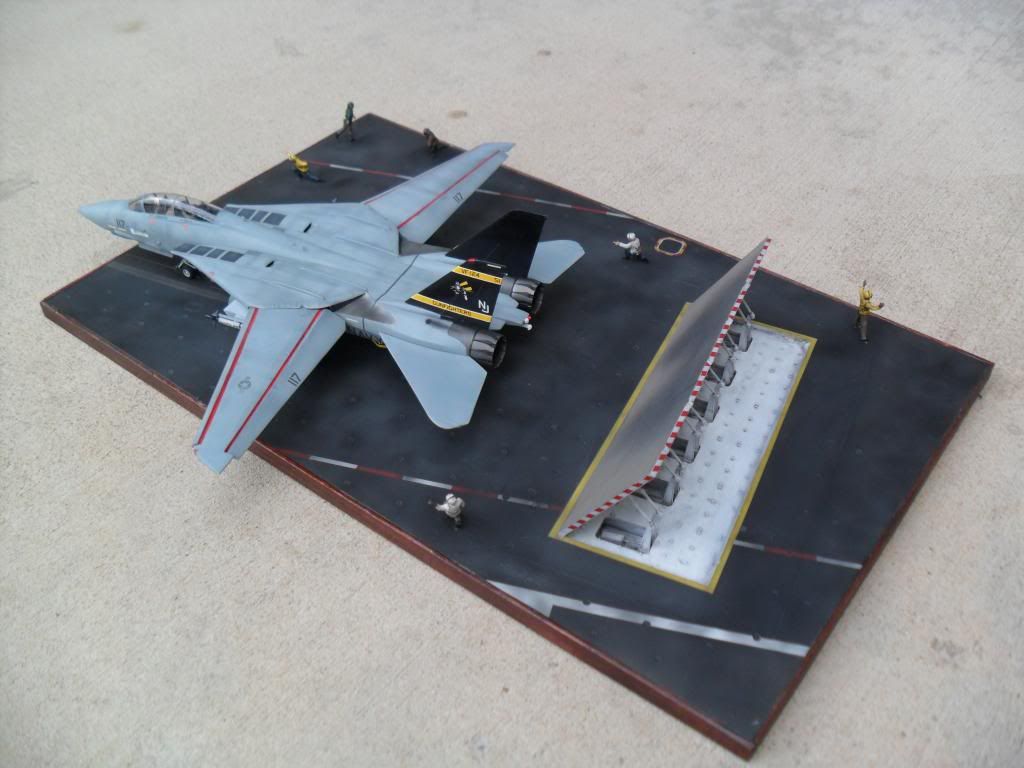
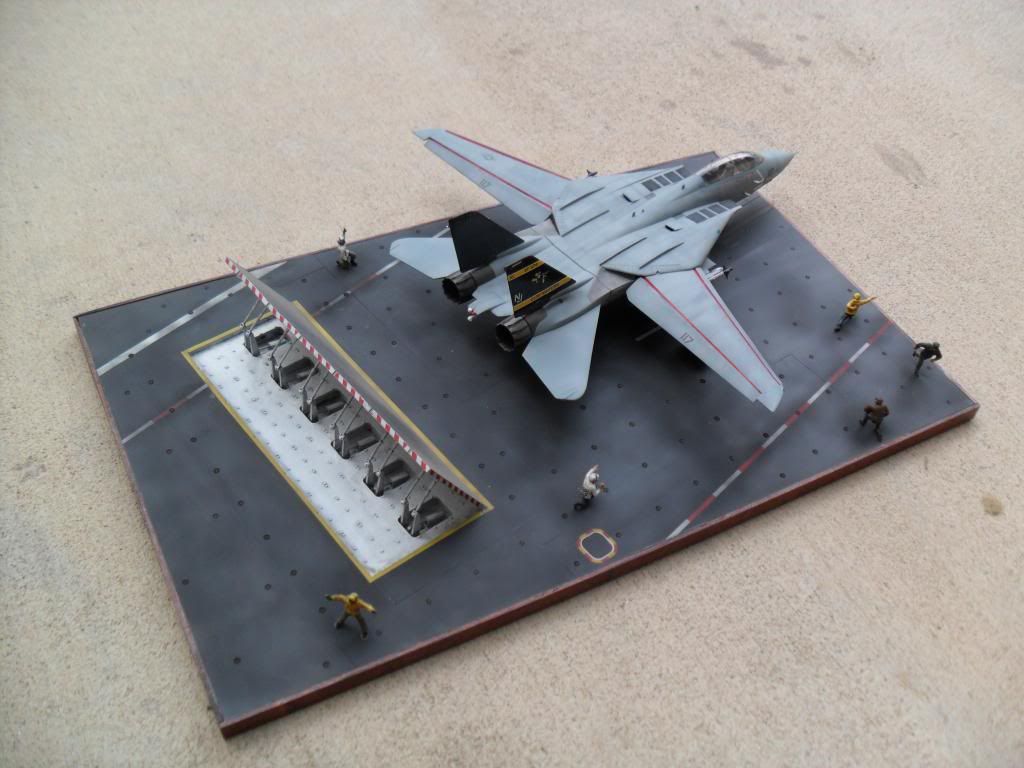
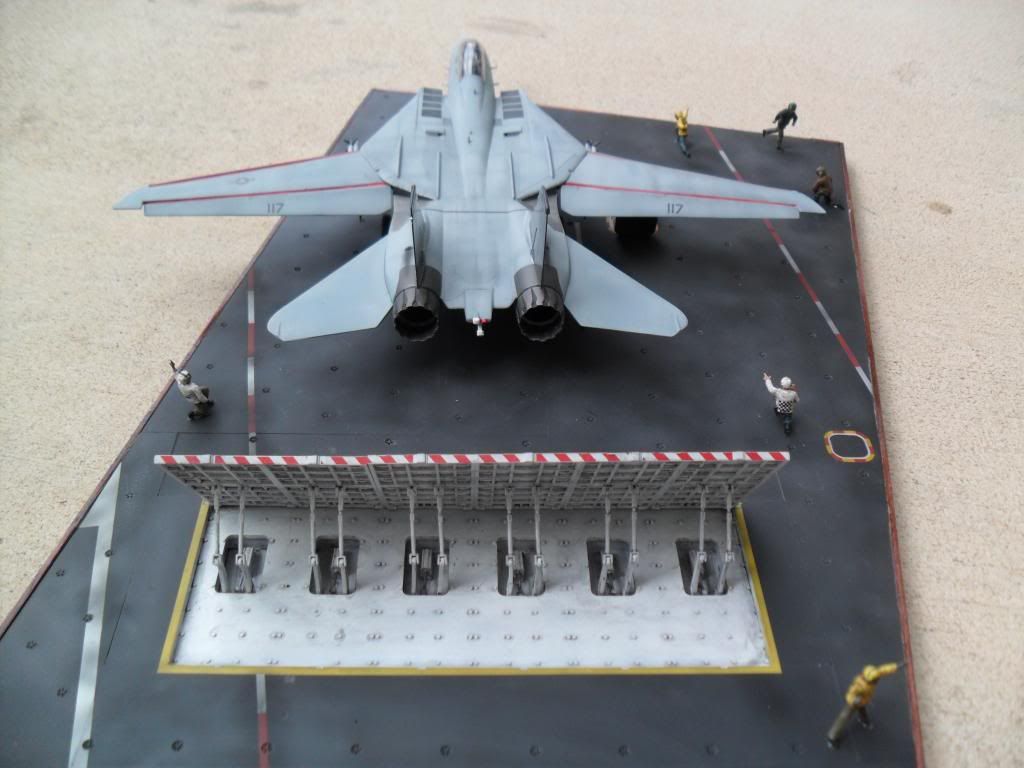
I picked up the SkunkModels Carrier Deck w/ Jet Blast Deflector after quite some time of hunting around for a decent price, and went over to HobbyTown and picked up the Hasegawa Deck Crew Set: A. As it happens though, I was able to get a steal on the Carrier Deck on eBay that actually had that same deck crew thrown in: both for only $45 including shipping! So I returned the deck crew I bought from Hobbytown and put that money towards all the primer & gray colors I’d need for this thing.
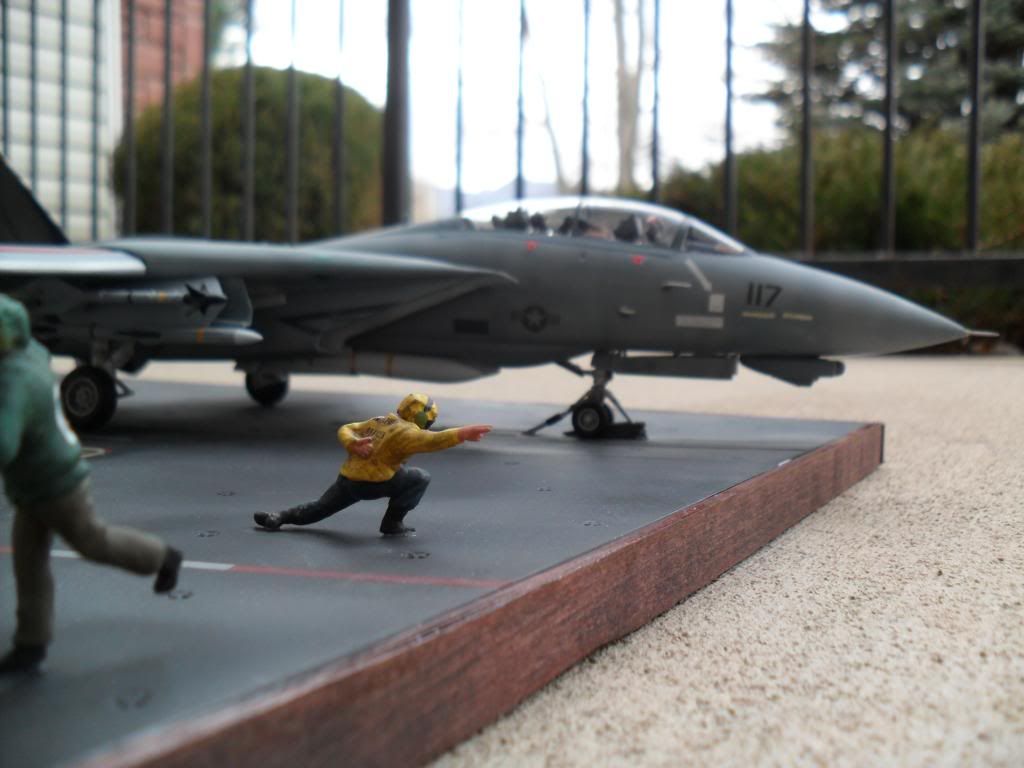
So what we have here is the Revell F-14D… just various pictures of it in the early stages of the build.
Initial Dry-Fitting
Nose work and scribing - nose cone had a horrible fit. Sanded that down and re-scribed.

Primered
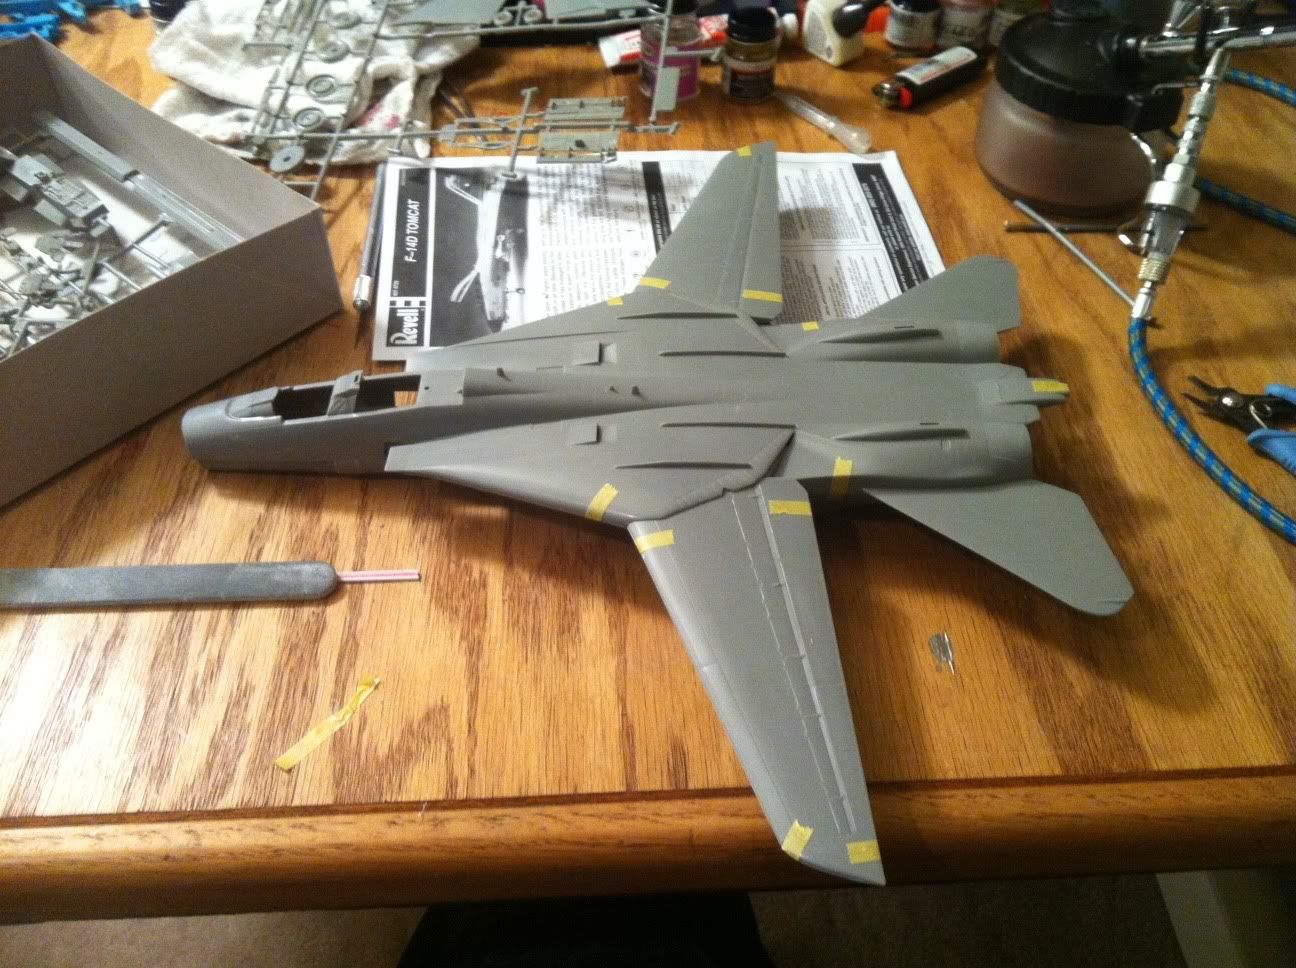
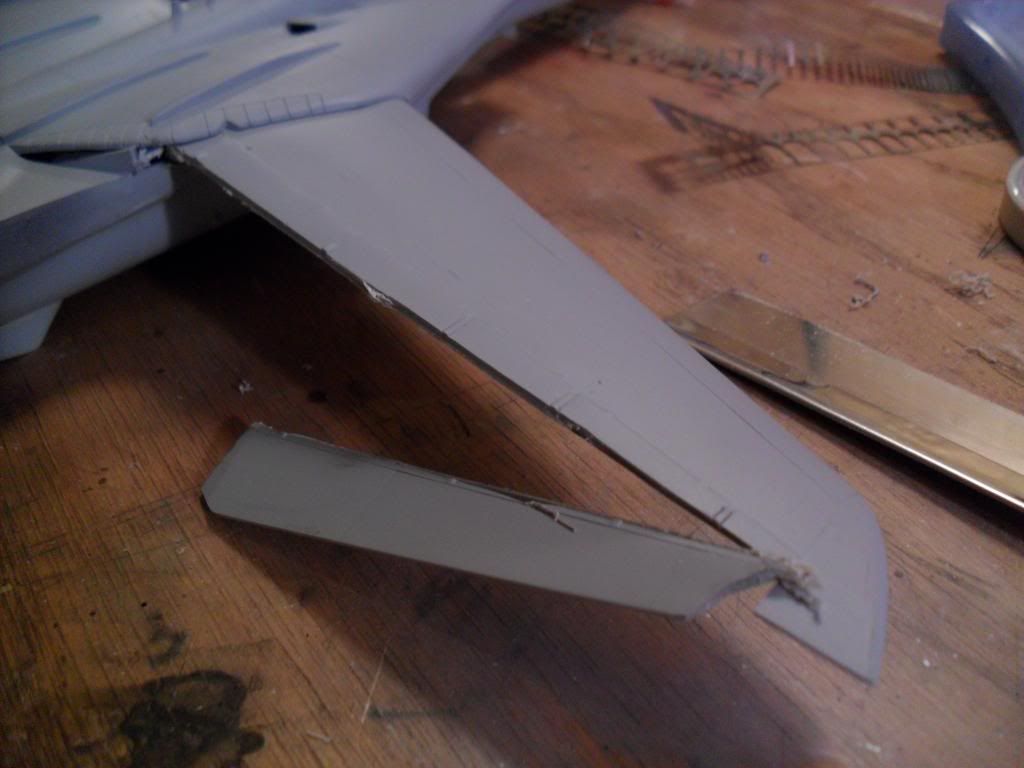
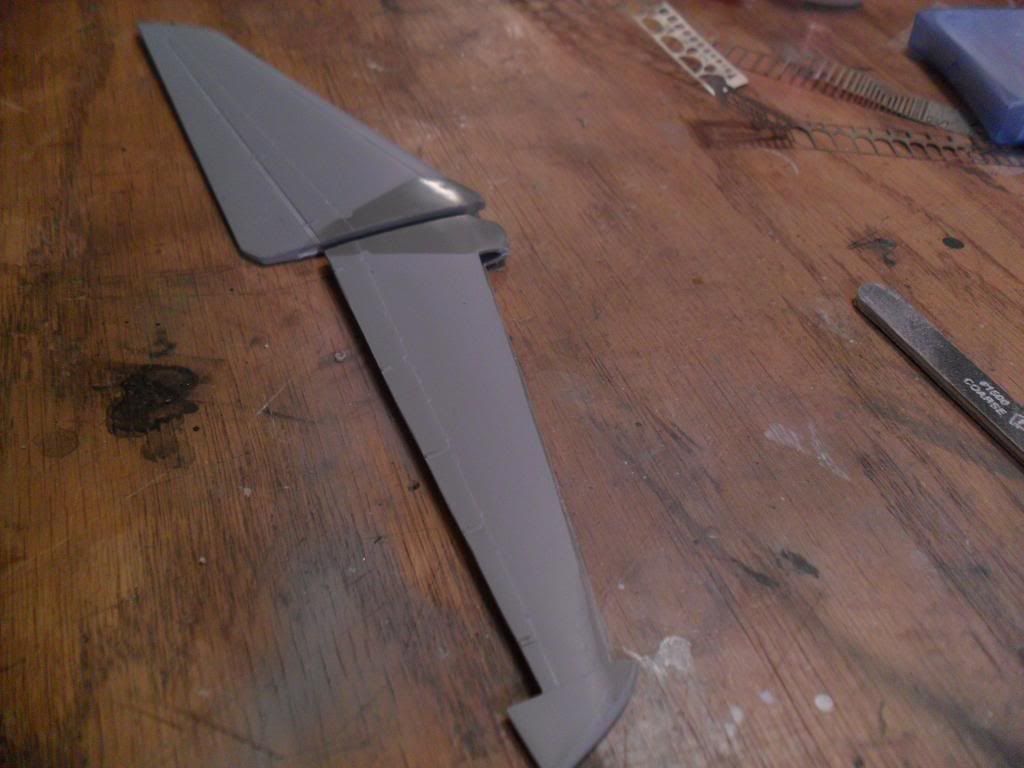
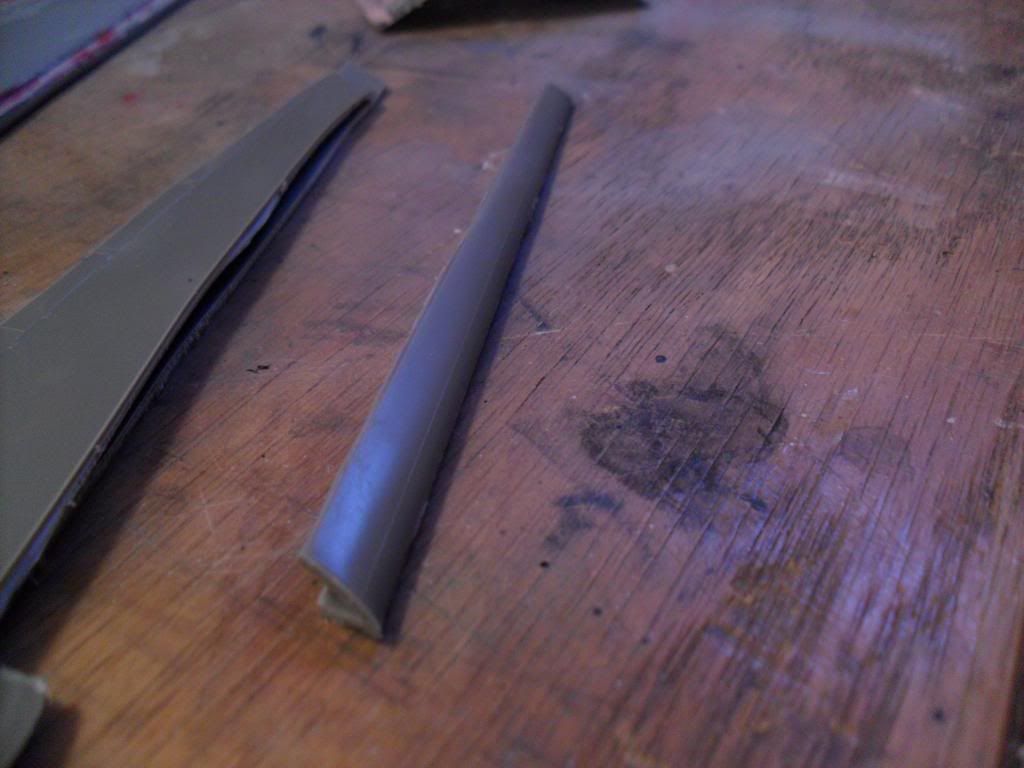
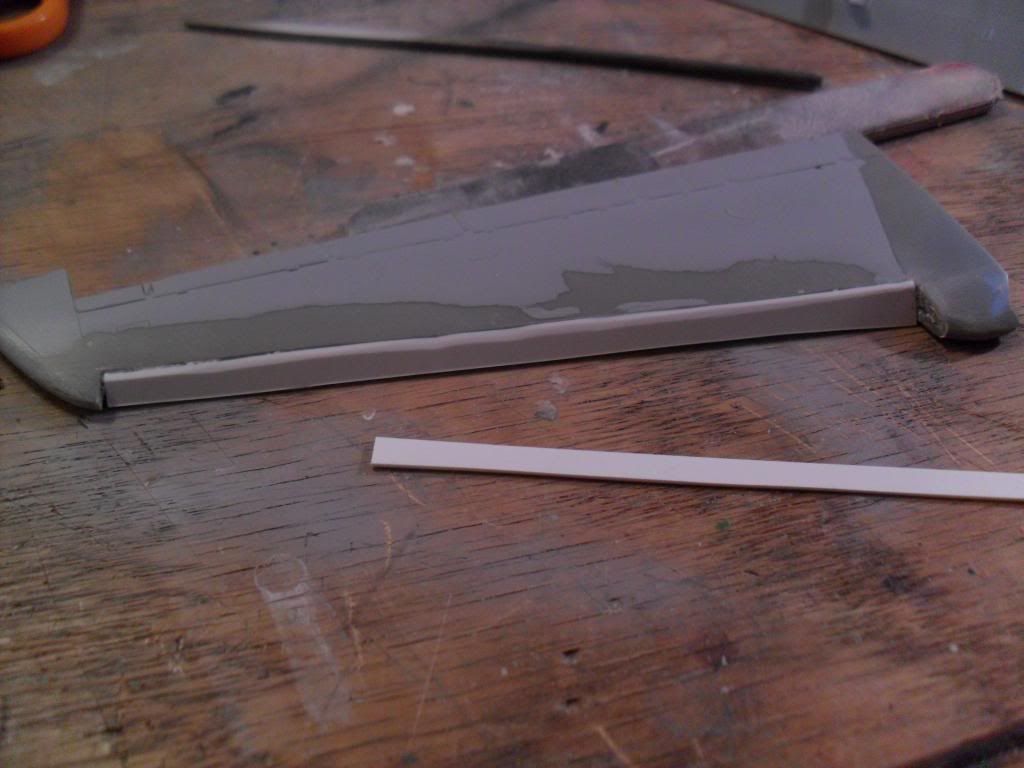
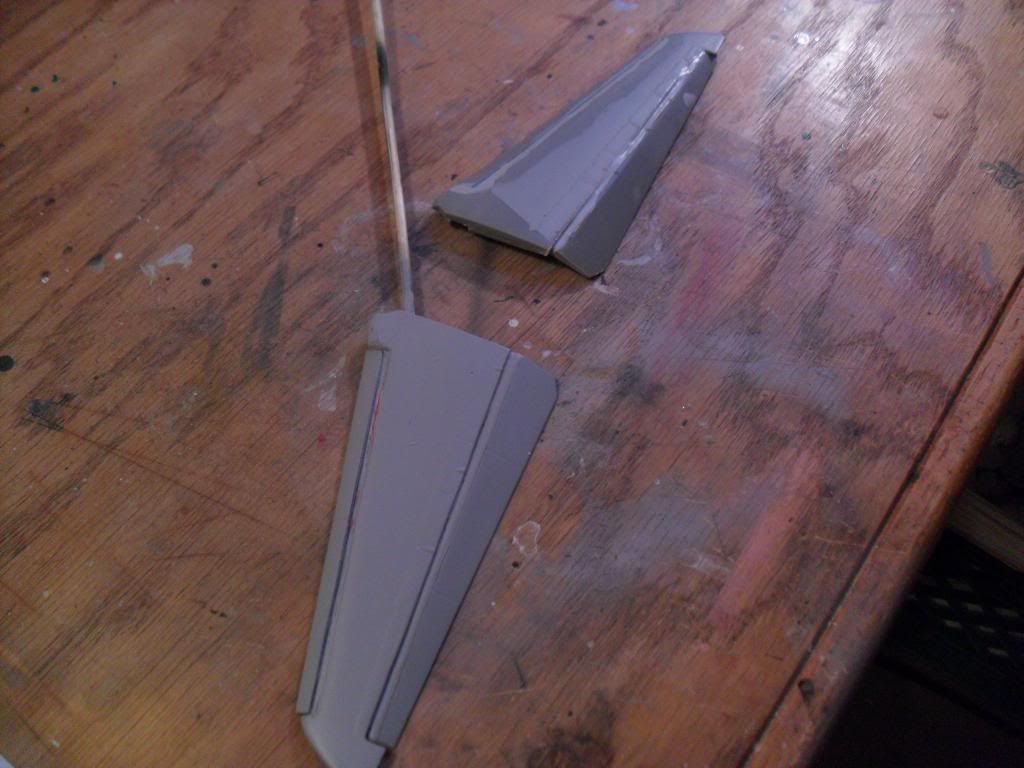
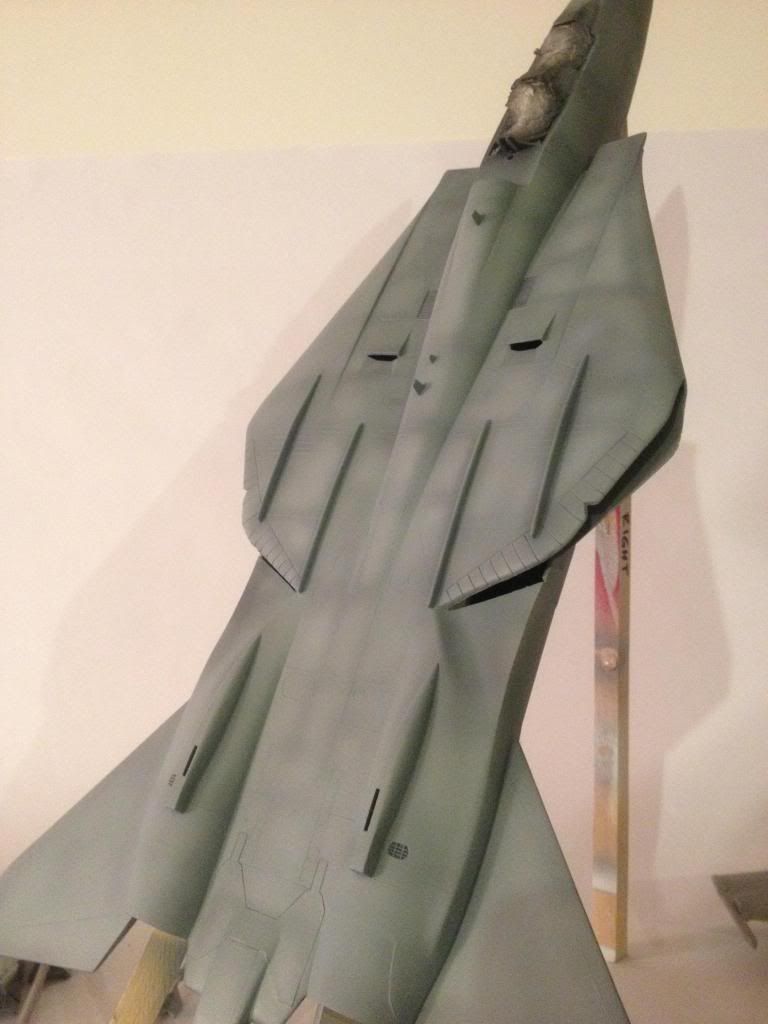
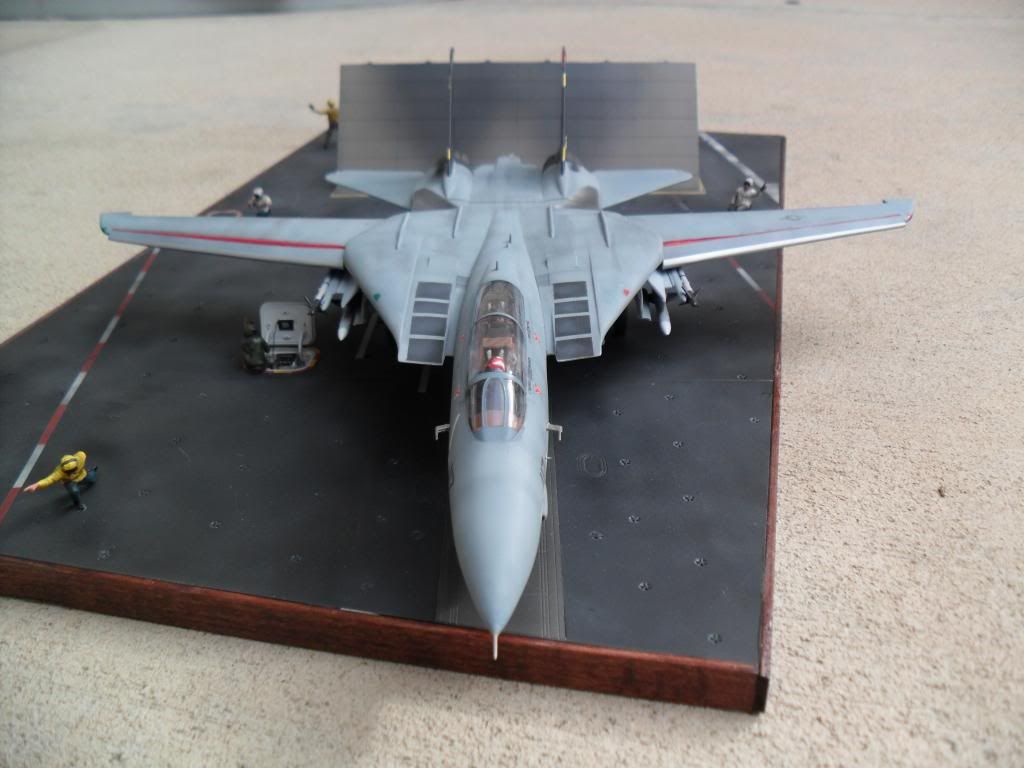
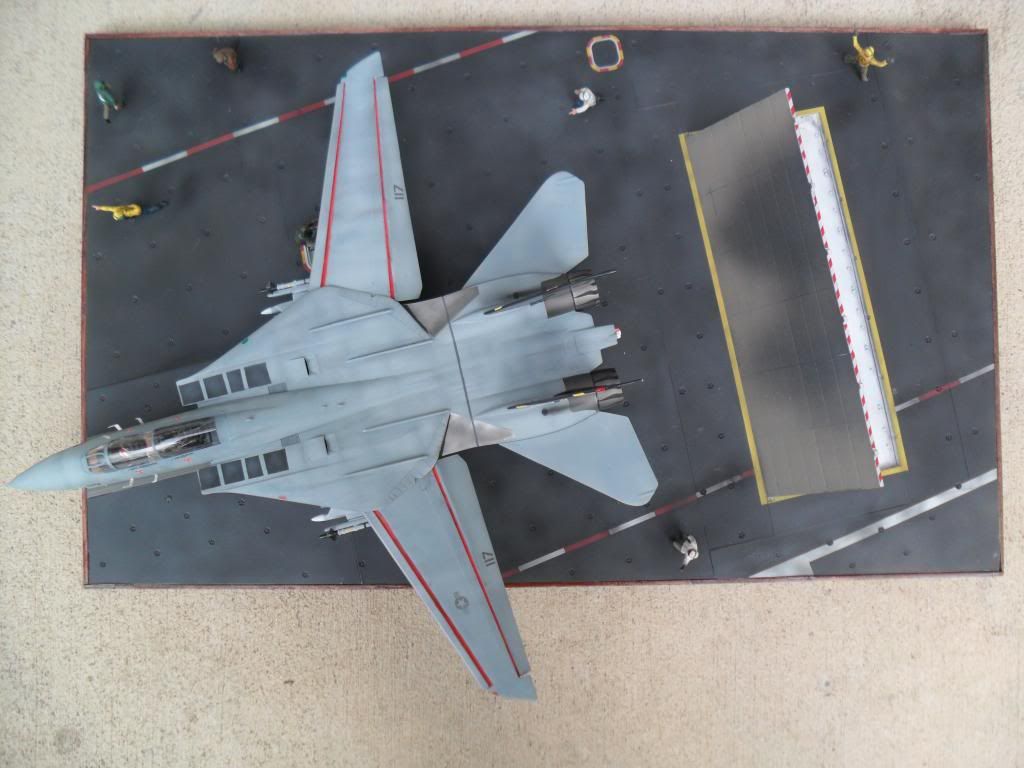
Hacking off the flaps in order to drop them into takeoff position. This is my very first try at modifying wings like this. I ordered replacement wings from Revell so I could just worry about getting the slats/flaps off the wing and then get clean flaps & slats from the replacements. I also, stupidly, didn’t bother to look at any references… just worked off of some google images and my own aviation experience. Note that this job is far from accurate or detailed - I just wanted to focus on doing a clean job that I had no previous experience with and make it look somewhat good. Lots and lots of superglue, filing, sanding, and shaping, I was able to come up with something acceptable for a first try at this.

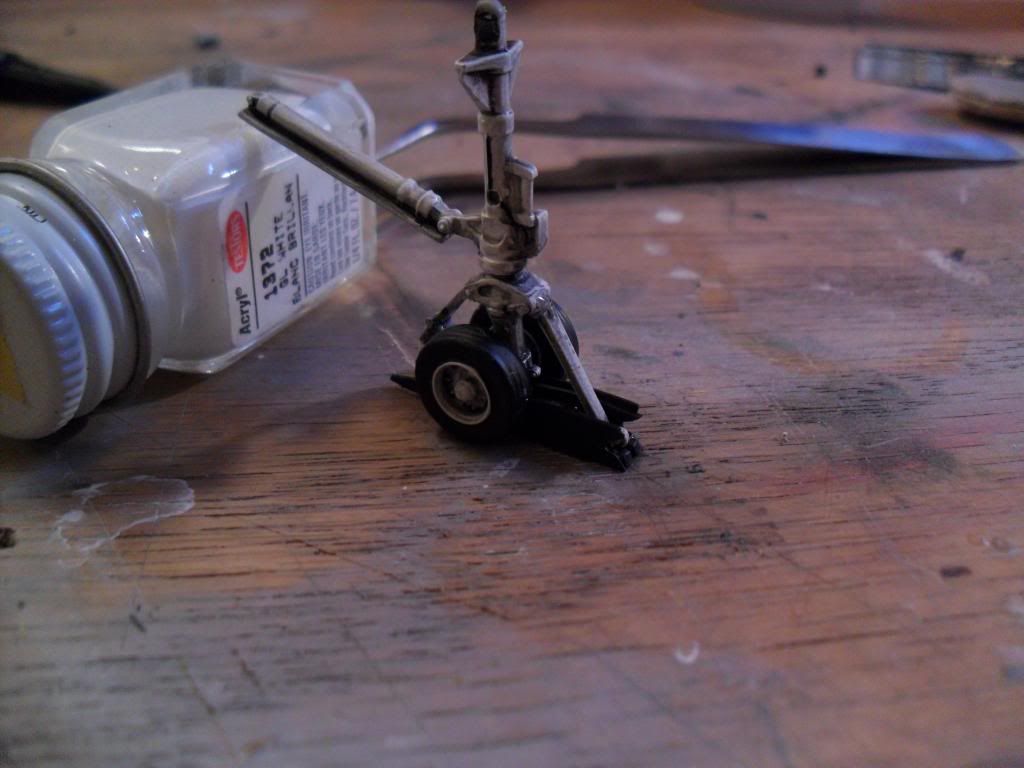
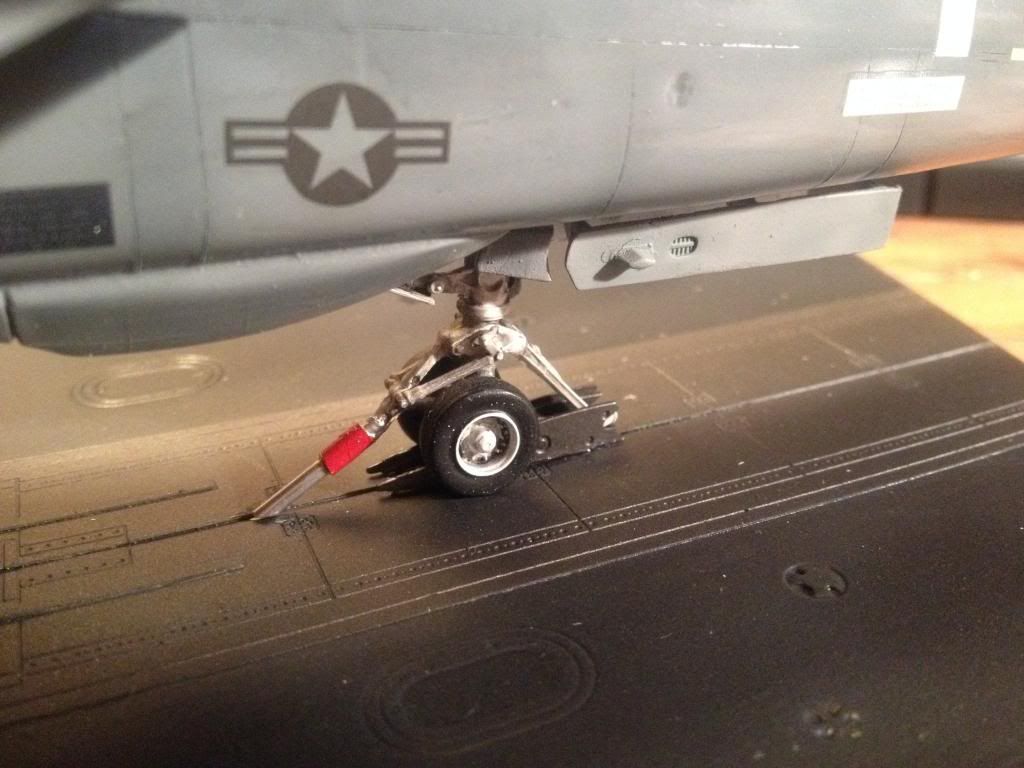
I also did extensive modification to the nose gear - squatting it (which, of course, including chopping and re-positioning the linkages as well), dropping the catapult launch bar, and scratch-building the holdback bar. Everything was set up to fit the carrier deck catapult perfectly.
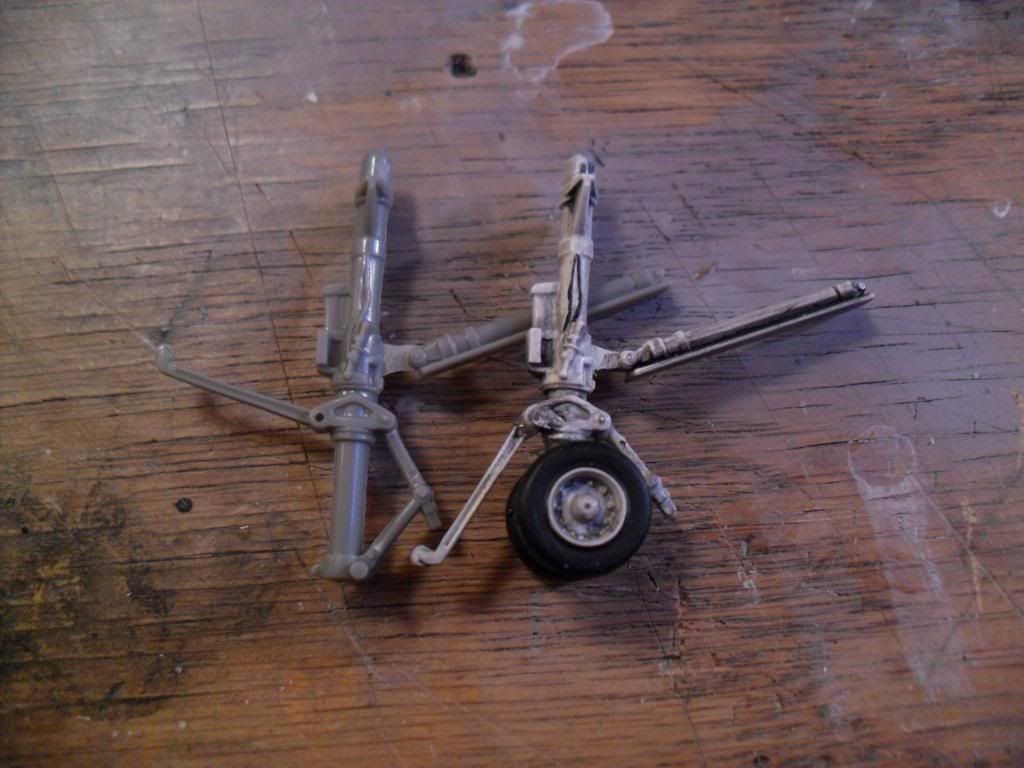
Original Nose Gear
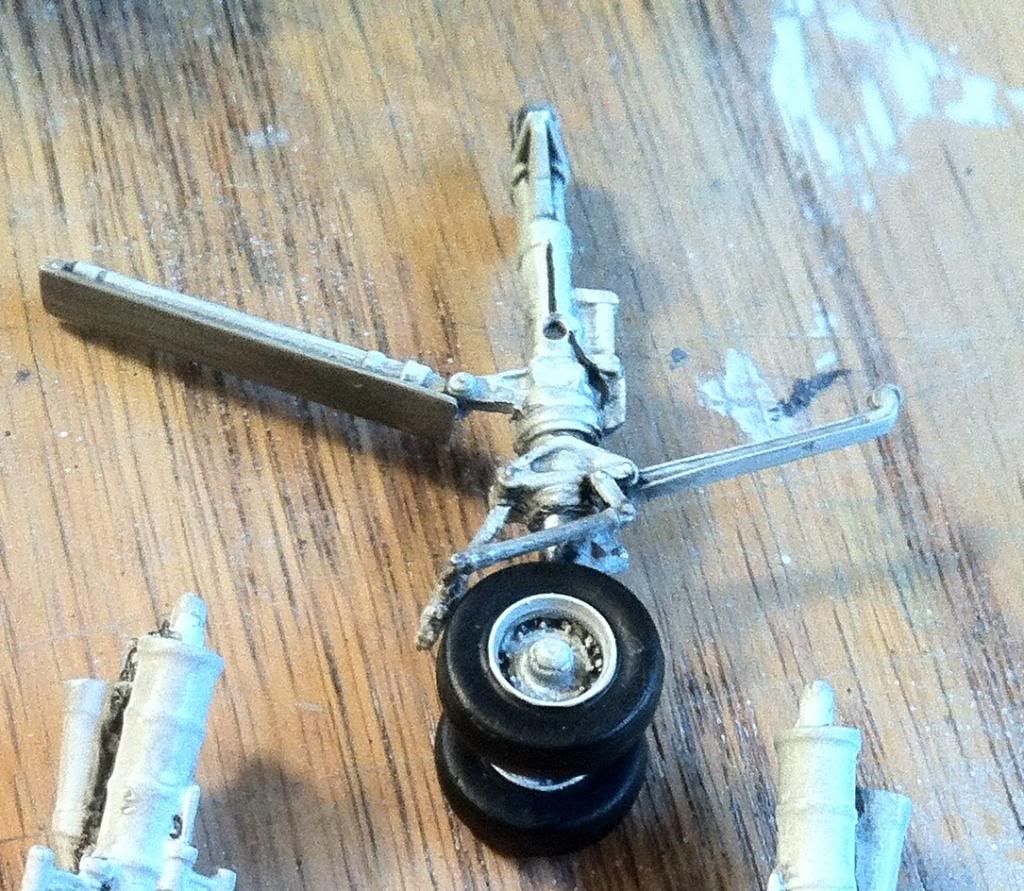
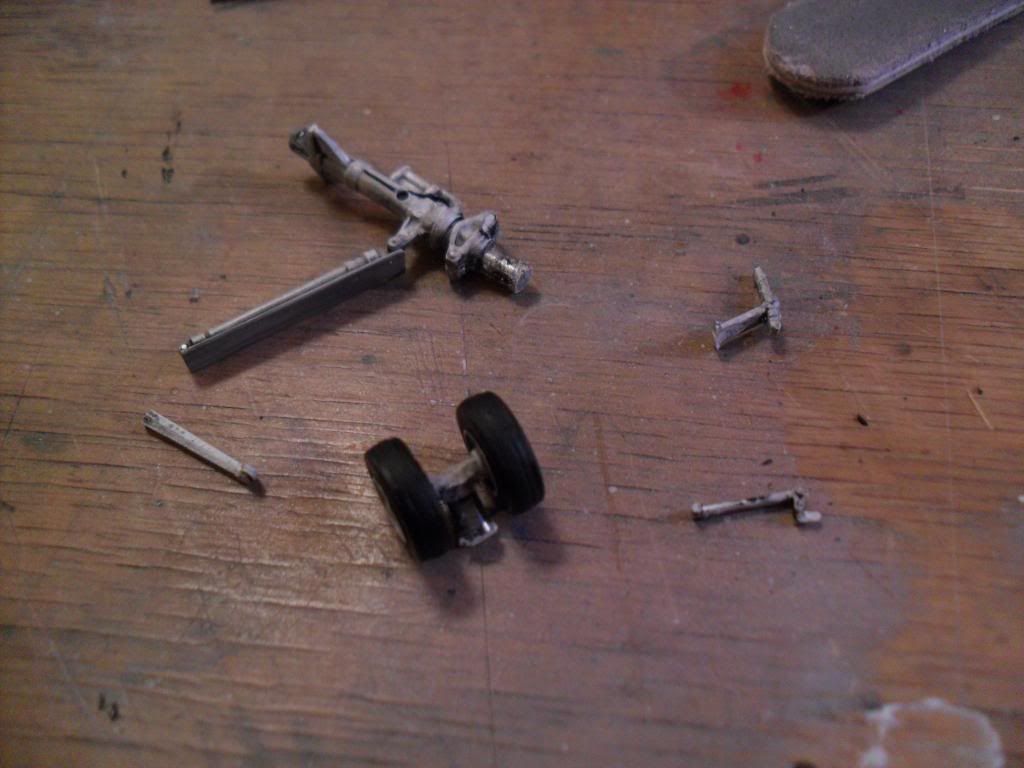
A shot of the shortened nose gear next to a stock gear leg.
And finally, the completed result. The holdback bar is just a bit of brass rod and tube - rod inside the tube and everything cut/ground to size.
Preshading:
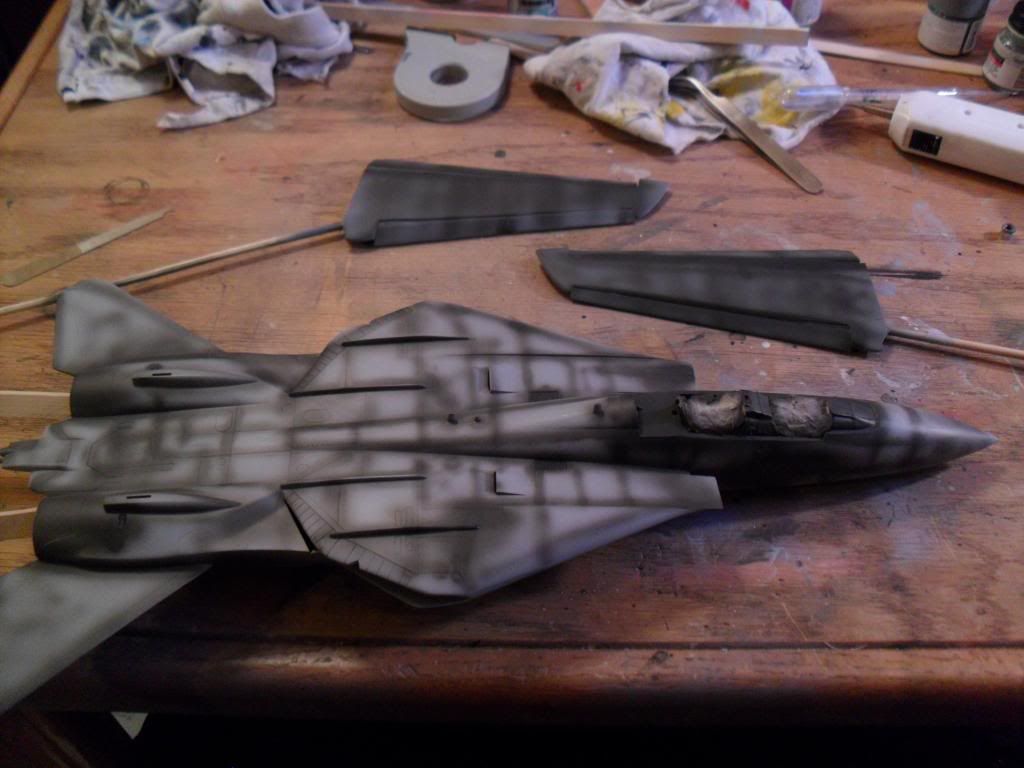
And the finished result:


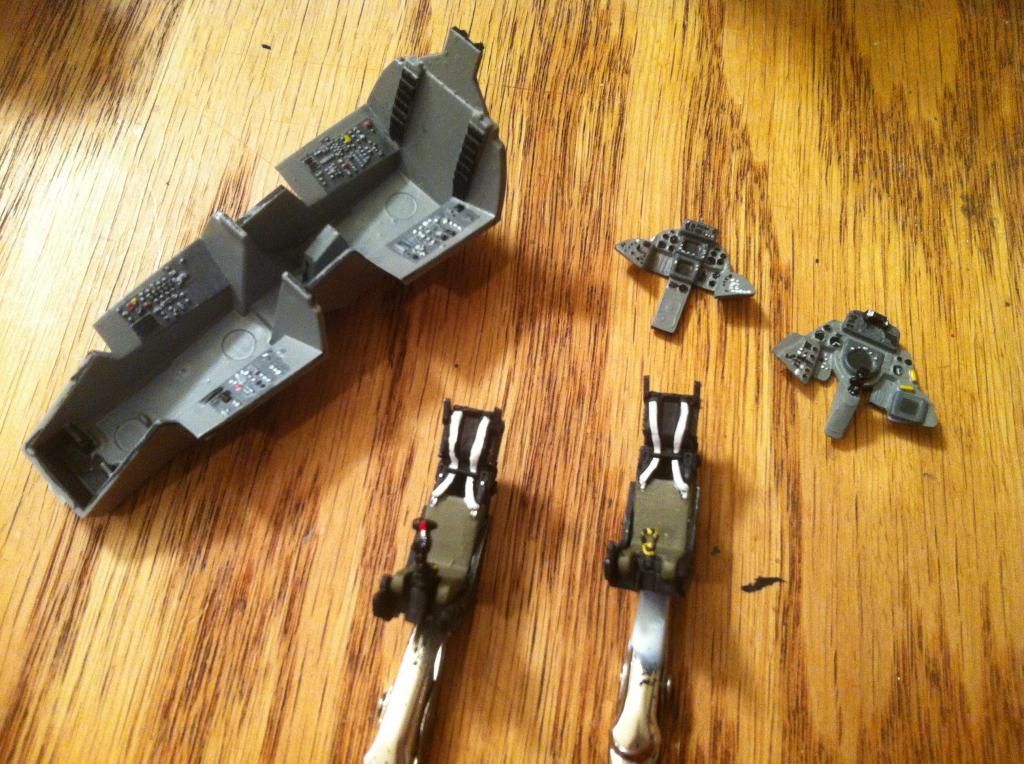
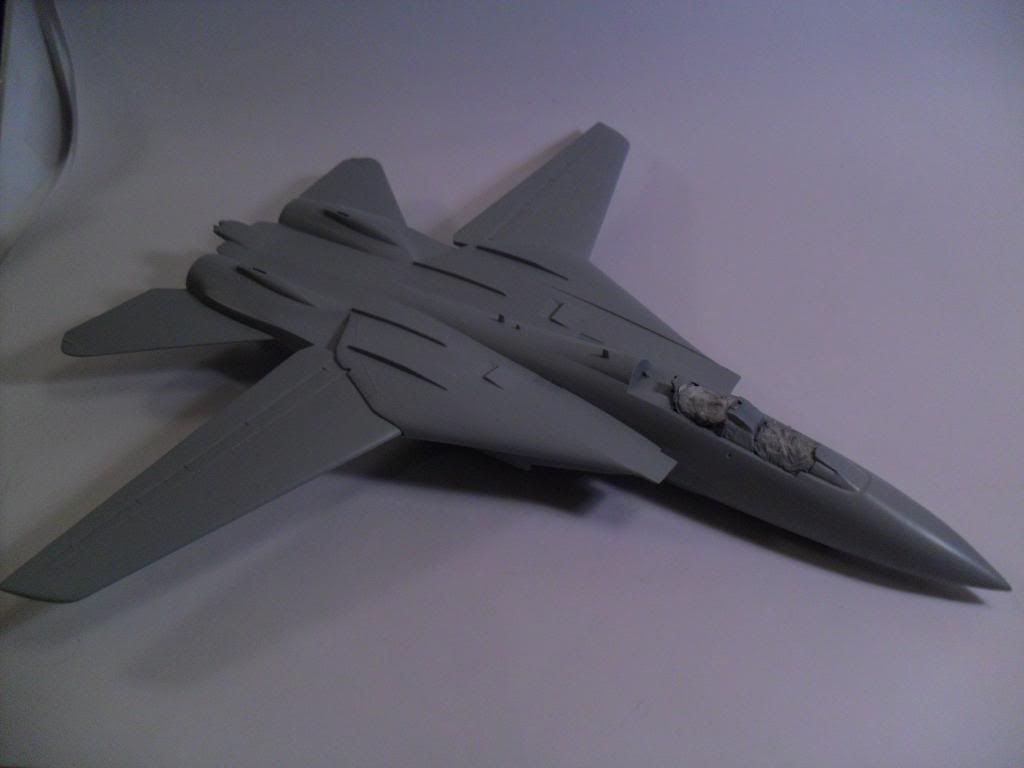
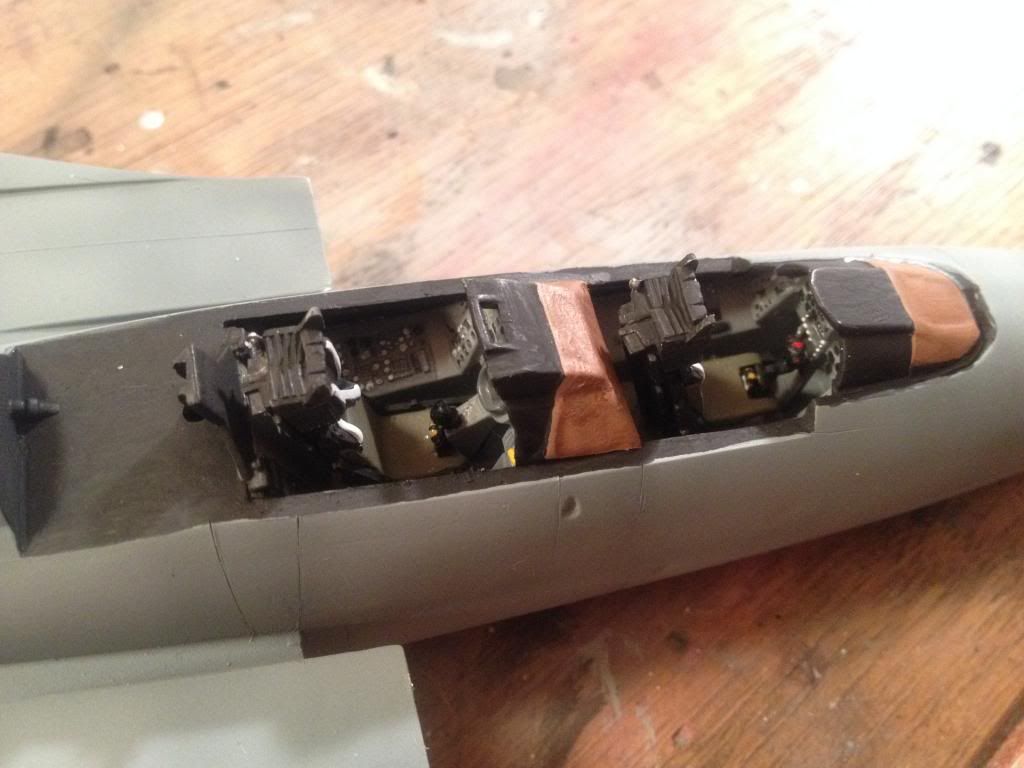
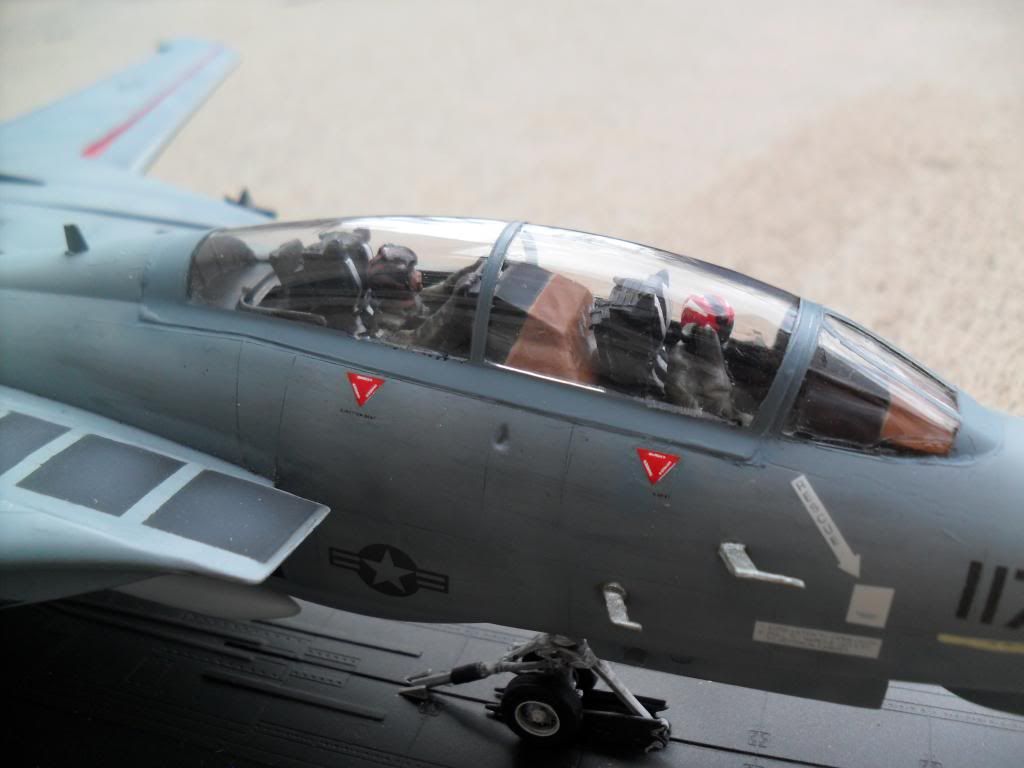
Cockpit test fitting:
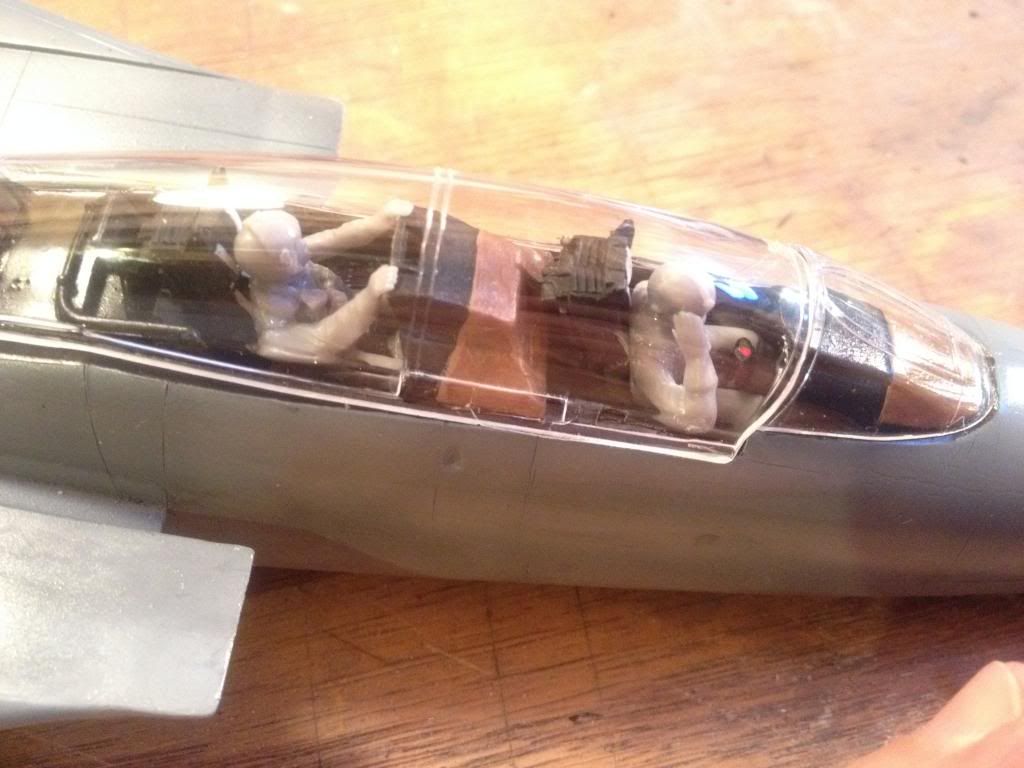
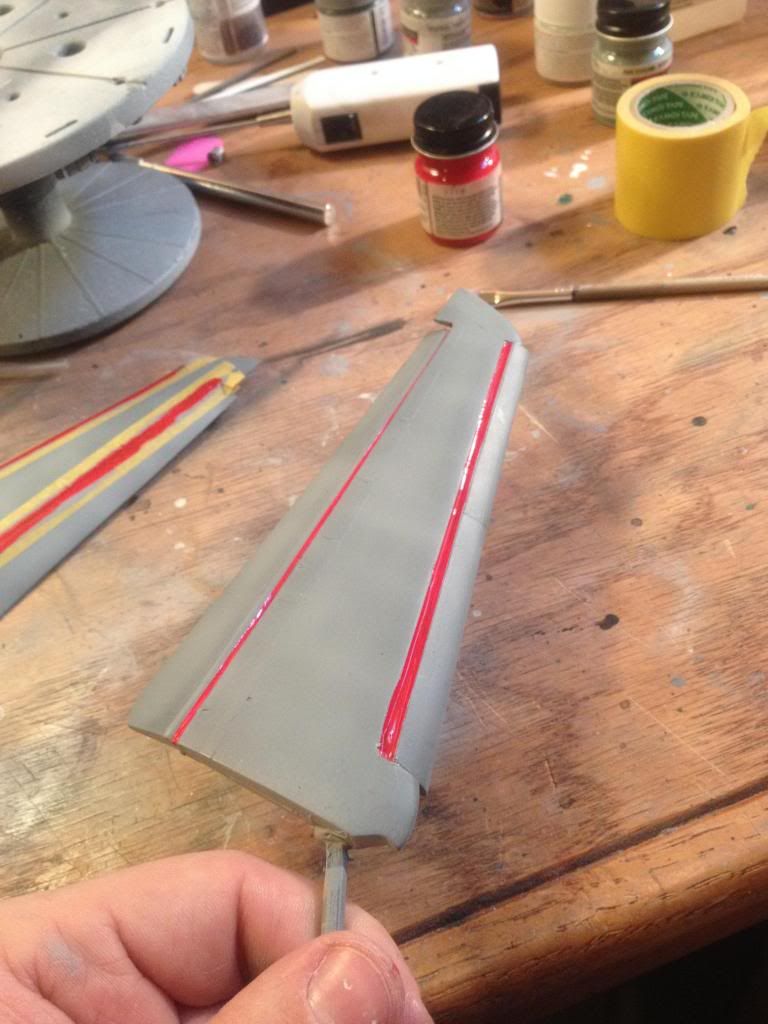
After that, I cleared with some Future and got to work on decals.
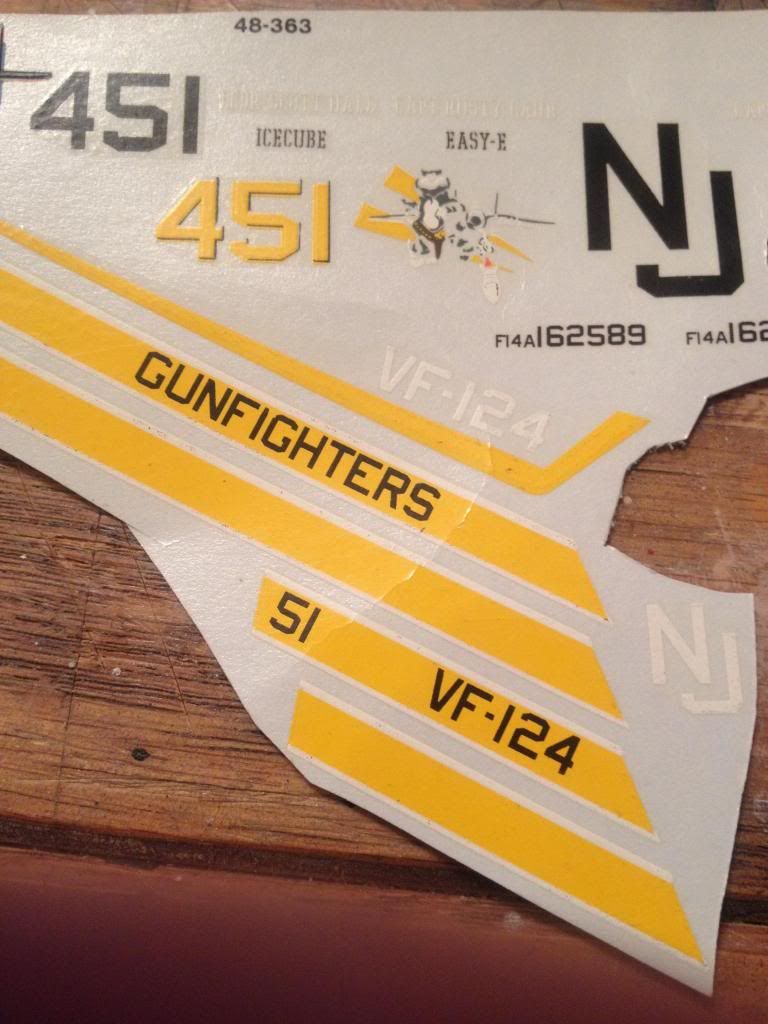
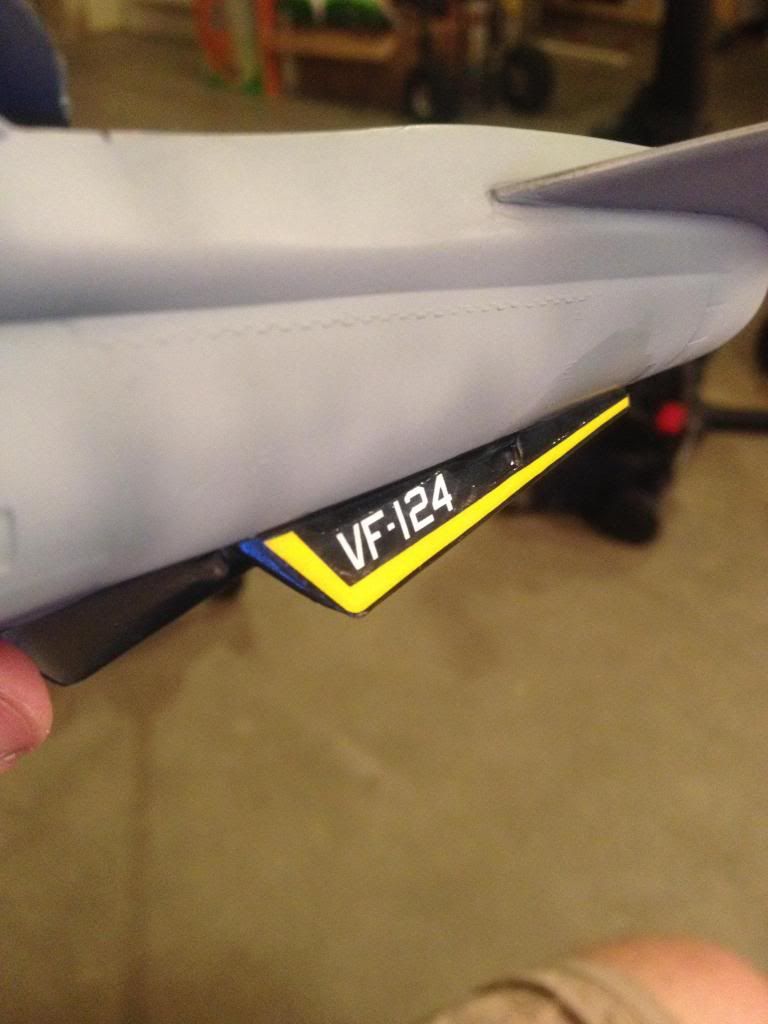
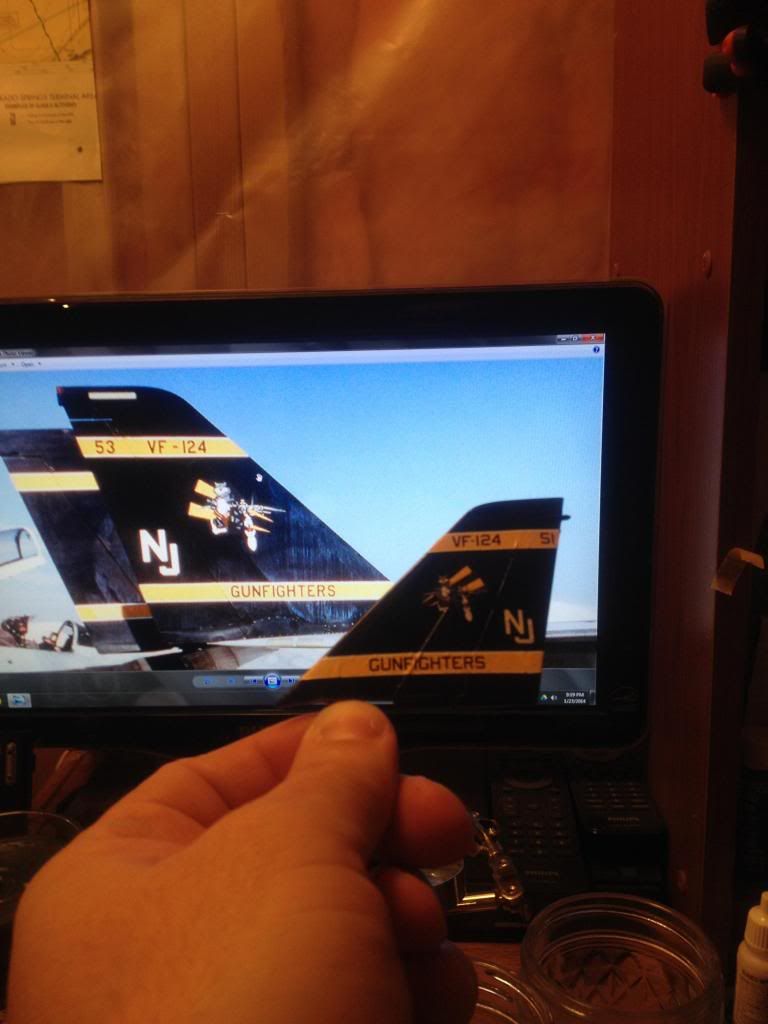
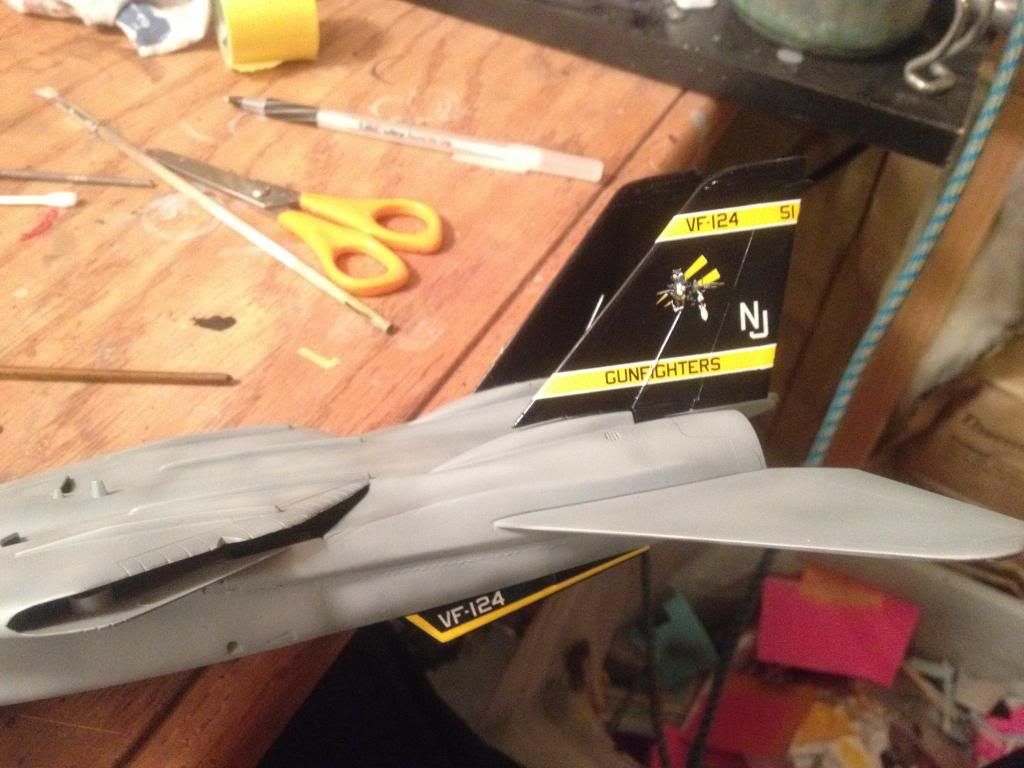
I have to take a moment here and give Al Bell major kudos for getting these Gunfighter decals to me. Not only did he take the time to mail them out, but due to various reasons, they went back to him not once, but twice, and each time he immediately sent them back out. In the end, he turned down my payment and, in his words, “anything to see your brother smile”… men like that make this community the good place to be that it is. Thank you Al!
The decals were extremely fragile, and many of them broke… some in several little slivers. However, I was able to pull it off and it looks good!

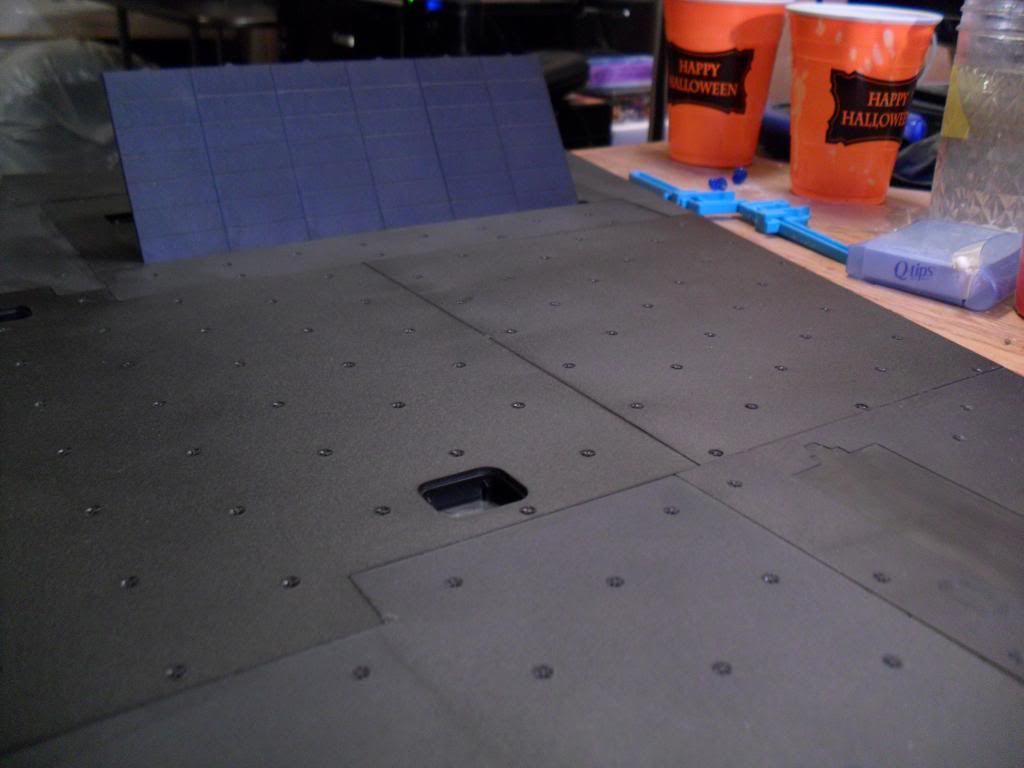
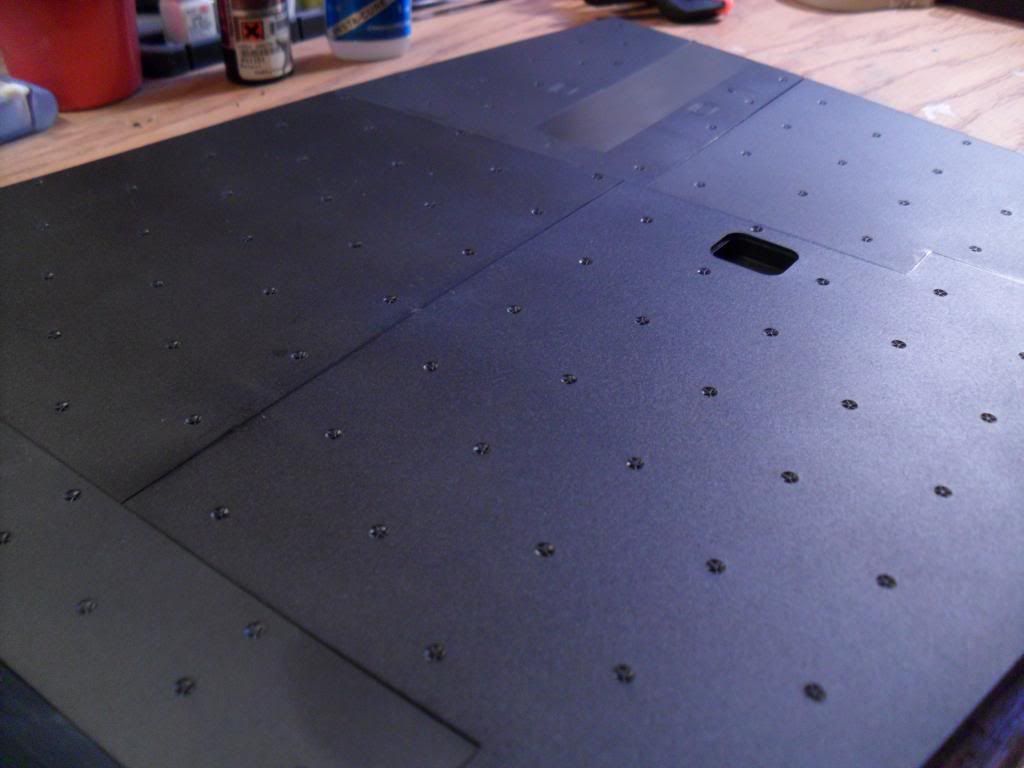
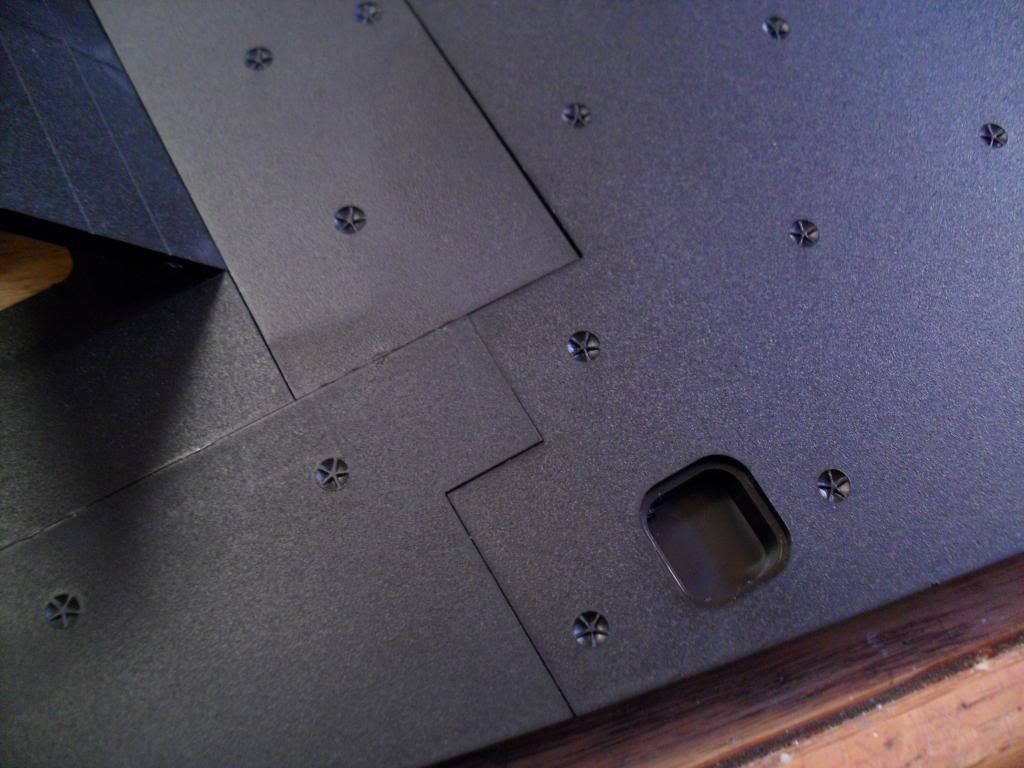
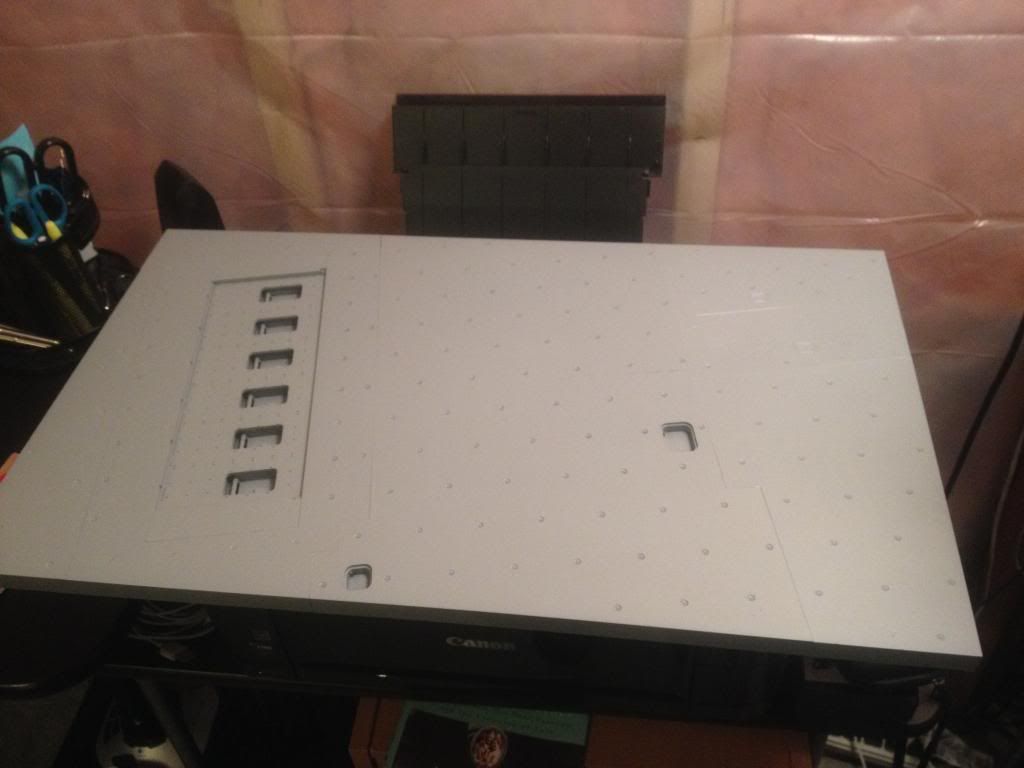
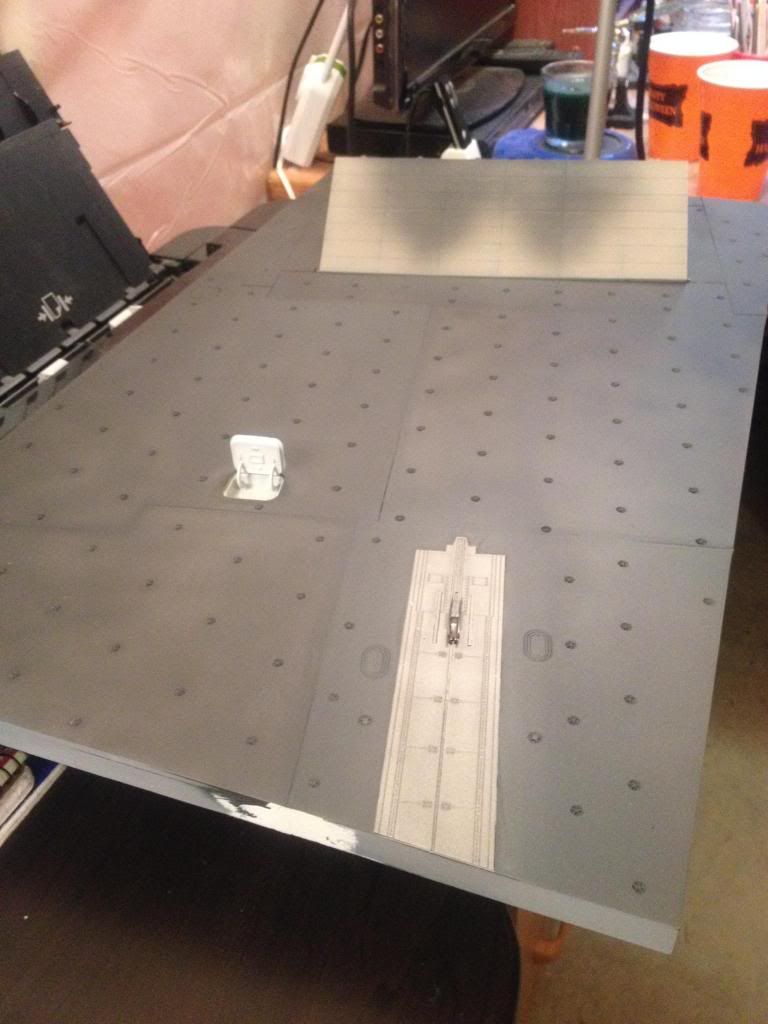
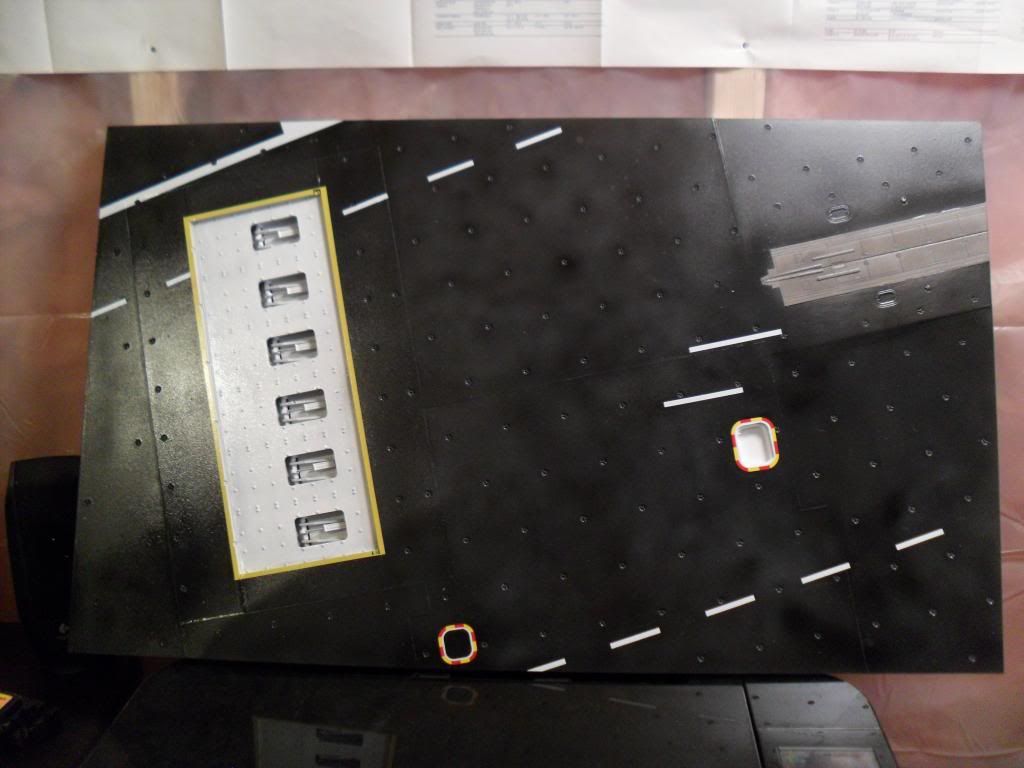
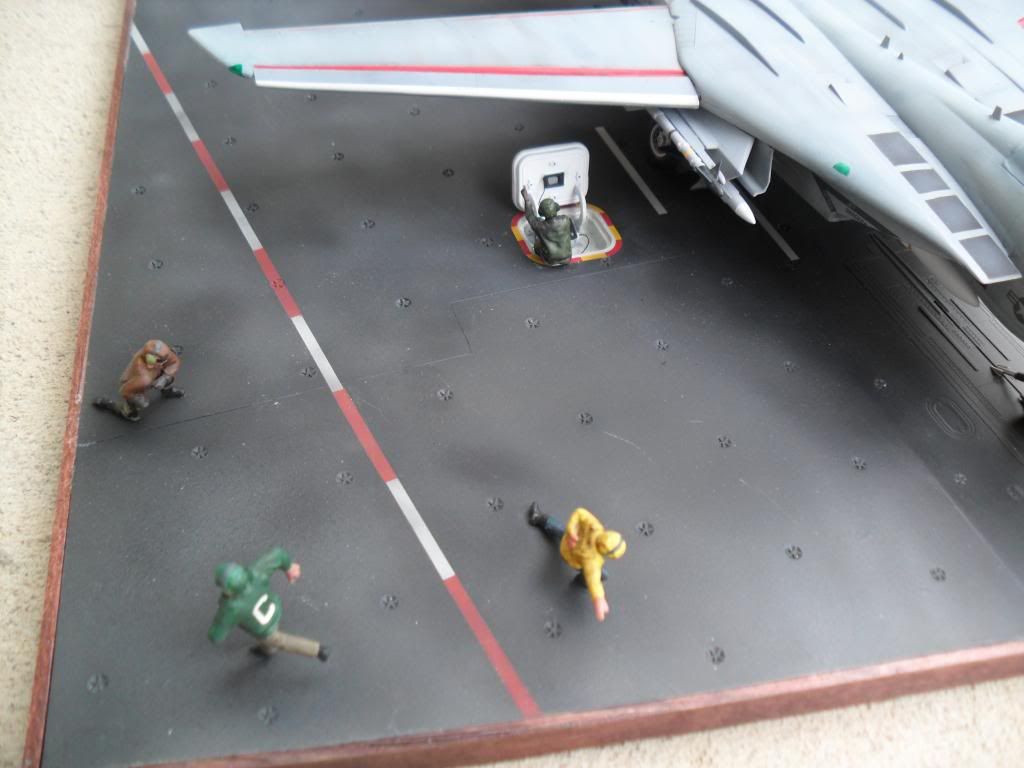
Now - taking a break from the plane, lets move onto the base. Like previously said, it’s the 1/48 SkunkModels Carrier Deck with JBD… and this thing is a real treat! It’s pretty pricey but you do get what you pay for, and this really could hardly be improved on. The molding is very crisp, texturing is perfect, zero flash, and VERY few marks. I actually couldn’t find ANY sink marks, punch marks, etc. I was dreading the complex JBD having marks all over the back of it but I didn’t find a single one… joy joy!
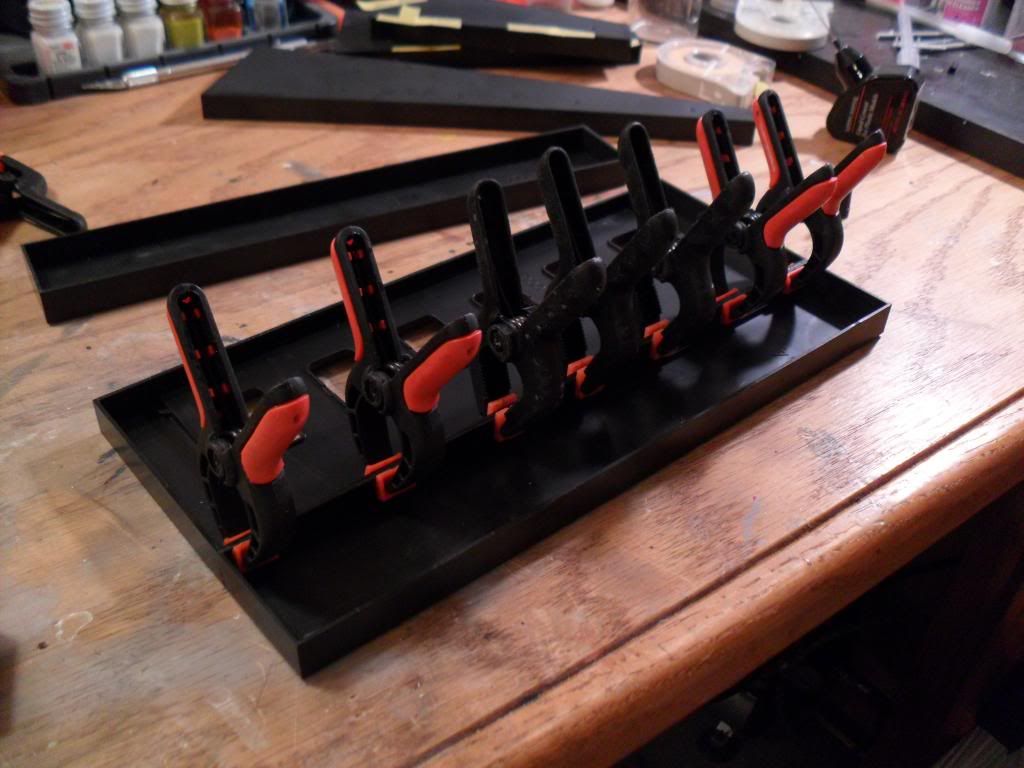
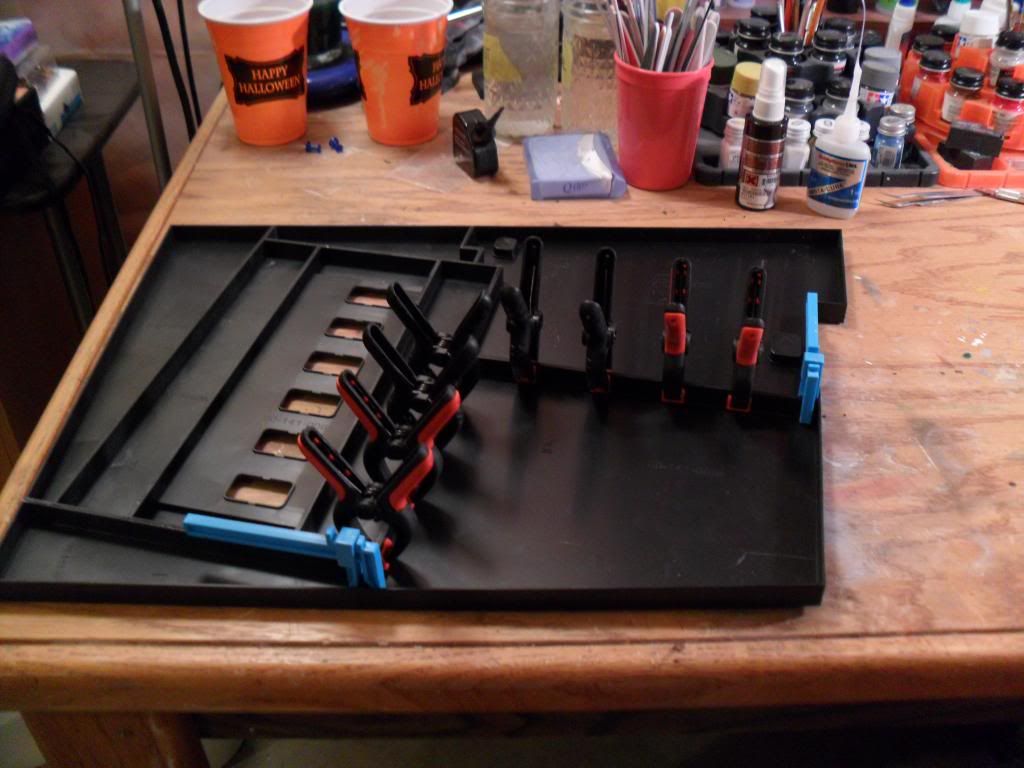
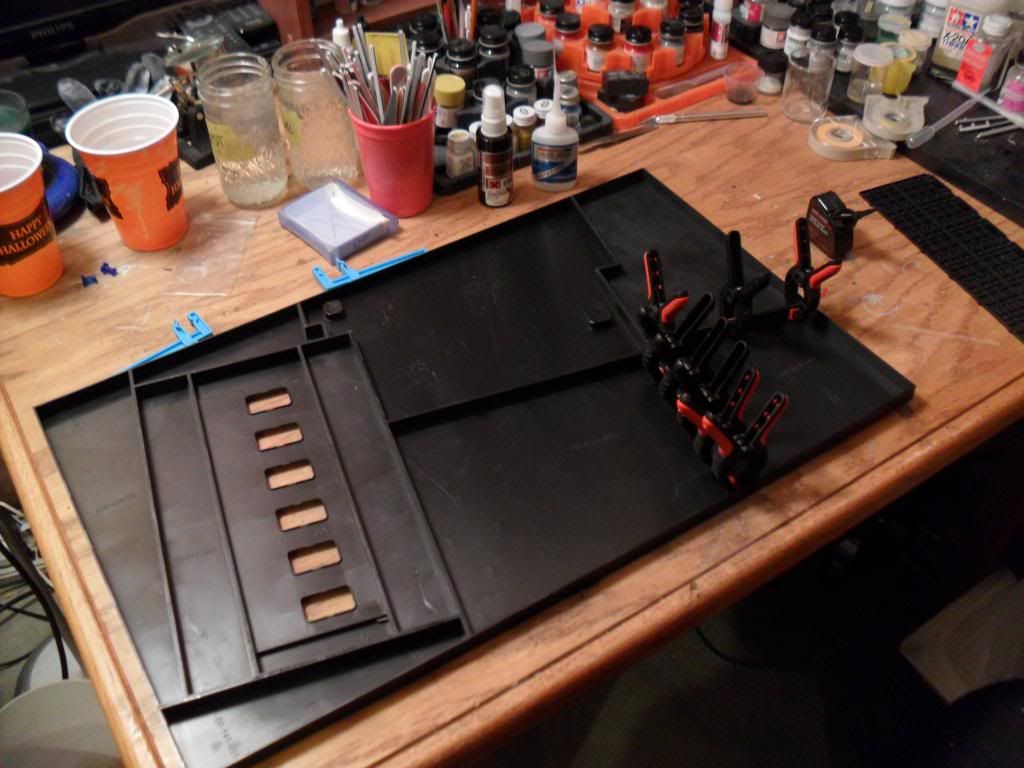
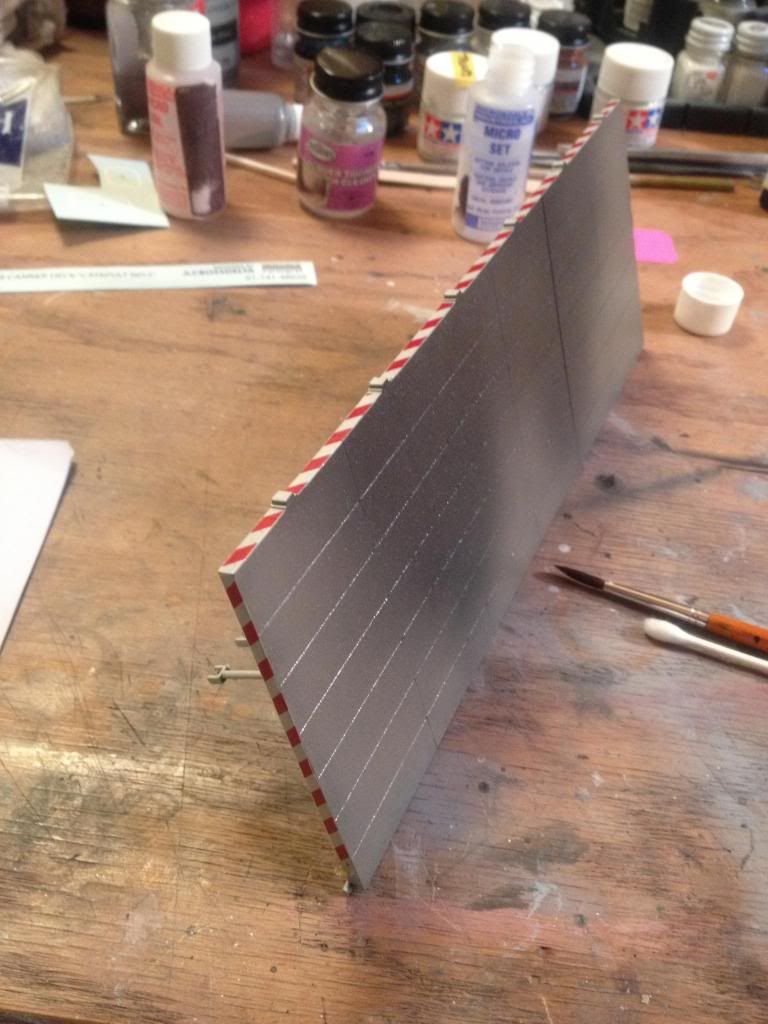
Assembly of the base itself is all butt-joins, so you will want to be generous with the liquid cement and take lots of time to do just one panel at a time in assembling this. LOTS of clamps are recommended! However, everything does fit VERY well out of the box and it really is superbly done.
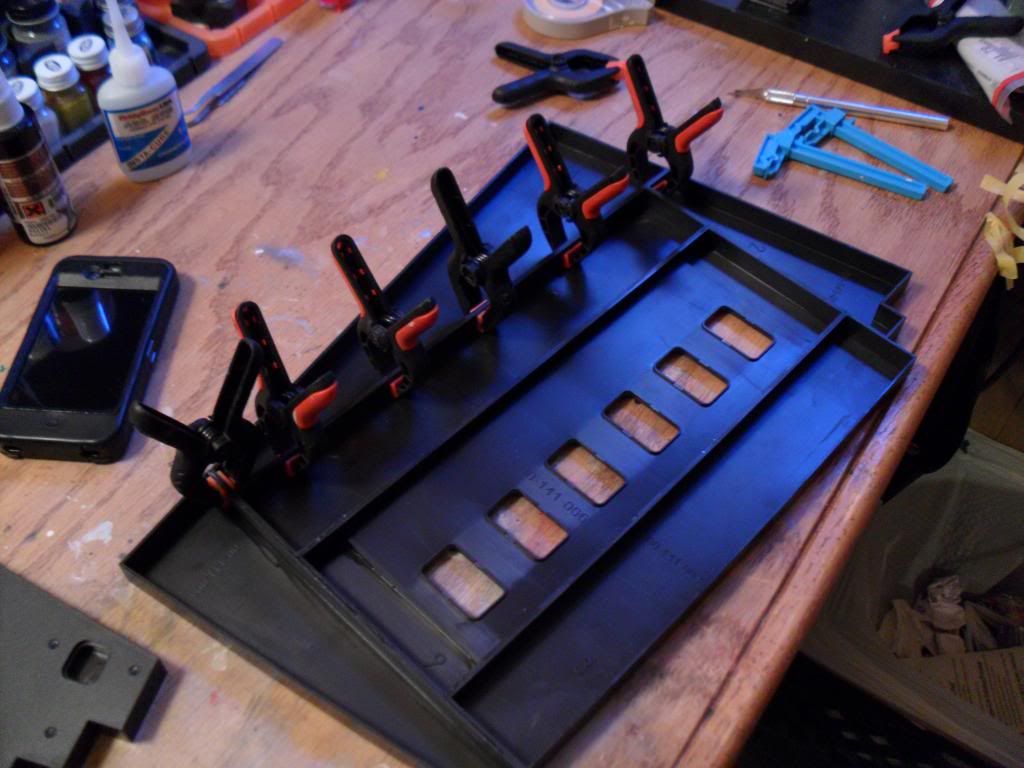
Completed assembly, with the JBD done as well. This is the same thing: all butt-joins. I suggest joining them all together then setting a couple books on top of it to make sure it’s nice and flat.
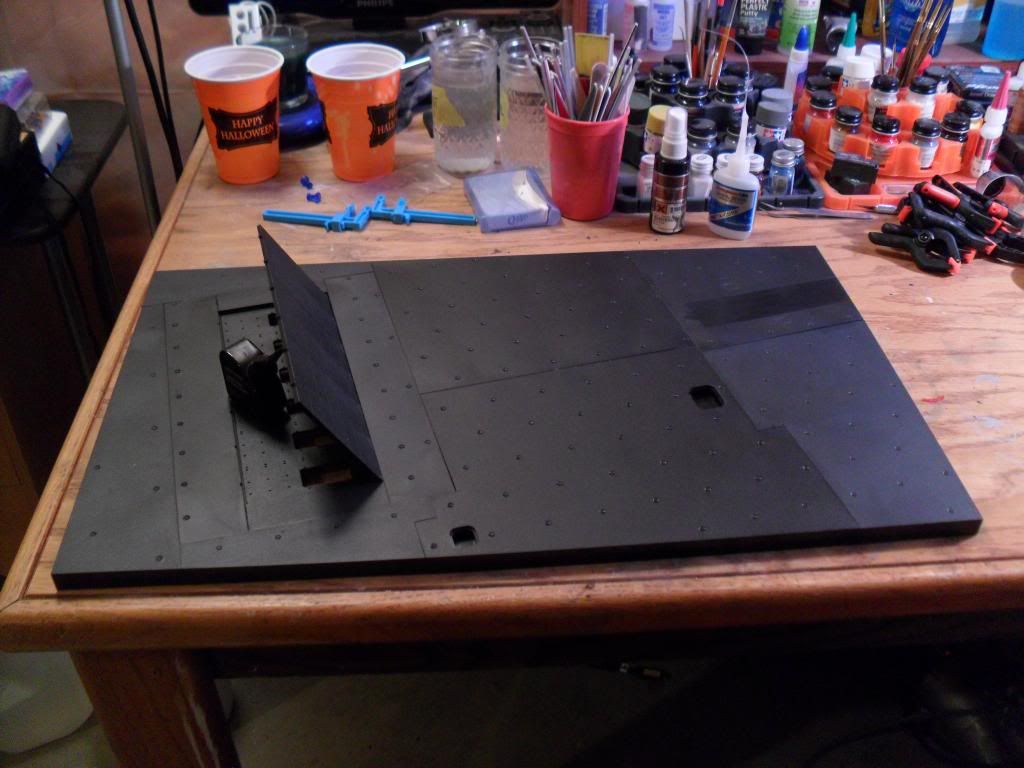
From what I understand, the joints are actually real expansion joint lines, so with that considered, this is actually a very good result. I did have a couple of very minor steps but this was my own error in not doing enough checking before clamping. I filled all the joints with a bead of superglue followed by Mr. Surfacer and the end result is great.
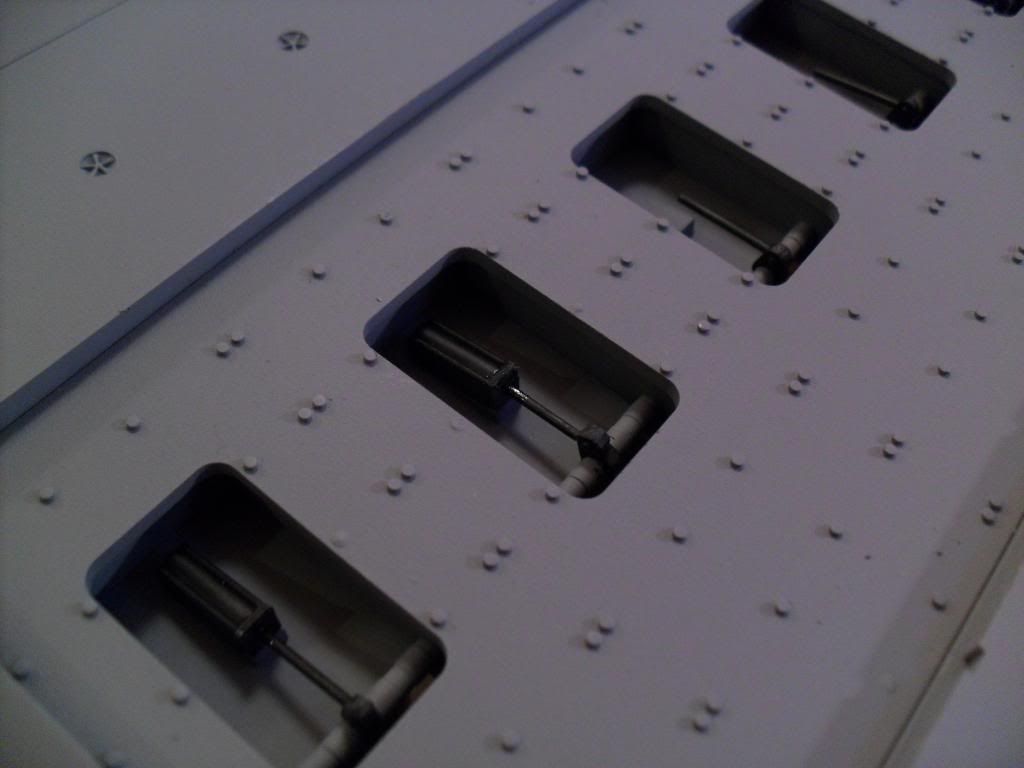
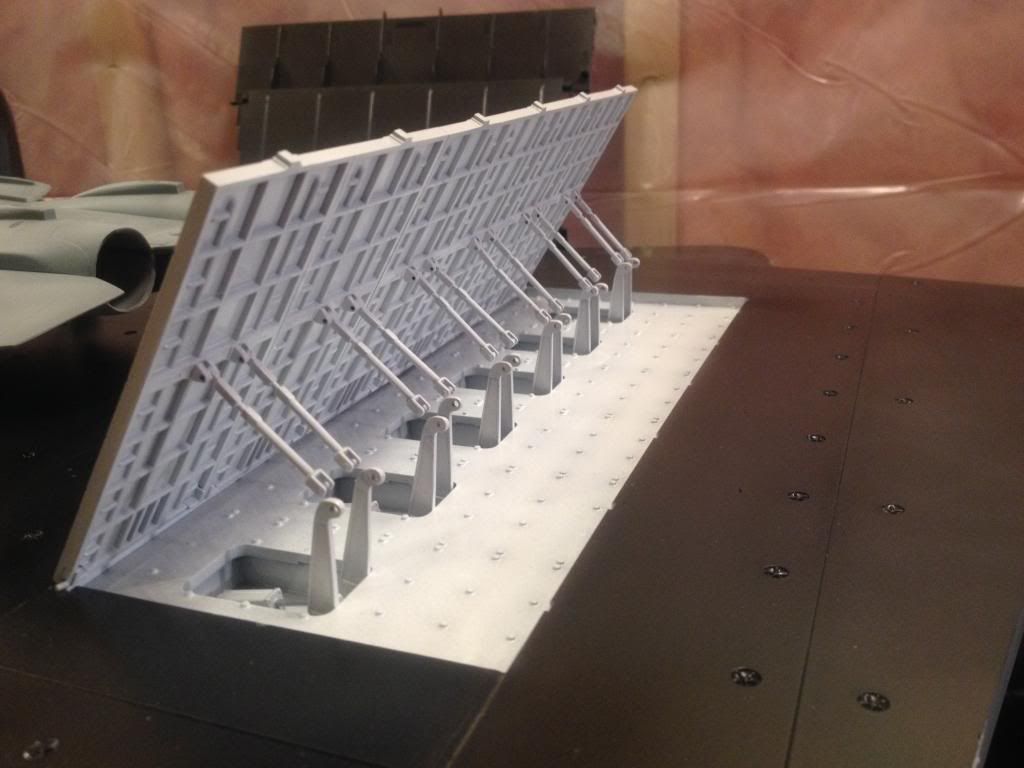
JBD Assembly - This was a somewhat complex affair, and it’s easier to do it a little differently from the instructions. I’ll try to explain the best I can how I did it:
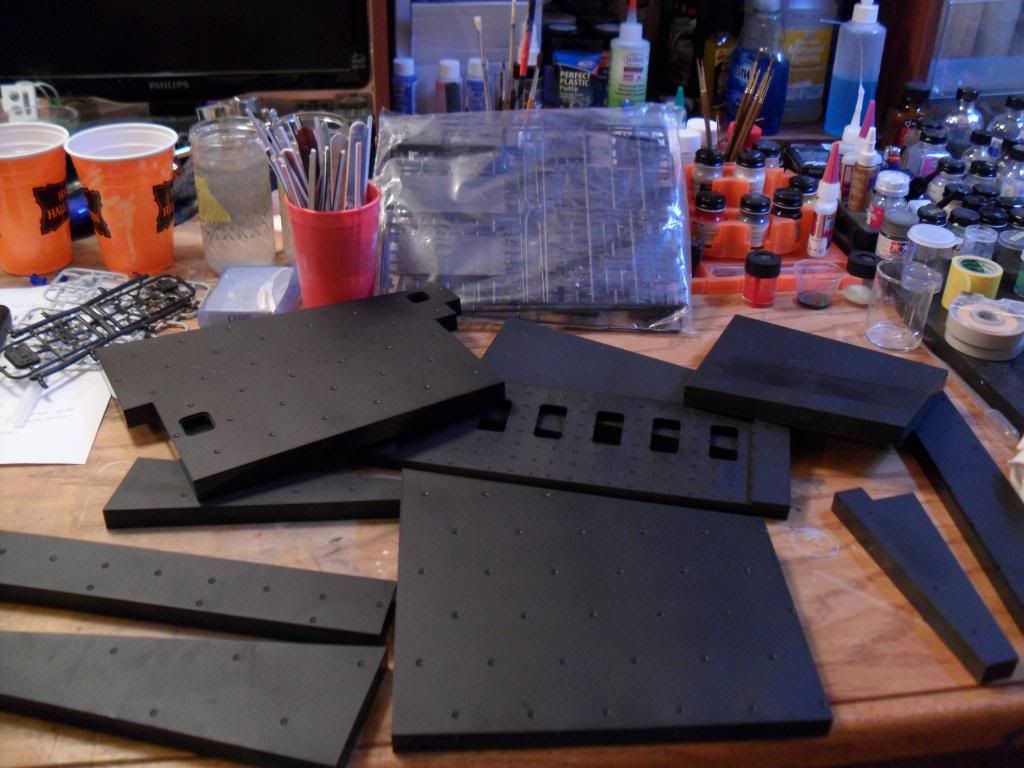
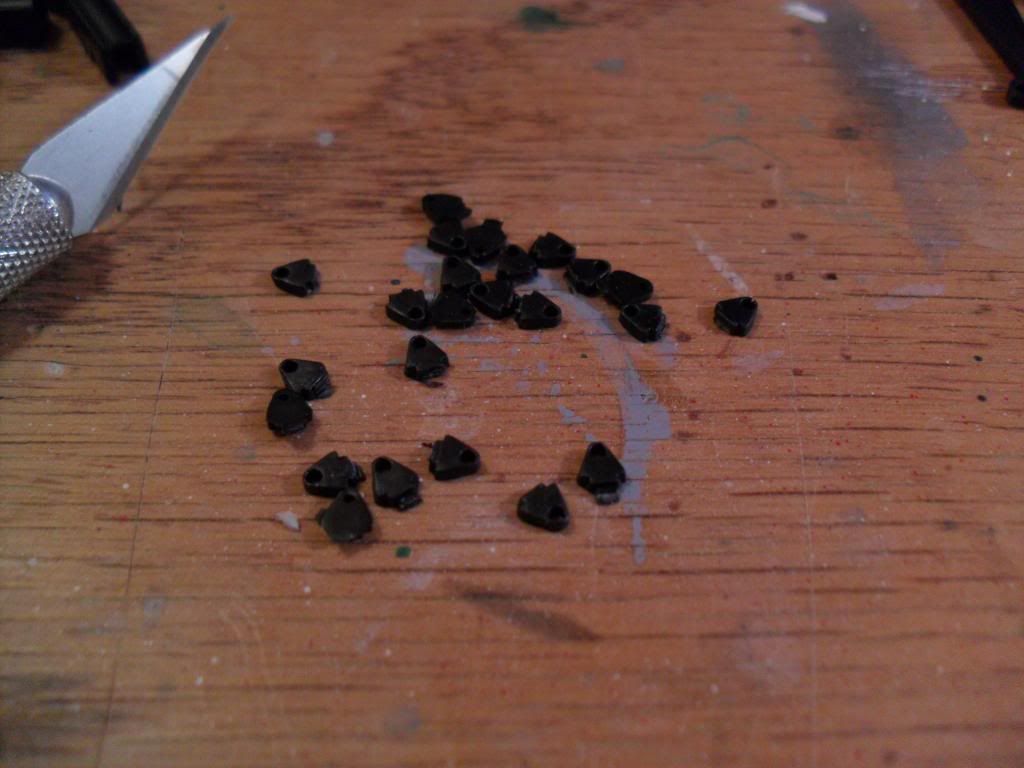
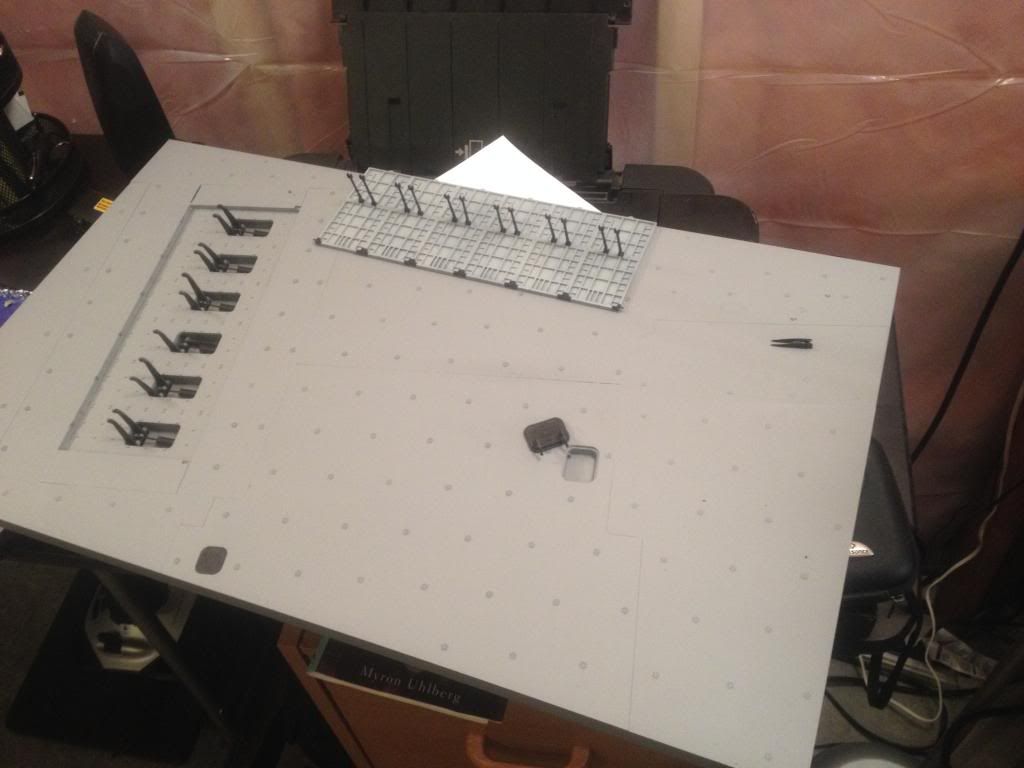
First, all the parts organized and set-up.

Brackets for the rods that attach to the back of the JBD are installed. Use the rods by dry-fitting while the brackets are being glued in place to space them correctly. When gluing the rods, I first had the other half of the rods in place (you’ll see what I mean below), then glued a couple of rods in place, adjusting against the placement of the other half of the JBD lifting system until the glue solidified, then placed the rest of the rods using that angle.
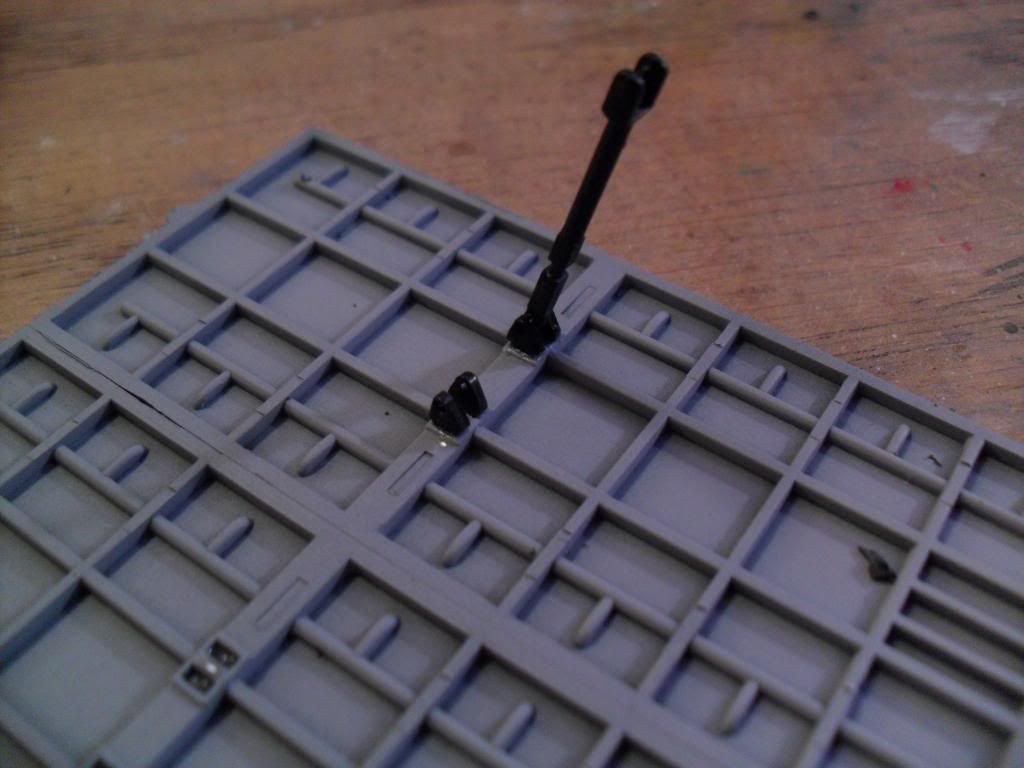
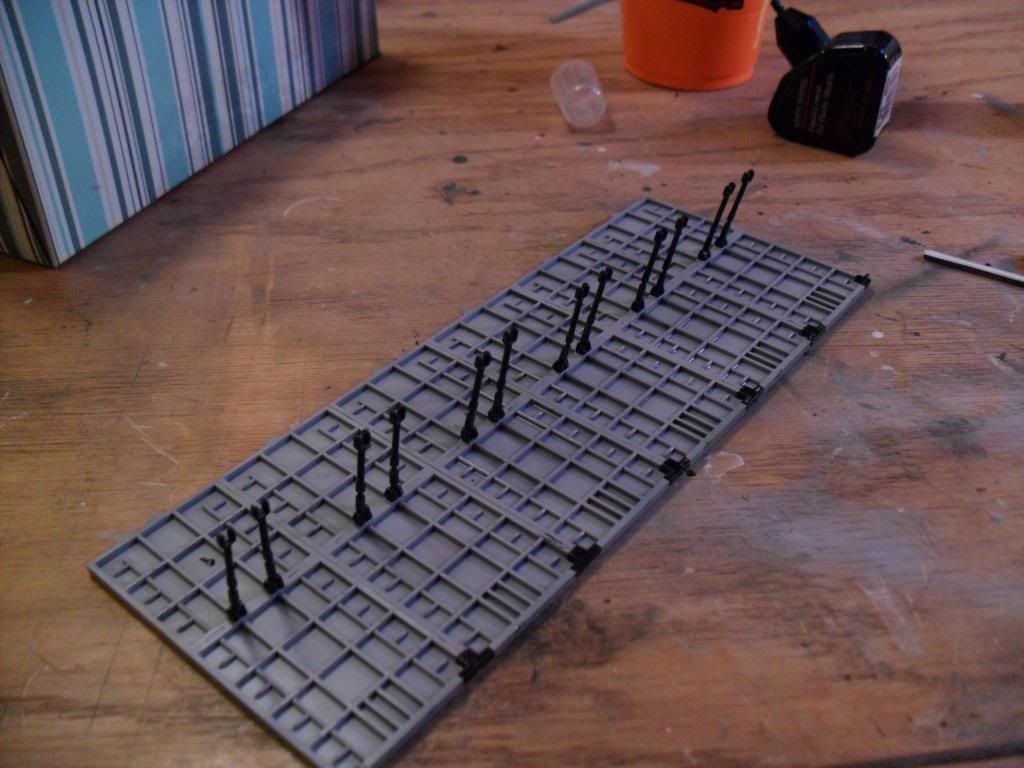
The lower half of the lifting mechanism - this is all supposed to be done before the base is even assembled but there’s no reason to do it that early. Makes more sense to wait until this point then assemble it all together. The first thing to do is install the hydraulics. Then after that, you can just snap the lower arms in place but do NOT glue them - you’ll want them loose so they can be adjusted to each arm when installing the JBD later. This is what I was talking about with gluing the rods too… I rested the rods against these to get the angle right while the glue dried.
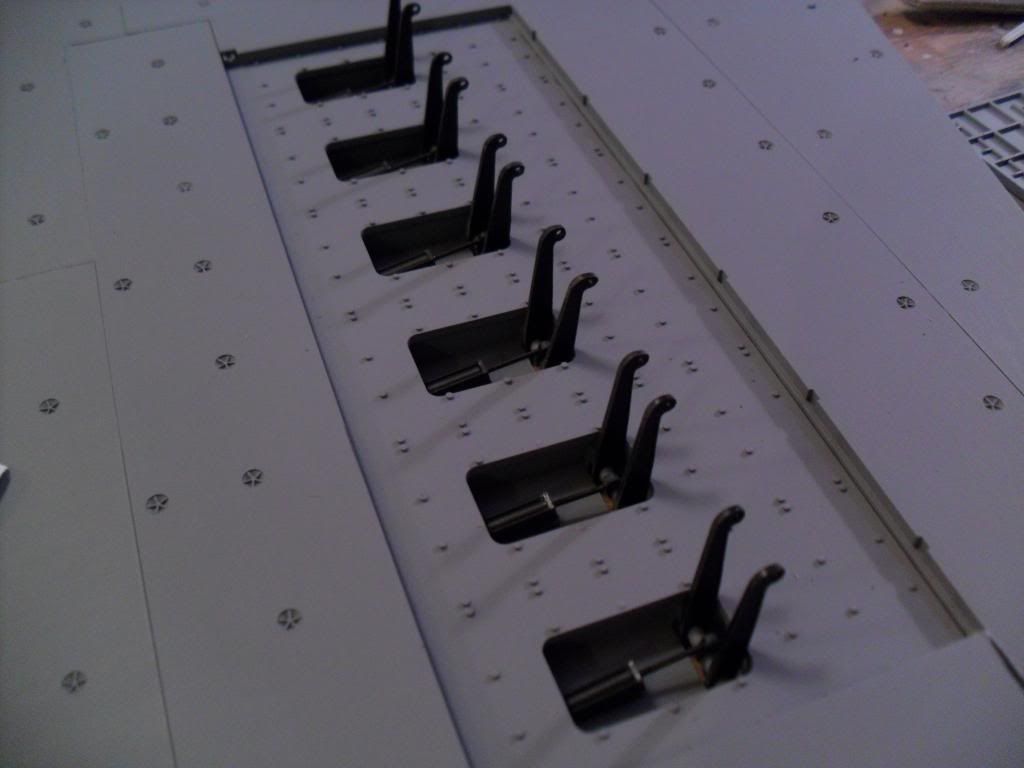
The catapult was assembled, as was the steam pit door.
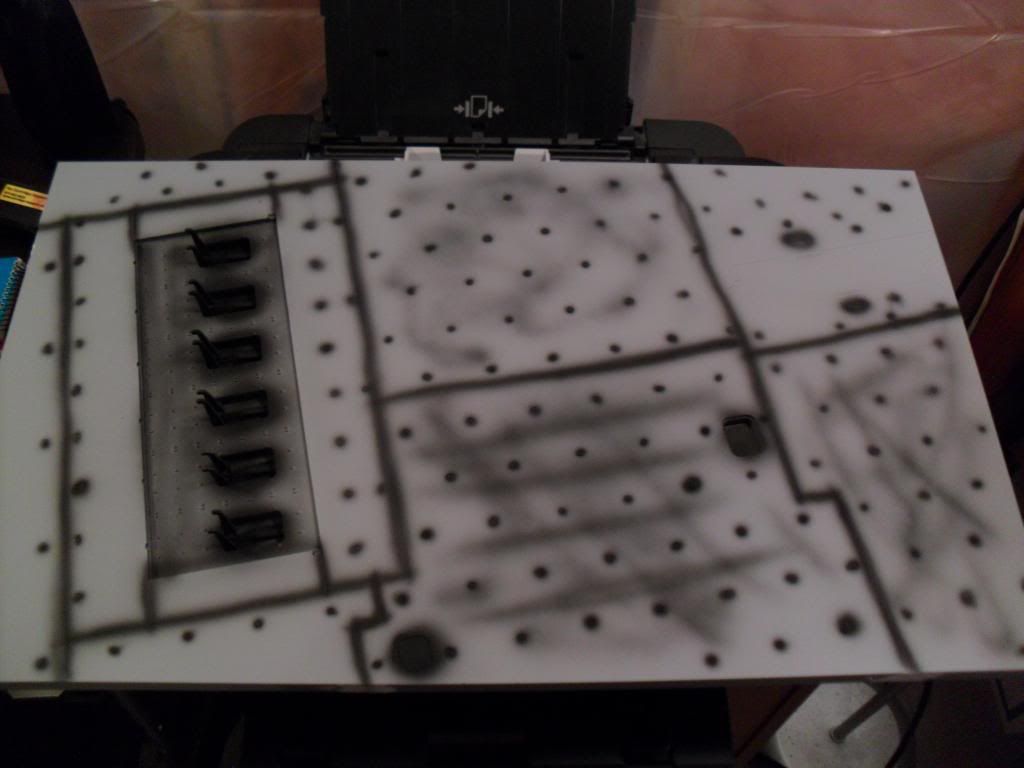
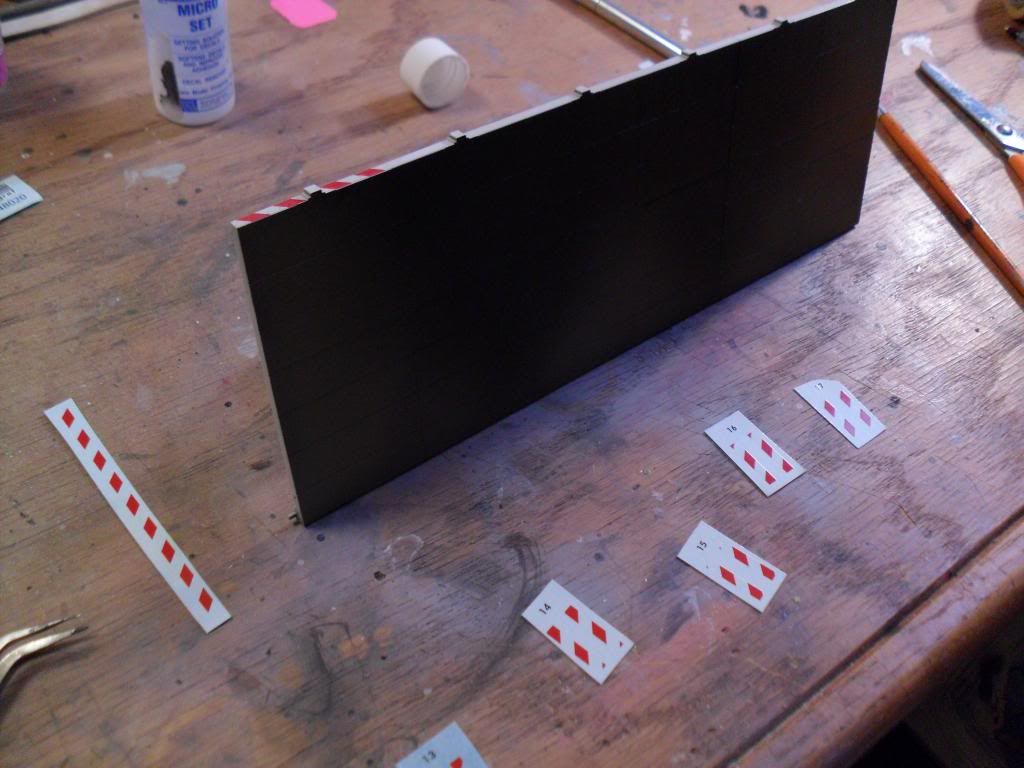
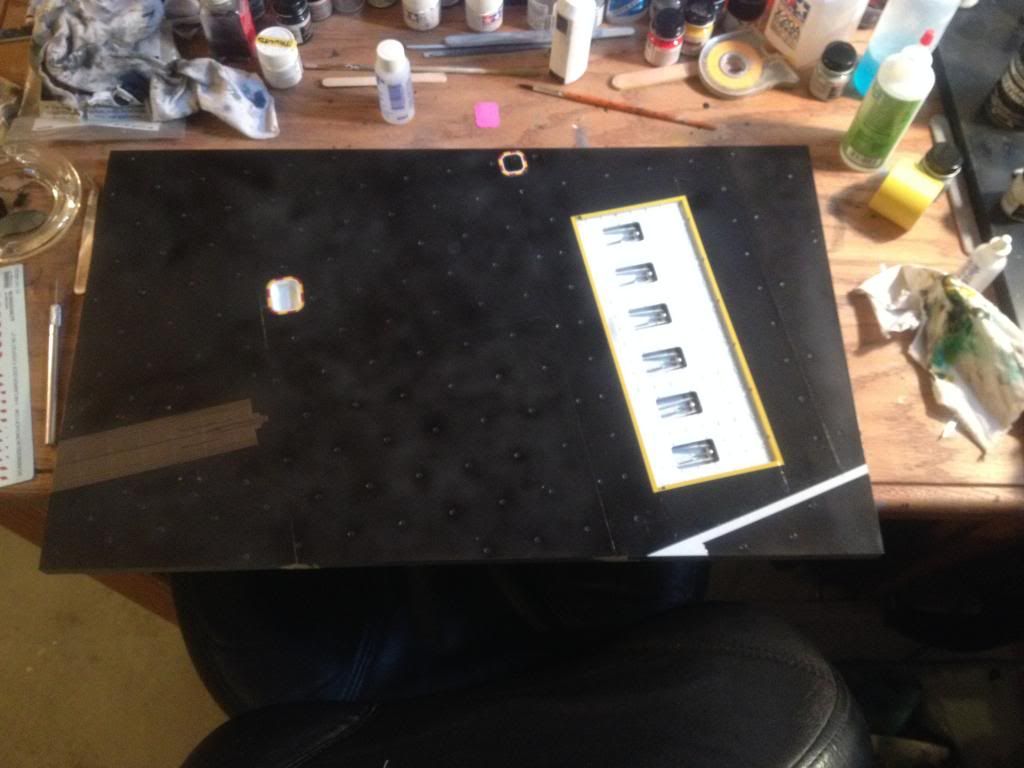
Preshading. In hindsight, this wasn’t really necessary except for the JBD bay area. Post shading in combination with random spray patten and not completely covering the deck with the base color works better with this.
After painting. I also did the JBD as well according to photos of the Vinson.

Decaling. The decals went down wonderfully, and after a coat of Micro-Sol, they literally turned into paint. Good stuff… these were Cartografs and I believe this is my first time using their decals… really gorgeous stuff and I wish all decals were this good!

