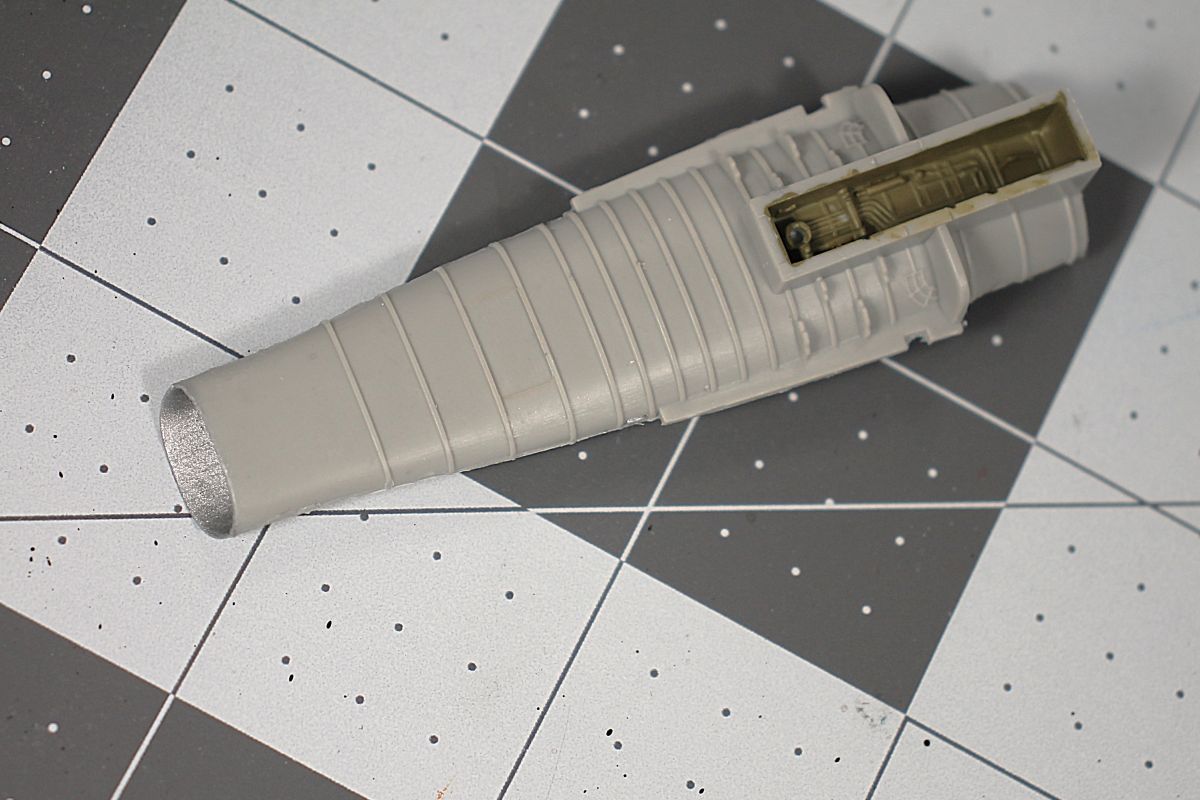
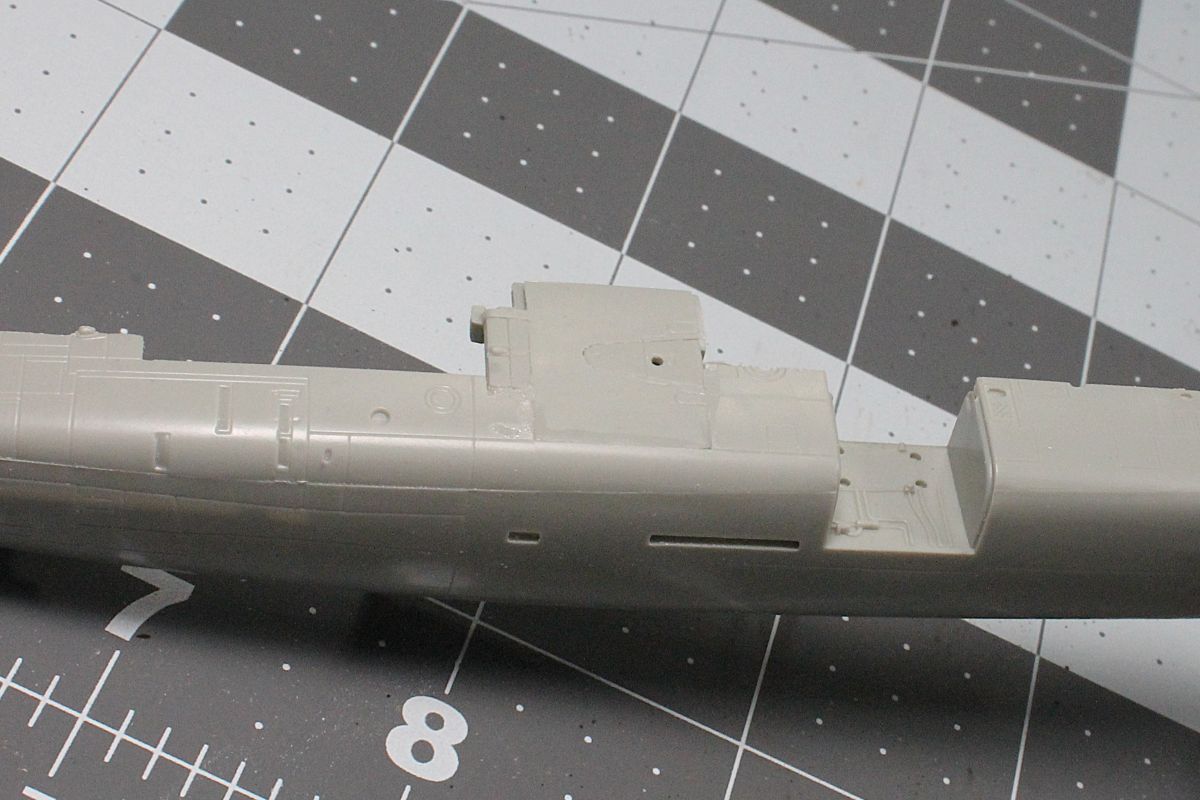
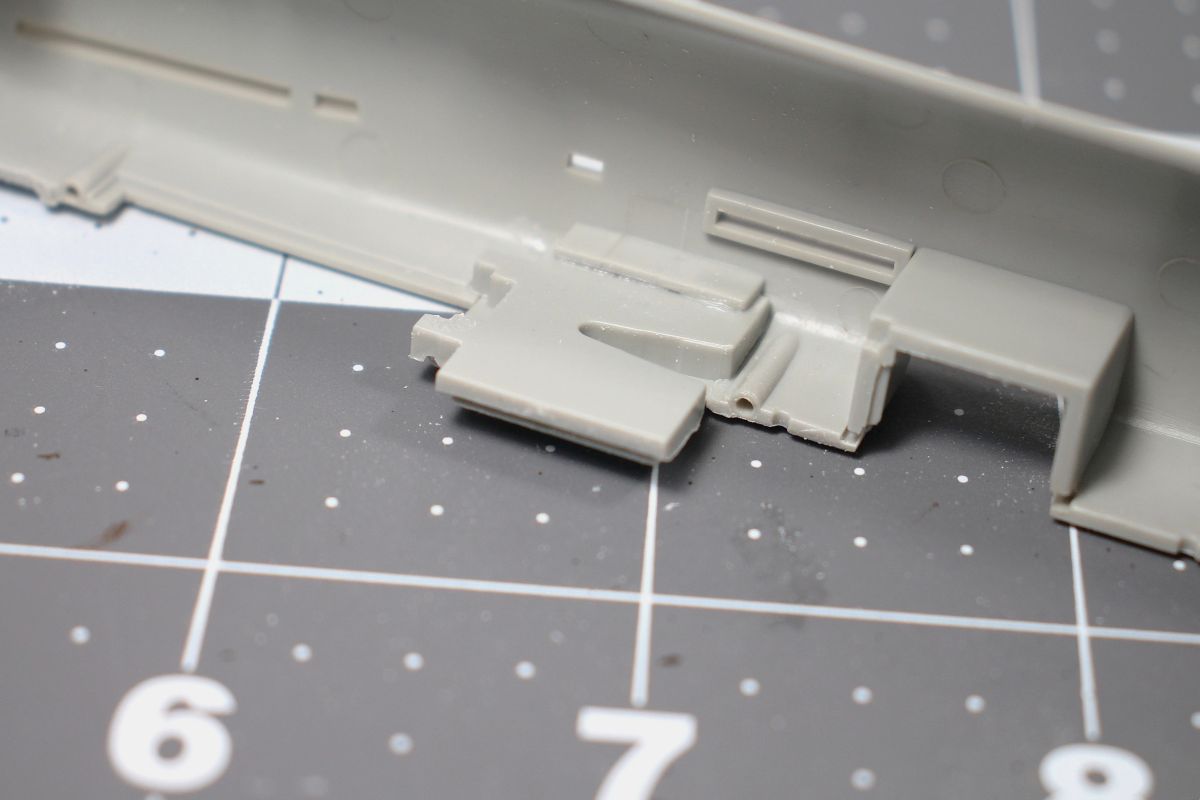
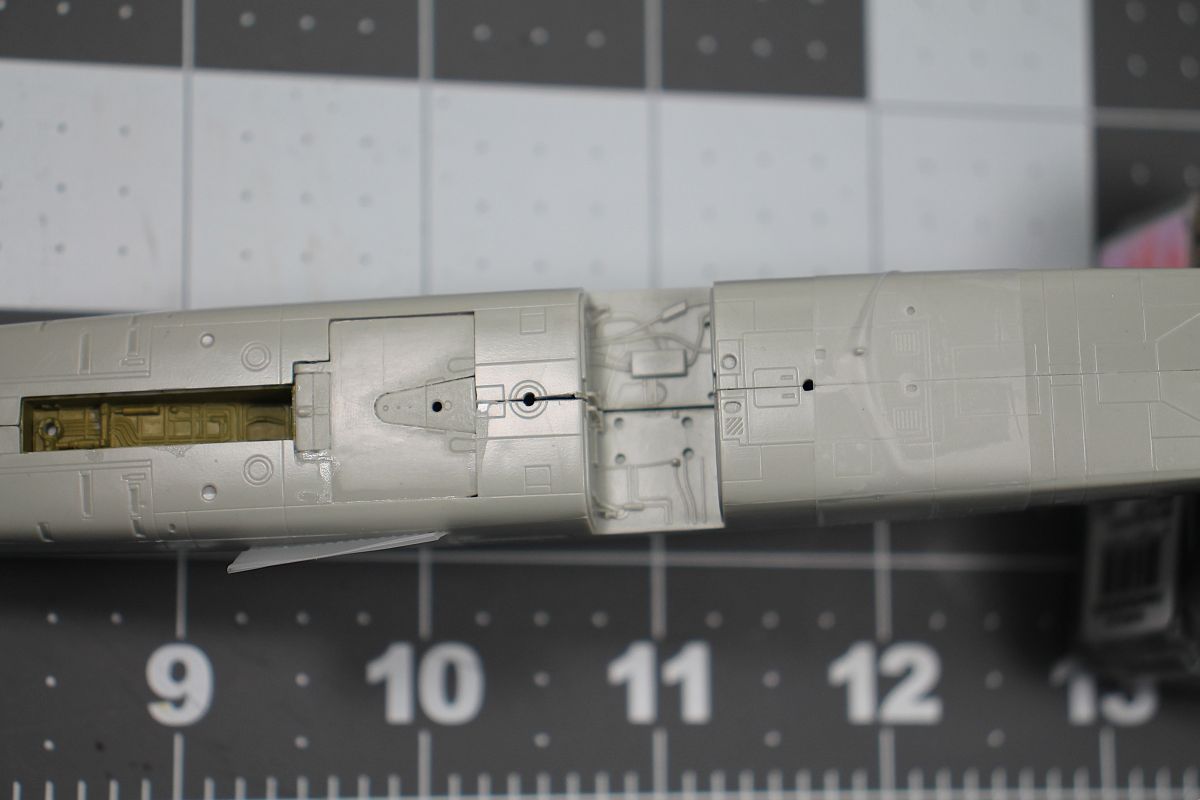
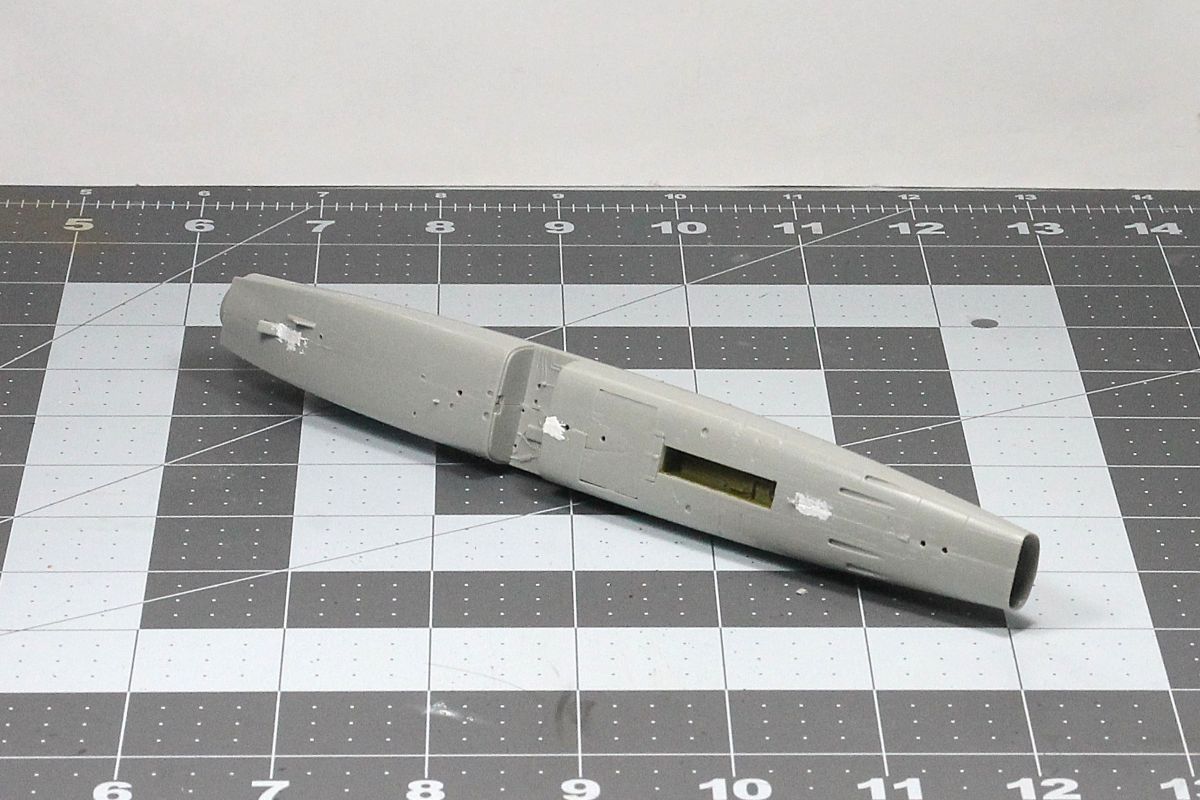
This is the last kit I will start. I have too many started and need to take a break. From now on I will only post when something major gets done. I am getting nowhere fast. I have this started , the intake trunking is built, I painted the interior aluminum and the nose wheel well green. I also figured out how to close the brake unit on the bottom of the fuselage.I put the brake parts 8 and 12 together but first I cut the little nubs off item 12. I then placed them in the right fuselage half not glued together, when they fit good in the right fuselage I then glued both pieces with Tamiya thin cement. once that was dry I slipped the left fuselage over them, it fit well so I taped it to check the fit, not perfect but not bad either. I am going to take a break and decide which direction I am headed, wayyyyyy too many kits started.NOTE-fuselage halves are taped together for a test fit only.
3 Likes
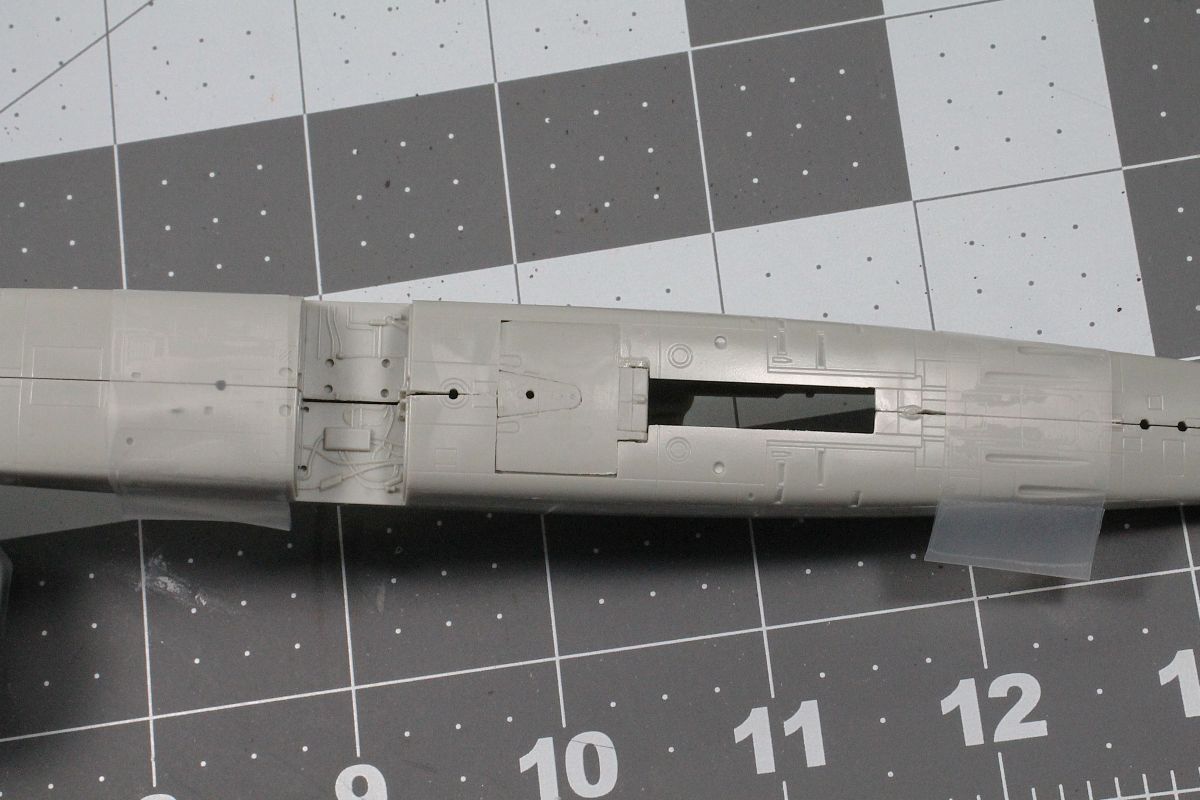
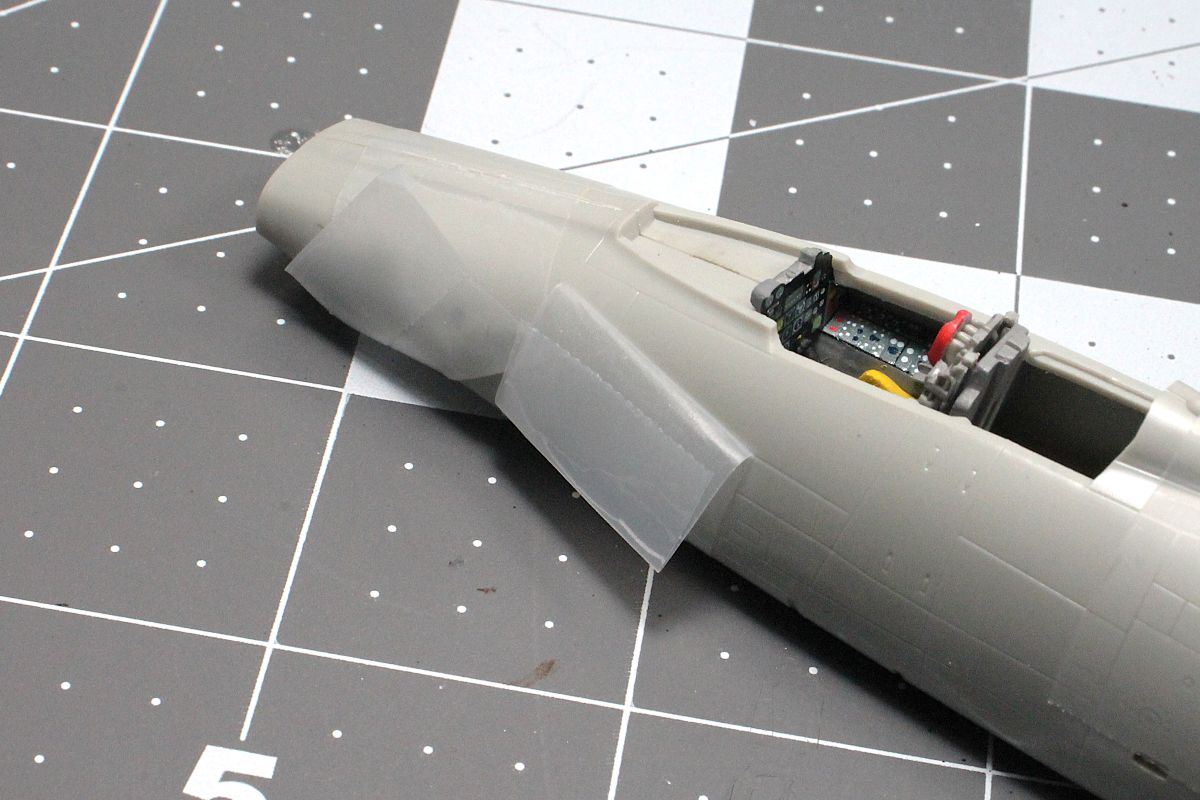
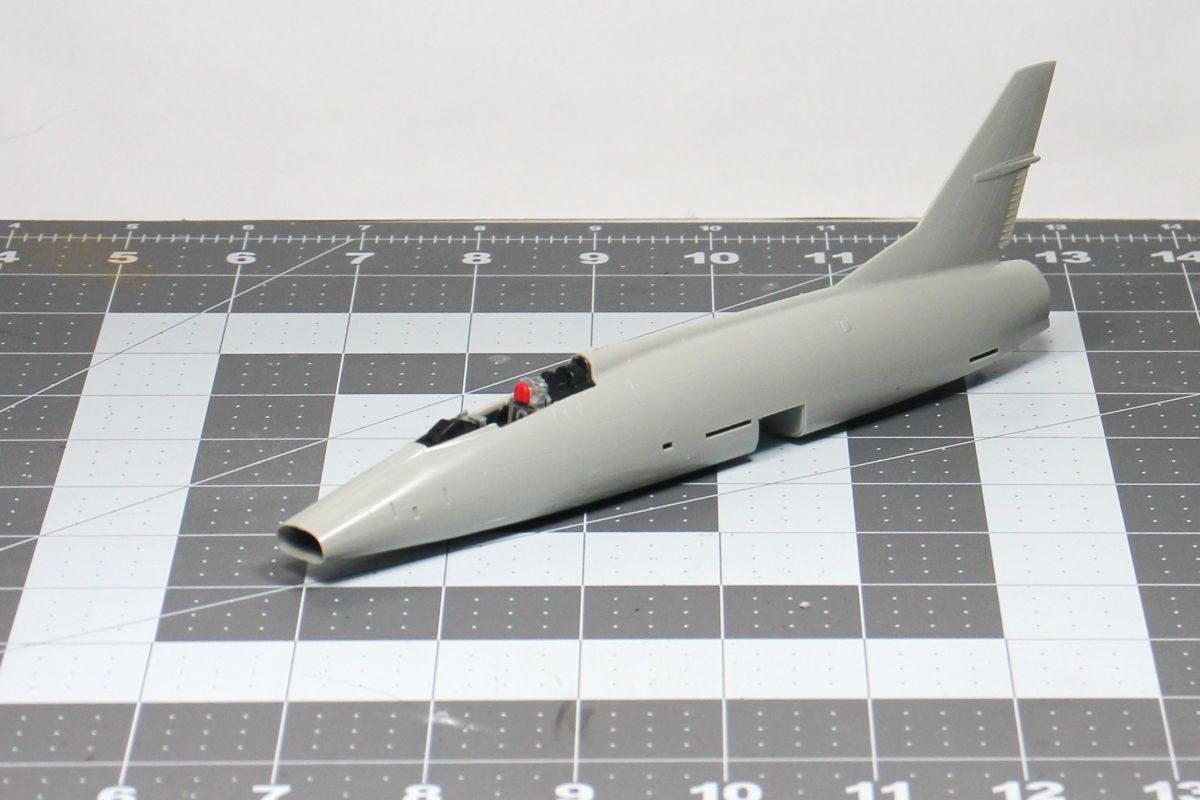
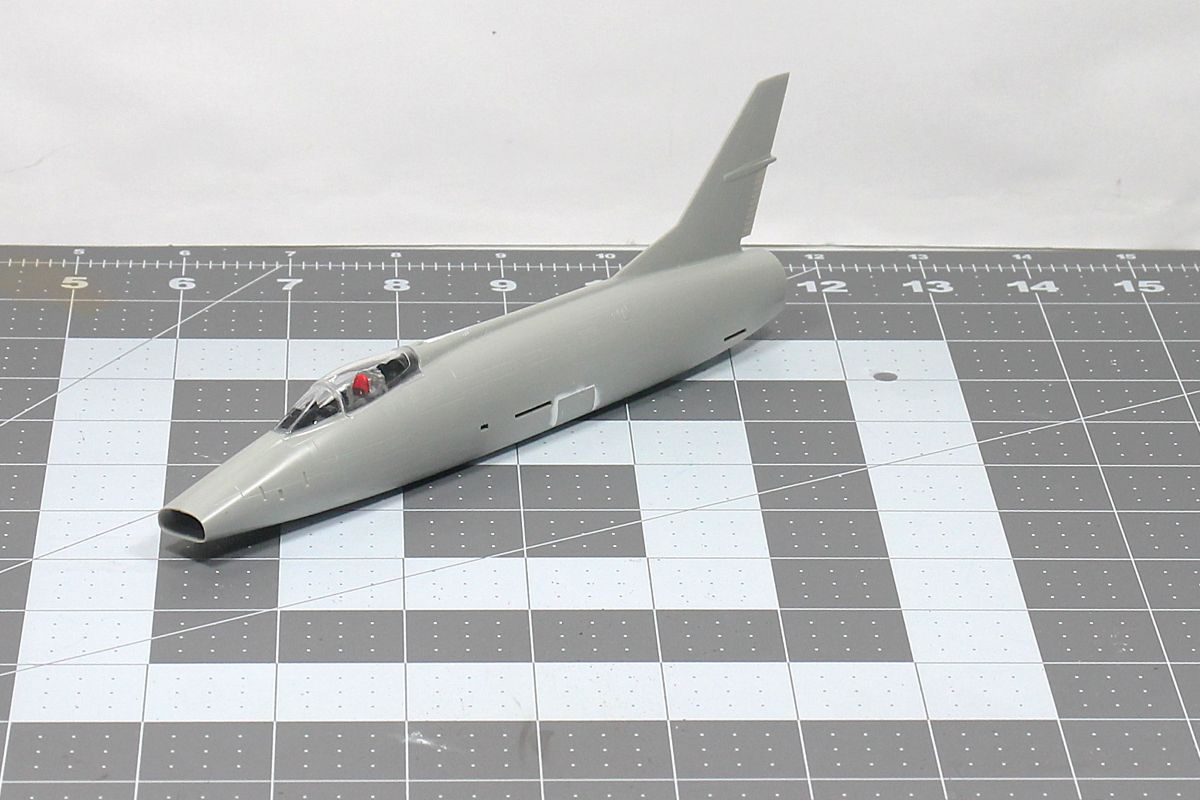
I will definitely keep working on this one. It is coming much better than I expected. I have the cockpit done and on the intake trunking then The fuselage halves taped up. It has an excellent fit with the trunking to nose intake. There is still a bit of a gap behind the air brake but if I squeeze the halves with my fingers it closes up good. The wheel well and cockpit fit snug.
1 Like
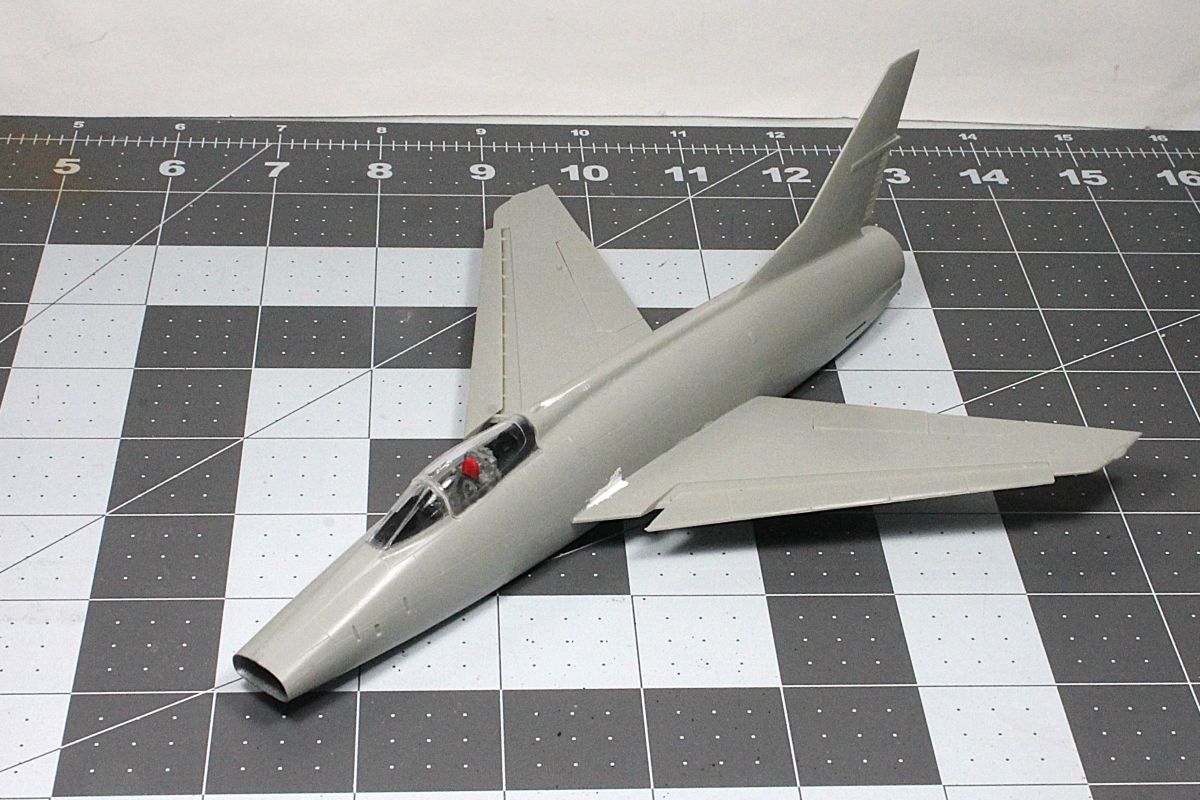
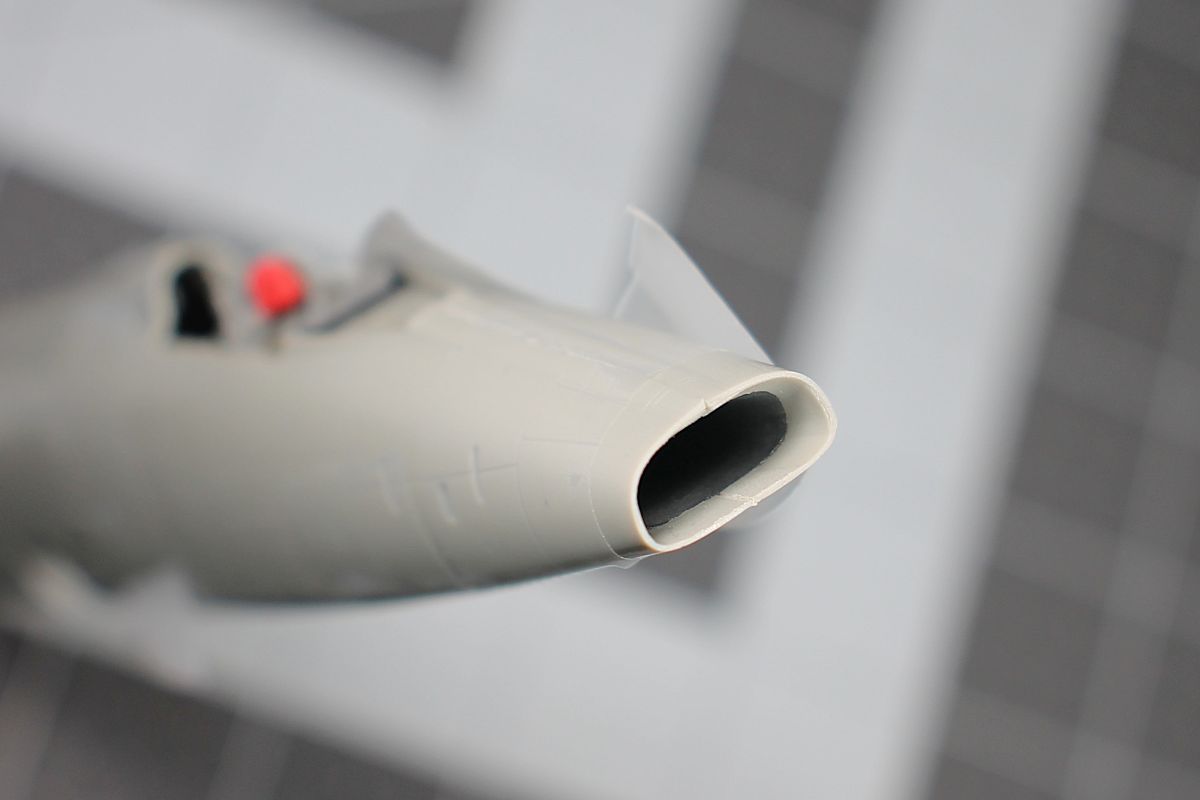
I added 17 grams of weight in the nose, installed all the interior parts then closed up the fuselage halves. I used minimal putty on the bottom seam.
1 Like

3 Likes