For the camo edges I use Silly Putty, and for sharp edges I mask with Tamiya tape.
Thanks for the kind words, gents.
BK
For the camo edges I use Silly Putty, and for sharp edges I mask with Tamiya tape.
Thanks for the kind words, gents.
BK
I’m about as far as I want to get with the main body of the Chaffee. I’ll add the ancillary pieces and gear for later. I will add a little more weathering after that. I used a dot filter of blue yellow and redish artist oil paints and a pin wash of black Vallejo wash around most of the raised parts. It toned it down a bit. I’m pleased with how it looks at the moment. Now I’ll switch to the Friulmodel tracks. It’s a bit monotonous, those tracks, but they add a lot to the overall look I feel. My cat is helping me. Lol

BK: Superb paint job on the Spit.
Griffin: Really like how the camo came out.
The GD friulmodel tracks are not going to work. I guess it’s vinyl track time! $36 down the drain. At least I checked before spend 6 hours putting the effin things together. Ugh.


That really sucks, since I’ve only heard good things about their tracks (fiddly assembly aside). At least you caught it right away and have the vinyl tracks as a plan B.
I’ve made a little progress on the Heinkel, but not enough to post a photo of yet.
Basically, I’ve had to go a few subassemblies ahead to figure out which clear part needs to be modified so as not to fix one fit problem while creating others. It makes for an interesting engineering challenge, mildly annoying, but a big step up from the Azur kits I built when I got back into the hobby a couple years ago. I’ll have a step by step posted when I get the necessary part(s) modified so I can finish assembling the interior.
The joy of vinyl tracks. [:'(] Wheels can’t handle the torque when I tried to join them toget. 4 different wheels broke off. At least I started on the side that will be on the far side of the direction of view when the vignette is displayed. After I fix this I am going to use fine wire to attach the track ends. It’ll work. Maybe…

BK,
That Spit is looking nice!
Griffin,
That’s a good looking Chaffee you got there. Bummer about the Fruil tracks not working.
Mach,
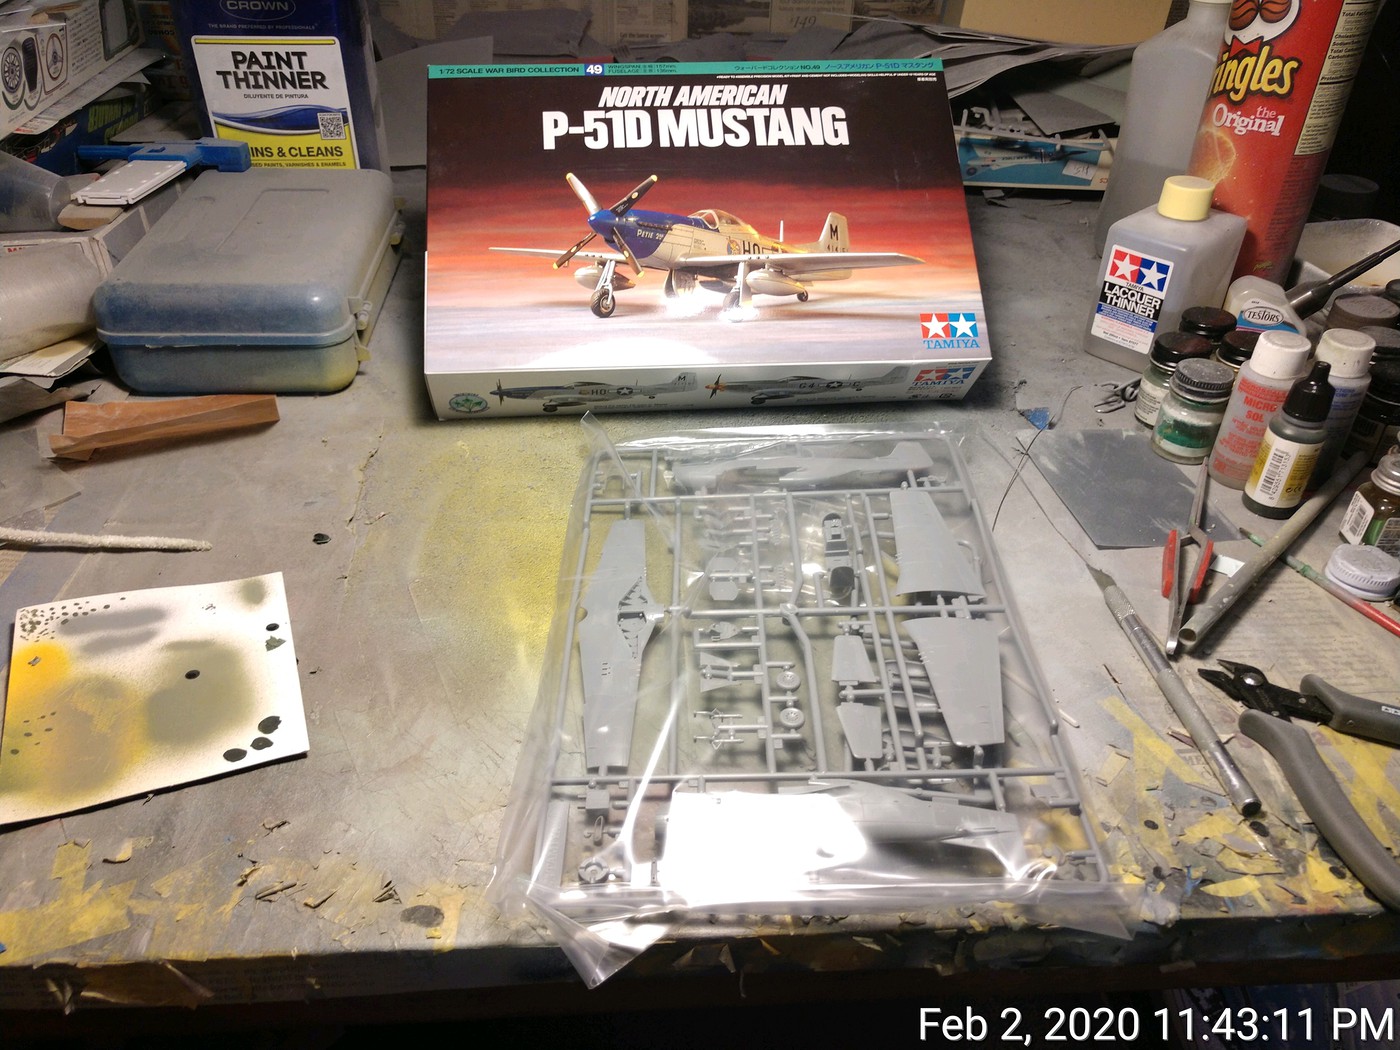
Here’s my entry for the build. I built it for the Weekend GB. It’s Tamiya’s P-51D in Ethiopian markings from 1955-1960. Decals are by Carpena. Paint is Tamiya AS-12 Bare Metal over their gloss black. I didn’t take a lot of pictures for this build, mainly a pic of nonstartedness, a pic of her ready for primer and the finished product. I was successful in my quest to finish her in 48 hours. If I were like John Wick, a man of great focus and committment, I would have been done in about 10-12 hours. On to the pics.
Proof of nonstartedness.
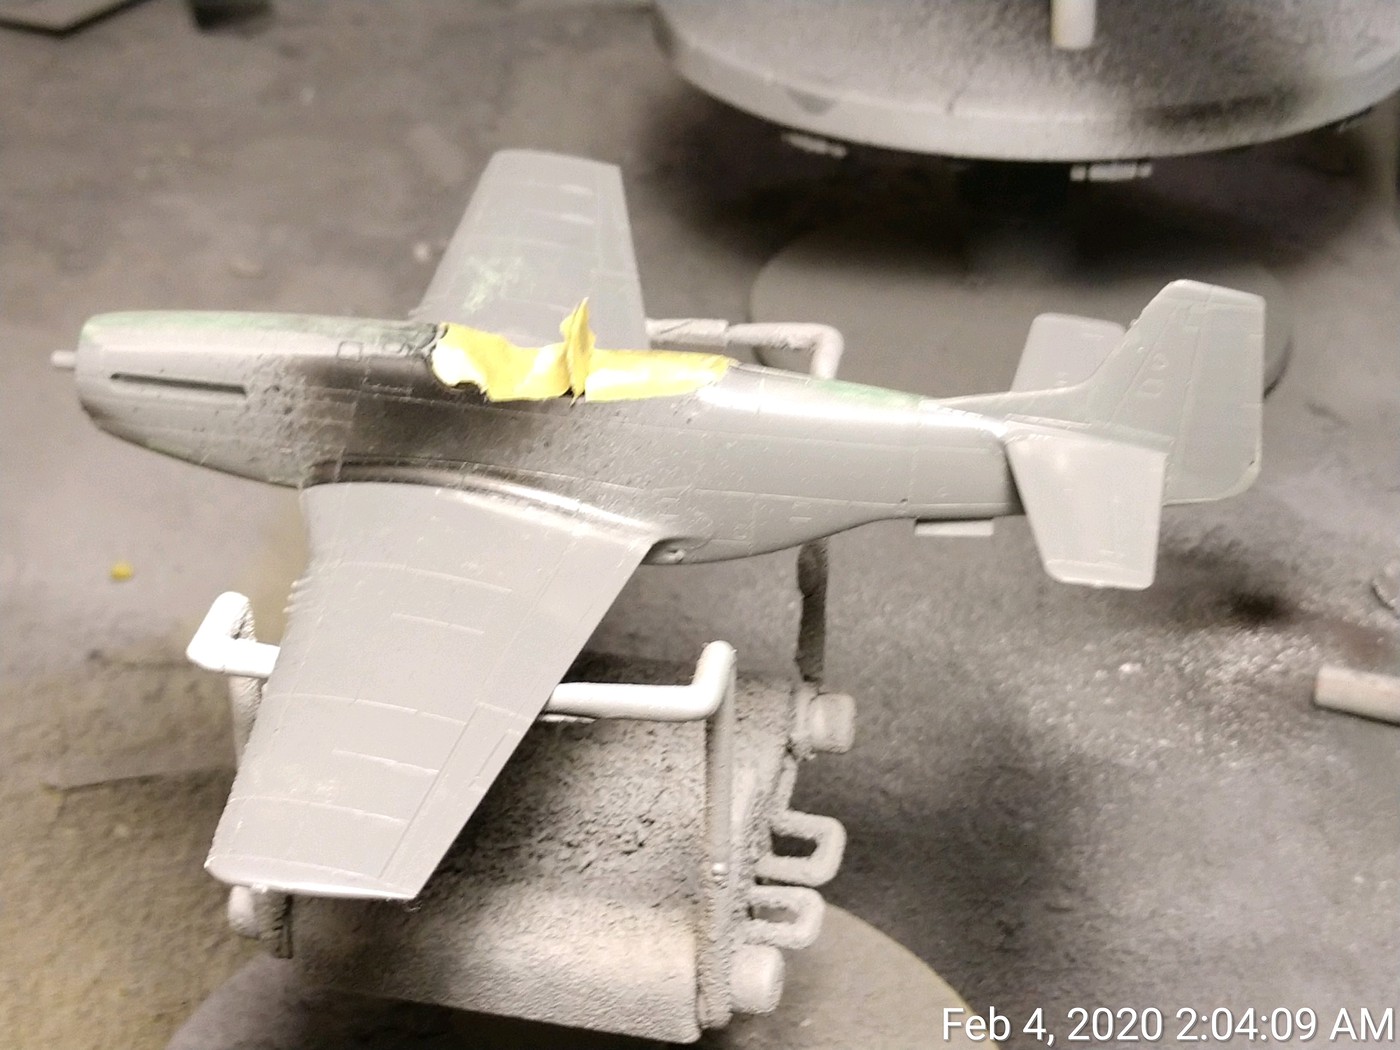
Ready for primer.
Done.
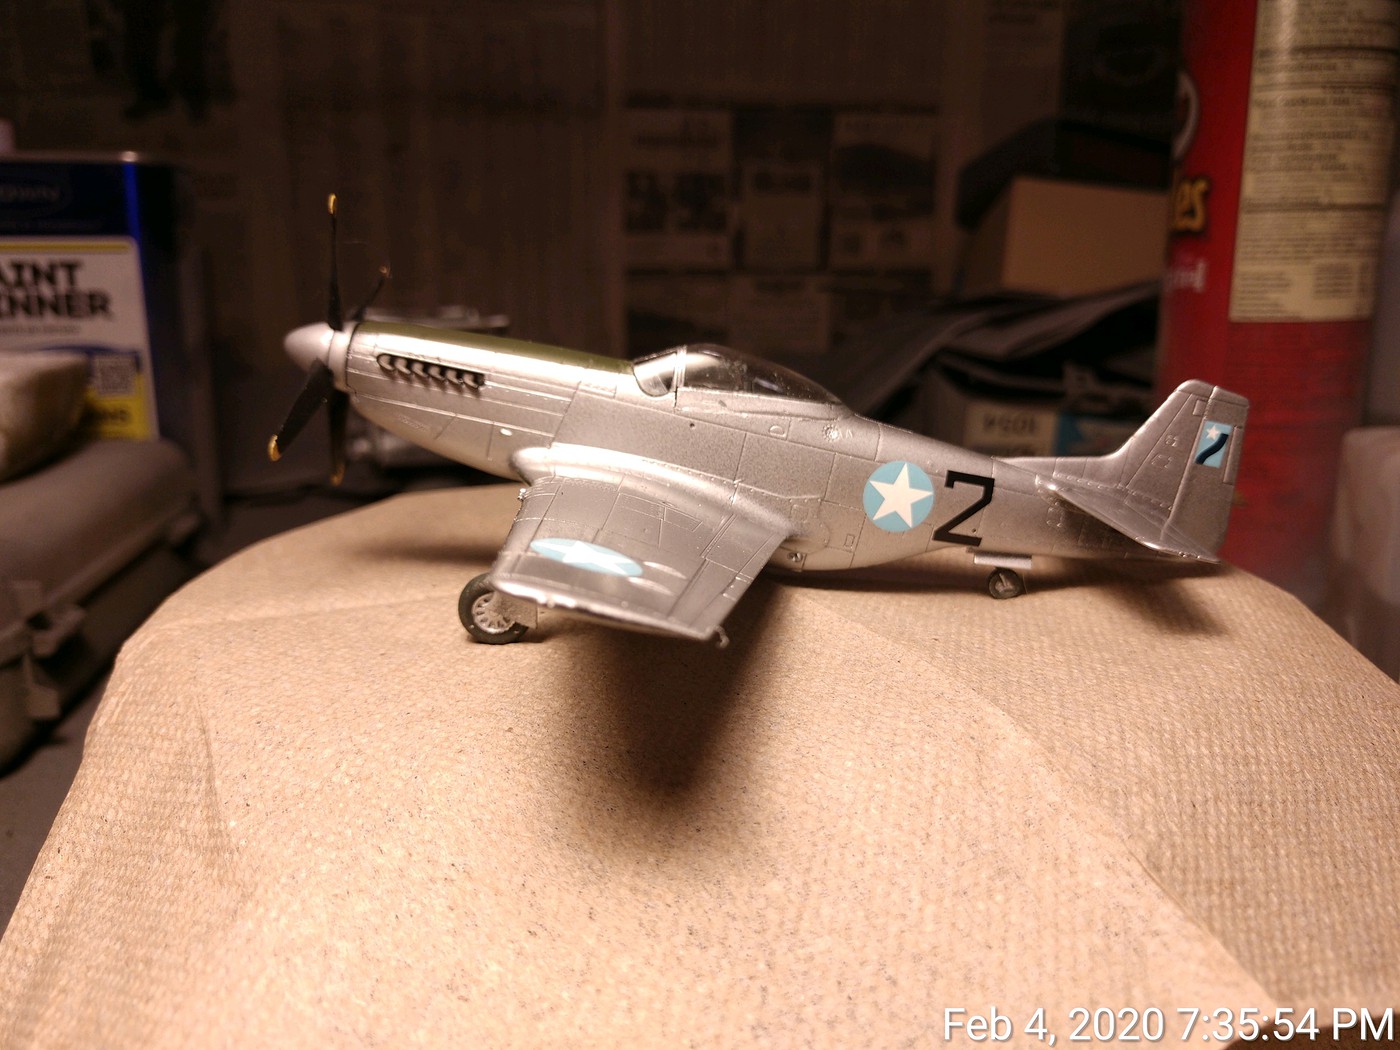
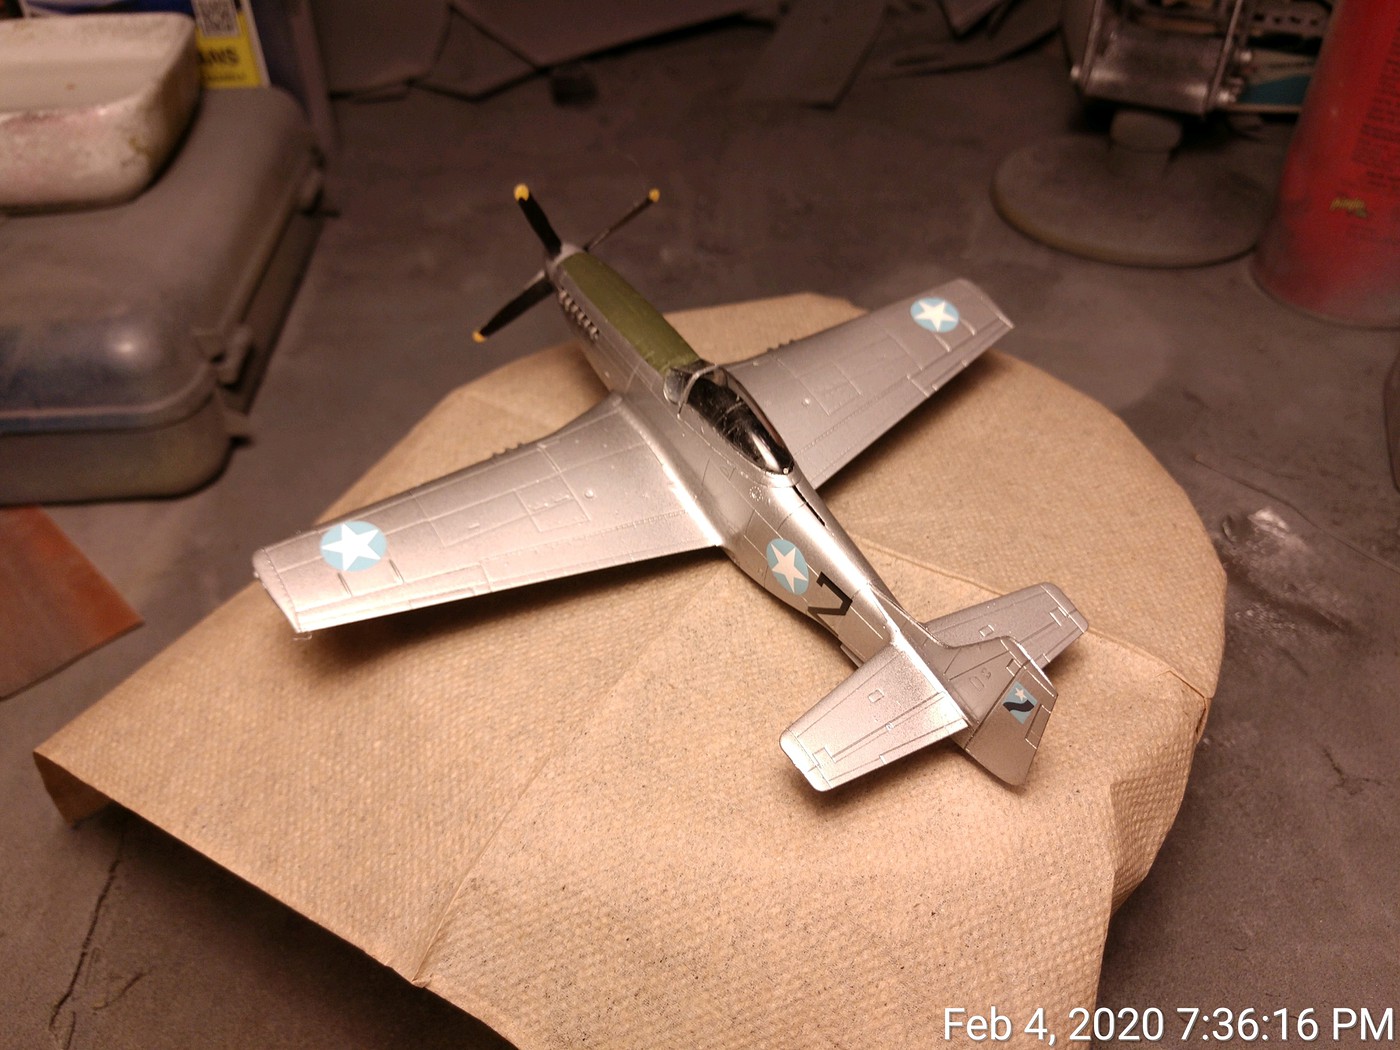
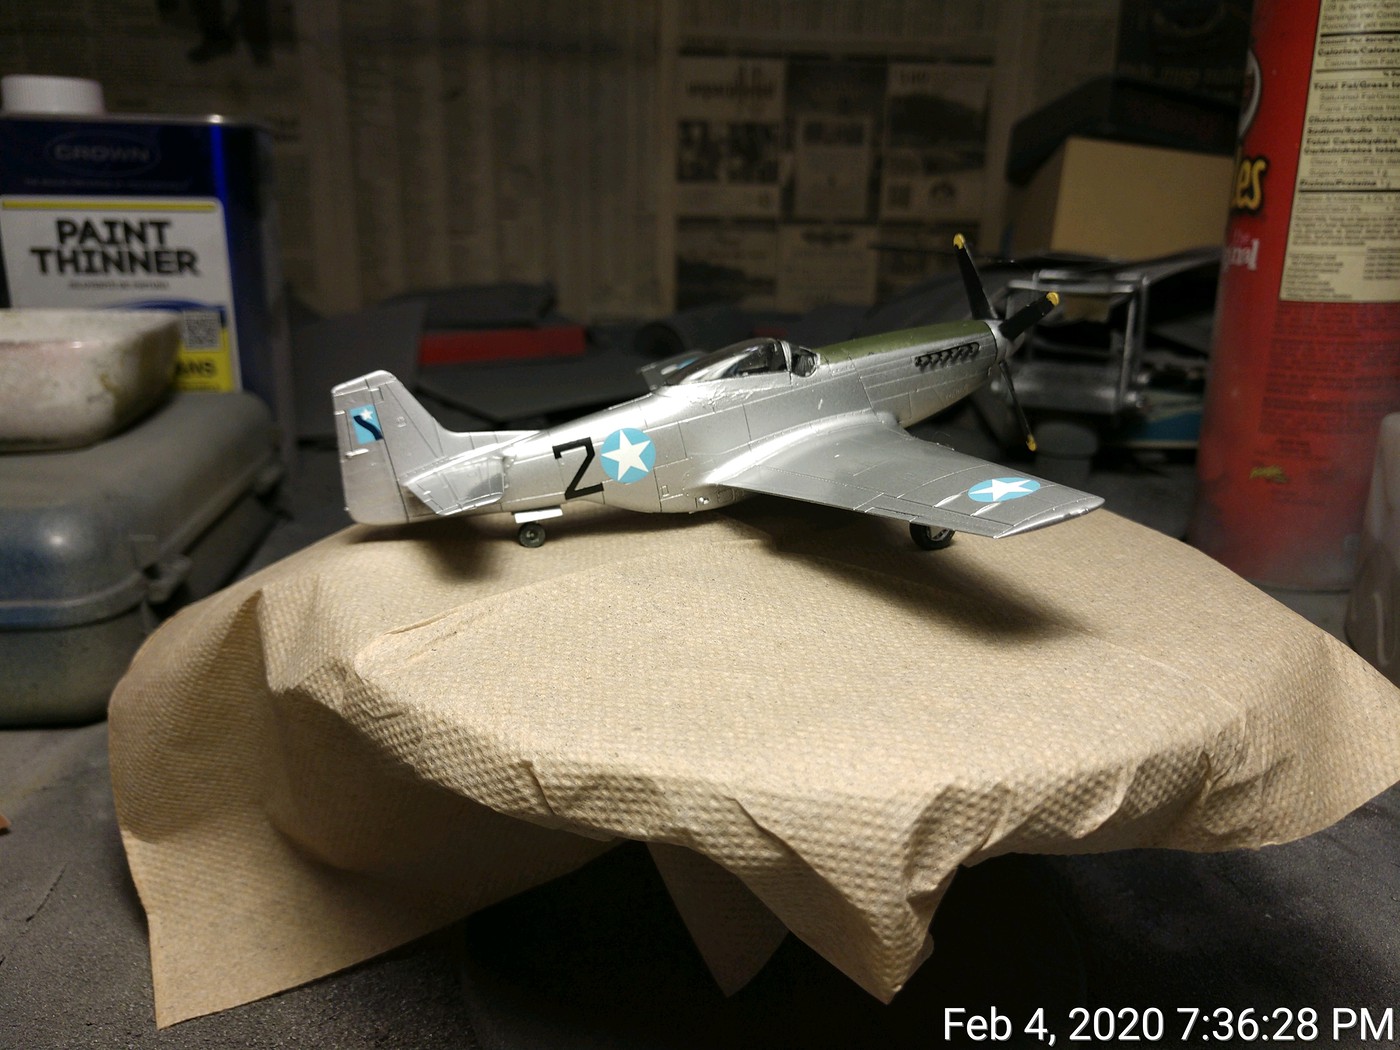
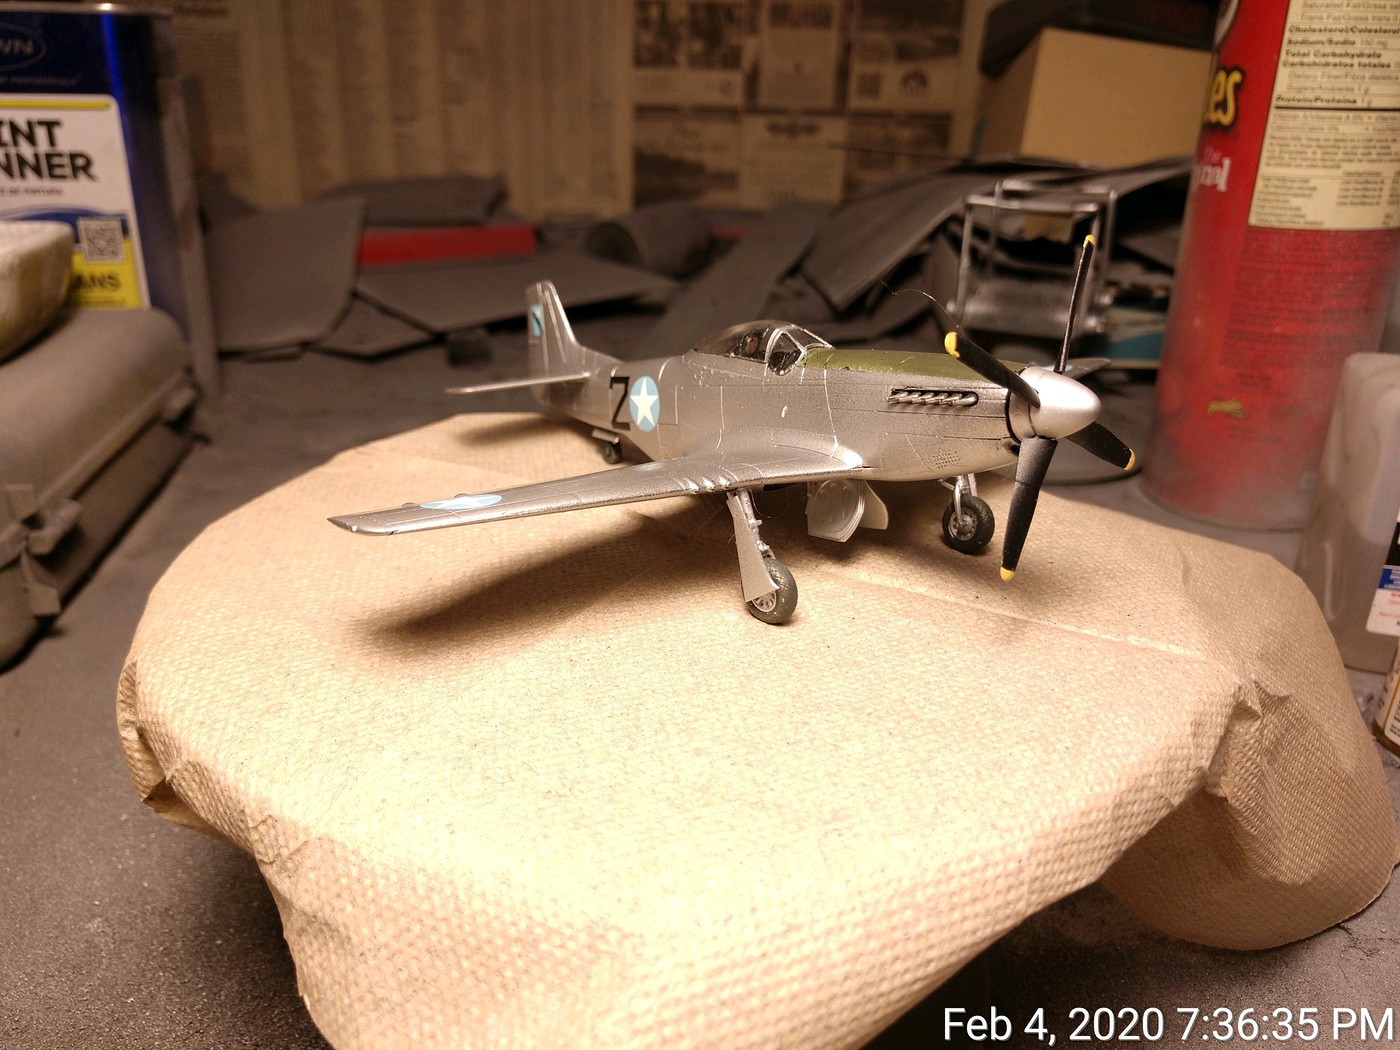
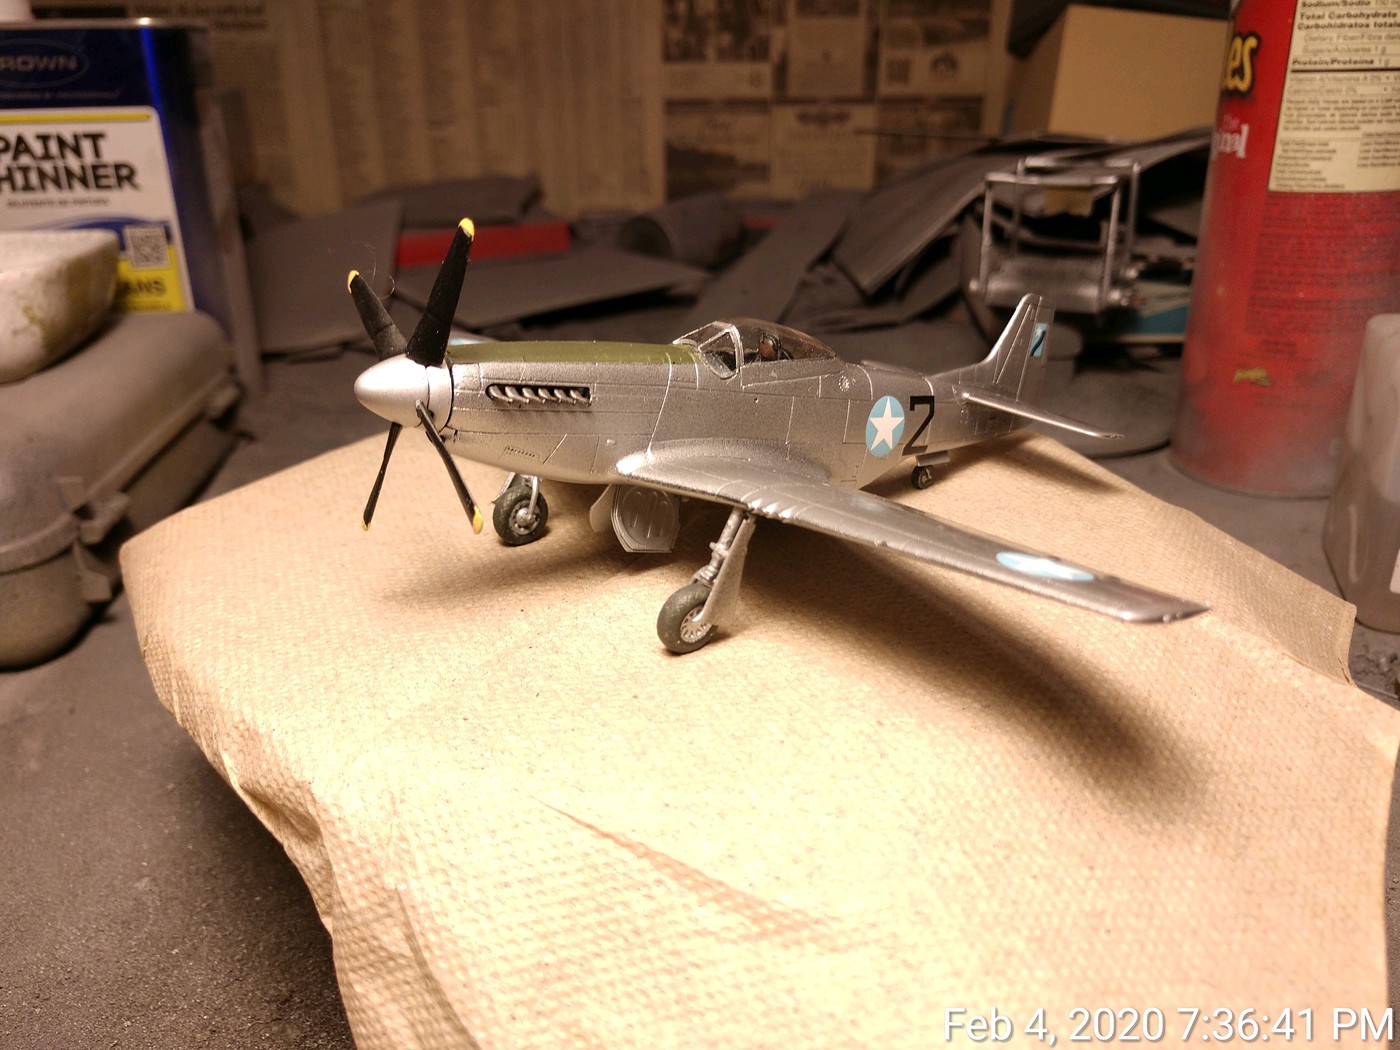
There are a few minor details I need to add such as the formation lights under the wing, and the red fuel caps. Other than that, she’s done. I’ll most likely do another entry, but it probably won’t be a Mustang. Keep at it guys!
Check to see if Fruil makes sprocket wheels for that vehicle before you can them. They do make some for their tracks to fit on kits.
And yes, Fruil does make the sprocket and idler wheels for a 1/35 M24
Griffin: Ouch! That’s the first time I’ve seen vinyl tracks do that.
Stik: That’s good to know, thanks for posting the link.
lewbud: That Mustang looks sharp!
Thanks Mach!
Stik. Thank you. I really appreciate the information. I had no idea. I spent half a day trying to get the vinyl tracks on. It took a lot of trial and error. I feel pretty dumb right now but I’ll just sell the Friuls on eBay. It’s for the best to keep my sanity. I did not do my due diligence on the issue.

I’ve been sick for the last week+, and now I’m feeling like it’s time to get back at things. I have the decals done and the pin wash is also done. I still need to dull coat the bird and paint the nav lights and add some exhaust staining, then I should wrap this one up. I may get it done today, we will see.
BK

BK that looks great. The wash came out nice. Did you do the pin wash after the gloss coat or before?
I’ve learned through trial and error that I gloss coat for decals then Semi-gloss coat for pin washes. The gloss is too slick and won’t hold a wash and flat soaks up too much, semi gloss gives you just the right control. Once the pin wash is done and cleaned up I flat coat the kit if its a war bird and semi gloss if its one that was better maintained. I need to remember on many of these kits that taking a needle or scribe to the lines before paint would aid in holding the washes much better. I just keep forgetting.
Thanks for the kind words.
BK
Sharp looking Spit BK!
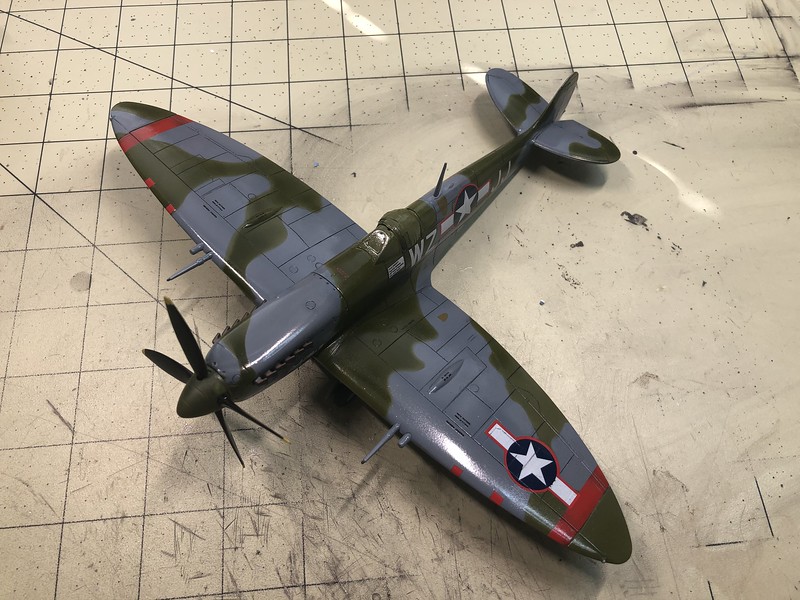
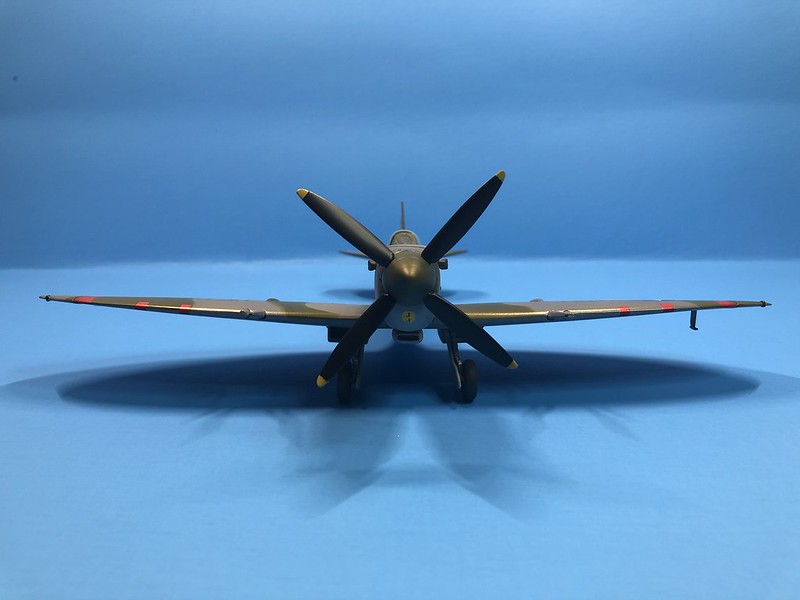
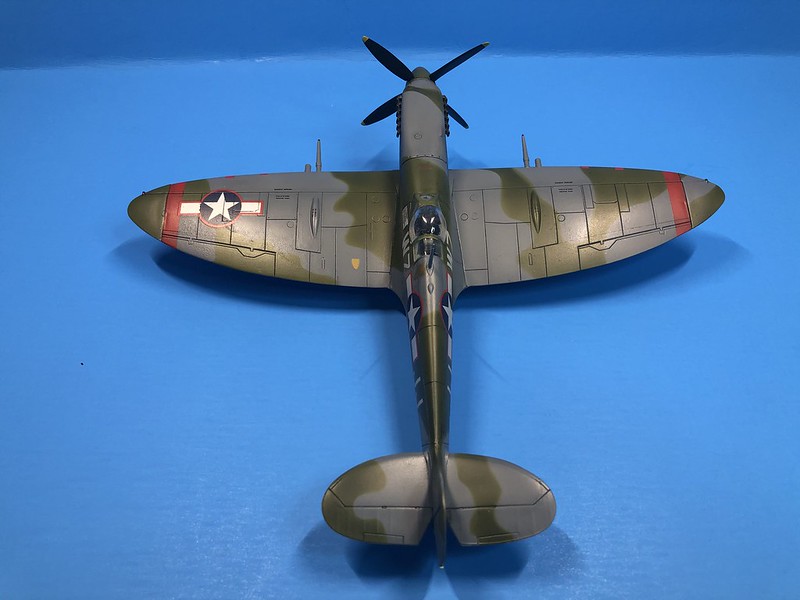
I’m calling the Spitfire done. It built up pretty nice with no real issues. I left the bird pretty clean as I just didn’t want to beat this one up. The Tamiya clear darkened the paint and I won’t be using that again for clear; MM clear doesn’t alter the tone of the paint so I will stick with it. The paints were Vallejo RAF colors and it’s OOB with kit decals.
I noticed, too late, that I put the right side decals on backwards, so that sucks. But, that’s building I guess. I also noticed here that I forgot the arial and the rear view mirror. I now have those added to the kit. I still can correct the decals, oof!!
Thanks for a great GB, it was fun.
BK


That looks really nice BK. I really like the pin wash. It really shows well on the underside. This group build is a little sad I have to say. Hopefully it picks up.
A few more weeks and I can actively partake…
