Ex Bellum Marcomanni

My wife left town five hours ago to visit with her mother for the next few days. So, I am on my own until sometime Friday evening with idle hands and an unusual spell of time I can call my own.

She laid out her plans last Tuesday, the first of September, so I will admit that I have had a bit of time to prepare to get this project underway. In fact, I didn’t get a lot of sleep last night because I snuck out to get some assembly work done while my wife slept like a rational and sane person should at those hours.

My wife has put up with most of my hobbies over the years. She was patient with all of the sounds of plastic being scraped and sanded, the whine of my Dremel (which just celebrated it’s 30th anniversary as a member of the family), the thunder of half a dozen different airbrush compressors over the decades, and all of the various smells that come with the hobby.

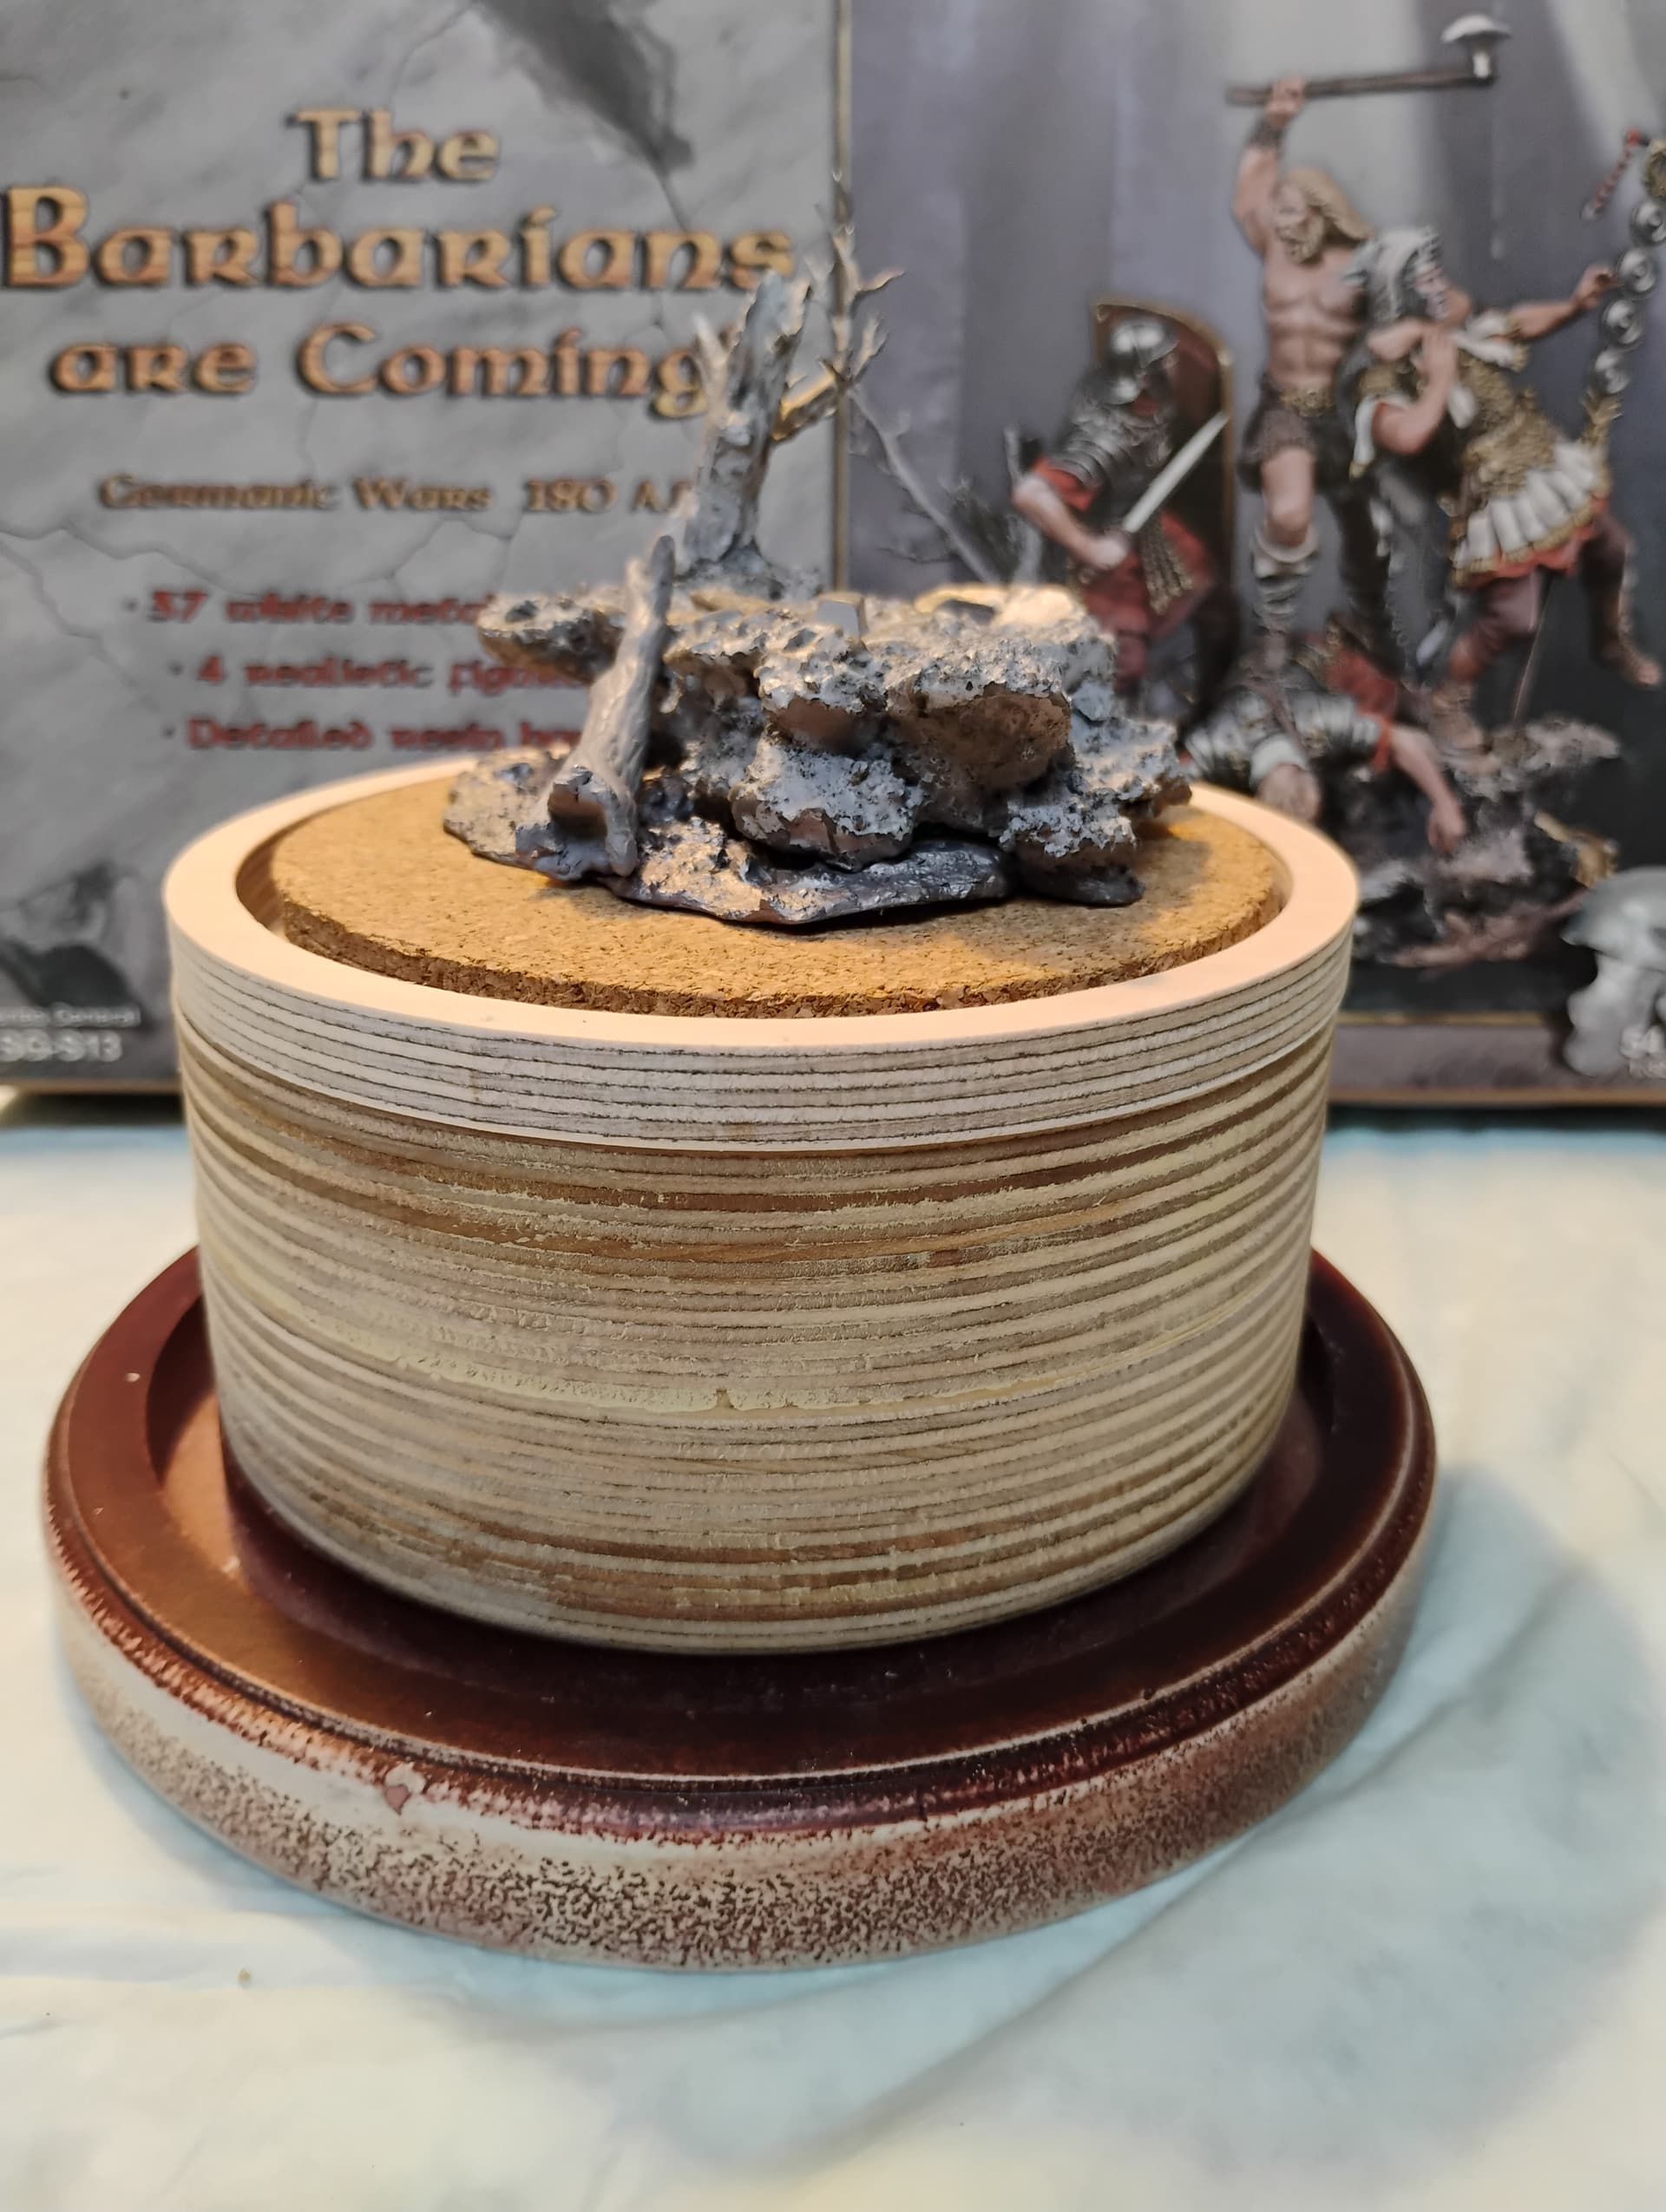
While we were still in the dating phase of our relationship, she found a domed glass cloche on a clearance rack at a local craft store. It had already been reduced 75% off the original asking price, but she convinced the clerk to allow her to use a coupon for another 40% off the sale price. I don’t recall the exact amount she paid for it, but she got change back from a five…
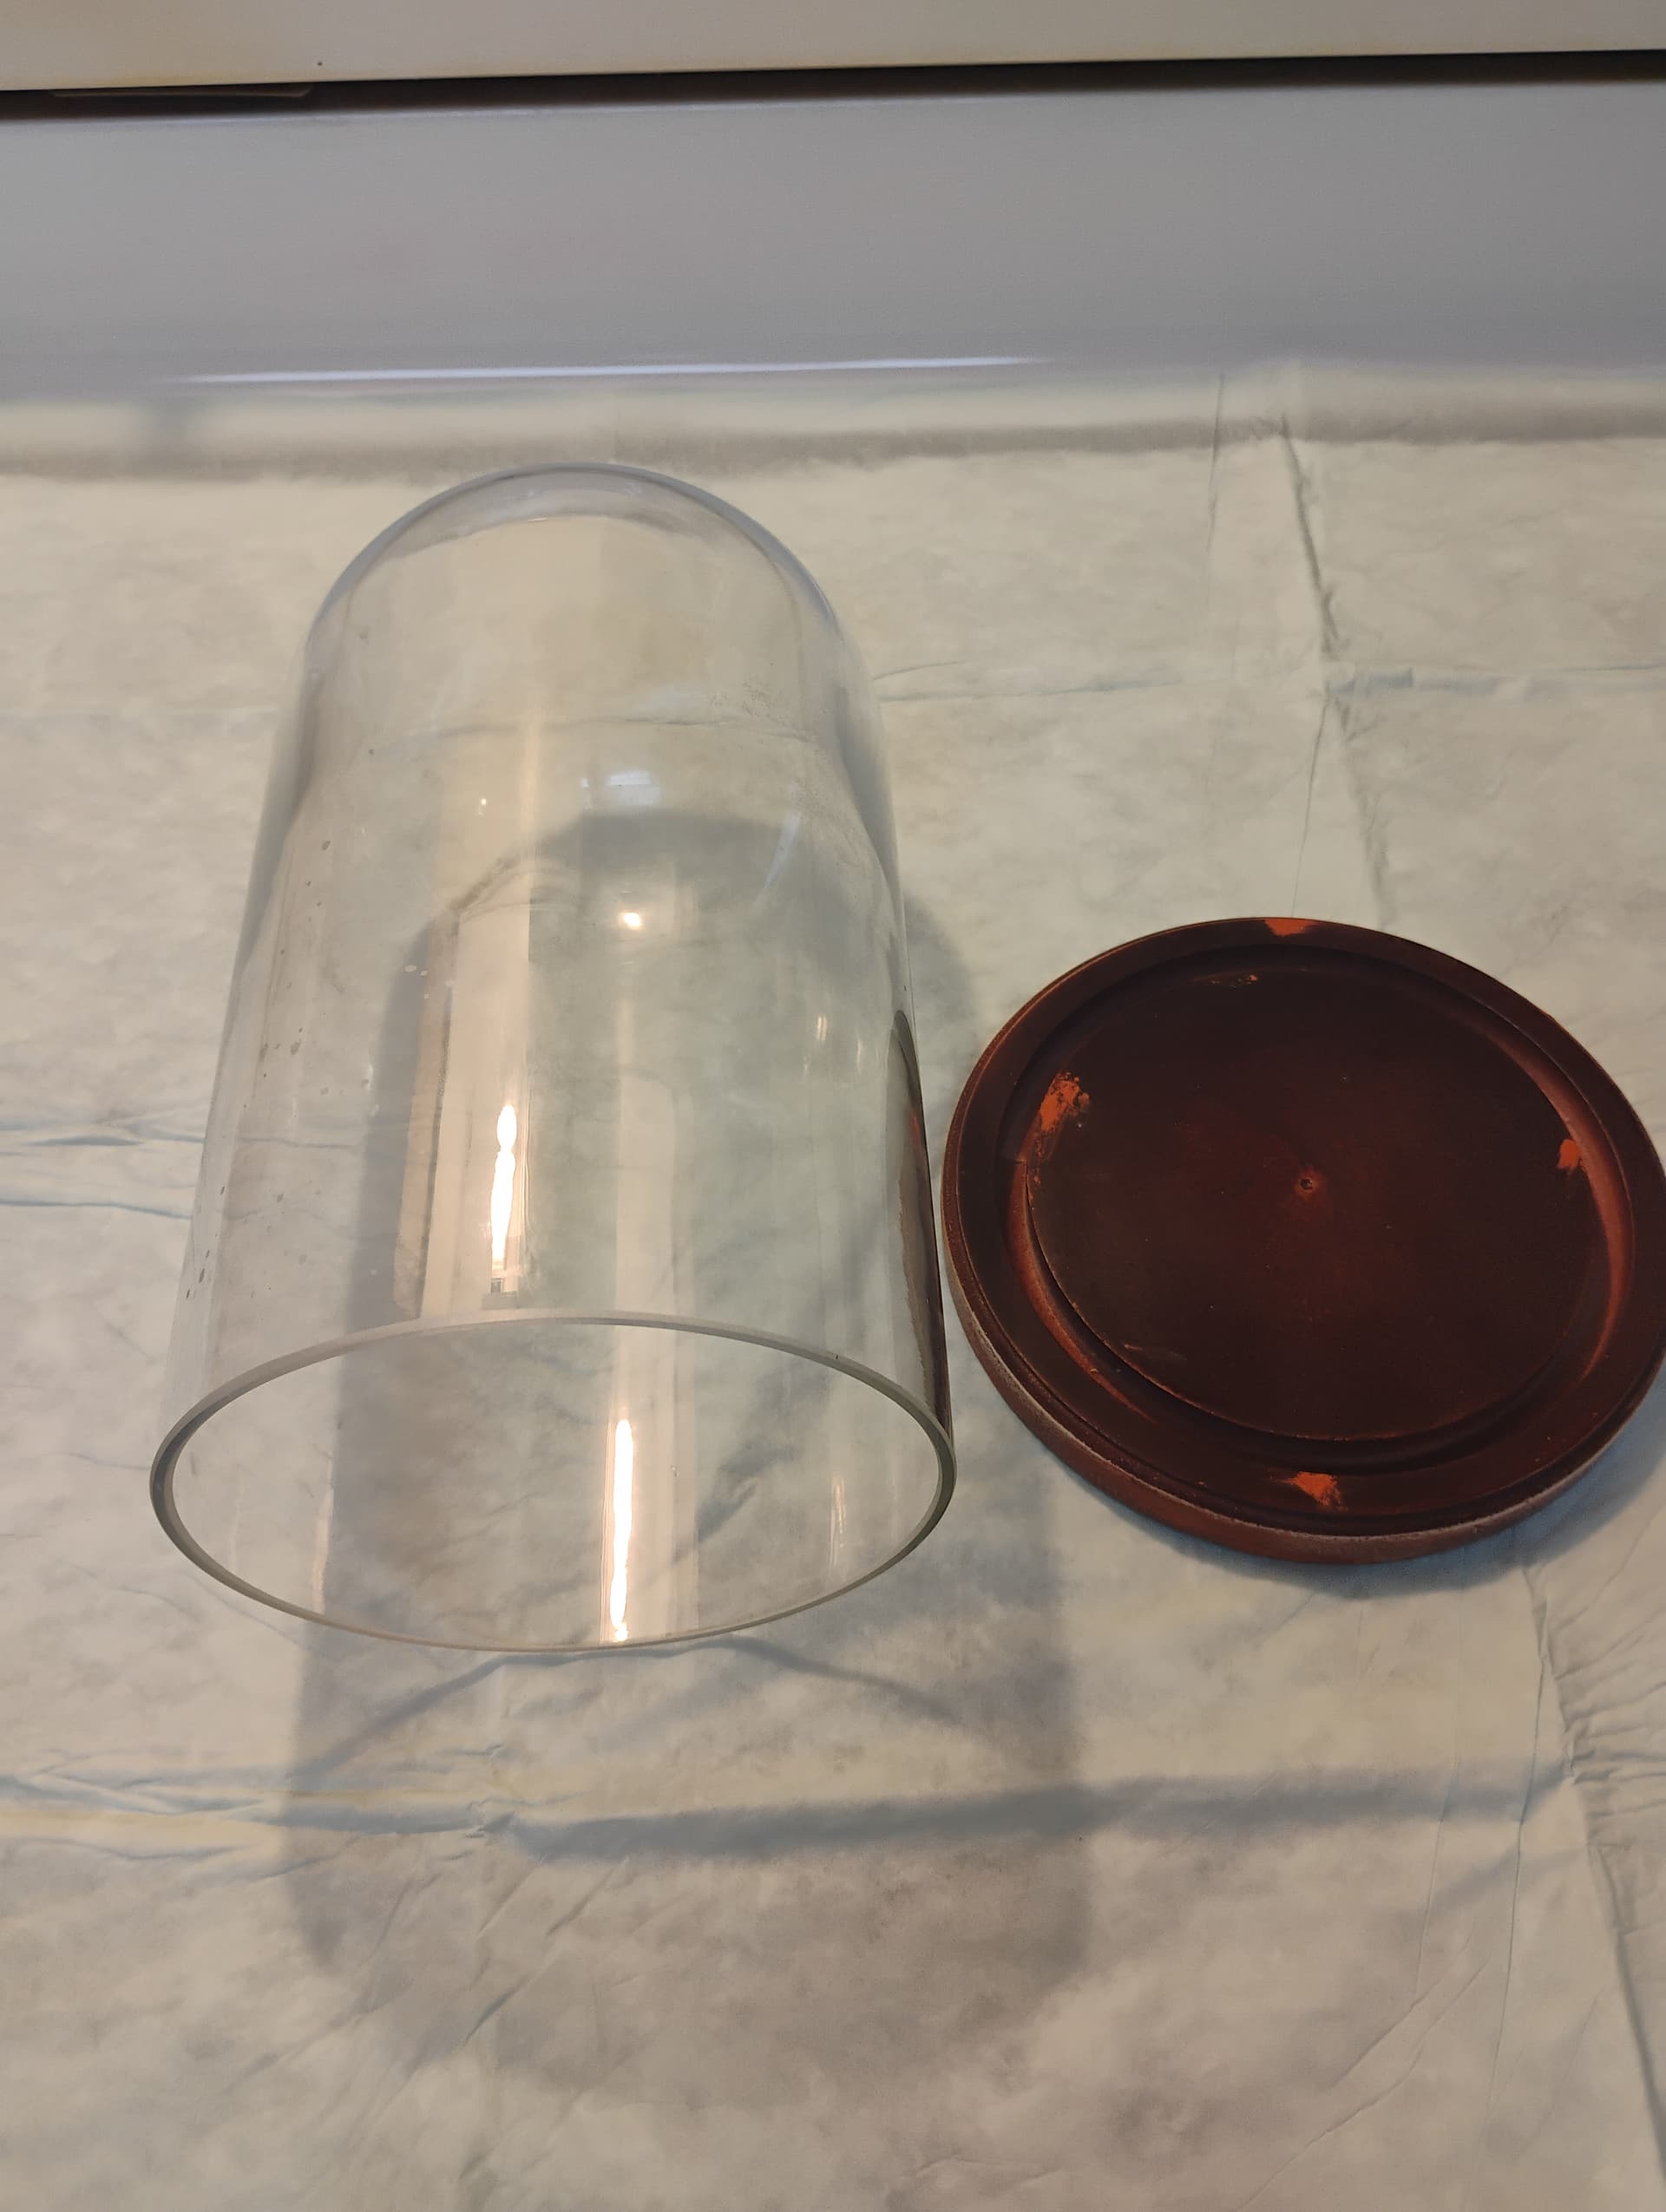
In theory, this would make for a nice display, even if it is a little unusual and perhaps even old-fashioned in some ways. But, there are a few drawbacks to using the cloche for scale model work.
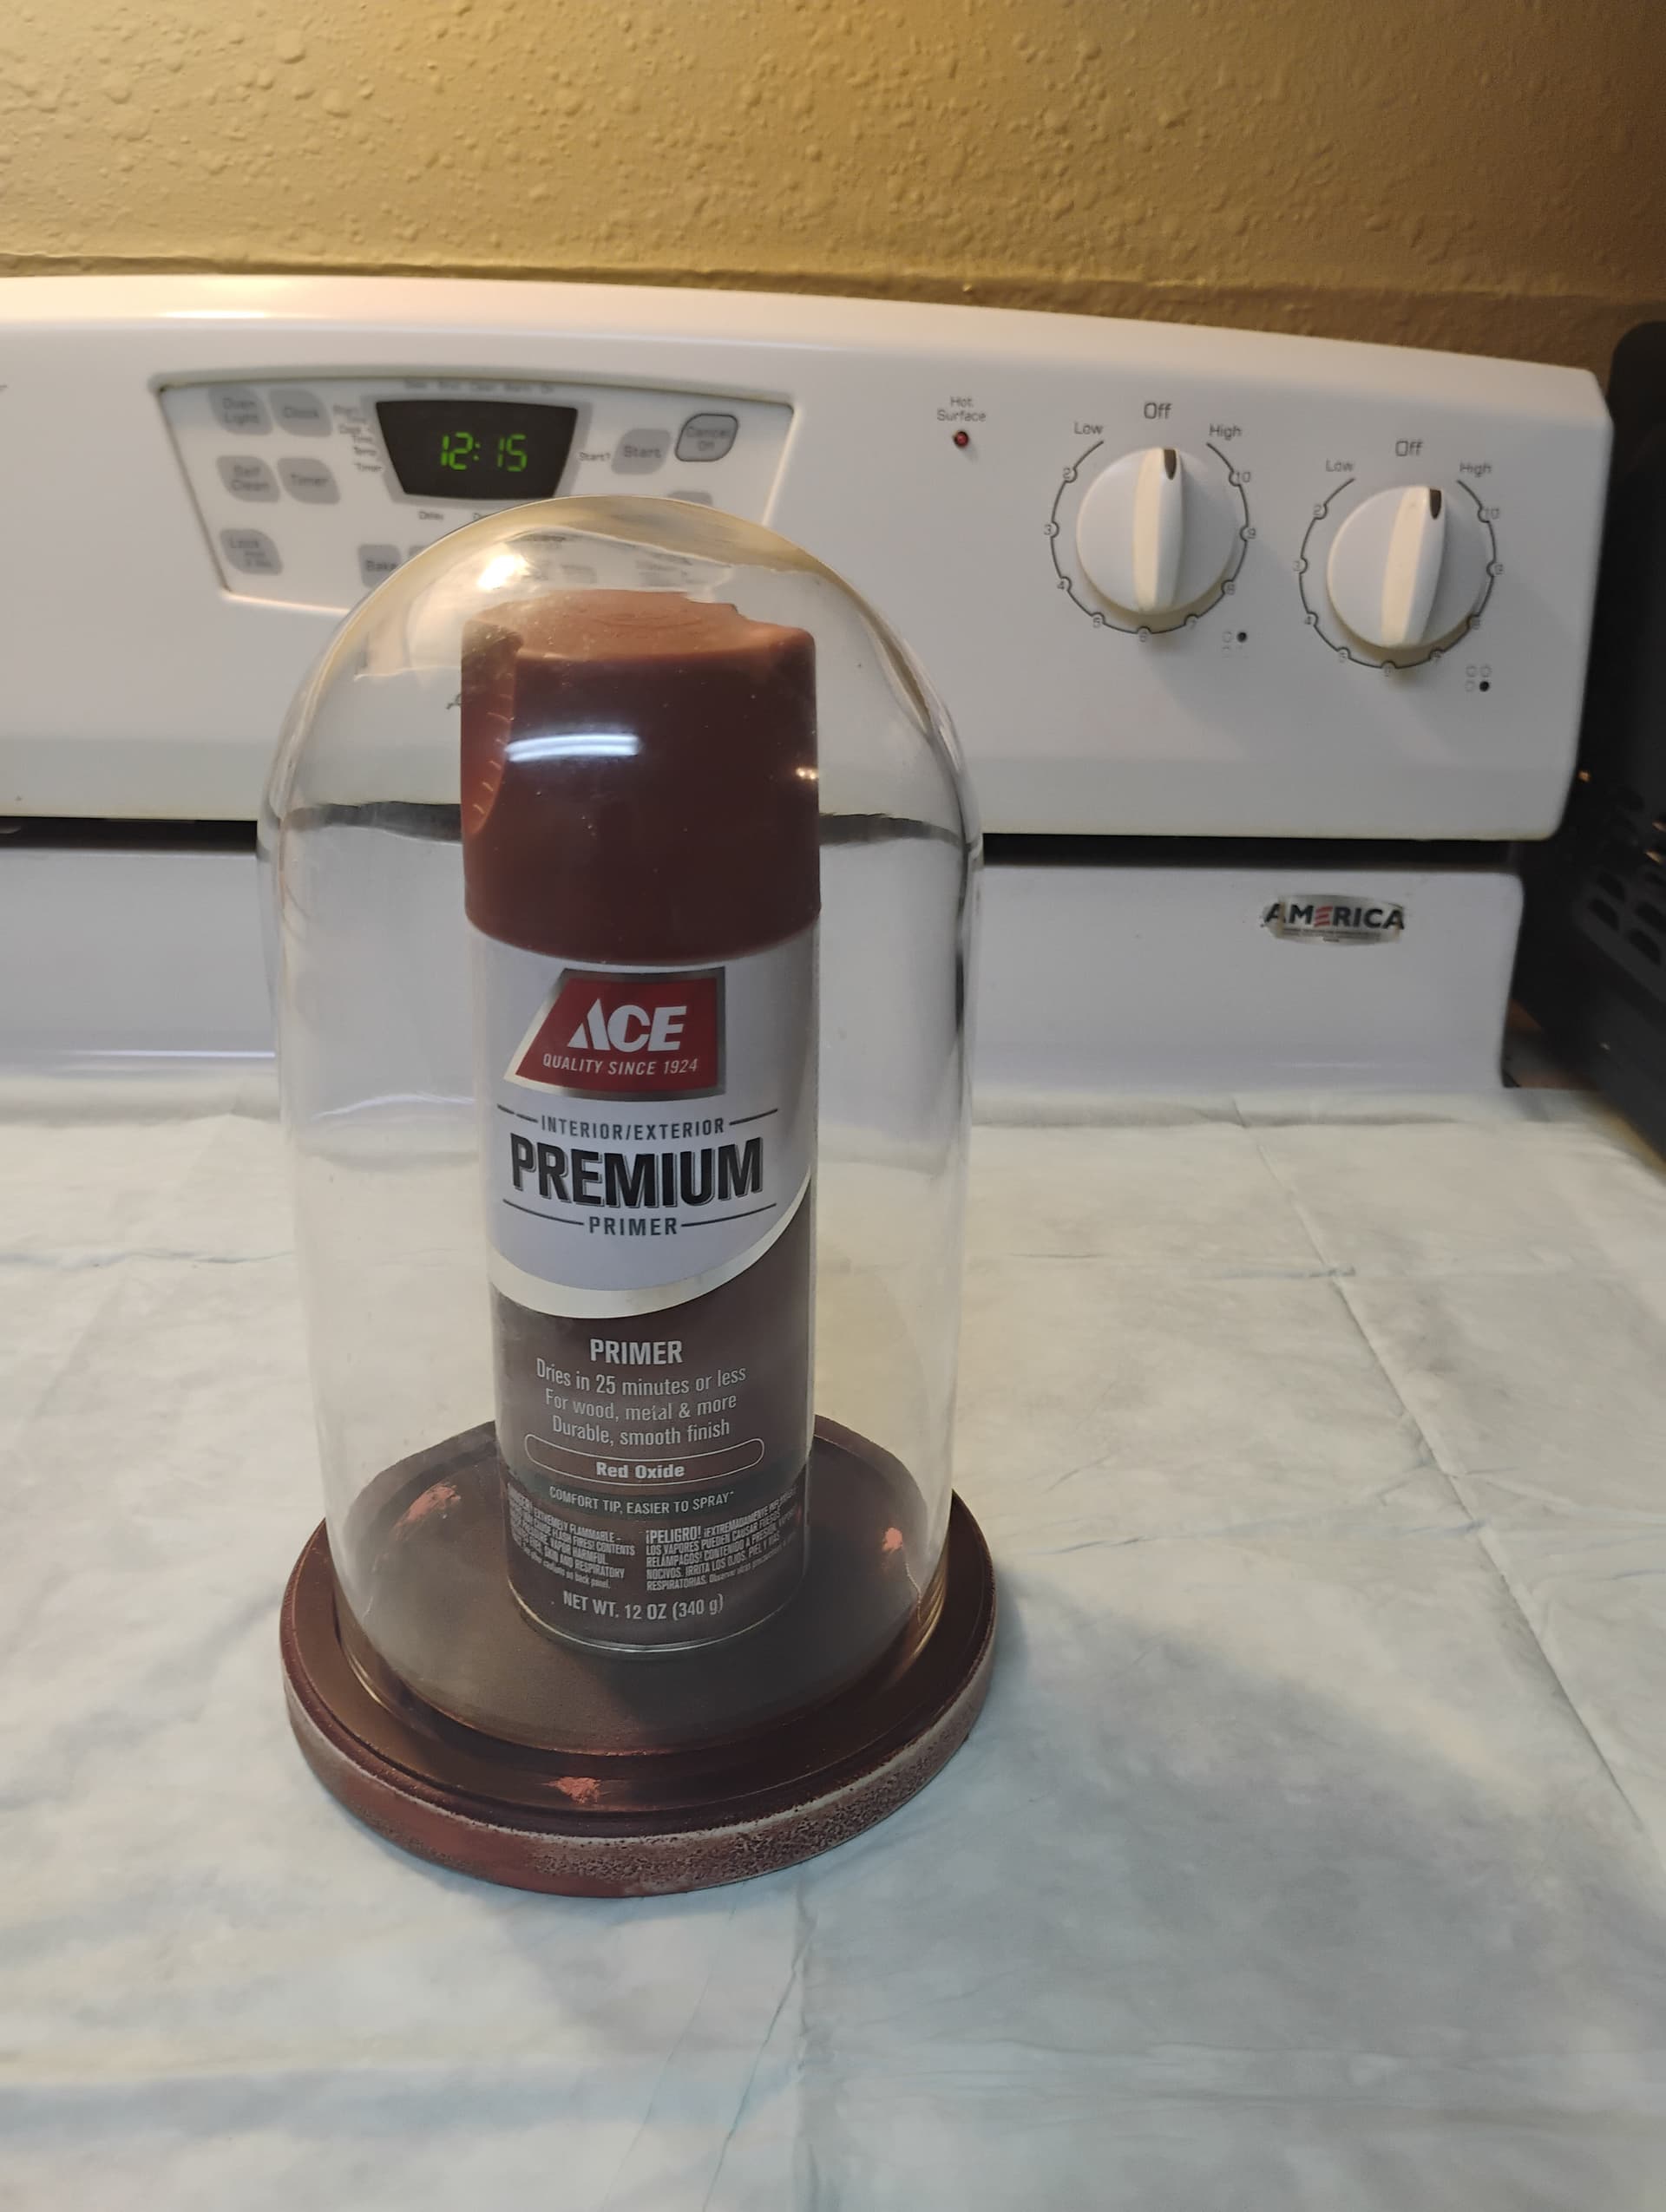
There’s really a LOT of vertical space to fill up here. I placed a few 1/35 scale figures on it after she bought the display and realized that this was going to have to wait for something that would potentially fill the volume of the cloche a little better. I tried a few 90 and 120mm scale figures, but finding something to fit both the dimensions of the base and the height of the glass dome brought no joy, so this sweet gift from my wife made it’s way into storage, where it lingered until just a few days ago when I rediscovered it in a box tucked in the back of the utility closet.

When I found it, I brought it out to show my wife. She was on the phone with her mother at the time and was actually firming up plans for this trip. I did the reasonable thing and hid the cloche from her, then retired to the bathroom where I ran some ideas through the research phase.
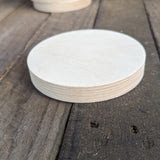
A friend of mine was kind enough to use his laser cutter to produce two discs of Baltic birch plywood for me to use as a plinth (or riser, whatever). Each is 4 3/4" in diameter and 1" in thickness.
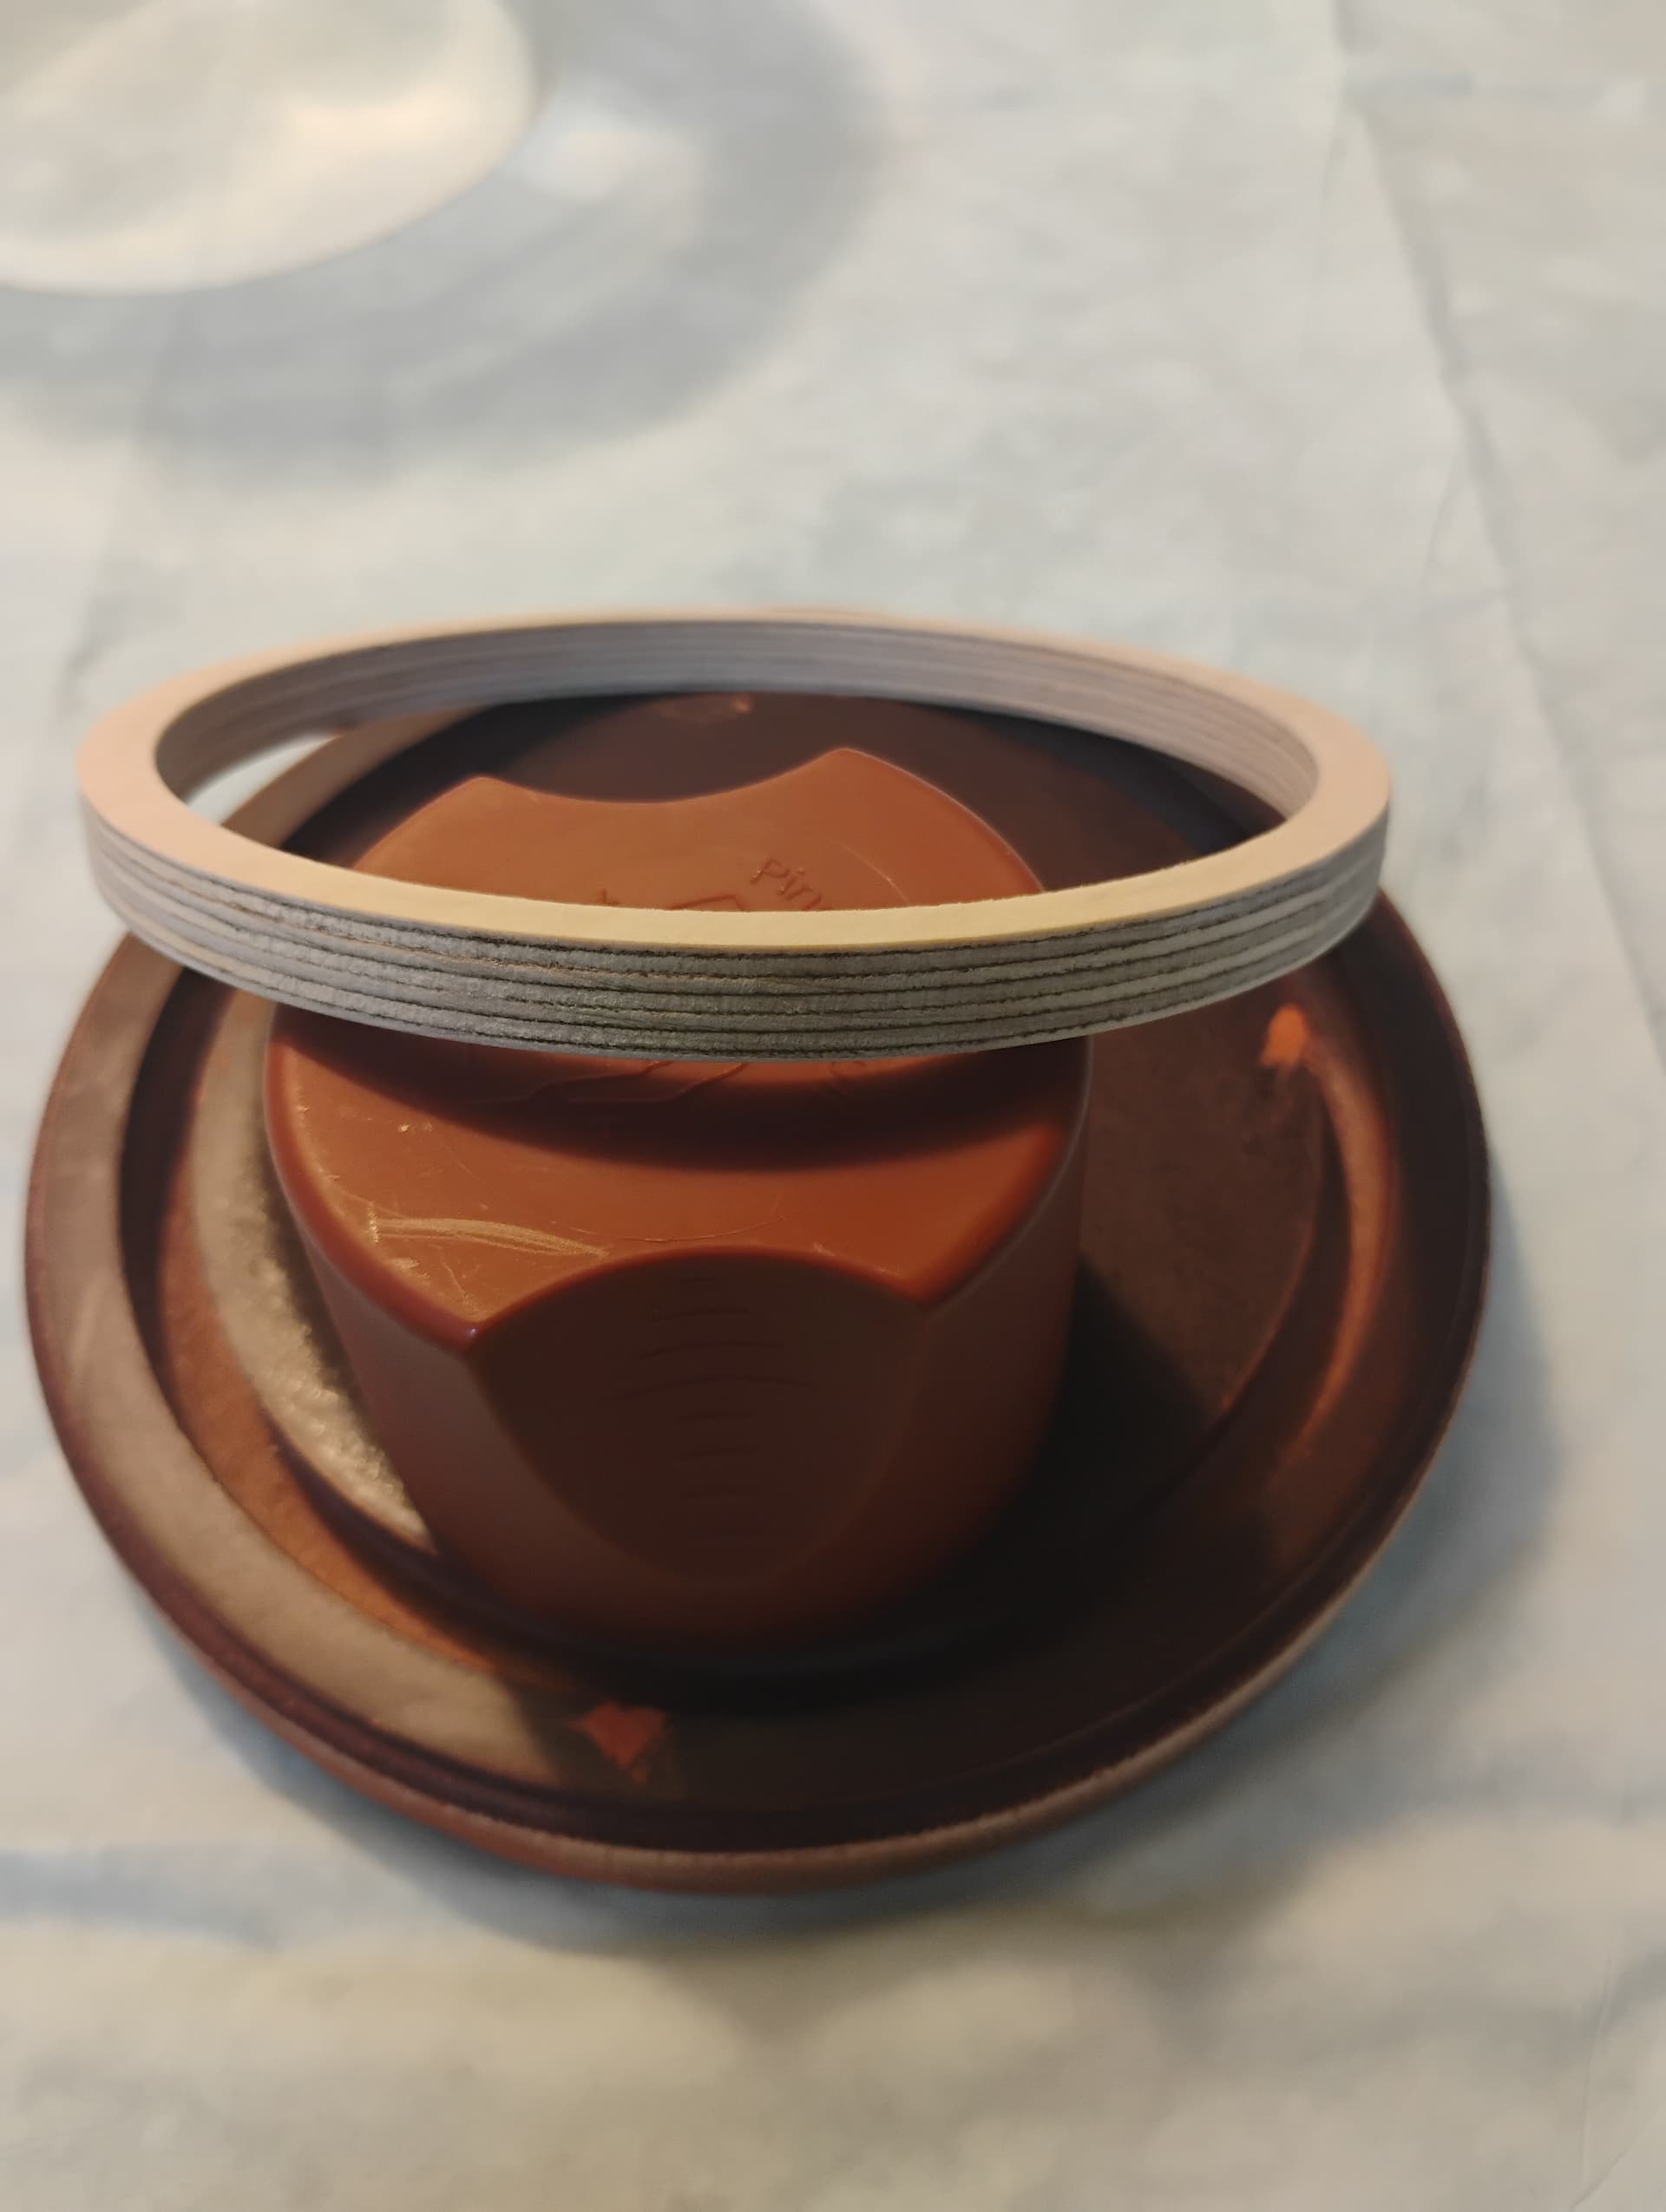

He also included a “donut” shape that it of the same diameter, but only 3/8" of an inch thick. I may or may not use it to “frame” the scene because of questions about the grain of the plywood, whether rounding it over with a router would work well, etc. No decisions yet, because there’s a lot of work to be done still.
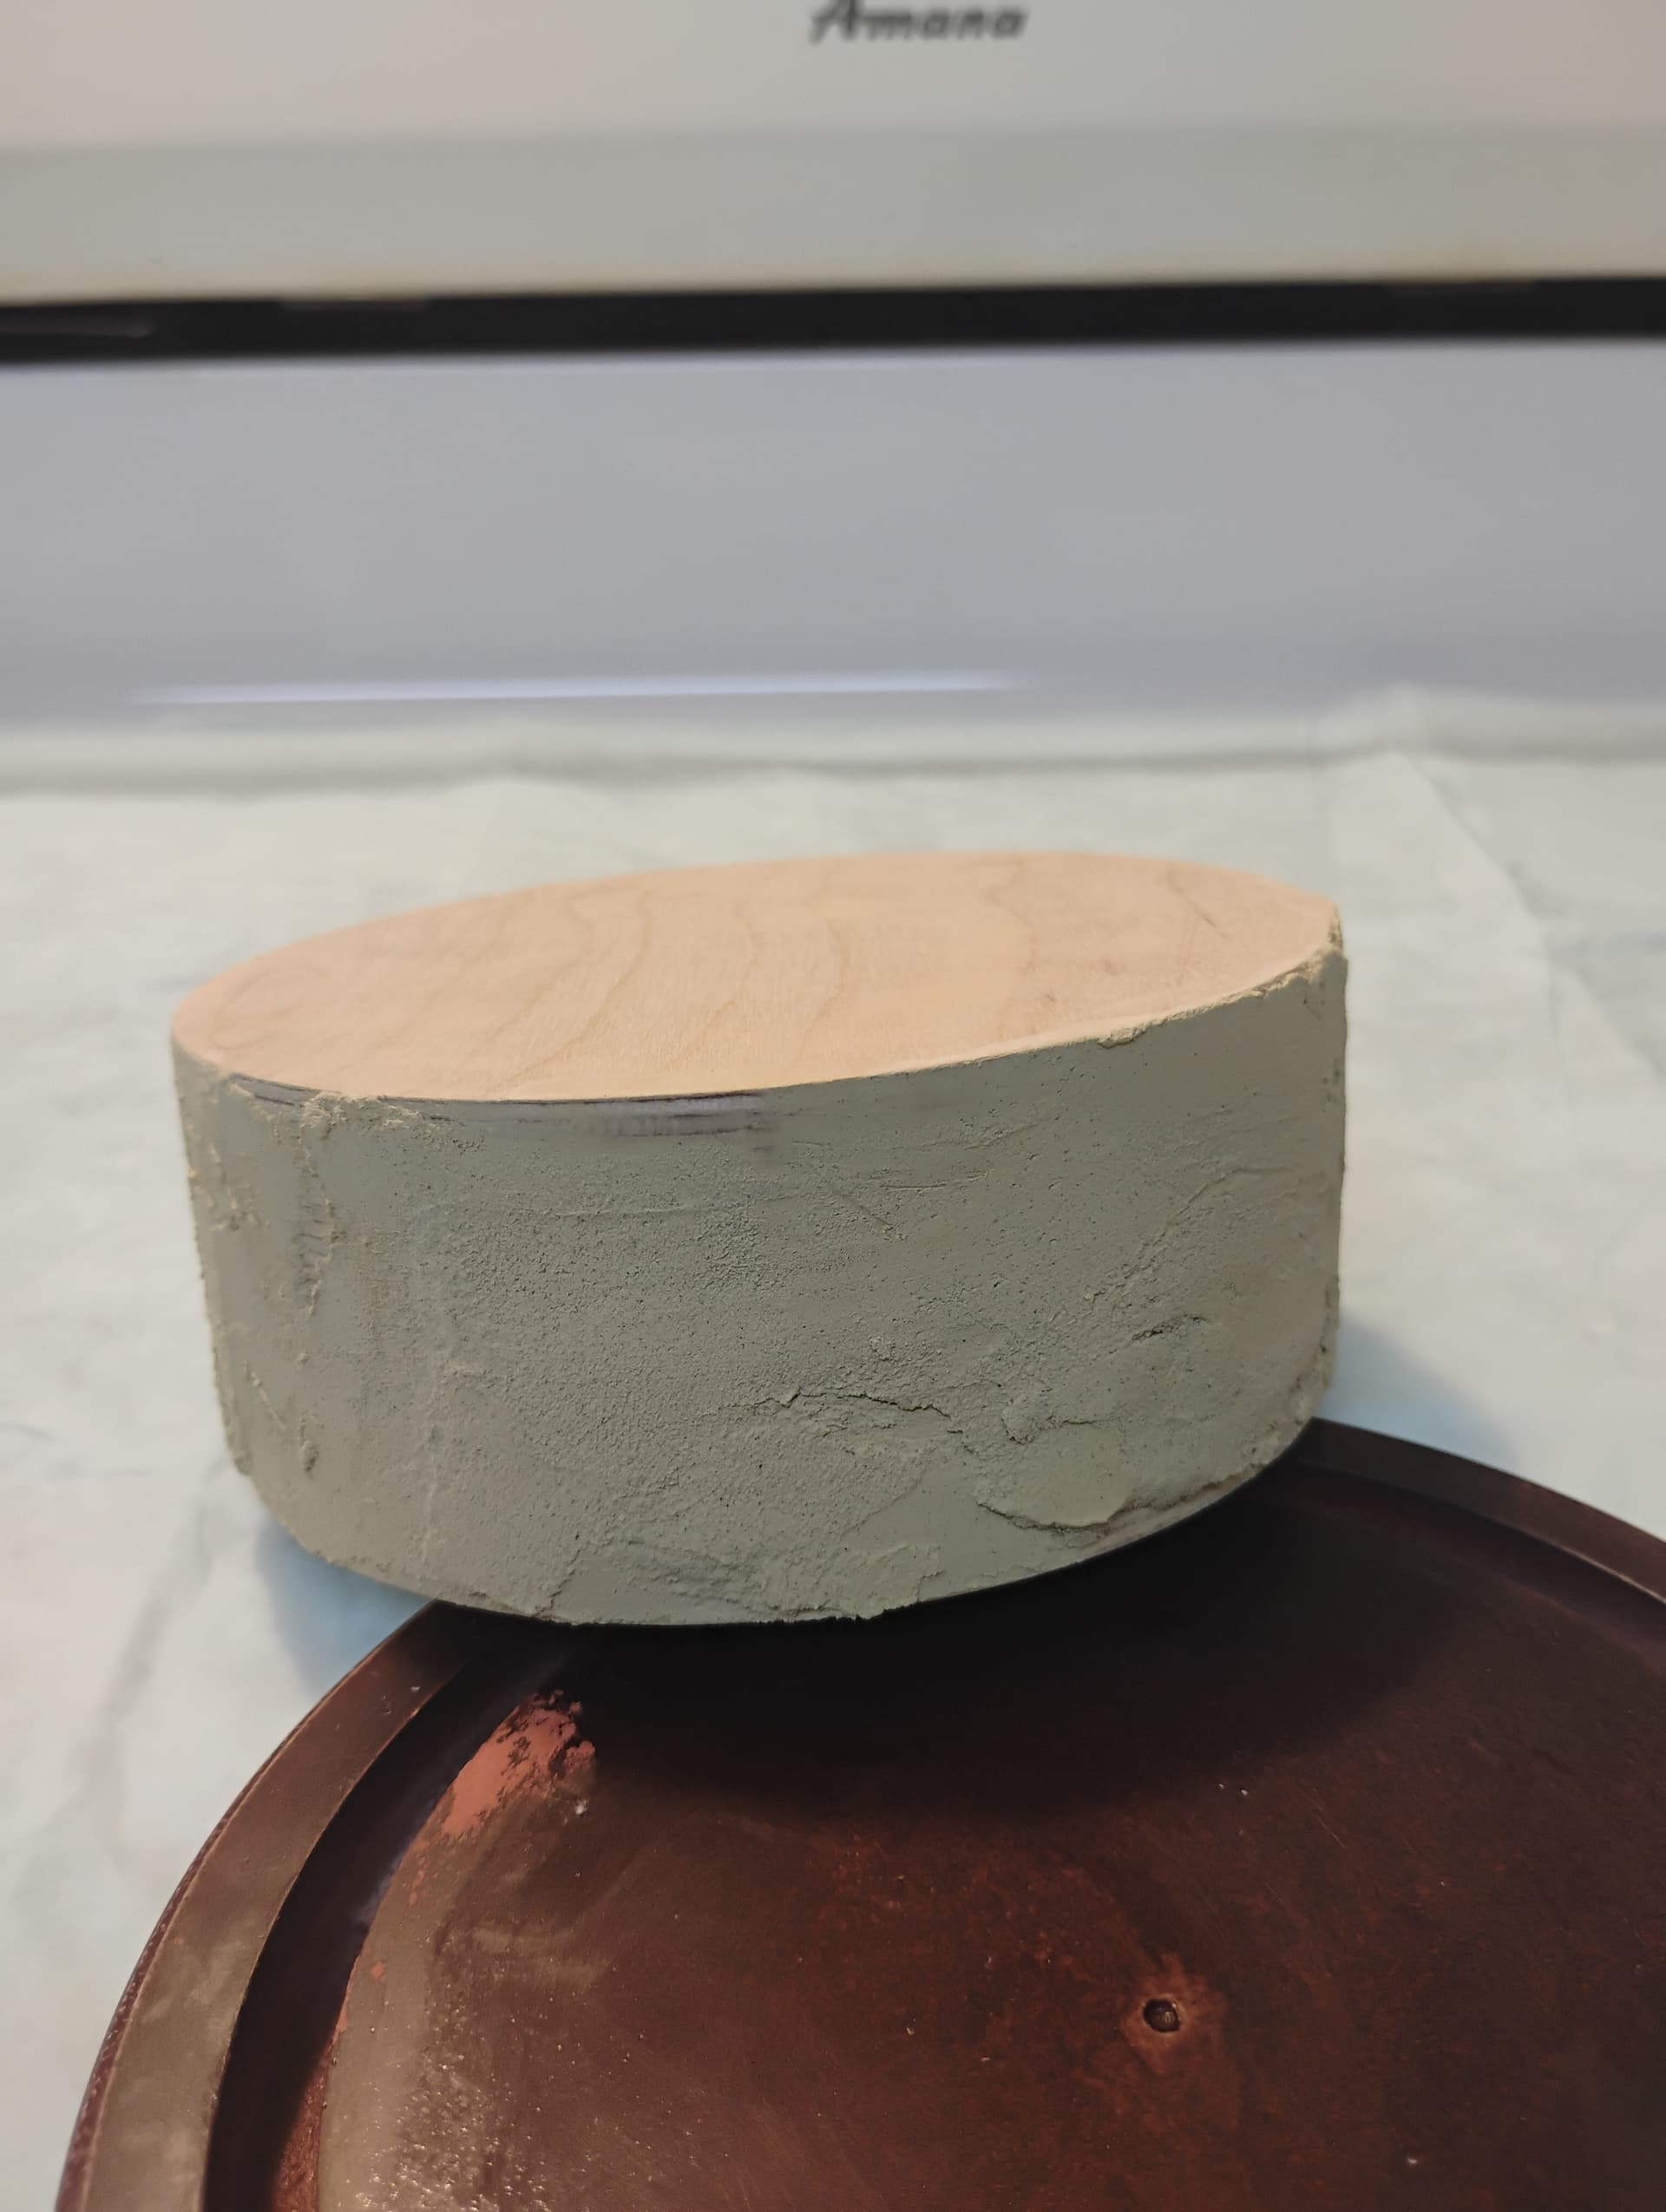

The two 1" thick discs were glued and clamped together nearly 12 hours ago under the cover of night. I unclamped it this morning at 8:00 once my wife had left, then ran to the hardware store for wood filler to eliminate all of the gaps, voids, and such. The plan is to get it smooth enough to take a veneer once finished, then condition and stain the wood before moving on to the diorama ground work.

The cloche’s base wasn’t too great to begin with, but it took a beating in storage. In sanding back the faux wood finish that was painted onto the surface, I discovered that the base is made of MDF fiber board and a few strips of vinyl veneer. I don’t really want to mess with it too much because it’s not a solid piece of turned wood, but it makes me feel better about cheapening out on materials for the plinth. Everything has been puttied and it’s nearly ready for sanding
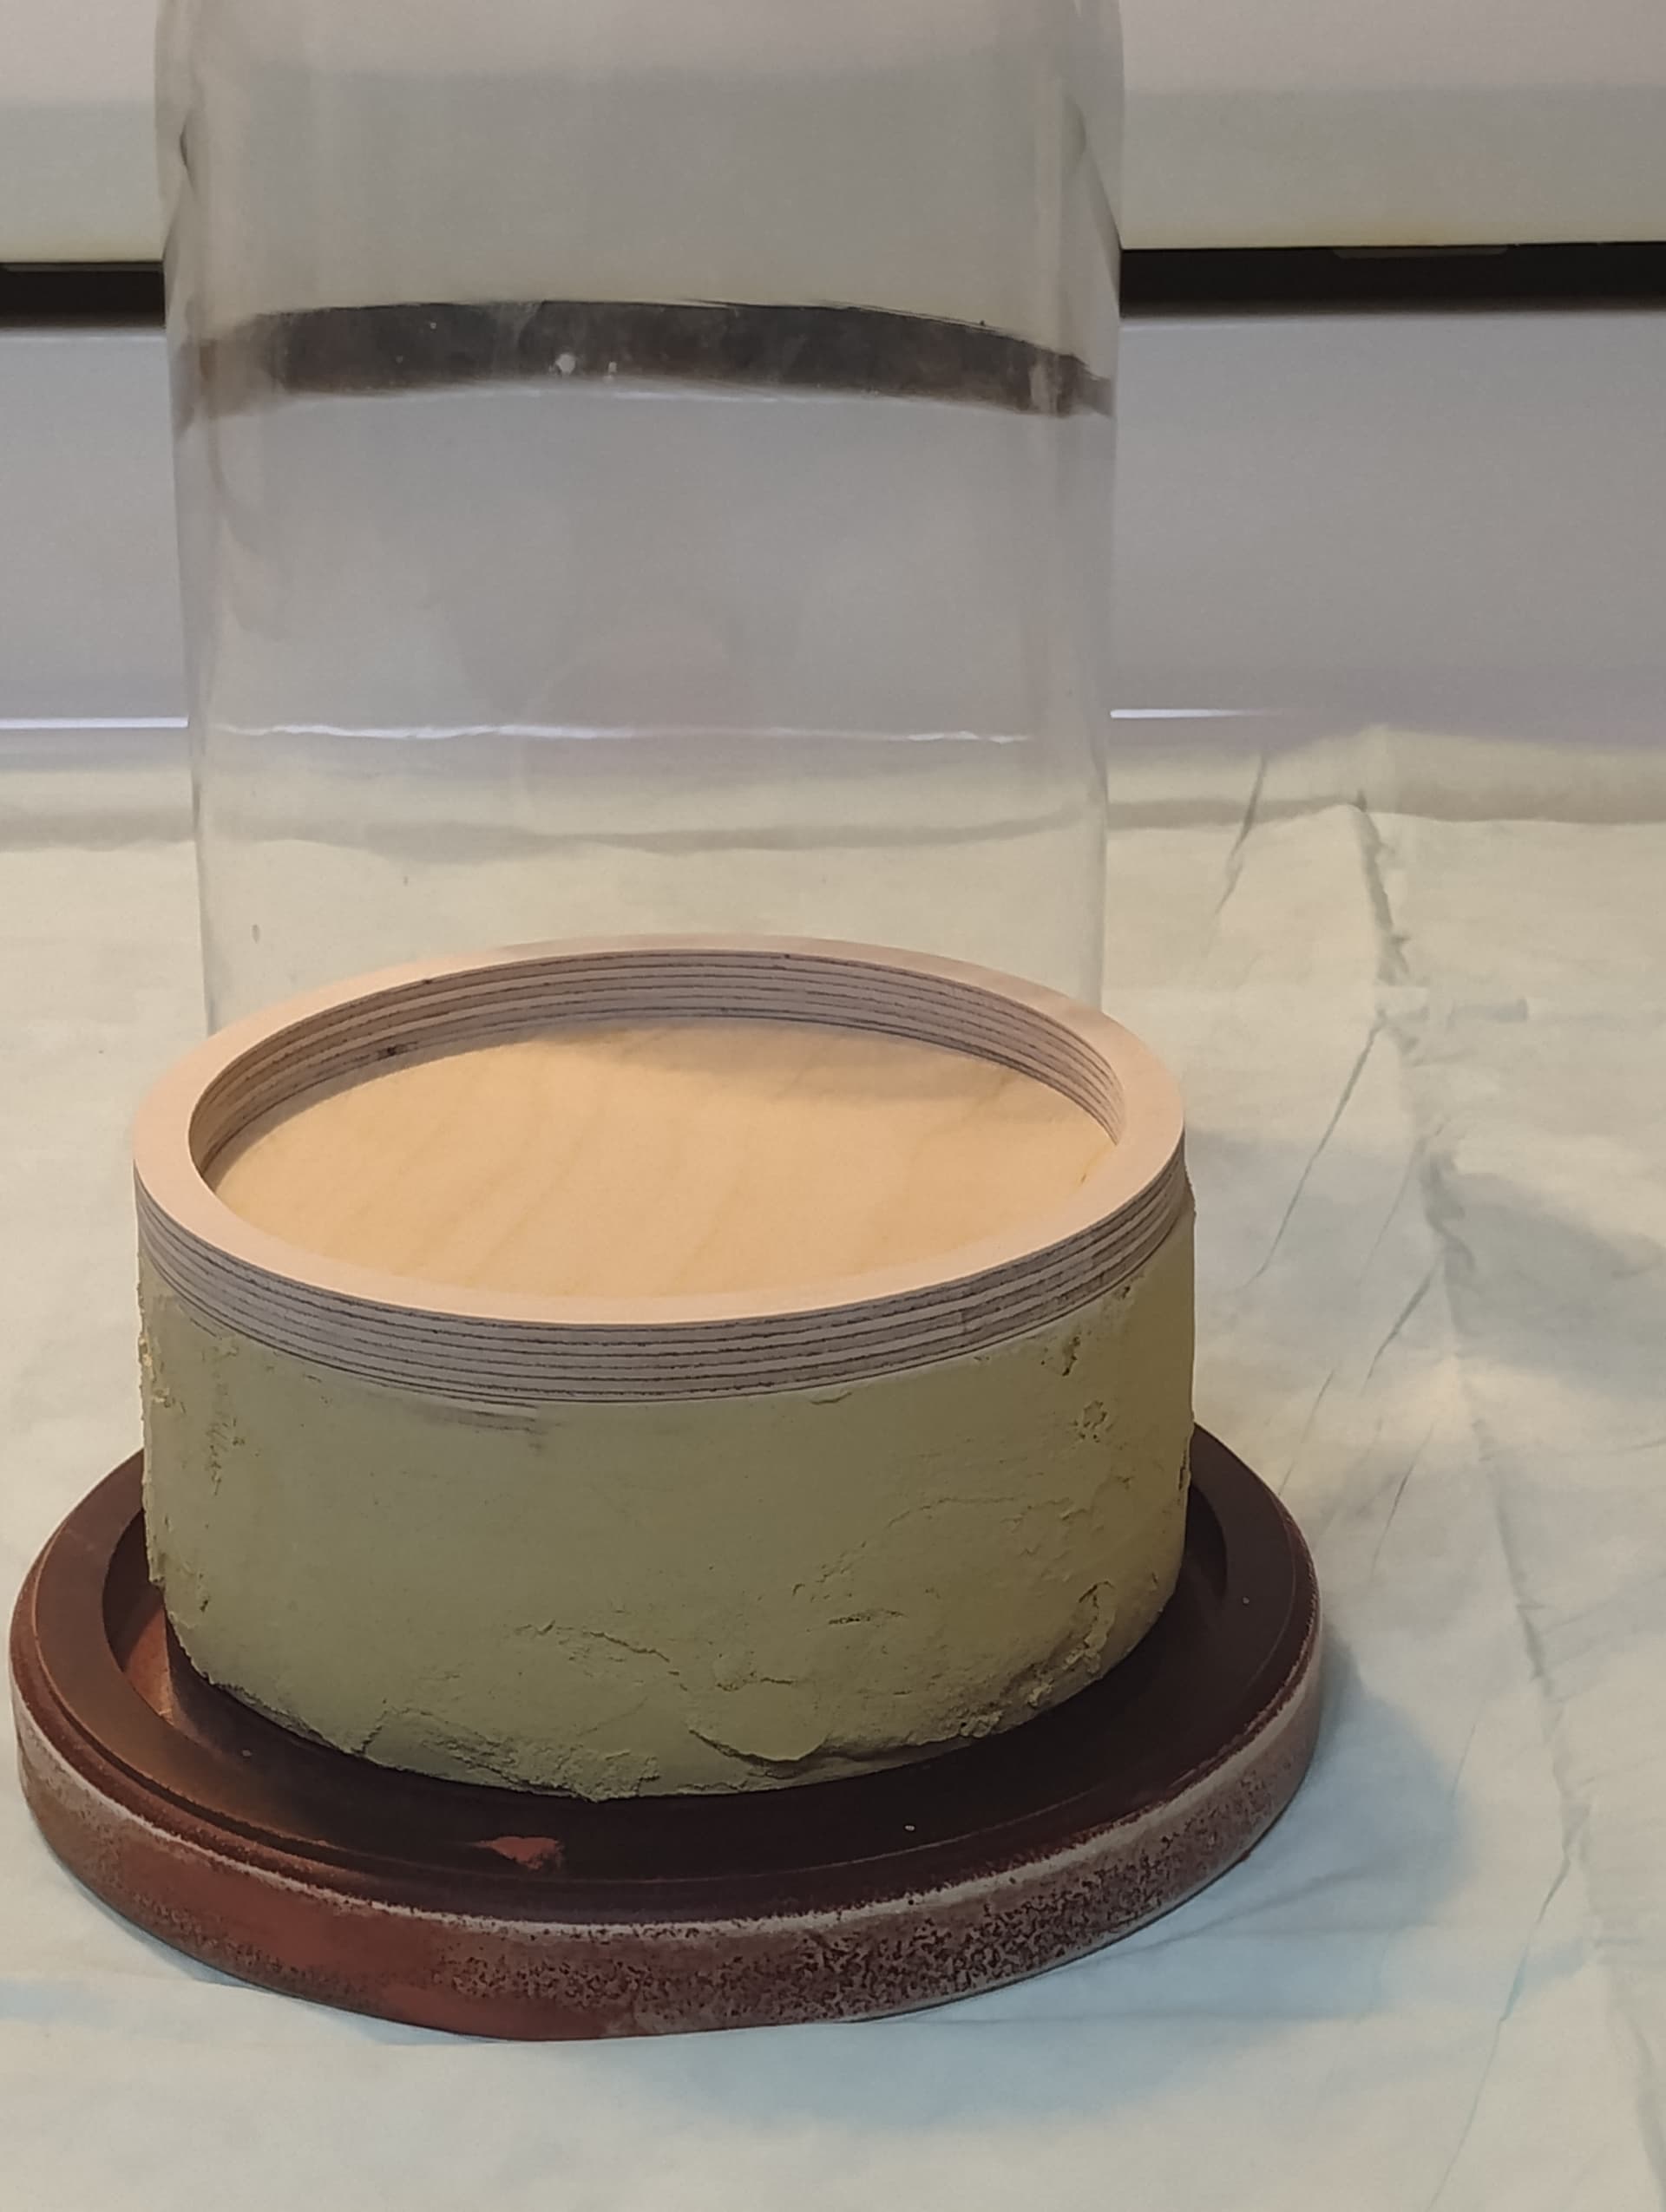
It’s a pretty heavy coat, sure, but the package of Gorilla wood filler I purchased from Walmart this morning was partially dried in the container. Even after stirring and kneading, it really didn’t want to spread at all. But, part of this hobby is dealing with stuff like that…and I am far too cheap to make another trip back there for a replacement.
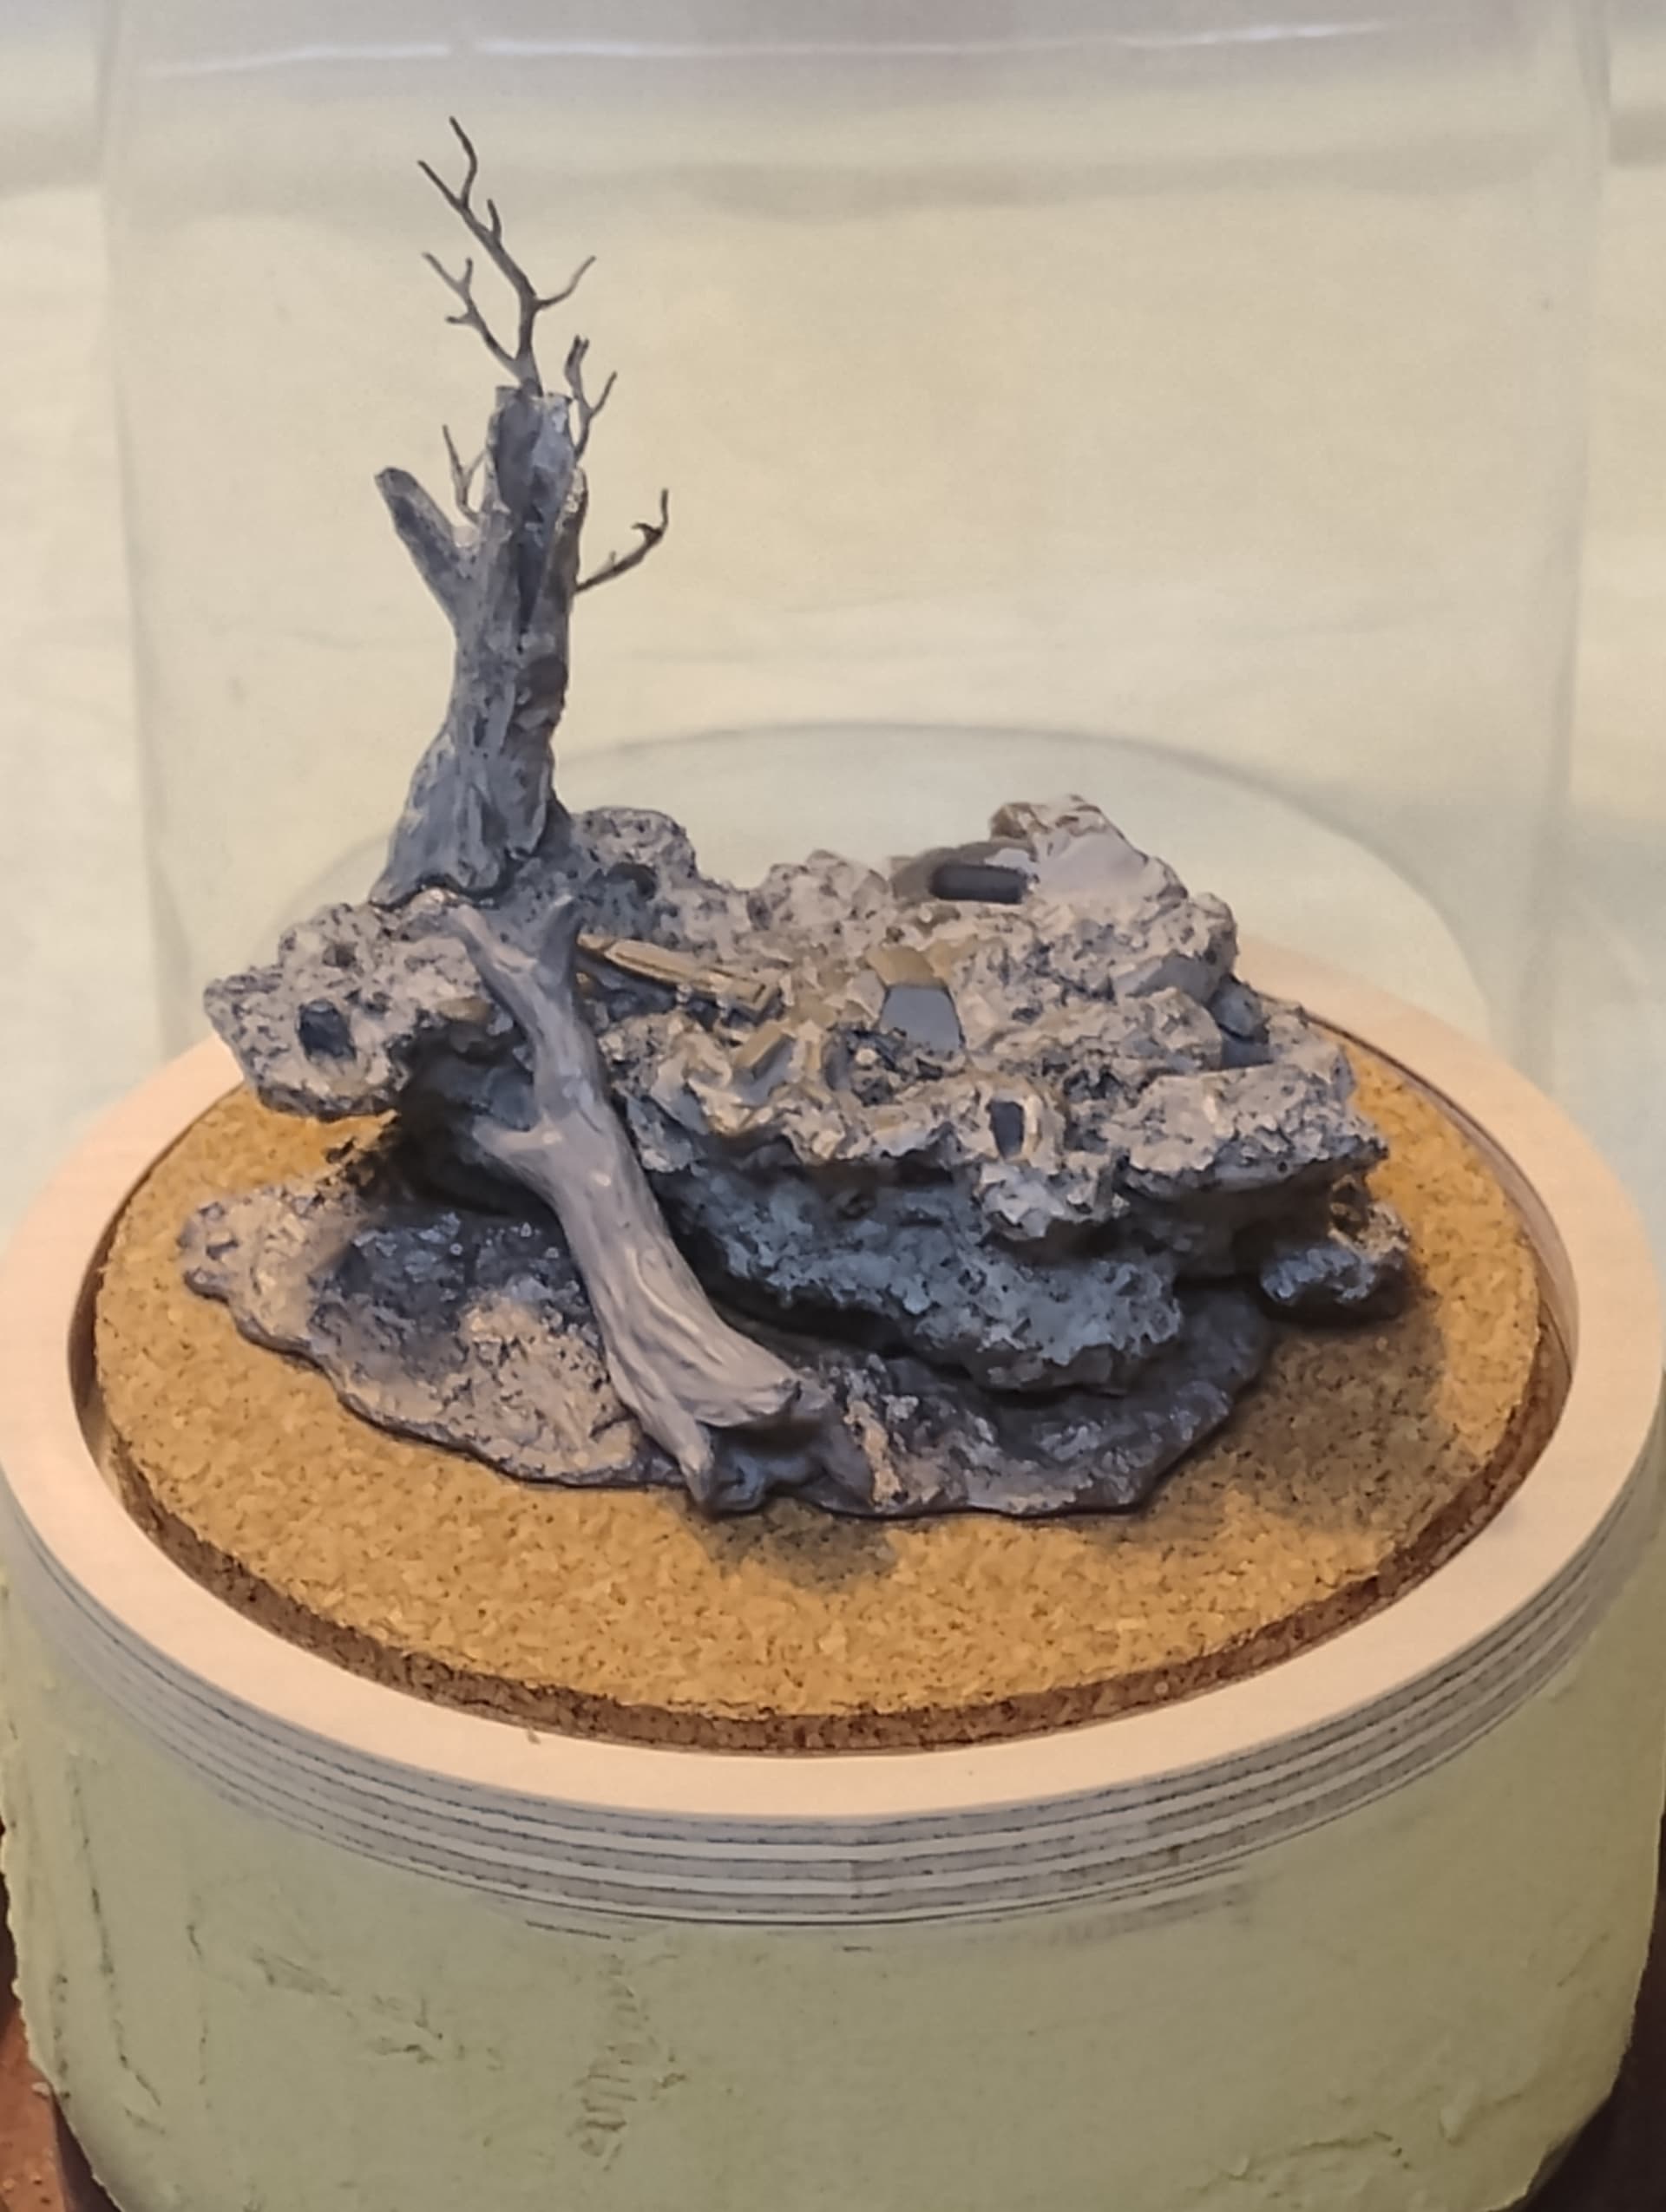
I’ve only got a couple of days until my wife returns home, so I had better quit screwing around on the Internet and get back to it.

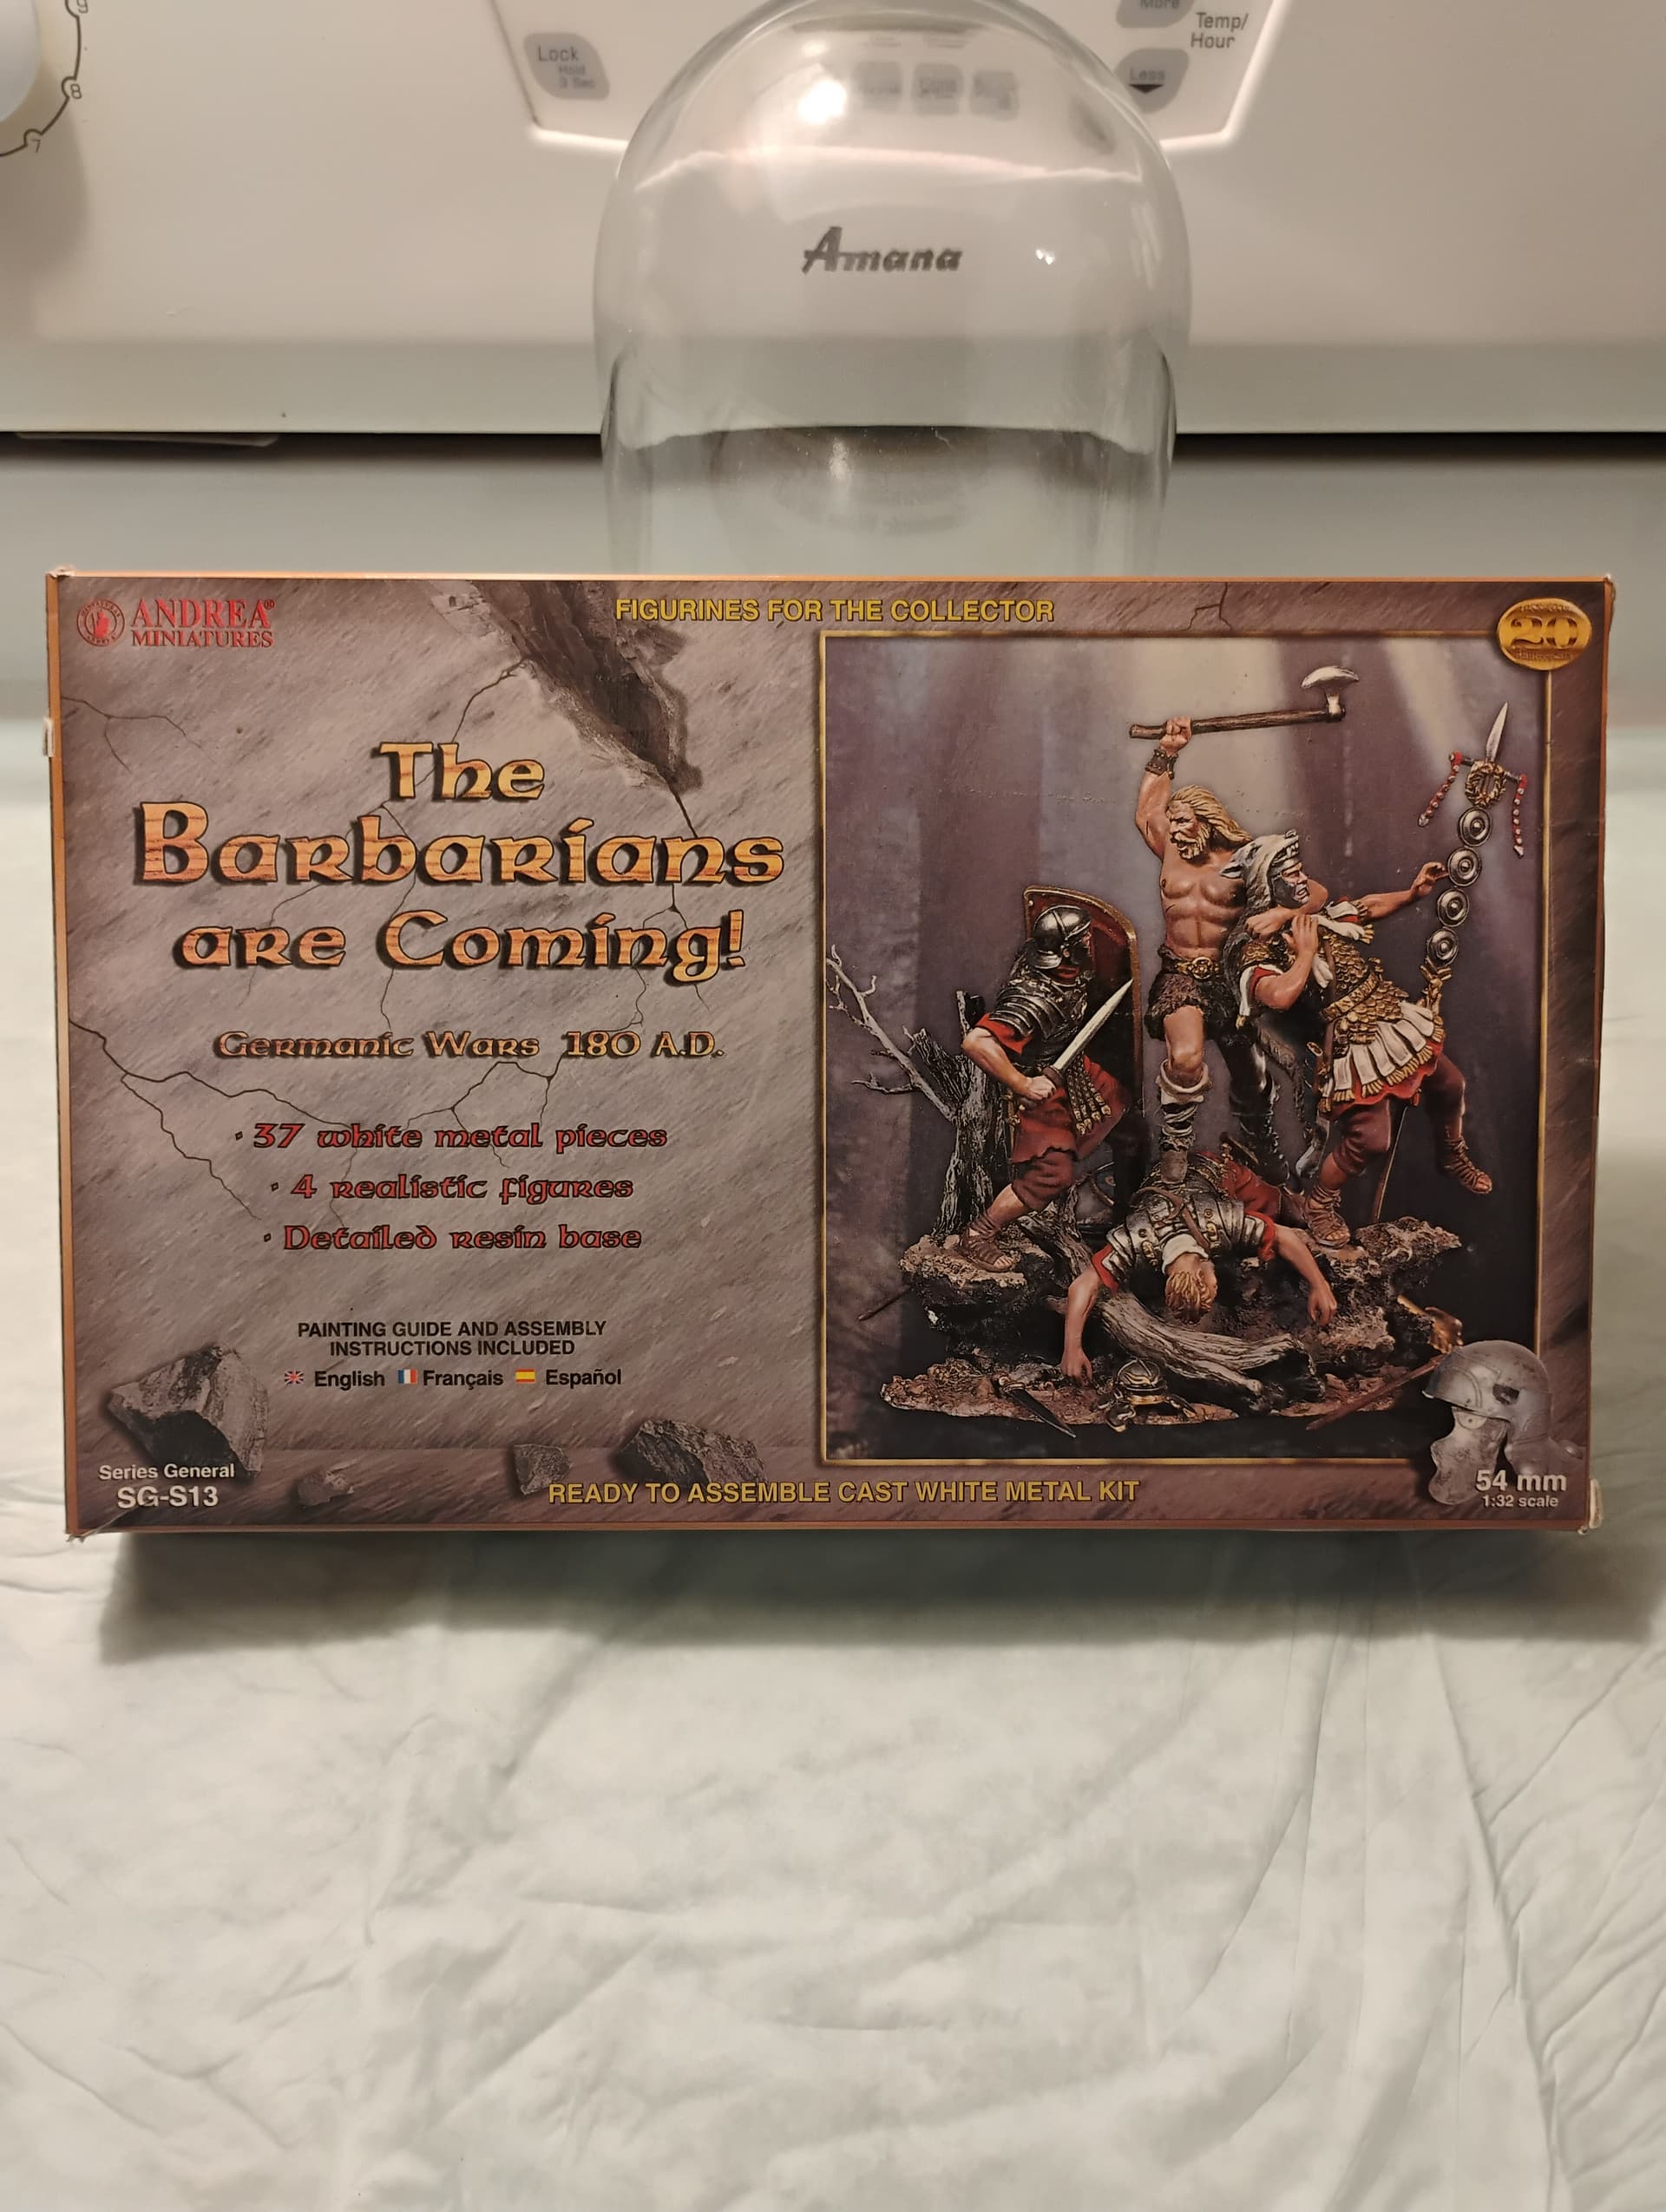
Oh, what’s the project? Andrea Miniatures kit SG-S13, “The Barbarians are Coming!”
2 Likes


The wood filler sanded back pretty easily, as did the manufacturer supplied base. Taking a lunch break while the epoxy sets up on the metal figures. Looks like that massive rattle can of hardware primer stands a good chance of seeing use today if I can maintain the pace.

Probably better make it a light lunch.

4 Likes

When I last posted, it was lunchtime. I’m now taking a break for dinner at my dog’s insistence, but I figured that I would post the results of how I managed to spend my summer vacation…


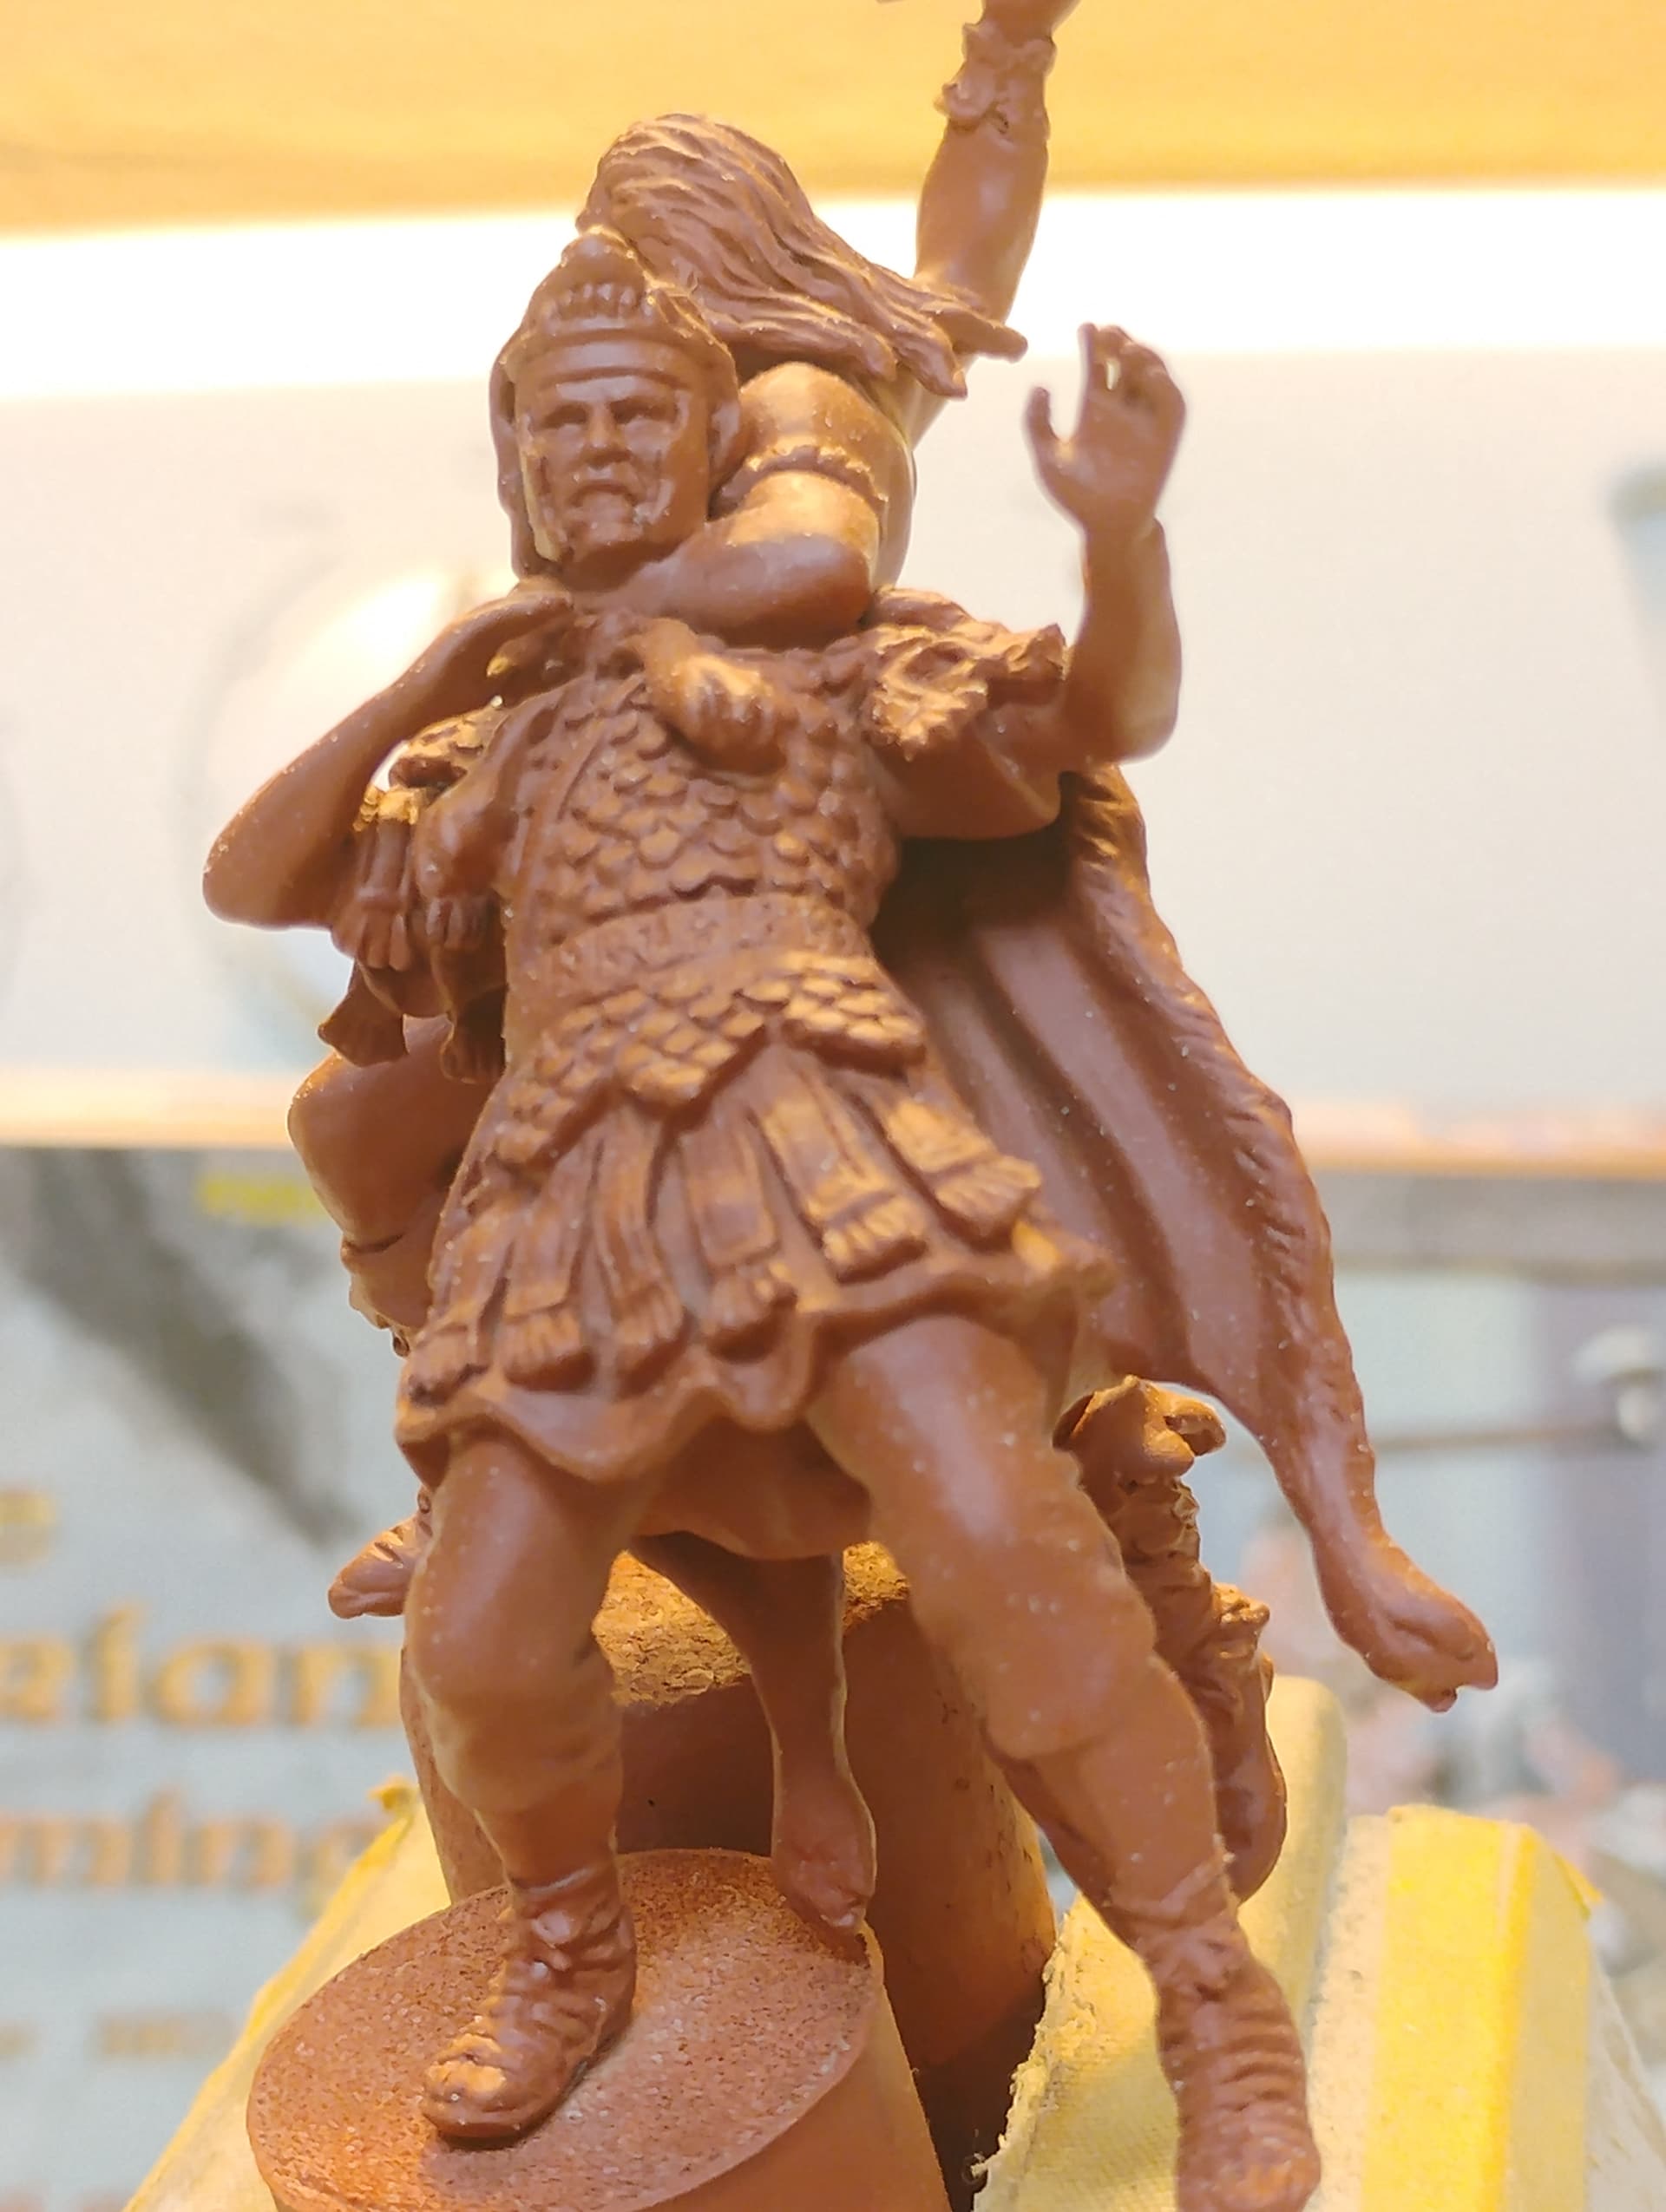
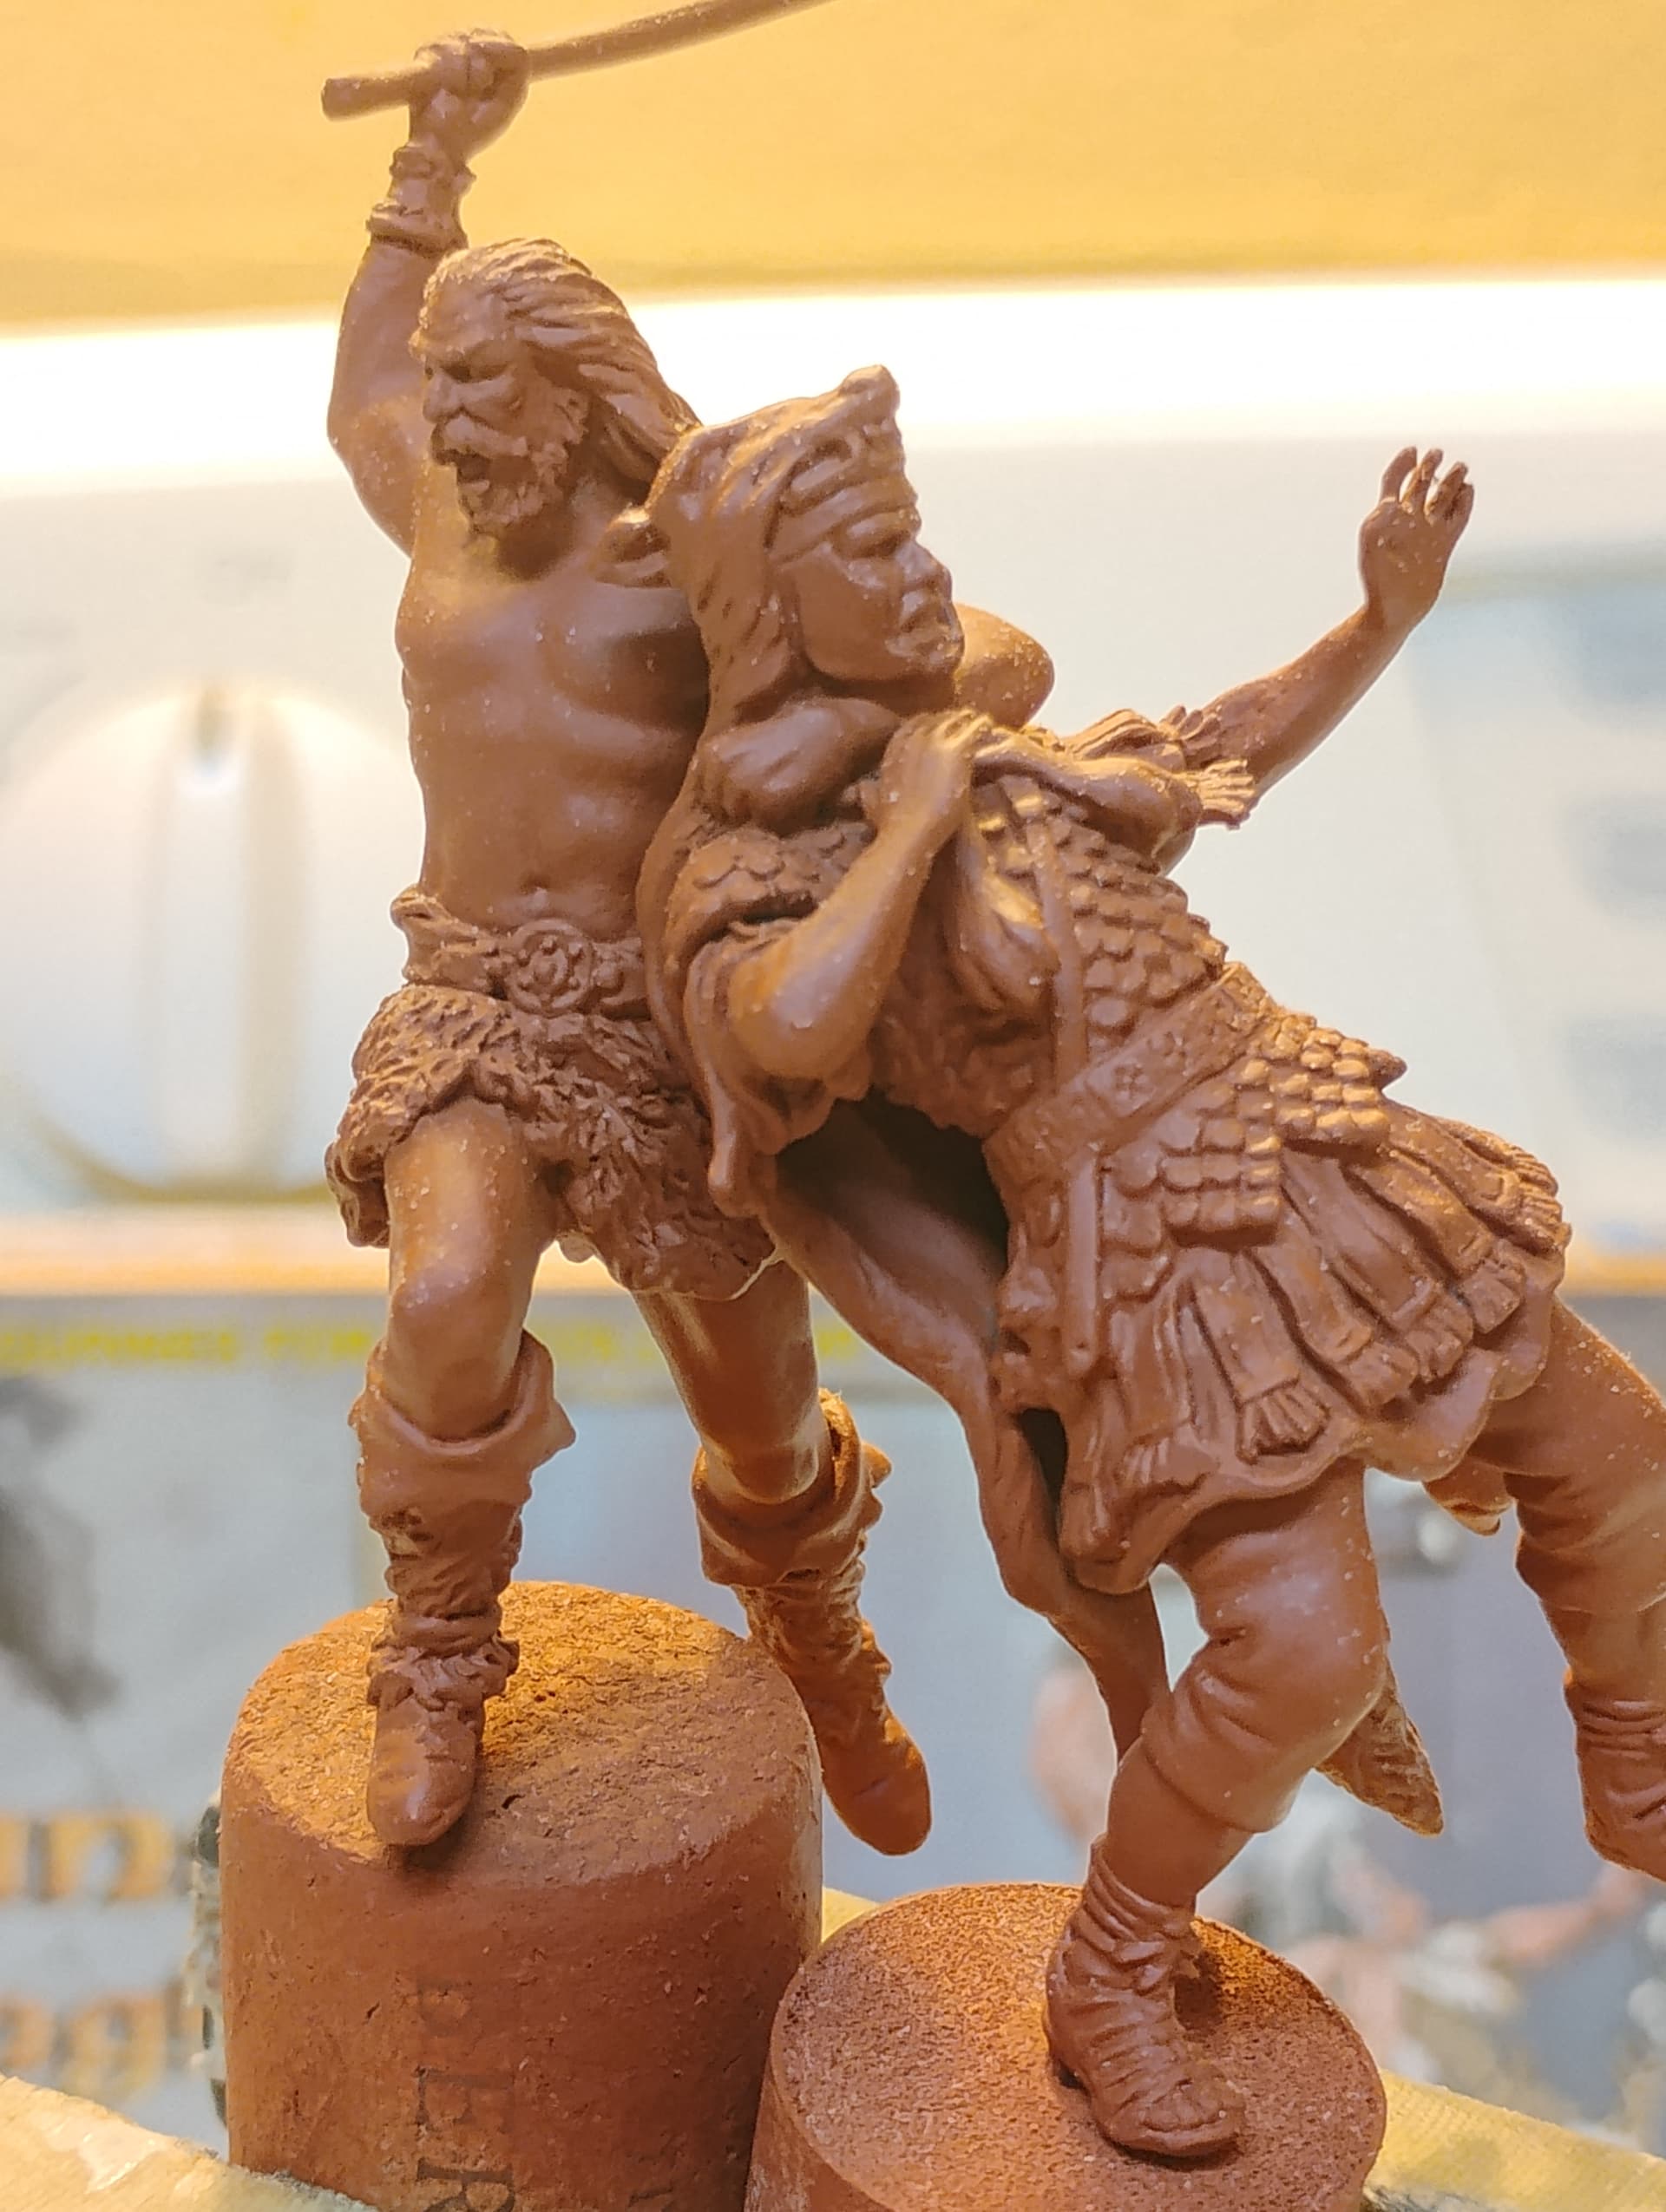
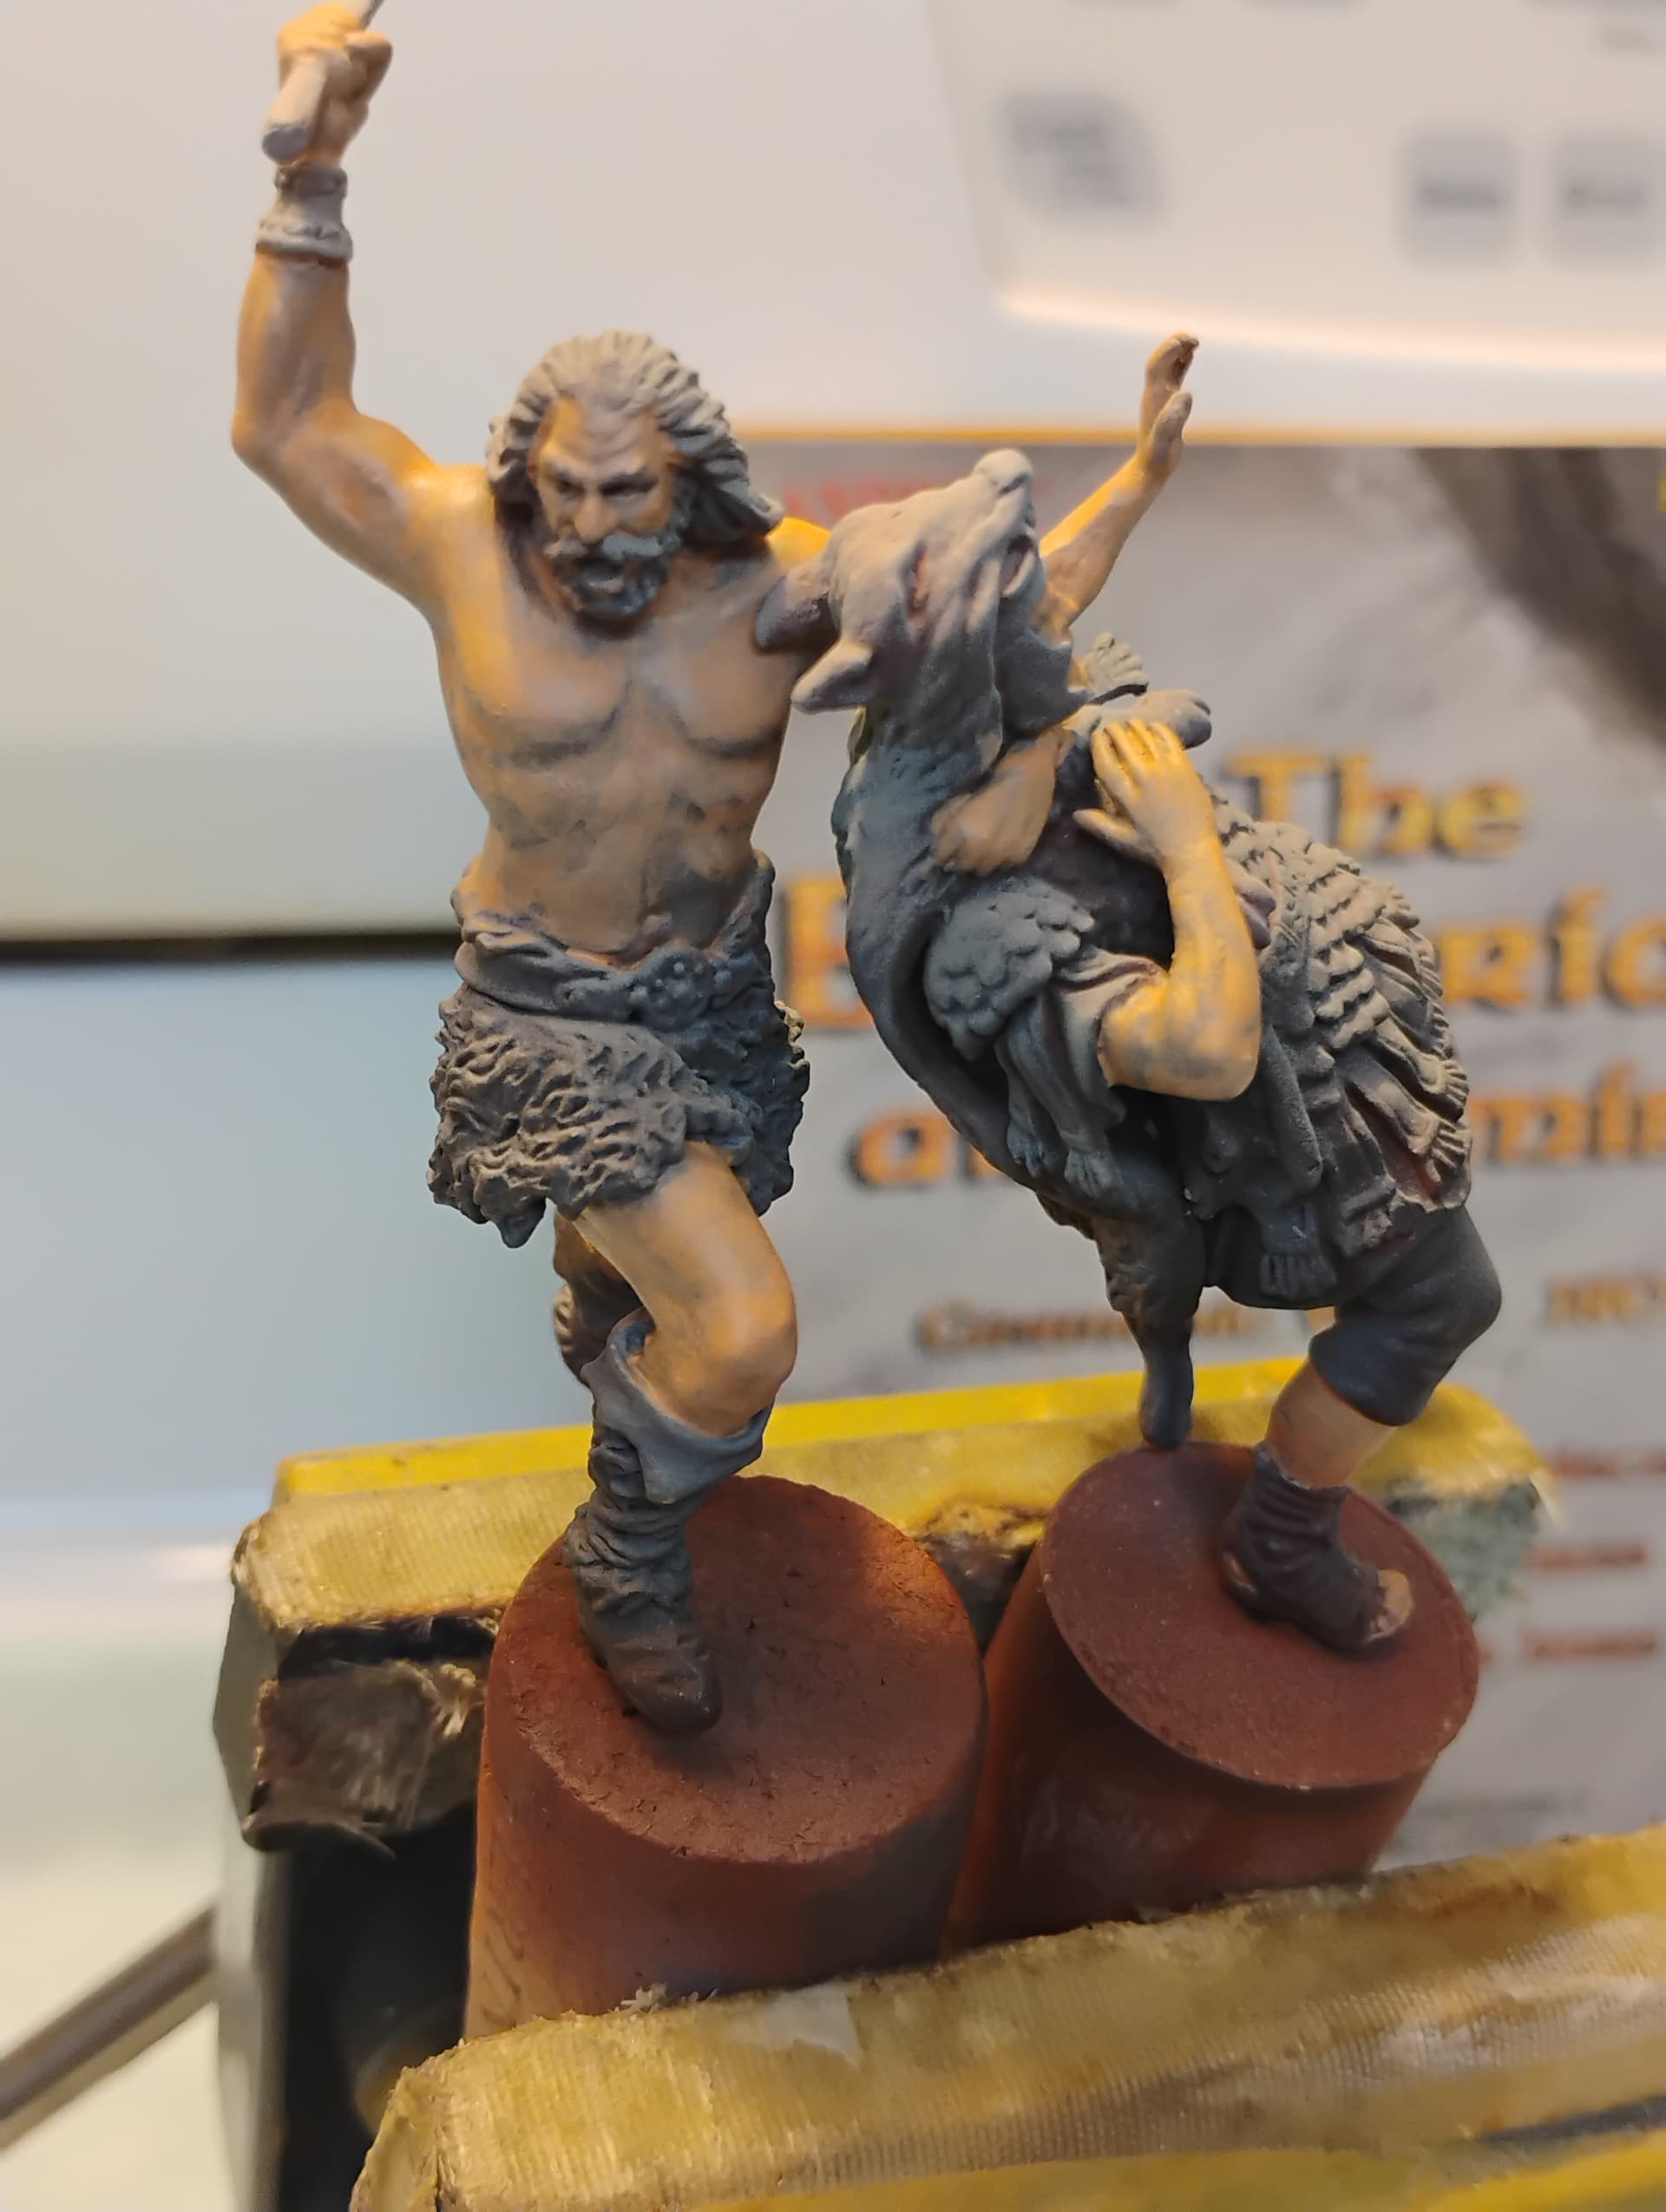
The figures, while admittedly still in subassemblies, have been pinned and assembled. Out of an abundance of caution, I used the old farmer’s adhesive of choice for metal to metal joints, slow-set JB Weld two-part epoxy. Hypothetically, these guys aren’t going to come apart without a lot of effort.

Speaking of farm and ranch problem solving, the red oxide primer is the Ace Hardware store house brand. It set up very well and I am pretty pleased at how things are progressing.

For this project, I intend to do some experimenting with things and the choice of red oxide for figures is something I have been wondering about. So far, it looks like it is going to do a lot of the heavy lifting for me when it comes time to actually put a brush to things.

While the primer was out, I dug an old Tamiya half-track out of the closet. It was built up a long time ago and completely forgotten. I’ve been curious to try the red oxide primer techniques which have become so fashionable in the armor world. If worse comes to worse, I will have a paint mule to experiment on.

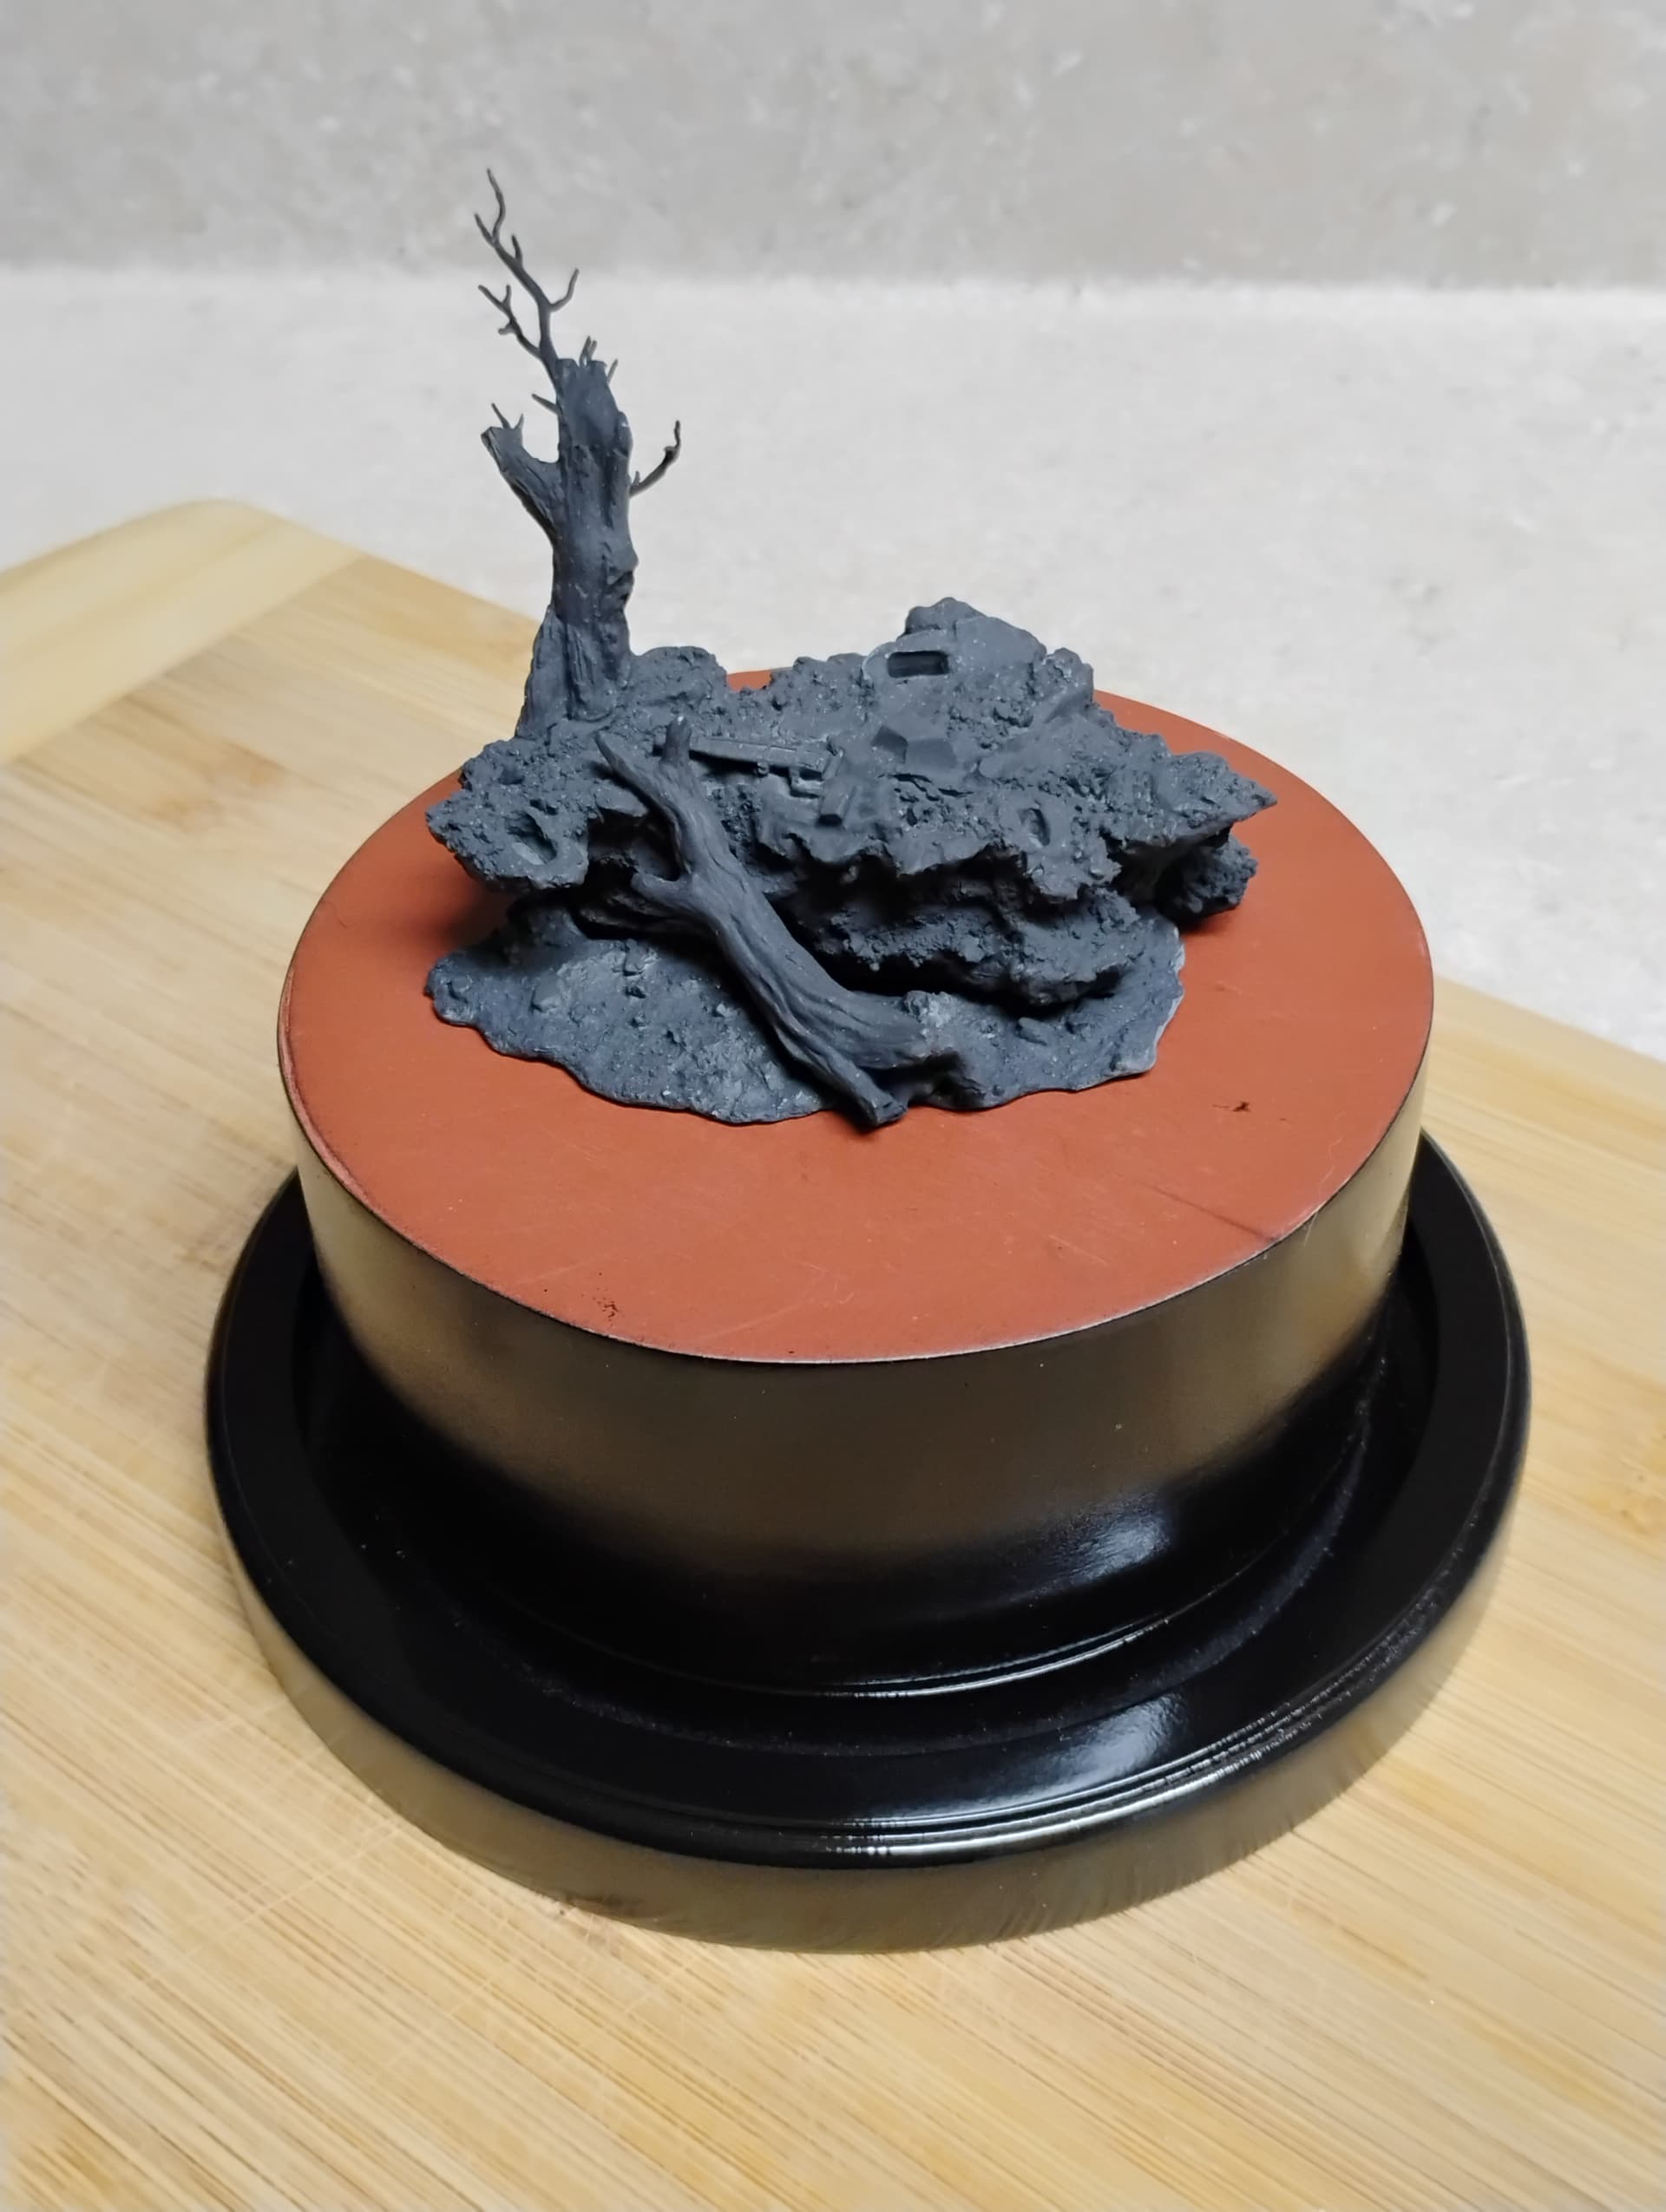
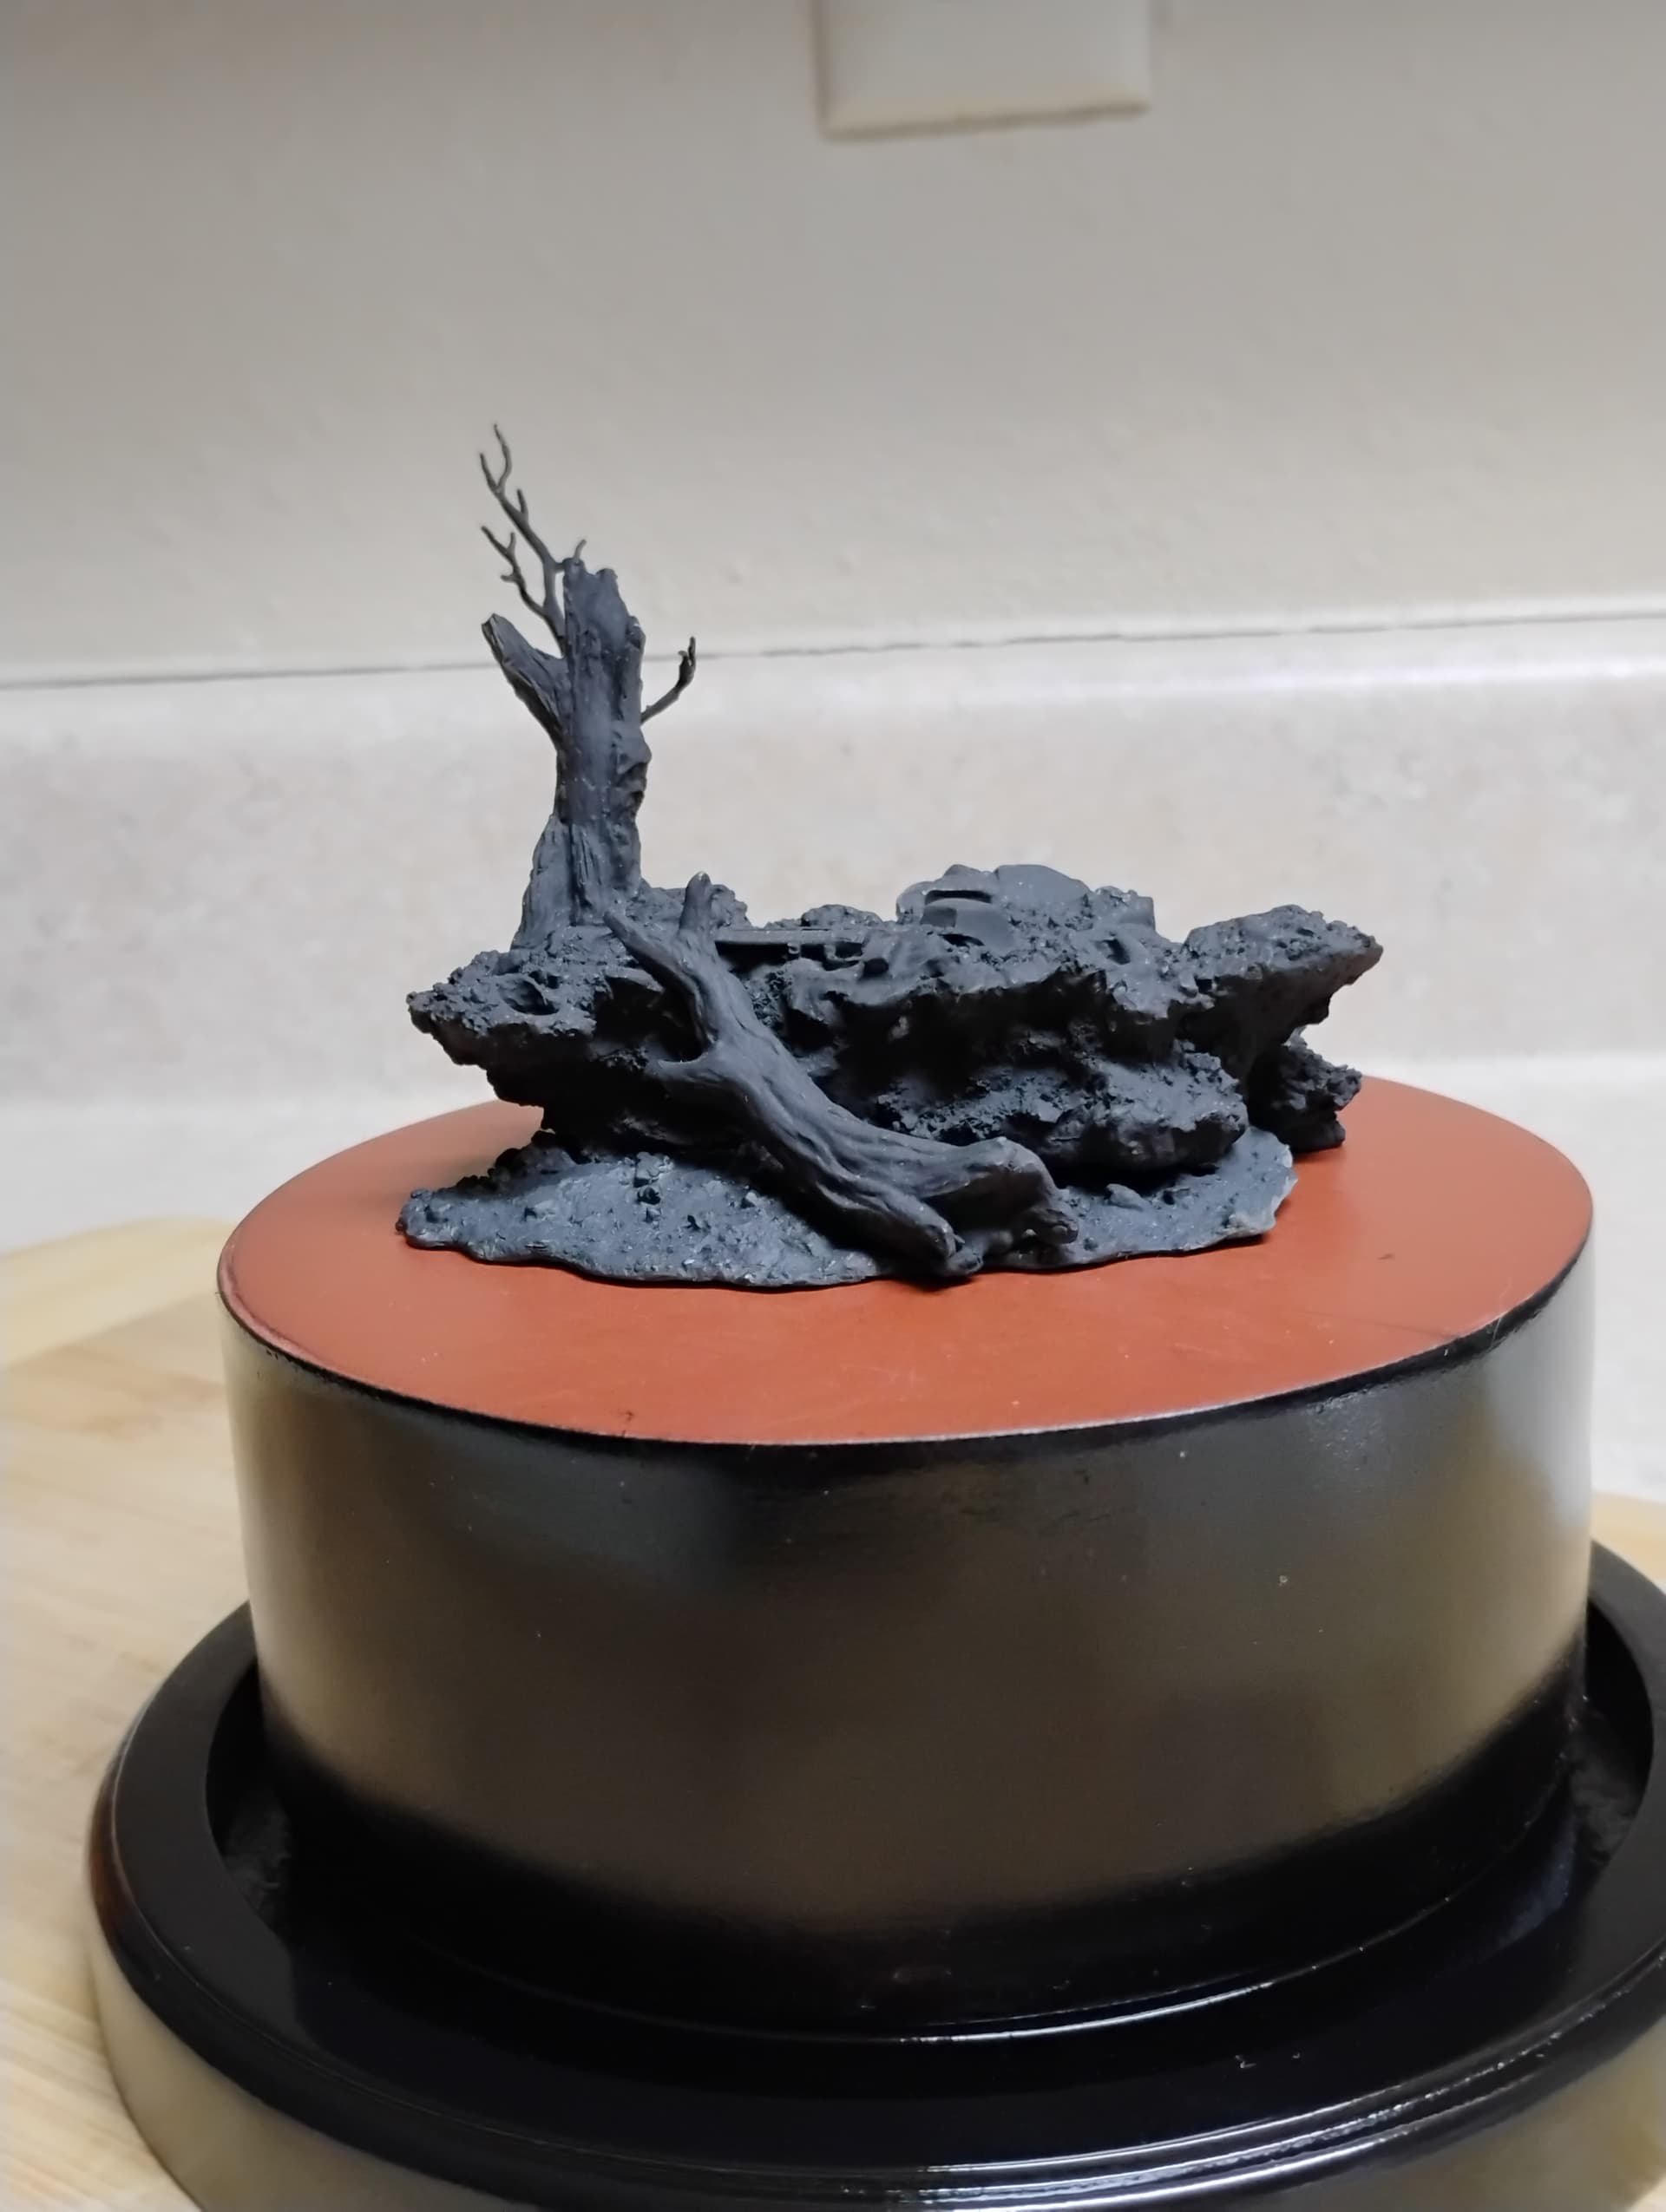
The base which came with the cloche has received a light coat of Mr. Surfacer 1000, which has dried nicely, so I might give it a coat of color tomorrow.

Before calling it a day, I’m running some maintenance on the airbrush to ensure that it’s ready for work in the morning.

6 Likes

Taking a break for dinner, but I thought that I would share the day’s progress with this secret project.

Early on this morning, I decided the plinth needed another pass with the putty. On the advice of a friend, I cut the Gorilla filler with a bit of water and it spread like butter. Out of an abundance of caution, I won’t play with it until tomorrow to ensure the filler sets up.

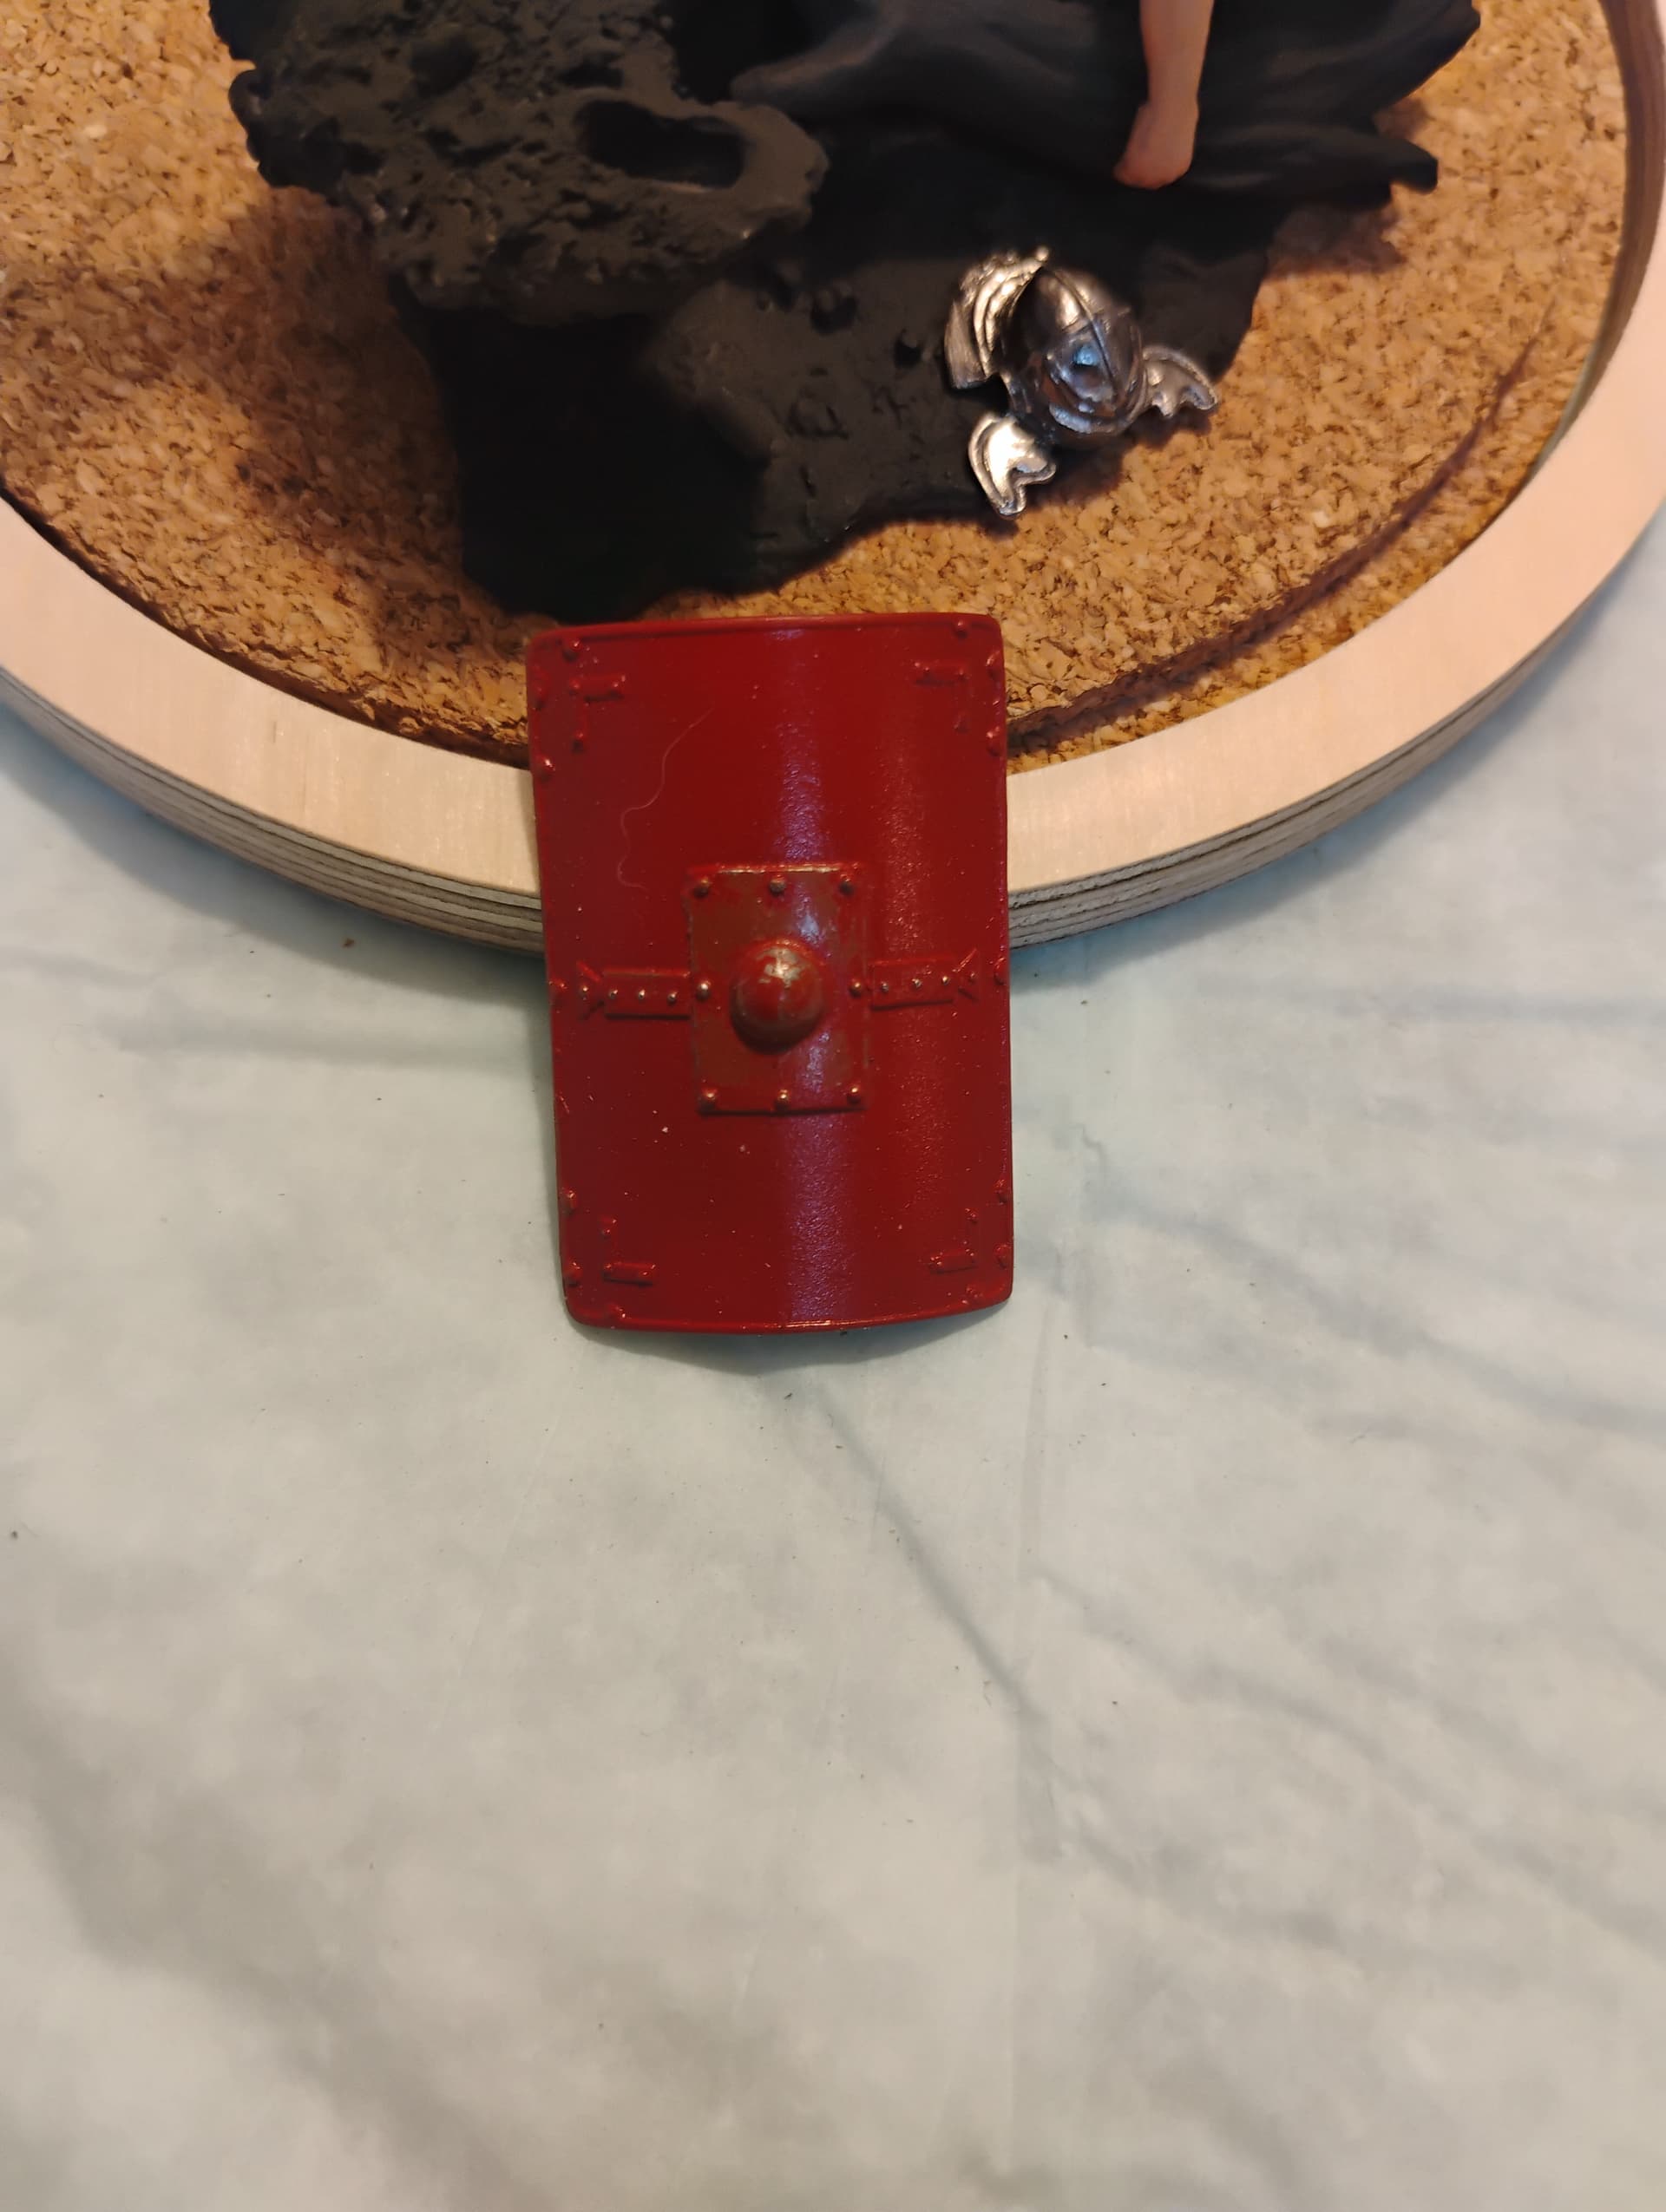
Used the very last of my Tamiya red paint to cover the face of the Roman scutum. There was literally only five drops left in the bottle, but it was enough for the job -

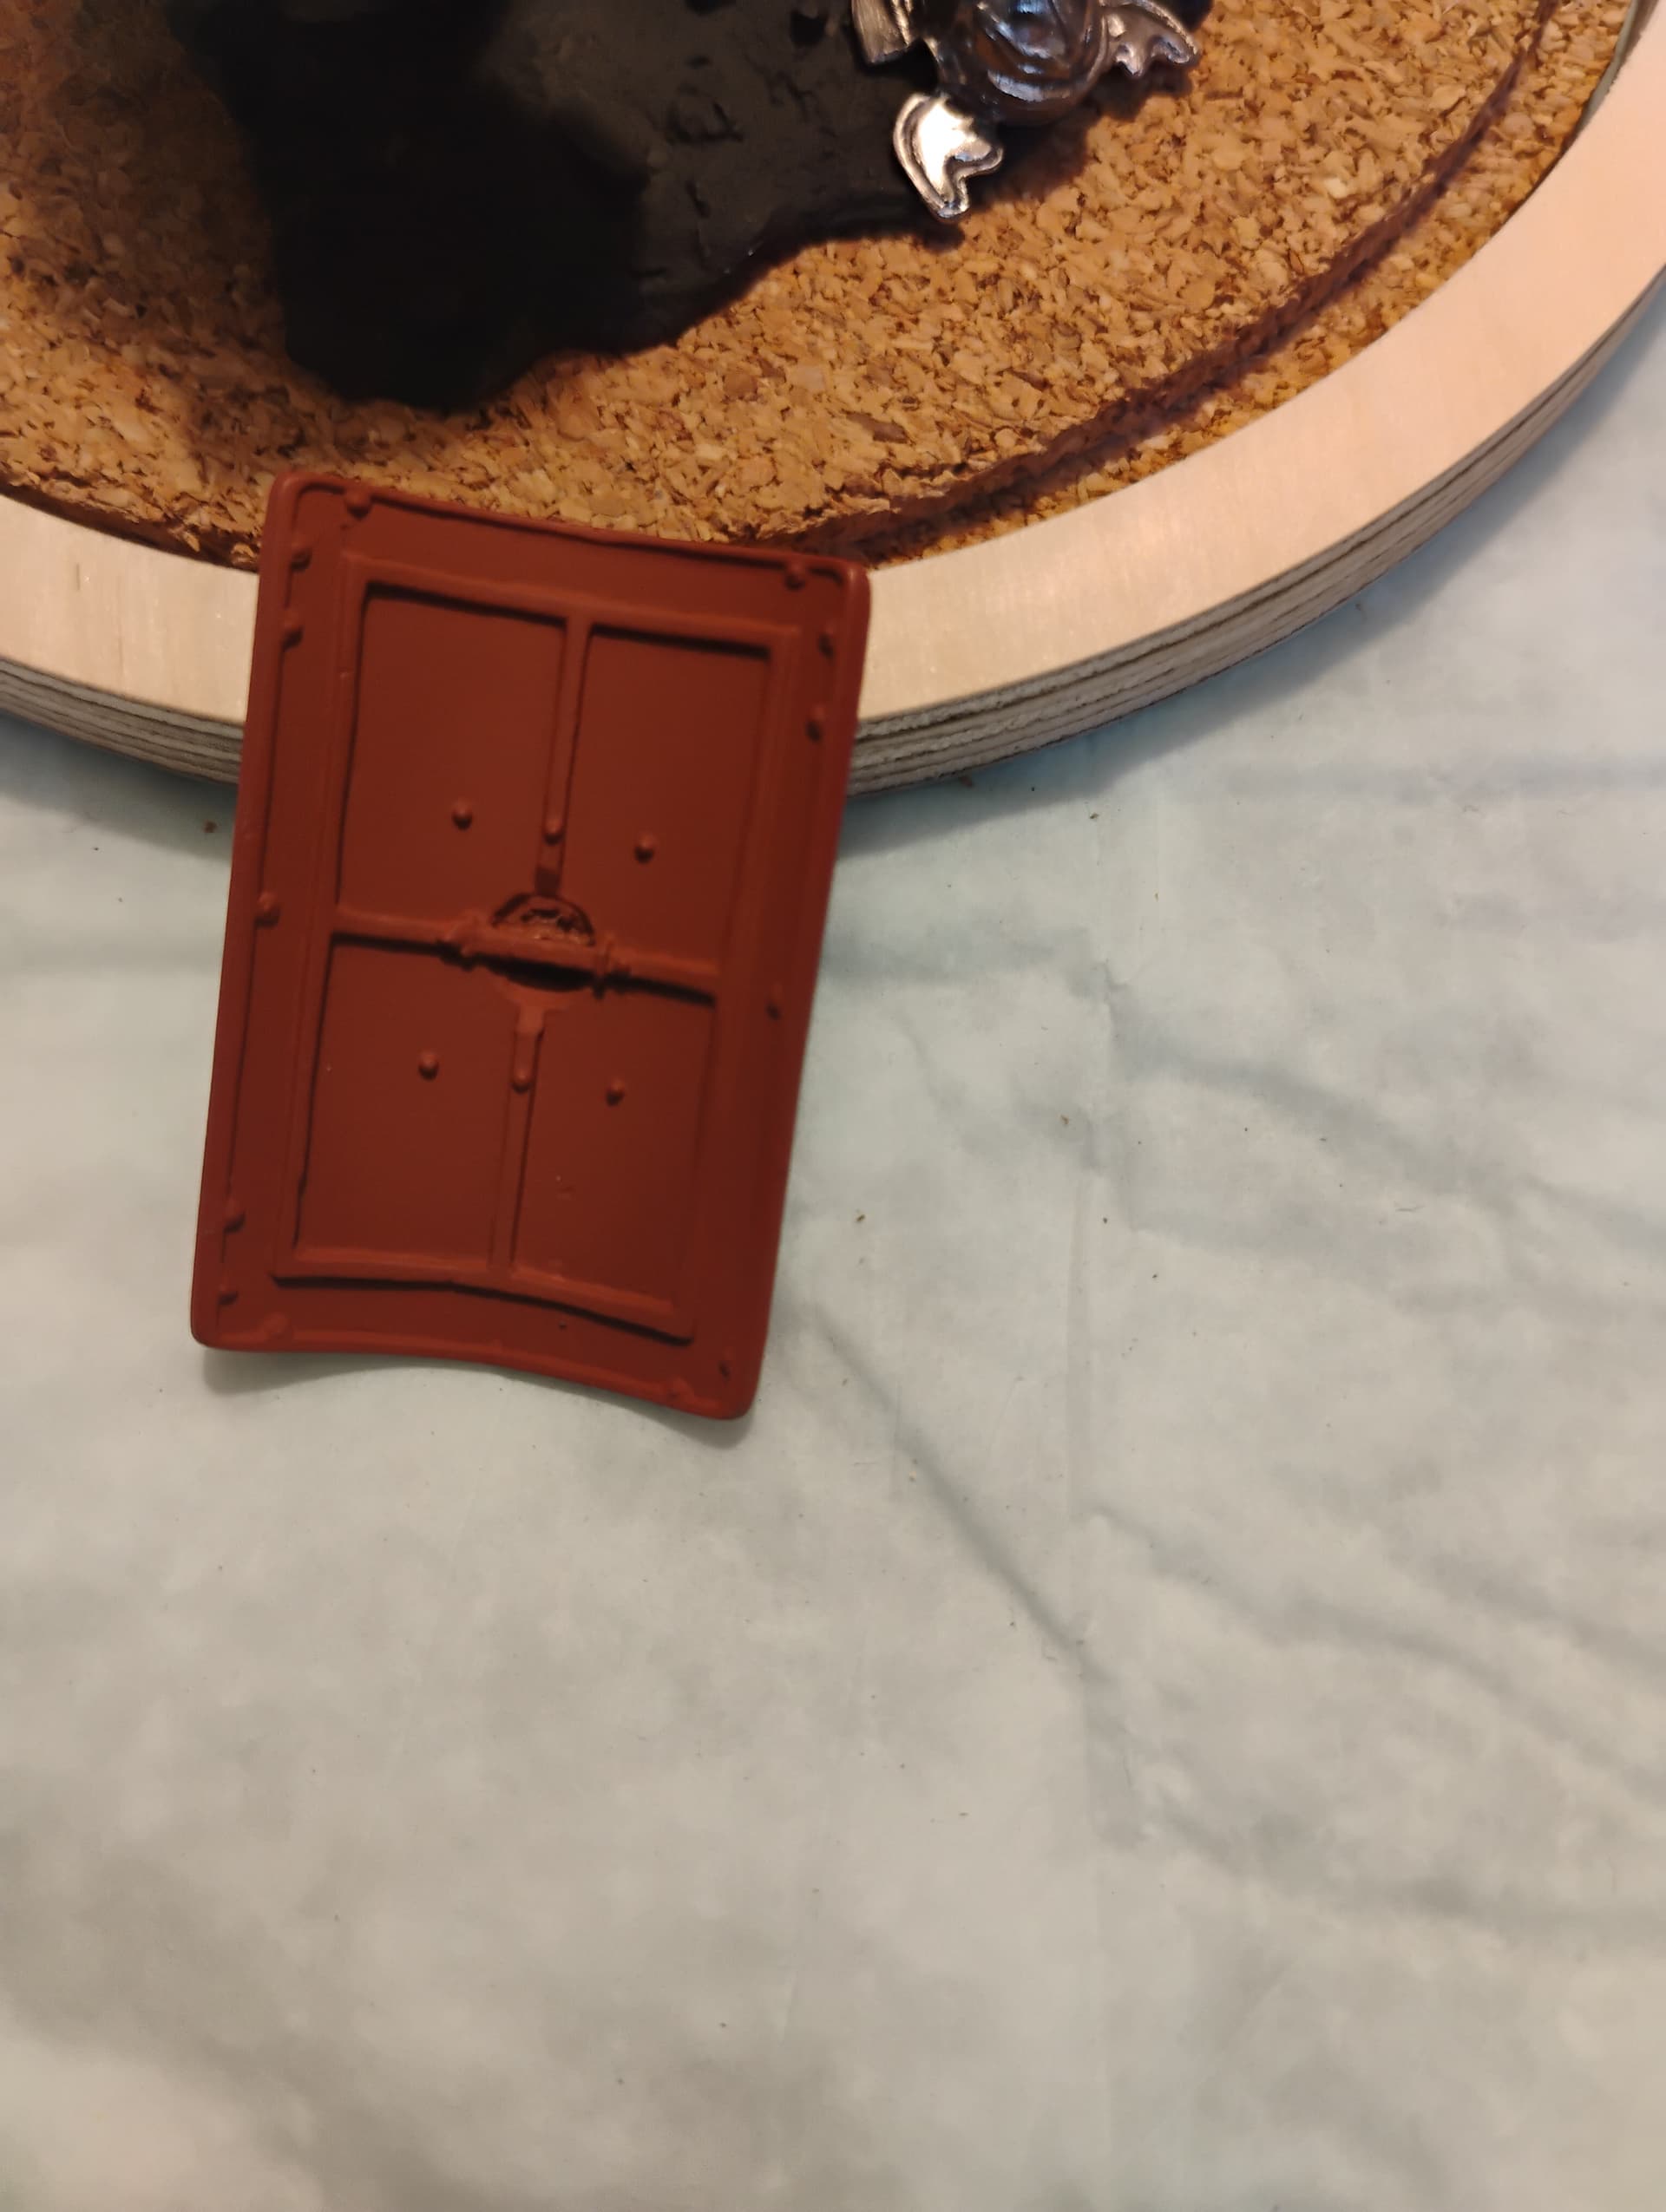
The red oxide primer did a great job of carrying a lot of the workload for me. The reverse side of the scutum in essentially done, just need to add a little wood grain and paint the details.

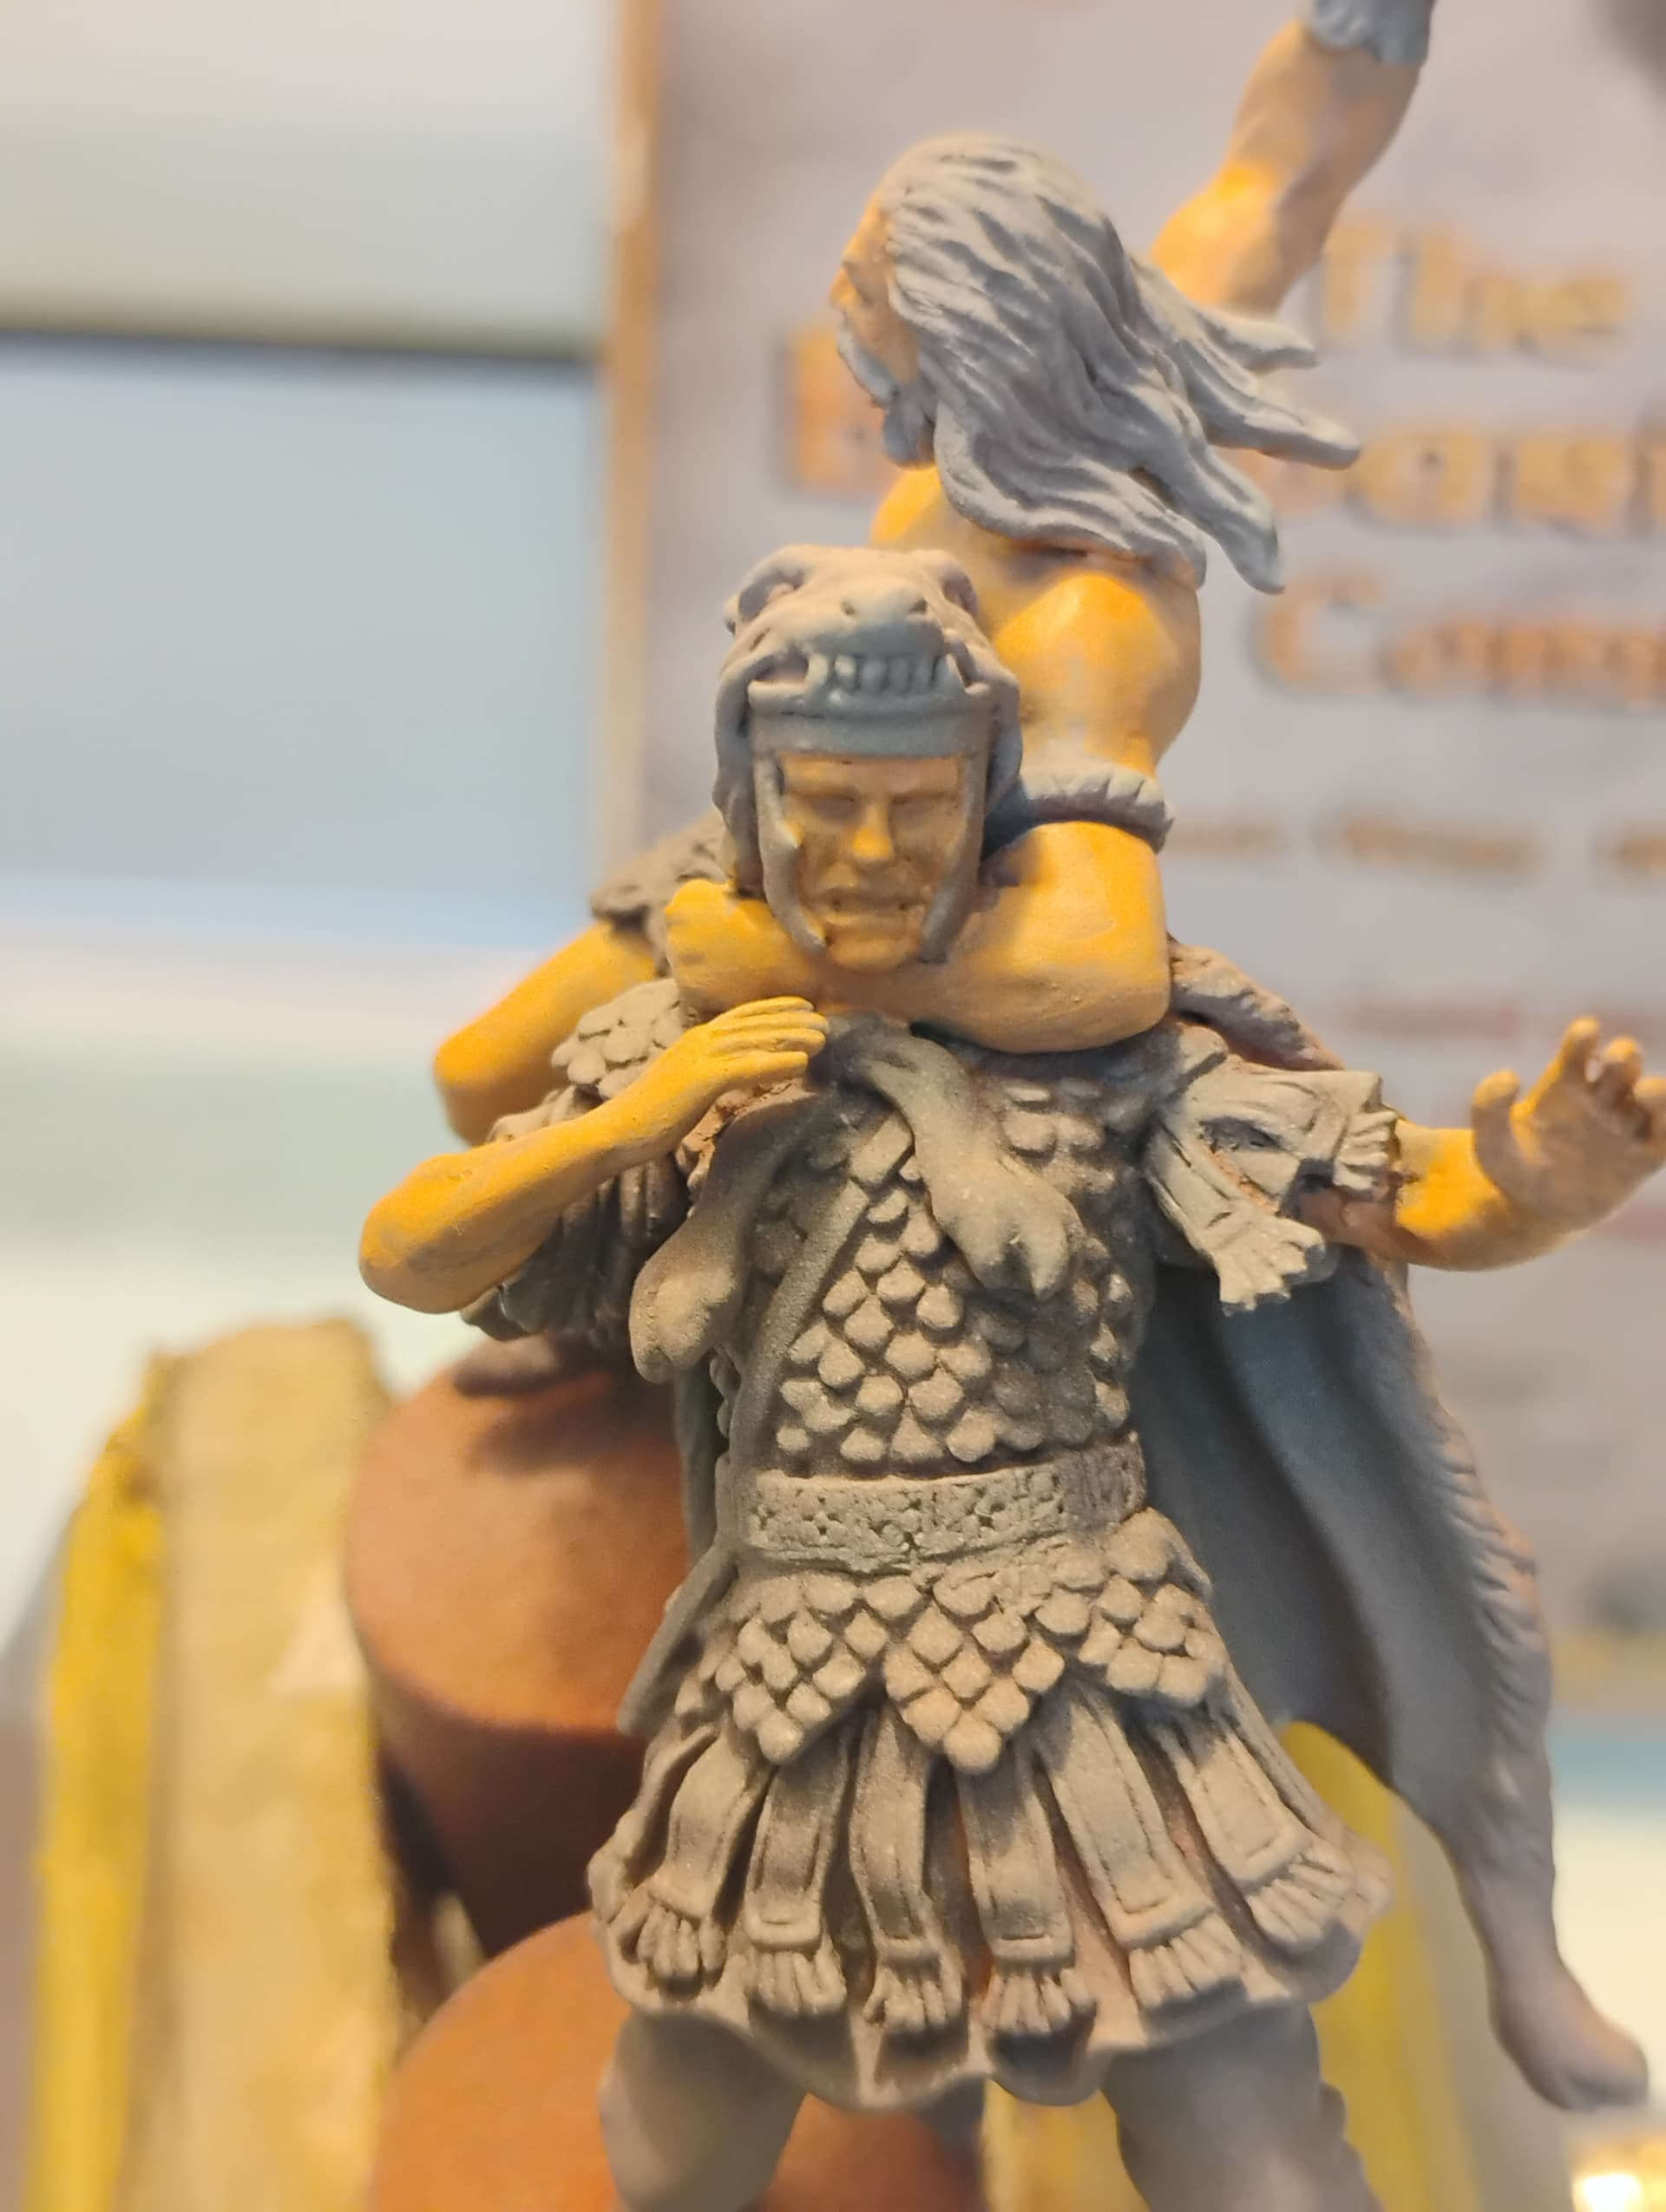
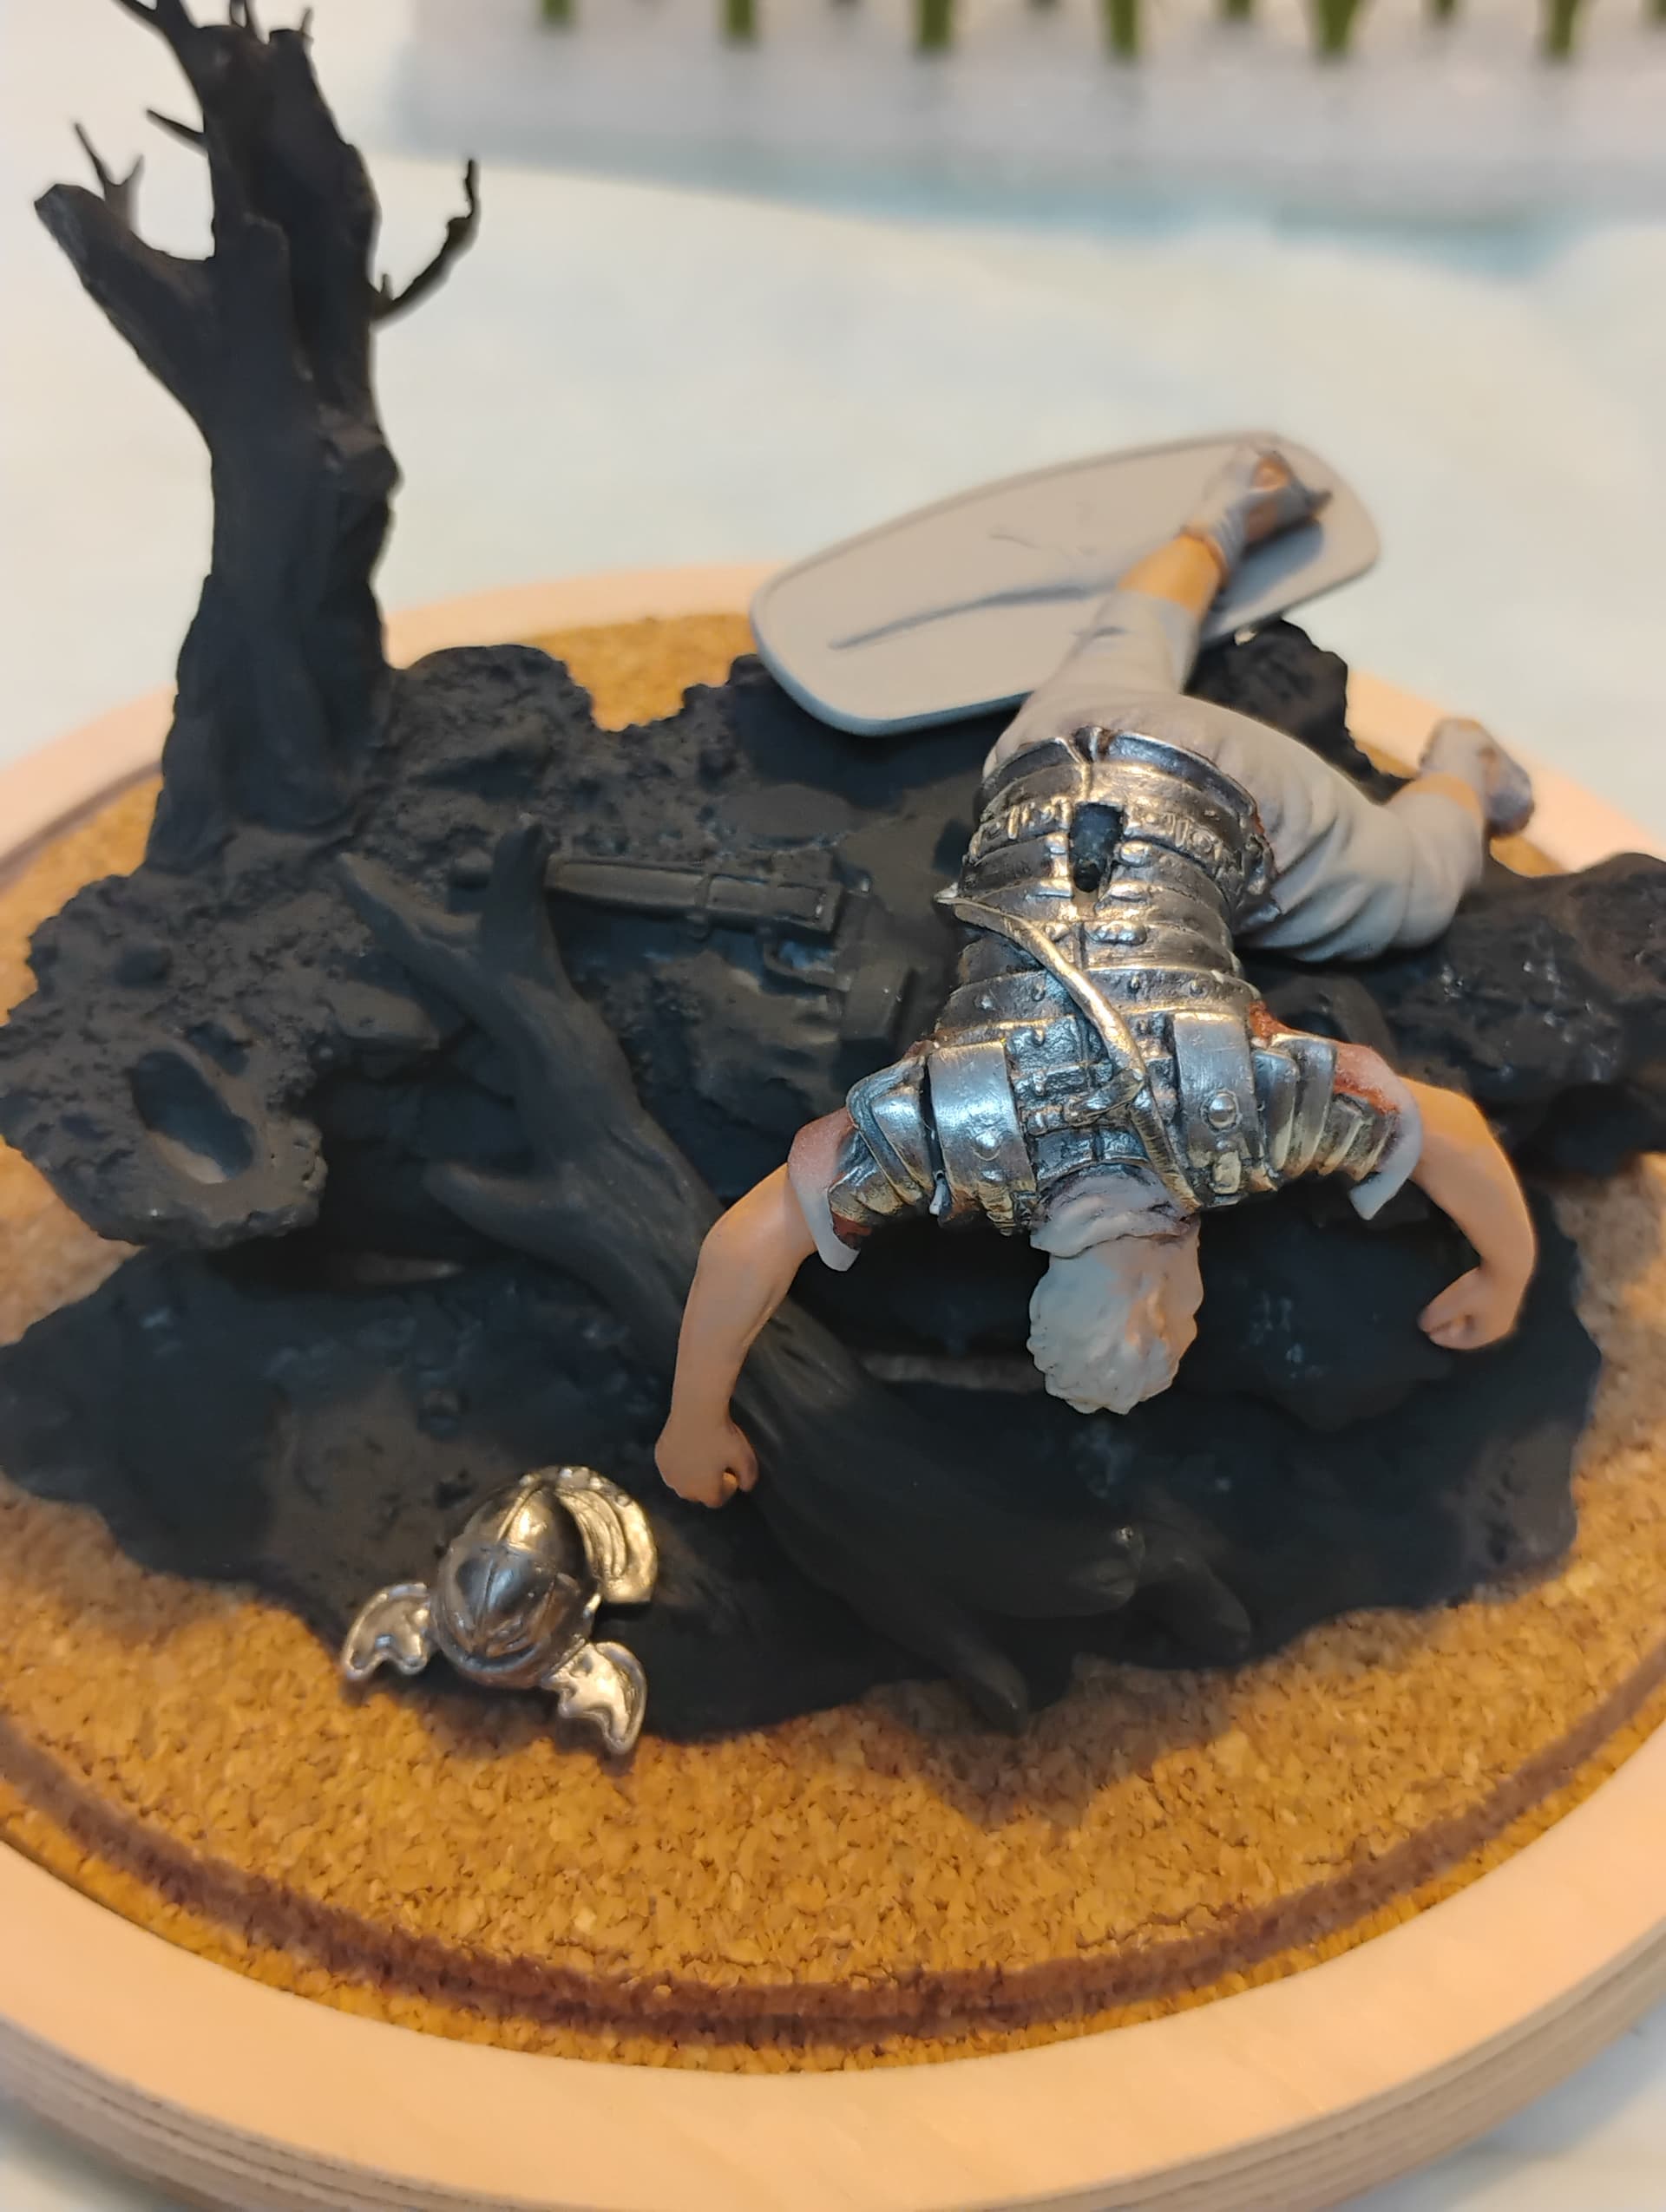
I employed zenithal shadows and highlights with Tamiya brown in the deepest recesses and Tamiya deck tan for highlights on the figures. The first pass of flesh tone is a very diluted coat of Army Painter “Barbarian Flesh”.


The kit supplied base was given an airbrushed coat of Tamiya NATO Black. I’ll give it a zenithal pass later tonight.

A very integral part of the base is our Roman casualty, whom I call “Mort.”. He serves as the anchor point for the barbarian and his unfortunate victim. So, I unmasked his armor and gave it a little attention. It looks like it’s moving in the right direction, but I have noticed a couple of spots on Mort’s helmet that need a bit of polishing before turning to the brass inlays of the piece.

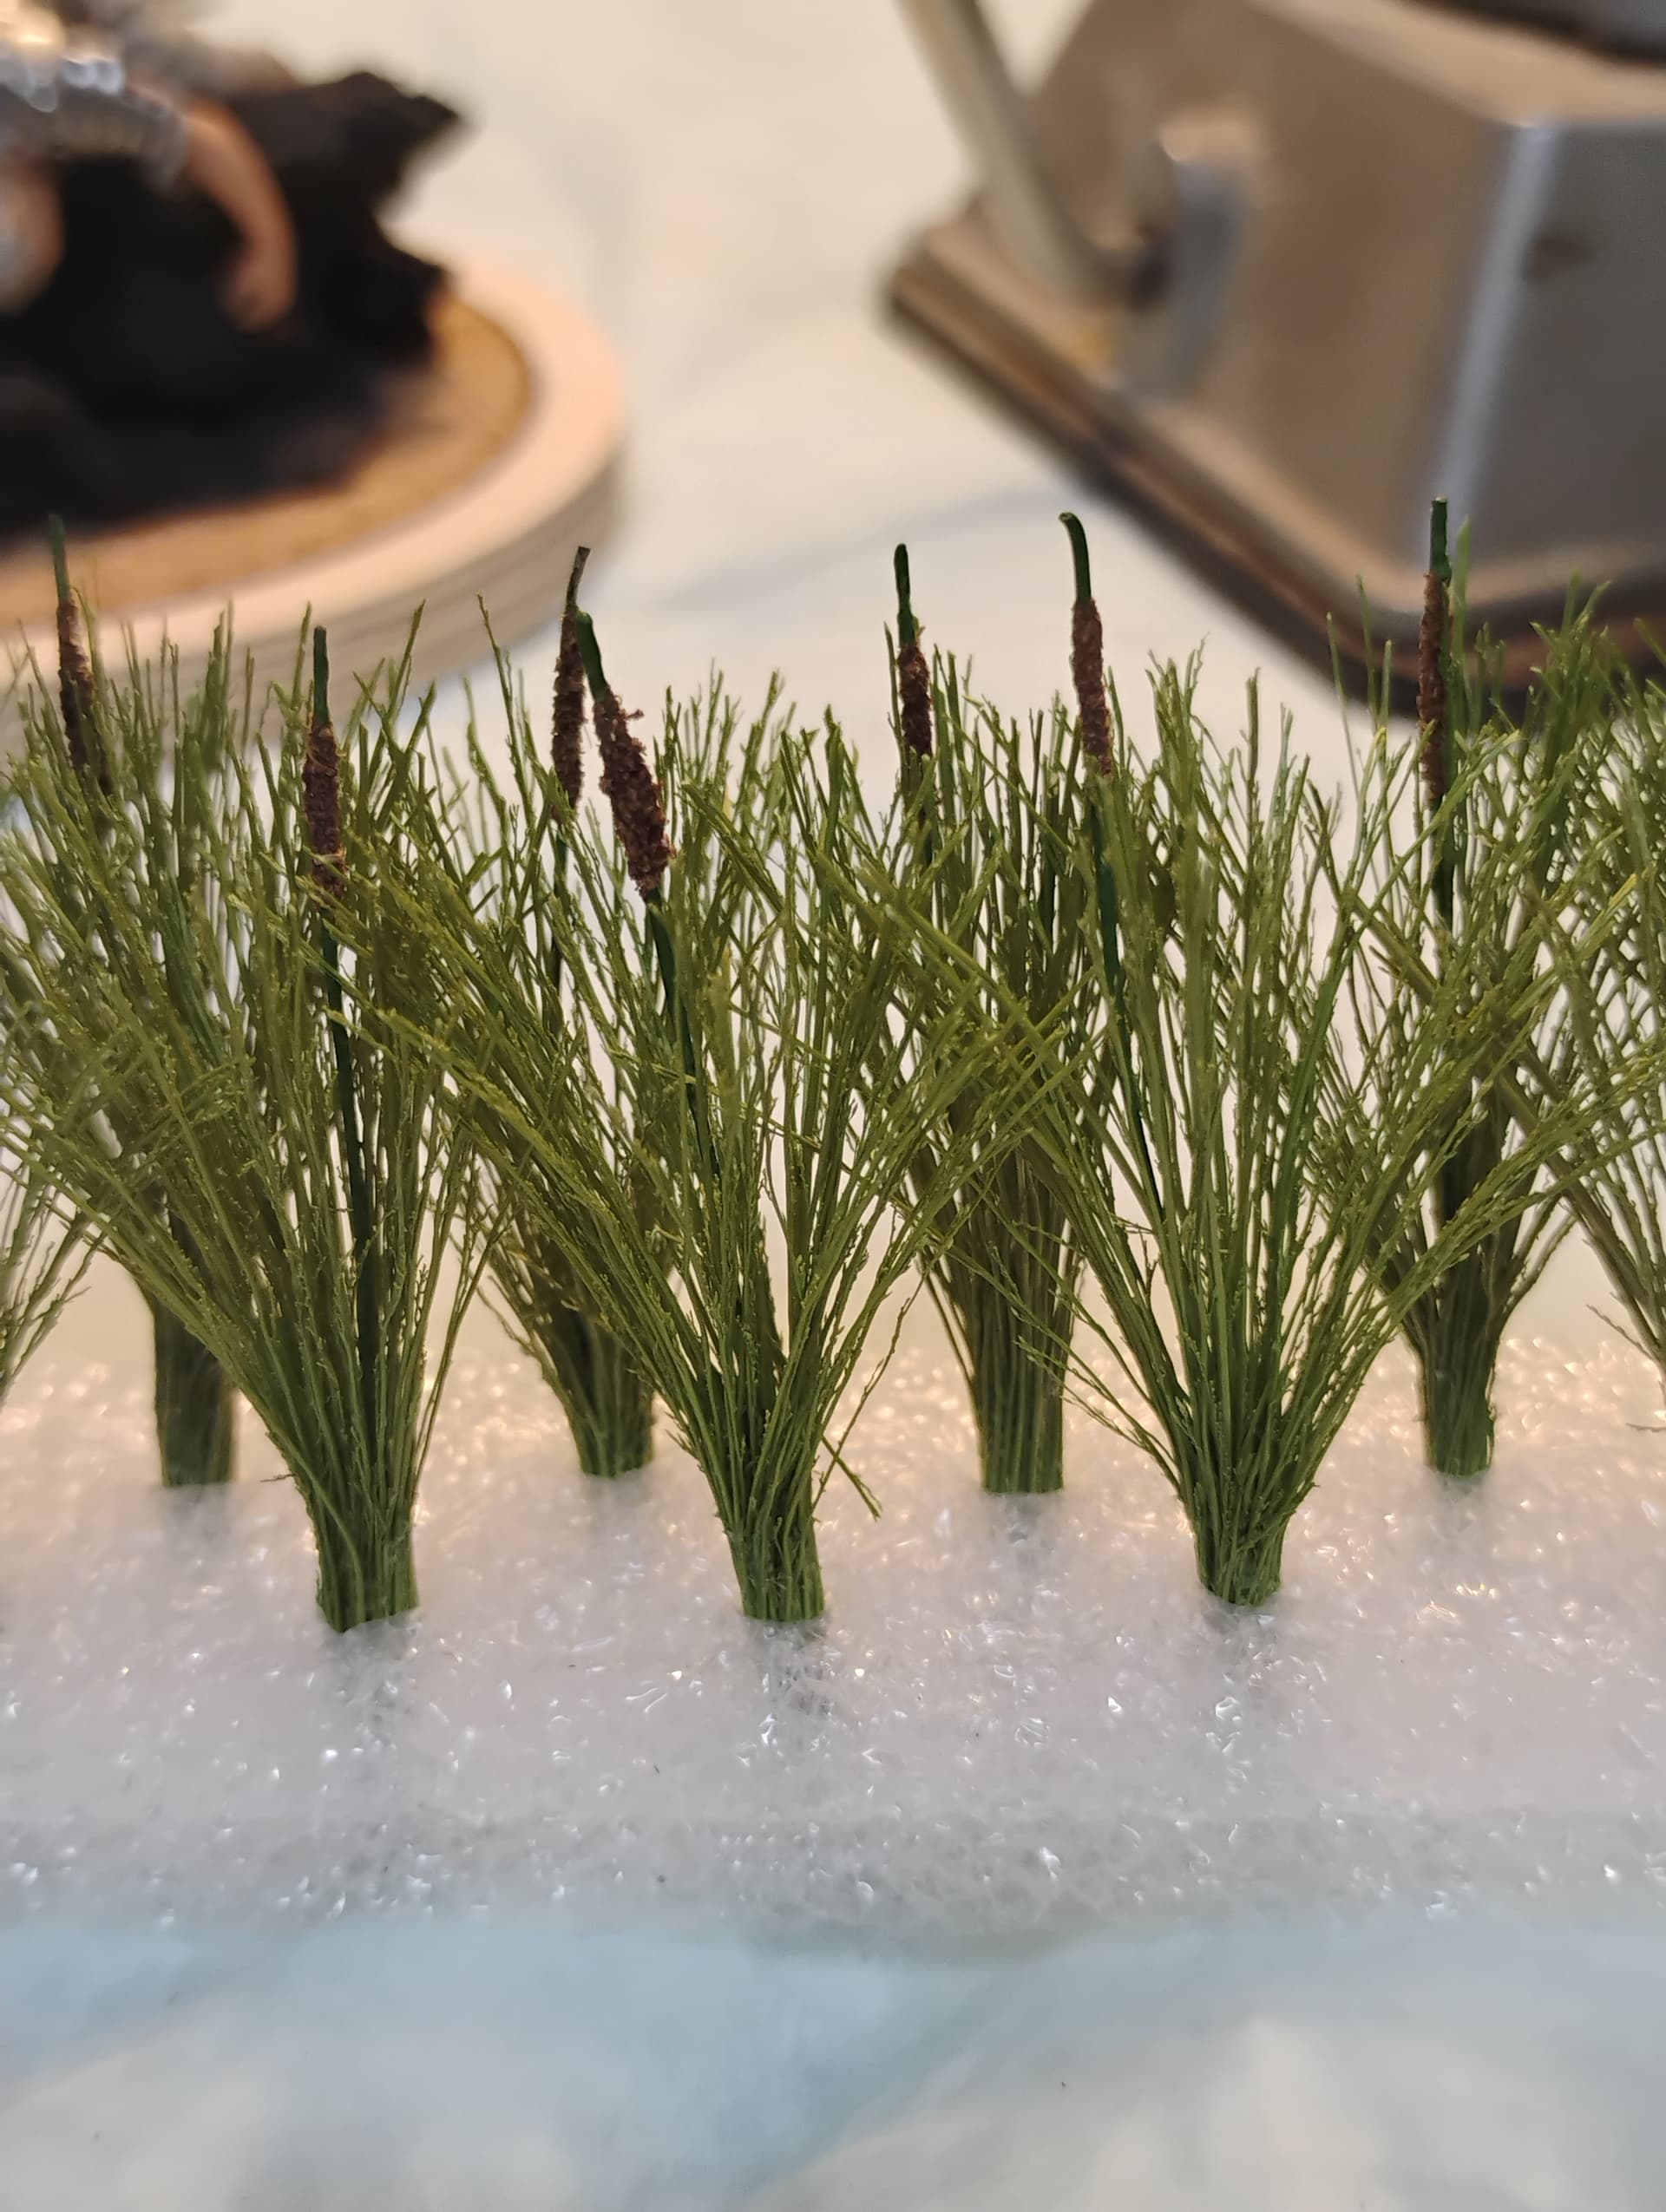
Also tinkered around with some reeds my wife came home with one day. I suspect that they were a Hobby Lobby impulse buy, but with a little paint, they do resemble cattails.


The post office sent notification that the rest of the diorama materials were delivered today. That would have been great news, but my wife has our only key to the mailbox. Great, huh?

The cloche base received a coat of gloss black. I’d share a pic, but there’s a very long dog hair stuck directly in the middle of it. So, maybe after some more sanding and a new coat of paint, I 'll get around to taking a pic.

With 24 hours until the wife comes home, I guess that I should be pleased with the progress, but now I have to worry about cleaning up the evidence here at the crime scene.

5 Likes

That’s a lot of progress! Coming along nicely. Laughed at Mort :rofl:

1 Like

It’s truly nice to see that you’re still around, Keavdog!

While I didn’t get everything accomplished that I would have hoped, but the important thing is that when my wife gets home, she won’t have to deal with the sharp smells, loud noises, and foul language that come with the hobby.

At this stage, everything sort of boils down to painting. As long as I wait for her to go to bed, I can get a few hours in each night to move this project forward.

Whether or not I can manage to keep this is a secret from her is another matter entirely…

1 Like

Progressing nicely. I understand about the foul language. It seems to be an essential part of hobby modeling. :grin:

Gary

1 Like

Cool project, following with interest.

With the news regarding the imminent closure of Andrea Miniatures, I figured it would be fitting to change the title of this a bit. I hope you don’t mind.

Anyhow, there has been some progress on this project, as well as a few setbacks.

The scenery elements which I had mentioned were sitting in a locked mail box were retrieved last Saturday, but the company shipped the wrong product. Working with their customer service on the matter now


The base has received a bit of work this week. The stacked plywood took more putty and sanding than I would have liked, but that’s how it goes when you have to stay on budget. I wound up using a pre-glued veneer to hide the edges of the plywood. It went on easily enough with a clothes iron, but it required it lot of test fitting the glass dome and sanding, then more puttying and sanding, and so forth and so on.


I conditioned and started the wood, but I wasn’t happy with the color on those spots where I had used the Gorilla filler. So, I opted for plan B instead.

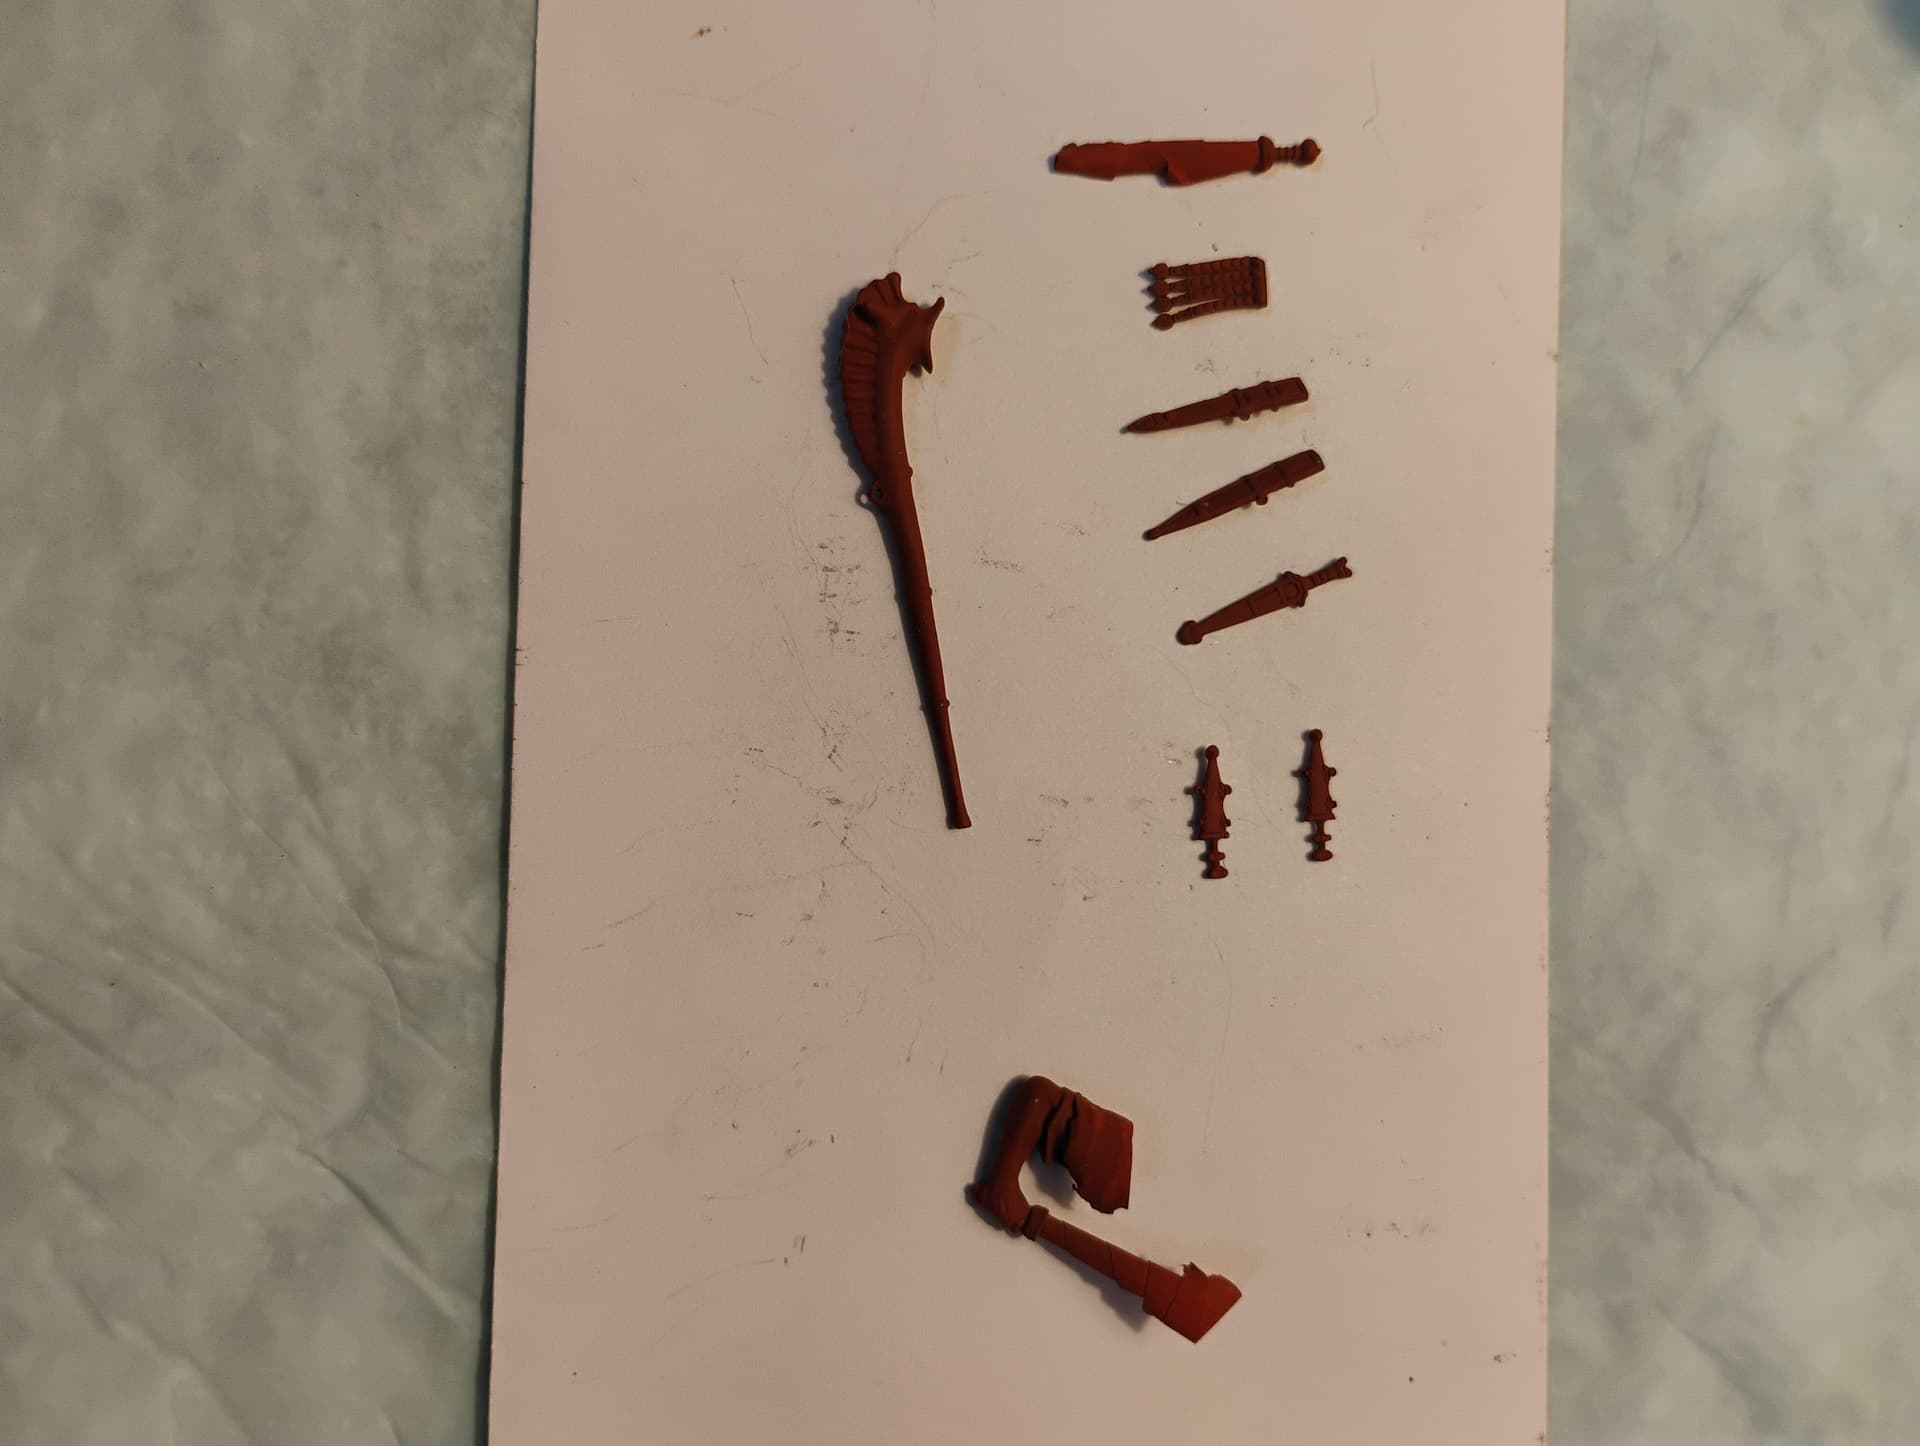
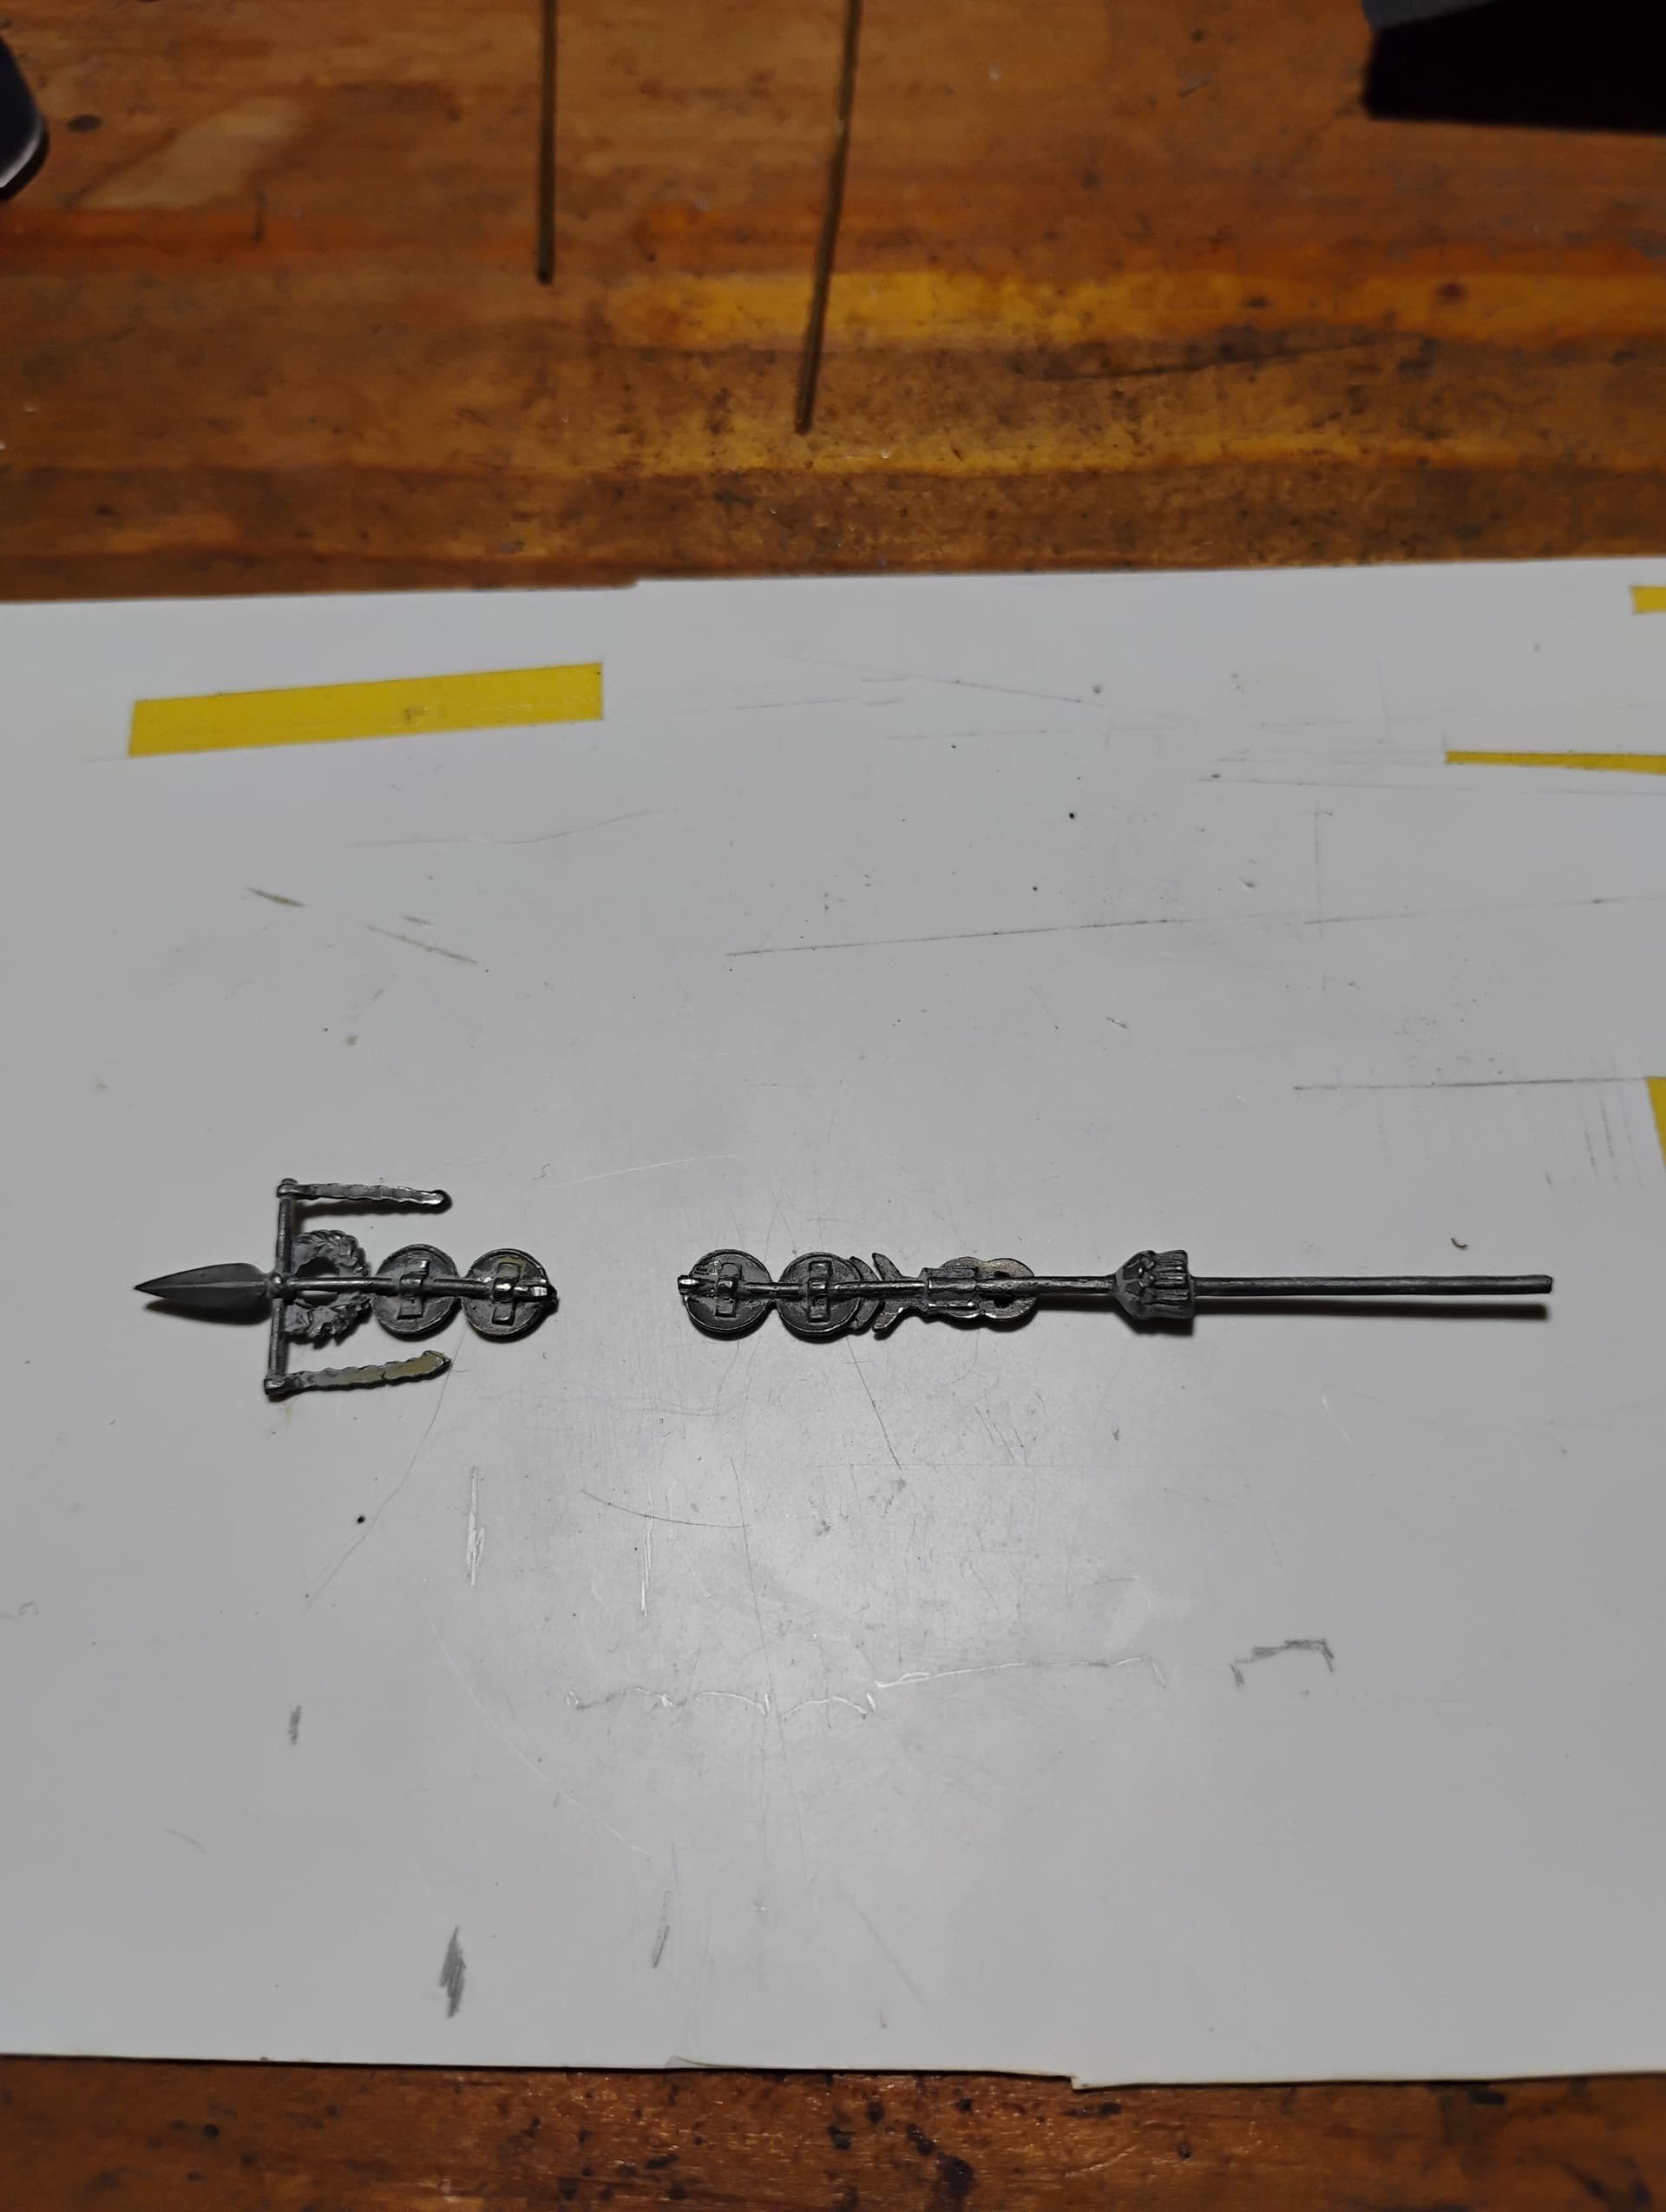
The Signum had broken during clean up, so I went ahead and broke things down.


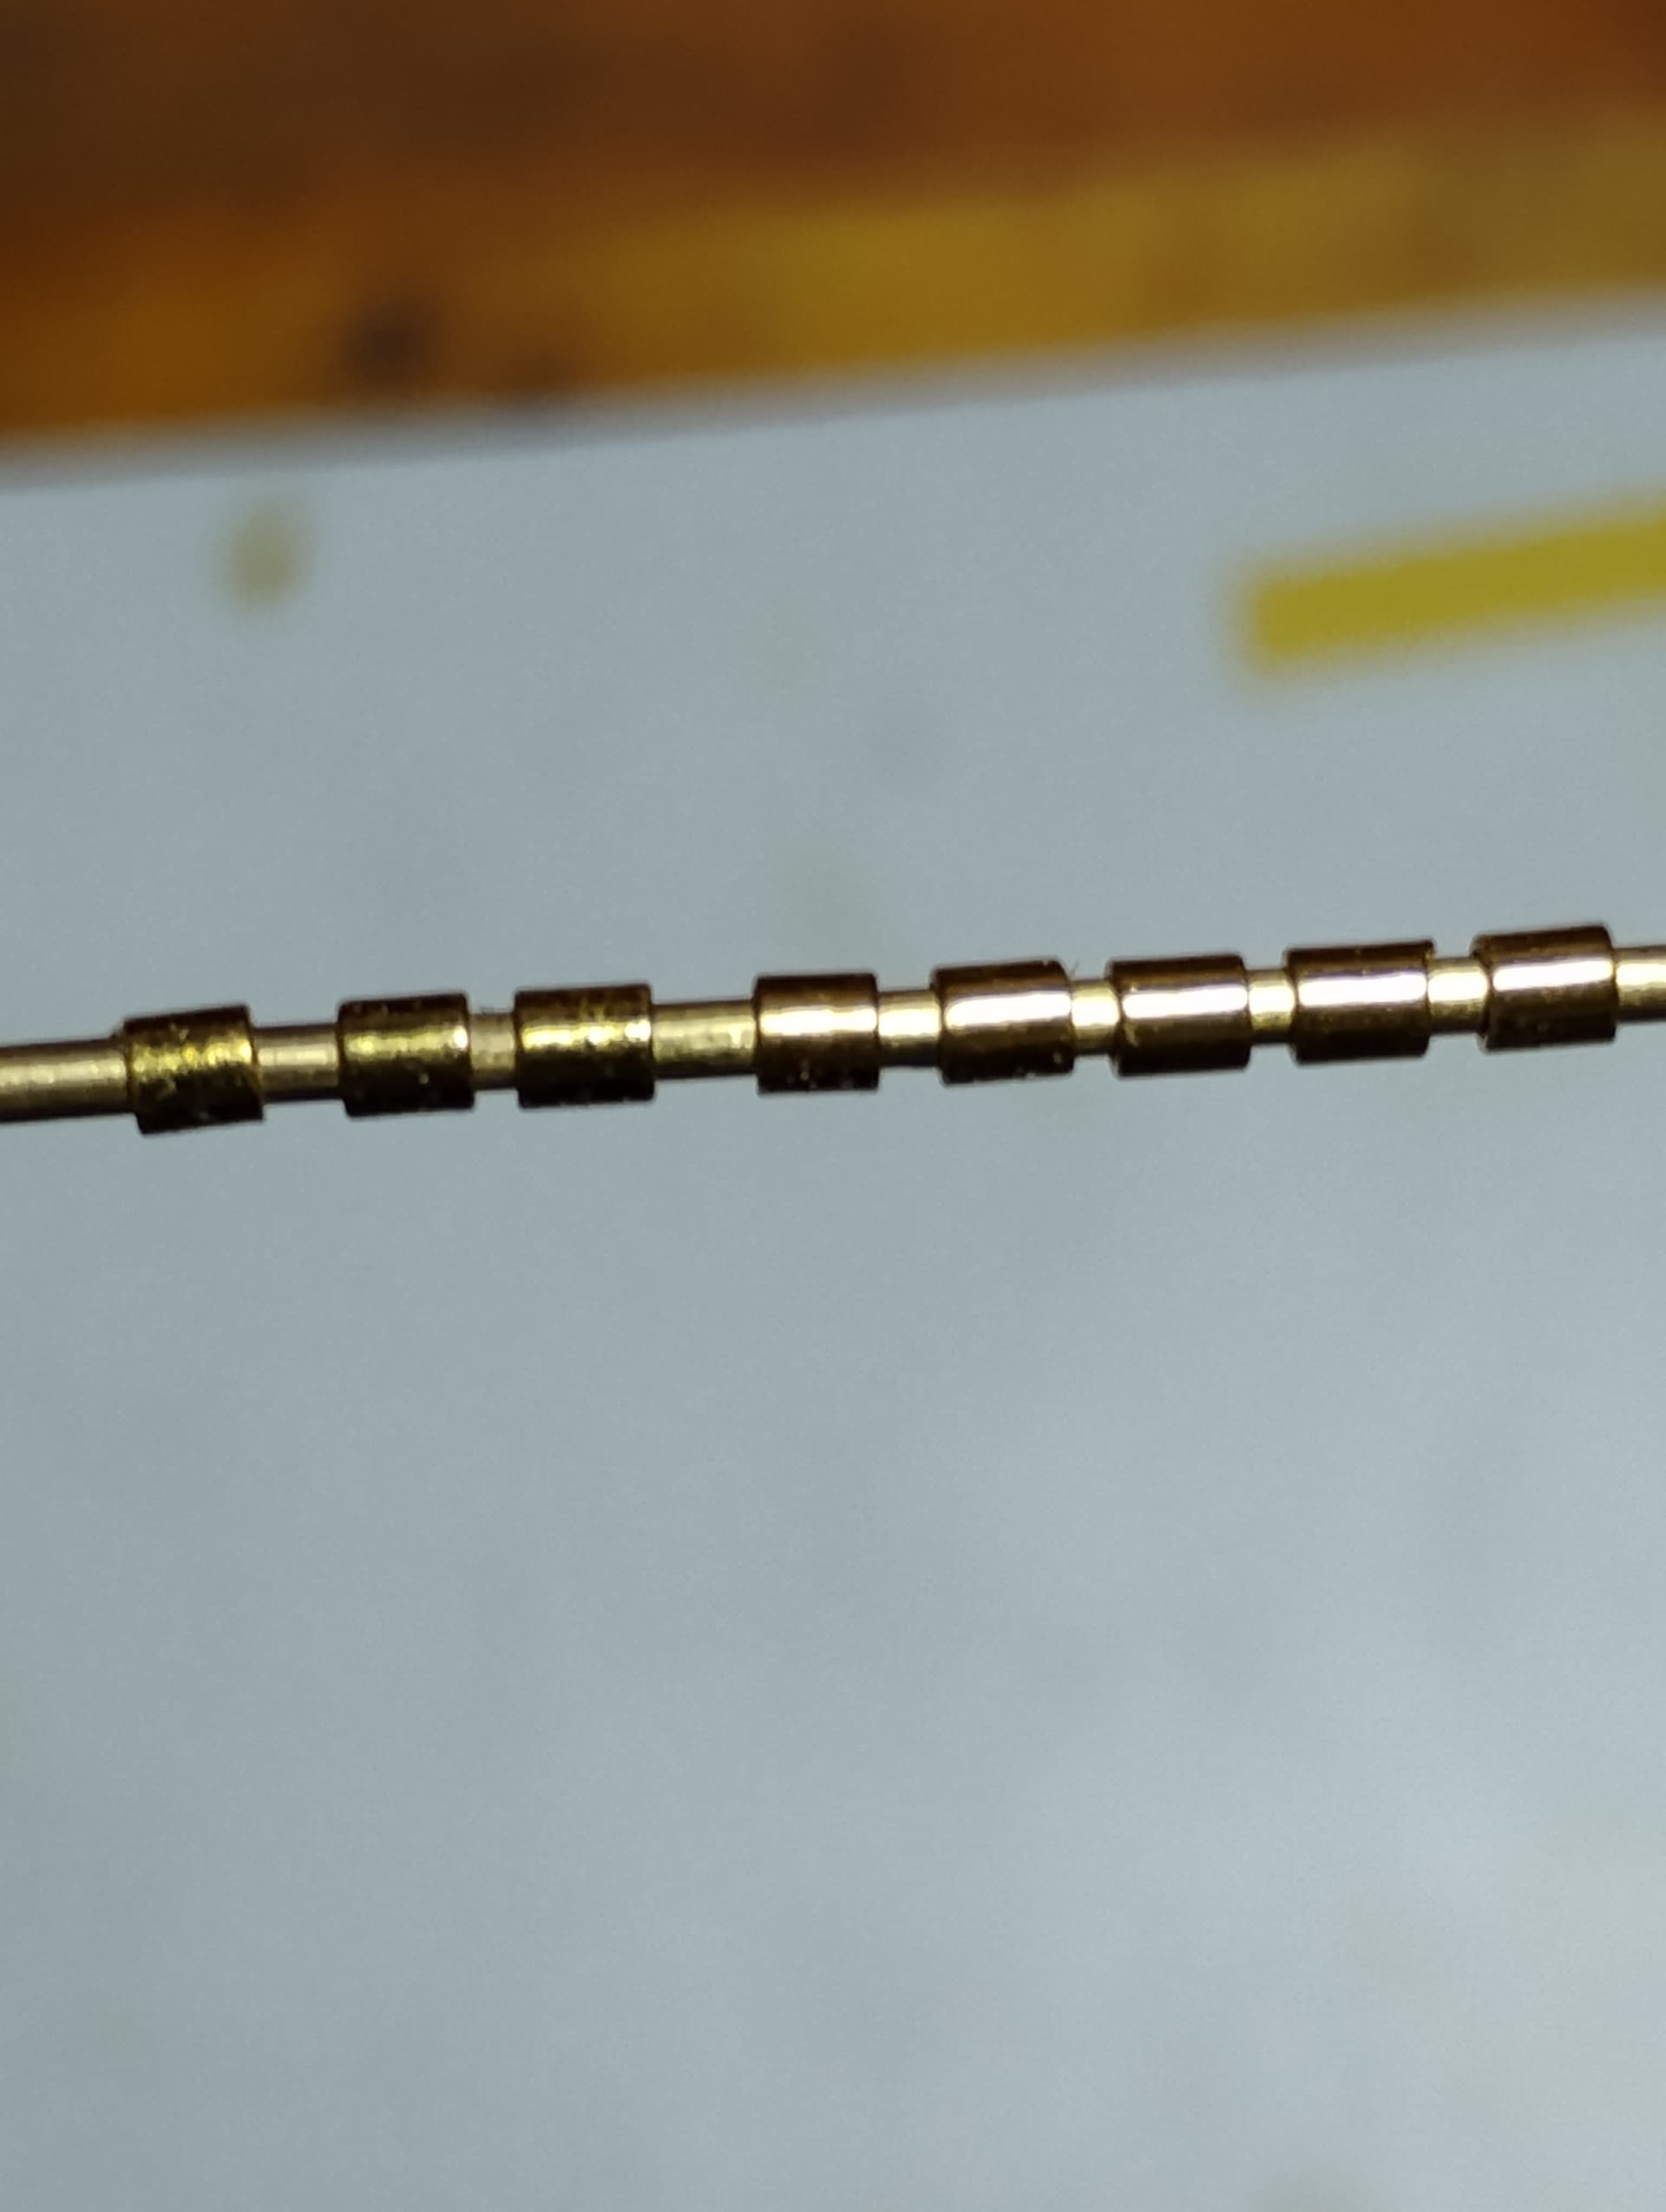
I’m using 3/64" brass rod to replace the shaft. I found a modest length of tubing to slide over it and cut it into equal lengths to replace the details I had to remove from the backs of the discs which decorate the Signum. The spear tip is currently clamped white epoxying it to the new shaft, so repairs will be moving along relatively quickly from here


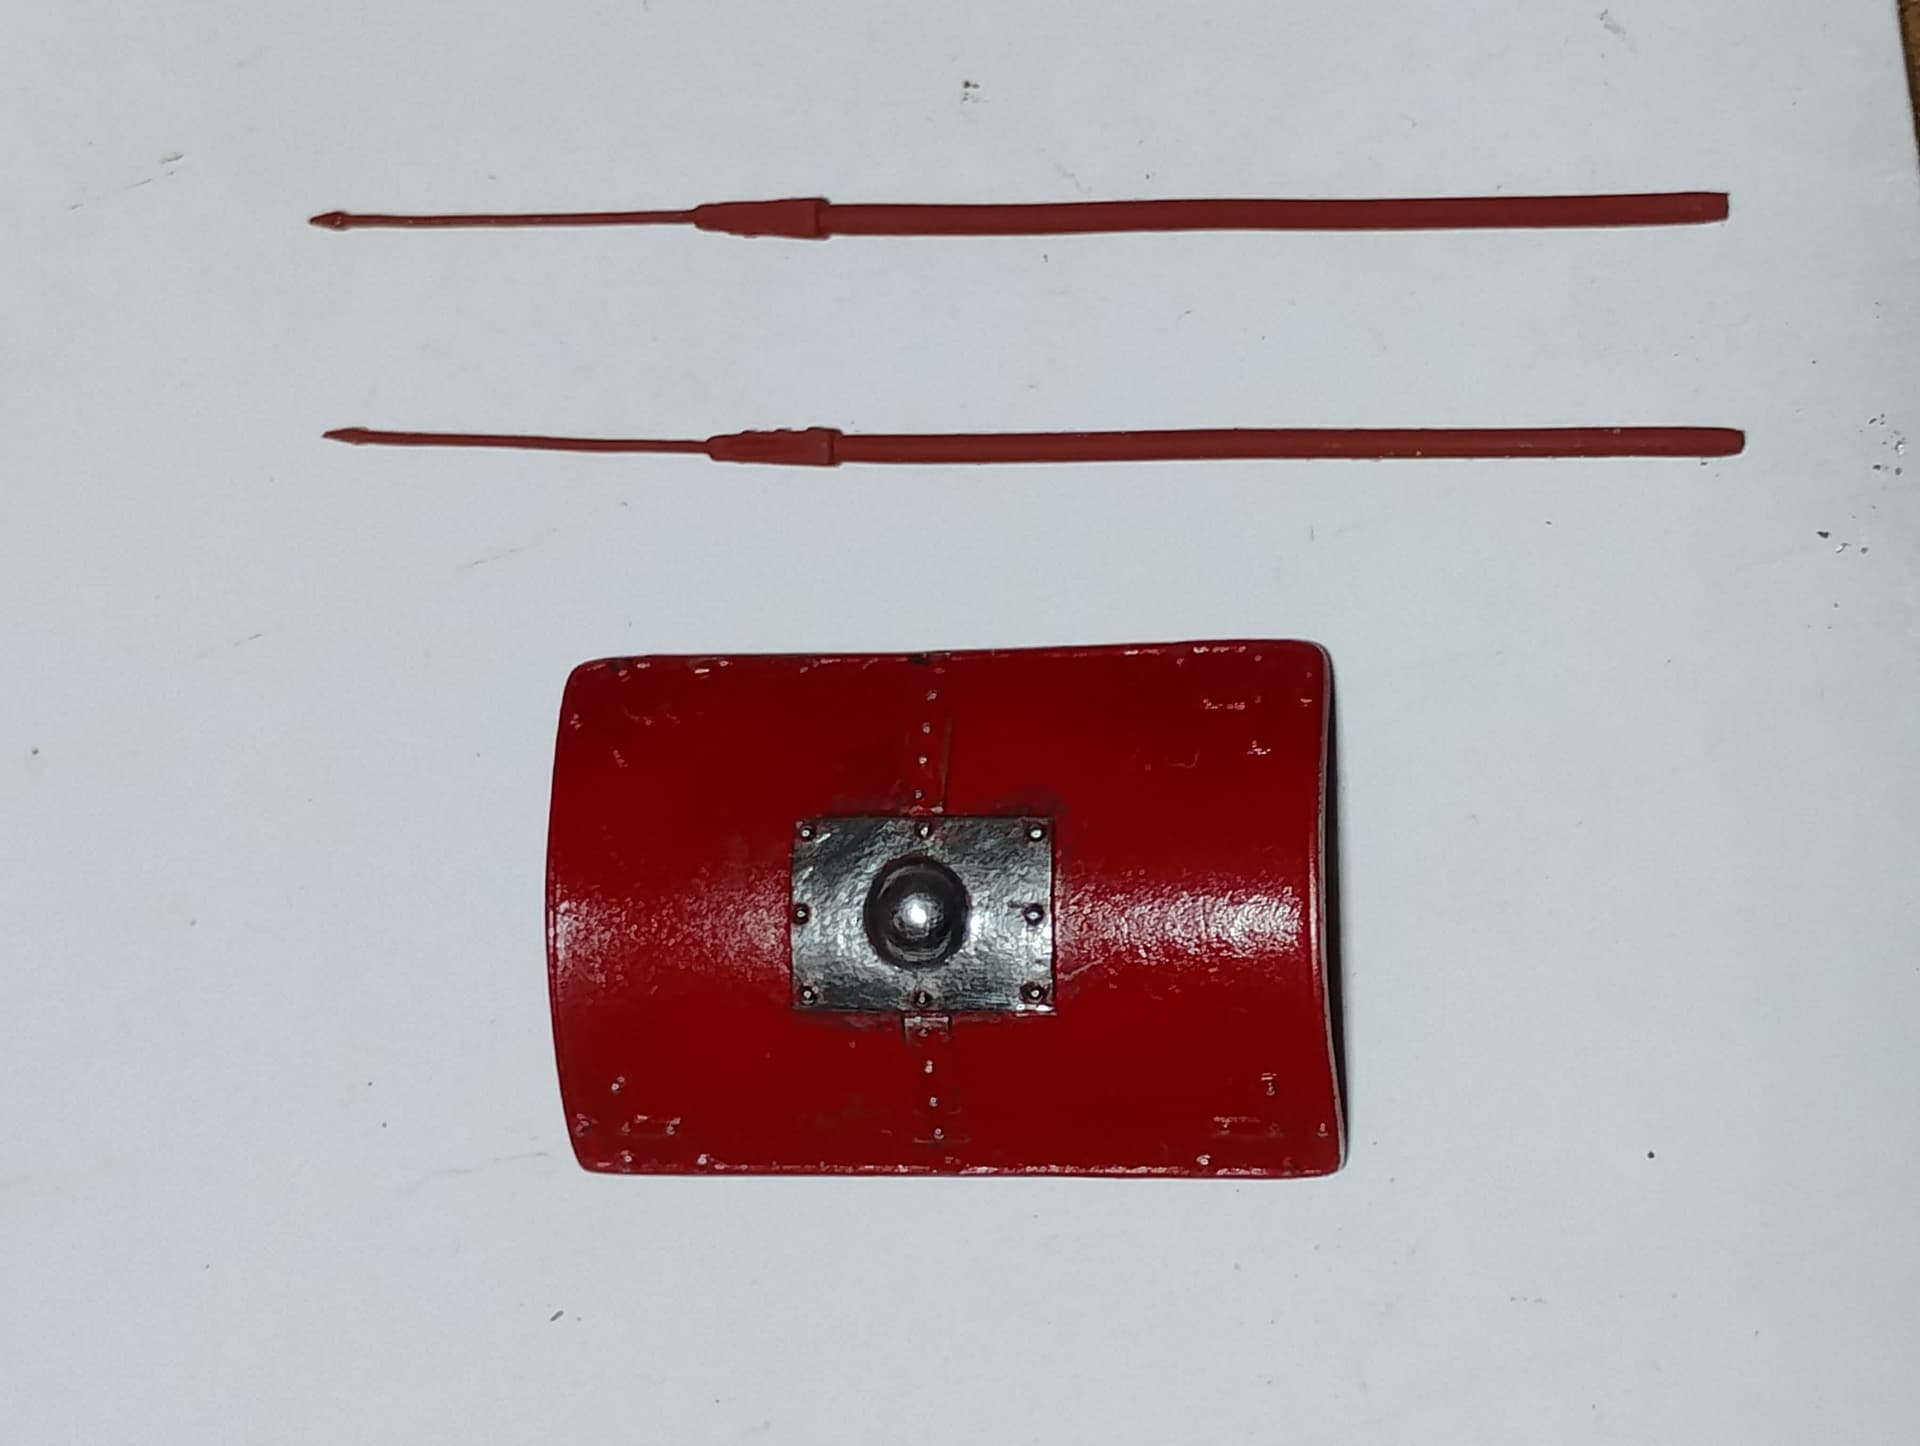
The scutum has received a bit of work. Not looking forward to having to work on the pilum javelins, however. The metal of the tips is thin enough to bend by simply staring at them too hard. Cleaning them up was a headache.

Anyhow, there’s been some progress over the last week…

1 Like