well guys as some of you know, i got the revell P-51B III 1/32 kit, im going to rescribe it and do some detailing on it ive started taking the raised detail off the wings and then relized that i still needed SOME rivets, so does anyone know a good way to rescribe rivets?
If you can find one, a screen roller with teeth makes a good rivet tool… Check your local hardware stores…
Or, you can make one using gears from old wind-up clocks, or a miniature saw blade for a motor tool.
There are several riveting tools available.
thanks for the quick responses!, another thing i meant to ask is on model aircraft, are rivets a 100% neccesary? i mean ive seen a lot of kits that dont have a single rivet. what do you think
Yahhh, just don’t turn on the motortool!
One thing you have to remember about the P-51 is that it had laminar-flow wings, which were puttied over before leaving the factory. Thus, when new, there would be no rivets visible on the wings. However, with use, and especially around acess hatches, this putty would chip off, exposing rivets, and not always be replaced,
You can get tools called pounce whels, used mainly in leatheworking, which are good for representing rivets. Good craft stores stock them, or you can buy them on-line - Google ‘pounce wheel’, and you’ll probably find a suitable supplier.
Truth to tell, in 1/32, if you’ve scribed the panel lines, you could probably get away without doing the rivets. In recent years, both Dragon and Trumpeter have both released large-scale P-51Ds, and both were criticised for excessive recessed rivet detail. I guess you can’t win!
Cheers,
Chris.
The diameter of a rivet was (on average) around 3/8", and that scales down to .011", in 1/32 scale. Is it worth the hassle?
At the end of 1942, Spitfire wings were given the same treatment as the P-51, at least over the first 20%, and this finish was meant to be maintained, plus, from June, 1943, the whole airframe was flush-rivetted.
Edgar
Mate…it’s hard to REALLY figure out what flush rivets should look like in 48th scale, or 32nd scale…I work in Aerospace, and we manufacture assemblies for Boeing, Airbus, Gulfstream, Lockheed Martin…and a flush rivet is just that…FLUSH with the surface of the skin of the assembly or fuselage…and I do mean, to 0.010" or 0.005" on average…and that’s a BLOODY small tolerance in 1:1 scale…let alone 48th or 32nd scale…
But - there’s no question that flush rivets can be, and often are, quite visible to the naked eye. The underlying structure might often be slightly thicker material than the skin, and when you rivet skins to a sub-structure, the skin will deform slightly, creating a dimpled effect.
Pounce wheels, available from haberdashery shops, are great for reproducing rivets on aircraft. I’ve got 3, of differing diameters, and the little points are of a different pitch on all 3, so I’ve got options…they were cheap, too. Go to a sewing shop and ask for pounce wheels -they’re a great way to make rivet marks with a perfect pitch between them.
Funny this topic should come up, as I’ve been wondering something along the same lines for a while.
For demonstration purposes, here is a large pic of a P-51D that I took a month ago
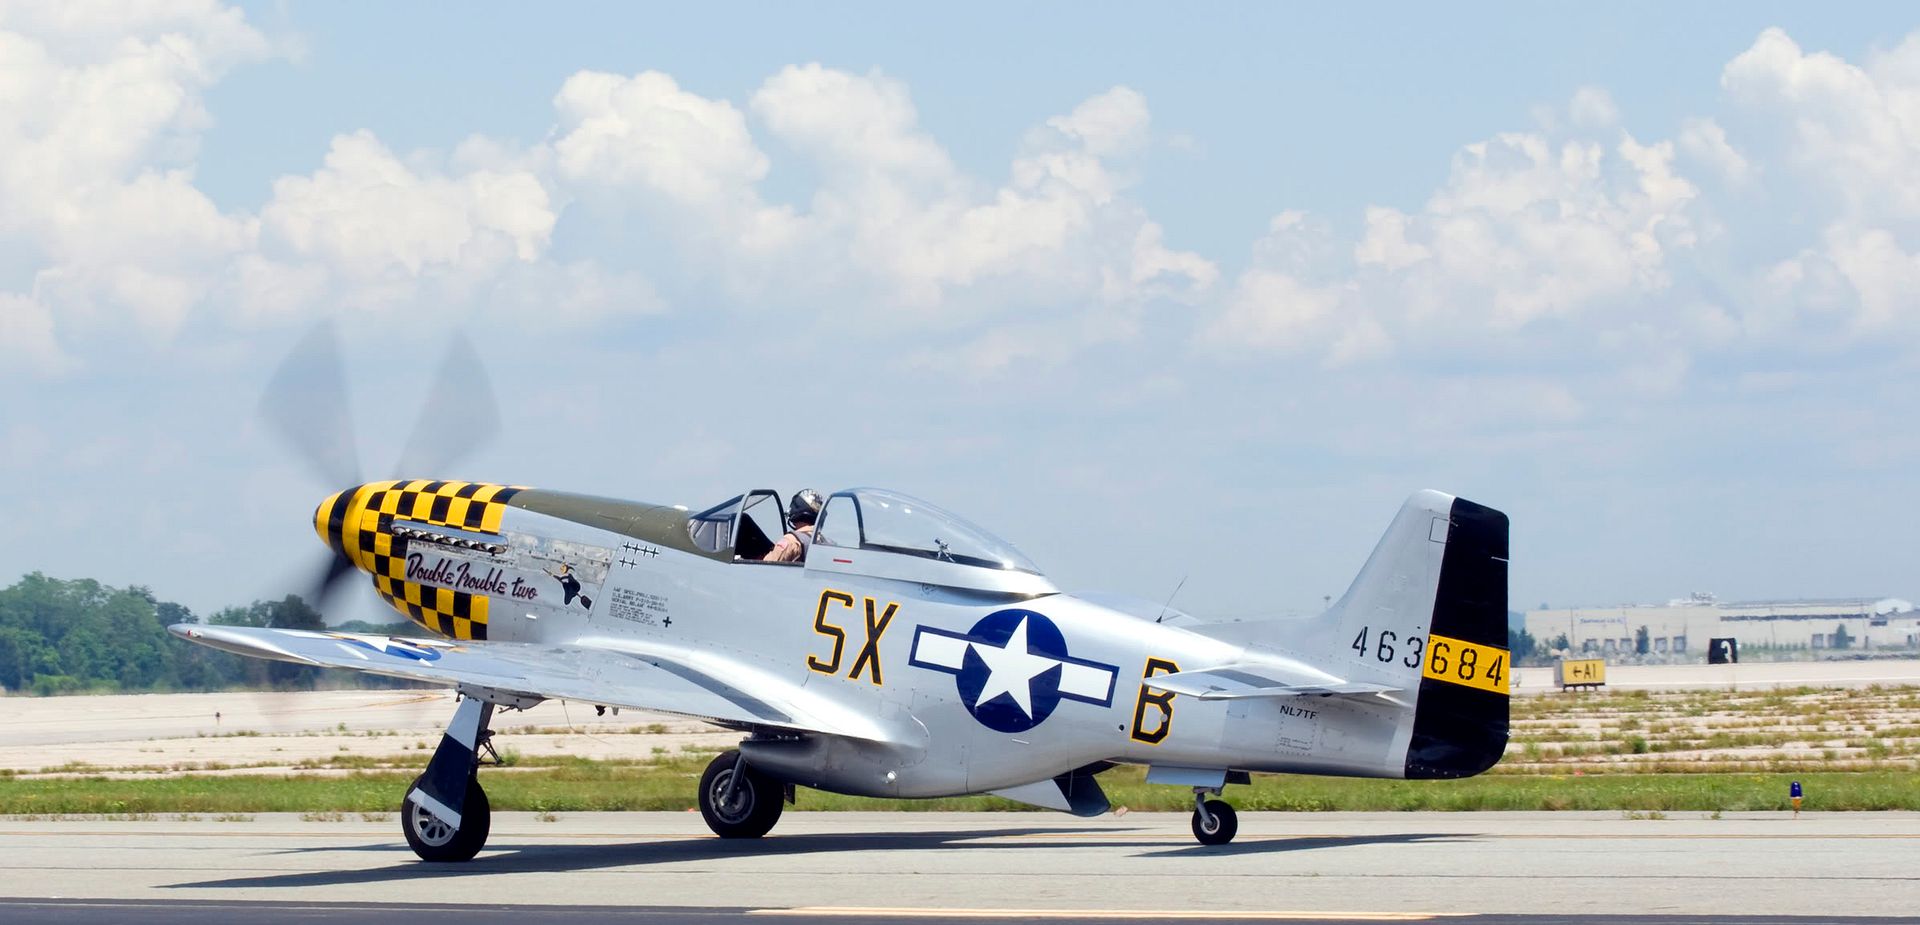
Even in person, the rivets are barely visible. How would they look scaled down? They’d be invisible.
Now here’s a picture of a falcon
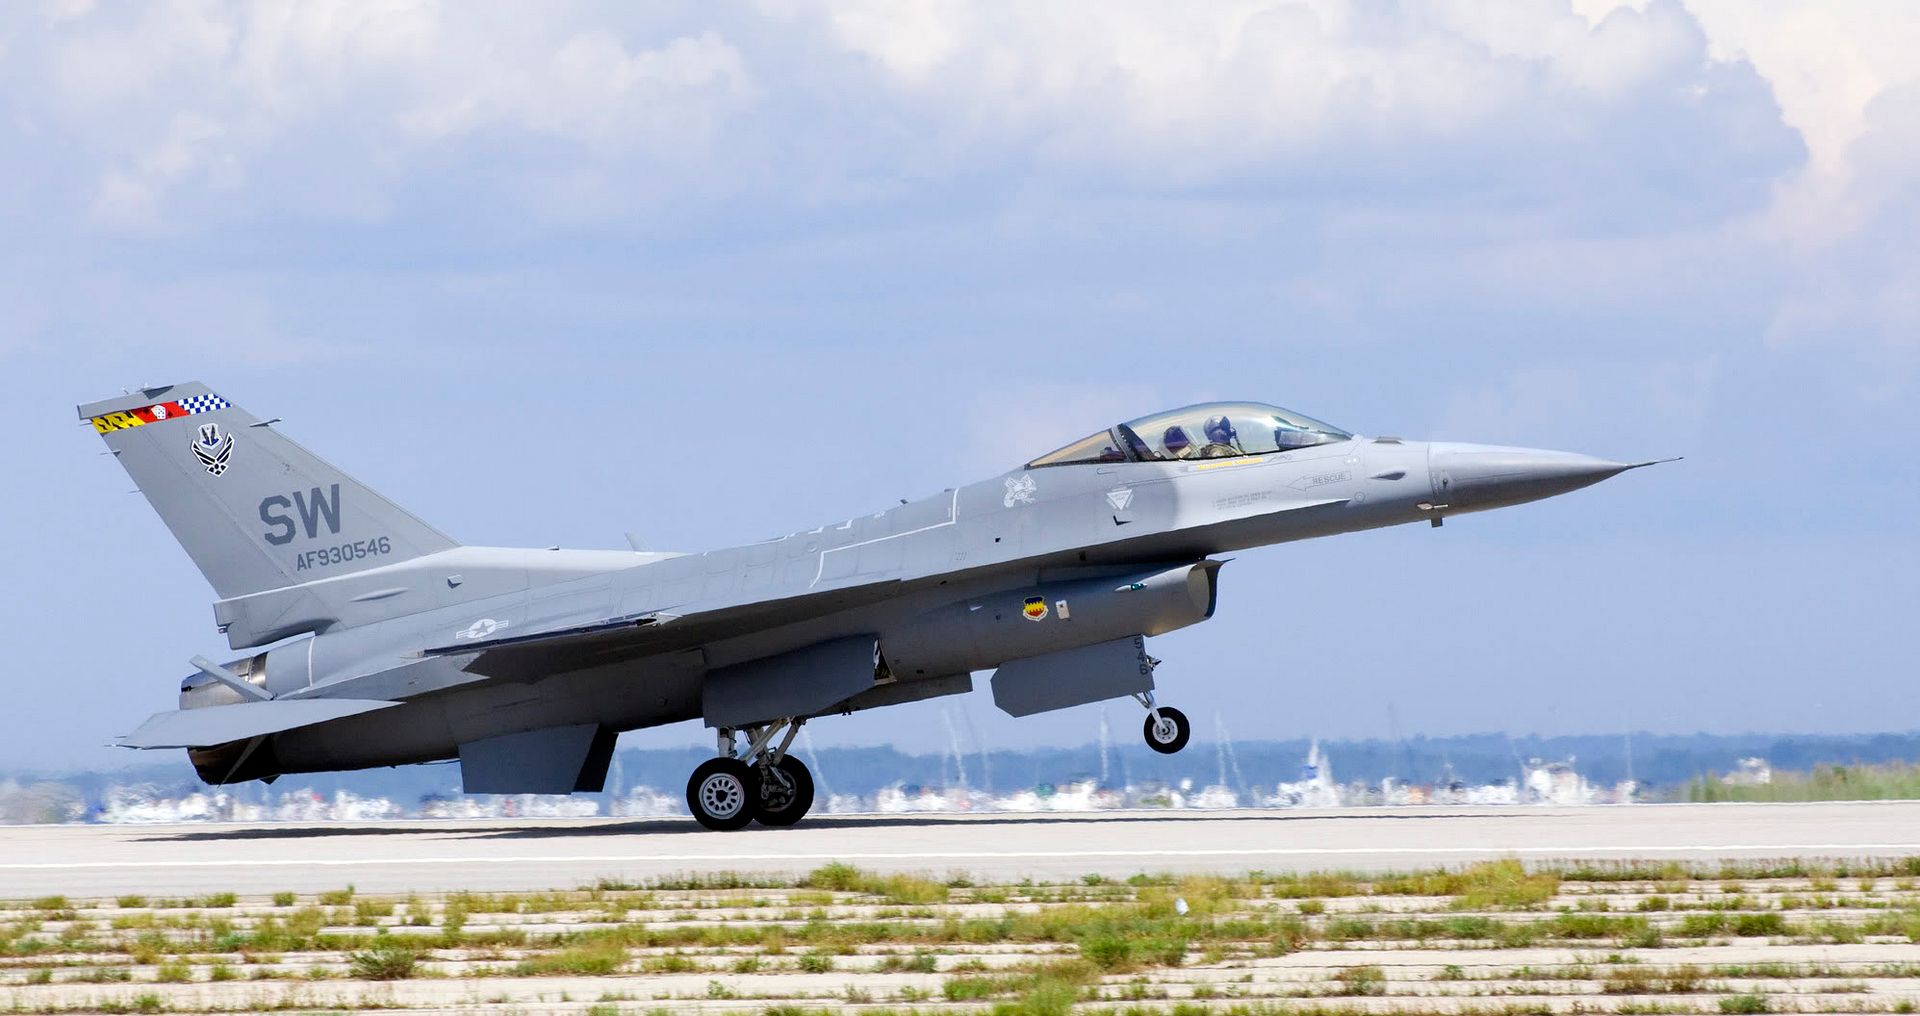
Dang near invisible panel lines - yet when it gets modeled, they seem to be dramatically over-enhanced.
I’m starting to wonder if modeling rivets and panel lines is completely incorrect.
-Fred
Flush rivets in particular are invisible on a 1:1 aircraft from more than about six feet away… even more so if the aircraft is painted.
On some aircraft, it’s worth reproducing the rivets. For example, Academy’s 1/48 CH-53 has no rivet detail at all. The 1:1 aircraft, however, has very noticable raised rivets, made even more so by the fact that the aircraft are usually grimy and crud collects around the rivet heads. On a dirty CH-53, you can see the rivet lines from over a hundred feet away.
On a Mustang, I personally would reproduce fasteners, which are much larger, but not rivets. You’ll find fasteners on engine access panels, gun and ammo hatches, and other places that are meant to be opened up on a regular basis. The rest of the airframe is really your call.
Right now I’m building an Airfix Spitfire XVI which has no rivet detail at all, just fasteners on the engine access panels. I wouldn’t dream of going to the work to add them on this particular aircraft. They would, in all likelihood, disappear under the relatively dark camouflage anyway. I also have the aforementioned Academy CH-53, and I do plan to rivet that monster, Heaven help me. [:)]
It comes down to a style issue. Maybe modeling panel lines and recessed rivets isn’t 100% correct, but it does add visual interest to the model. Through your paint, weathering, and finishing techniques, you can choose to emphasize or de-emphasize them according to your tastes. Artistic license is part of the fun! [;)]
Kevin
My[2c]
With the variety of opinions shown here, my favorite axiom, as usual it is up to the builder.
As another for instance, with WWI aircraft, often builders go to great lengths to get the rigging just so on1/48th or smaller scale kits, when in fact if you look at a photograph, it is often invisible.
I would review some photos of the subject, both historical and current warbird shots and decide from there.
Tom T [C):-)]
you guys are right, i think i will just sand around the fasteners and leave out rivets all together i cant even see them on the real bird
If you’re building a camouflaged RAF Mustang III or USAAF P-51B/C, keep in mind that the Dzus fasteners on the cowl and oil/coolant tank doors would be showing some silver from wear & tear… Even on NMF birds, for that matter, they got dirty around the edges and “popped out” pretty well, even from a distance…
thanks hans, i plan on doing a NMF finish on her, and pretty much scratching a cockpit, i can use all the help i can get im going to leave the fastener detail around the nose and air intake