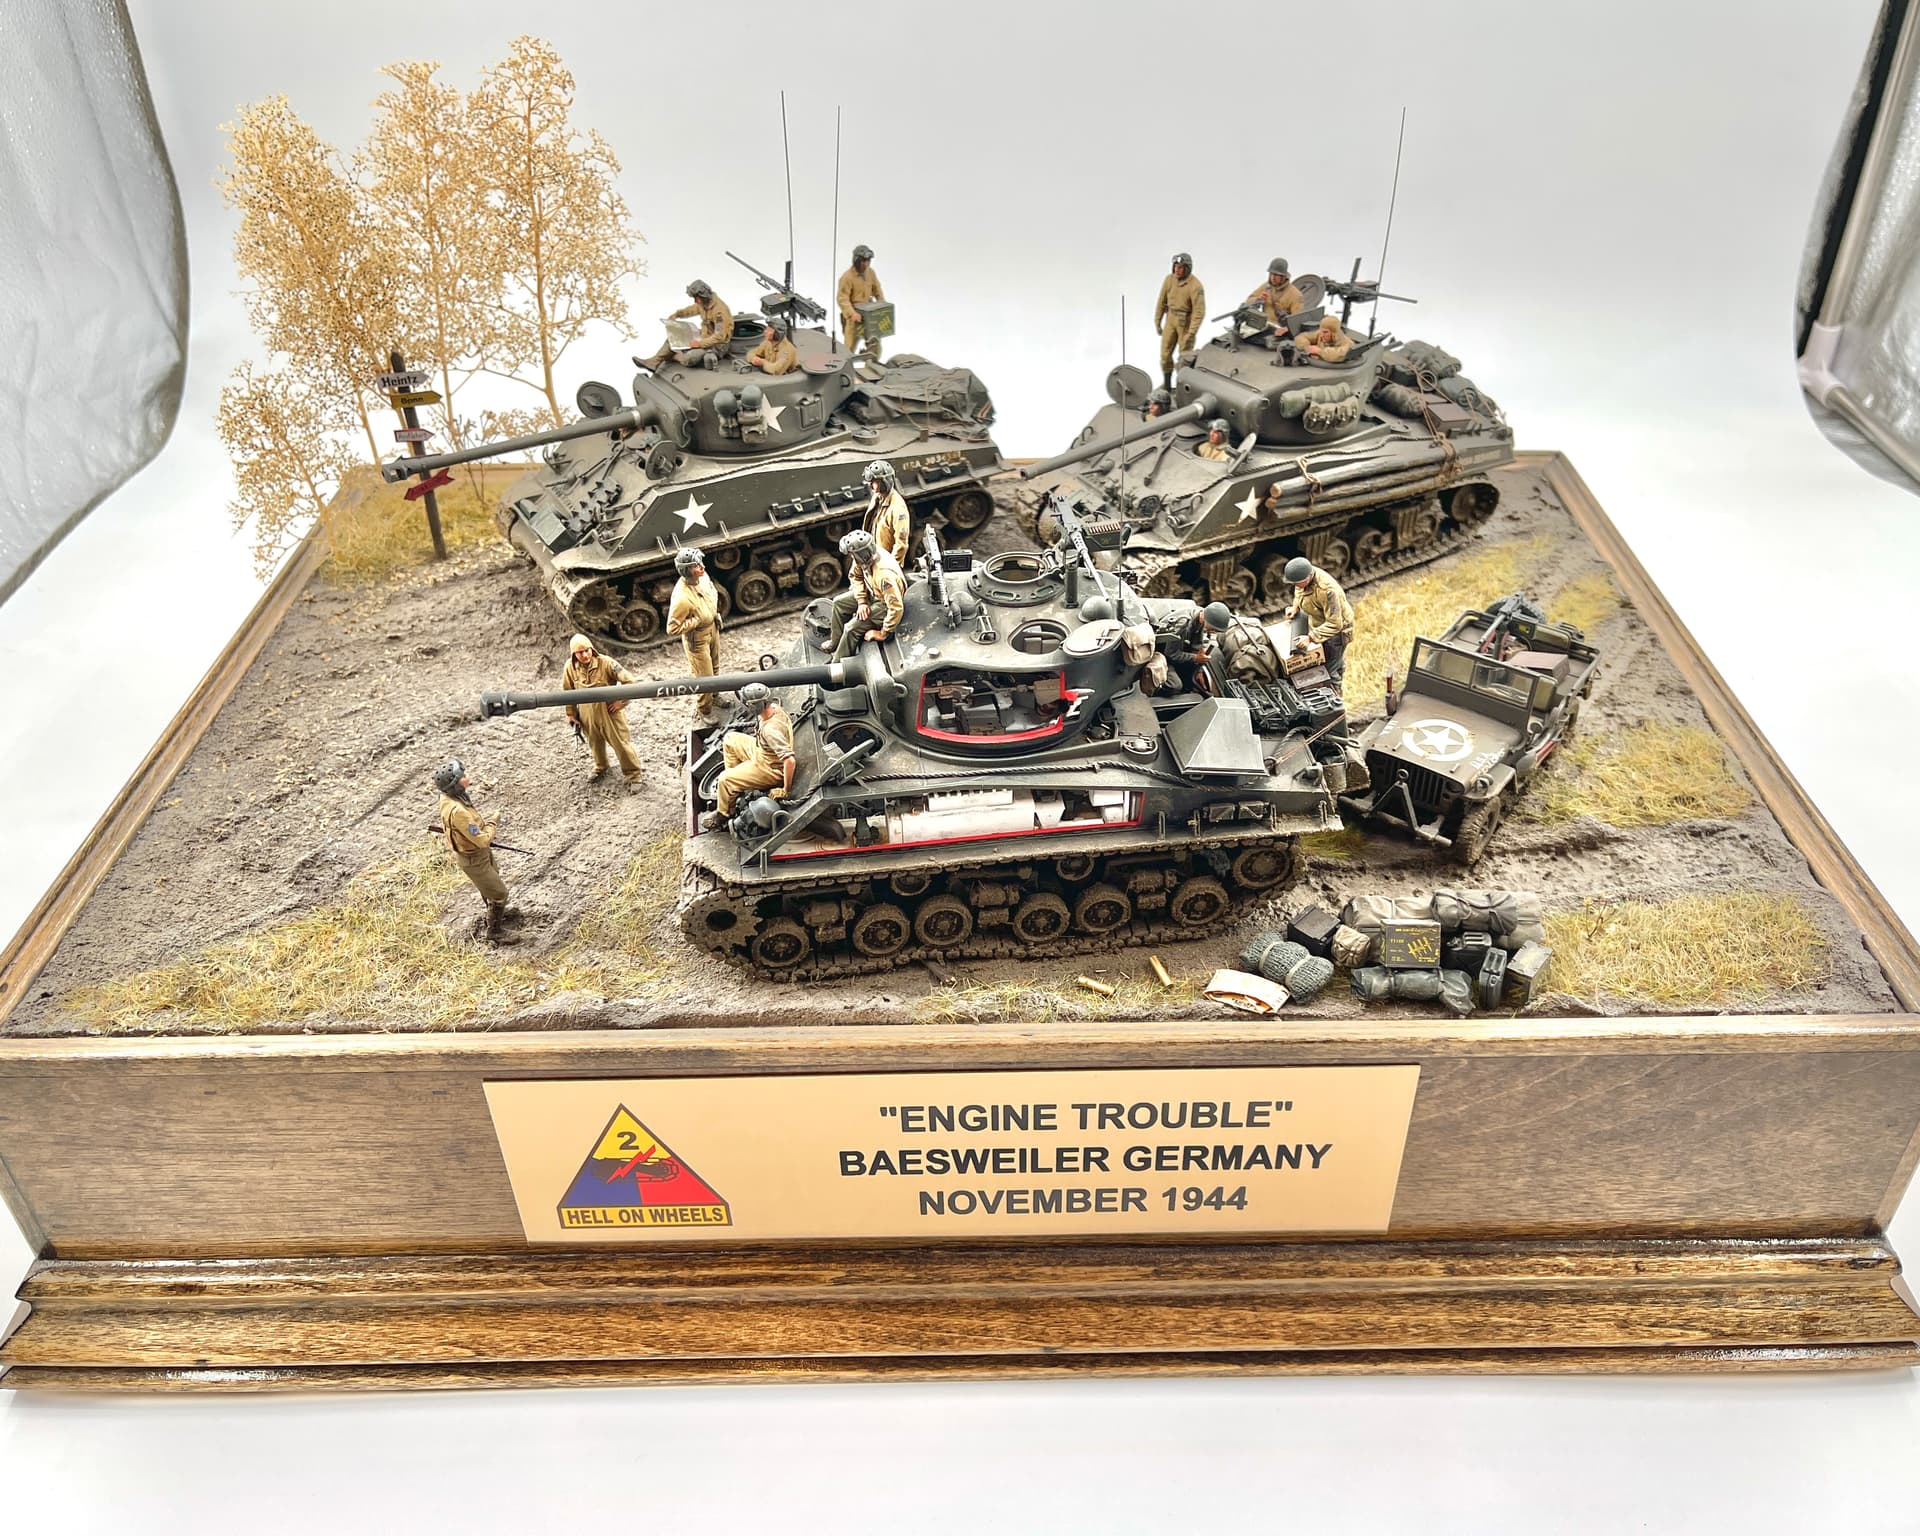
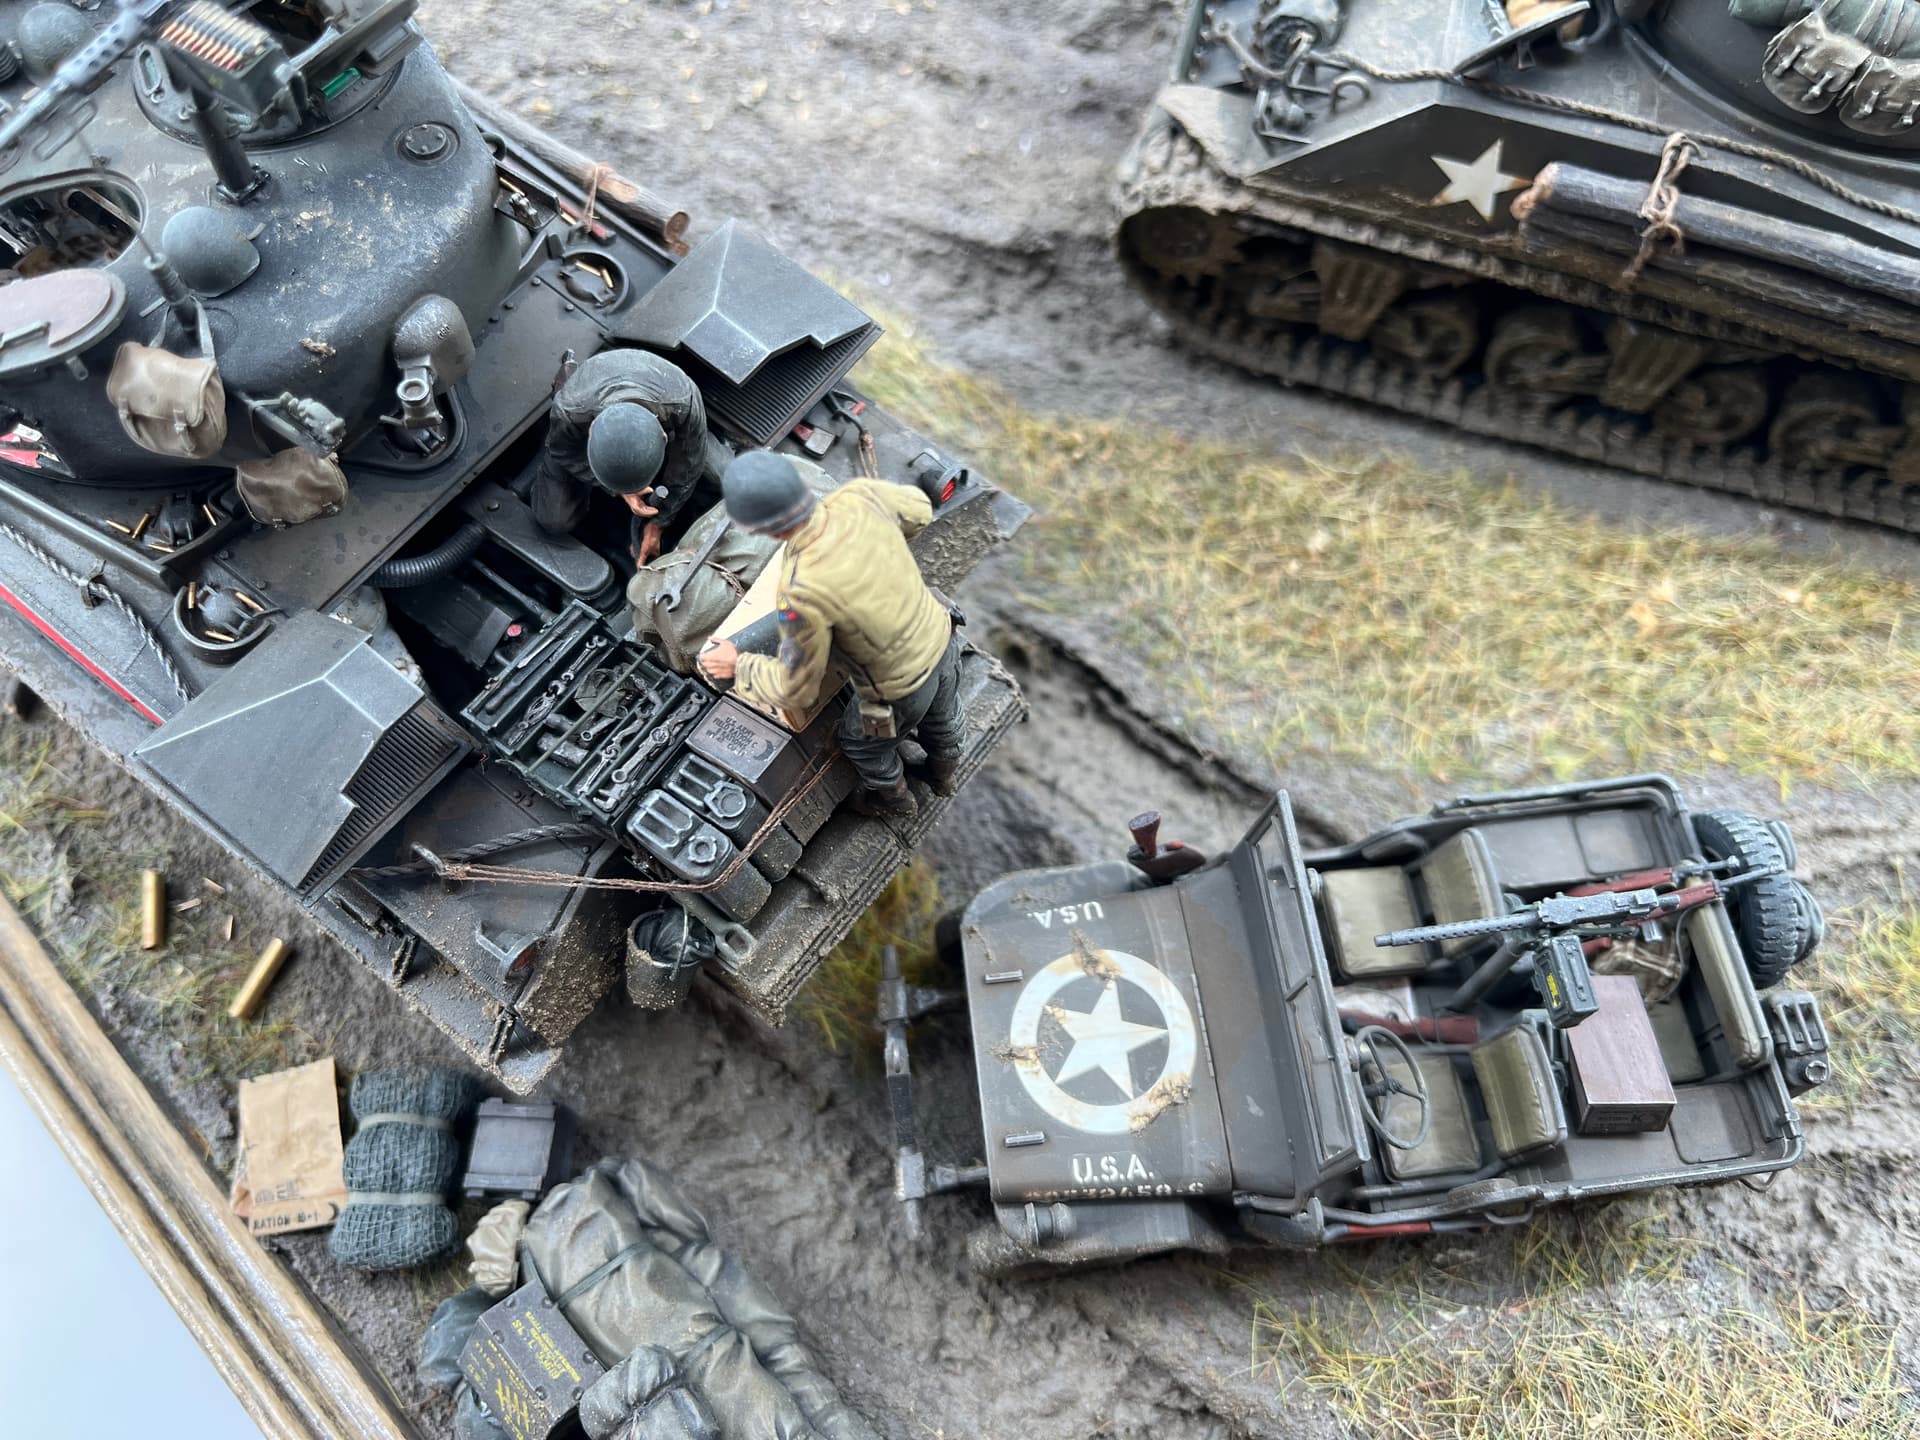
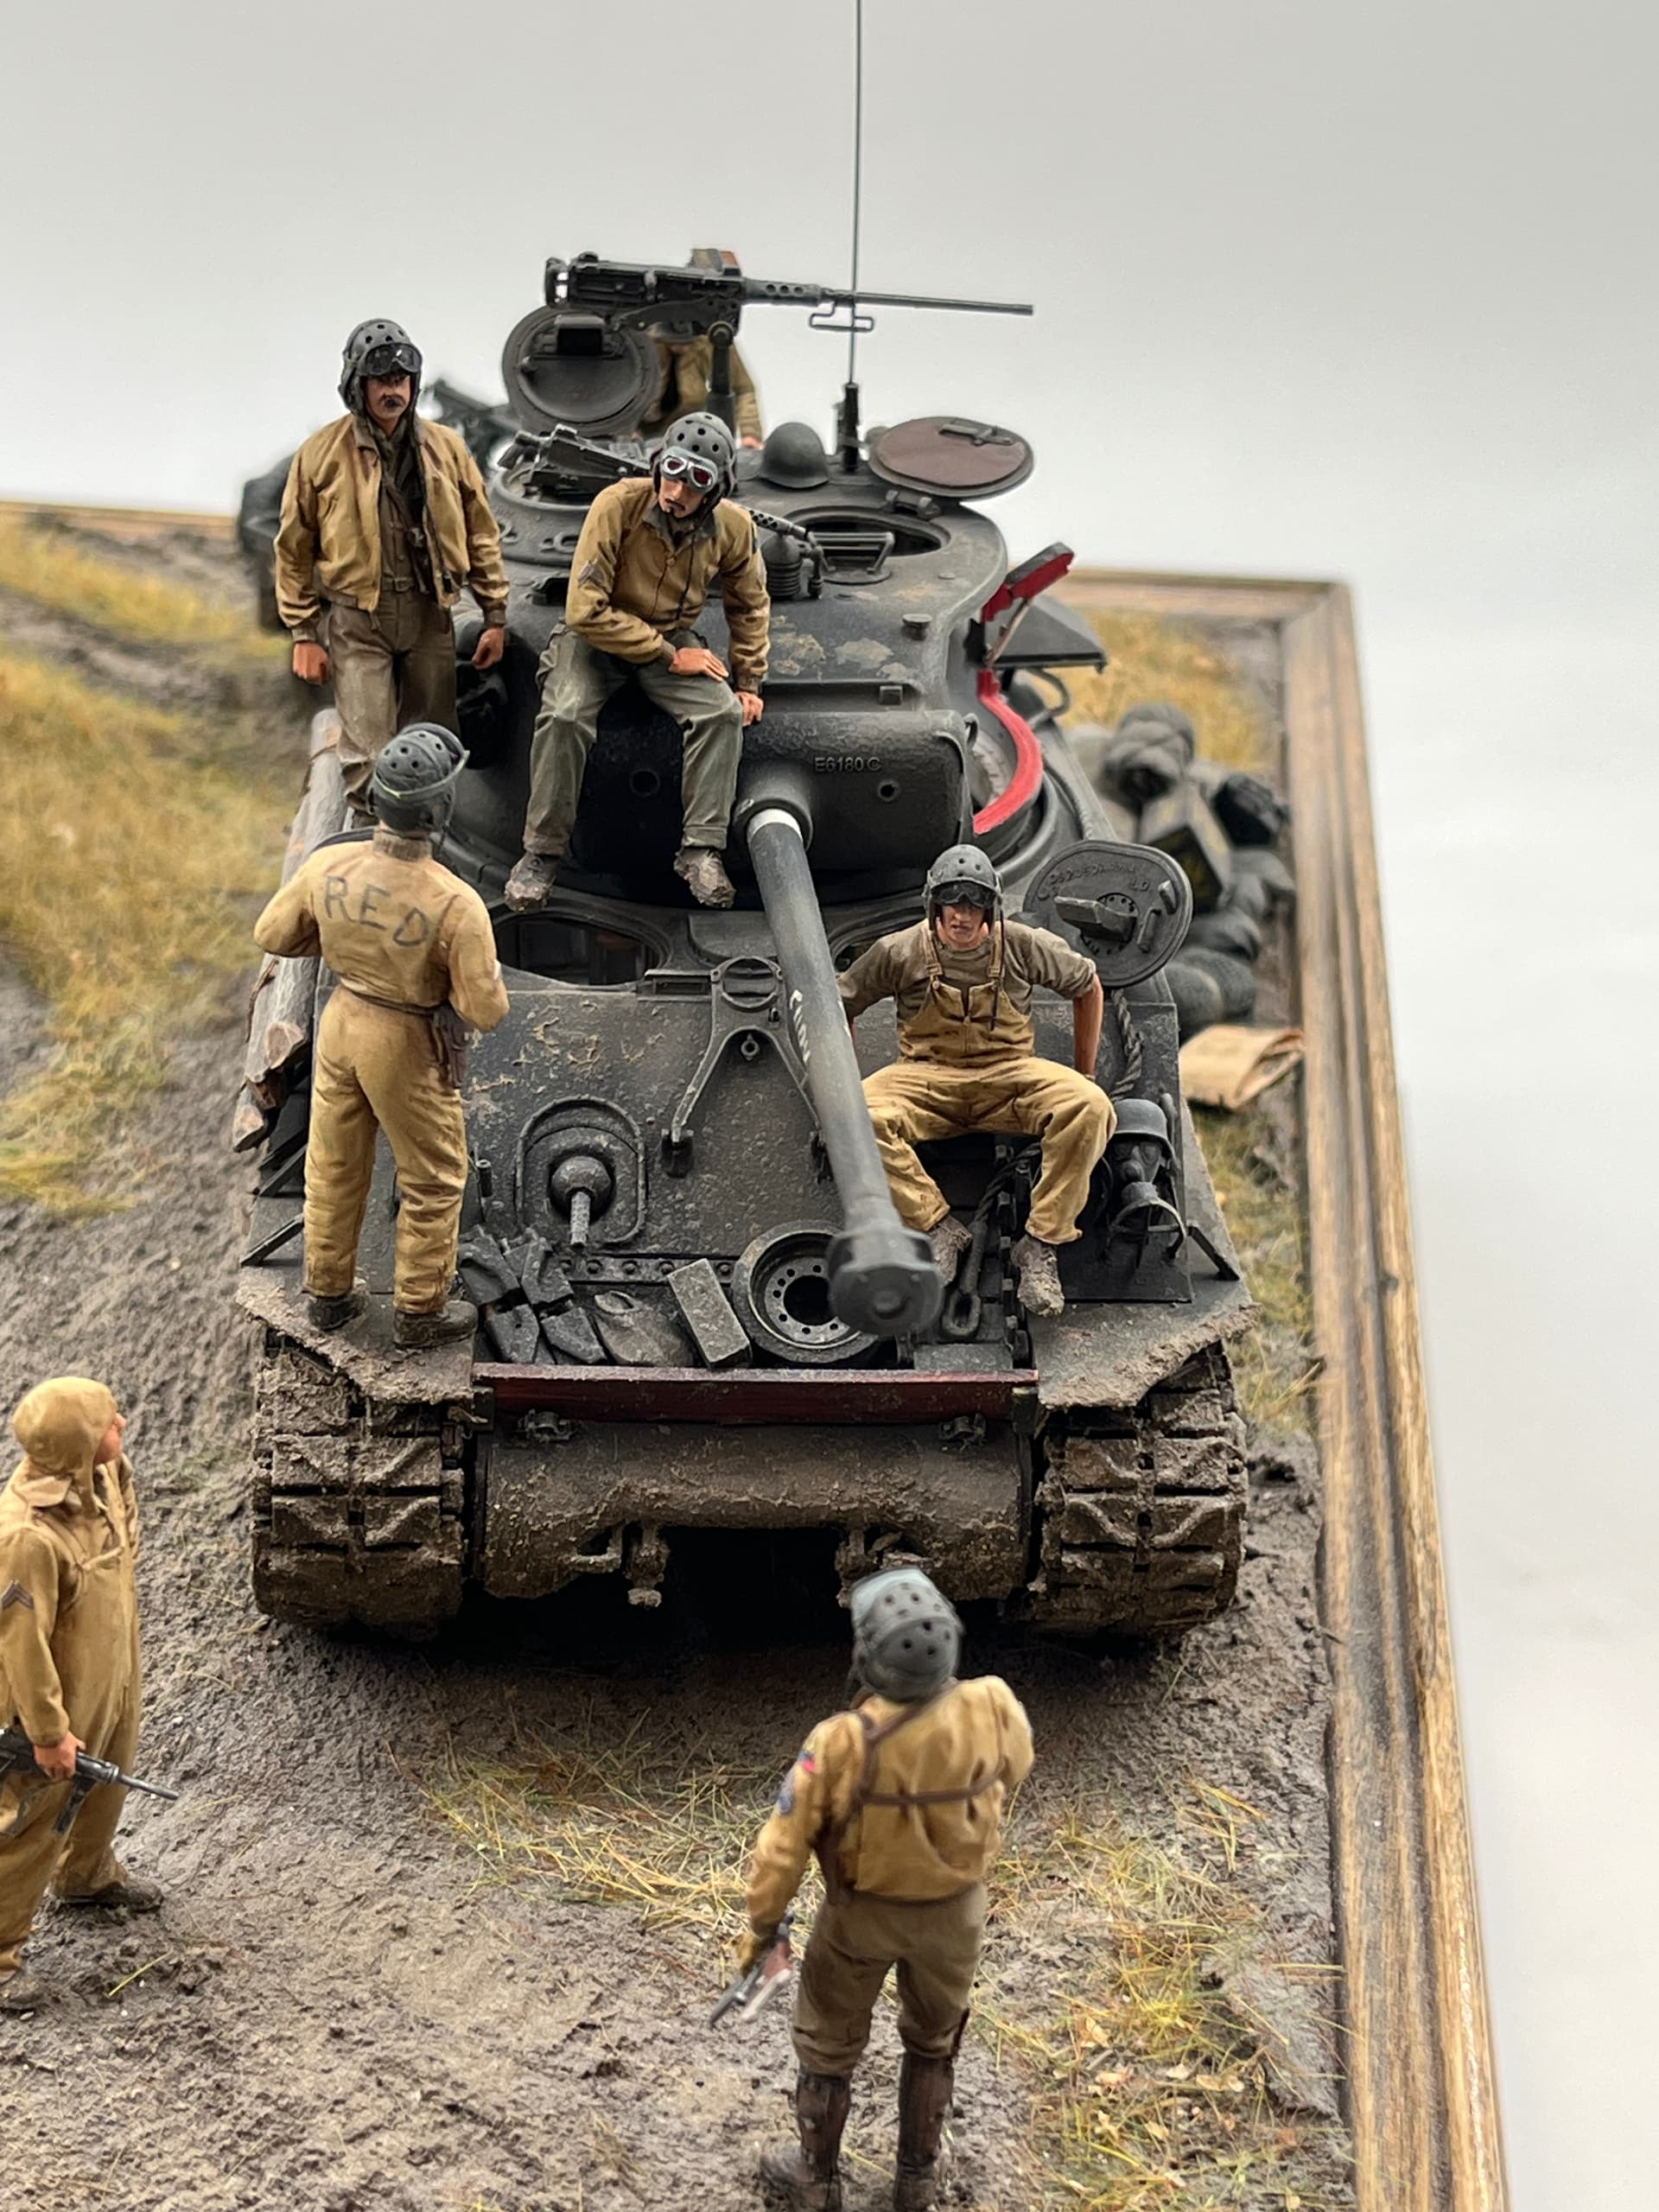
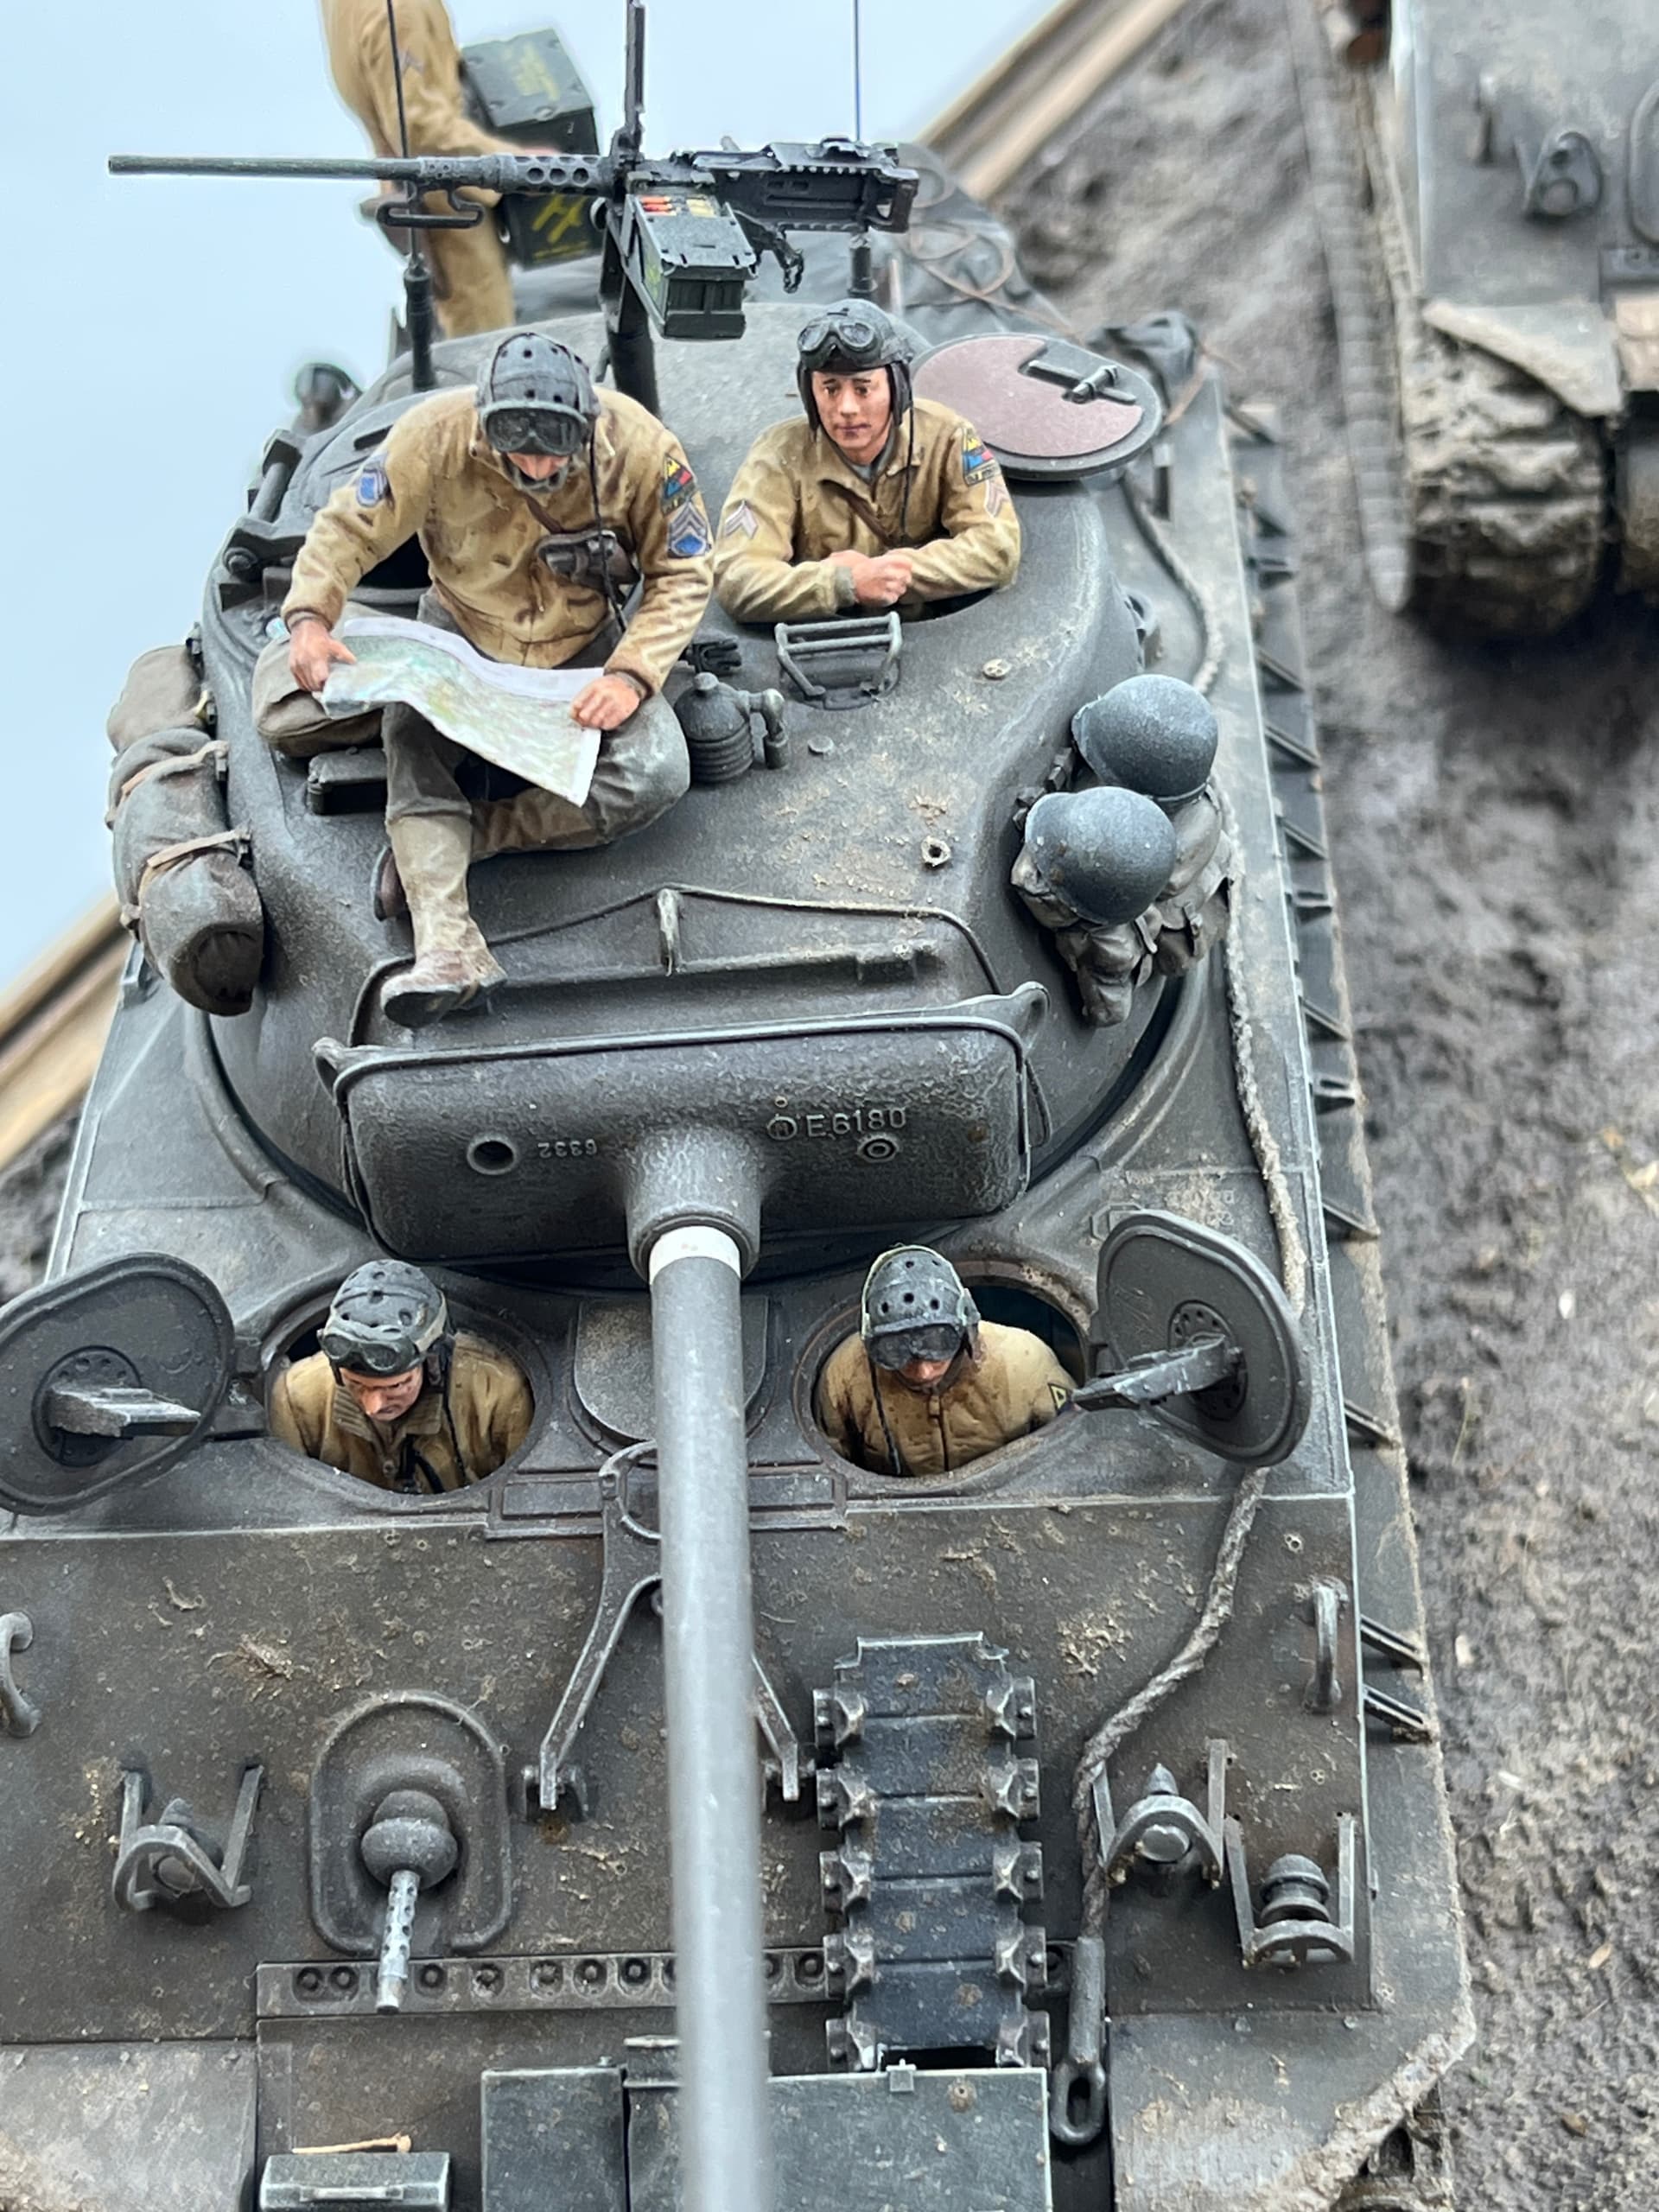
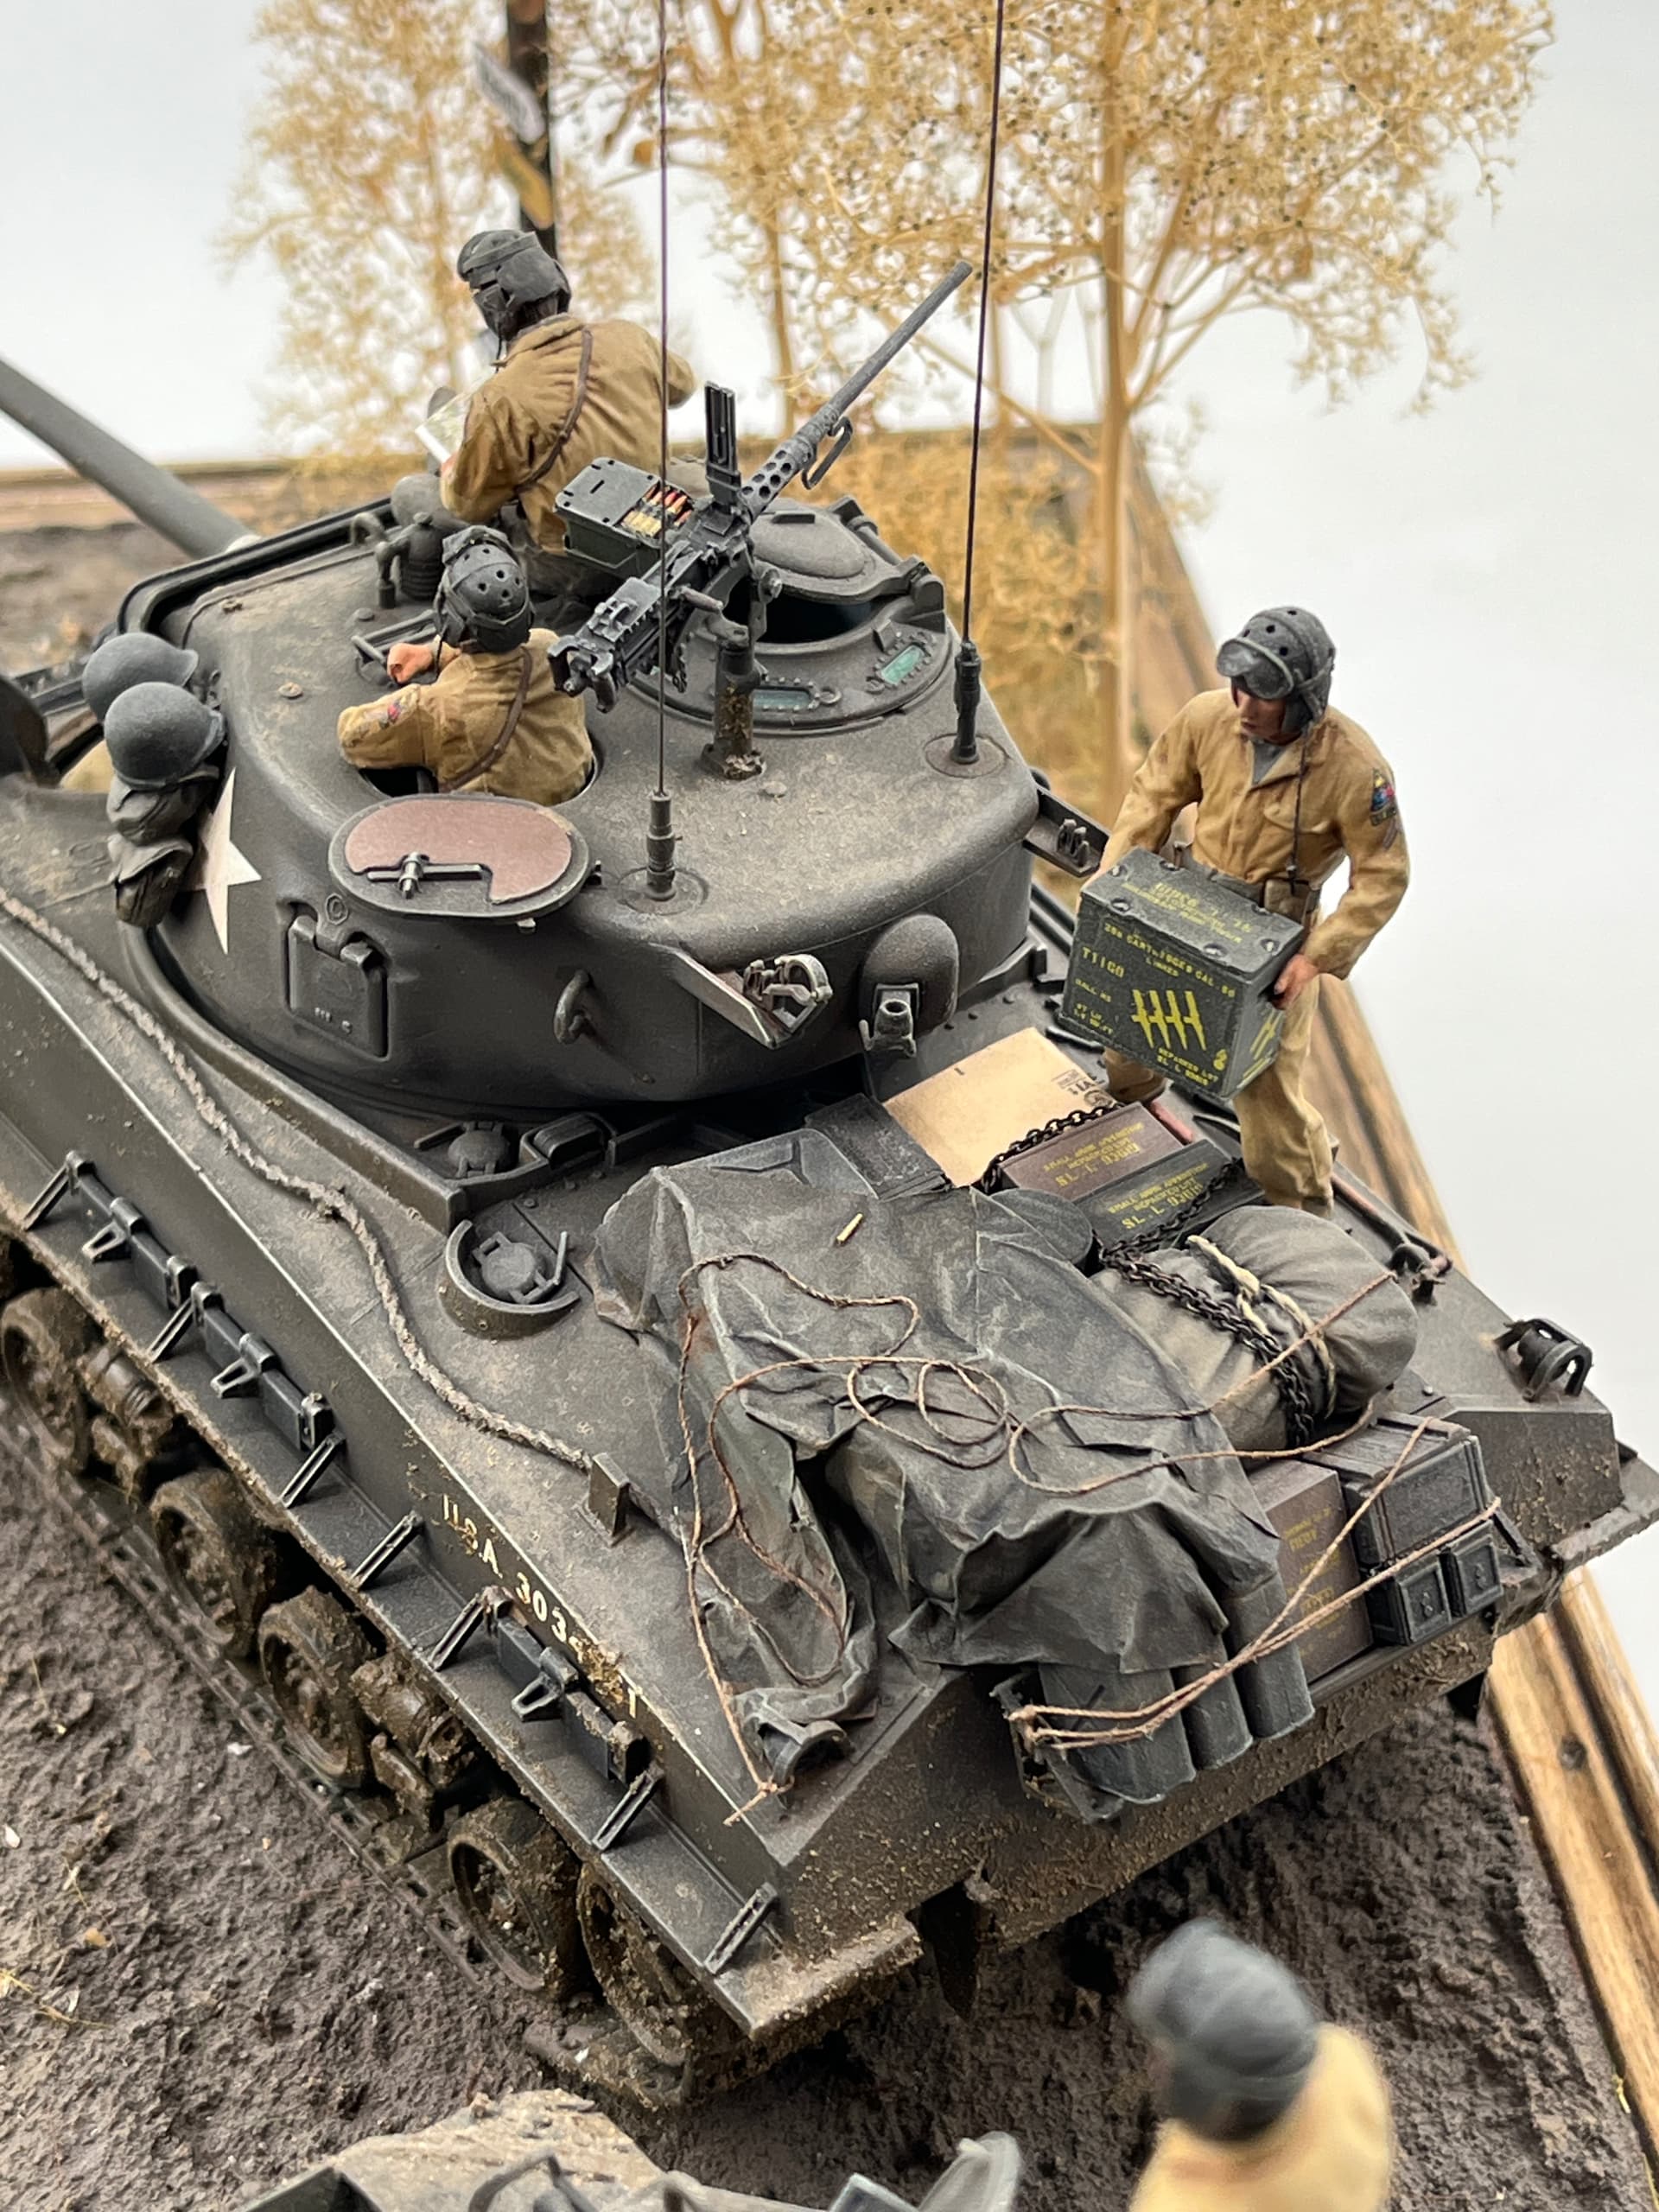
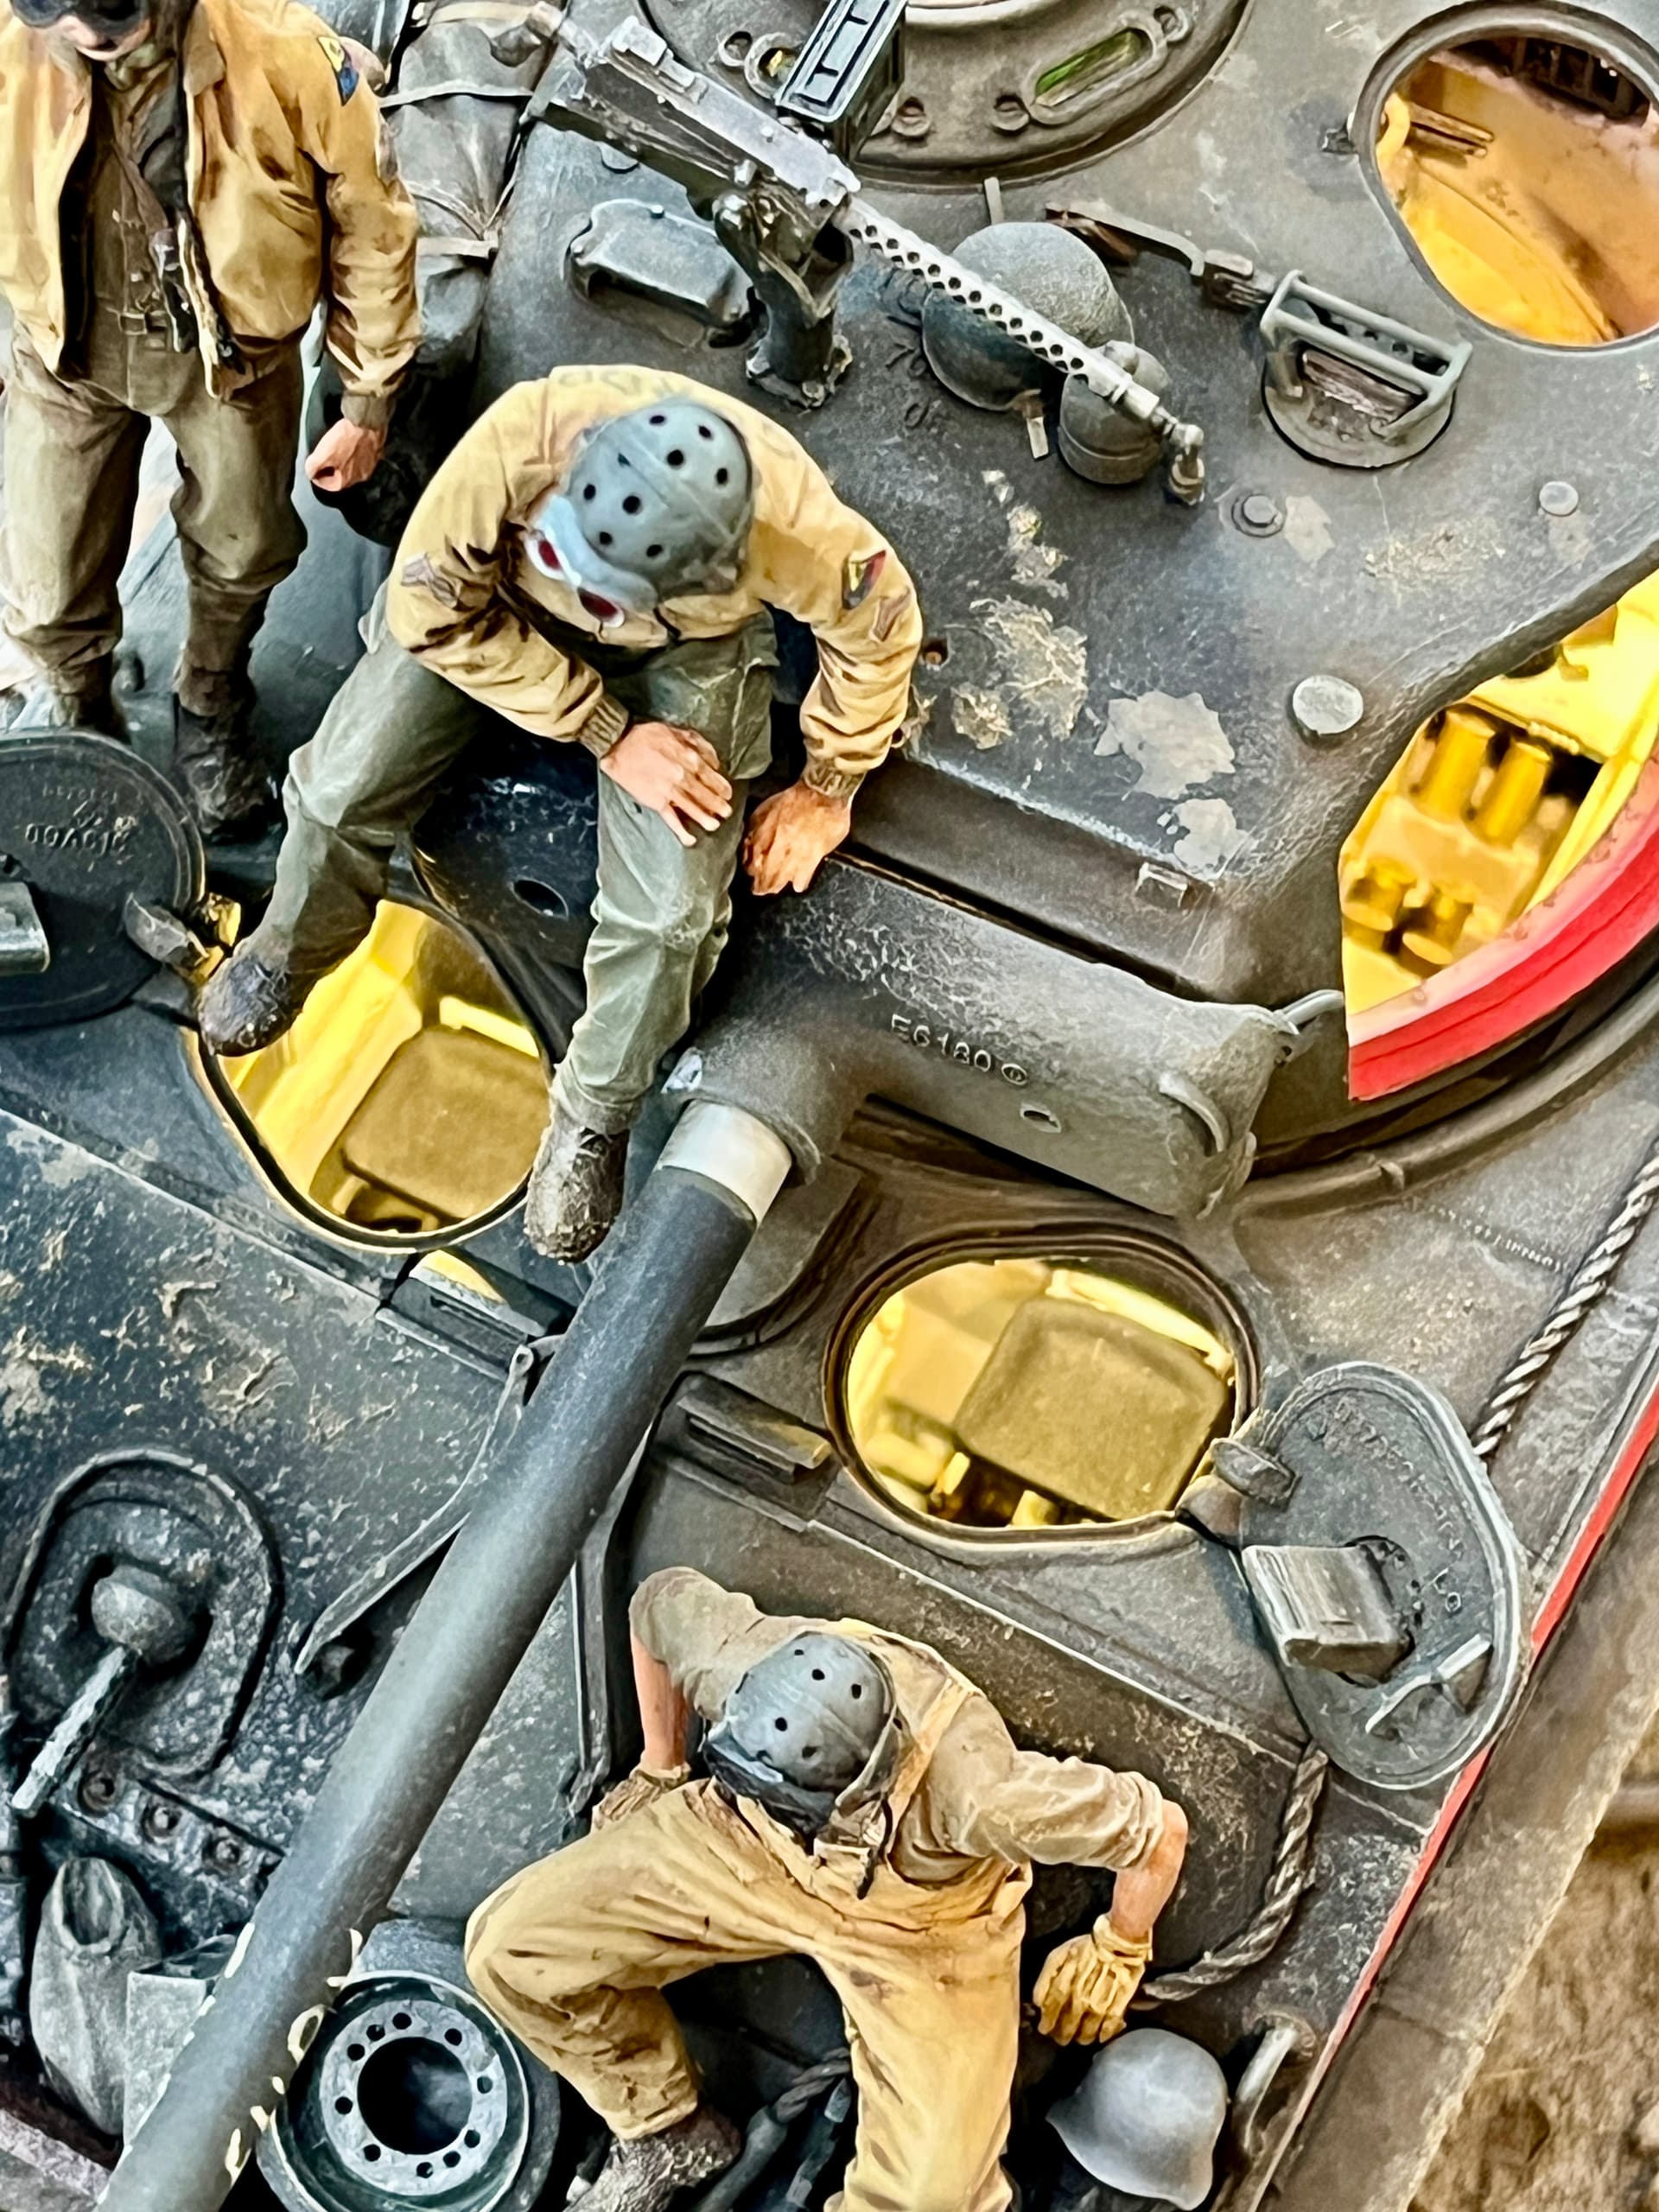
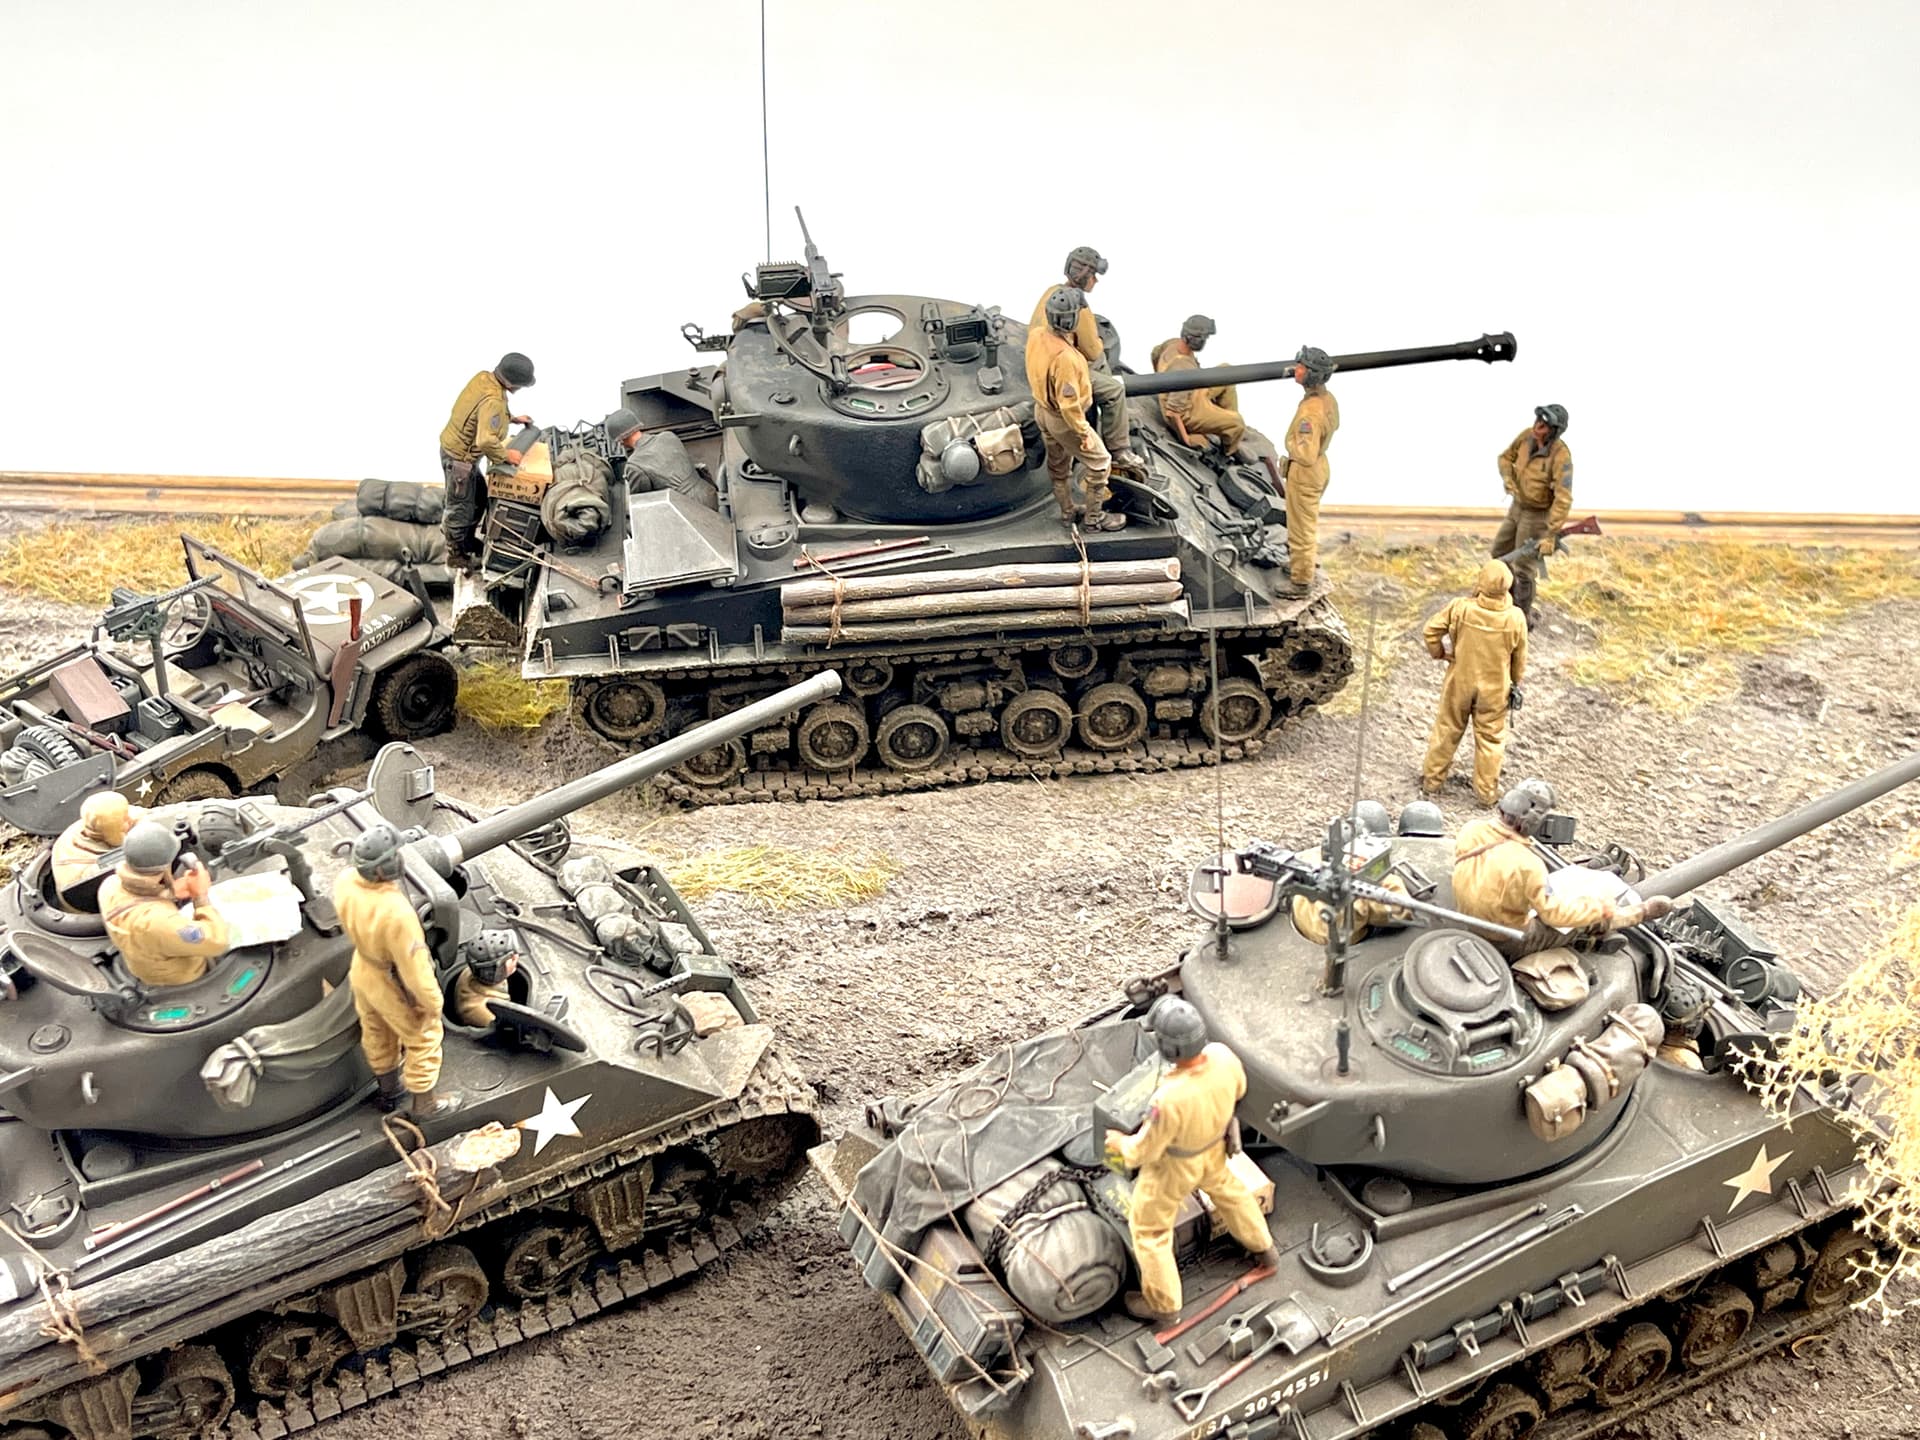
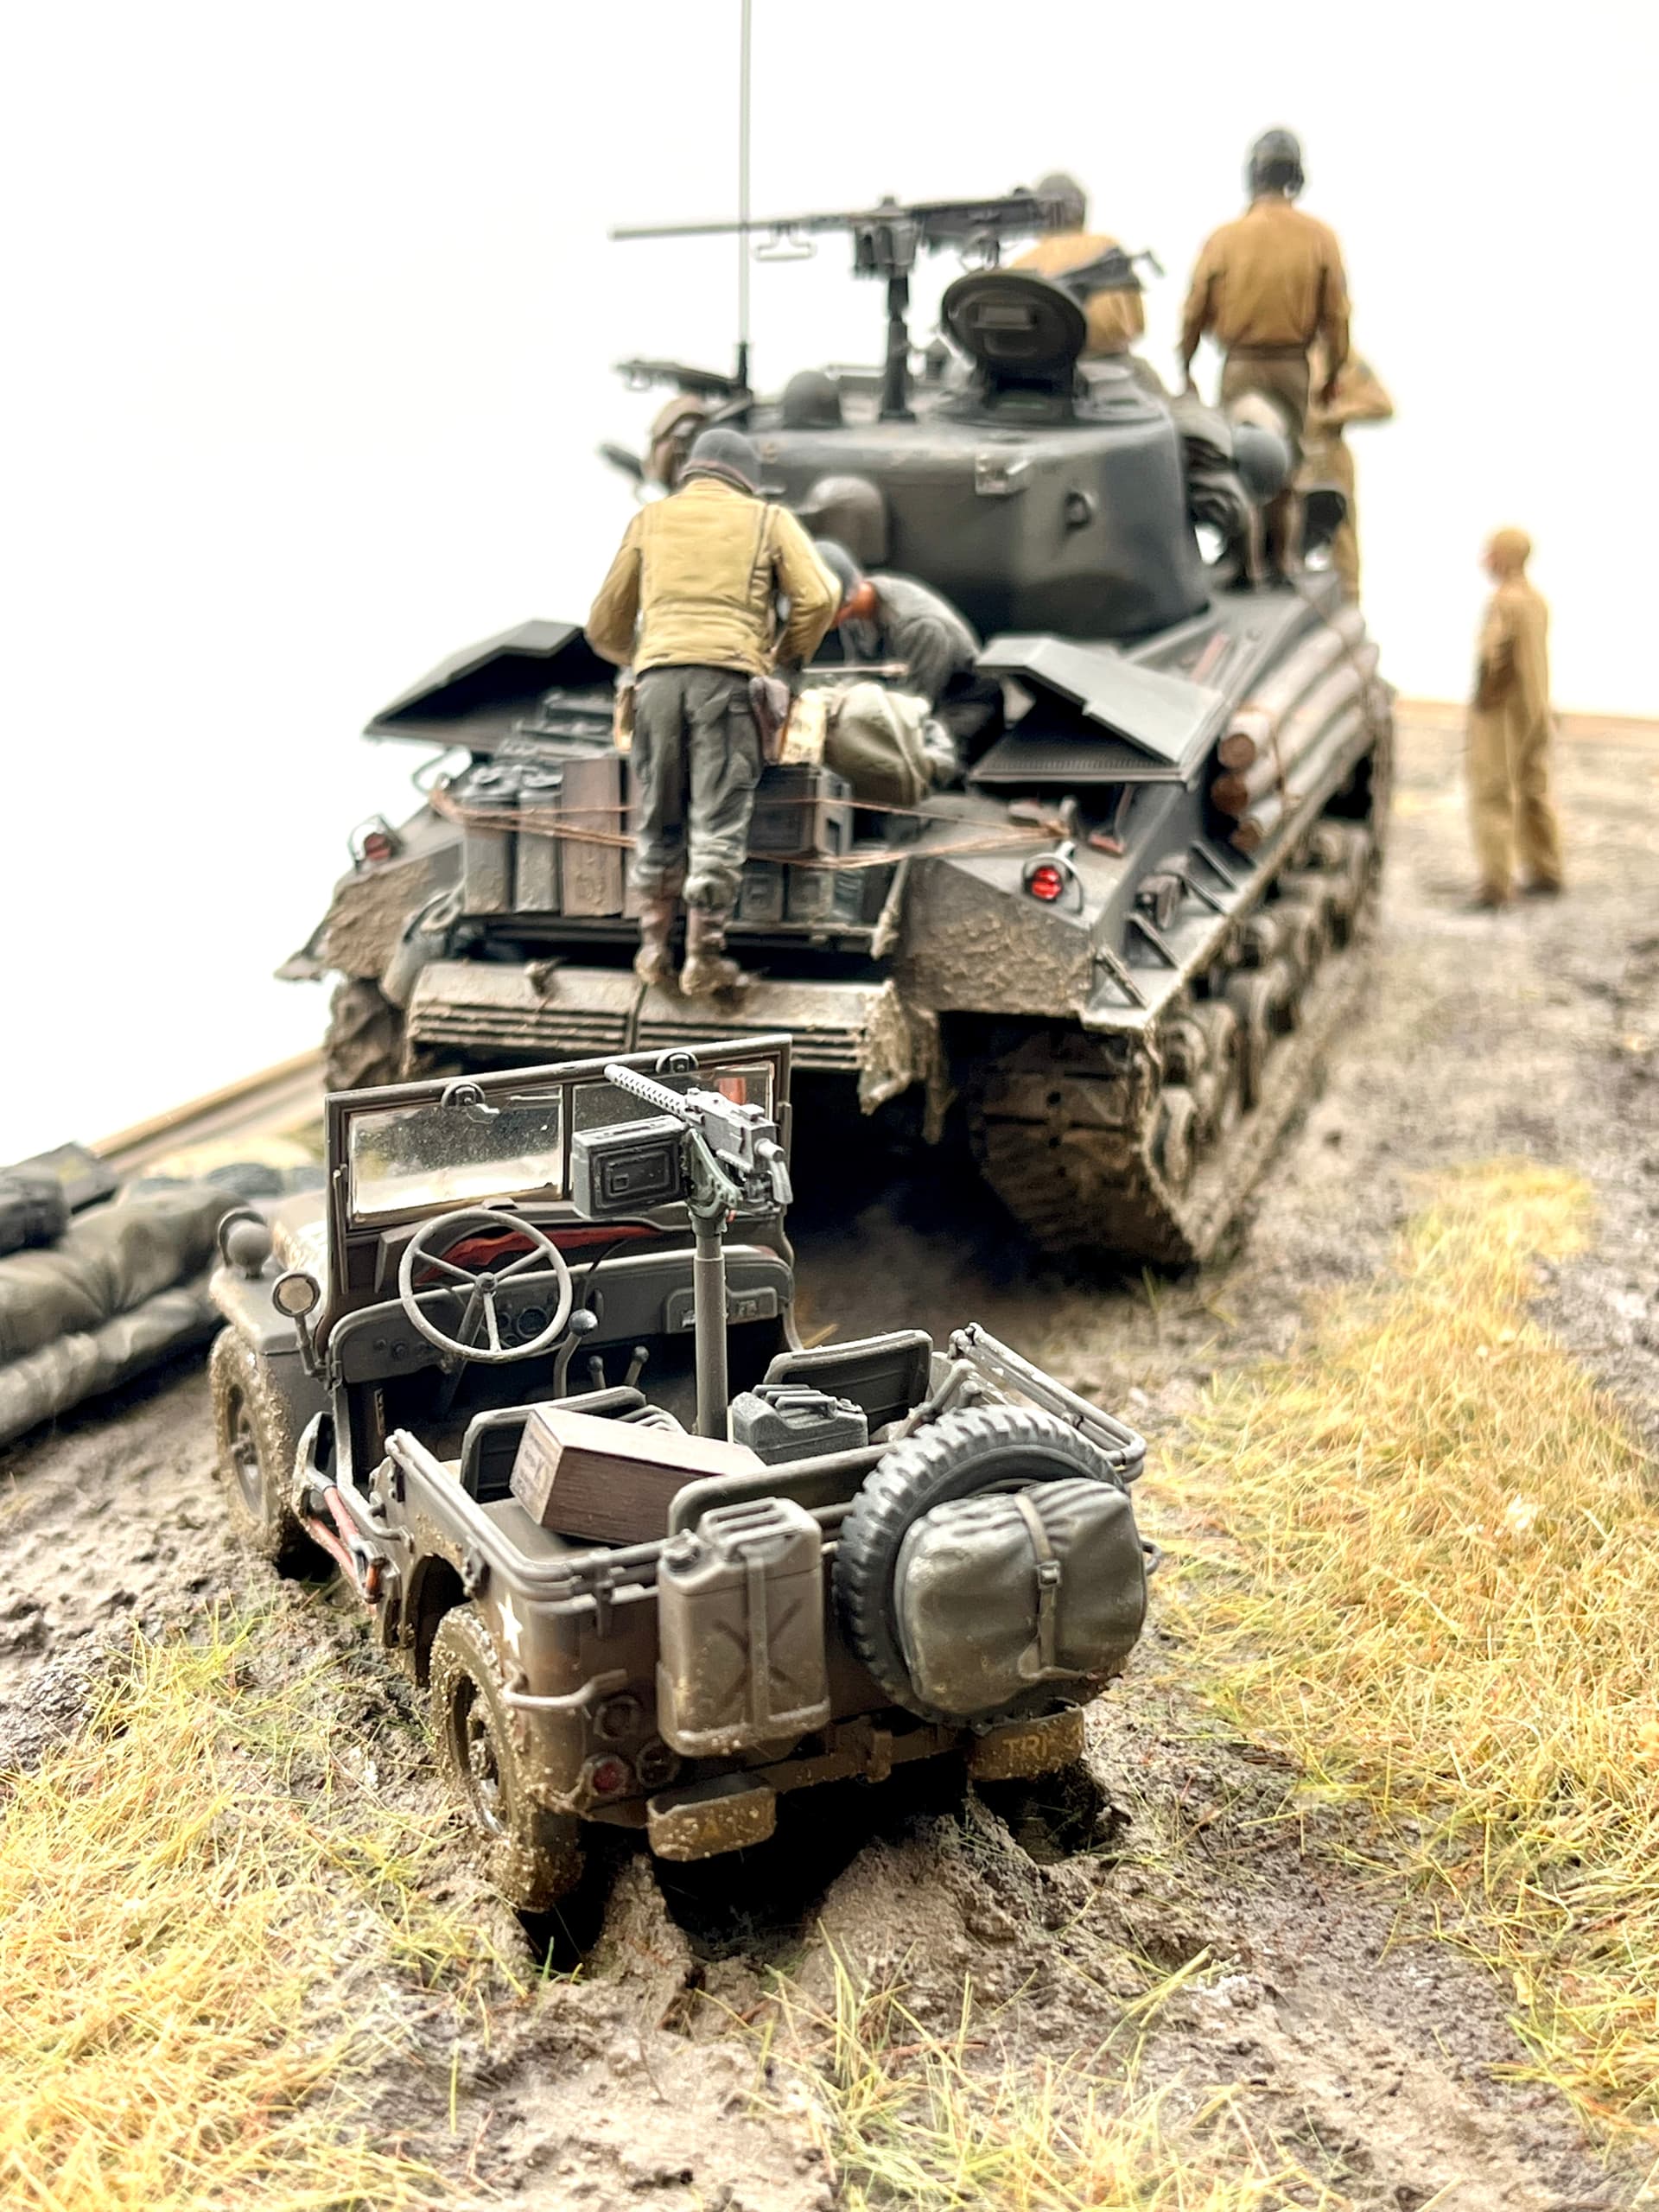
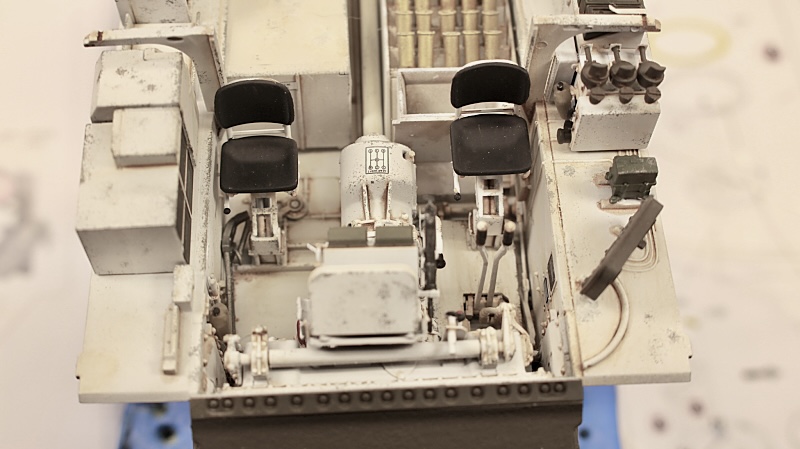
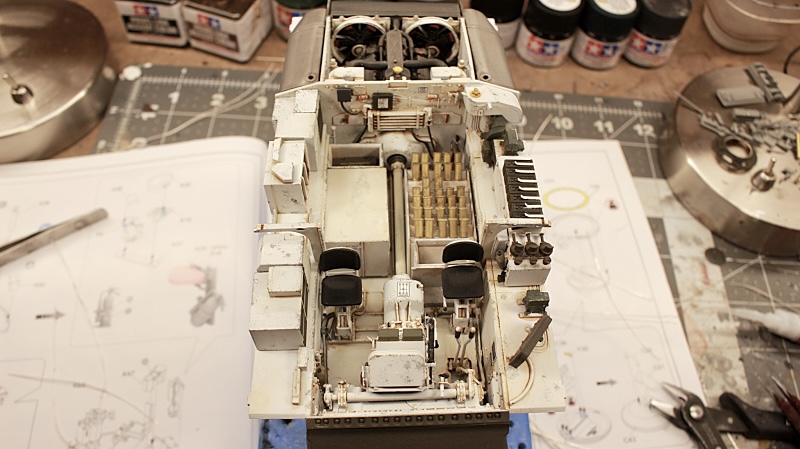
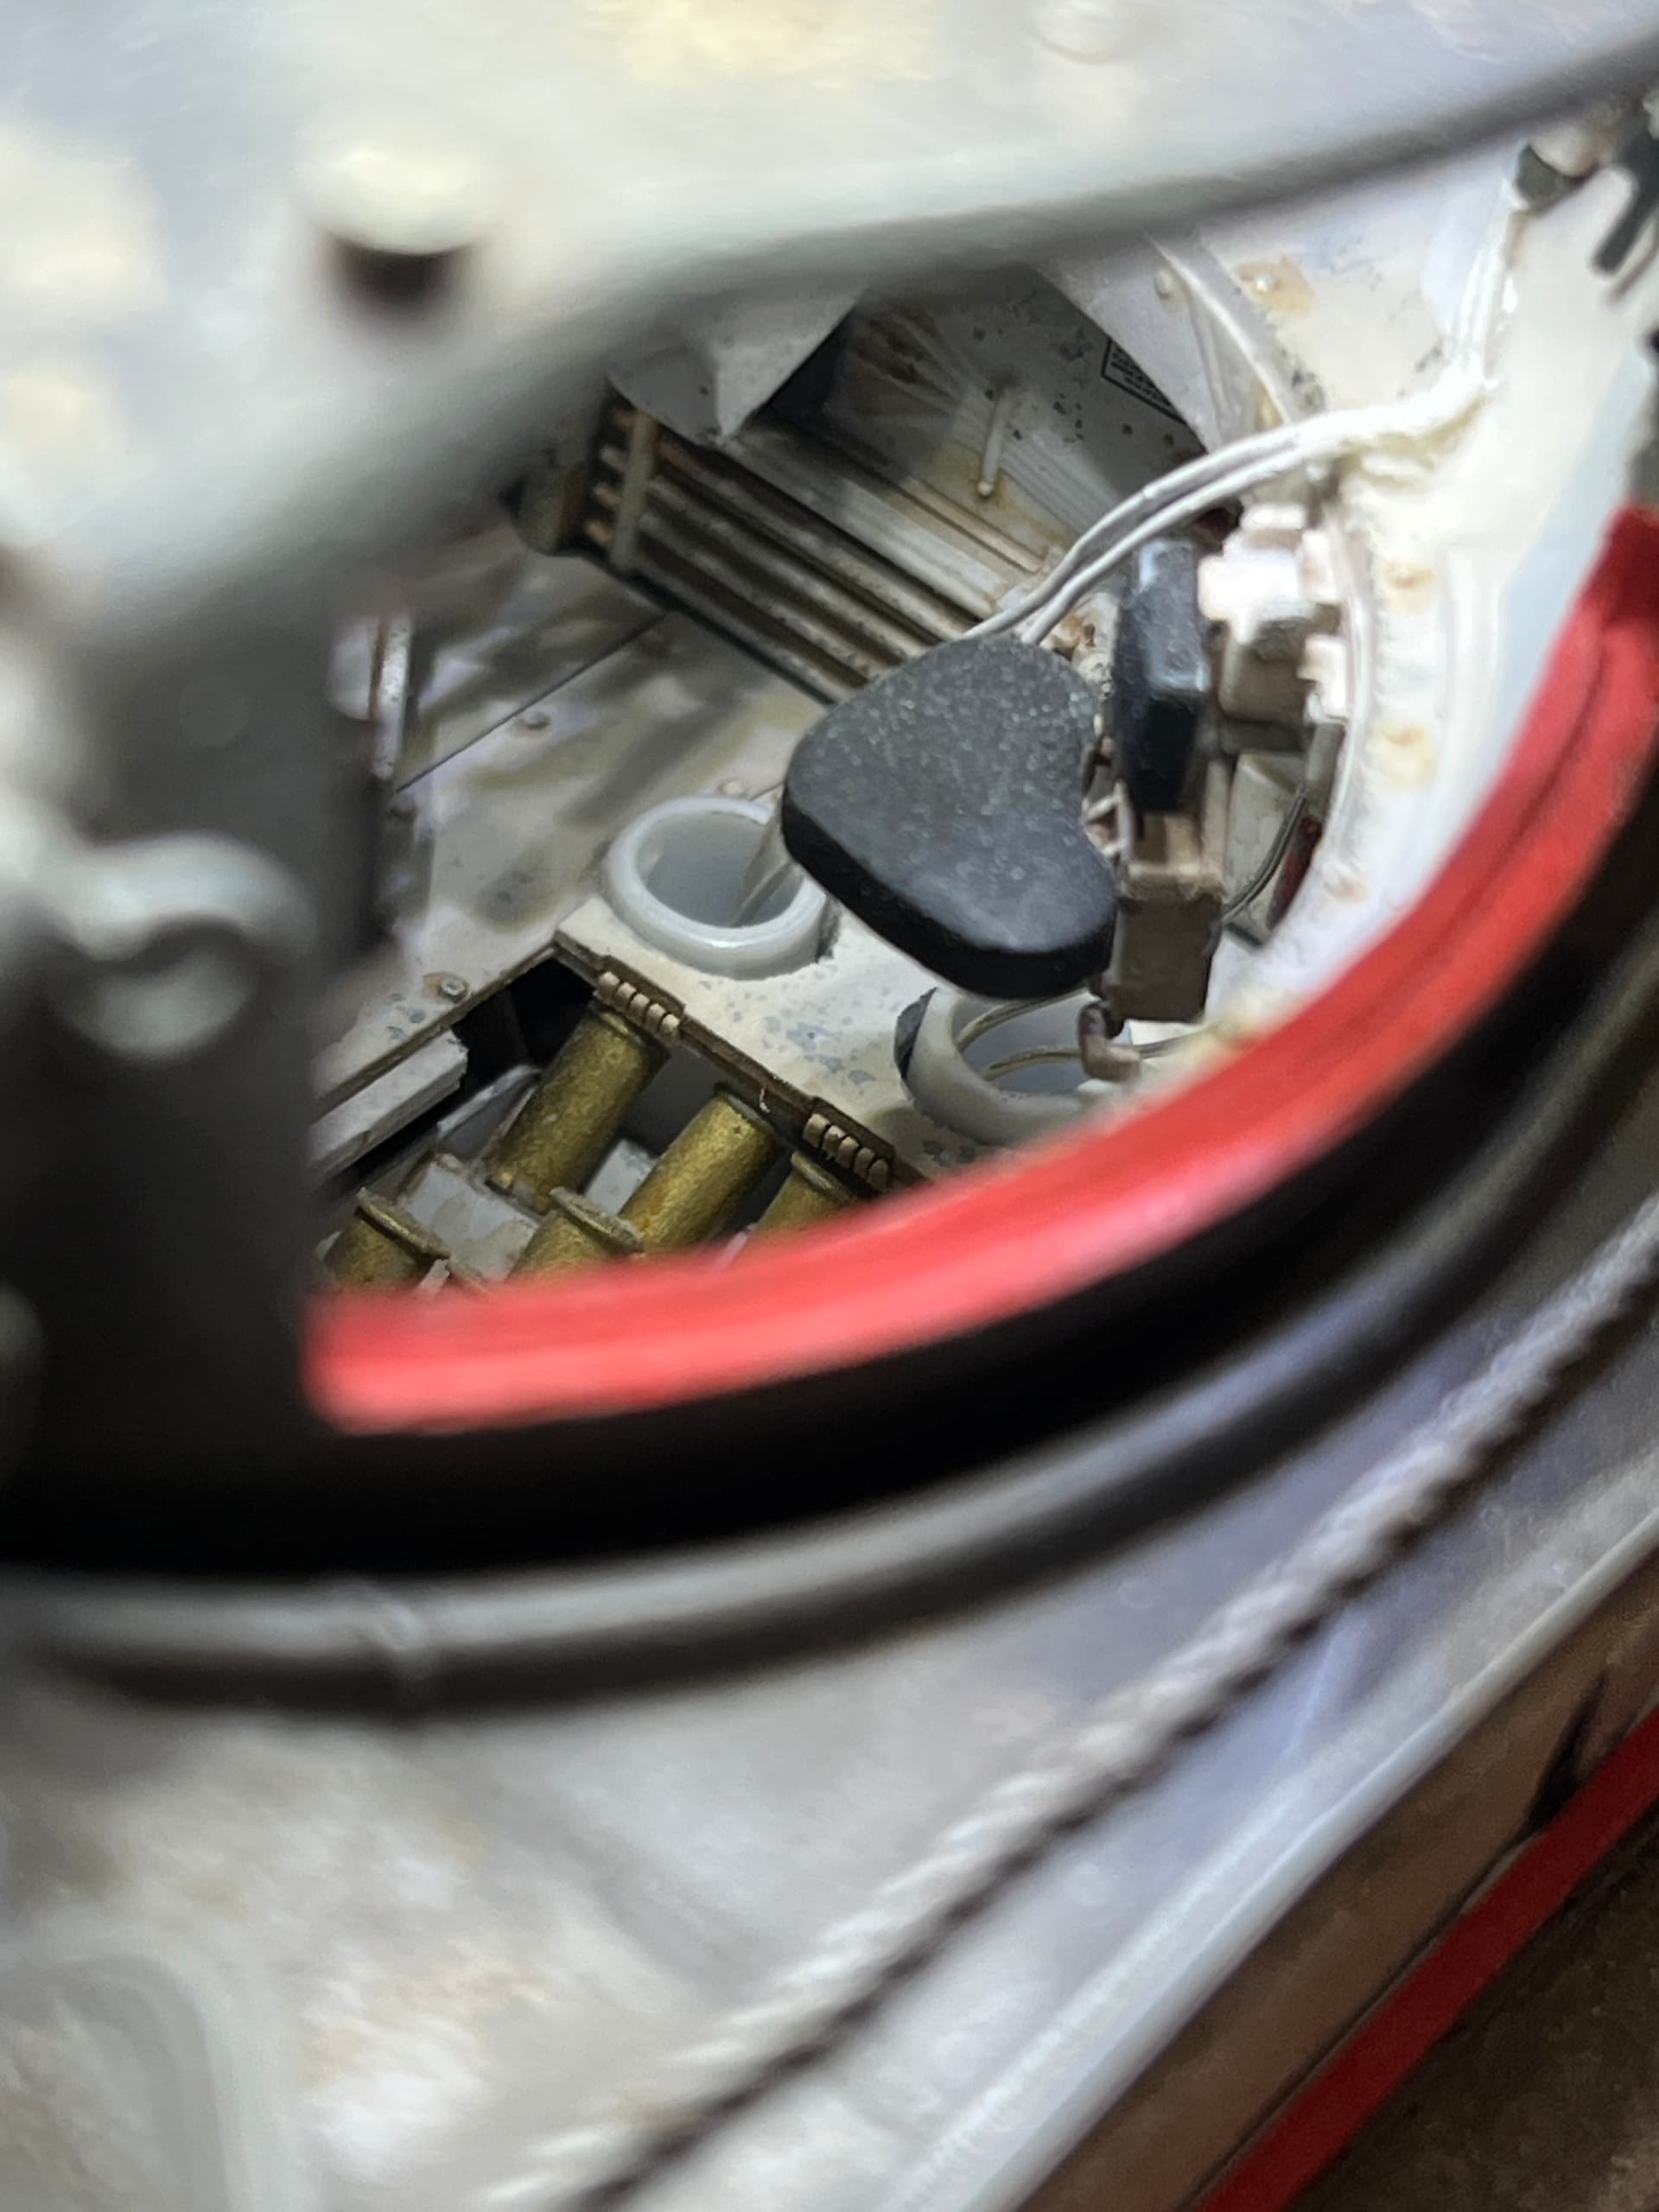
This is the first armor diorama that I incorporated lighting on. I used two M4A3E8’s. One from Rye Field Models, and the other from Tamiya. The last tank is the Asuka M4A3. The maintenance jeep is Tamiya. The figures were a mix as well. Tamiya, Bravo 6, and Mini Art. I chose the Rye Field kit to be the centerpiece. The interior is extremely detailed.
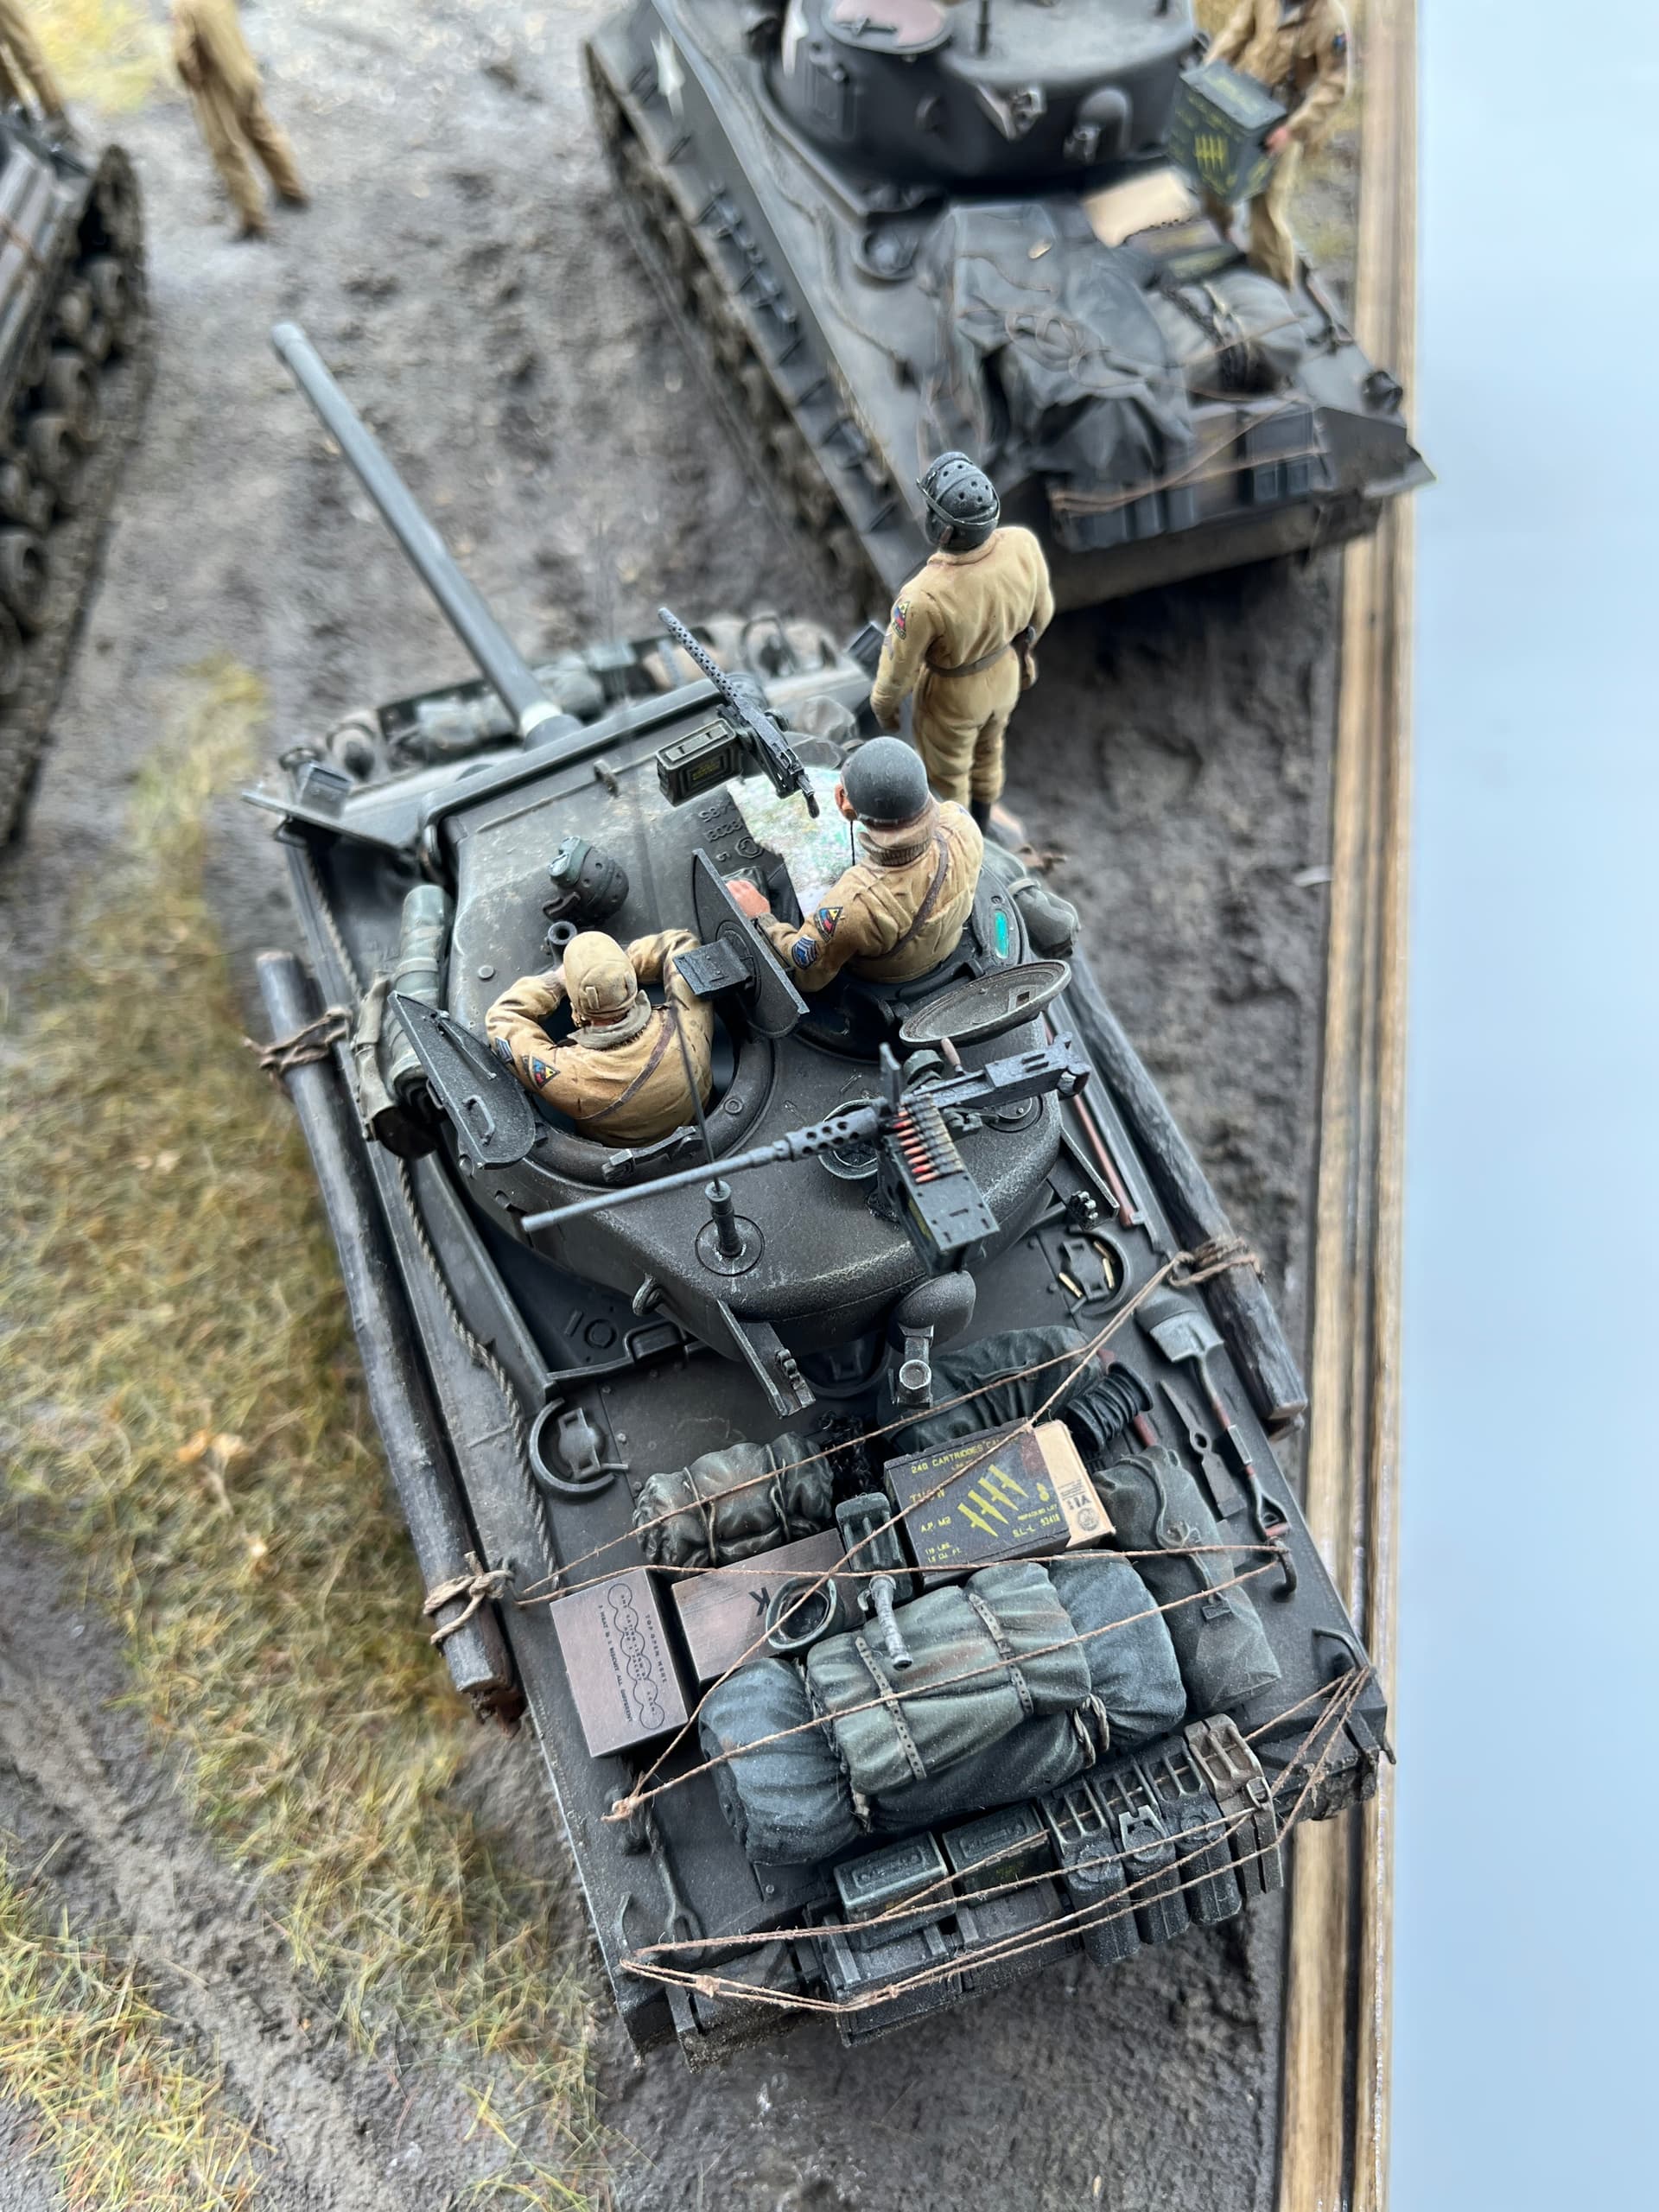
All the vehicles were painted with Tamiya paints/washes. After the wash dried, I used artist oil, Naples, yellow hue to accent the highlights/edges. The rope is white thread coated with Elmer’s glue. Once the glue dried I coated it with Tamiya brown accent wash.
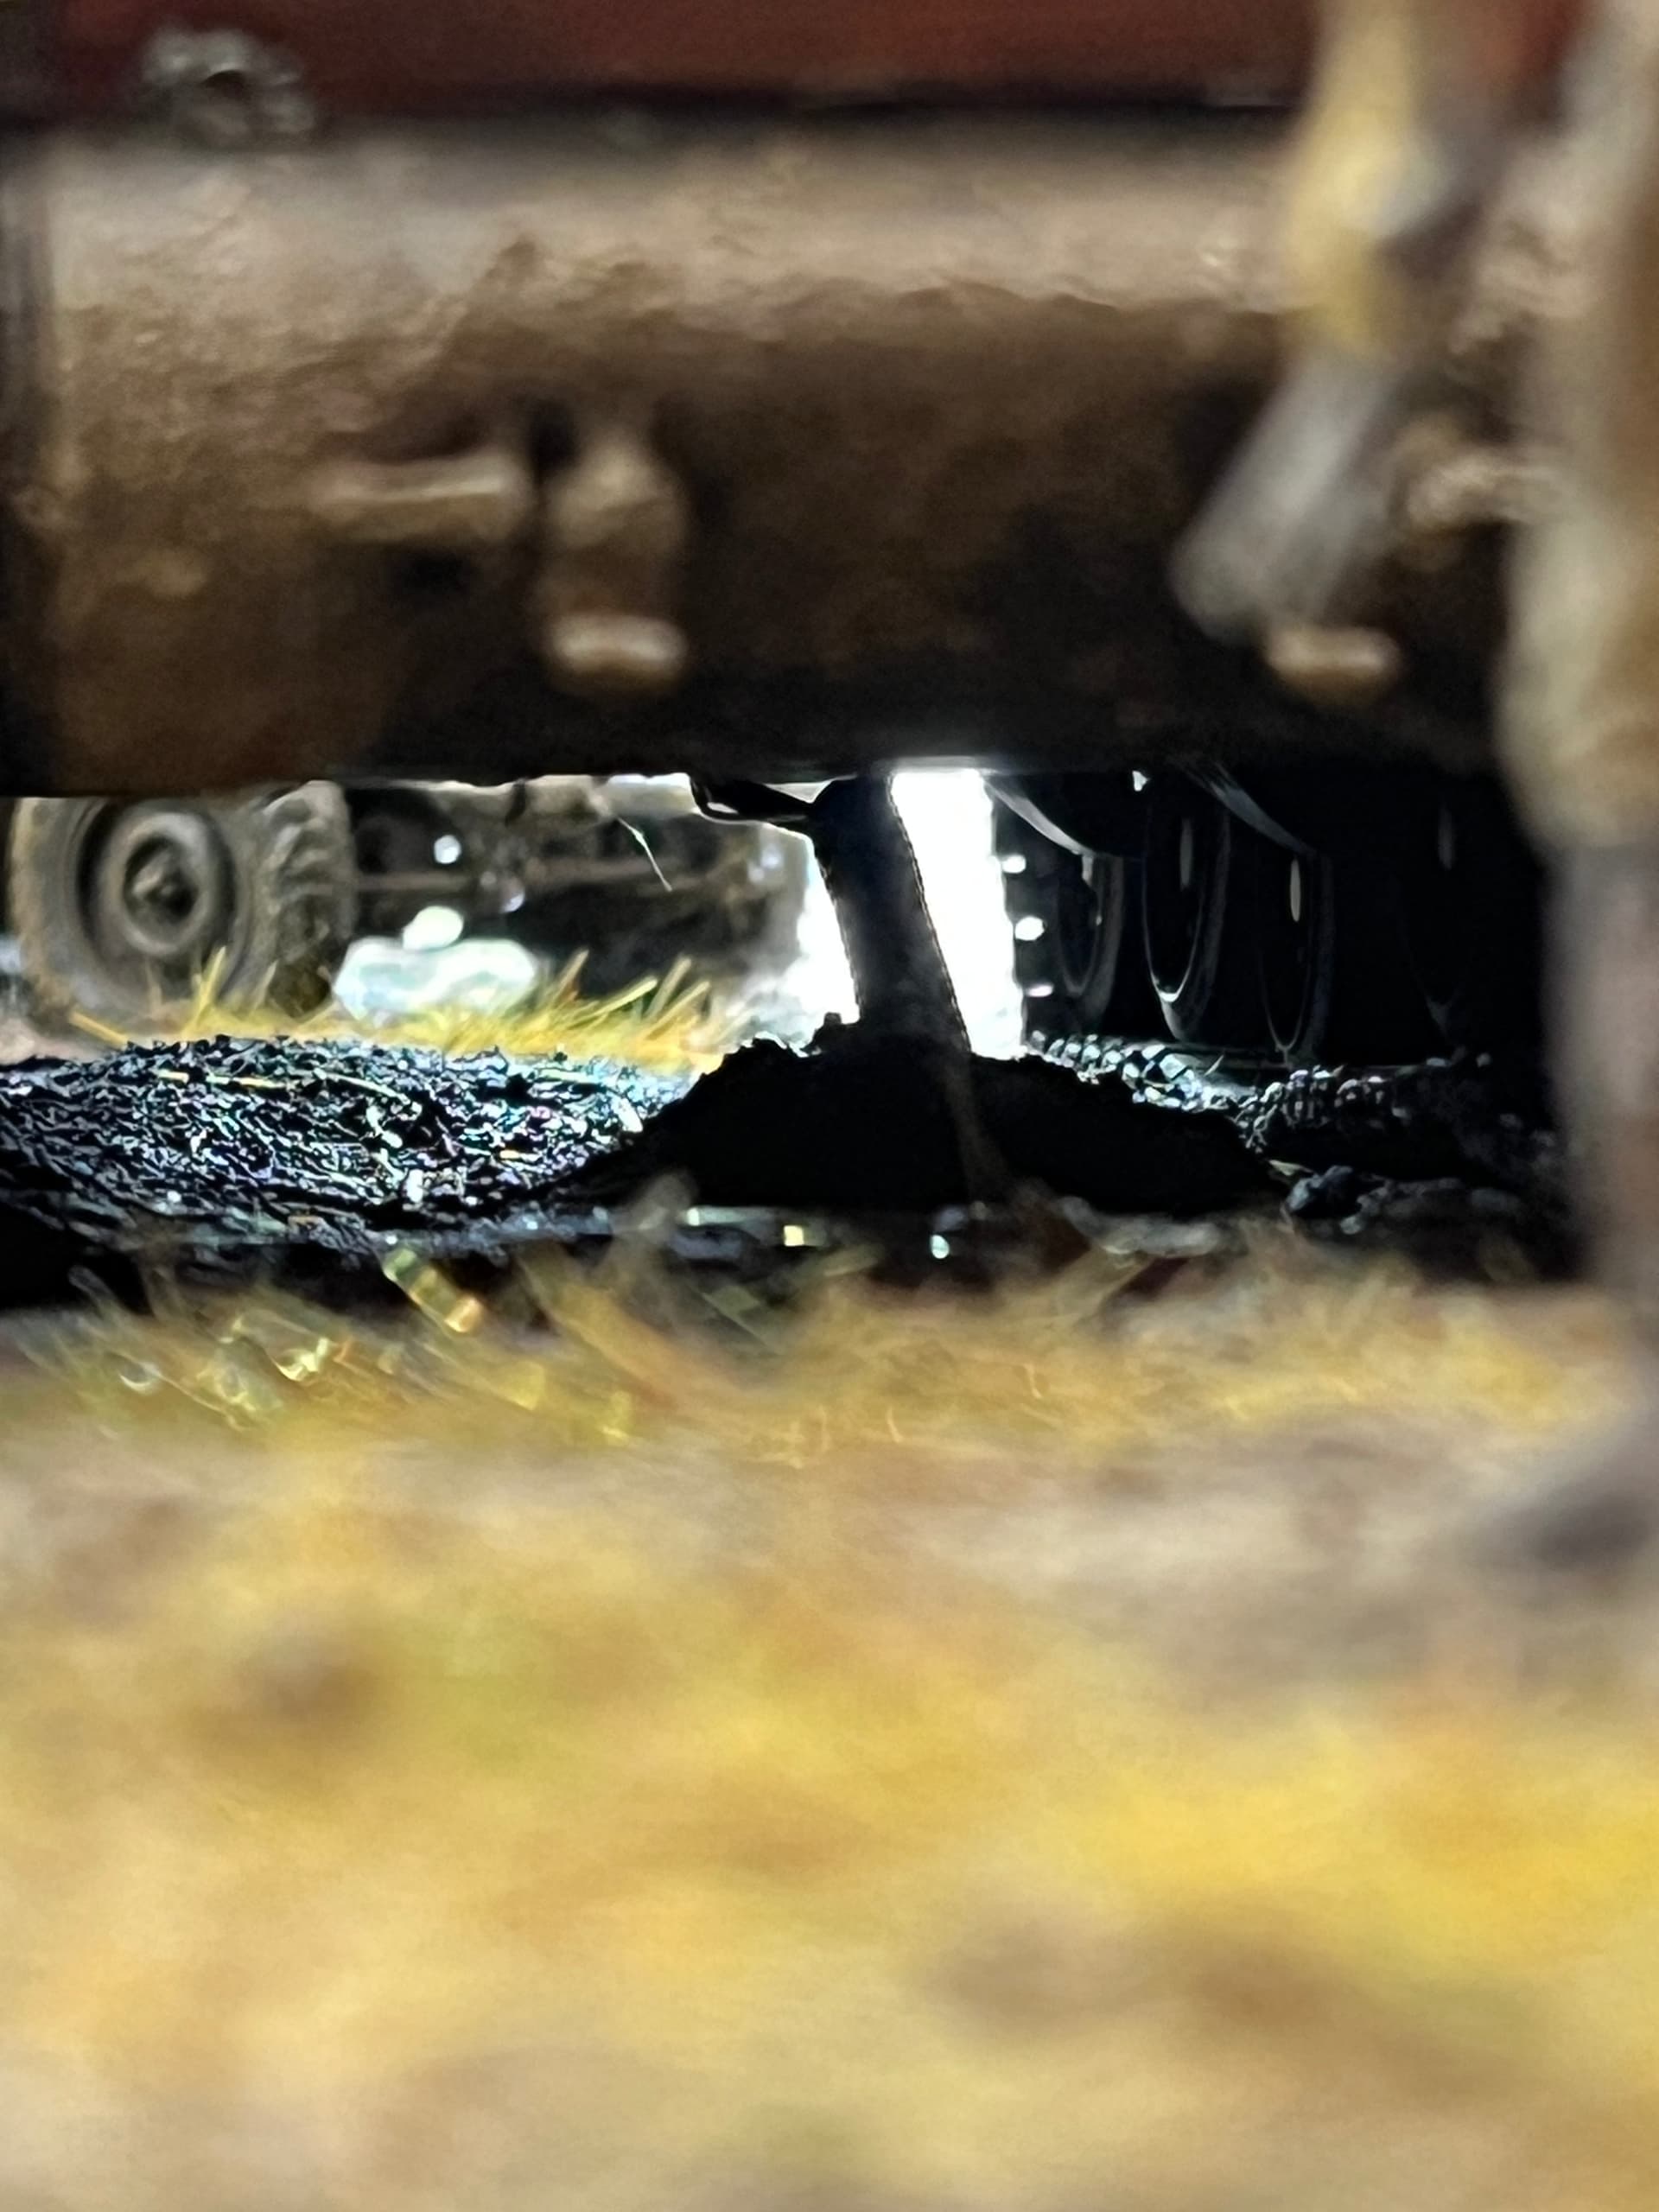
The tarps are tissue paper coated with a mixture of Elmer’s and water. I laid the dry tissue over the equipment first, then carefully brushed on the glue/water mix. After it dries, it’s not as fragile. I then painted it with Tamiya paint. The base was covered with pre-mixed sanded grout first. While it was wet, I put track marks in it. (You need to wet the tracks first with water so the grout doesn’t stick). A fun build for sure
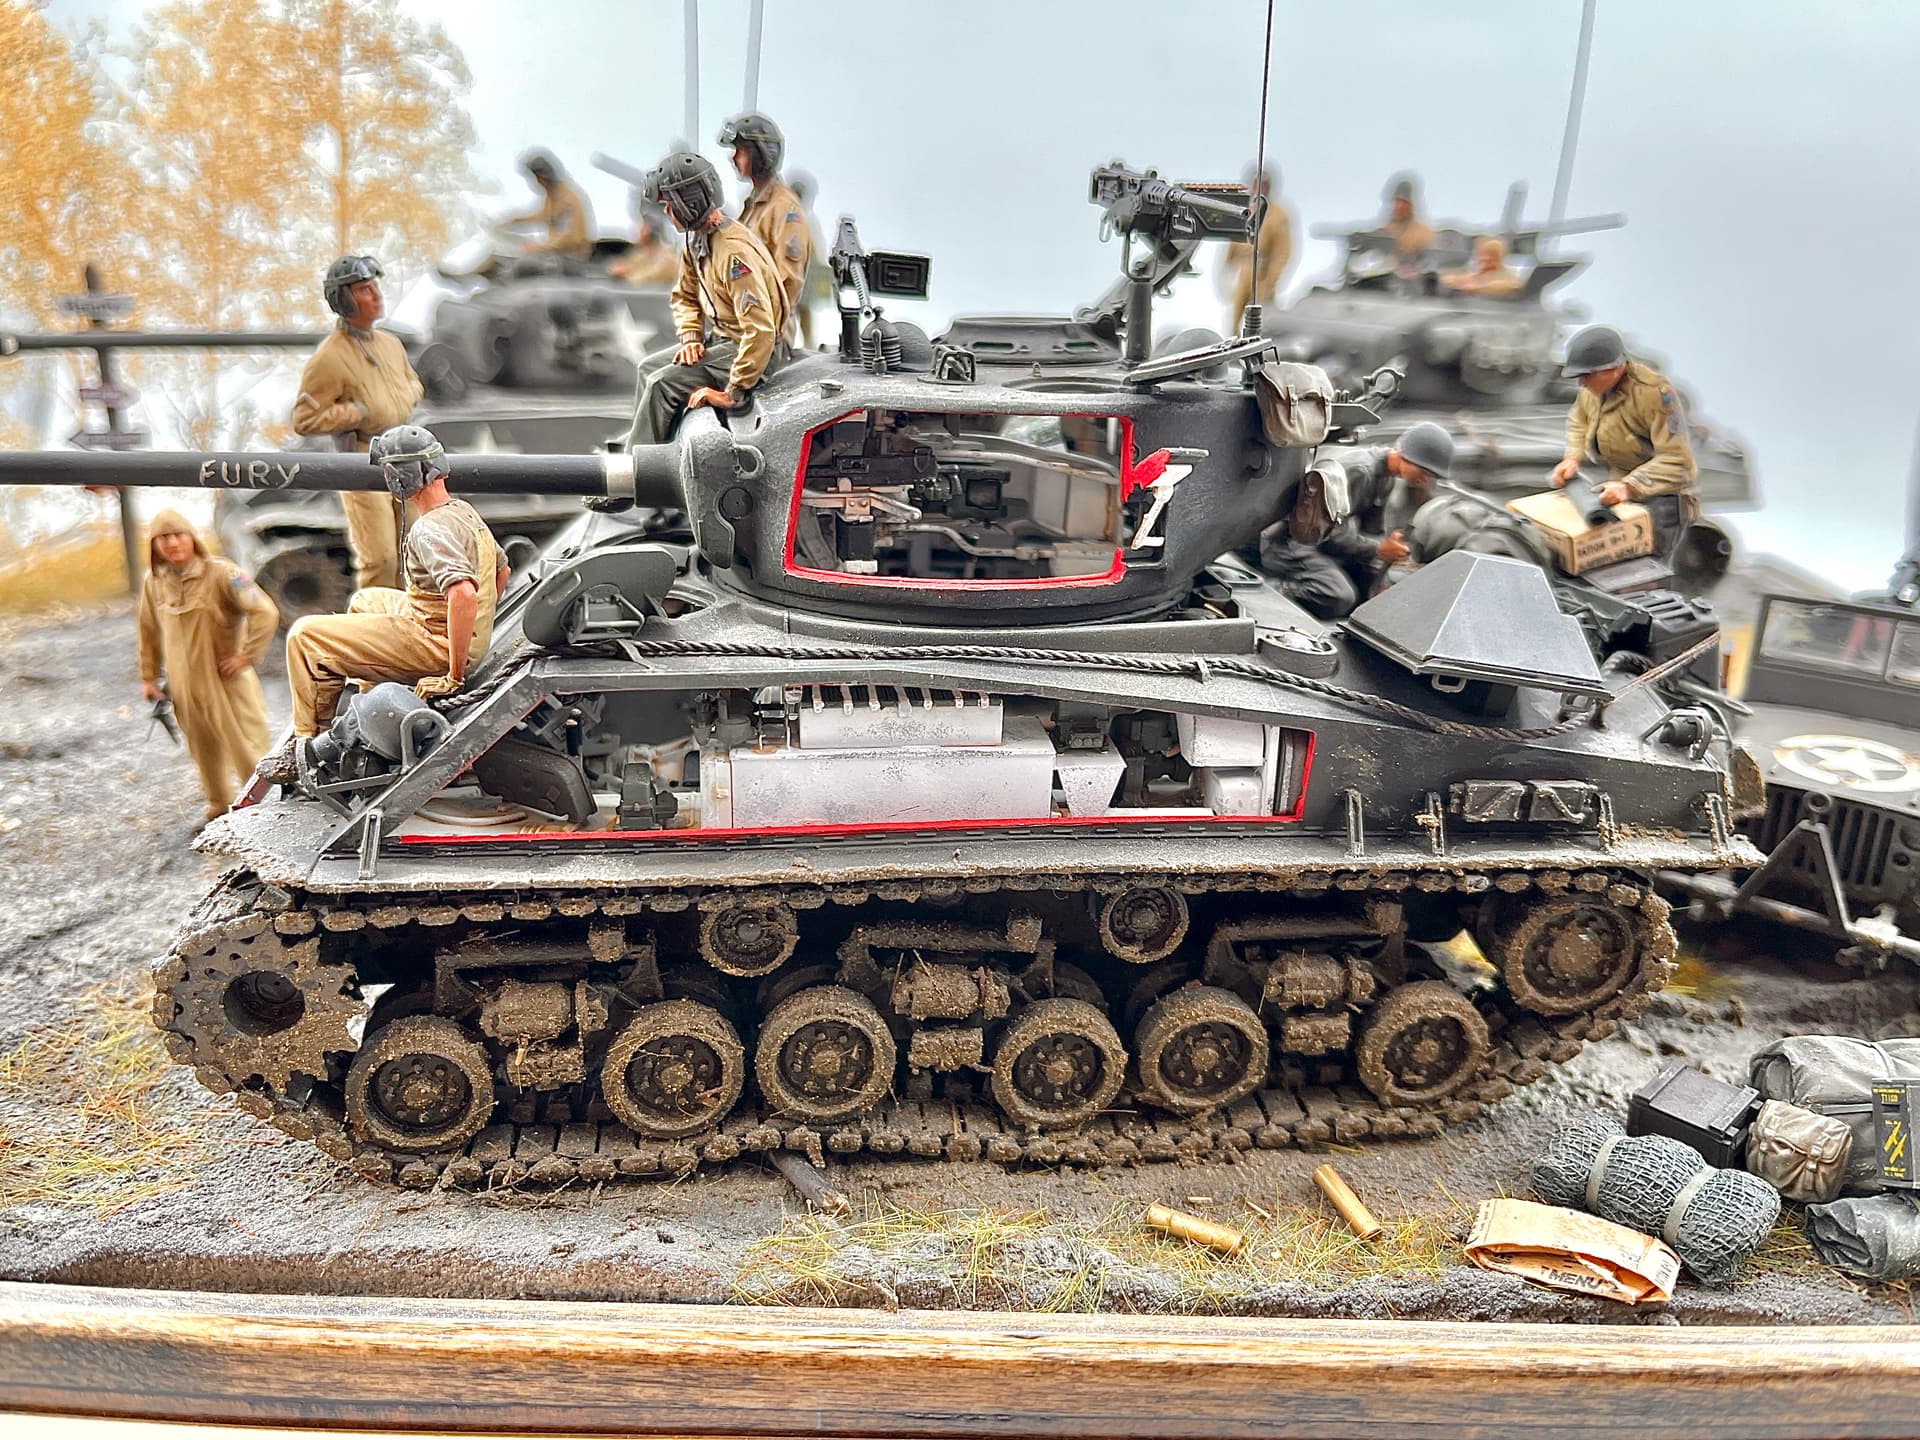


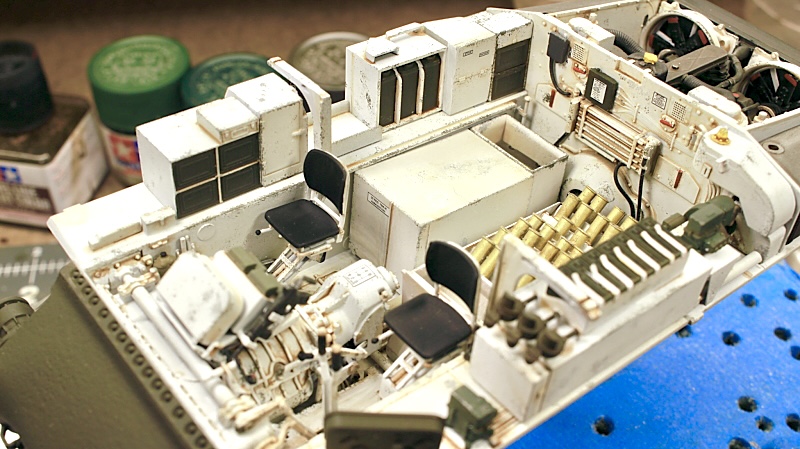
My first time seeing a cutaway in a diorama. The additional lighting is perfect ![]()
This is a great diorama! I really like it. What figure is the one with his sleeves rolled up, sitting on the front of the Rye Field Model Sherman?
Thank you. He is a Bravo 6 figure. (Grady) the loader in Fury.
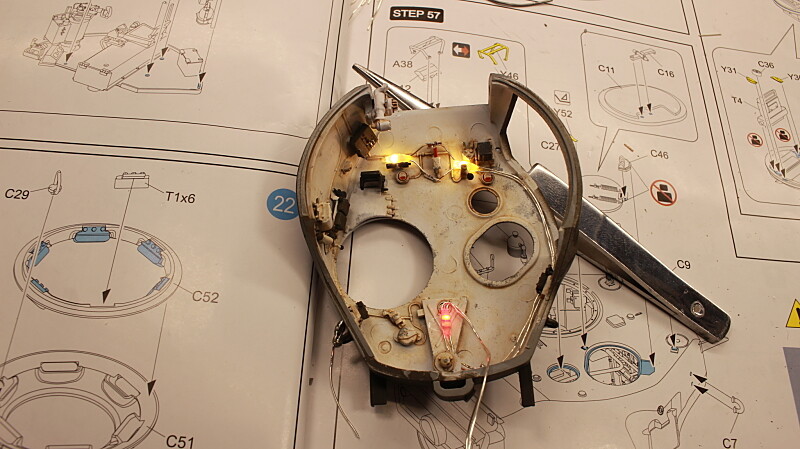
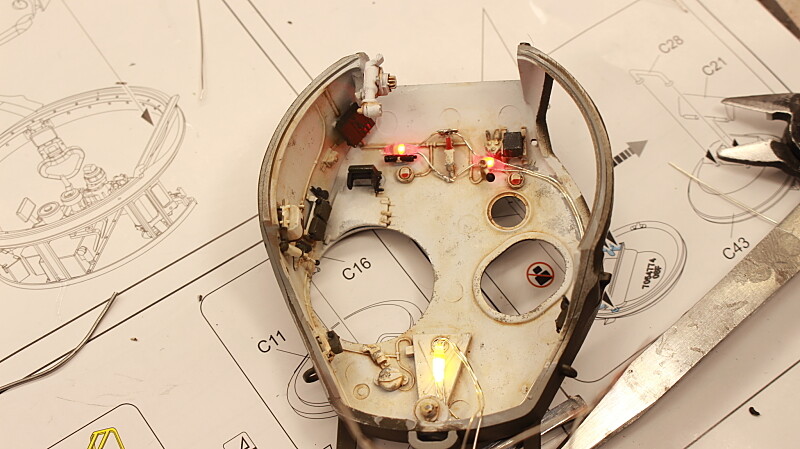
Can we see how you did the lighting? Power supply, wire route, type of light (assuming LED)?
Wow! Just wow!
My jaw dropped, and it’s still dragging along the floor ![]()
Amazing work, @Cbowling
This diorama looks great! ![]()
impressive work, looks like time well spent.
Congrats on a job well done!
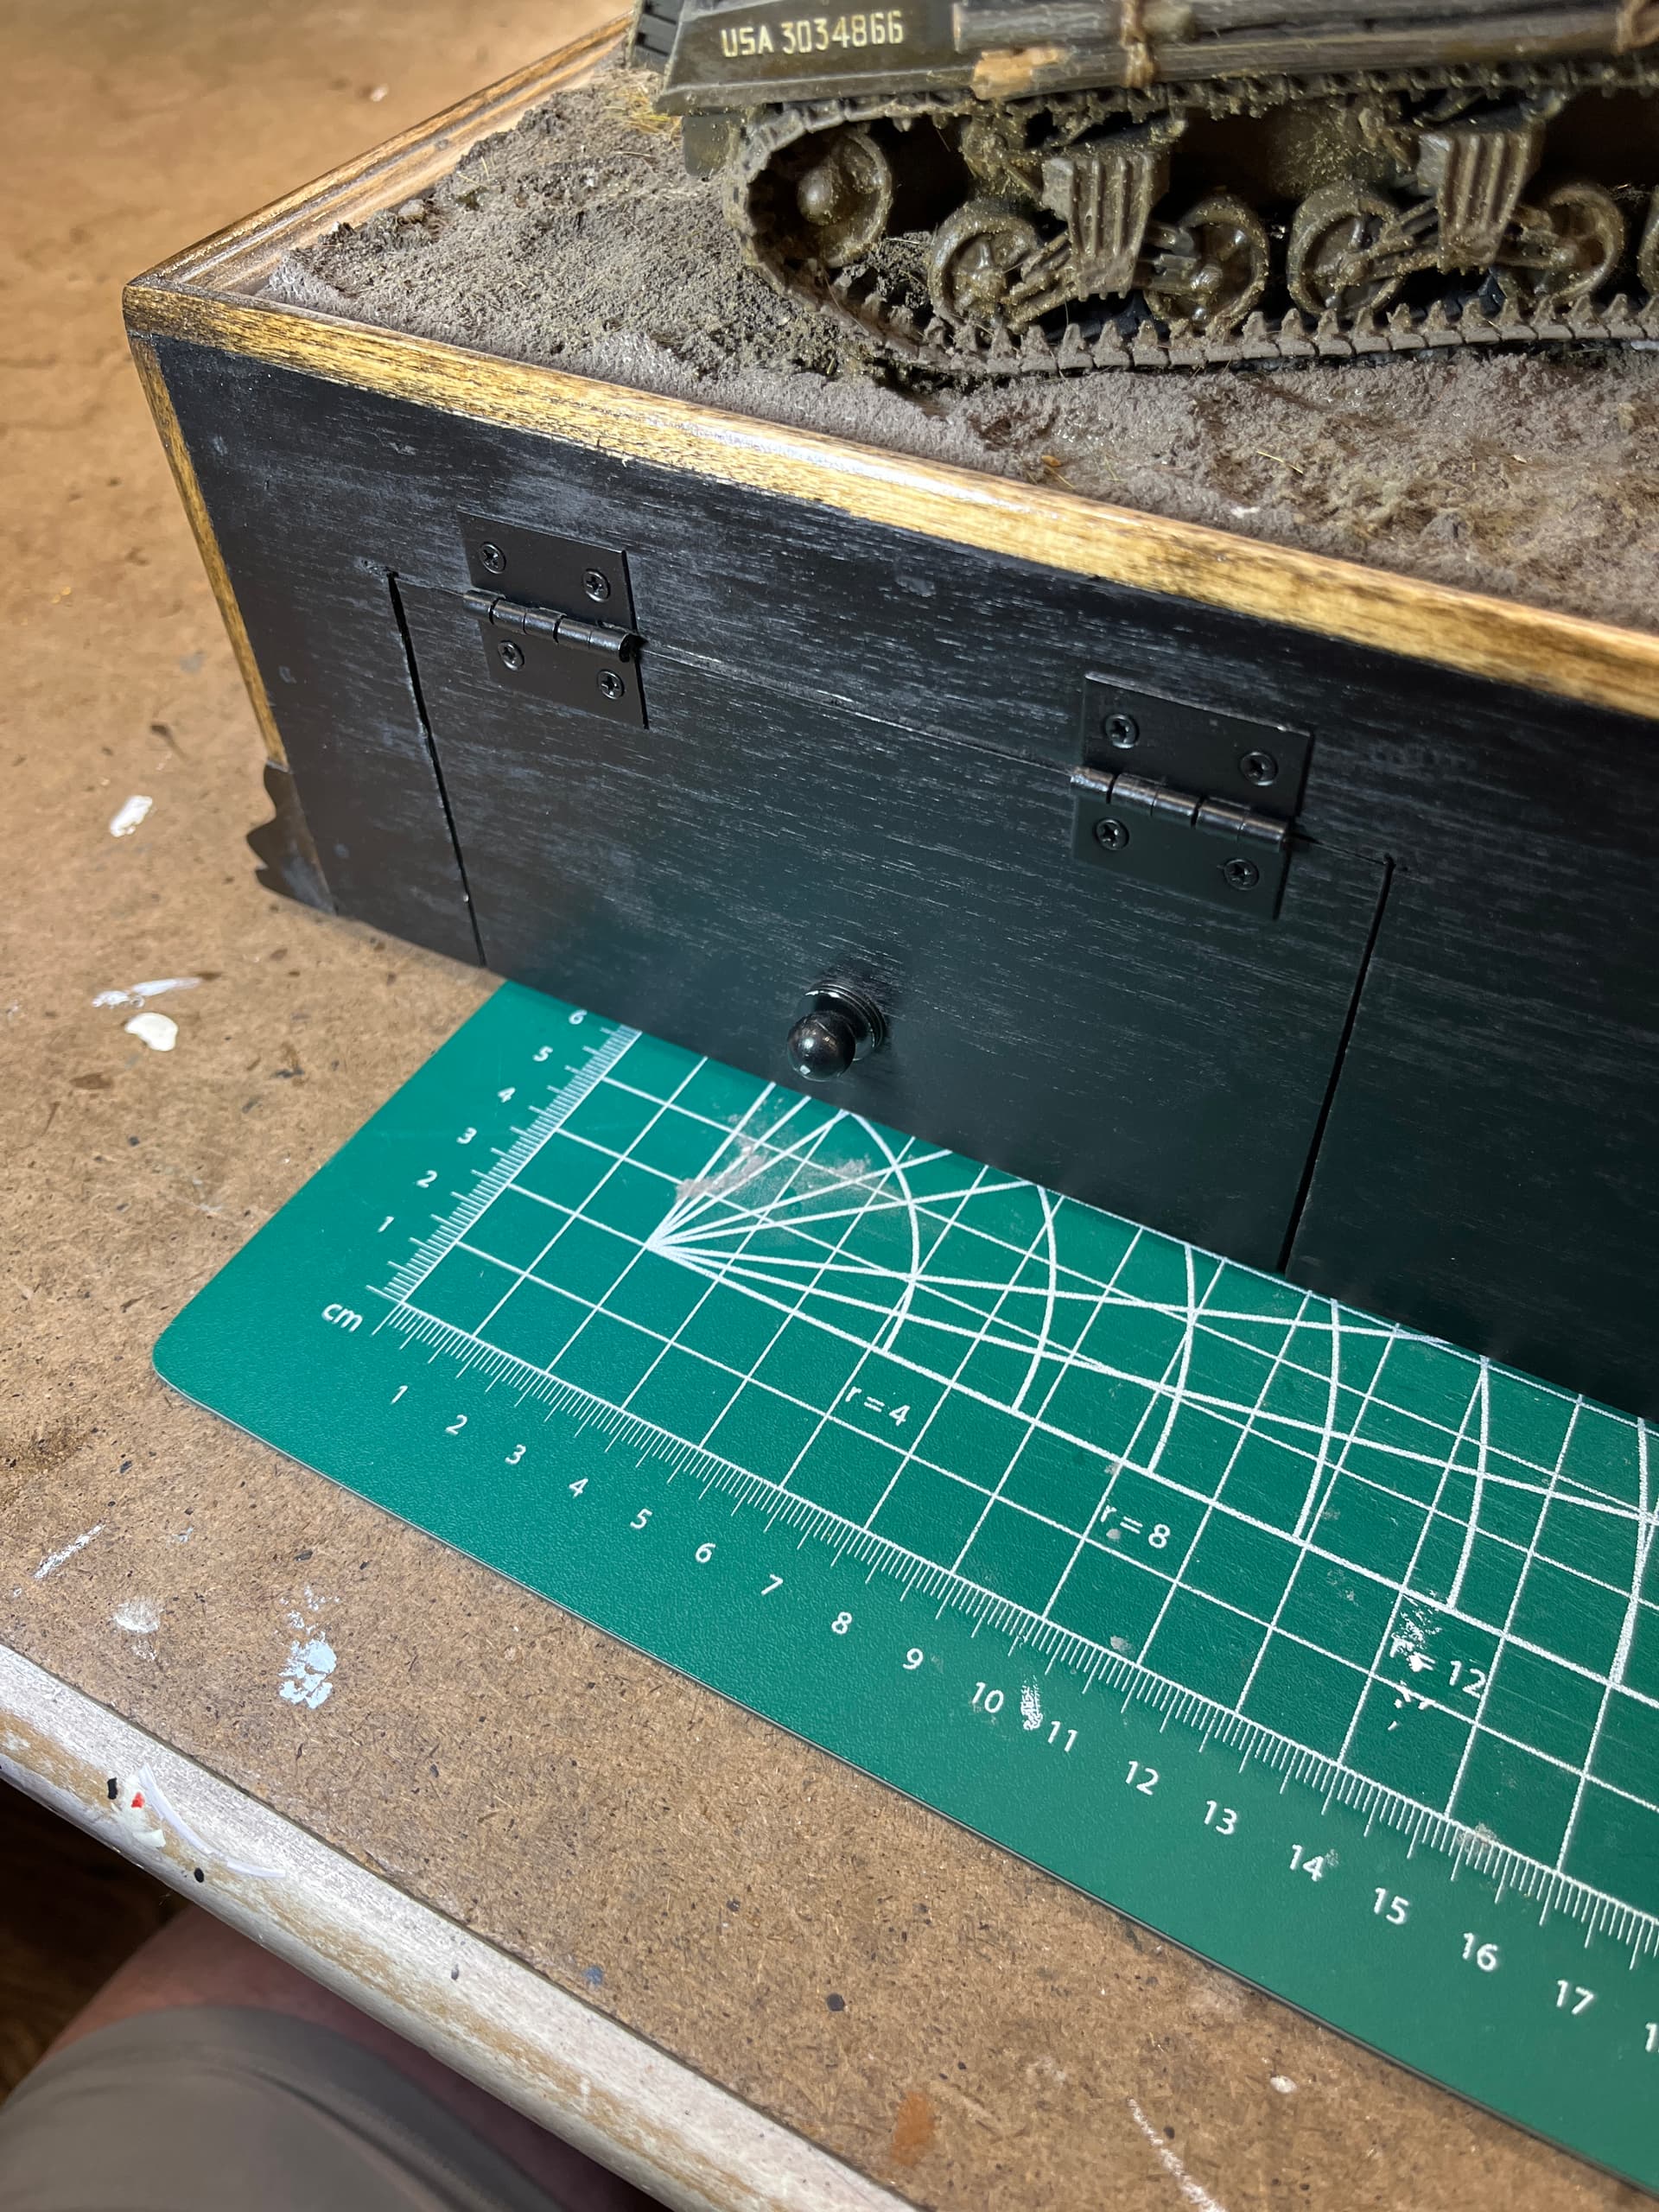
I used the LED lighting that is posted in the tips and techniques on this forum. I wired the turret and hull lights separately. Once everything was complete I just joined them together underneath the tank. I took a piece of brown tubing and put it down through the top of the base to run to the power supply underneath.
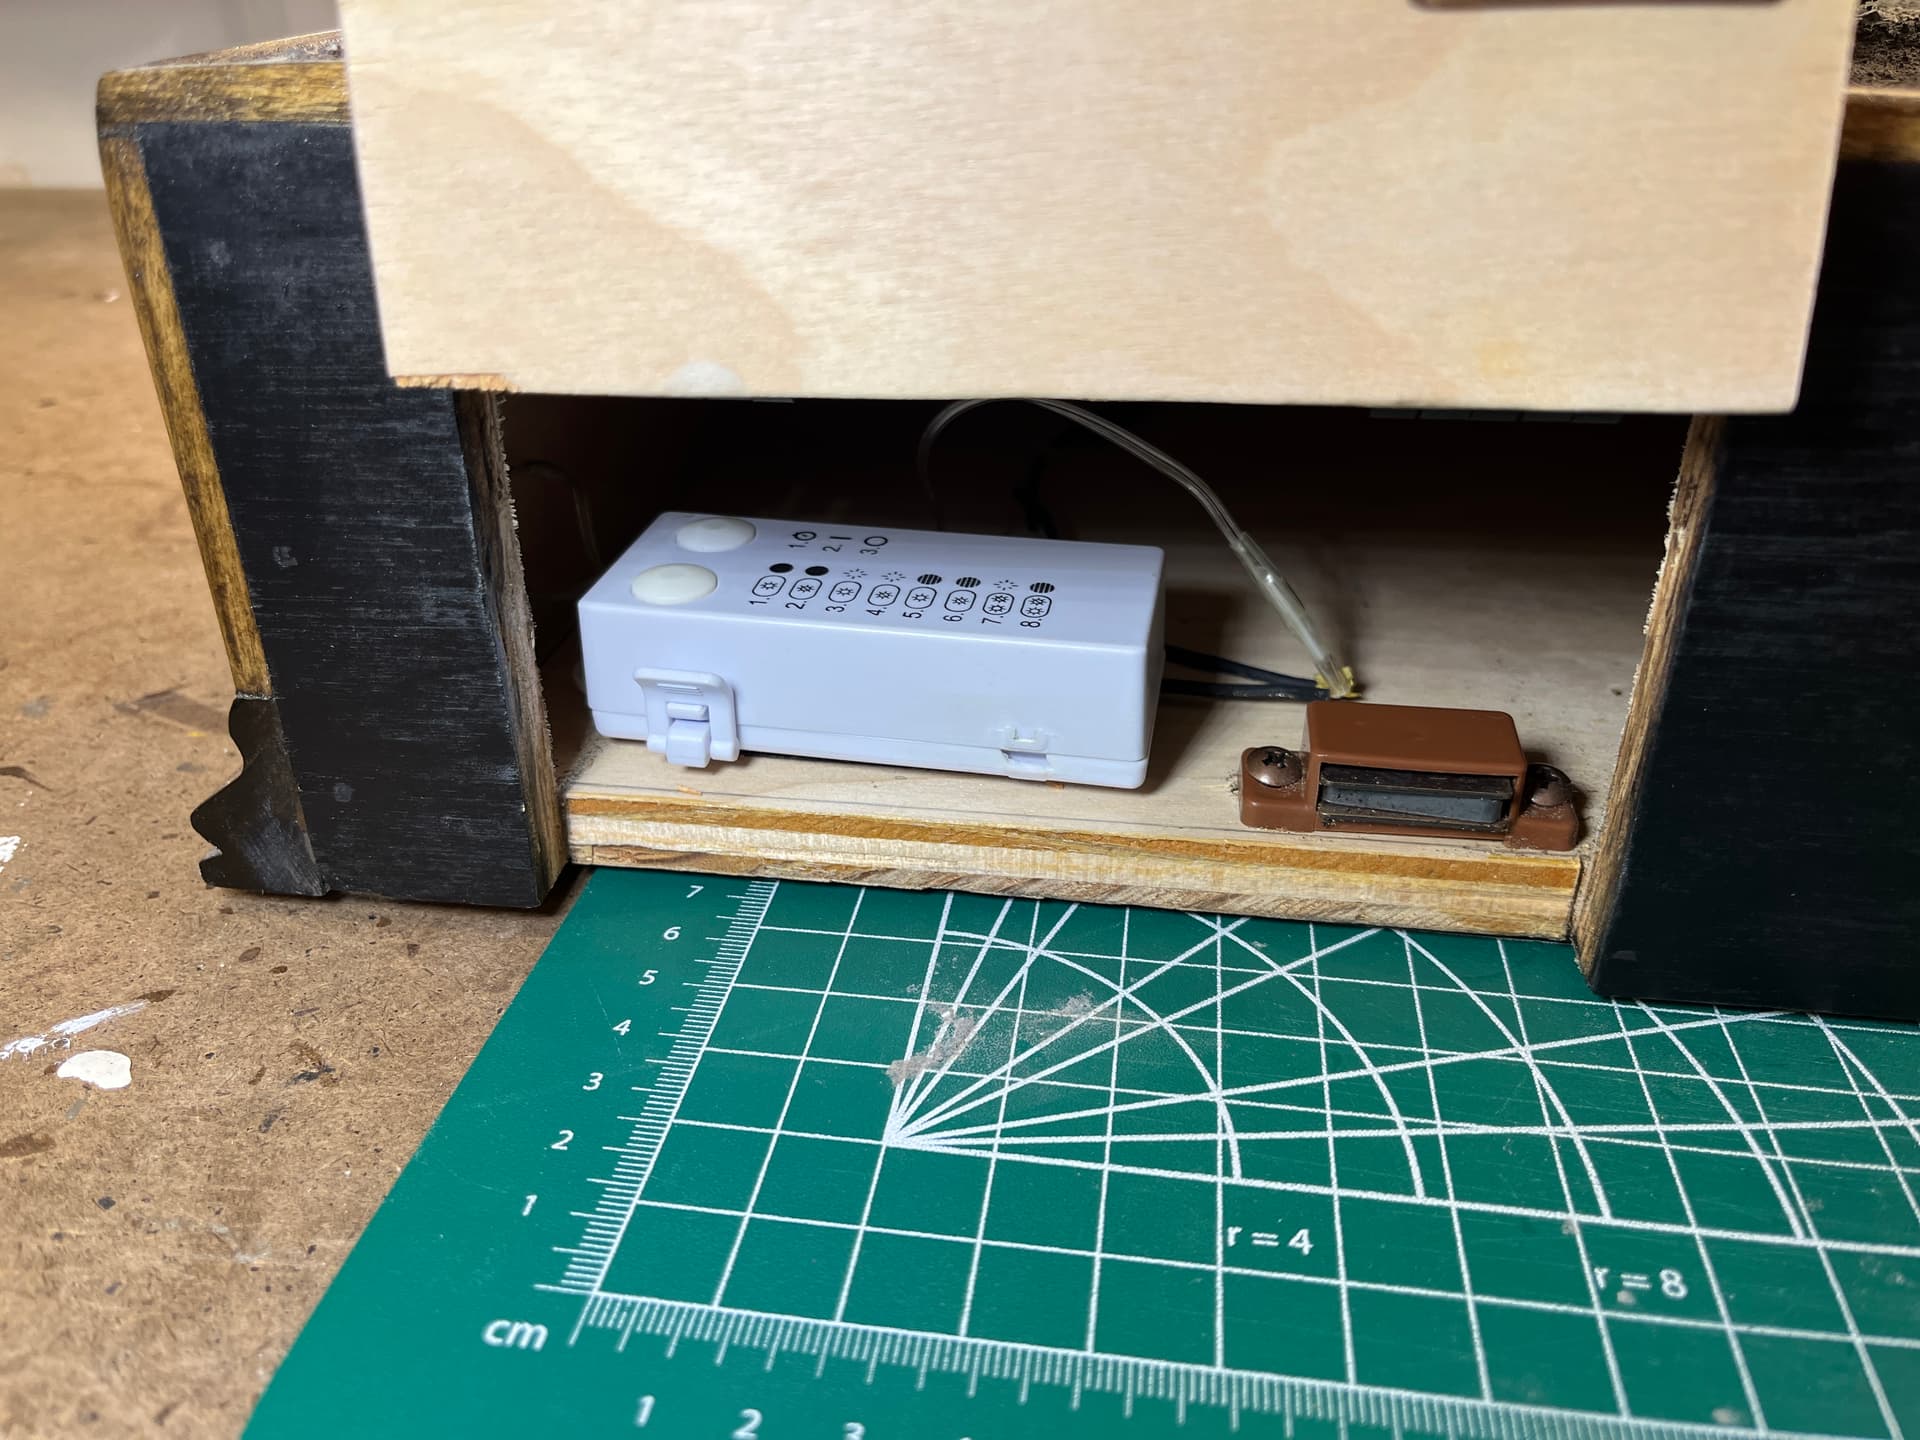
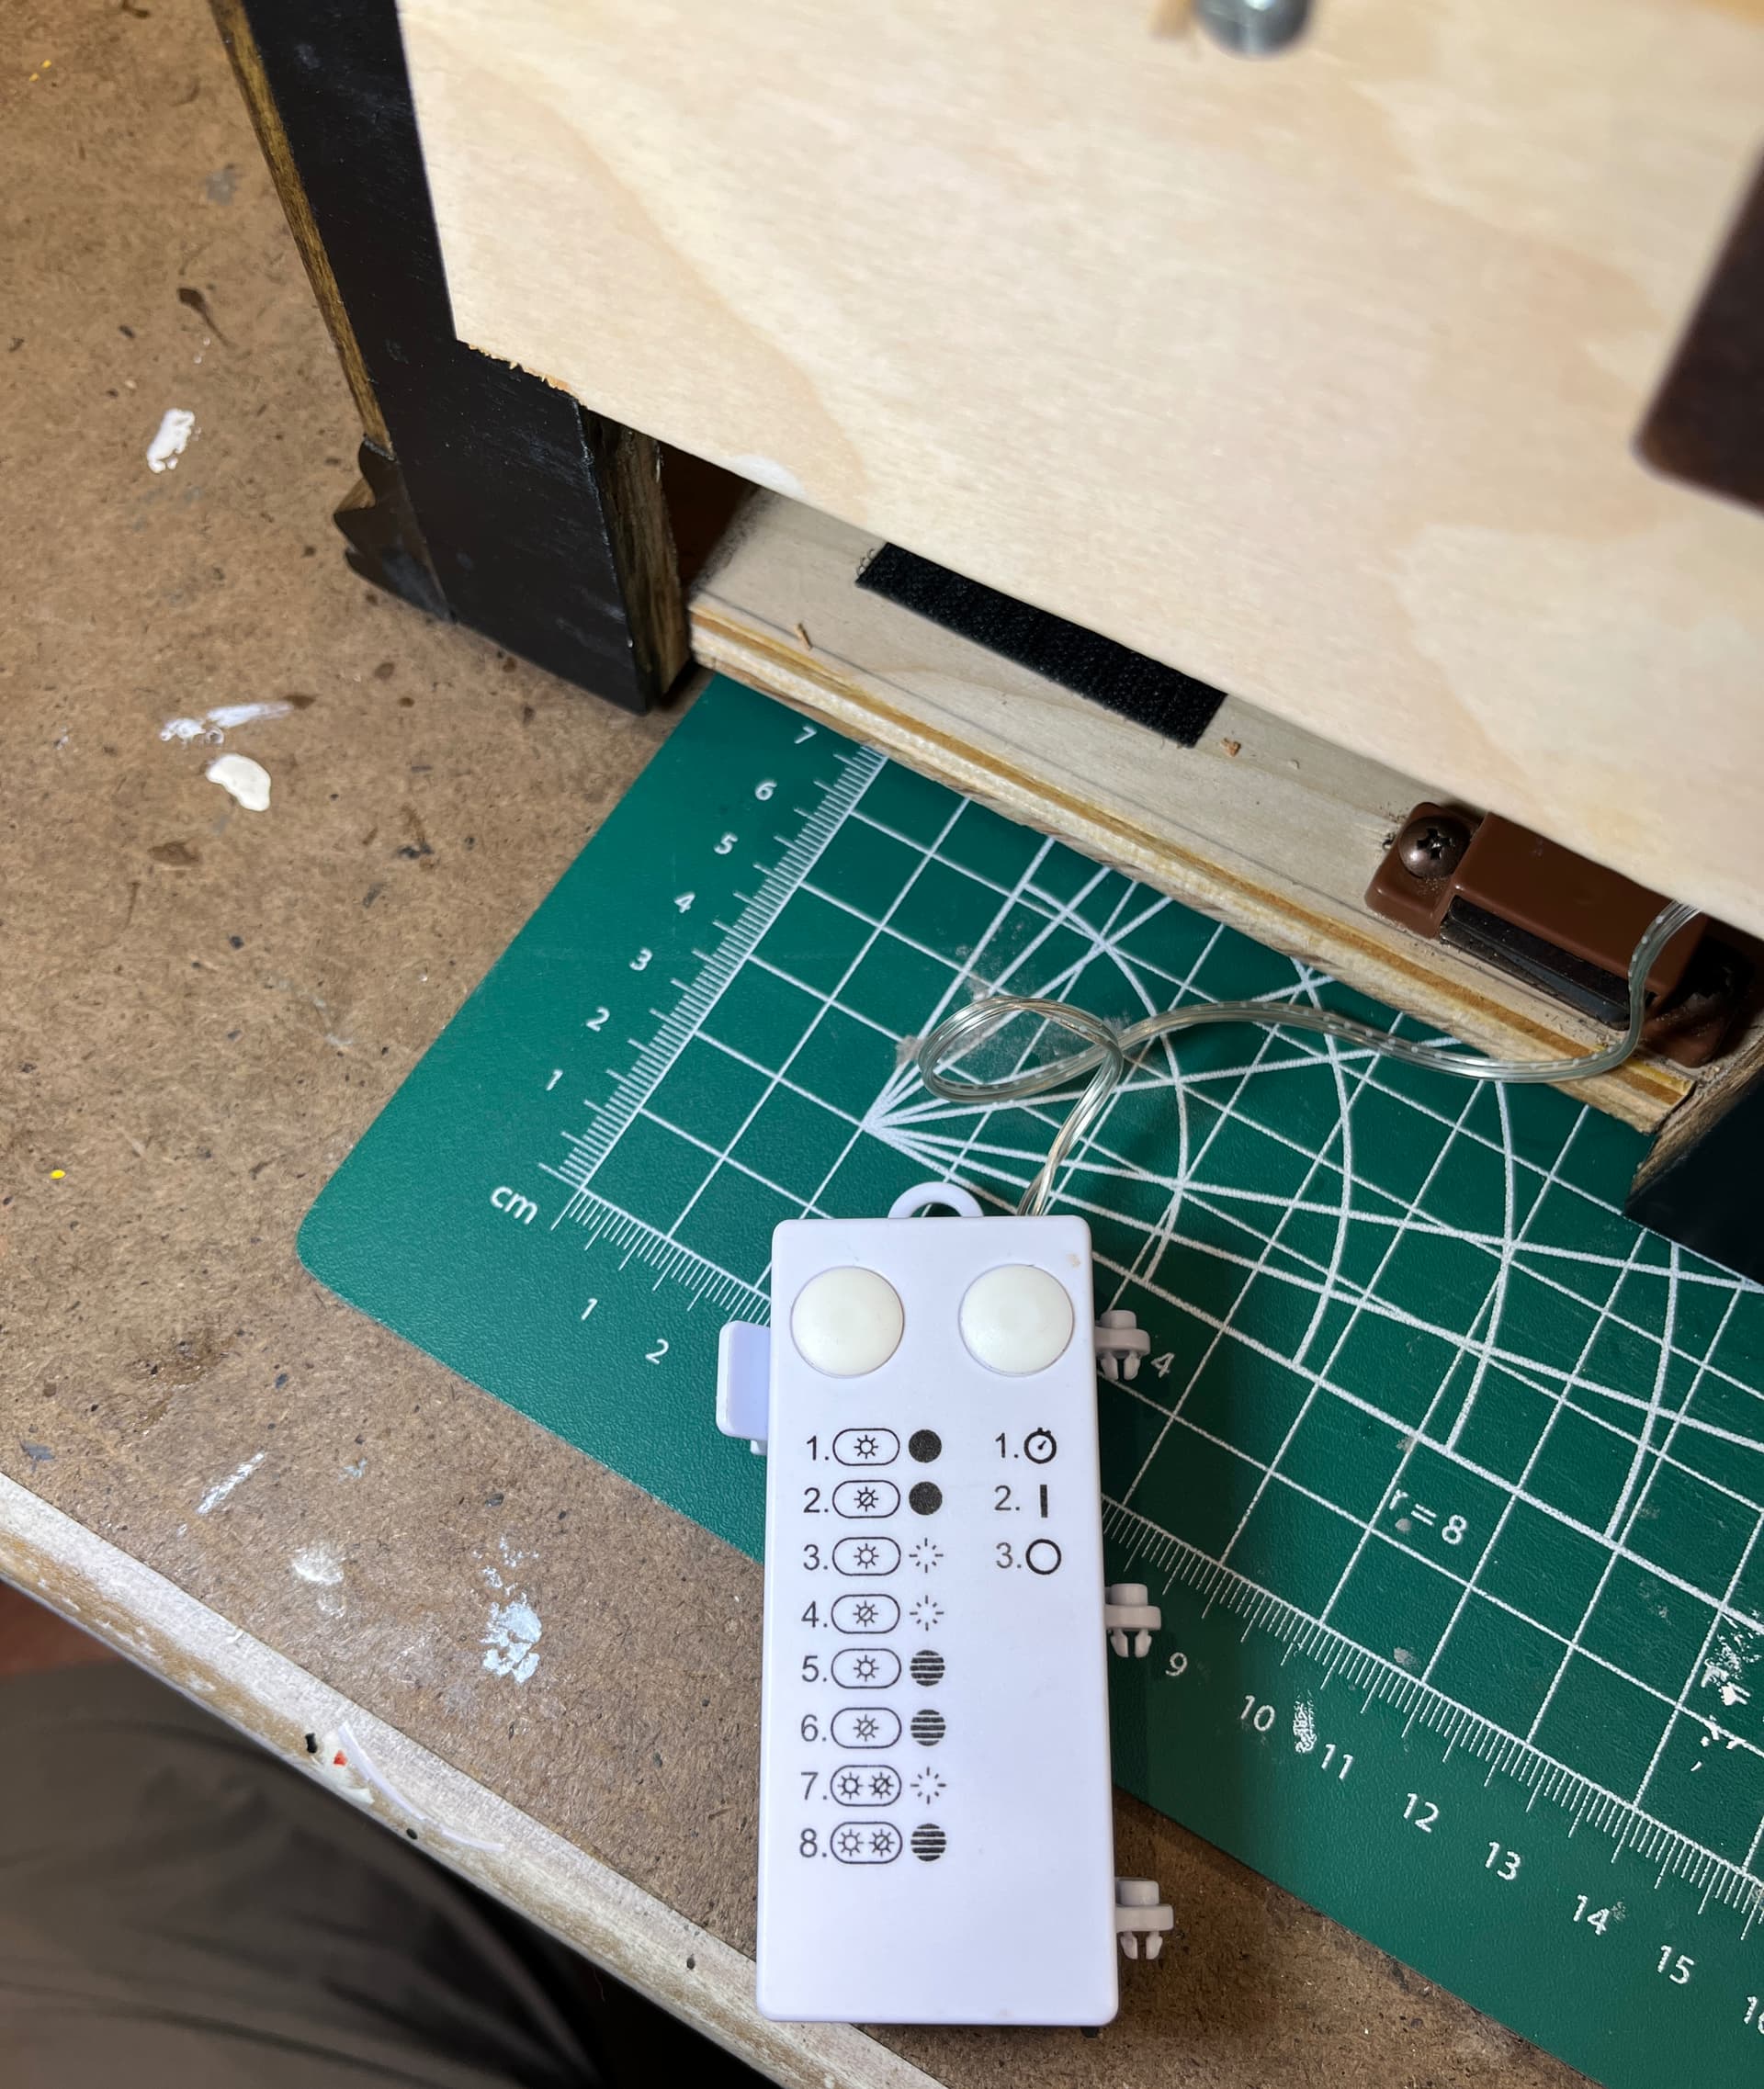
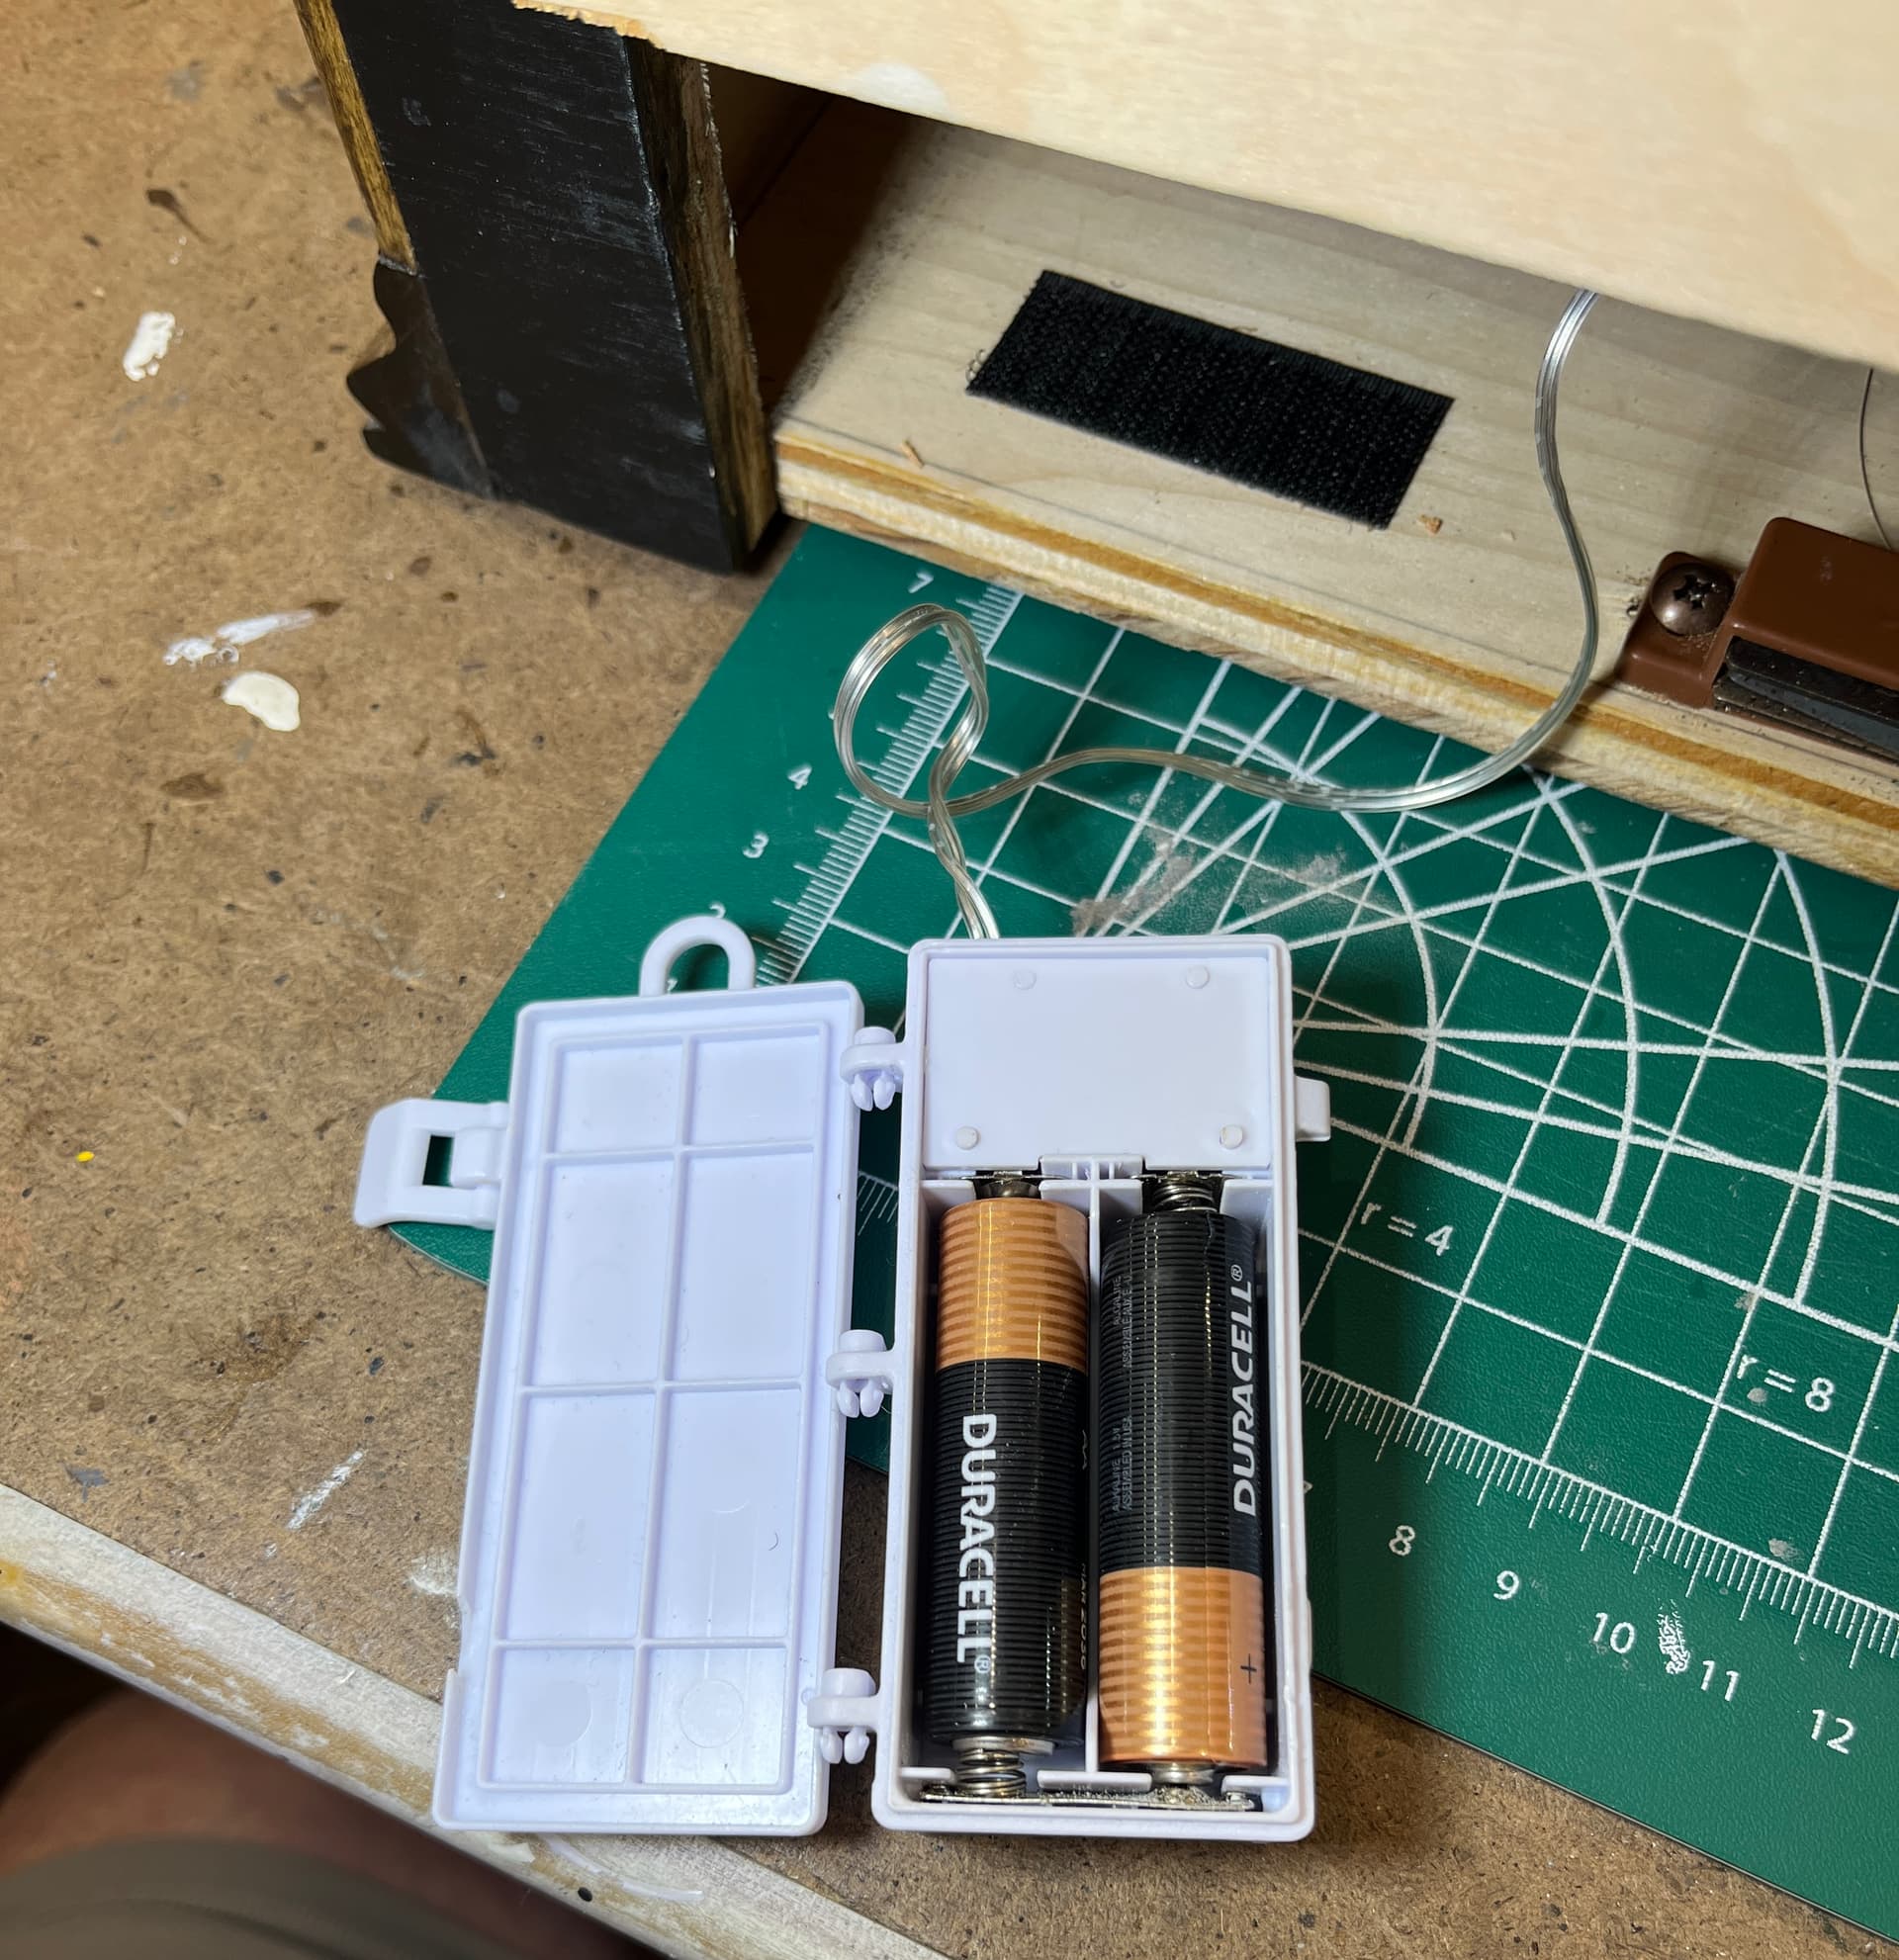
Here is the power supply. These lights can run for a long time with a set of fresh batteries. (8+ hours). I added a piece of Velcro to the back of the controller and inside of the base to keep it secure.
Wow, the level of detail is jaw droppingly fantastic.
Neet-O! Well done.
I’ll check it out.
Awesome project and a really nice job. Dio action alone is just great let alone the cutaway and lighting. Jeesh!
Your photography skills are as good as your modeling skills.
Thanks for sharing this.
Just two words: Incredible and Excellent diorama. Truly a work of art.
Amazing work; you must have A LOT of patience