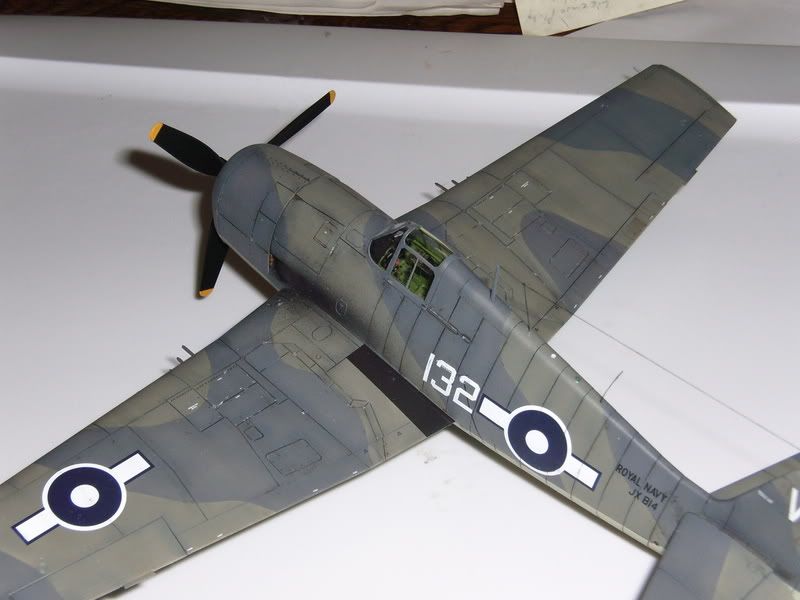
Just finished my Eduard Hellcat Mk.II. This kit was half of the FAA Dual Combo released last year, the Mk. I is still in the stash. Overall, I have to join the ranks of those who praise this kit, it really is well engineered and tremendous value for the money in the Dual Combo. The cowl, wings, and horizontal stabs fit so well, I painted them seperately and glued them on in final assembly. I’m very pleased with the end result. As always, I made several mistakes/oversights that I discovered too late but I’ll keep those to myself![;)]
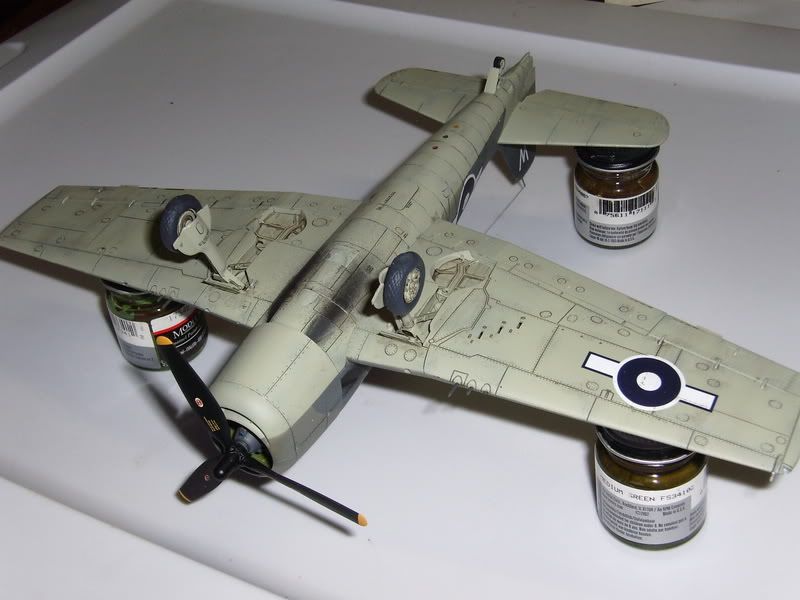
Thanks for the kind words, Tacan. Since I usually paint in enamals, I use an acrylic wash of Tamiya Flat Black with a few drops of Flat white added to take off the edge, thinned down with water and then add a drop or two of dishwashing detergent to keep it from adhereing too much to the paint. Apply over glossy paint, then wipe off the excess in the direction of the airflow with a barely damp paper towel. Can’t remember where I read the formula from, but its works well for me.
You’re 100% right about the decals. Decals are not my friend! I’ve been back in the hobby for over 3 years now and still haven’t cracked the code on how to get them to settle down consistently. On this Hellcat I used multiple applications (4-5 on a couple of them!) of both Micro Sol and Mr. Mark Softer setting solutions and still couldn’t get some of them to settle in. But its not just the Eduard kit (with Cartograf decals, I think) , I’ve has similar problems with almost every brand I’ve tried, including aftermarket sets. Some will settle down nicely, others refuse no matter what. I’m all ears for any suggestions.
Jeff- Extremely well done! Certainly looks the part to me. For your decal issues, consider using a fresh knife blade and lightly cutting the decals in the panel lines. Then, use your decal solutions to pull them down in. A wash into the lines and presto! The decals look painted on. [tup]
Great job Jeff, love the weathering. Looks proper. As for the decal issue the other option aside from Franks is to use a good Sol and then future the plane again. The whole planes surface will be uniform and your wash should flow evenly over everyhting.
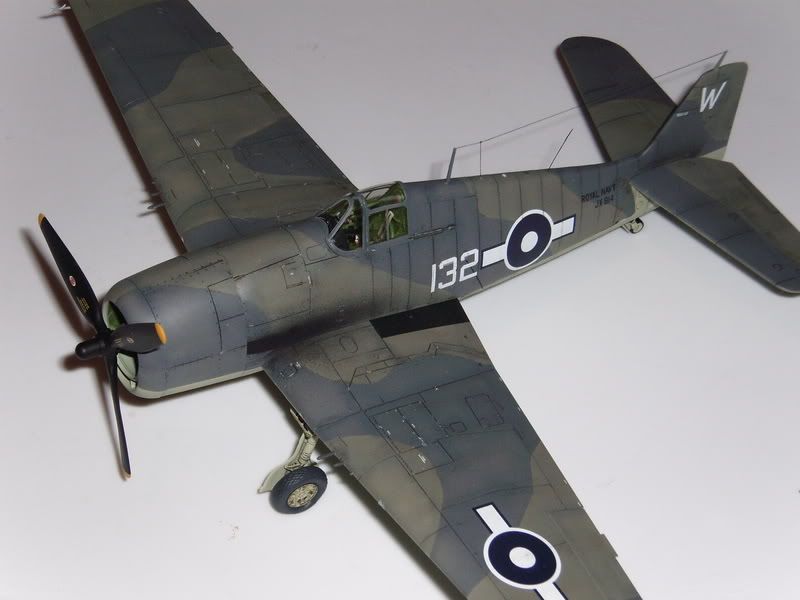
Very nice job there. I like the break from the usual tri-color Pacific scheme. The fading and weathering really makes this plane stand out. I’m glad the kit is as good as everyone says it is. I have it in the stash as well and may it to the front of the line.
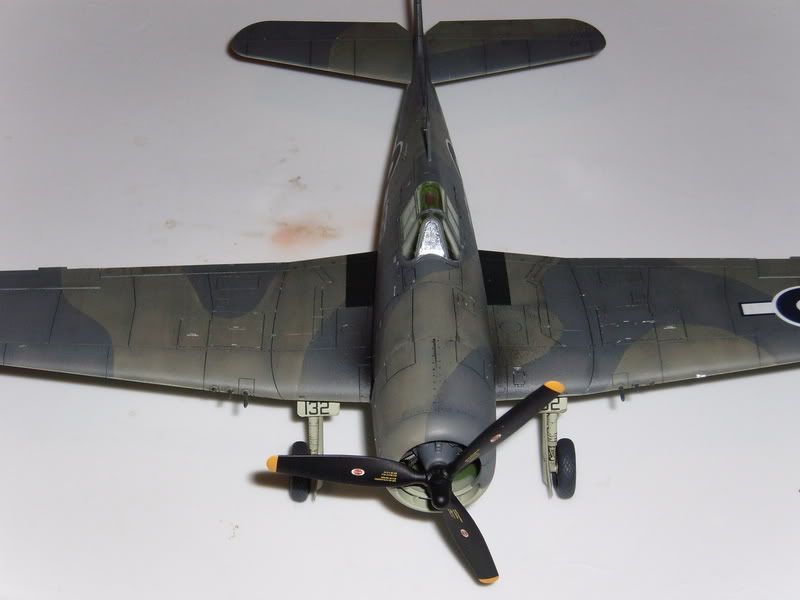
Jeff, great looking plane. The paint job is so good. Top marks for that! I wish my faded paint jobs came out that sharp! One tip: the propeller looks brand new. Perhaps try some chipping on the leading edge?
You used Mr. Mark Softer and they STILL didn’t go down?! That’s the most powerful stuff I’ve ever used! I “extended” the wing roundel of a Corsair I was builting because I was stroking the MMS on and it softened the decal and BOOM stretched it out!
Trexx, I beleive that FAA stands for Fleet Air Arm, England’s Naval Aviation branch.
Thanks to all again for the complements and tips. Radmax, you caught one of my oversights with the prop. I was going for the “Pacific Tropical Sun-baked” look for the whole plane, but didn’t think about the straight flat black prop (and wing walk-ways) until it was glued on. I painted it with several different kit props at the same time for convenience. I realize now I should have faded out the flat black some with white or light grey. To be honest, I kind of held off on the paint chipping as someone pointed out elsewhere that paint chipping on carriers were usually touched up quickly given the harsh corrosion environment of carrier operations on bare metal. Would they have had such an aggressive corrosion control program in wartime ops? I really don’t know, but it sounds like a good theory so right or wrong, I went with it.
Like you, I’ve also heard that Mr. Mark Softer is very aggressive, but these decals successfully resisted it. I’m wondering if it goes weak with age, since my bottle is probably about 3 years old now, and who knows how long it sat on the shelf of the little hobby store I bought it at.