E-100 1-19-09 NAtural Light, Final Pictures, she is DONE

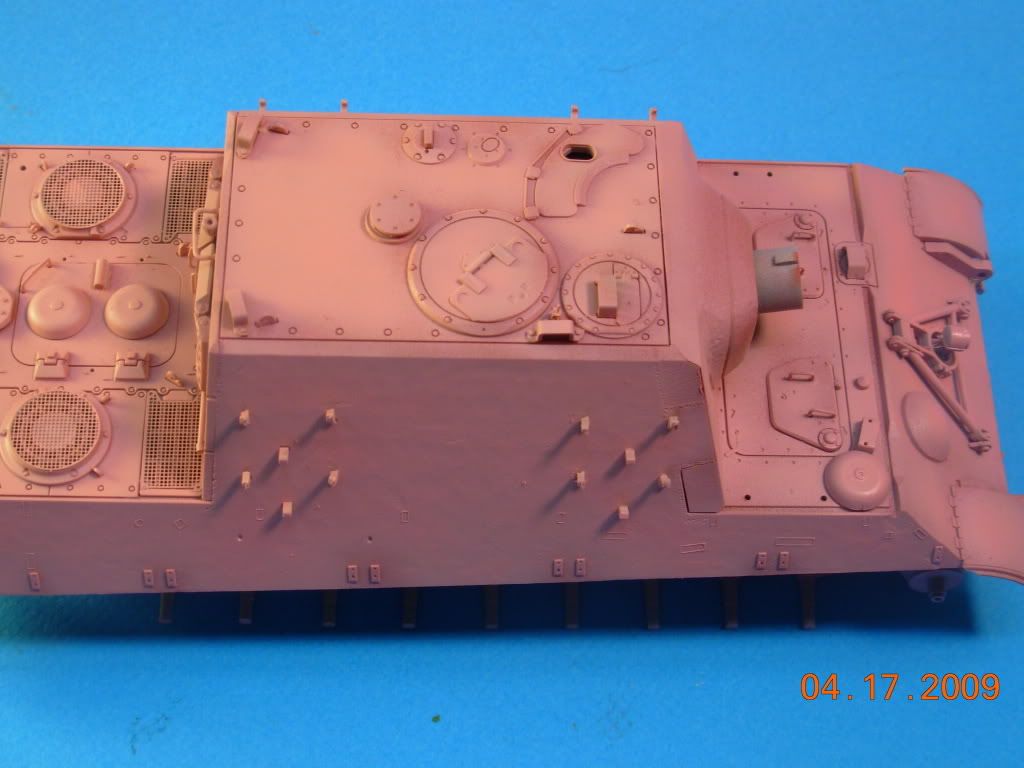
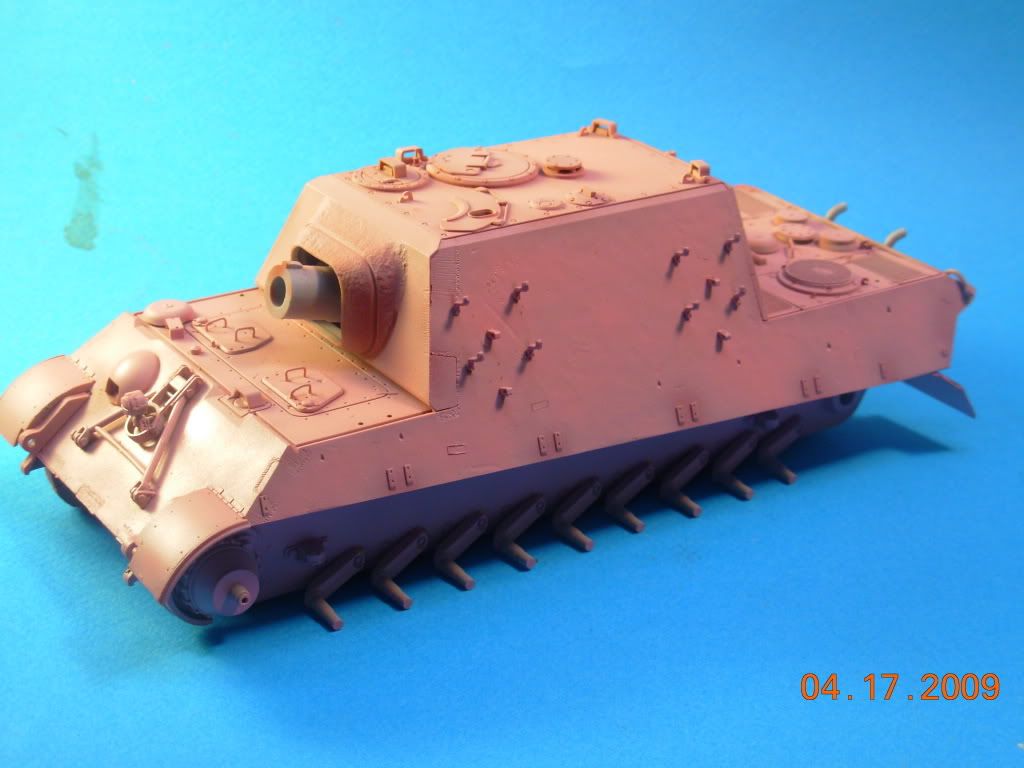
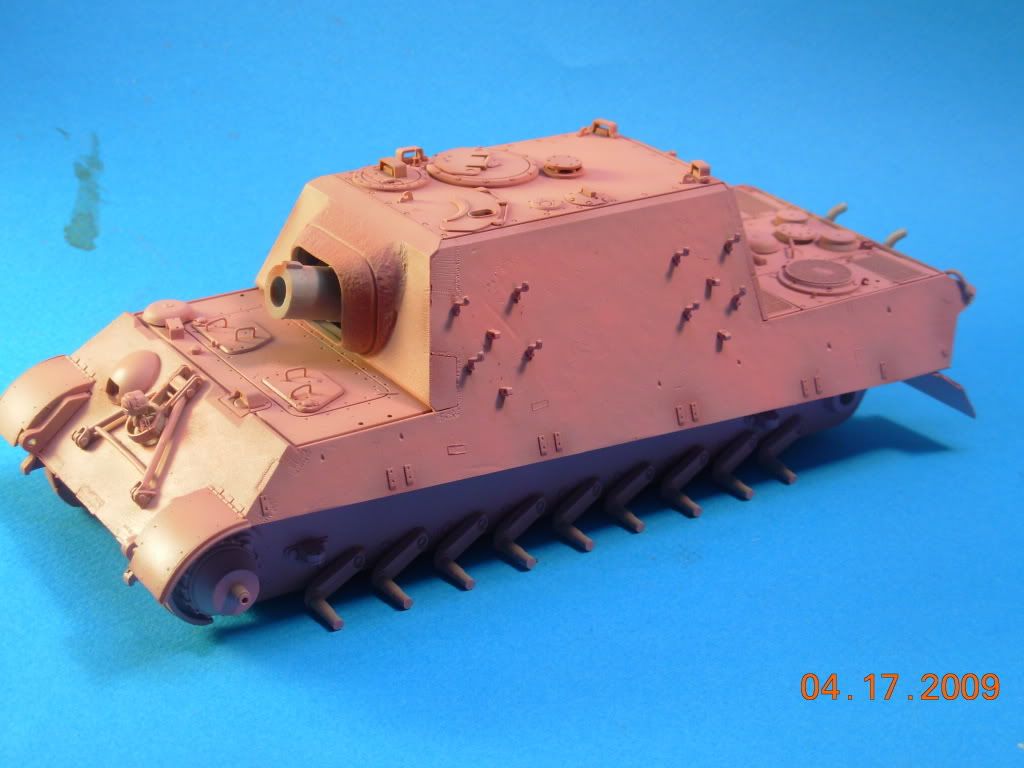
Thanks very much, Michael. I think I’m getting some interesting effects, I am certain that I have spent more time painting and weathering this beast than I spent building it. I am also having a blast trying out things like intentionally putting oil dots all over the best paint job I ever put down.

I am also having a nice time documenting this build, warts and all.

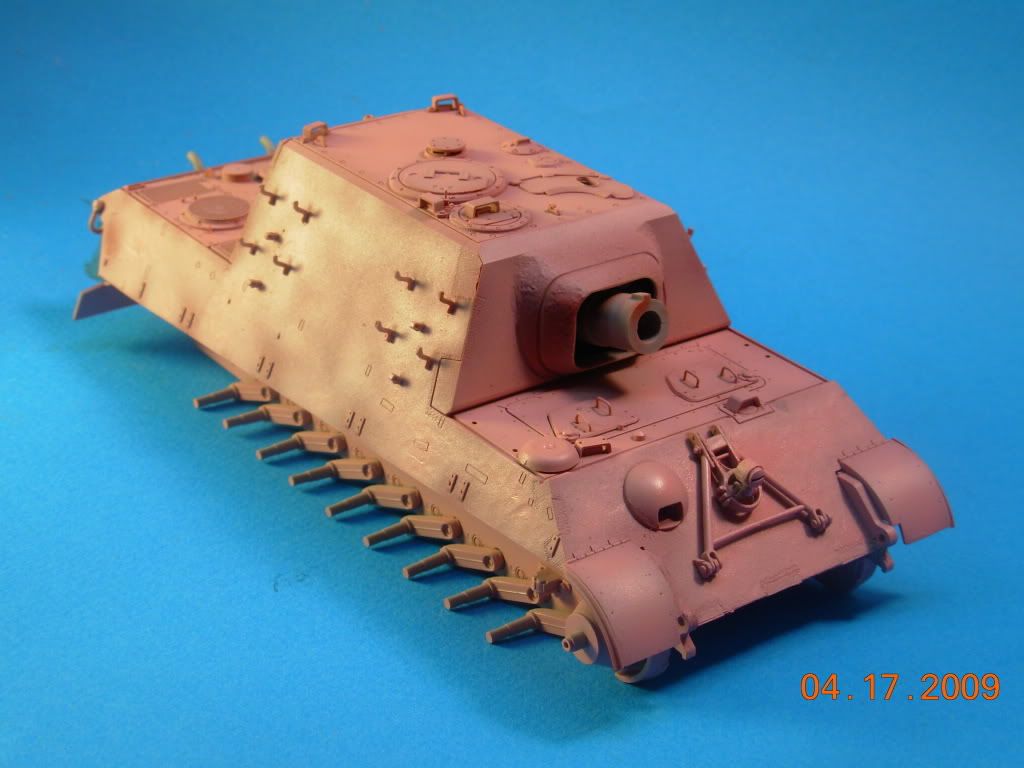
I’ve actually started putting some pigments on her to simulate dried mud, not a lot, but something to match the hammering I am giving the paint.

I’ll post a few pictures when it dries, whether I like what I see or not.

And some mig “dried mud,” with a bit of dust and old rust for good measure.

Ok, a LOT of dried mud. Is it overdone? I didn’t just slather it all over, I put it on top of the bogey assemblies where it would fall of the tracks, and around the radius of the drive wheel and idler wheel, where it would fly off from the track action around the curve there.

It loks like a lot now that it’s dried. Guy, I’m soliciting comment on this area, thanks

Sorry about the blurry last one, it was the only front shot I took.

Don’t you just love digital photography. My own stuff looks different when I look at the large pictures.

Hey Bil–it’s a nice mud-job, but I don’t think this vehicle would have gotten “up to speed” enough to throw the mud up that high on the rear hull?

I would take a stiff brush and scrub some of the mud off where it appears “thrown up” by the tracks–leave the residue; it’ll look cool. But leave all of it under the hull.

Good goin’–nice to see you taking chances!

[#ditto]

Having worked with tracked vehicles (tanks, PCs, Bradleys, M88 and M578 recovery vehicles) in the Army, even slow-going gets the suspension nasty when you get to mud. And Doog is right about the thrown mud.I don’t doubt that SOME would get there, but not so mush as depicted.

Still, good work thus far!

Michael

Would be a terrifying sight: an E-100 coming straight at you at 60 m/h with huge rooster tails of mud flying up behind (definately merits clean undies).

Julian [:-^]

I have toned down the mud, a bit, and have installed the road wheels and tracks. Skirts next,then maybe some unifying washes, although I took care to weather it all in the same steps.

Comments welcome, this is really my fisrt attempt at weathering, I know it looks pretty beat for paper panzer, but I am developing techniques and can modify the severity of the results in later builds.

What do you think, particuarly the amount of mud on the running gear?

The mental picture I got when I read this had me smiling for quite some time! I think someone should have put a massive powerplant in one just for the shock value on the battlefield!

Michael

Hey Citadel it looks, great keep on rolling. I am glad the setbacks worked out. I can’t wait to see this finished

Jeff

Thanks so much Bushi.

I put the skirts on this baby tonight after poker didn’t work out…again.

Here are some shots, she looks pretty war weary. Over the top?

I was just playing with the rust streaks, they show up much darker in the photos.

Well, I am nearing the end on this long trip back to modeling. This is my second tank model, the first in 20+ years, and the first weathering I have tried.

Looking pretty close to “there”, Bill! I think you only need to now define it more by giving it a good, slow, patient application of pin washes in all the little crevices, seams, and panel lines. That will really define the shape and detail of it 100%.

Get a thin, fine brush, and with a 60% thinned wash of raw umber, start applying it. It’ll make a huge difference when you’re done. You can even apply it over the pastels on the wheels. Just don’t brush it on–let it run off the fine point of the brush into all the seams and crevices.

OK, with the sole exception of the spare links on the turret, I beleive she is finished. I am not happy with the color of the links, they look too rusty to me. Suggestions welcome.

A review, my fisrt model of any kind in over 20 years, my second armor vehicle, the first was a Euro camoed M1 Abrams finished in 1986.

My first experience with: Photo etch, washes, Mig pigments, rust, indy links, pin washes, simulated mud, and dot filtering. I used wire to add the wire for the headlight, the ladder ungs on the turret, and the handle on the rear deck.

I spent longer on this build than any prior, and spent far longer on the painting and weathering of this than any prior.

Obvious thanks to Doog, who has guided me patiently.

And now, a few pictures, open to all comments, critiques, this is a learning experience, but I need critical eyes.

Front shot showing pinwashed details

Rear showing the toned down mud

Side view, muddy enough, or too much?

Rear deck

overhead

Mantlet showing off the pinwash.

And, the mandatroy side shot

Well, how did I do? Thanks to all. Next up, the Sherman!

Considering how long it’s been for you and the new techniques you incorporated, you did splendid. What a sleek brute. I would love to see a Henschel KT turret on that hull!

You asked about the mud on the wheels, well, I think it would have sprayed more mud on the side skirts and the tracks would be even dirtier. I’m no weathering expert though. Nice to see this guy and hope to see more down the road.

Fantastic outcome! It proves an old dog can learn new tricks (and do quite well, at that)!

This is one very life-like paper panzer. Now that you have built one of the biggest German panzers, it would be interesting to see what you can do with one of the early or inter-war years tanks/tankettes.

Keep up the great work!

Thats a really nice looking beast you got thjere. I do agree that the spare links look to rusty. No doubt others will say different, but personally i go for little if any rust on spare links. Like you i have never used dot filtering or pin washes, but am going to give tem a try when i get home. If my resulkts are anything like your’s i’ll be happy.

Looks great!![tup] Good job on the pin washes, they definitely brought out the detail on this beast.

Bill,

Very impressive in terms of both the size and the number of techniques you incorporated into this one. The fact this is your first armor build since the '80s makes what you’ve achieved even more impressive. I don’t have anything to add to what’s already been pointed out by the others, look forward to seeing your next project! [tup]

Well it has been a long time finishing this beast. But lets say it was worth it, congrats on a great job.

Terry.

Very nice, Bill!

It was a long road, but you’ve managed to make a beast to be proud of here!

It’s interesting how you hung the spare tracks-definitely different from most “what-if” done to this tank, but still entirely pausible! The toned-down weathering looks apropos, too.

The paint is good too. A nice job all 'round!

Thanks Karl.

Since my spares box is, well, an empty box, I decided to “what if” the spare hangars. I figued late war, steel is at a premium, but the crew managed to scavenge some rebar type material for the rear turret ladder, why not use that to weld up some simple hooks off the top edge of the turret.

I think the spares themselves are too rusty, but I’m not sure what to tome it down with.

Other than that, I washed the Sherman last night and started cleaning up the road wheels.

Got some pictures up after a LONG trial. I am about to shoot the Sheman wheels, then I remembered how YELLOW the light was in my final pictures, I took her outside for a final curtain call in some natural indirect light, and I even broke out the tripod.

Here she is: