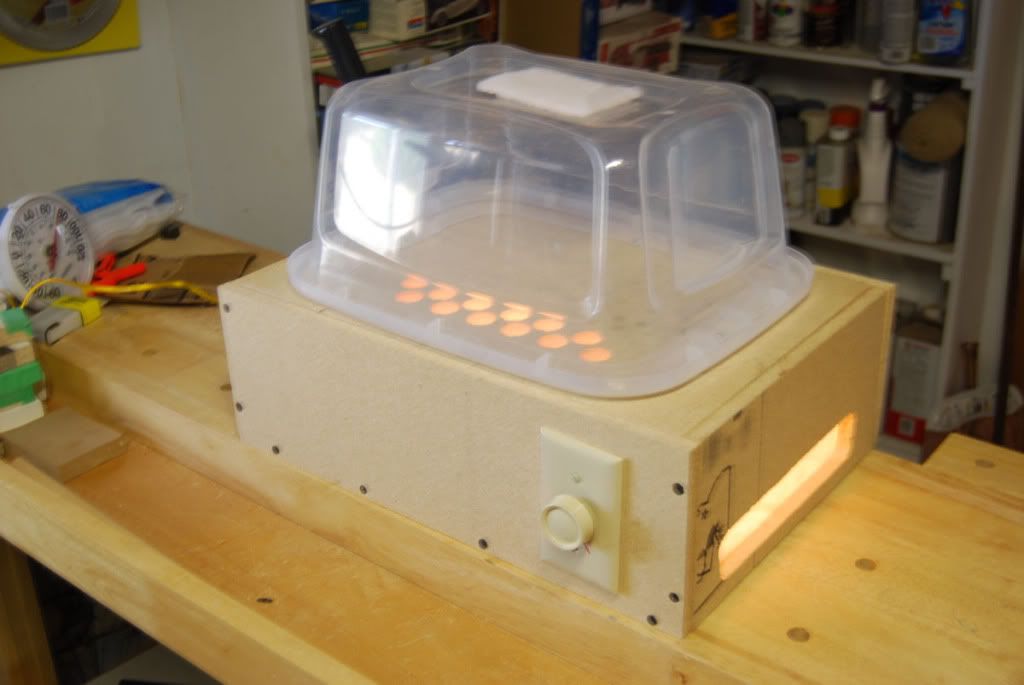
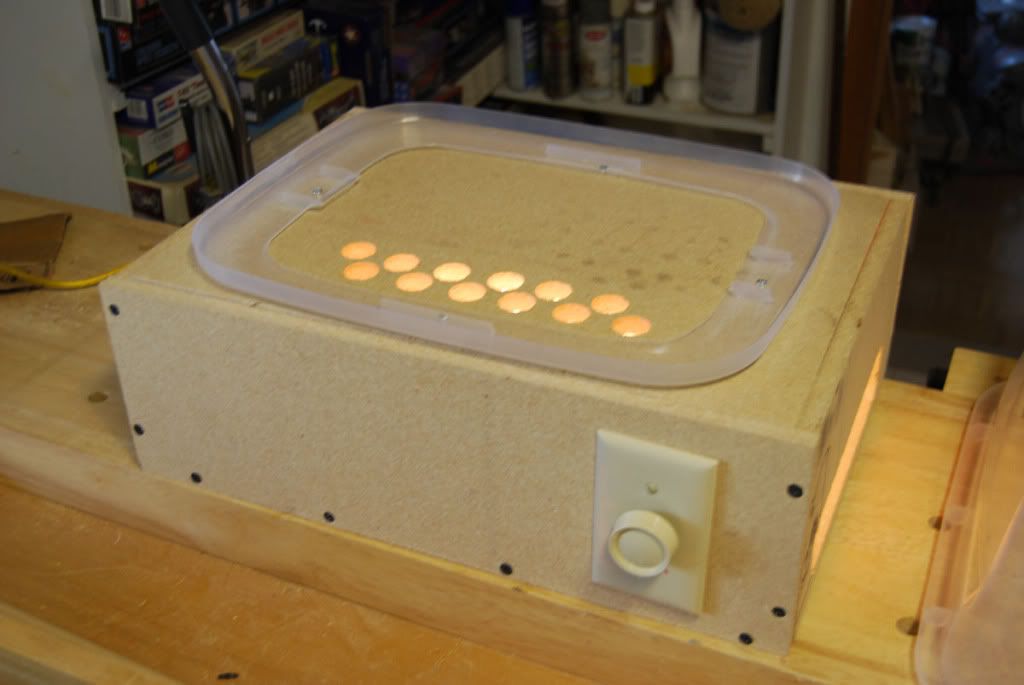
Finally got around to taking a few photos of my new drying booth. It is a box made from particle board. The top is one of those plastic cases we carry our models to shows with. It is inverted, with the cover cut out in the middle, leaving only the flange in place.
The slot in the side and the holes in the top are to allow convective air flow through the actual model chamber. The slots and holes are covered by filters- ones sold to use in floor mount hot air registers. I also cut a hole in the bottom of the plastic storage case (now the top) and taped a piece of that filter material there, to keep dust from coming in from the top.
I mounted a lamp base, and put in a 60W appliance bulb (yes, those can still be sold). I also mounted a lamp dimmer in order to control temperature. That, I find is not needed, and a simple switch would be fine. Wide open it runs 95 degrees, which I find works very well. I know some folks who tried food dryers, and some of them had warped models, which is what I was trying to avoid with the dimmer. But I find the 95 degrees works fine, drying Testors enamel in a day (closer to about eight hours) instead of the normal several days.
Yes, I still do use it often. I do a lot of models that take gloss paint. So almost everything I paint with gloss, even very small parts, goes in dryer.
In fact, small parts really show the utility of the dryer. Small parts indicates I am still doing assembly, and waiting for gloss enamel on small parts slows down by building. Sticking small, freshly painted parts in cabinet for several hours allows me to use them today, rather than waiting till tomorrow!
That’s why sometimes my builds take for ever . Dry time on smaller parts . I pick up 60 watt bulb . 1 light switch and box. Also the outlet like your . All for 6.99 at lowes . I have the wood at home . I will post build this weekend
I hate to make it seem like I’m trying to steal your thunder with this post. I’ve never tried the following suggestion. It just popped into my head when I read your post.
I wonder if a food dryer would work like those used to make beef jerky?
My wife’s (I know - already off limits) is about 18" in diameter and has 5 shelves all of which are removable.
If you know for sure the internal temperature the food dryer runs at, it may work. It apparently varies by brand and model. I know folks who have ruined a model in a food dryer. I did not want to take the chance, plus my booth cost a lot less than the dryers I looked at at WalMart.
I hate to show my ignorance here, but where do you put the model to dry?
Do you put it in the plastic container on top? - This would indicate to me you are using the light bulb to create a convective flow of air for drying? - if so, do the circles I see on the plastic top act as cutouts to allow warm air in and then it exits at top of the inverted plastic container?
Sorry for the dumb question, I was thinking the parts to dry originally went in the wooden box with the bulb and that did not make as much sense to me
Thanks - I am getting ready to build something similar
Don’t know the exact temp but I do know this; it’s not designed to cook. I’d venture to guess from our experience with it that its about the temp of a hot foot in a winter boot. Without the vapors. One could always take a scrap piece, put on new paint and try. I might do that myself, even.
You’ve got it. There are holes in end of bottom box to let air into bottom chamber. Light bulb heats the air- it wants to rise. There are holes in the bottom chamber to let air flow up into the upper (plastic) chamber to let air flow into that chamber where model or part is. Then, holes in top of upper plastic chamber (actually the bottom of the tote box I use) to let air out. Each partition has a filter covering the holes, to keep dust out. I use those filters you put in hot air registers in floor heating vents.