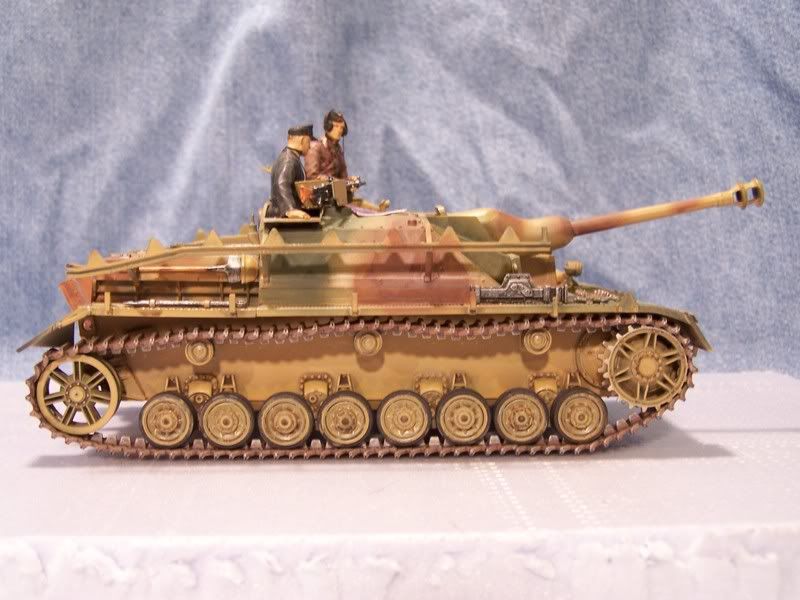
As many of you know, I built the DML Stug IV Late for the Urban Armor GB. Fun build, although the indy-tracks gave me fits (special shout out to doog for his toot over on Armorama - without that thing those fits would have been outright meltdowns - I’d probably still be workin’ on them).
I actually finished this build a few weeks ago but then, you guessed it, I messed up the tracks on one side and had to rebuild a section - I was so fed up I had to walk away from it for awhile.
The build is ‘done’ but there is still some work to be done (like decals - there are only 3, but I noticed that I forgot to add them). I’m going to weather it some more but I have to give some thought to how I want to display it before I proceed.
All in all, I am pretty happy - I have a list of goof-ups, but I also have a list of new things that I tried and was able to pull off, so it was a learning process.
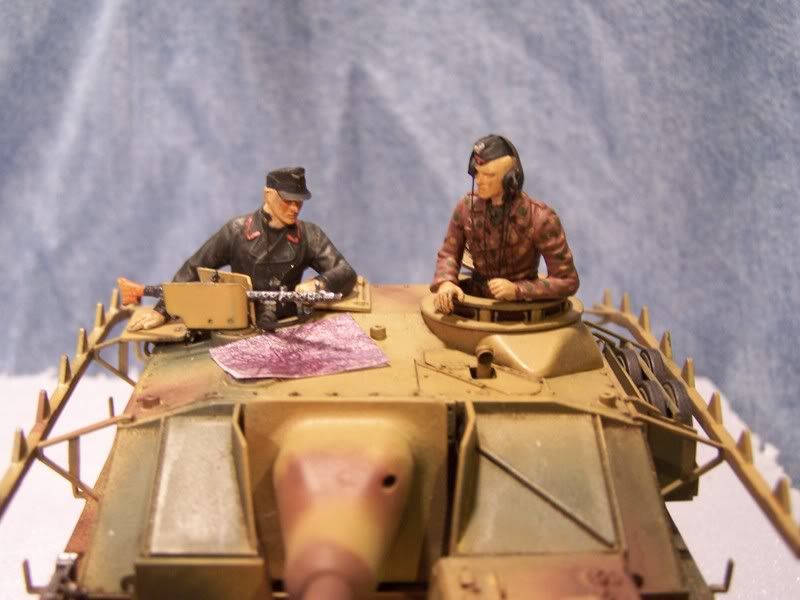
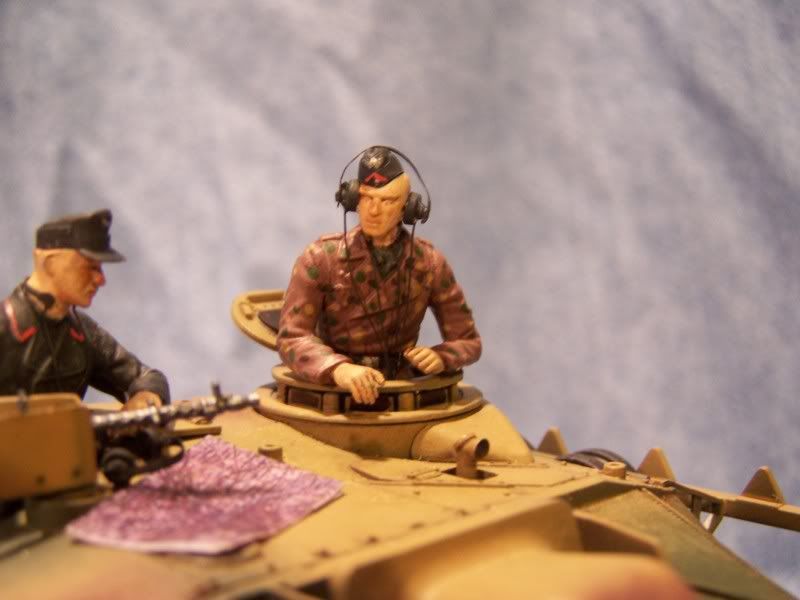
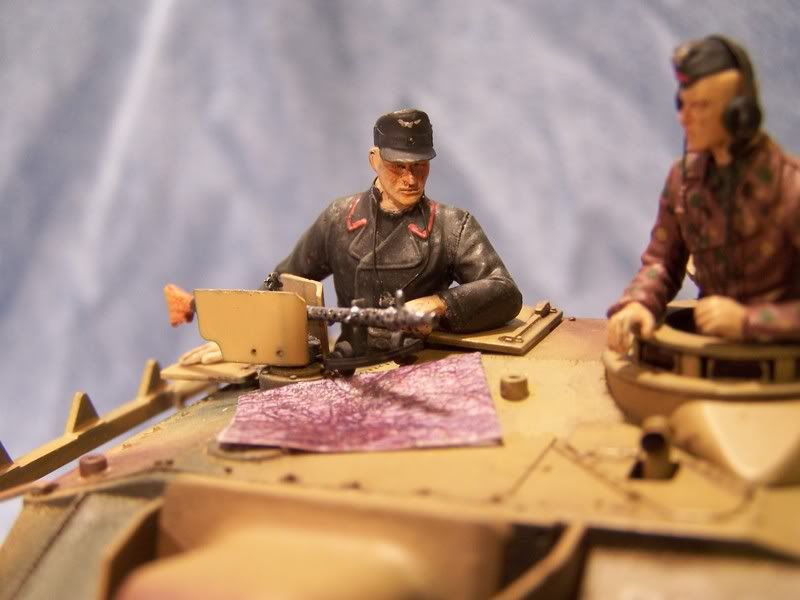
I’m pretty pleased with my figures. As a first attempt, I think they came out OK. True, they are not up to a Manny level, but they are definately something I can build upon.
I am working on learning how to take better pictures. These are OK, but I’m hoping to be able to get some better ones.
So, please, look it over, let me know what you think. I’d appreciate any and all feedback.
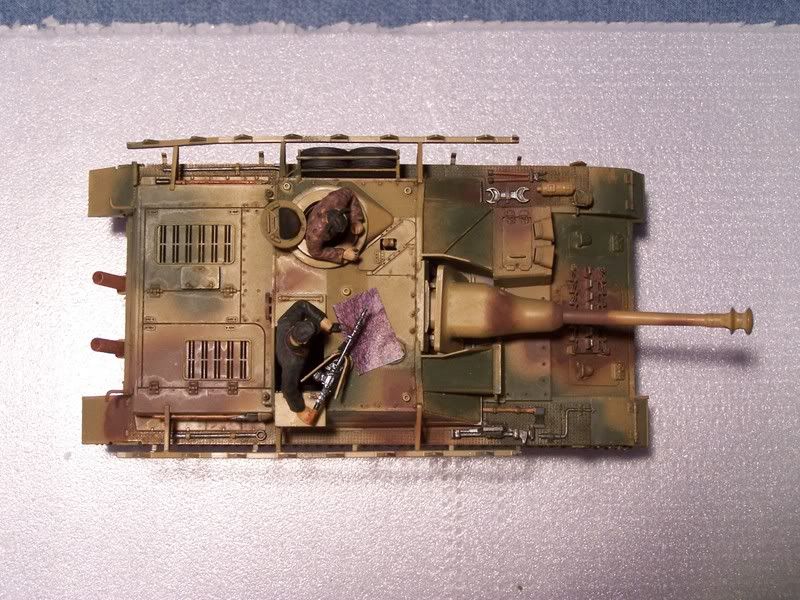
Nice work. U should be rightfully proud. One way to avoid the “cloudy” effects of your wash (noticeable on the engine deck) is to first brush on clear thinner on the entire part before daubing on the wash (thinner with paint) at the seams and crevices. This will allow the paint to go to the crevices and not make the cloudy edge as its thinner carrier flows outwards and dries. Hope this helps
Thanks for the suggestion - I’ll apply it on my next build. I noticed that cloudiness in the photos and was a little shocked at how much it stands out - one of those examples of the picture exposing things the eye doesn’t see so well.
I like it! [tup] I like how you stuck it out until you finished your build. Your figures are really nice and convey a story: “Are you sure we are where we’re supposse to be?” I always admire anyone who places figures along with the vehicle being modeled.
Thanks for the comments. Like I mentioned in the first post, I can look at the build and see plenty that went wrong, but I see a lot more that I am pleased with.
I’m glad you like the figures. It doesn’t show up too well in the photos, but the fig with the headset on actually has one of the earpieces pulled forward so his right ear in uncovered - I was trying to imply that the two were talking, while he still monitored the comm net. And, yeah, that whole “You sure you know how to read that thing…?” was definately in my mind.
Thanks for your comment. I’m glad you like it. To be honest, one of my goals is to develop my finishing skills to get the type of look you put to your builds. I really like that ‘style’.
There’s a definite progression here in terms of the techniques and things you’ve tried and the fact that you’re pursuing it as a learning process is what’s important both with the finish and the figures. It’s good to see this one finished and sounds as if you’ve cleared some major milestones in wrestling with the indy links as well. [tup]
As far as taking better photos, what kind of camera and photo set-up are you using? (Number of lights, type, background, tripod/no tripod, etc.?).
I appreciate your comments, too. I do feel like I jumped a few hurdles on this one, so I hope it starts some ‘growth’ for me.
As for the camera, I use a Kodak EasyShare Z740. I have a couple of overhead worklights and lighting in my paint booth that I tend to use the most.
To be honest, the biggest step forward in regards to the pictures is advice I got from David (1025drv) who is a new member on the forum. He seems to have a lot of experience in photography and he spent some time giving me some suggestions how to improve my pics, specifically by getting the proper settings on my camera. So a big thanks goes out to David for those pointers. This was my first application of his ideas and, while the pics may not be great, they are a far sight better than any I have taken before and, like the build itself, it is a foundation upon which I hope to build and improve.
That being said, I am always open to further instruction/ideas to improve the quality of my photos, so please, if you have some, fire away!!
Getting the settings right on your camera is always a good step and each camera is different. If you’ve already played around with those, you should be in good shape. I always recommend using a tripod for close-ups (helps avoid camera-shake and blurring) and diffused lighting vs. direct lighting wherever possible. I use a light-tent for that and student-style bendable lights to achieve a good degree of freedom for that. If you’re interested in trying that kind of thing out, check out this link for a cheap DIY light tent solution: http://strobist.blogspot.com/2006/07/how-to-diy-10-macro-photo-studio.html You’ll be amazed at what you can do with that simple set-up vs. the paint booth. [;)]
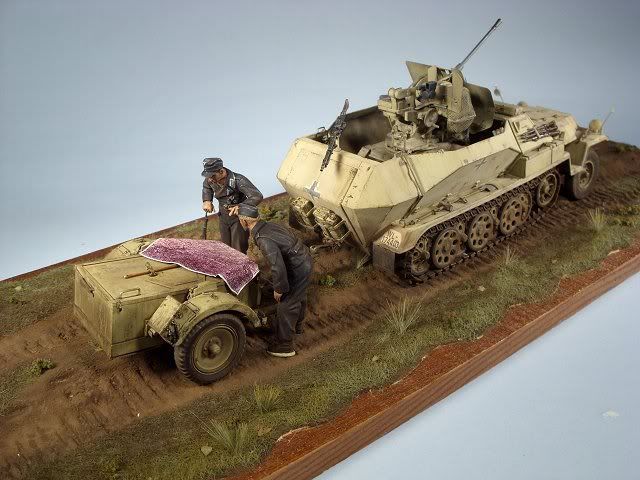
Hey nice build bbrowniii. I really like the washes and the camo, it looks great. Im building the same exact one and about to finish it. Mine was a huge learning process, too. Guess i could do a little better but yours is perfect. A great first time attempt at figures to (I can never finish them!)
Thanks for the link. dupes had posted that awhile back and I actually have it saved as a favorite - I just have not gotten around to putting it together. When my pics stunk, I lacked the motivation… now I’ll have to see what I can do. I imagine I’ll get better results with that rather than the blue workshirt I used for a backdrop, eh?
I don’t, but I’ll take one. I’m actually a little embarrassed that I forgot to do that - I was kinda pleased with my first efforts at using chalk to ‘rust’ my exhaust. Look tomorrow and hopefully I’ll have that pic up.
Great job there, this kit is on my list to acquire someday. I have one tiny nitpick, and I’m the last who should be doing that, but the tools especially the wrench looks a tad bright. Perhaps that is the flash though?
this is a nice build. the camo is spot on. As it’s probably been mentioned before, I think the figures are a great addition! I gives not only a sense of scale, but adds the human element to the tank.
No, I don’t think it is the flash - I think your observation might be spot on. I think I got a little heavy with the drybrushing and the wrench came out a bit too shiny.
Thanks for your comments and I am glad you like it.