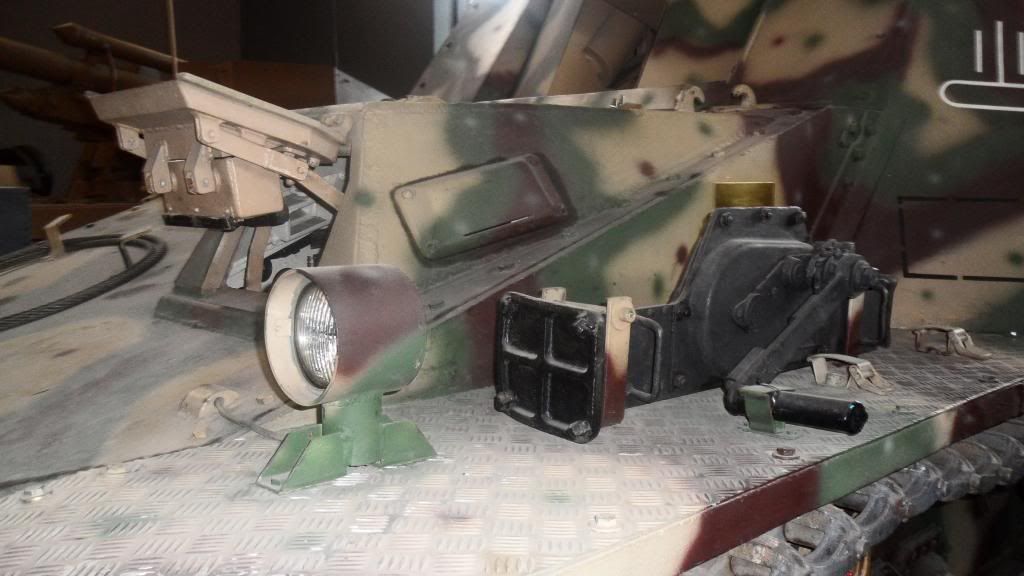
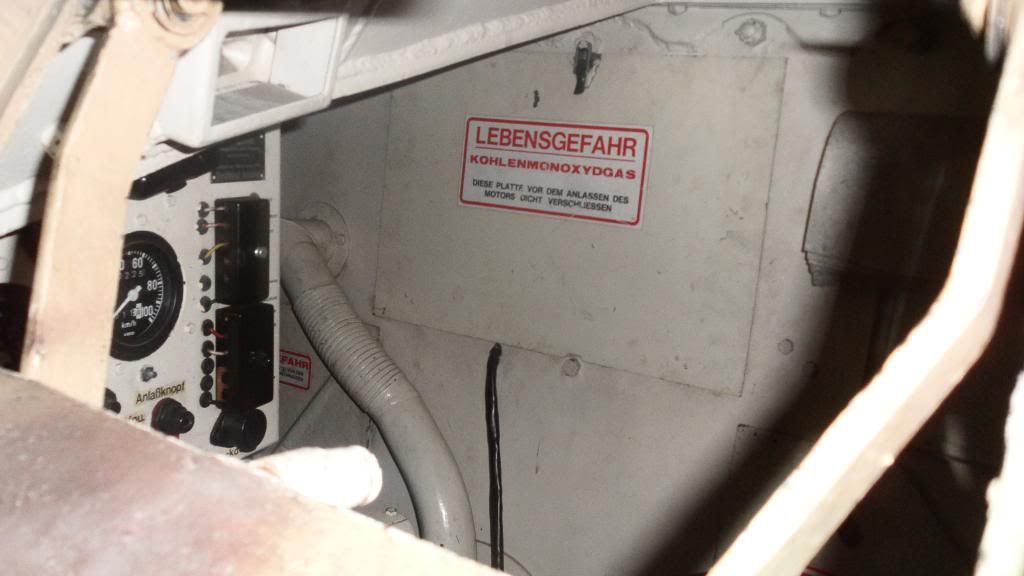
I opened this kit a couple of weeks ago and my first thought was WOW! This kit will test my “Armor Metal”. I consider myself a level 3 1/2 out of 5 when it comes to building armor and this kit is a 5.
First are the Dragon instructions. I have had to do a lot of looks and relooks. Walk away and come back. Check referances. And use some unpleasant language.
I am going to build the “Initial Modified” version. This is key because the instructions can catch you off guard if your not paying close attention.
So far I have assembled the hull, cleaned and painted the road wheels. Tonight I started on the glacis.
Question here: Can someone identify Part M9 for me in the below photo?
The brass struts for the visor were a challenge. Not having any photos to look at I hope this is correct.
NOTE: Parts A21 are not listed in the “distructions”. You’ll need these for hatches.
Remember not to glue the spacers/templates to the walls of the lower portion of the fighting compartment. These are only used to set the location of a couple of small parts and are not a part of the model.
The instructions now say clearly “do not cement” but in earlier iterations of the kit, it was unclear and many have fallen into this trap.
Previous versions used the infamous “photo instructions” and the spacers were there one moment and gone the next.
RATS!!! I knew I should have asked someone before doing thos struts. Oh well. I got out the nail polish remover out and removed them and I will reatempt tonight.
Part M9 is the travel lock releasing cord/line. If the gun barrel is in the travel lock, the crew can release the lock by pulling this cord/line. Then the lock falls back and the barrel is freed.
The templates (N14 and N15) that Phil is referring to were sadly glued to many earlier modeller’s kits. Even ones that appeared in magazines.
At least the directions call out to definitely NOT cement those templates in for kit 6386.
I noticed a possible mistake: parts F32 are glued in backwards and too far inward. They are armored shrouds for the brake system and should open to the rear and not to the front. Aren’t they in the spots where parts E21, E22 belong?
gotcha covered I build I’m working on the dragon Stug 3 B I have found a bunch of wowhoes in the destructions for this one to so I just winged it kit came out real good , good luck on the Nashorn I did one of the other Nashorn kits couple years ago came out real nice. ACESES5 [snWcm] ON BENCH DRAGON STUG 3 B
Any time you’re dealing with a ‘3-in-1’ or ‘2-in-1’ you’ve got to pay extra special attention to parts and other things more than usual on Dragon instructions, that’s for sure! [:D] Think of it as a little ‘extra’ challenge in exchange for the options provided. The Nashorn’s a good kit, looking forward to seeing what you do with it IB! Roy’s right about the parts you’ve got backwards, should be fairly easy for you to correct that though.
You’re welcome! I have some more pics of that Hummel, so if you need anything, feel free to ask! The only significant difference should be the gun and the ammo racks…
Here’s a blog WIP of my Hornisse–basically an early Nashorn-- that may give you some hints and prevent you from making mistakes like I may have committed.
I think Roy’s already got you covered, but the templates are parts H19/H20 and the note not to glue them in place is directly under the step 14 label in the instructions. They’re flat, largely rectangular pieces with notches to help position a couple of smaller parts (H5/H6, H2)
Roy - I caught the F32 mistake this morning. Those were the last things I put on at which point my mind was spinning and it was bedtime. Again thanks for help the help on the spacers also!
doog - I’ll check out your blog after I post this update. I see I have “The Big Boys” checking in on this build so I am in good company with help and support.
Bill - Never let it be said, “I don’t like challenges”. Your right about “extra special atttention”. Thanks for checking in.
Phil - Again thanks.
ACESES5 - Thanks for checking in. I love stugs so I’ll look for your pics.
They probably just didn’t want to waste a whole sprue section for a few clear parts…its more economical to put all the related parts on one sprue tree, even if all of them don’t need to be clear.