Here are photos of an Abrams engine I took when I commanded a maintenance school. Very little paint on the engine; it is almost entirely unpainted metal with a few white painted components. The green items are part of a maintenance stand the engine is sitting on and not part of the actual engine/transmission assembly. The engine and transmission combination is called a “powerpack”. The combination is usually referred to as the FUP (sounds like pup) for Full Up Powerpack.
Yeah Rob, those are some really cool pics of the Abrams engine! Great reference material for anyone building a scale engine for models! Thanks for sharing!!
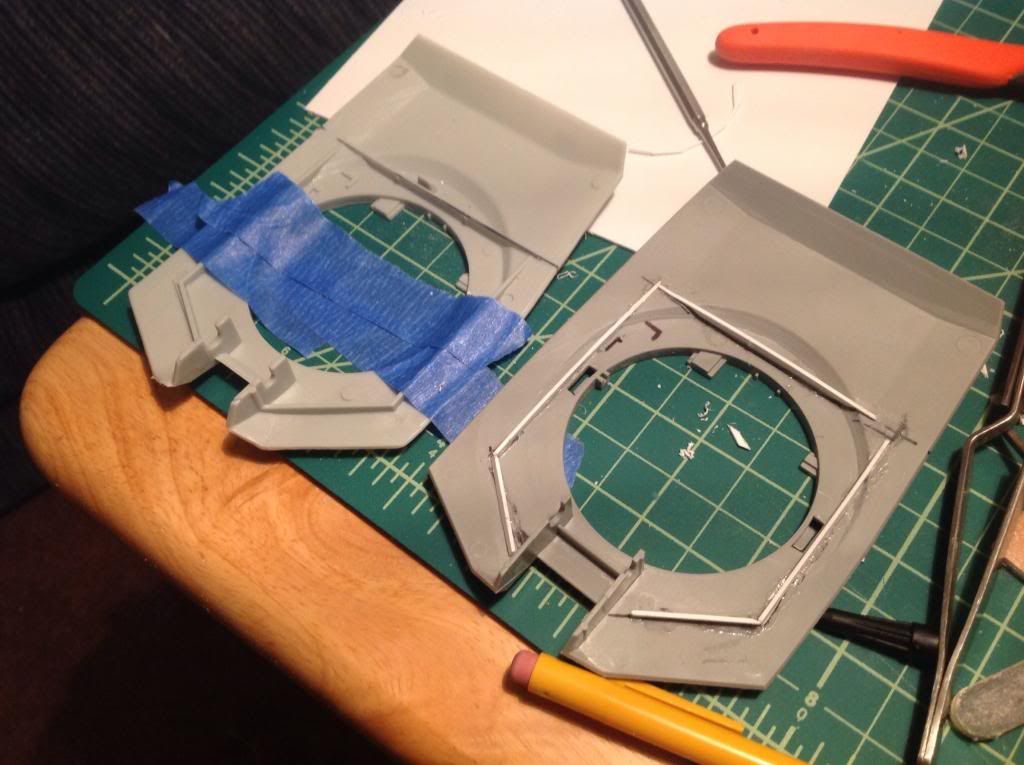
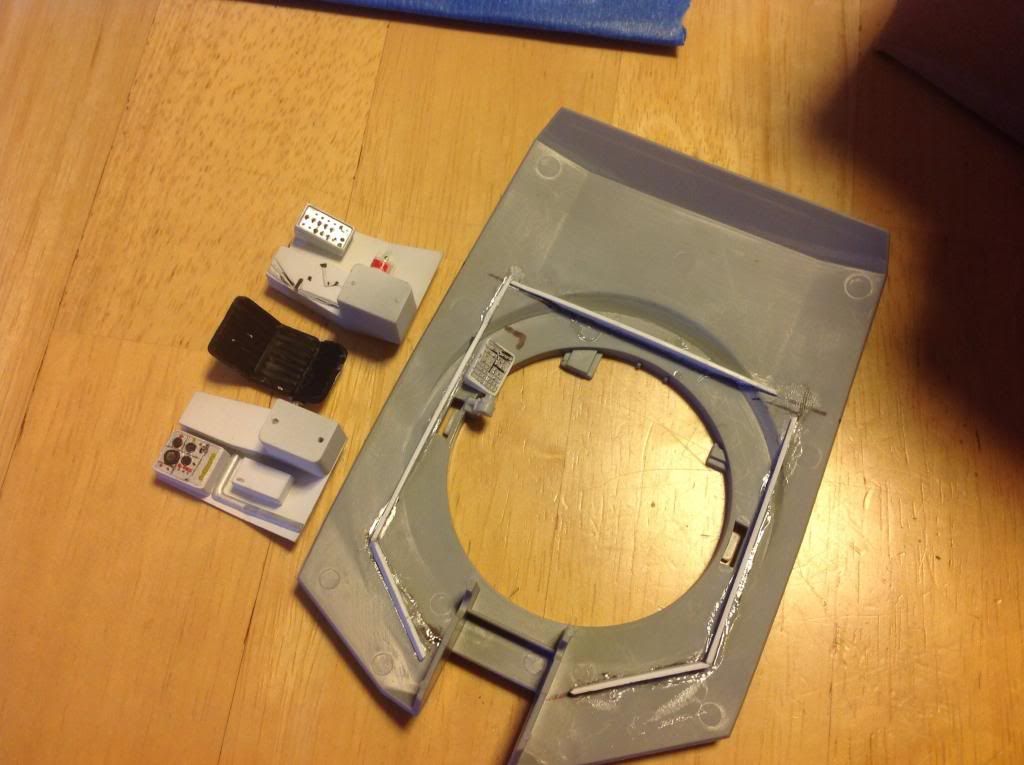
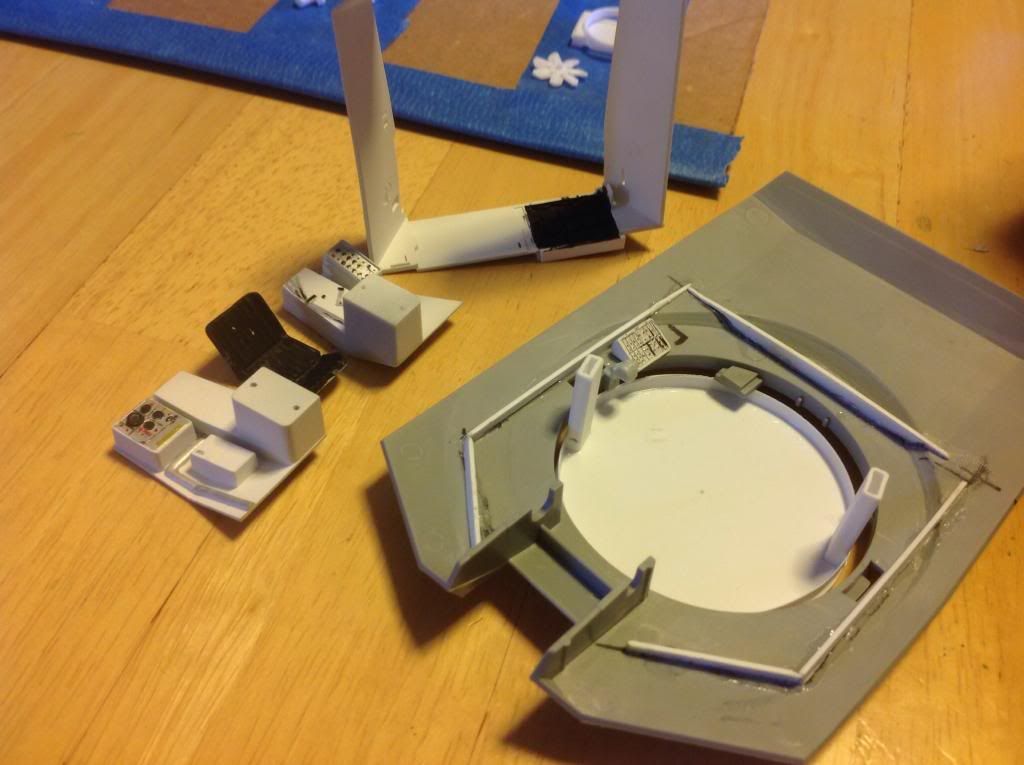
Made a little progress since my interior kit arrived (not much LOL, but a little).
Had to build up the turret foundation for the interior parts to sit on.
The turret base that came with the older kit isn’t that great, so I’m building up the proper kit part.
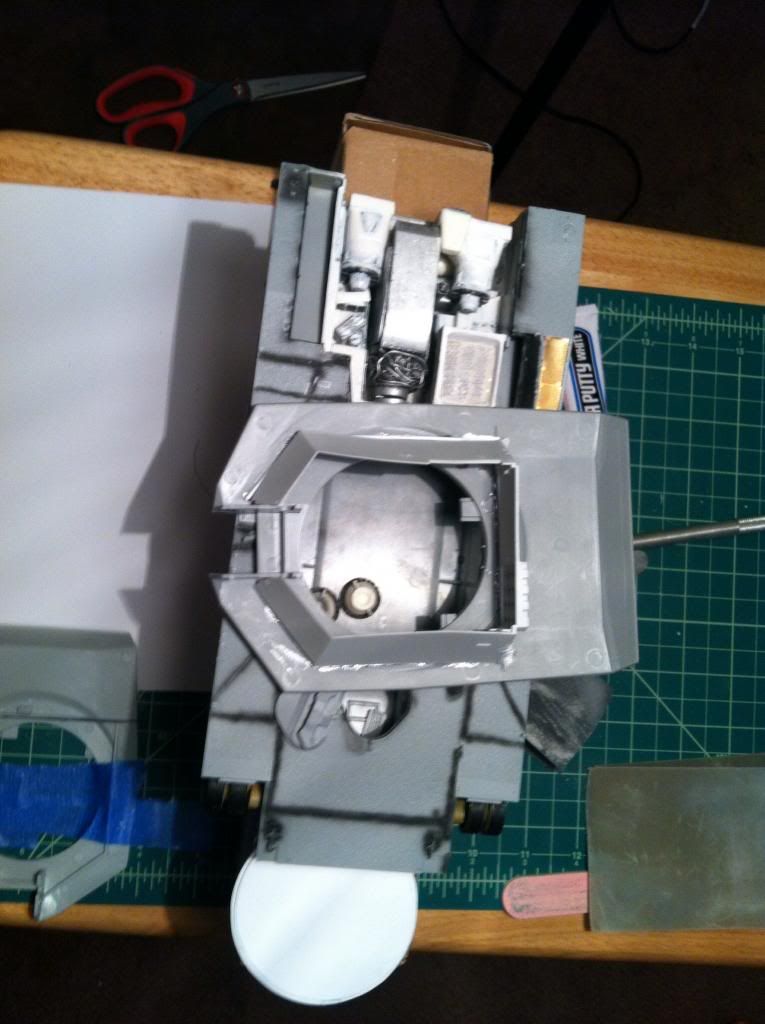
Also started painting the parts for the drivers compartment, AND had to break apart the engine parts to reposition them. After seating them all in, the were a millimeter too high preventing the back deck from closing. ALL FIXED!
Also started the turret floor, so next time, I should have much more completed inside.
It’s interesting to note that the newer kit seems to have mounting points for some interior detail, like the driver’s station and some of the stuff in the turret (which is included in some of the older kits).
If I recall correctly, at one point in the kit’s development, it had been intended to contain interior detail, but this was deleted for cost reasons.
I agree that it could be for cost reasons, but my first assumption was that even though the new kits are sharper with better detail through improvements in manufacturing processes, that it was just residual detail leftover from the older mold as both are Dragon kits.
I like your theory better, as it usually IS the “bottom line” that drives these types of things.
I have no complaint that it wasn’t included, as this kit is simply beautifully done!
LOL! My daughter is 2 now, so I think at this point it was more a matter of “ANYTHING but lions, monkeys and elephants!” A bit burned out on the other choices.
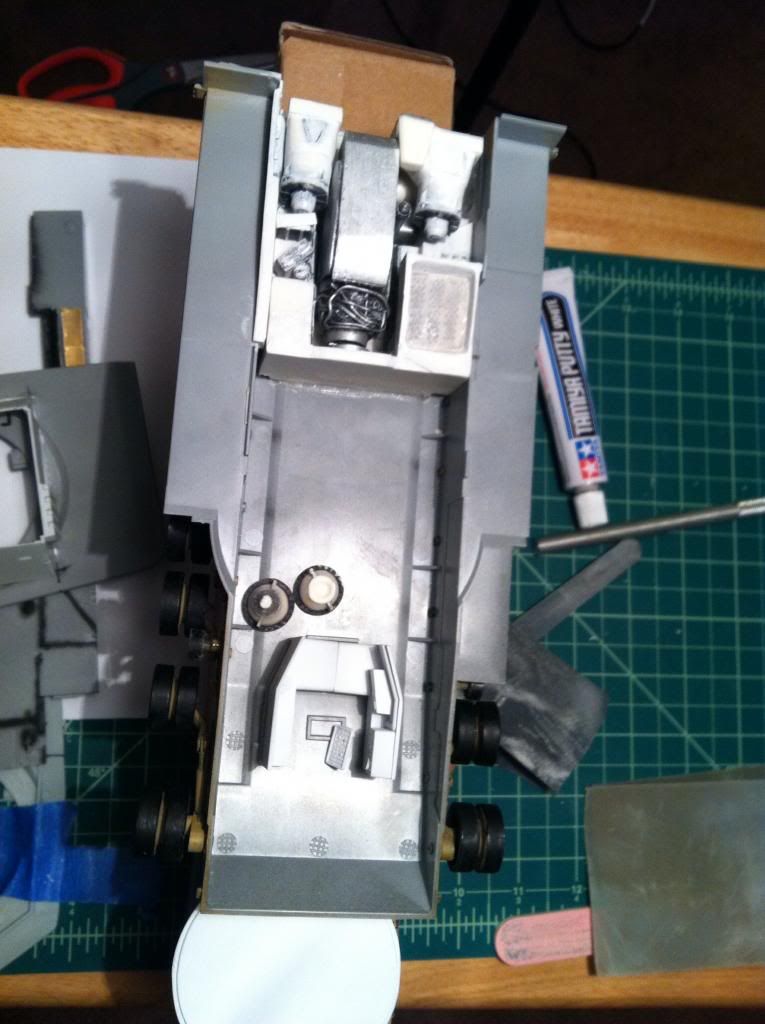
I have done a little on the engine, getting it to fit better and added the air tube for the intake using a couple of peices of bendy straw. Need some more paint as some of it came off moving it around. To make it a little more solid, I used the 90 degree resin piece that went pointing down to the floor. I really didn’t care for it, but it reshaped easily and I think the desired affect once painted will look nice. I also added the torsion bar housings in the bottom of the hull that are beneath the turret floor.
I was one piece short, so I went to the LHS and got some more tubing today.
I also was able to get some of the driver compartment detail done. It’s ok, but I got some fluorescent paints to make the controls pop a bit (at least some of them) which I will be painting on soon. This is a shot before the fluorescent paint goes on.
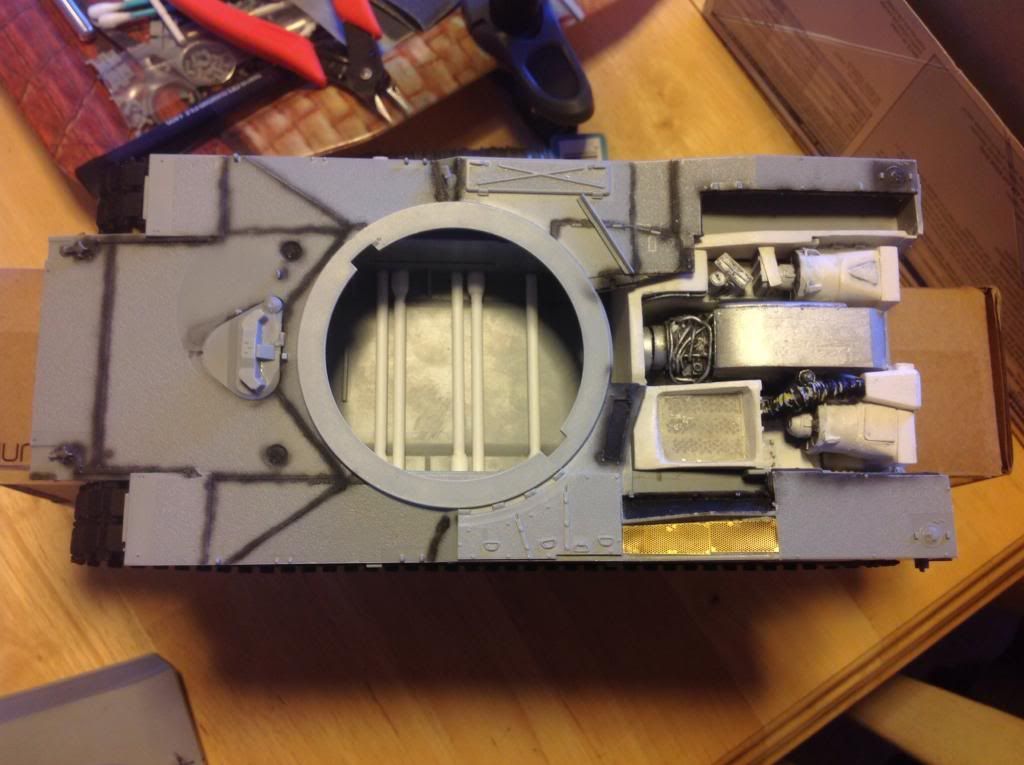
I also started the turret basket.
I am working on a way to keep the top of the hull and turret on, yet make them removable. It’s a total experiment, but I think I have it worked out.
Thanks for looking in IB. I figured your last post was meant for another thread. Those look like Dragon instructions. My M1A1 Dragon instructions are riddled with part # errors like that. Good luck working it out.
Cool shots, Rob! Thanks for posting those—great, first-hand reference!
Ken—you’ll find that, generally, when detailing to this degree, you’re going to run into fit problems like this SOMEWHERE along the way. It just always seems to happen at some point. You’ll learn to hide modifications and outright desecrations of parts behind kit parts and bulkhead. I’ve taken a Dremel tool to parts that wouldn’t fit, after test-fitting the hull and making sure that the chopped-corner of a transmission part wouldn’t show! You model, you learn…
Thanks doog! How true. Learning a lot. But that is great advice to keep in mind.
Thanks buffel! I appreciate you looking in and the compliment.
I haven’t done much, so there hasn’t been an update. Little bits plus working on my car build.
I did manage to base coat the tracks and get more of the lower hull guts installed. The turret is daunting and will take a major chunk of time, but I’ll get back to it soon.